Oat & Rye Biscuits

  • I have been able to buy lots of second hand Polish cookery books in the past few weeks.
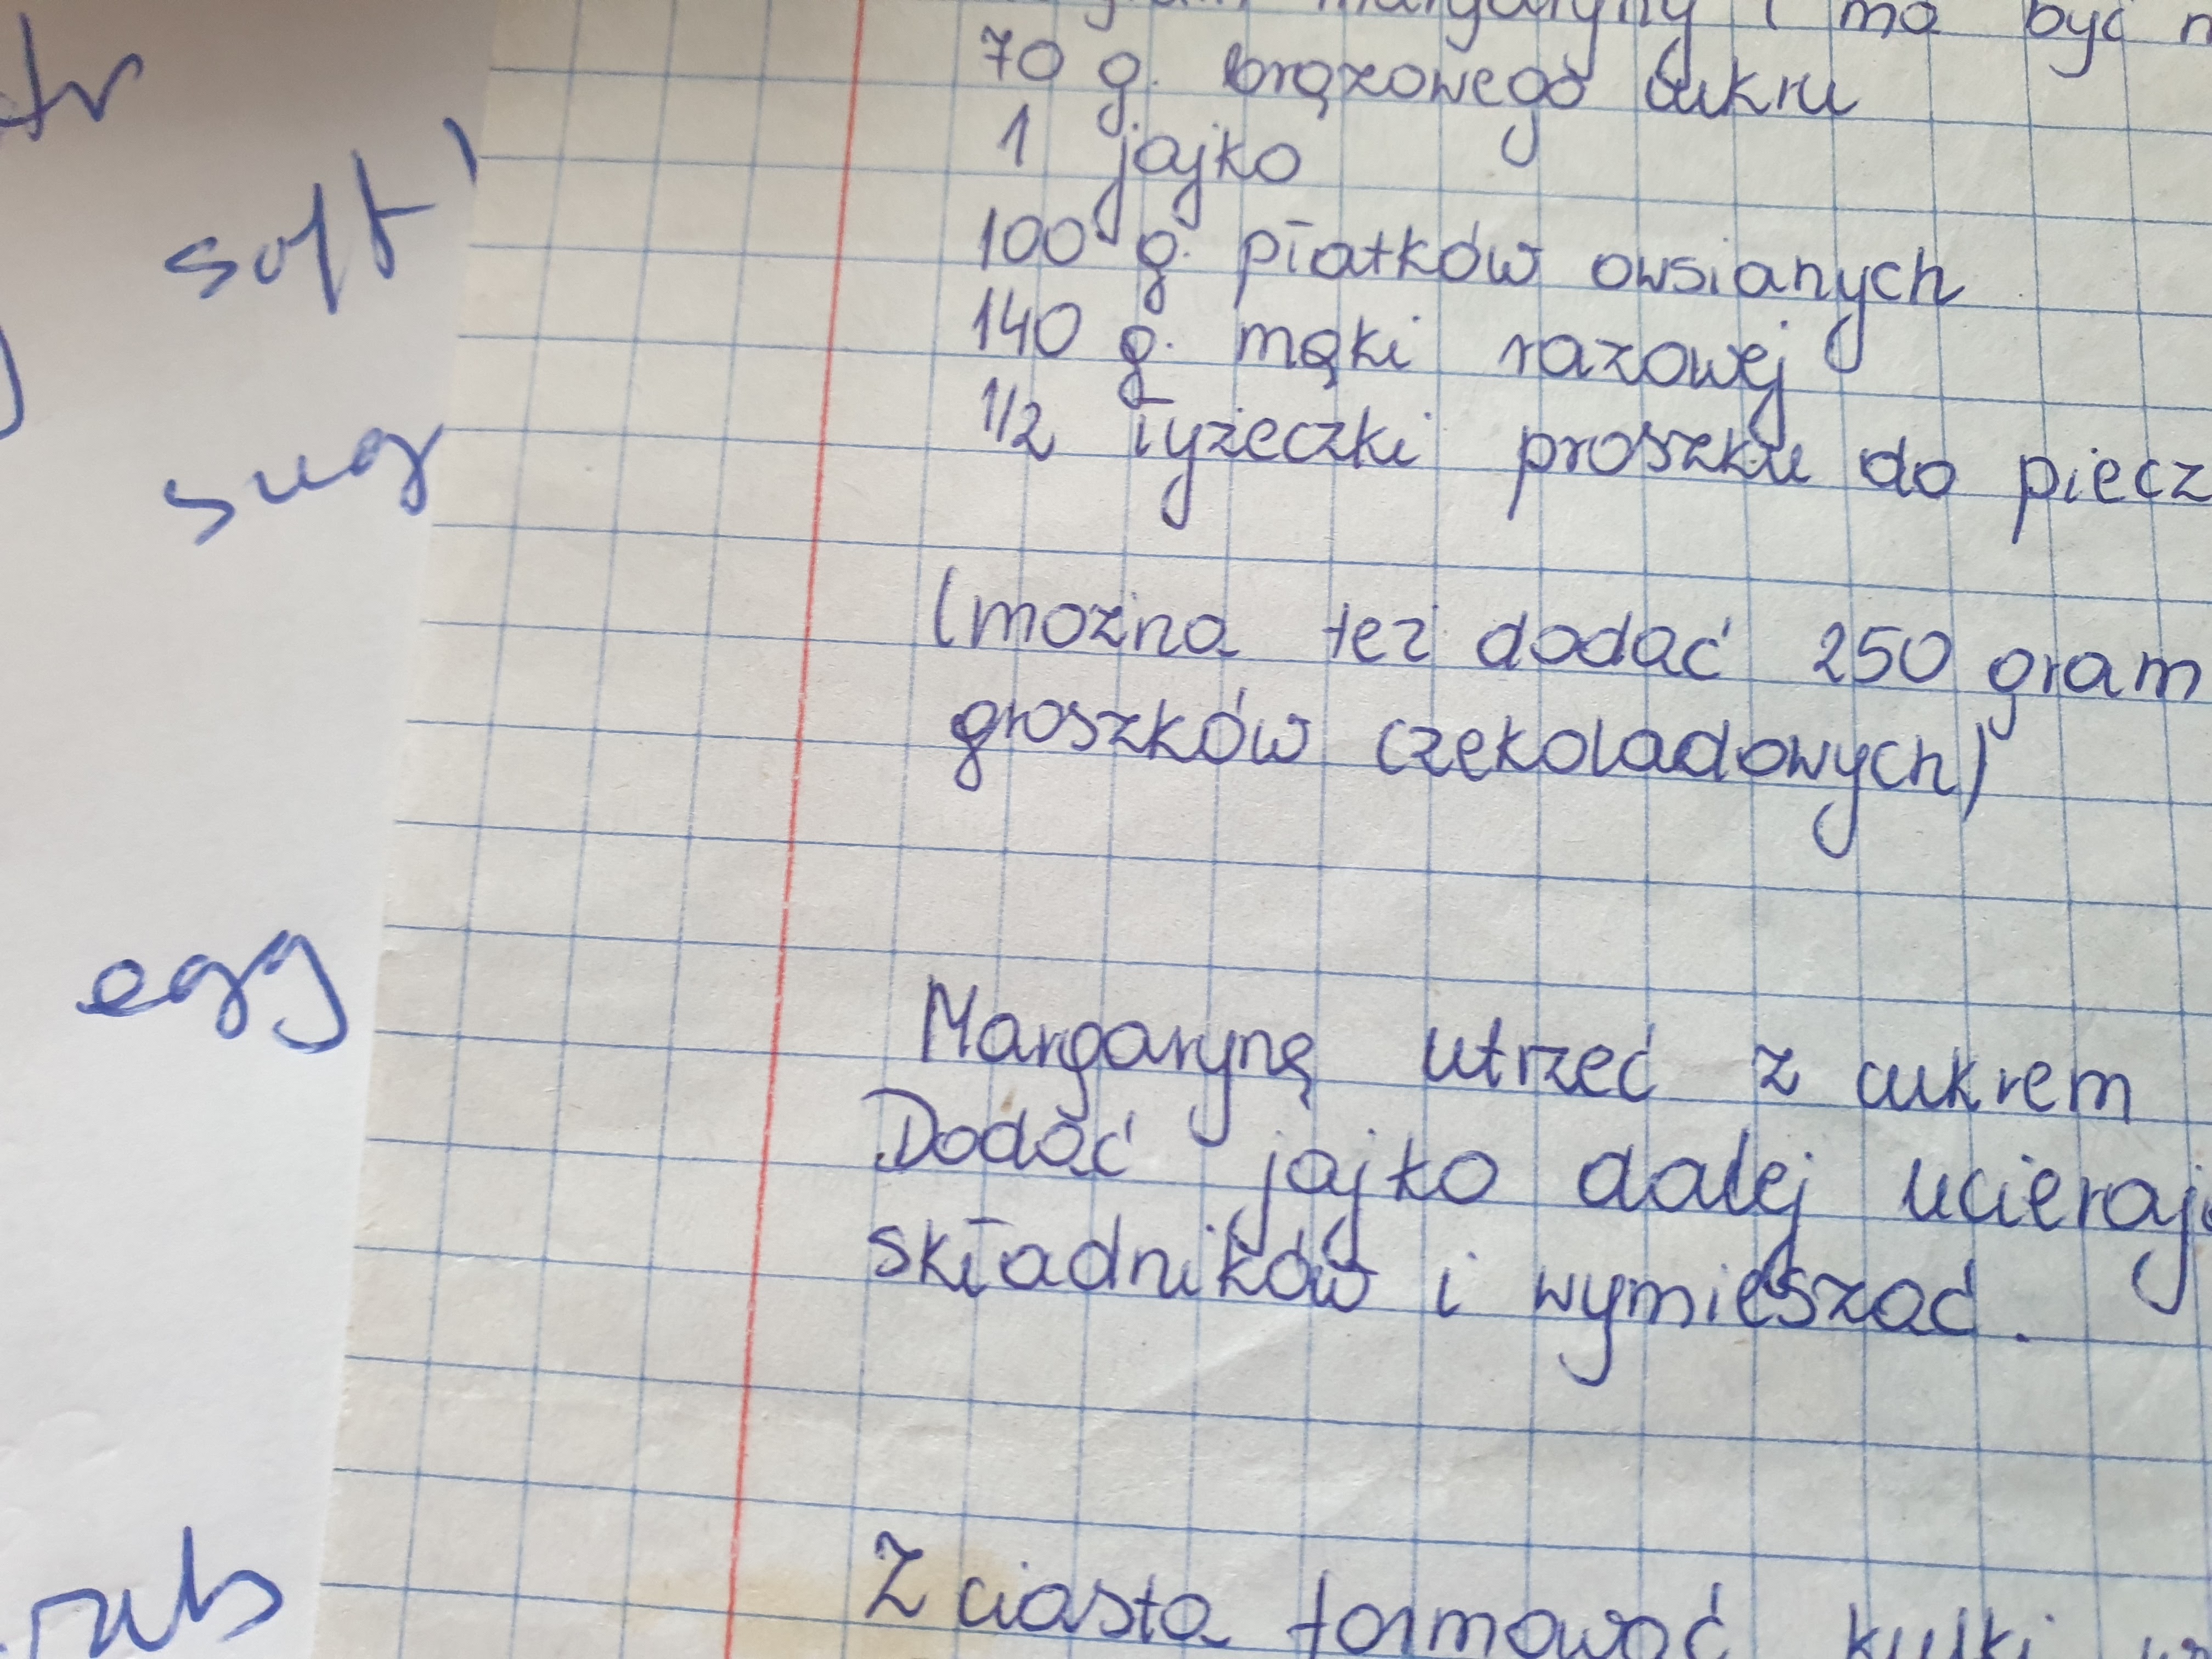
  • Inside one of them was a handwritten recipe for these biscuits.
  • It is written in the lovely handwriting people are taught in Poland.
  • I wish my writing was clear and neat as this.
  • I decided to try these biscuits and was very pleased with the result.
  • They only have a small amount of sugar so they go well with cheese.

Heathcote cake plate – Made in England

INGREDIENTS

  • 120g butter – softened
  • 70g soft brown sugar
  • 1 egg
  • 100g rolled oats
  • 140g rye flour
  • ½ teaspoon of baking powder.

METHOD

  • Pre-heat the oven to GM4 – 180°C.
  • Grease two baking sheets.
  • Beat the butter and sugar together
  • Add the egg and carry on beating.
  • Mix the oats, rye flour and baking powder together.
  • Add this dry mixture to the butter mix.
  • Mix together until everything is combined.
  • Make small balls of the mixture and place these on the sheets.
  • Bake for 15 – 20 minutes.
  • About half way through the baking – flatten the balls with a spatula.
  • Leave the trays to cool on a wire baking rack.

Zakwas – Sourdough

I have been on a long quest to find out how to make a really good sourdough bread.

I have make various rye bread versions, the easiest being a no knead version.

What I wanted was a recipe that used a sourdough starter, zakwas – in Polish,  for a wheat flour loaf that was a “classic” shape.

I wanted a loaf that looked right, tasted good and had a lovely crispy or chewy crust.

Every book or article that I read had loads of advice much of it contradictory.

I tried different methods with different degrees of success and several complete failures!  Sometimes I knew what had gone wrong sometimes I just did not know.

I was getting the taste most of the time but getting the shape without an exploding crust was more difficult.

I kept wondering how my grandmother and others in generations past had made this type of bread with ease without the aid of books, articles and videos found on the internet.

The best advice came from two sources – the book – all you knead is Bread by Jane Mason and several YouTube videos by Tomek Lach – these are in Polish.

  • I am now writing up the results of many months of baking trials.
  • Timing given in the book are often not enough – depends on many factors.
  • I have found that leaving the refreshed starter or the dough for hours longer – even overnight, works.
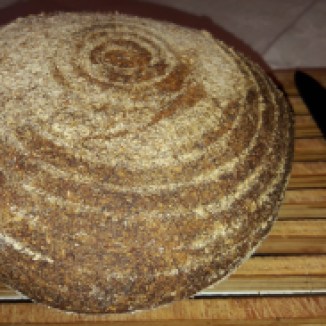
  • My latest loaf tastes wonderful, the crust is lovely, the shape is nearly right.
  • I am hoping that next time it will be spot on!

Sourdough starter – zakwas

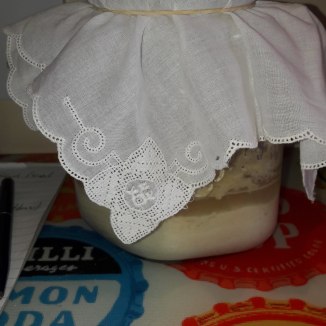
  • To make this you put 50g of rye flour and 50ml of water into a large glass preserving jar on day 1 and stir, cover and leave for 24 hours.
  • On days 2, 3, and 4 you repeat this.
  • On Day 5 it is ready to use.
  • Or you can keep it in the fridge – topping up once a week with a couple of spoons of flour and water.

Day 1 – refreshing the starter

Ingredients

  • 3 tablespoons of starter
  • 60g of wheat flour
  • 3 tablespoons of water

Method

  • Mix the ingredients together to make a thick paste.
  • Add more water if needed.
  • Place into a bowl and cover – shower caps are good for this.
  • Leave for around 12 hours at least – often I have make this in the morning and then leave it at room temperature or in the fridge overnight.

Day 2 – making the dough

Ingredients

  • Mixture from day 1
  • 300g of strong wheat flour
  • 200ml of water (may need more)
  • 1¼ teaspoons of salt

Method

  • Mix all the ingredients together to form a soft dough.
  • More water may be needed – a wetter dough may be harder to work but better in the long run.
  • Place on a floured board.
  • Knead for 10 minutes (set a timer).
  • Try not to add much extra flour.
  • Form into a ball and place in a bowl.
  • Cover and allow to rest for 1 hour.
  • *
  • Pretend the dough is a clock face-pull a piece of dough out at noon, stretch and fold it back.
  • Repeat going around the clock face.
  • Cover it again and leave to rest for 1 hour.
  • Repeat this resting – pulling – resting twice more.
  • That is 4 rest and 3 pulls in all.
  • *
  • To shape the dough put it gently on to just a very lightly floured surface.
  • Try to use as little extra flour as possible.
  • Stretch and fold the dough to get a round ball shape.
  • Tucking the dough into the the base of the roll with your fingers.
  • Place in a proofing basket
  • I have found it is better to place a cotton or linen floured napkin over the surface.
  • This makes it easier to turn out the risen dough.
  • I now have a special circular piece of cotton specially for this.
  • It is best to wash this without the use of fabric conditioner or perfumed detergent.
  • Place into a large plastic bag or use a shower cap to cover.
  • *
  • Allow to rise until it has grown in size by 1½ times.
  • This can take 2-3 hours or even longer – depends on the heat in the kitchen.
  • *
  • Pre-heat the oven to GM 8 – 230°C.
  • Prepare a baking sheet by lining it with greaseproof paper and sprinkling on semolina or flour.
  • Gently tip out the risen dough onto the sheet.
  • Cut three long slashes in the top with a sharp knife.


  • Bake for 10 minutes then turn the heat down to GM6  – 200°C.
  • Bake for another 20 minutes.
  • Check the base sounds hollow.
  • Leave to cool completely on a wire rack.


Different wheat flours

You can alter the type and proportions of wheat flour and can use whole-wheat or wholemeal flour.

I am trying different versions out and have made a loaf with 60g of whole-wheat in the refreshed starter and 150g whole-wheat and 150g strong flour for the dough. It was a little heavier but tasted super.

There are many  variations to try out!


Poolish Rye Bread

I recently posted about a wheat bread I made using the Poolish method.

As this was such success I thought I would try out a Poolish recipe this time using rye flour.

There are lots of steps and it takes most of the day, so it is best made when you are at home with other things to do in between.

A Poolish is a pre-ferment usually combing equal parts of flour and water (by weight) with some yeast.

This recipe is adapted from Bake it Better  – Bread – edited by Linda Collister, Hodder & Stoughton, 2015.

Ingredients – Poolish

  • 250g rye flour
  • 150g strong flour
  • 15g fresh yeast (7g dried)
  • 300ml  lukewarm water
  • 1/4 teaspoon of sugar

Method – Poolish

  • Mix the yeast, water and sugar in a jug
  • Leave for about 5 minutes.
  • Make a well and pour in the yeast mixture.
  • Bring it all together to make a thick lump free mixture.
  • Cover the bowl (a shower cap is good)
  • Leave at room temperature to rise for about 4 hours.

Ingredients – Dough

  • Poolish
  • 200g rye flour
  • 100g strong flour
  • 125ml lukewarm water
  • 2 teaspoons of caraway seeds
  • ½ tablespoon of salt
  • *
  • Milk to brush loaves
  • Extra caraway seeds for sprinkling on loaves

Method – Dough

  • To the Poolish add the water and mix to make a smooth batter.
  • Mix the flours and the salt.
  • Add the flour and salt to the Poolish  and mix.
  • You will have a soft and heavy, sticky dough.
  • Leave uncovered to rest for 5 minutes.
  • *
  • Add a little water if it feels too stiff.
  • Turn out onto a lightly floured board.
  • Knead the dough for 10 minutes (set a timer).
  • *
  • Put back into a large bowl and cover (a shower cap is good).
  • Leave to rest and rise for 1 hour.
  • *
  • Knock back the dough.
  • Roll into a ball.
  • Cover and leave for 1 hour.
  • *
  • Turn out onto a lightly floured board.
  • Knead a couple of times.
  • Divide into two.
  • Shape each piece into a ball.
  • Cover loosely with a dry tea towel and leave for 10 minutes.
  • *
  • Line a baking sheet with grease proof paper.
  • Knead and fold and shape each ball into an oval.
  • Place the two pieces on the baking sheet.
  • Cover loosely and leave to prove for 1 hour.
  • *
  • Pre-heat the oven to GM7 220°C
  • Put a roasting tin at the bottom of the oven to heat up.
  • *
  • Cut 3 slashes in the top of each loaf.
  • Brush lightly with milk or water.
  • Sprinkle with caraway seeds.
  • Put the loaves in the oven.
  • Quickly pour a glass of water into the roasting tin (the steam helps to give a good crust).
  • Close the door and bake for around 10 minutes.
  • Reduce to GM6 2O0°C  and continue baking for 25 minutes
  • Leave to cool on a wire cake rack.

Sauerkraut Rye Bread

My cousin who lives near Chicago recently sent me a recipe that has been used by her mum for Polish sauerkraut rye bread.

The recipe was from a bakery in Chicago and was printed in the Chicago Tribune on 2 March 1989.

Well of course I had to try this out!


The recipe is in cups, which except for liquids, I find hard to work with for consistency – so I  did some conversions into grams.

Note -The amount of sauerkraut was  3/4 of a cup – I measured out a loosely filled cup and weighed it.

This recipe makes one very large loaf – you can use it to make two loaves.

There is a large amount of flour – I mixed it by hand which was quite hard work but after the first rise it was a good dough to work with.

Ingredients

  • 880g plain flour (650g & 250g)
  • 170g rye flour
  • 40g butter
  • 1 tablespoon of salt
  • 1 tablespoon of granulated sugar
  • 1 tablespoon of dried yeast
  • 100g sauerkraut
  • 500ml warm water
  • Cornmeal or semolina for the baking tray
  • 1 egg yolk & 1 tablespoon of milk to glaze
  • 2 teaspoons of caraway for topping.

Method

  • Into a large bowl add 650g of plain flour and rye flour.
  • Rub in the butter.
  • Add the salt, sugar and yeast.
  • Chop the sauerkraut with a sharp knife into small pieces.
  • Add the sauerkraut to the flour and mix together.
  • Slowly add the water and bring the mixture together.
  • Slowly add the rest of the flour (you may not need it all) until the dough does not stick to the sides and start to gather it together into a ball.
  •  Knead the dough for around 5 minutes.


  • Cover the dough with a cloth or clingfilm.
  • Leave it to rise until it is double in size.
  • Punch the dough down and knead it again for a few minutes.
  • Allow the dough to double in size again
  • Punch the dough down again and knead it again lightly.
  • (You can divide it into two here if you want to make two loaves)
  • Put the dough onto a board and flatten it into a rectangle.
  • Shape into an oval.
  • Cover a baking tray with cornmeal or semolina.
  • Place the dough onto the baking tray.
  • Cover and let the dough rise until it is double in size.


  • Pre-heat the oven to GM 6  – 200°C.
  • Brush the glaze onto the loaf
  • Sprinkle with caraway seeds note I would cover the seeds with glaze again as well next time.
  • Using a sharp knife make 4 or 5 diagonal cuts in the top of the loaf.
  • Bake for 20 minutes
  • Turn the oven down to GM4  – 180°C.
  • Bake for another 10 to 15 minutes.


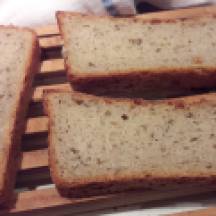
It was delicious with a great texture!

I sliced up some of the loaf and froze it  – that worked well.

I might just add some more caraway seeds to the dough itself next time.

Easy Rye Bread

I have been spending many days in the last few months trying to make a good easy rye bread.

Many of my attempts were just awful – not even good enough for the birds – more straight to the bin!

At last, I have found a recipe that is easy & it just uses rye flour and baker’s yeast & there is no kneading whatsoever!

In fact, I got some fresh yeast from my local Polish shop and this was just so lovely to use.

I made this twice, once with rye flour from the Polish shop and once with dark rye from Aldi. They both turned out well.

You just mix the ingredients together with a wooden spoon to give a wet mixture a bit like porridge.

The less you handle the mixture the better.

Ingredients

300g rye flour

10g fresh yeast (or the equivalent in dried yeast)

250ml hand hot water

1 teaspoon of granulated sugar

1.5 teaspoons of salt

1 tablespoon of caraway seeds

Method

Add the sugar and yeast to the water, mix well and leave it to start to froth.

Put the flour, salt and caraway in a large bowl and mix together.

Grease a 2lb loaf tin.

Add the water and yeast mix to the flour mix and with a wooden spoon mix well to form a unified mass.  You are aiming for a wet mixture rather like porridge.

Using a large spoon or spatula put the mixture into the prepared loaf tin.

Loosely cover the tin with cling film or similar  – a recent tip I have got is to use a clear shower cap – this allows the dough to rise without touching the plastic.

Leave the dough to rise in a warm place until dough has doubled in size (I found this took around 2 hours).

Pre-heat the oven to GM 6 – 200°C

Bake for around 30 -40 minutes – check after 15 minutes and cover with a piece of greaseproof paper if it is starting to catch on the top.

To slice the loaf, I have found that a cleaver type knife is actually easier than using a bread knife.

You can place the slices in a plastic box and they freeze very well.

Chleb – Bread

Today is the third anniversary of my blog – I started posting on 4 July 2015 and this will be my 155th post!

I am really enjoying the research, the cooking, the photography  and the writing and have many more recipes to share with you all.

Chleb – Bread

A wedding tradition in Poland is to greet the bride and groom on their arrival at the reception with bread & salt.

The bread is seen as a gift from God and is a wish that they never go hungry.

The salt is a seen as a gift from the earth and is a wish that they overcome the bitterness of life.

Rye

  • To be called bread in Poland the loaves or rolls must contain some rye.
  • Wheat loaves or rolls are called bułki or bułeczki but this is also the name  given to some cakes and buns – hence there is often some confusion!
  • Żyto is the Polish for rye.
  • Rye   – Secale cereale  is a grain and is used for bread and for making some of the best vodkas.
  • It grew  wild in Turkey and  since the Middle Ages it has been cultivate widely in    Central and Eastern Europe.
  • Rye grows well  in poor soil and in cold and harsh conditions.
  • Nowadays rye is grown primarily in Eastern, Central and Northern Europe and the top three rye producing countries are Germany,  Russia & Poland.
  • Poland consumes the most rye per person at 32.4 kg/capita (2009) followed by Nordic and Baltic countries. (From an article in Wikipedia).

Sour dough

  • This method of bread making uses the natural yeasts that are found on the grain and in the atmosphere.
  • I had never tried using a sour dough method before.  I have now tried it out twice –  even as a former science student  – it felt like MAGIC! – the results were wonderful!
  • This recipe is adapted from one in found in my American book – Polish Heritage Cookery by Robert & Maria Syrybel.

20170619_162207

It takes around 3 days to make 2 loaves.

I suppose I could halve the recipe but I am quite happy to cut and freeze any surplus and the bread keeps for several days and can always be toasted.

Whey

This recipe uses whey which I often have if I have made any twarog – curd cheese.

If I do not have any whey I make a mixture of around 2 parts yoghurt to 1 part water instead.

Method

Day 1

At around 5 pm mix 150g of  rye flour with  250ml of hand hot water in a bowl.

Cover with a tea towel and leave for 24 hours.

Day 2

Again at around 5 pm,  mix 150g of  rye flour with  250ml of hand hot water and the mixture from the night before in a bowl and leave overnight or around 12 hours.

Day 3

In the morning

Ingredients

  • 350g rye flour
  • 350g (strong) plain flour
  • 2 tablespoons honey
  • 2 teaspoons salt
  • 1 teaspoon of granulated sugar
  • 2 tablespoons of caraway seeds
  • 450 – 500ml  of whey  or a mixture of 2 parts yoghurt & 1 part water
  • Plus the starter mix from the days before

Method

  • Combine all the ingredients together.
  • Aim for a “wet” mix – it is harder to handle but gives the best results.
  • Knead for around 5 minutes – longer if you can!

  • Shape the dough – cut  it in half and make 2 oval-shaped loaves and place them on greased baking trays or you can put them into tins – I used  a round – loose bottomed tin – 20cm in diameter in my second bake.
  • Leave to rise  for around 5 hours.
  • Pre-heat the oven to GM4 – 180°C
  • Place some water in a roasting tray at the bottom of the oven.
  • *
  • They take around 50 minutes to bake – I swap the two trays around after about 20 minutes.

Delicious with just butter – Well worth the wait!