This is my 250th post!
So I have decided on this Polish classic with a new twist – one I will certainly be making again.
Last Easter time I was in Gdańsk and I got to eat many old favourites and several new dishes.
I tried pierogi in several restaurants, choosing some unusual fillings and have written about some of these already such as pierogi with duck.
I did find that some of the meaty ones were too big – I use a 7cm diameter cutter, which for me gives a better filling to pasta ratio.
On one menu I noticed a filling of chicken, raisins and walnuts. I did not get the chance to eat these but decided that this was a must to try out.


Ingredients
- 150 -200g of cooked chicken or thighs – roasted or poached – amounts are not critical.
- 50g of raisins
- 30-50g of walnuts
- Pepper to taste
Method
- Place the raisins in a small bowl and cover them with boiling water.
- Leave for an hour till they swell up.
- Place them into a small saucepan heat them slowly and simmer stirring with a wooden spoon.
- Once you have a pulp of the raisins leave them to go cold.
- Chop the walnuts into small pieces.
- Chop or mince the chicken.
- Mix the ingredients together.
- Season with pepper.
- *
- Use this filling for the pierogi – instructions for the dough are given below.
- *
- Serve with melted butter.
I have written much previously about pierogi – but have included the instructions for the dough again below to save you looking it up.


Ingredients – Dough
- 250g pasta flour or strong flour or plain flour & 2 tablespoons of fine semolina
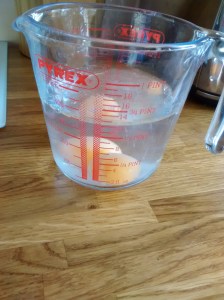
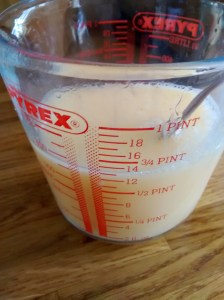
- 150ml water
- 1 tablespoon oil – sunflower or light olive
- ½ teaspoon salt
- 1 egg yolk
Method
- In a jug or bowl mix together the water, oil and the yolk.
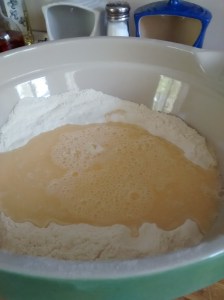
- Put the flour and salt into a large bowl and make a well in the centre.
- Pour in the liquid from the jug and initially use a knife to mix this into the flour and then use your hands to mix the liquid and flour to get a ball of dough.
- Turn this out onto a floured board and knead the dough for a few minutes until you have a smooth ball.
- Cut the dough into quarters.
- On a floured board roll out a quarter at a time until you have a sheet of thinly rolled dough.
- Now prepare a large tray and cover it with a clean tea towel and sprinkle this with flour.
- Have a large surface such as a tray covered with a cotton or linen cloth which has been lightly floured ready and place the sealed pierogi on this until they are all made, do not let then touch each other.
- I cut them out using a 7 cm diameter cutter.
- The excess dough can be re-mixed and rolled out again.
- Around a half tablespoon of filling is put on each circle and then they are folded over and the edges pinched together to make a good seal.
- You learn from experience how much filling to put in as too much will make it hard to seal them and if not properly sealed they will burst on boiling. Do not worry if you have a few mishaps – it still happens to me even with experience – it is hard to salvage one that has gone wrong – just accept that there will be a few that you do not cook.
- To cook the pierogi, use a large pan of boiling water to which you have added some salt and a drizzle of oil.
- Drop the pierogi in one by one and allow them to boil. I usually do about 6 to 8 at a time.
- As they cook they will float to the surface, let them boil for 2 to 3 minutes and then remove them with a slotted or perforated spoon and put them into a colander above a pan for a few seconds to drain.
- Continue boiling batches in the same water.
- If you want to make all the pierogi to serve together then you need to get a large shallow dish and put melted butter into the dish.
- Keep the dish warm in a low oven.
- As you take out the cooked pierogi add them to the dish, mix them with the butter to prevent them sticking.
- Keep on adding more as they cook and keep shaking the dish to coat and mix them.


-
Fried pierogi
- All the butter coated pierogi that are not eaten can be fried up later – equally delicious!
- Any that are not eaten should be spread out so that they cool with the melted butter around them.
- Later, you can then fry them up gently so they are golden in parts.


Look lovely!
LikeLike