Peel and boil the potatoes in salted water, strain and mash, then leave to cool.
Chop the onion finely and fry it till it is soft and golden, allow it to cool.
Mix together thoroughly, the potatoes, onions, cheese and egg yolk.
Add salt and pepper to taste.
Ingredients – Cheese 2
When my mother did not have any curd cheese, she used Lancashire cheese, as that was the cheese most readily available to her.
Both versions taste good, the secret with this one is to grate the cheese as finely as possible and mix it in well.
*
400g floury potatoes
1 onion
200g white crumbly cheese such as Lancashire
1 egg yolk
Butter & oil to fry the onion
Salt & ground black pepper to taste
Method
Peel and boil the potatoes in salted water, strain and mash, then leave to cool.
Chop the onion finely and fry it till it is soft and golden, allow it to cool.
Grate the cheese as finely as possible.
Mix together thoroughly, the potatoes, onions, cheese and egg yolk.
Add salt and pepper to taste.
Make the pierogi in the usual way – instructions are given below.
Ingredients – Dough
500g pasta flour or strong flour or plain flour & 2 tablespoons of fine semolina
300ml water
1 – 2 tablespoons oil – sunflower or light olive
½ teaspoon salt
2 egg yolks
*
Melted butter for serving or chopped onions cooked in butter.
Method – Dough
In a jug or bowl mix together the water, oil and the yolks.
Put the flour and salt into a large bowl and make a well in the centre.
Pour in the liquid from the jug and initially use a knife to mix this into the flour and then use your hands to mix the liquid and flour to get a ball of dough.
Turn this out onto a floured board and knead the dough for a few minutes until you have a smooth ball.
Cut the dough into quarters.
On a floured board roll out a quarter at a time until you have a sheet of thinly rolled dough.
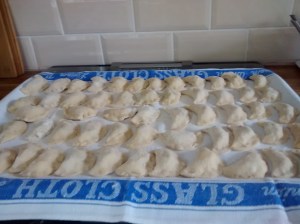
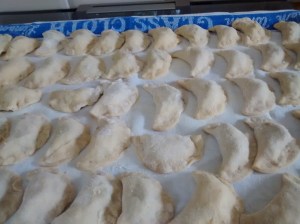
Now prepare a large tray and cover it with a clean tea towel and sprinkle this with flour.
Have a large surface such as a tray covered with a cotton or linen cloth which has been lightly floured ready and place the sealed pierogi on this until they are all made, do not let then touch each other.
I cut them out using a 7 cm diameter cutter.
I have noticed some people make them larger – I will try this out soon.
The excess dough can be re-mixed and rolled out again.
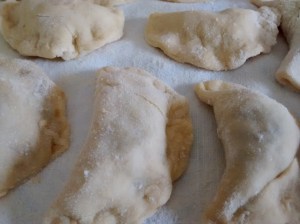
Around a half tablespoon of filling is put on each circle and then they are folded over and the edges pinched together to make a good seal.
You learn from experience how much filling to put in as too much will make it hard to seal them and if not properly sealed they will burst on boiling.
Do not worry if you have a few mishaps – it still happens to me even with experience – it is hard to salvage one that has gone wrong – just accept that there will be a few that you do not cook.
*
To cook the pierogi, use a large pan of boiling water to which you have added some salt and a drizzle of oil.
Drop the pierogi in one by one and allow them to boil. I usually do about 6 to 8 at a time (I only do 6 at a time if using frozen ones).
As they cook they will float to the surface, let them boil for 2 to 3 minutes, (a bitmore if they were frozen*), and
Then remove them with a slotted or perforated spoon and put into a colander above a pan for a few seconds to drain and serve.
Continue boiling batches in the same water.
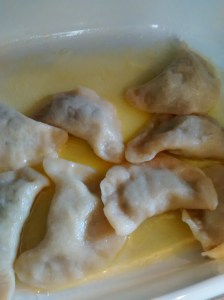
If you want to make all the pierogi to serve together then you need to get a large shallow dish.*
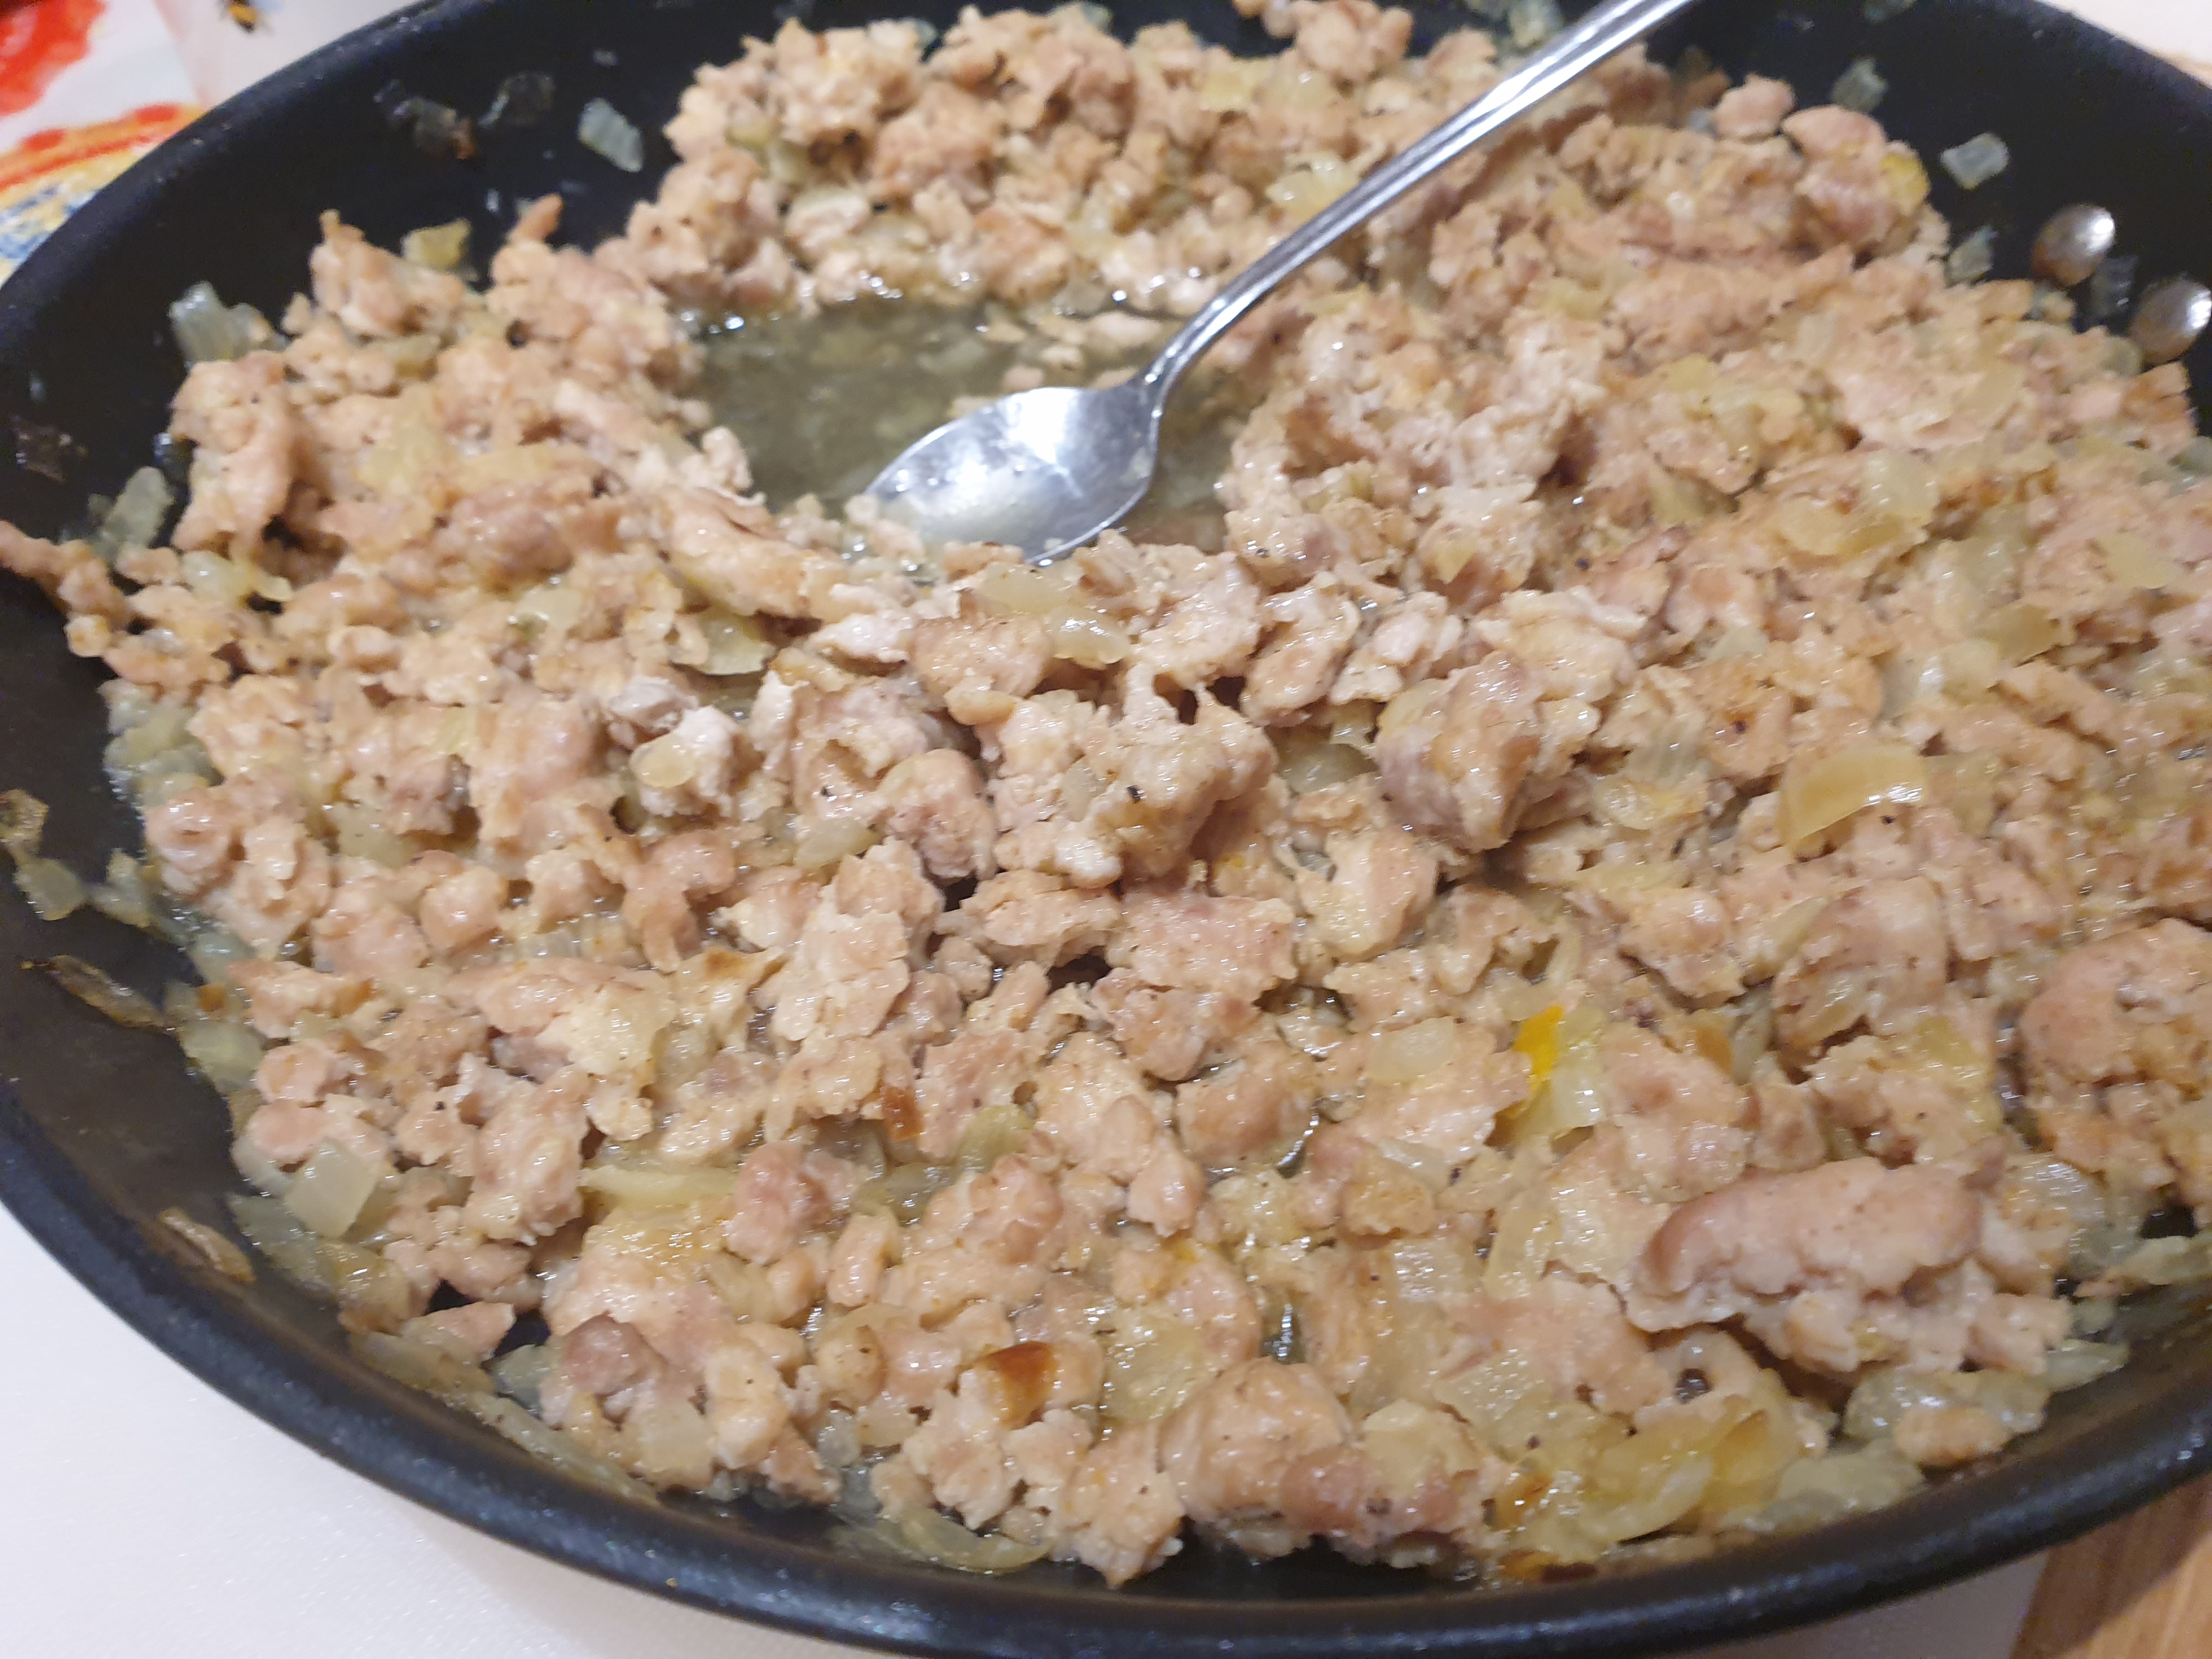
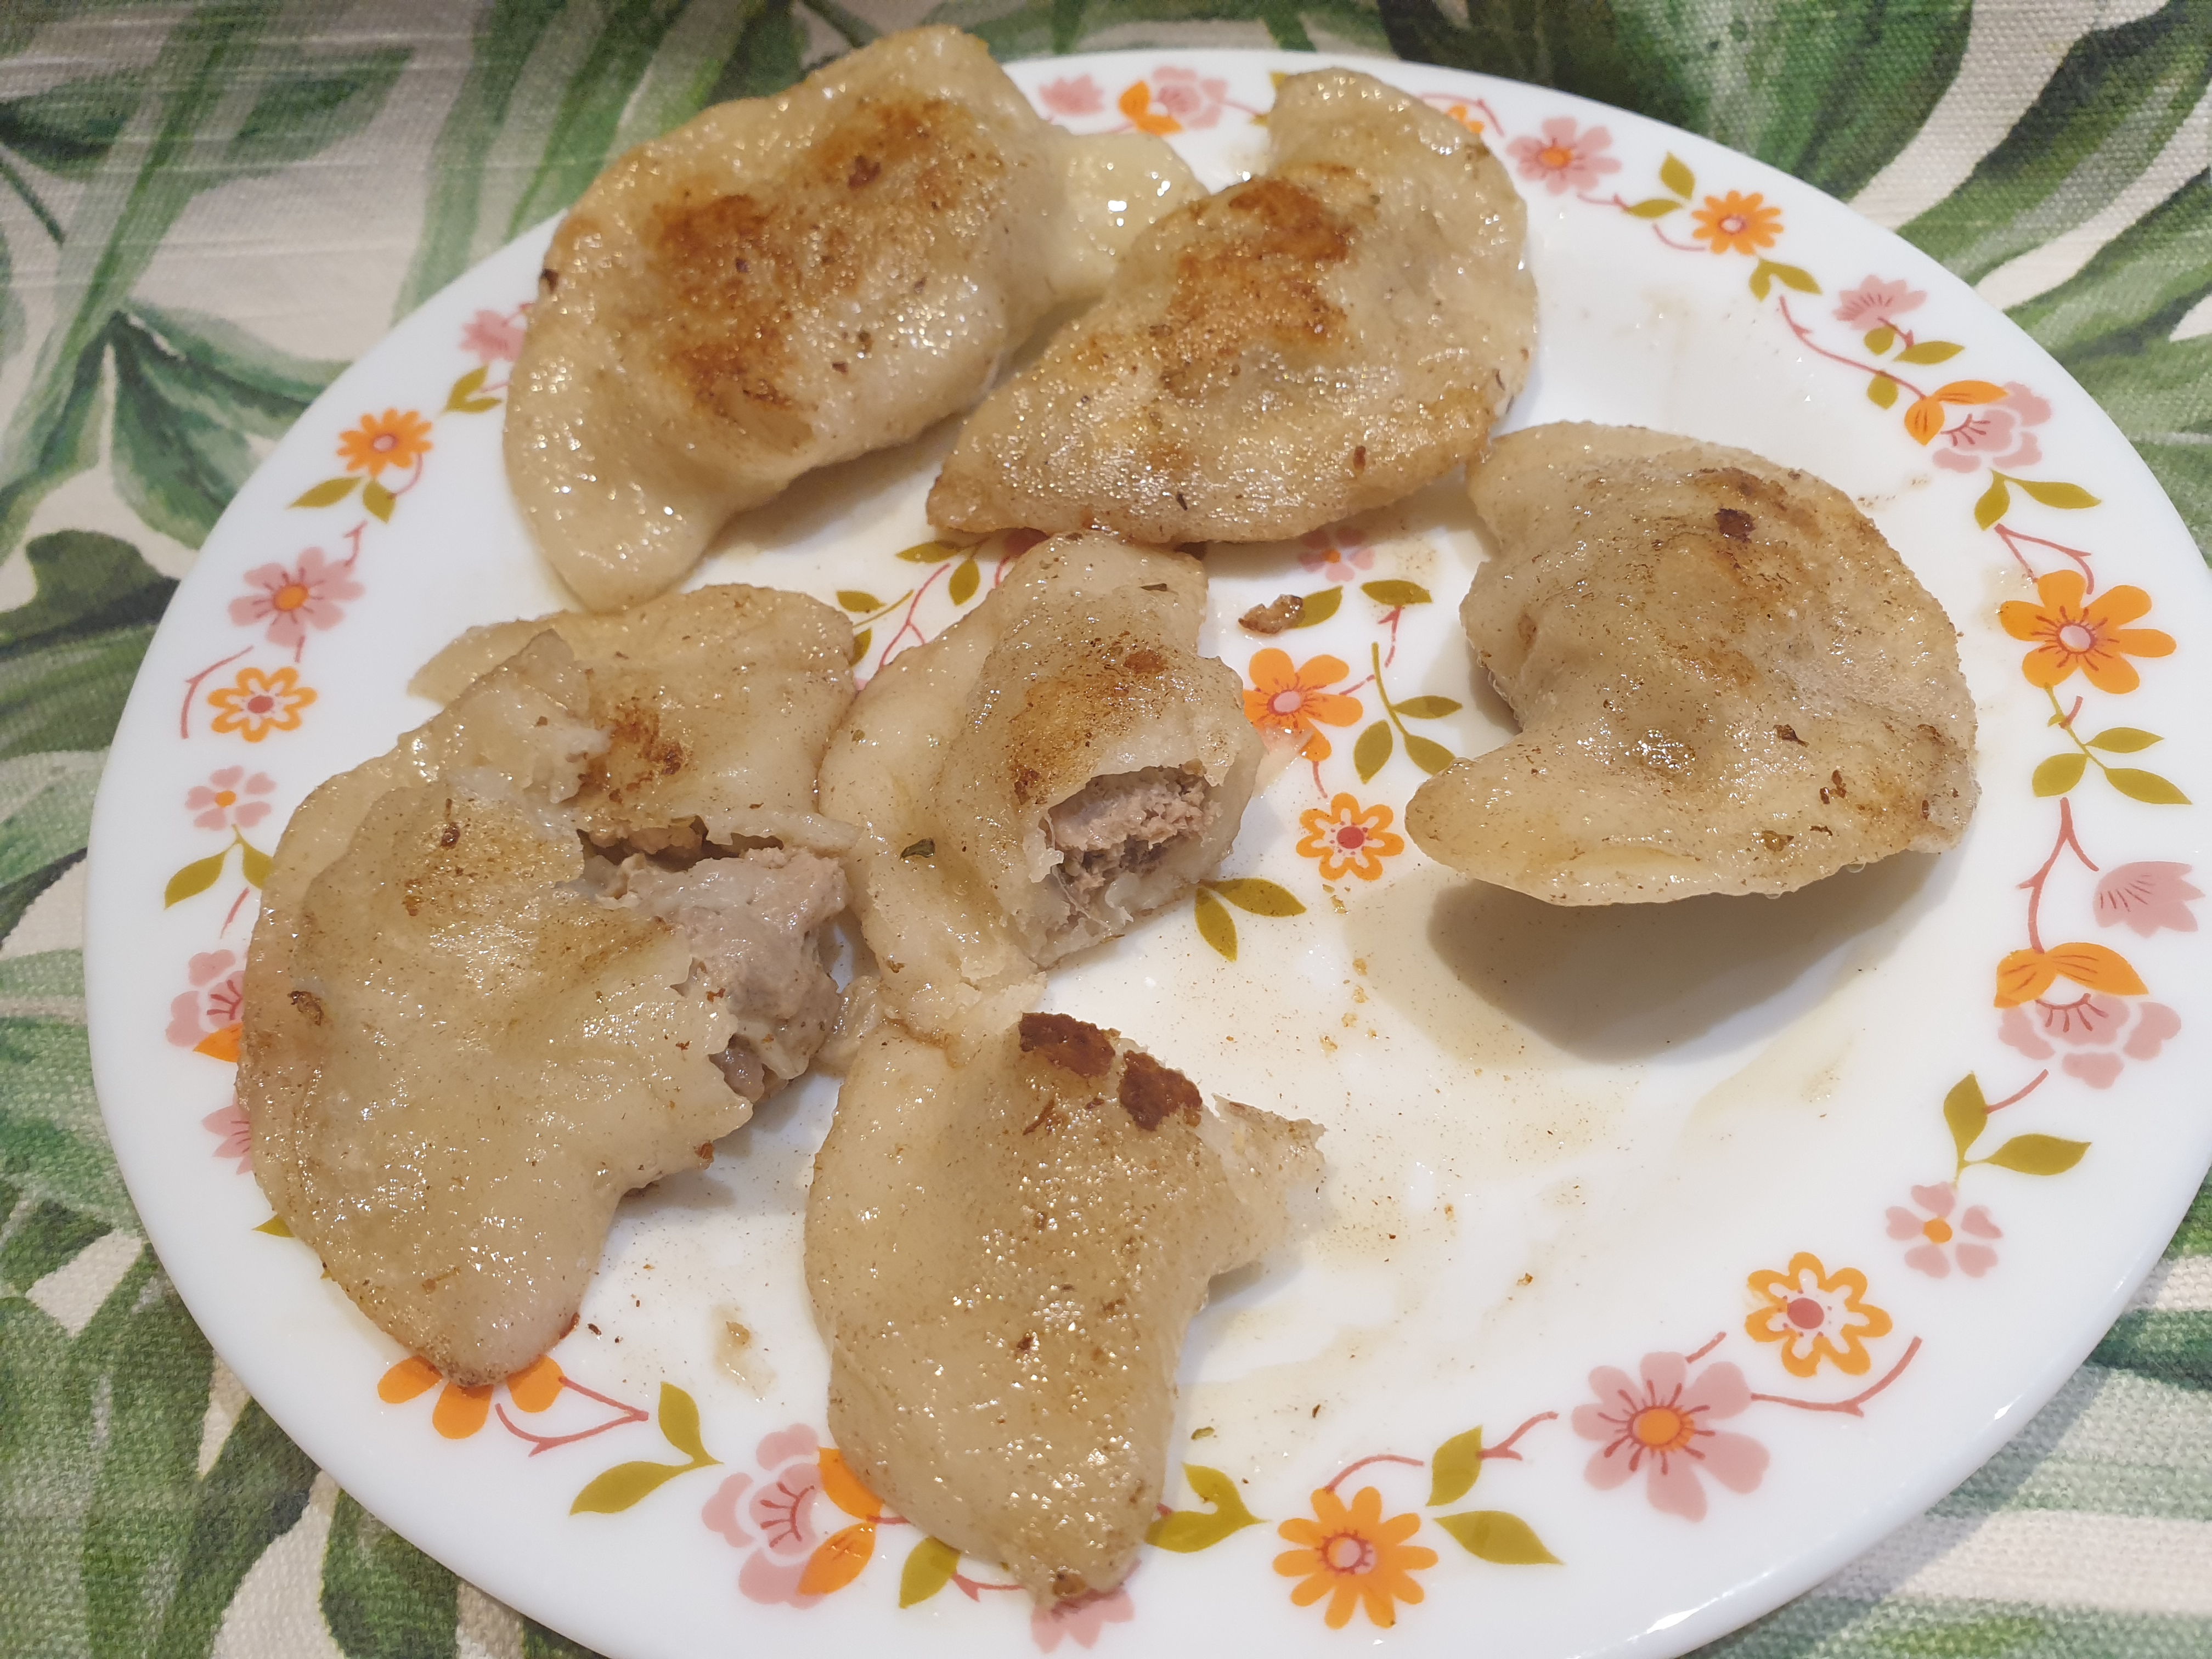
Pierogiwith meat filling is one of the most usual ways my Mama made pierogi.
The meat was usually cooked pork, which had been left from a roast or gulasz the day before.
Below are instructions for cooking the pork from scratch in case you do not have any cooked pork.
At Christmas time the meat could have been chicken, should any have been left.
Ingredients
300g shoulder or spare rib pork
1 onion
1 egg yolk
1 tablespoon of dried breadcrumbs
Approx 250 ml of chicken stock – can be from stock cubes
Butter & oil to fry the onion
Salt & ground black pepper to taste
Method
Pre heat the oven to GM 3 – 1600C
Put the pork into a small casserole dish and cover it with the stock and put on the lid.
Put the dish in the oven for at least 1 hour, depending on the meat you might need longer.
Cook the meat until it is tender and can be broken up with a fork and most of the liquid has been absorbed.
Allow the meat to cool.
You can mince the meat but I find that if you cook it long enough you do not need to, you can just chop it with a sharp knife .
Chop the onion finely and fry it till it is soft and golden, allow it to cool.
Mix thoroughly together: the meat, onion, yolk and breadcrumbs and then add salt and pepper to taste.
*
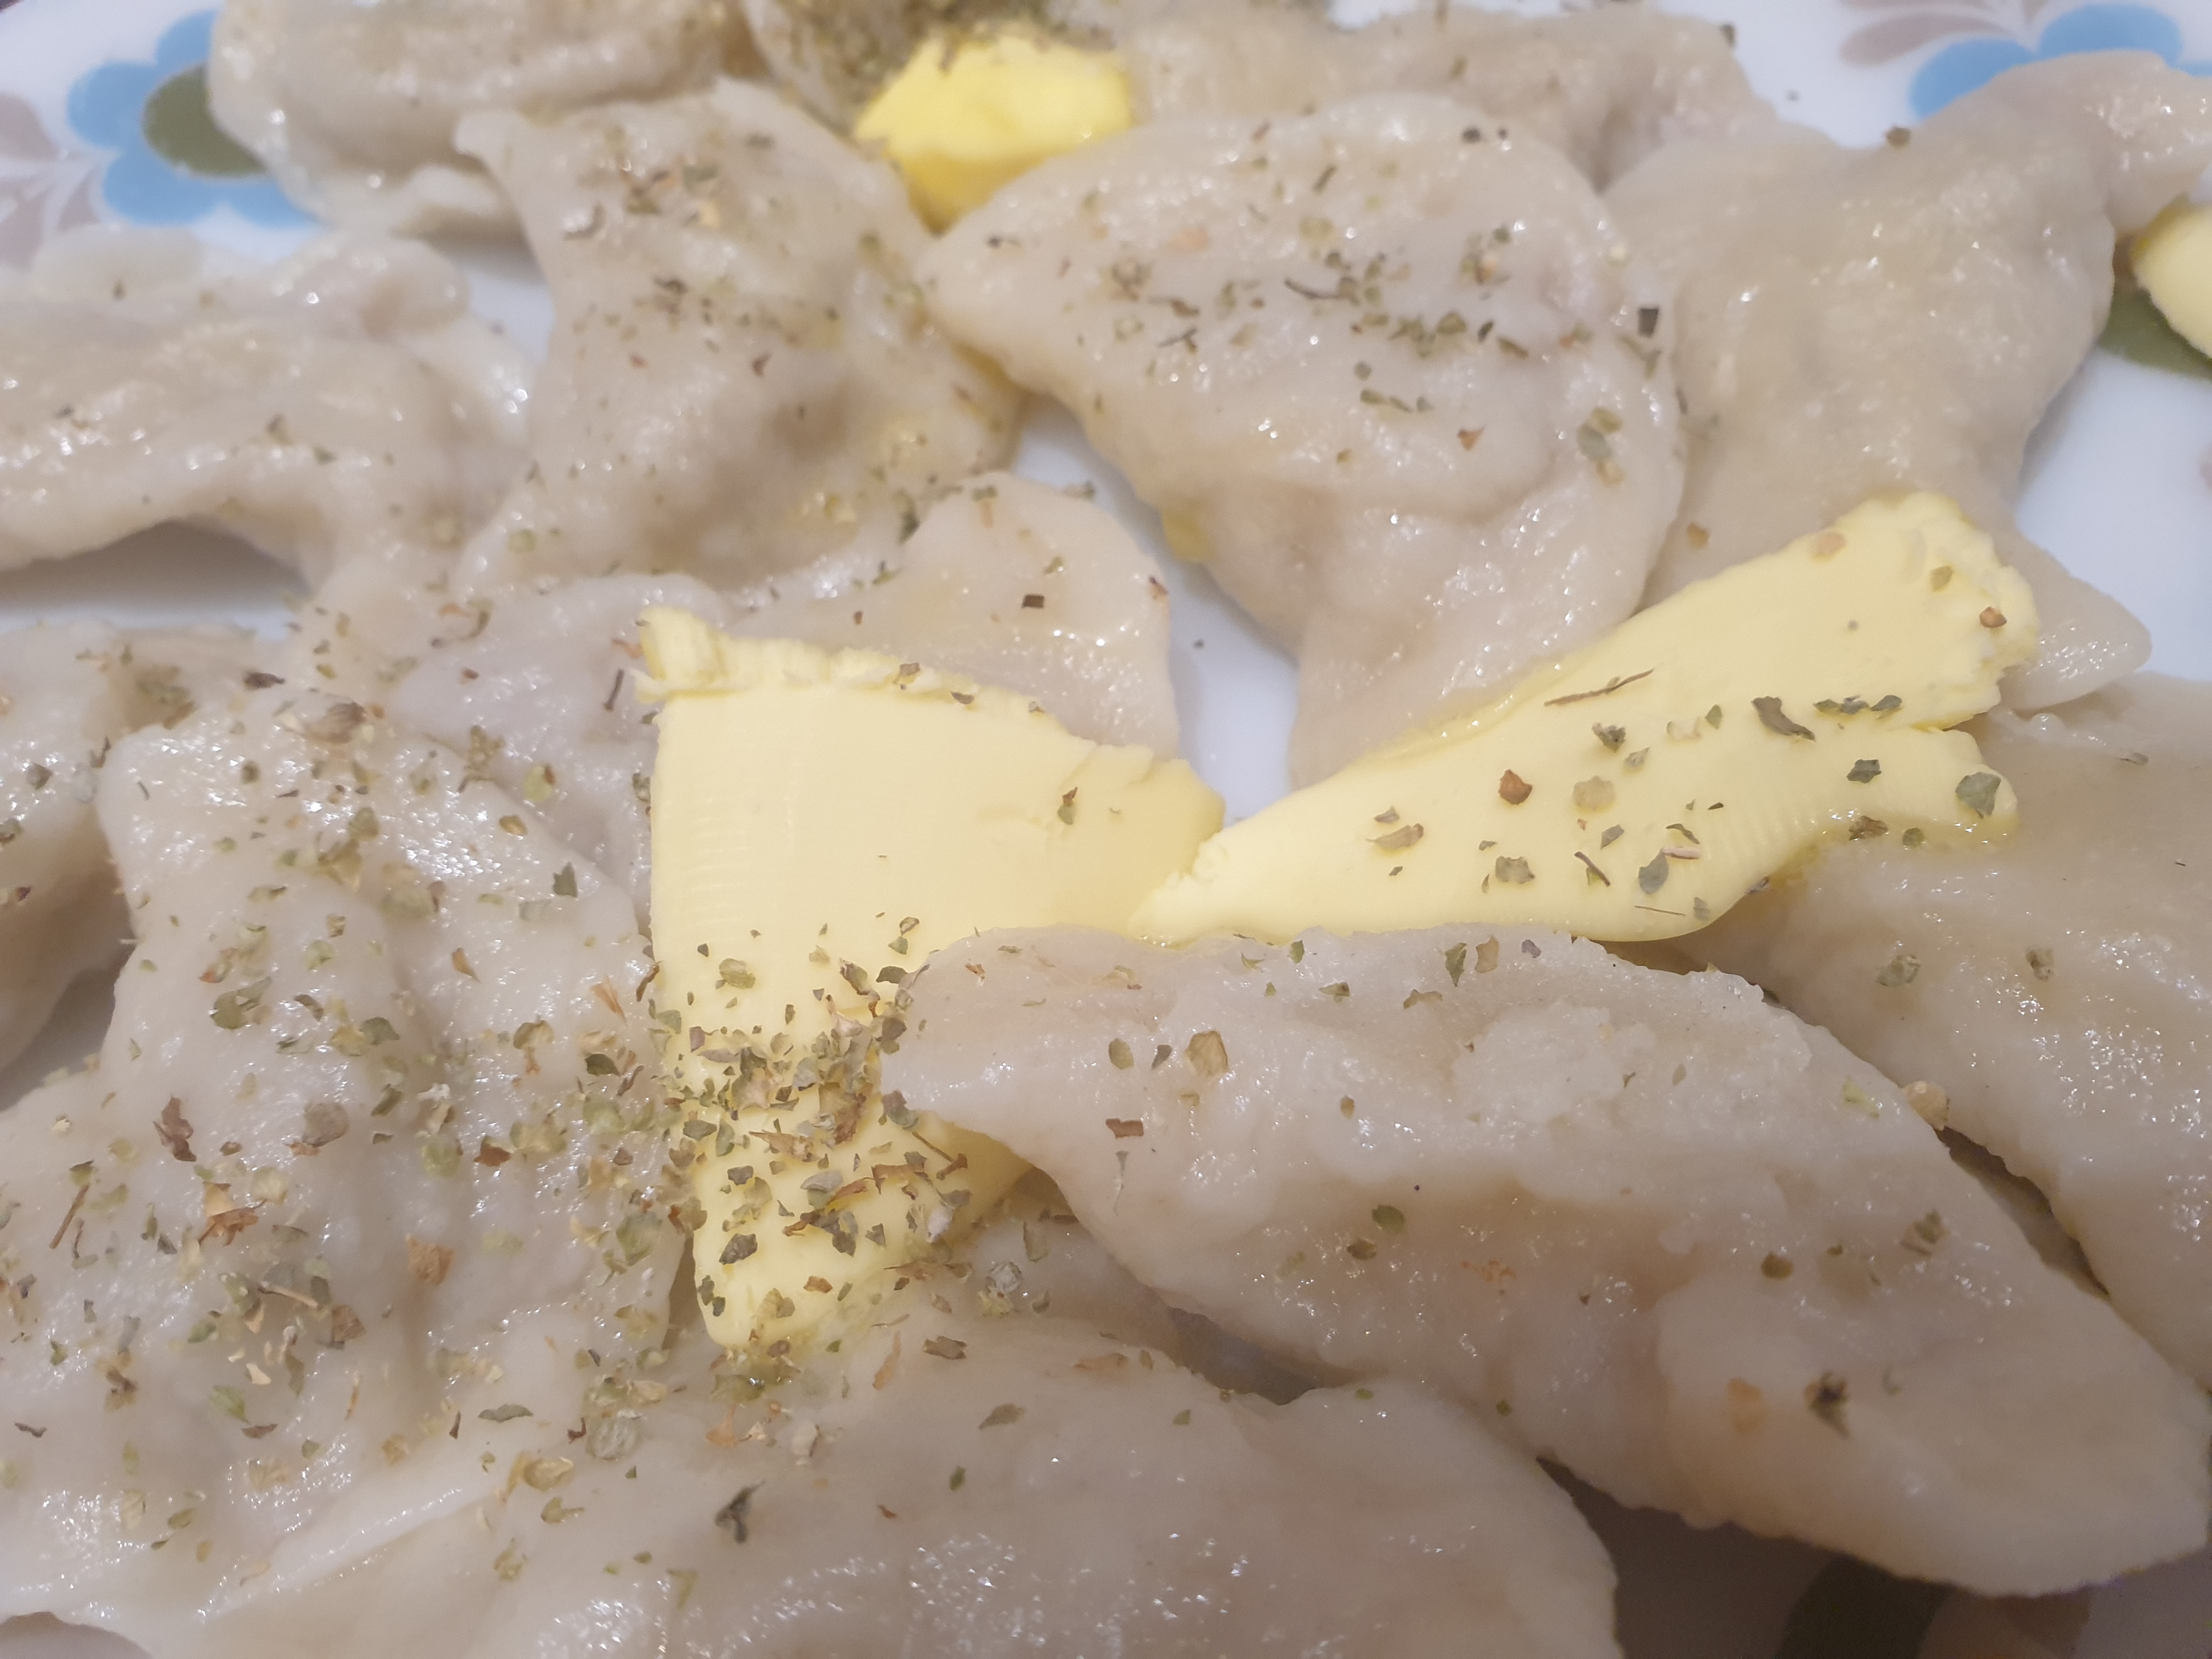
Serve with melted butter or
Onions fried in butter or
Fried bacon bits – skwarki.
Make the pierogi in the usual way – instructions are given below.
Ingredients – Dough
500g pasta flour or strong flour or plain flour & 2 tablespoons of fine semolina
300ml water
1 – 2 tablespoons oil – sunflower or light olive
½ teaspoon salt
2 egg yolks
*
Melted butter for serving or chopped onions cooked in butter.
Method – Dough
In a jug or bowl mix together the water, oil and the yolks.
Put the flour and salt into a large bowl and make a well in the centre.
Pour in the liquid from the jug and initially use a knife to mix this into the flour and then use your hands to mix the liquid and flour to get a ball of dough.
Turn this out onto a floured board and knead the dough for a few minutes until you have a smooth ball.
Cut the dough into quarters.
On a floured board roll out a quarter at a time until you have a sheet of thinly rolled dough.
Now prepare a large tray and cover it with a clean tea towel and sprinkle this with flour.
Have a large surface such as a tray covered with a cotton or linen cloth which has been lightly floured ready and place the sealed pierogi on this until they are all made, do not let then touch each other.
I cut them out using a 7 cm diameter cutter.
I have noticed some people make them larger – I will try this out soon.
The excess dough can be re-mixed and rolled out again.
Around a half tablespoon of filling is put on each circle and then they are folded over and the edges pinched together to make a good seal.
You learn from experience how much filling to put in as too much will make it hard to seal them and if not properly sealed they will burst on boiling.
Do not worry if you have a few mishaps – it still happens to me even with experience – it is hard to salvage one that has gone wrong – just accept that there will be a few that you do not cook.
*
To cook the pierogi, use a large pan of boiling water to which you have added some salt and a drizzle of oil.
Drop the pierogi in one by one and allow them to boil. I usually do about 6 to 8 at a time (I only do 6 at a time if using frozen ones).
As they cook they will float to the surface, let them boil for 2 to 3 minutes, (a bitmore if they were frozen*), and
Then remove them with a slotted or perforated spoon and put into a colander above a pan for a few seconds to drain and serve.
Continue boiling batches in the same water.
If you want to make all the pierogi to serve together then you need to get a large shallow dish.*
I tried some pierogi recently which had a variation on the sauerkraut filling.
The mixture contained grated carrot.
I discovered that the sauerkraut and carrot mix can be bought in a jar and this is what I used.
Ingredients – Filling
1 jar of sauerkraut and carrots
1 large onion – chopped fine
25 -30g dried mushrooms – soaked overnight
Butter to fry the onion
Salt & Pepper to taste
OPTION
Add fresh mushrooms fried in butter and chopped fine to the filling.
Method – Filling
Soak the mushrooms overnight.
Strain the mushrooms – keep the liquor.
Chop the mushrooms into small pieces.
Strain the sauerkraut and carrot mixture – keep the liquid – there may not be very much.
Chop the sauerkraut and carrots into small pieces.
Put the sauerkraut and carrot mixture and liquid into a pan.
Add the chopped mushrooms and the liquor.
Add boiling water to cover.
Put a lid on the pan
Cook the gently for around 30 minutes.
Check occasionally.
Leave to cool.
Strain the mixture in a large sieve
You can put this into a clean dry cotton or linen cloth and twist the ends together –
Squeeze to get it really dry.
*
Chop the onions finely and fry them till they are soft and golden.
Mix the sauerkraut, carrots, mushrooms and onions together.
Add some ground black pepper to taste; salt should not be necessary.
(Add the fried chopped mushrooms if using.)
I have written much previously about pierogi – but have again included the instructions for the dough below.
Ingredients – Dough
500g pasta flour or strong flour or plain flour & 2 tablespoons of fine semolina
300ml water
1 tablespoon oil – sunflower or light olive
½ teaspoon salt
2 egg yolks
*
Melted butter to serve
Method
In a jug or bowl mix together the water, oil and the yolks
Put the flour and salt into a large bowl and make a well in the centre.
Pour in the liquid from the jug and initially use a knife to mix this into the flour and then use your hands to mix the liquid and flour to get a ball of dough.
Leave for around 20 -30 minutes in a cool place.
Turn this out onto a floured board and knead the dough for a few minutes until you have a smooth ball.
Cut the dough into quarters.
On a floured board roll out a quarter at a time until you have a sheet of thinly rolled dough.
Now prepare a large trays and cover them with clean tea towel sprinkle with flour.
Place the sealed pierogi on this until they are all made, do not let then touch each other.
I cut them out using a 7 cm diameter cutter.
The excess dough can be re-mixed and rolled out again.
Around a half tablespoon of filling is put on each circle and then they are folded over and the edges pinched together to make a good seal.
You learn from experience how much filling to put in as too much will make it hard to seal them and if not properly sealed they will burst on boiling.
Do not worry if you have a few mishaps – it still happens to me even with experience – it is hard to salvage one that has gone wrong – just accept that there will be a few that you do not cook.
*
To cook the pierogi, use a large pan of boiling water to which you have added some salt and a drizzle of oil.
Drop the pierogi in one by one and allow them to boil. I usually do about 6 to 8 at a time (I only do 6 at a time if using frozen ones). ( I often open free some of them.)
As they cook they will float to the surface, let them boil for 2 to 3 minutes, a bit more if they were frozen, and then remove them with a slotted spoon and put into a colander above a pan for a few seconds to drain.
Continue boiling batches in the same water.
If you want to make all the pierogi to serve together then you need to get a large shallow dish and put in the pierogi and add melted butter.
As you take out the cooked pierogi add them in the dish.
Keep the dish in a warm oven.
Keep on adding more as they cook
Do not let them stick together – keep mixing them in the butter.
I started to write up a new filling for pierogi and realised that many of my different fillings were in one general pierogi – Polish filled pasta post.
This was one of my earlier posts before I realised that shorter posts were better.
So I am going back and posting shorter versions of this original post.
Each with just 1 filling.
Sauerkraut & Mushrooms is a very popular filling.
Some people make these for Wigilia – Christmas Eve.
Ingredients – Filling
1 jar of sauerkraut
25 – 30g of dried mushrooms
1 or 2 onions – chopped fine
1 -2 bay leaves
Ground pepper to taste
Method – Filling
The filling must be allowed to cooled before using – you can make it in advance – even the day before.
At the end the filling must be as dry as possible to make the assembly of the pierogi easier.
Put the mushrooms in a small bowl and cover them with boiling water.
Leave them overnight.
Strain the mushrooms – but keep the liquid.
Chop the mushrooms into small pieces.
*
Strain the sauerkraut, keep the liquid, and chop into small pieces.
Put the sauerkraut into a pan, add the liquid from the sauerkraut and some from the mushroom liquid.
Cover with boiling water if need be.
Add the bay leaves.
Cover the pan with a lid.
Simmer gently for around 30 minutes.
Checking it does not dry out.
Remove the lid.
Then boil off as much liquid as possible without burning the sauerkraut.
*
Allow the sauerkraut to cool and remove the bay leaves.
Strain the sauerkraut using a sieve to get it as dry as possible.
You can put this into a clean dry cotton or linen cloth and twist the ends together –
Squeeze to get it really dry.
*
Whilst the sauerkraut is cooking heat the chopped mushrooms gently in a small pan with the rest of the liquor, stirring to prevent it burning but reducing as much of the possible.
*
Chop the onions finely and fry them till they are soft and golden.
Add them to the mushroom mixture and mix well together.
Mix the sauerkraut, mushrooms and onions together.
Add some ground black pepper to taste; salt should not be necessary.
OPTION
Add fresh mushrooms fried in butter and chopped fine to the filling.
Ingredients – Dough
250g pasta flour or strong flour or plain flour & 2 tablespoons of fine semolina
150ml water
1 tablespoon oil – sunflower or light olive
½ teaspoon salt
1 egg yolk
*
Melted butter for serving or chopped onions cooked in butter.
Method – Dough
In a jug or bowl mix together the water, oil and the yolk.
Put the flour and salt into a large bowl and make a well in the centre.
Pour in the liquid from the jug and initially use a knife to mix this into the flour and then use your hands to mix the liquid and flour to get a ball of dough.
Turn this out onto a floured board and knead the dough for a few minutes until you have a smooth ball.
Cut the dough into quarters.
On a floured board roll out a quarter at a time until you have a sheet of thinly rolled dough.
Now prepare a large tray and cover it with a clean tea towel and sprinkle this with flour.
Have a large surface such as a tray covered with a cotton or linen cloth which has been lightly floured ready and place the sealed pierogi on this until they are all made, do not let then touch each other.
I cut them out using a 7 cm diameter cutter.
I have noticed some people make them larger – I will try this out soon.
The excess dough can be re-mixed and rolled out again.
Around a half tablespoon of filling is put on each circle and then they are folded over and the edges pinched together to make a good seal.
You learn from experience how much filling to put in as too much will make it hard to seal them and if not properly sealed they will burst on boiling.
Do not worry if you have a few mishaps – it still happens to me even with experience – it is hard to salvage one that has gone wrong – just accept that there will be a few that you do not cook.
*
To cook the pierogi, use a large pan of boiling water to which you have added some salt and a drizzle of oil.
Drop the pierogi in one by one and allow them to boil. I usually do about 6 to 8 at a time (I only do 6 at a time if using frozen ones).
As they cook they will float to the surface, let them boil for 2 to 3 minutes, (a bitmore if they were frozen*), and
Then remove them with a slotted or perforated spoon and put into a colander above a pan for a few seconds to drain and serve.
Continue boiling batches in the same water.
If you want to make all the pierogi to serve together then you need to get a large shallow dish.*
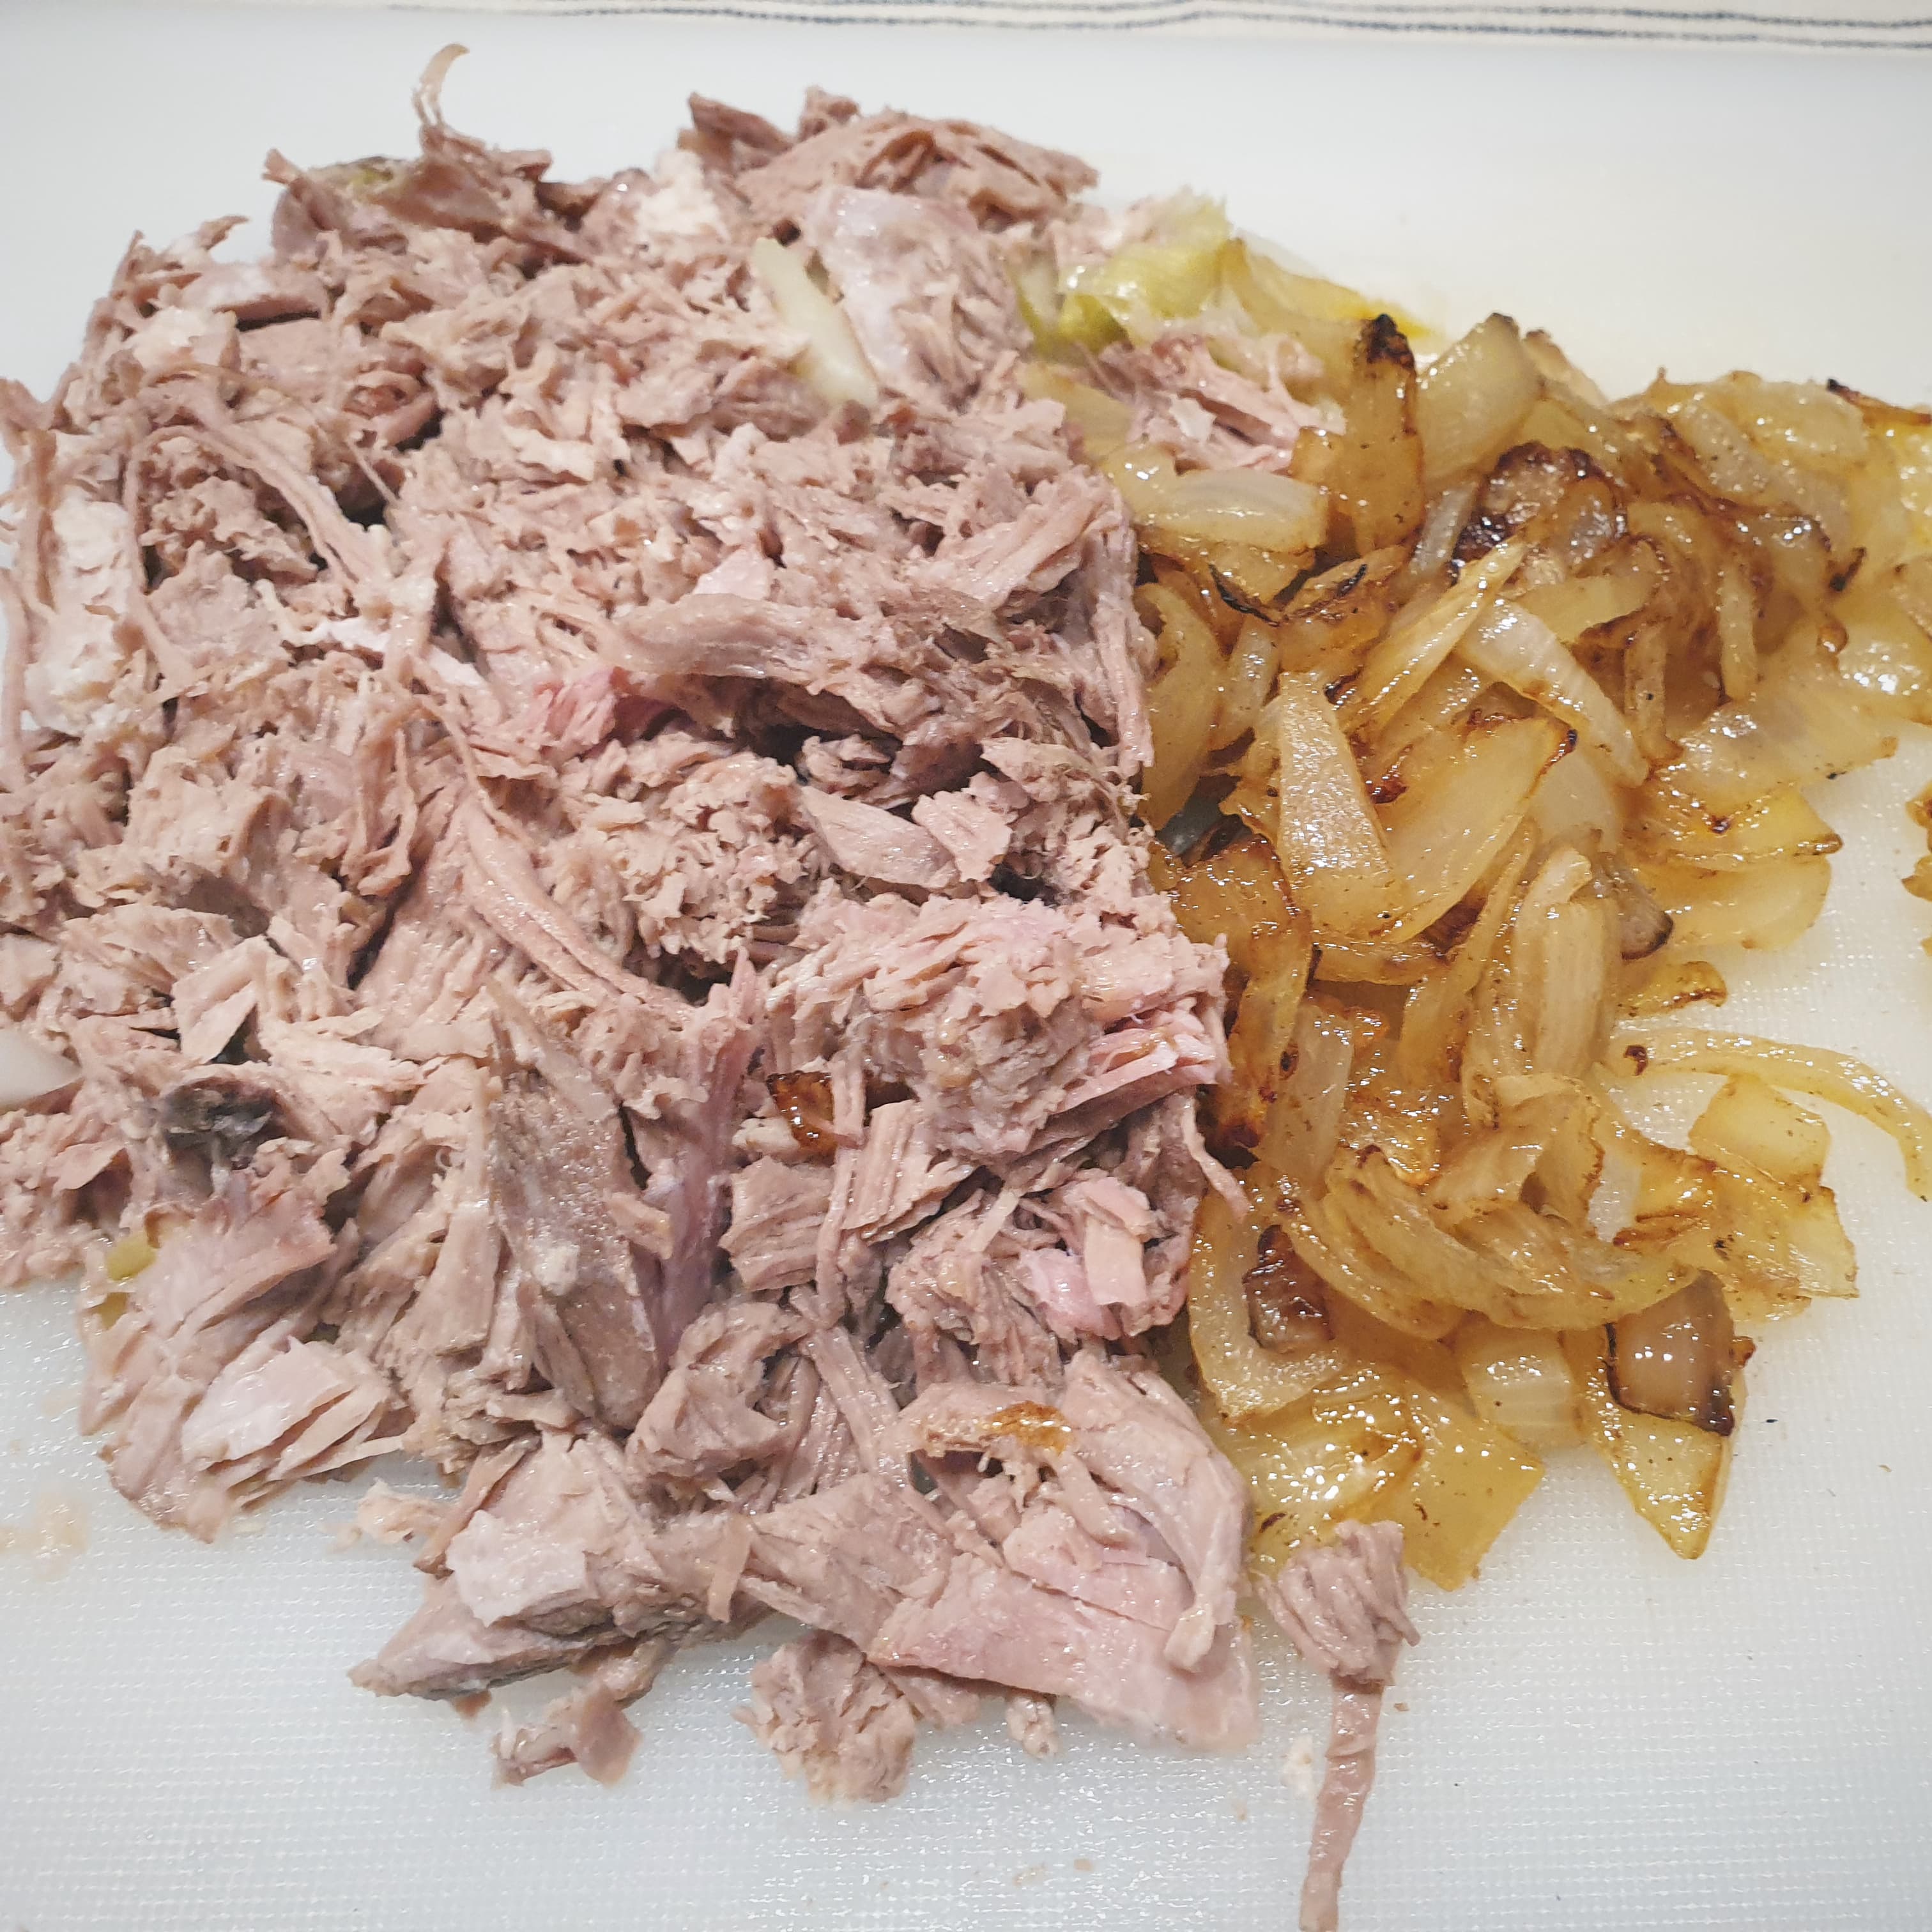
I decided to try – a “meaty” version with a duck with onion filling.
Next time I will try duck with apple filling which should give a contrasting sweetness to the dish – See pierogi with duck.
However this year (2024) we were served – in a different restaurant – duck pierogi with apple sauce – I will try this out and write about it later.
Fillings for the pierogi
Ingredients 1
150g of cooked duck meat
1 onion
1 egg yolk
2 tablespoon of dried breadcrumbs
4-5 tablespoons of chicken stock – can be stock from poaching the duck.
*
salt & ground black pepper to taste
*
butter & sunflower oil to fry the onion
Method
Chop the onion and fry in the butter/oil till golden.
Finely chop or mince the duck meat or user a stick blender.
Mix together the chicken, onion, egg yolk and bread crumbs to get a uniform mixture.
Add some of the chicken stock to get a mixture which is not to dry.
I have written much previously about pierogi – but have included the instructions for the dough again below.
Ingredients – Dough
250g pasta flour or strong flour or plain flour & 2 tablespoons of fine semolina
150ml water
1 tablespoon oil – sunflower or light olive
½ teaspoon salt
1 egg yolk
Method
In a jug or bowl mix together the water, oil and the yolk.
Put the flour and salt into a large bowl and make a well in the centre.
Pour in the liquid from the jug and initially use a knife to mix this into the flour and then use your hands to mix the liquid and flour to get a ball of dough.
Turn this out onto a floured board and knead the dough for a few minutes until you have a smooth ball.
Cut the dough into quarters.
On a floured board roll out a quarter at a time until you have a sheet of thinly rolled dough.
Now prepare a large tray and cover it with a clean tea towel and sprinkle this with flour.
Have a large surface such as a tray covered with a cotton or linen cloth which has been lightly floured ready and place the sealed pierogi on this until they are all made, do not let then touch each other.
I cut them out using a 7 cm diameter cutter.
The excess dough can be re-mixed and rolled out again.
Around a half tablespoon of filling is put on each circle and then they are folded over and the edges pinched together to make a good seal.
You learn from experience how much filling to put in as too much will make it hard to seal them and if not properly sealed they will burst on boiling. Do not worry if you have a few mishaps – it still happens to me even with experience – it is hard to salvage one that has gone wrong – just accept that there will be a few that you do not cook.
*
To cook the pierogi, use a large pan of boiling water to which you have added some salt and a drizzle of oil.
Drop the pierogi in one by one and allow them to boil. I usually do about 6 to 8 at a time (I only do 6 at a time if using frozen ones).
As they cook they will float to the surface, let them boil for 2 to 3 minutes, (a bitmore if they were frozen*), and then remove them with a slotted or perforated spoon and put into a colander above a pan for a few seconds to drain and serve.
Continue boiling batches in the same water.
If you want to make all the pierogi to serve together then you need to get a large shallow dish.
Put in the pierogi and keep then separated and keep the dish warm in a low oven.
Notes
Do not let them stick together.
Easier to serve separate servings.
*I often open freeze them for later.
Sour Cherry Sauce
Make this with around 5 tablespoons of sour cherry jam heated up with the juice of one some lemon and left to cool.
Or make a sauce with bottled cherries mixed with potato flour (or cornflour) heated till thickened and left to cool. (Adjust with lemon juice if necessary). NOT TESTED.
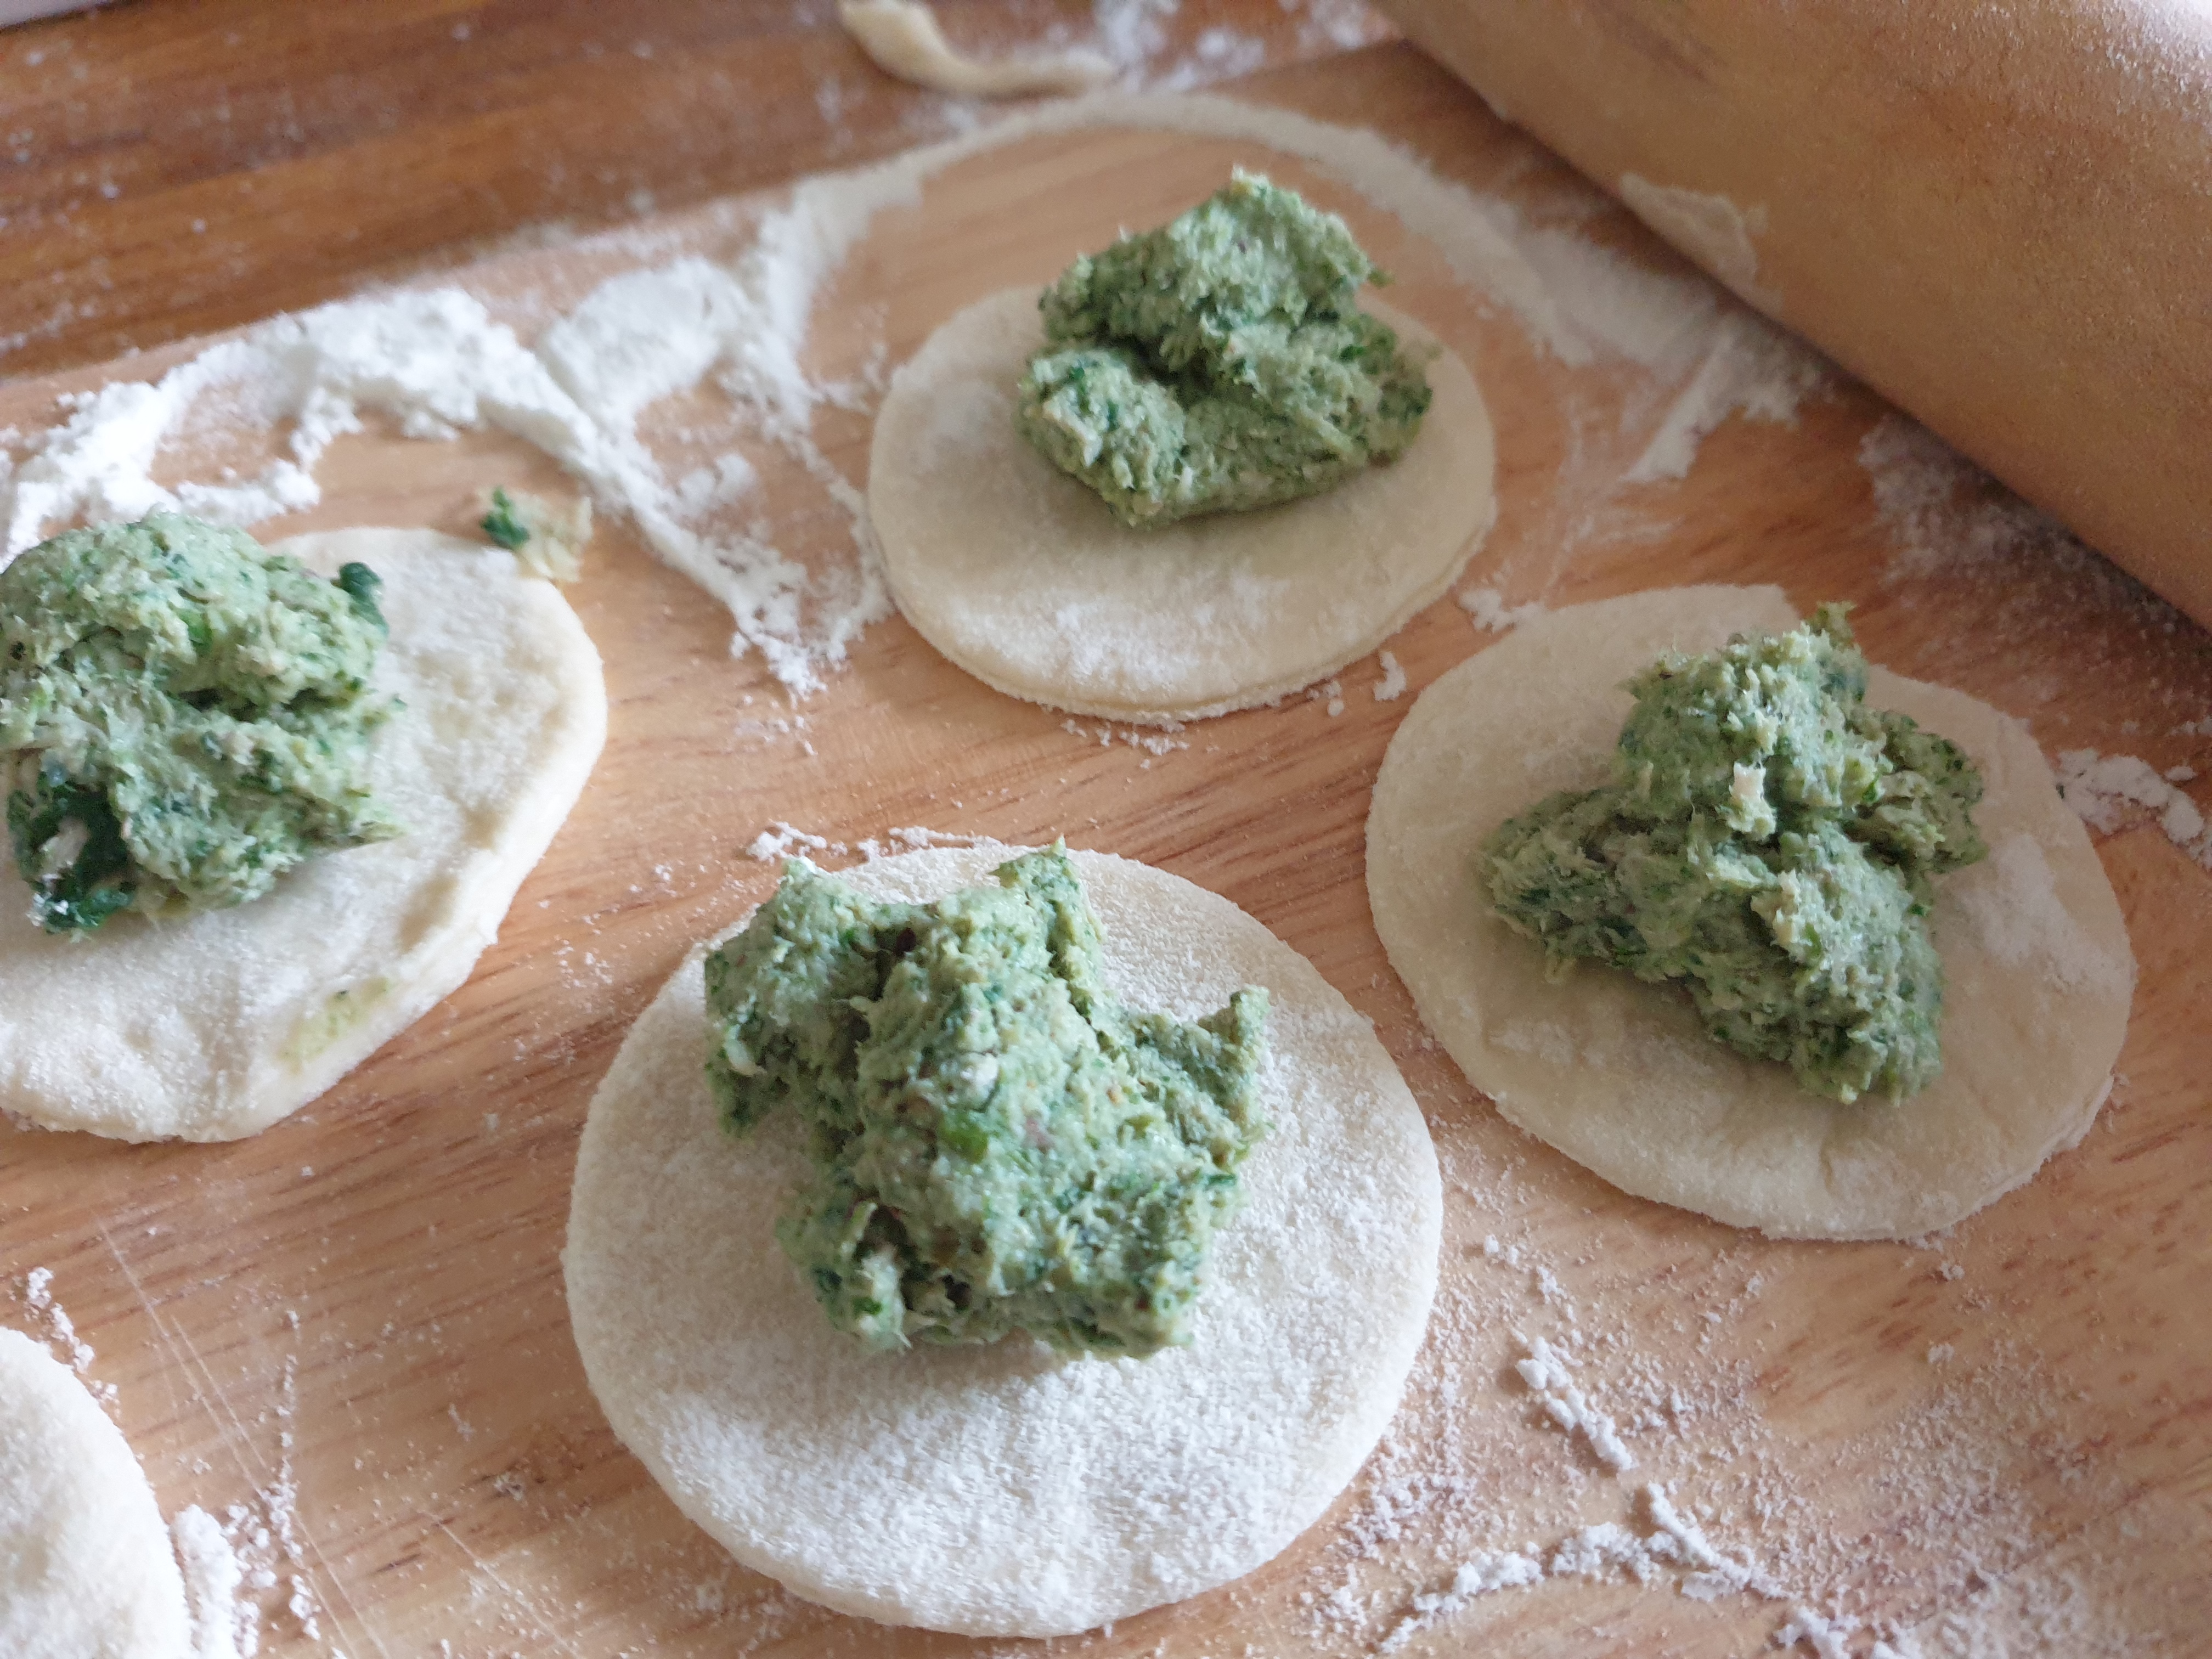
Spinach is often added to twaróg or yoghurt cheese but I wanted a more meaty mixture.
Lots of spinach cooks down to quite a small amount so the amount can be whatever you have.
You can mince the chicken and spinach but I used a mini-chopper, which gave a great smooth filling.
Ingredients – Filling
150 – 200g cooked chicken thighs
150 -200g fresh spinach
1-2 tablespoons melted butter
Salt and pepper to taste
*
Melted butter to serve
Method – Filling
Blanch the spinach in rosȯł, chicken stock or boiling water for several minutes.
Let it cool and drain it.
Whisk the spinach in a mini chopper.
Minch the chicken or use a mini chopper.
Mix the spinach with the chicken until well mixed.
Mix well in the cooled, melted butter.
Season to taste.
*
Serve with melted butter.
*
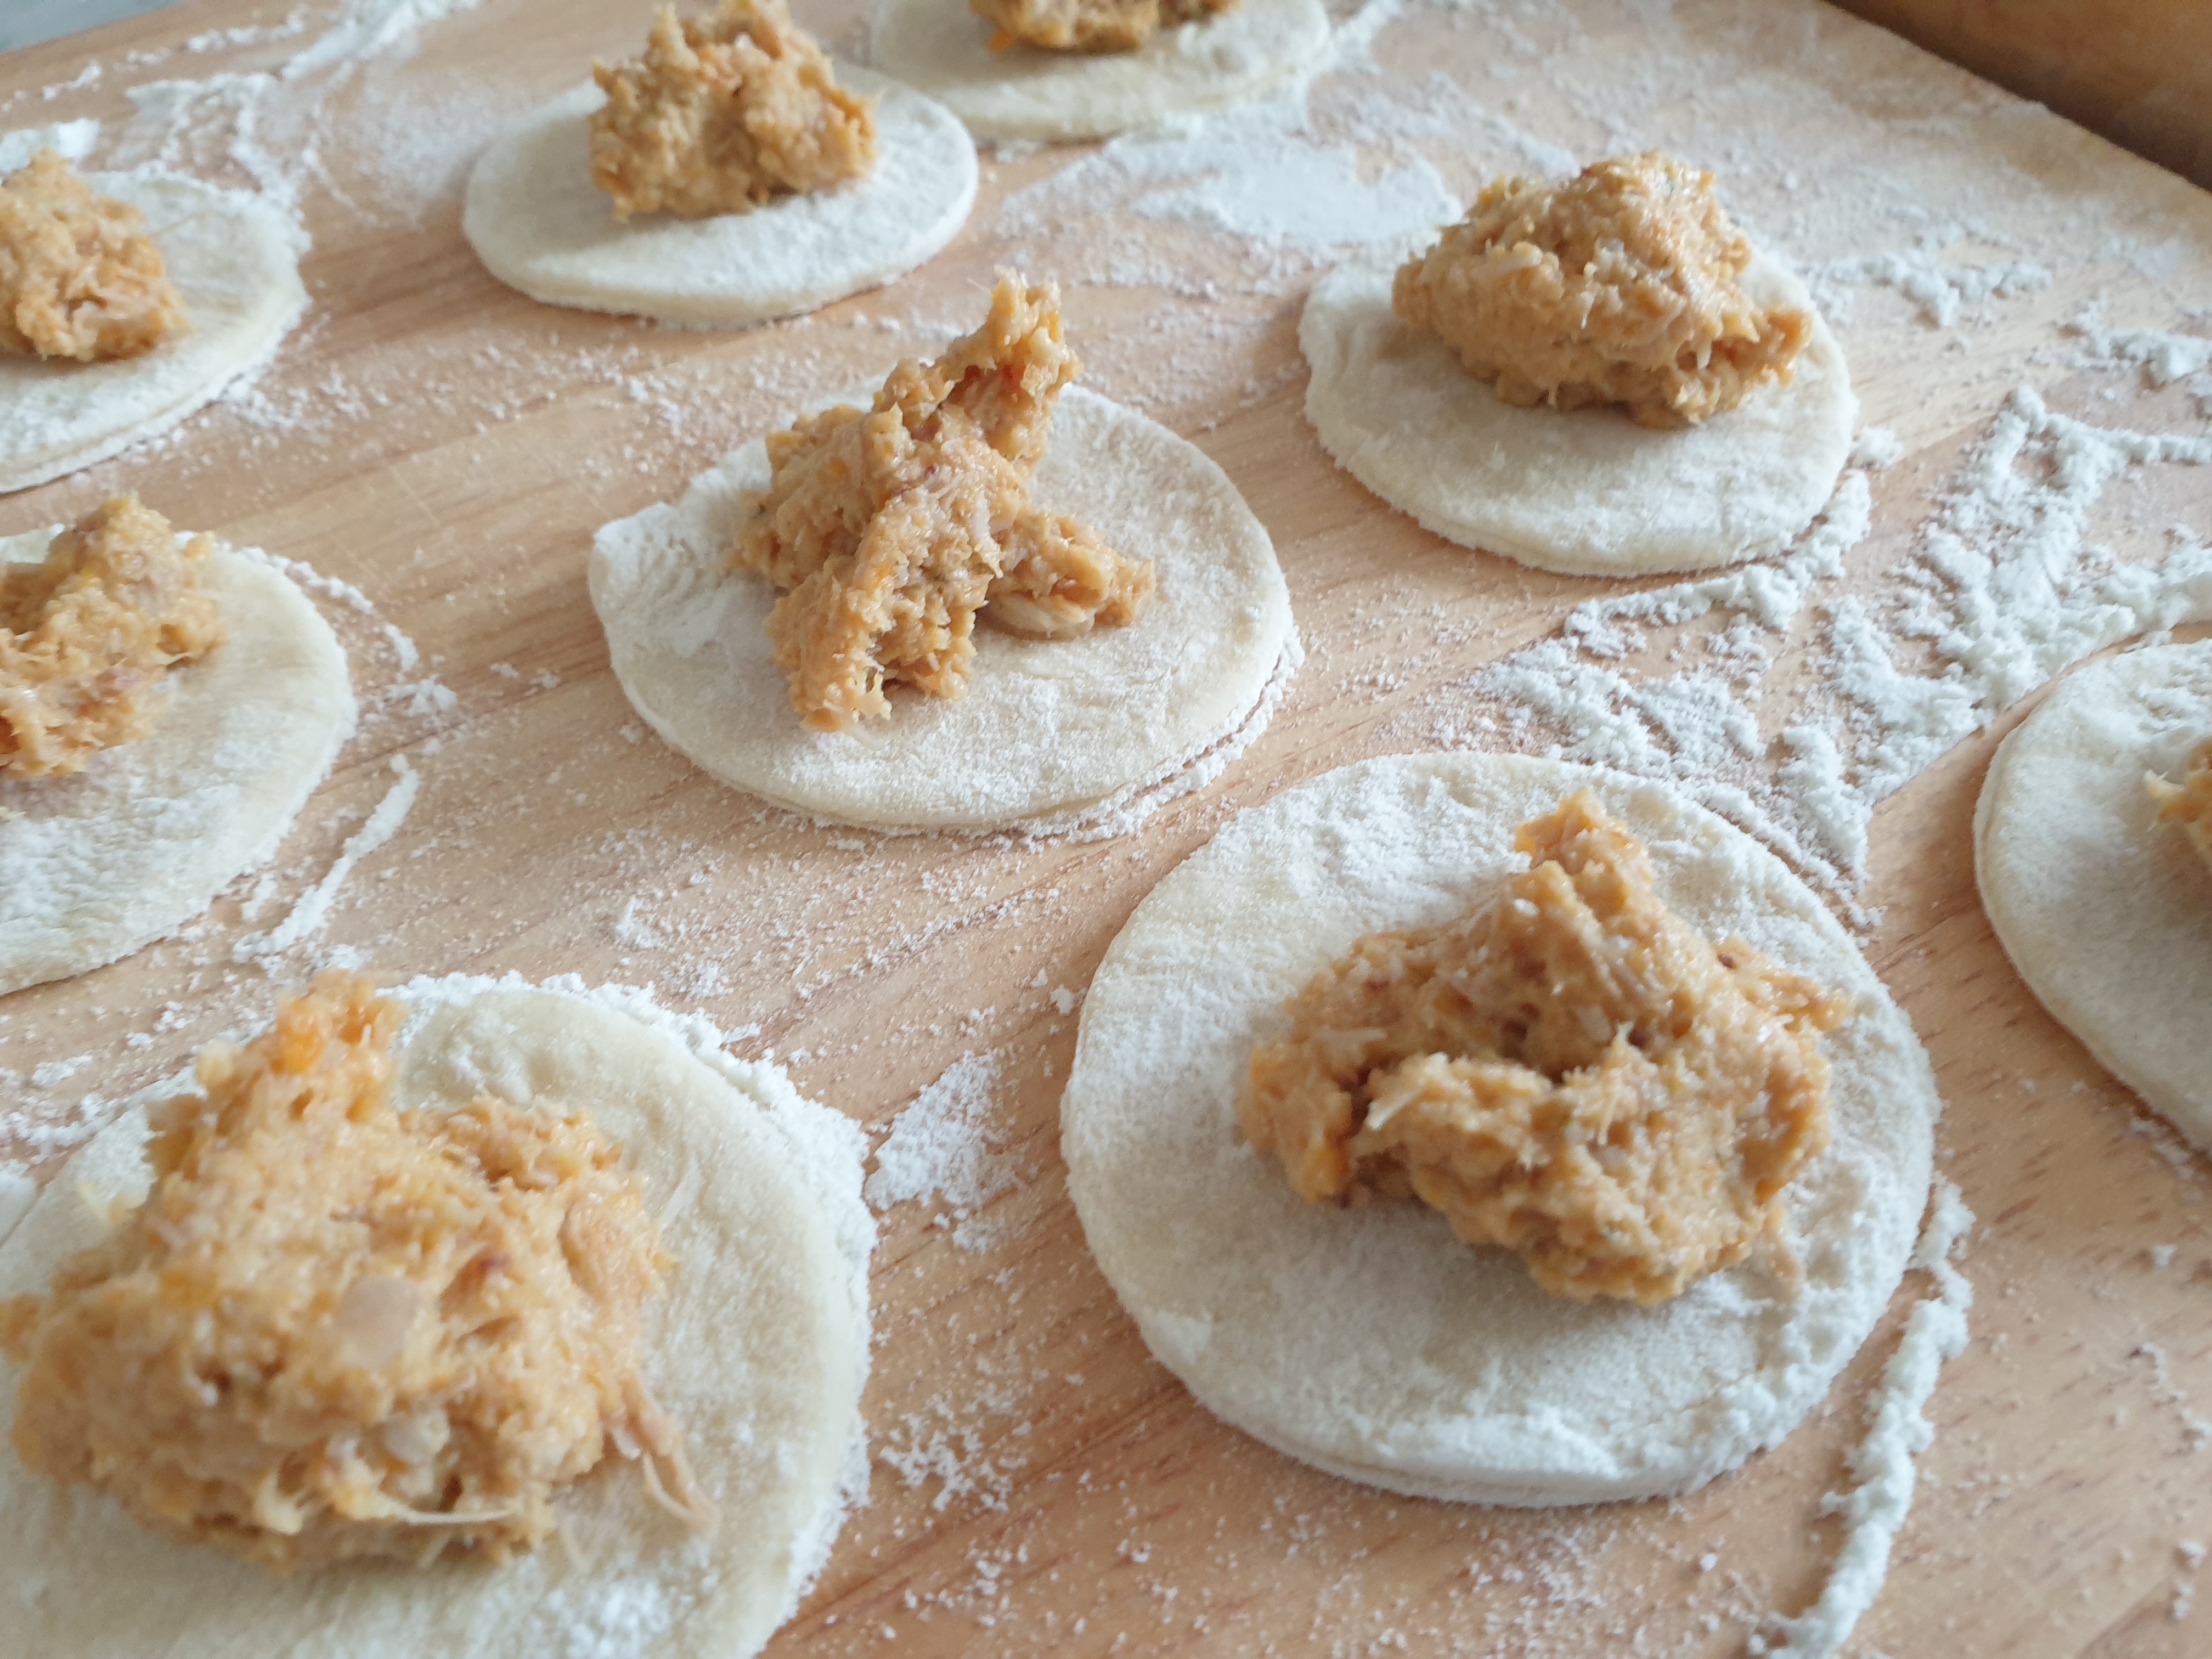
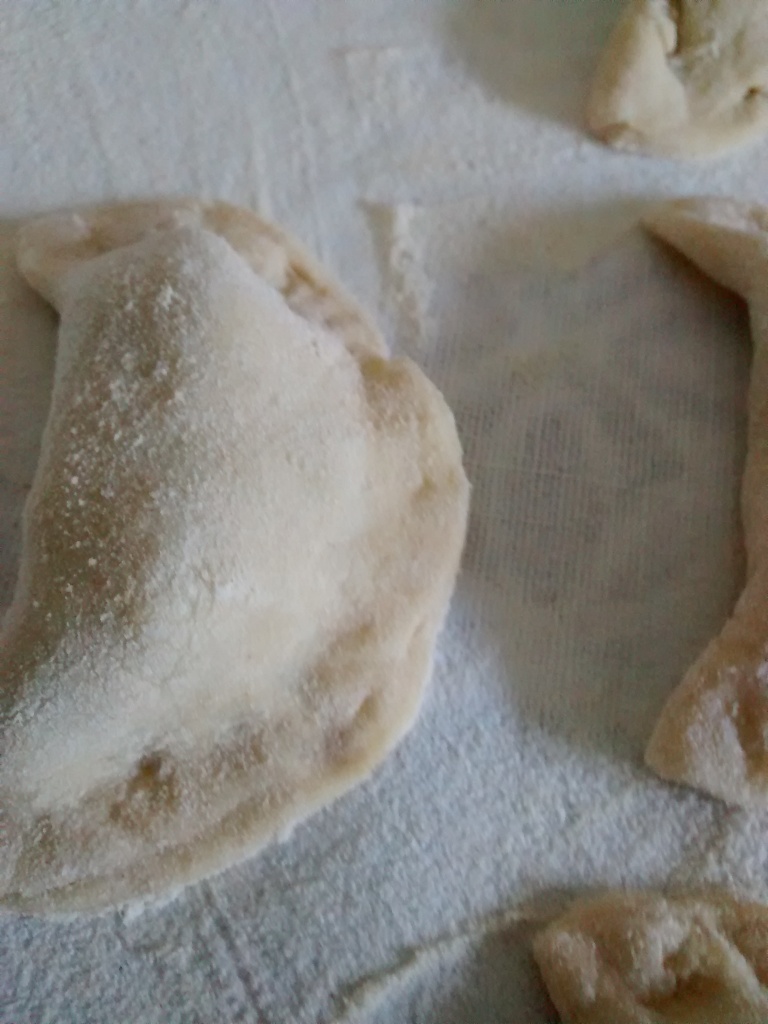
Instructions for putting the pierogi together are below the photographs.
How to make pierogi
Ingredients – Dough
250g pasta flour or plain flour & 2 tablespoons of fine semolina
150ml water
1 tablespoon oil – sunflower or light olive
½ teaspoon salt
1 egg yolk.
Method – Dough
In a jug or bowl mix together the water, oil and the yolk.
Put the flour and salt into a large bowl and make a well in the centre.
Pour in the liquid from the jug and initially use a knife to mix this into the flour and then use your hands to mix the liquid and flour to get a ball of dough.
Turn this out onto a floured board and knead the dough for a few minutes until you have a smooth ball.
Cover and leave to rest for about ½ an hour.
*
Cut the dough into half.
Prepare a large tray and cover it with a clean cotton or linen tea towel and sprinkle this with flour.
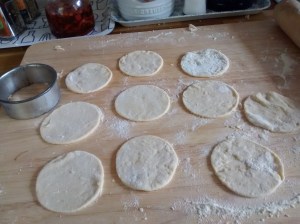
On a floured board roll out the dough a half at a time until you have a sheet of thinly rolled dough.
Cut out circles using a 7 cm diameter cutter.
The excess dough can be re-mixed and rolled out again.
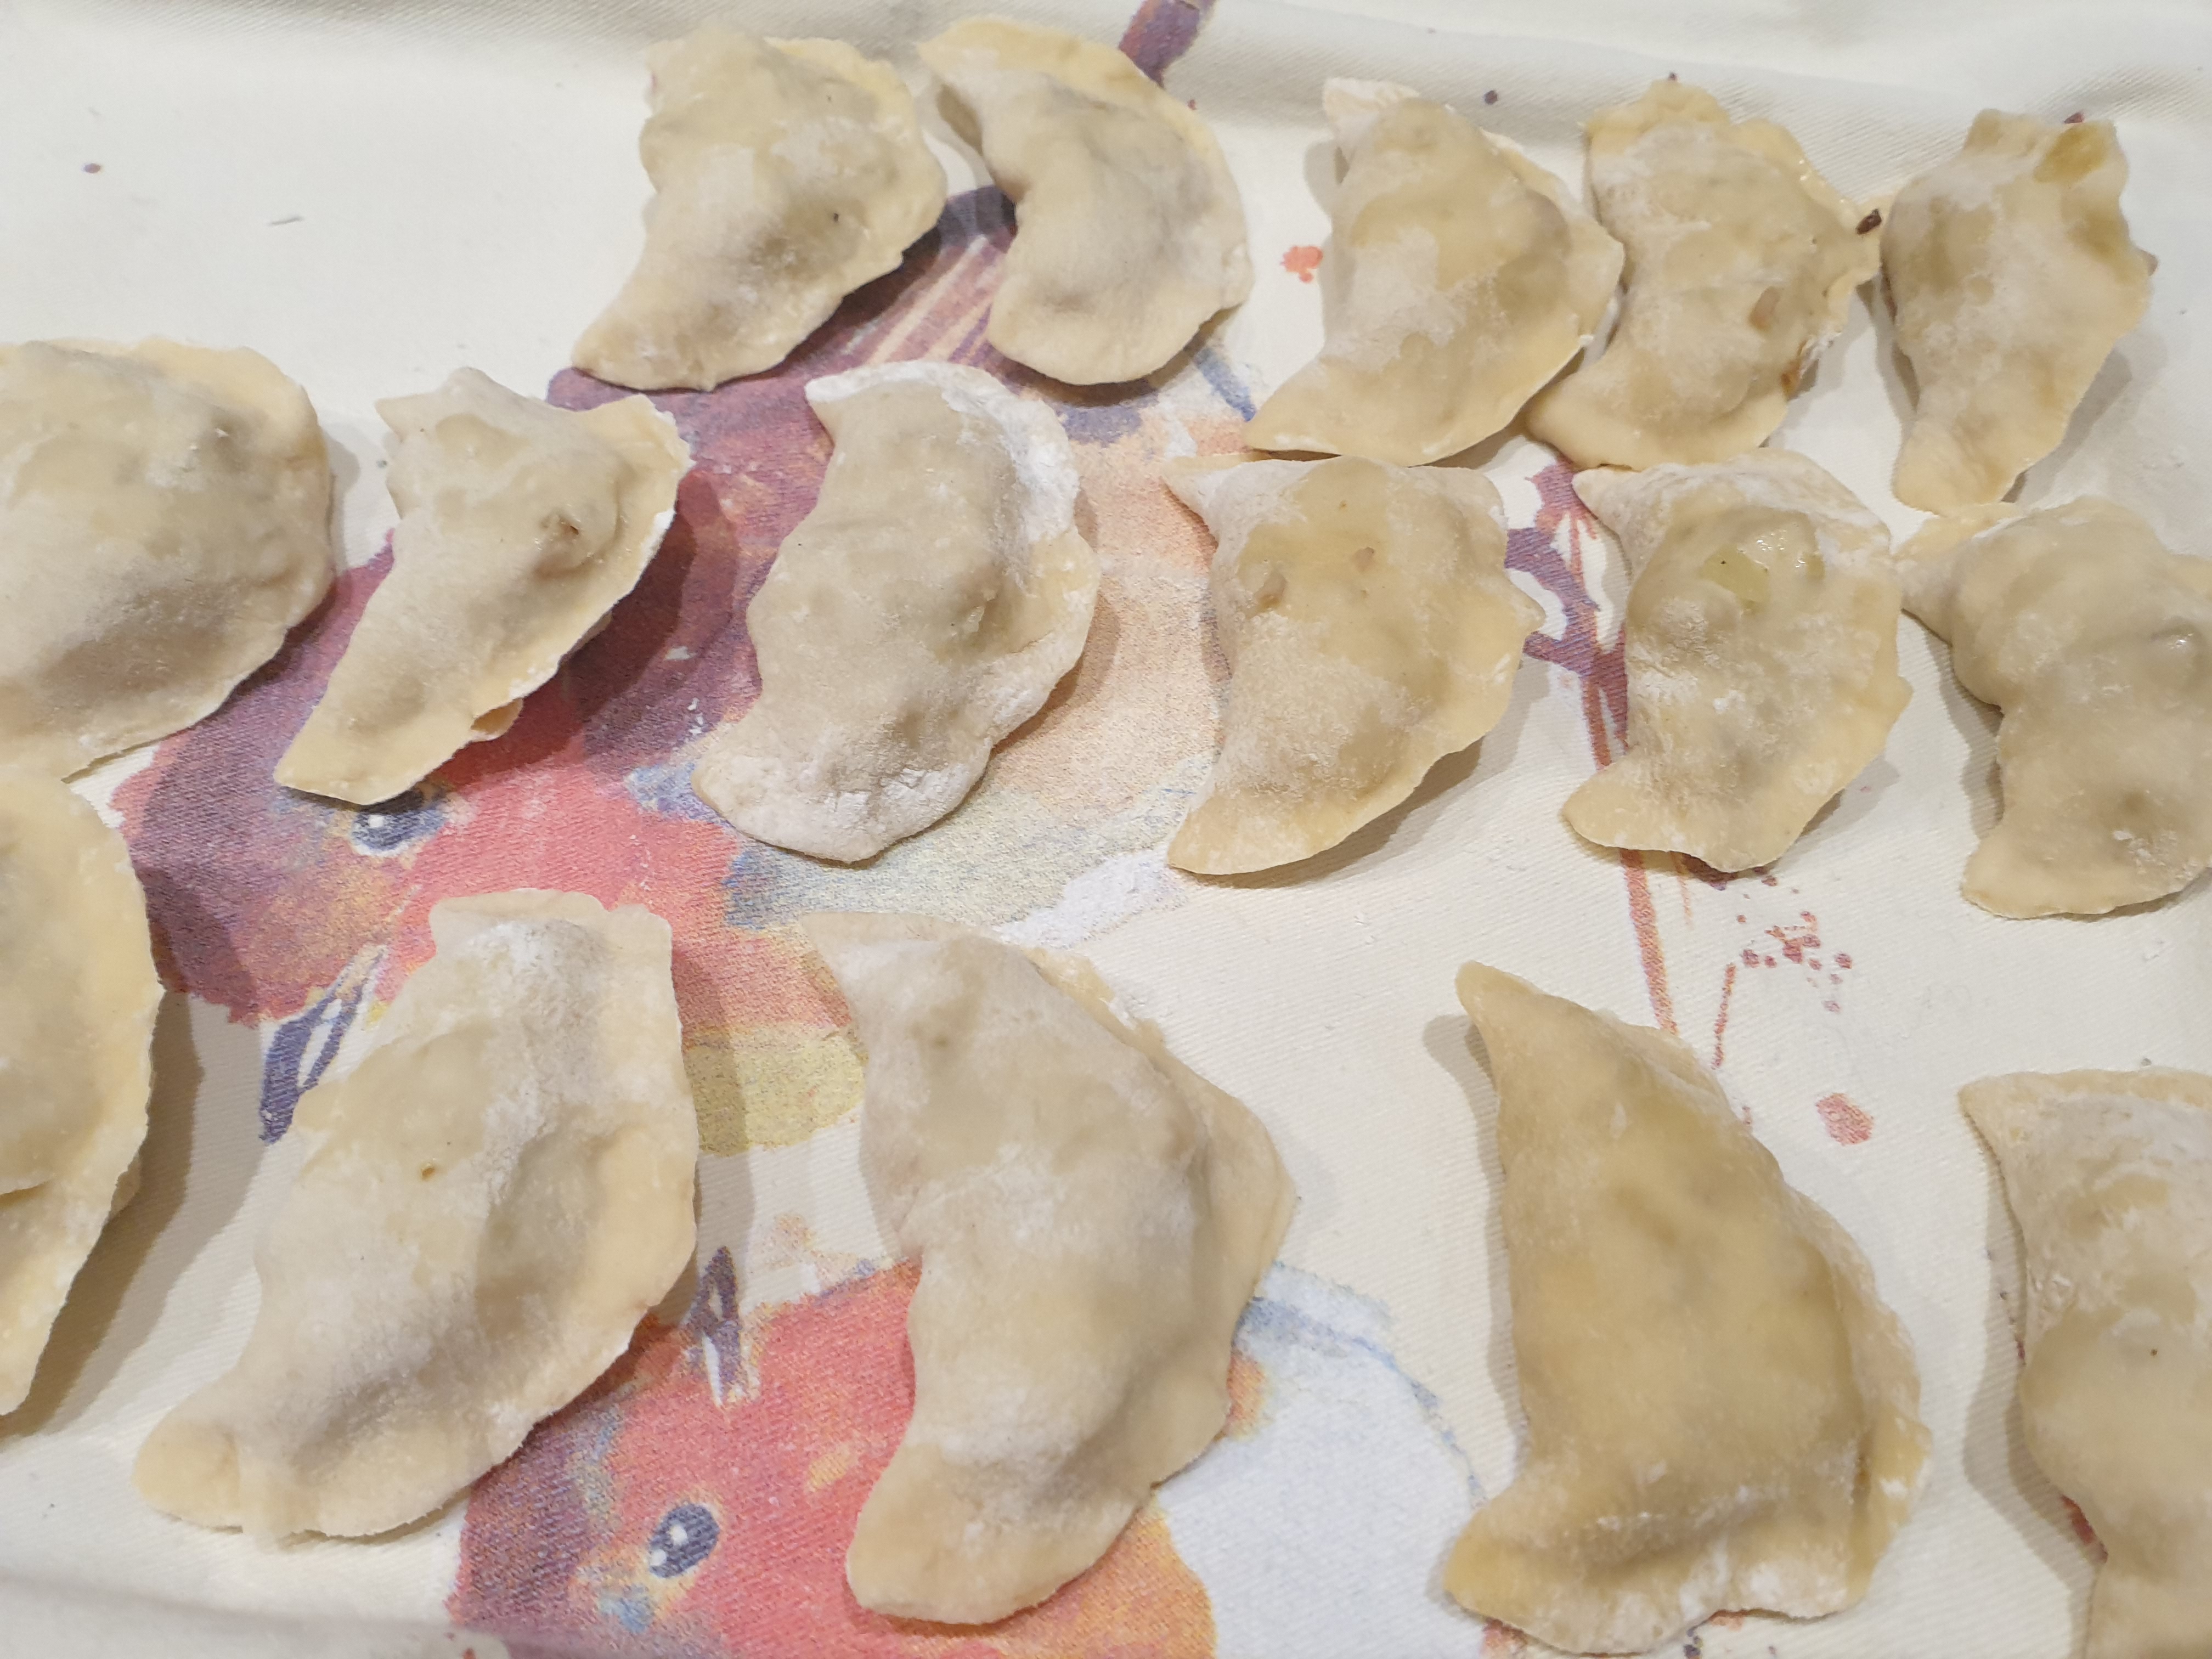
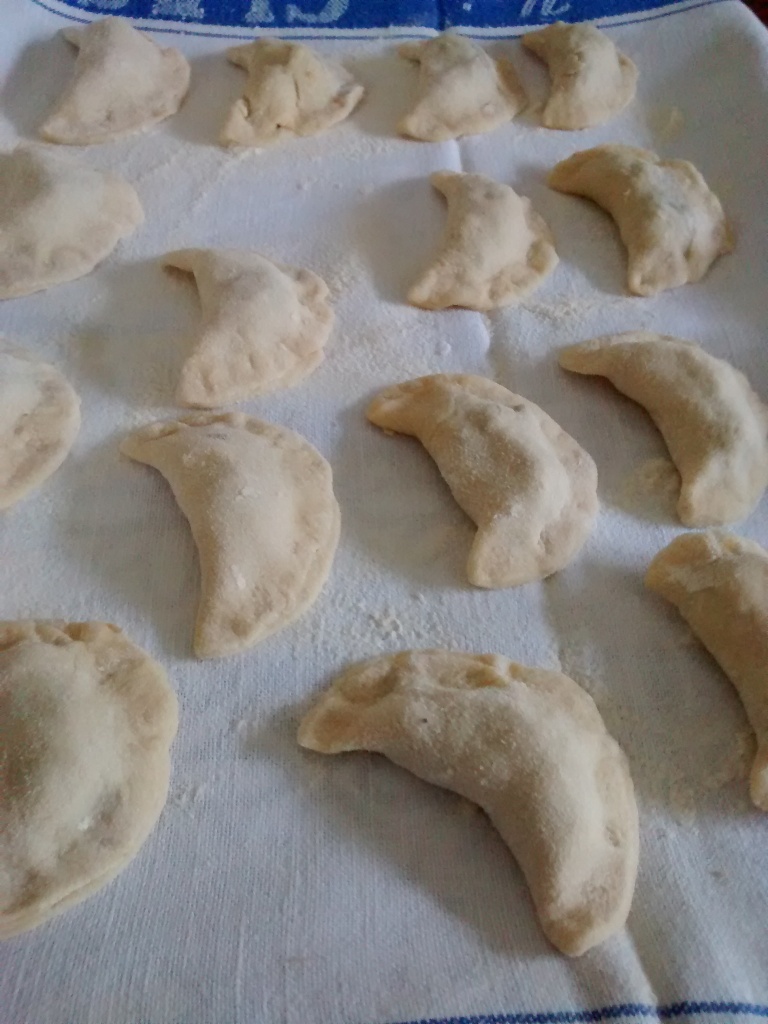
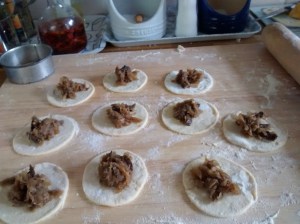
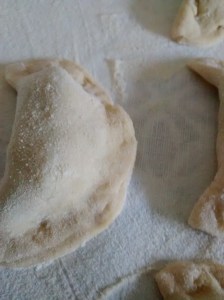
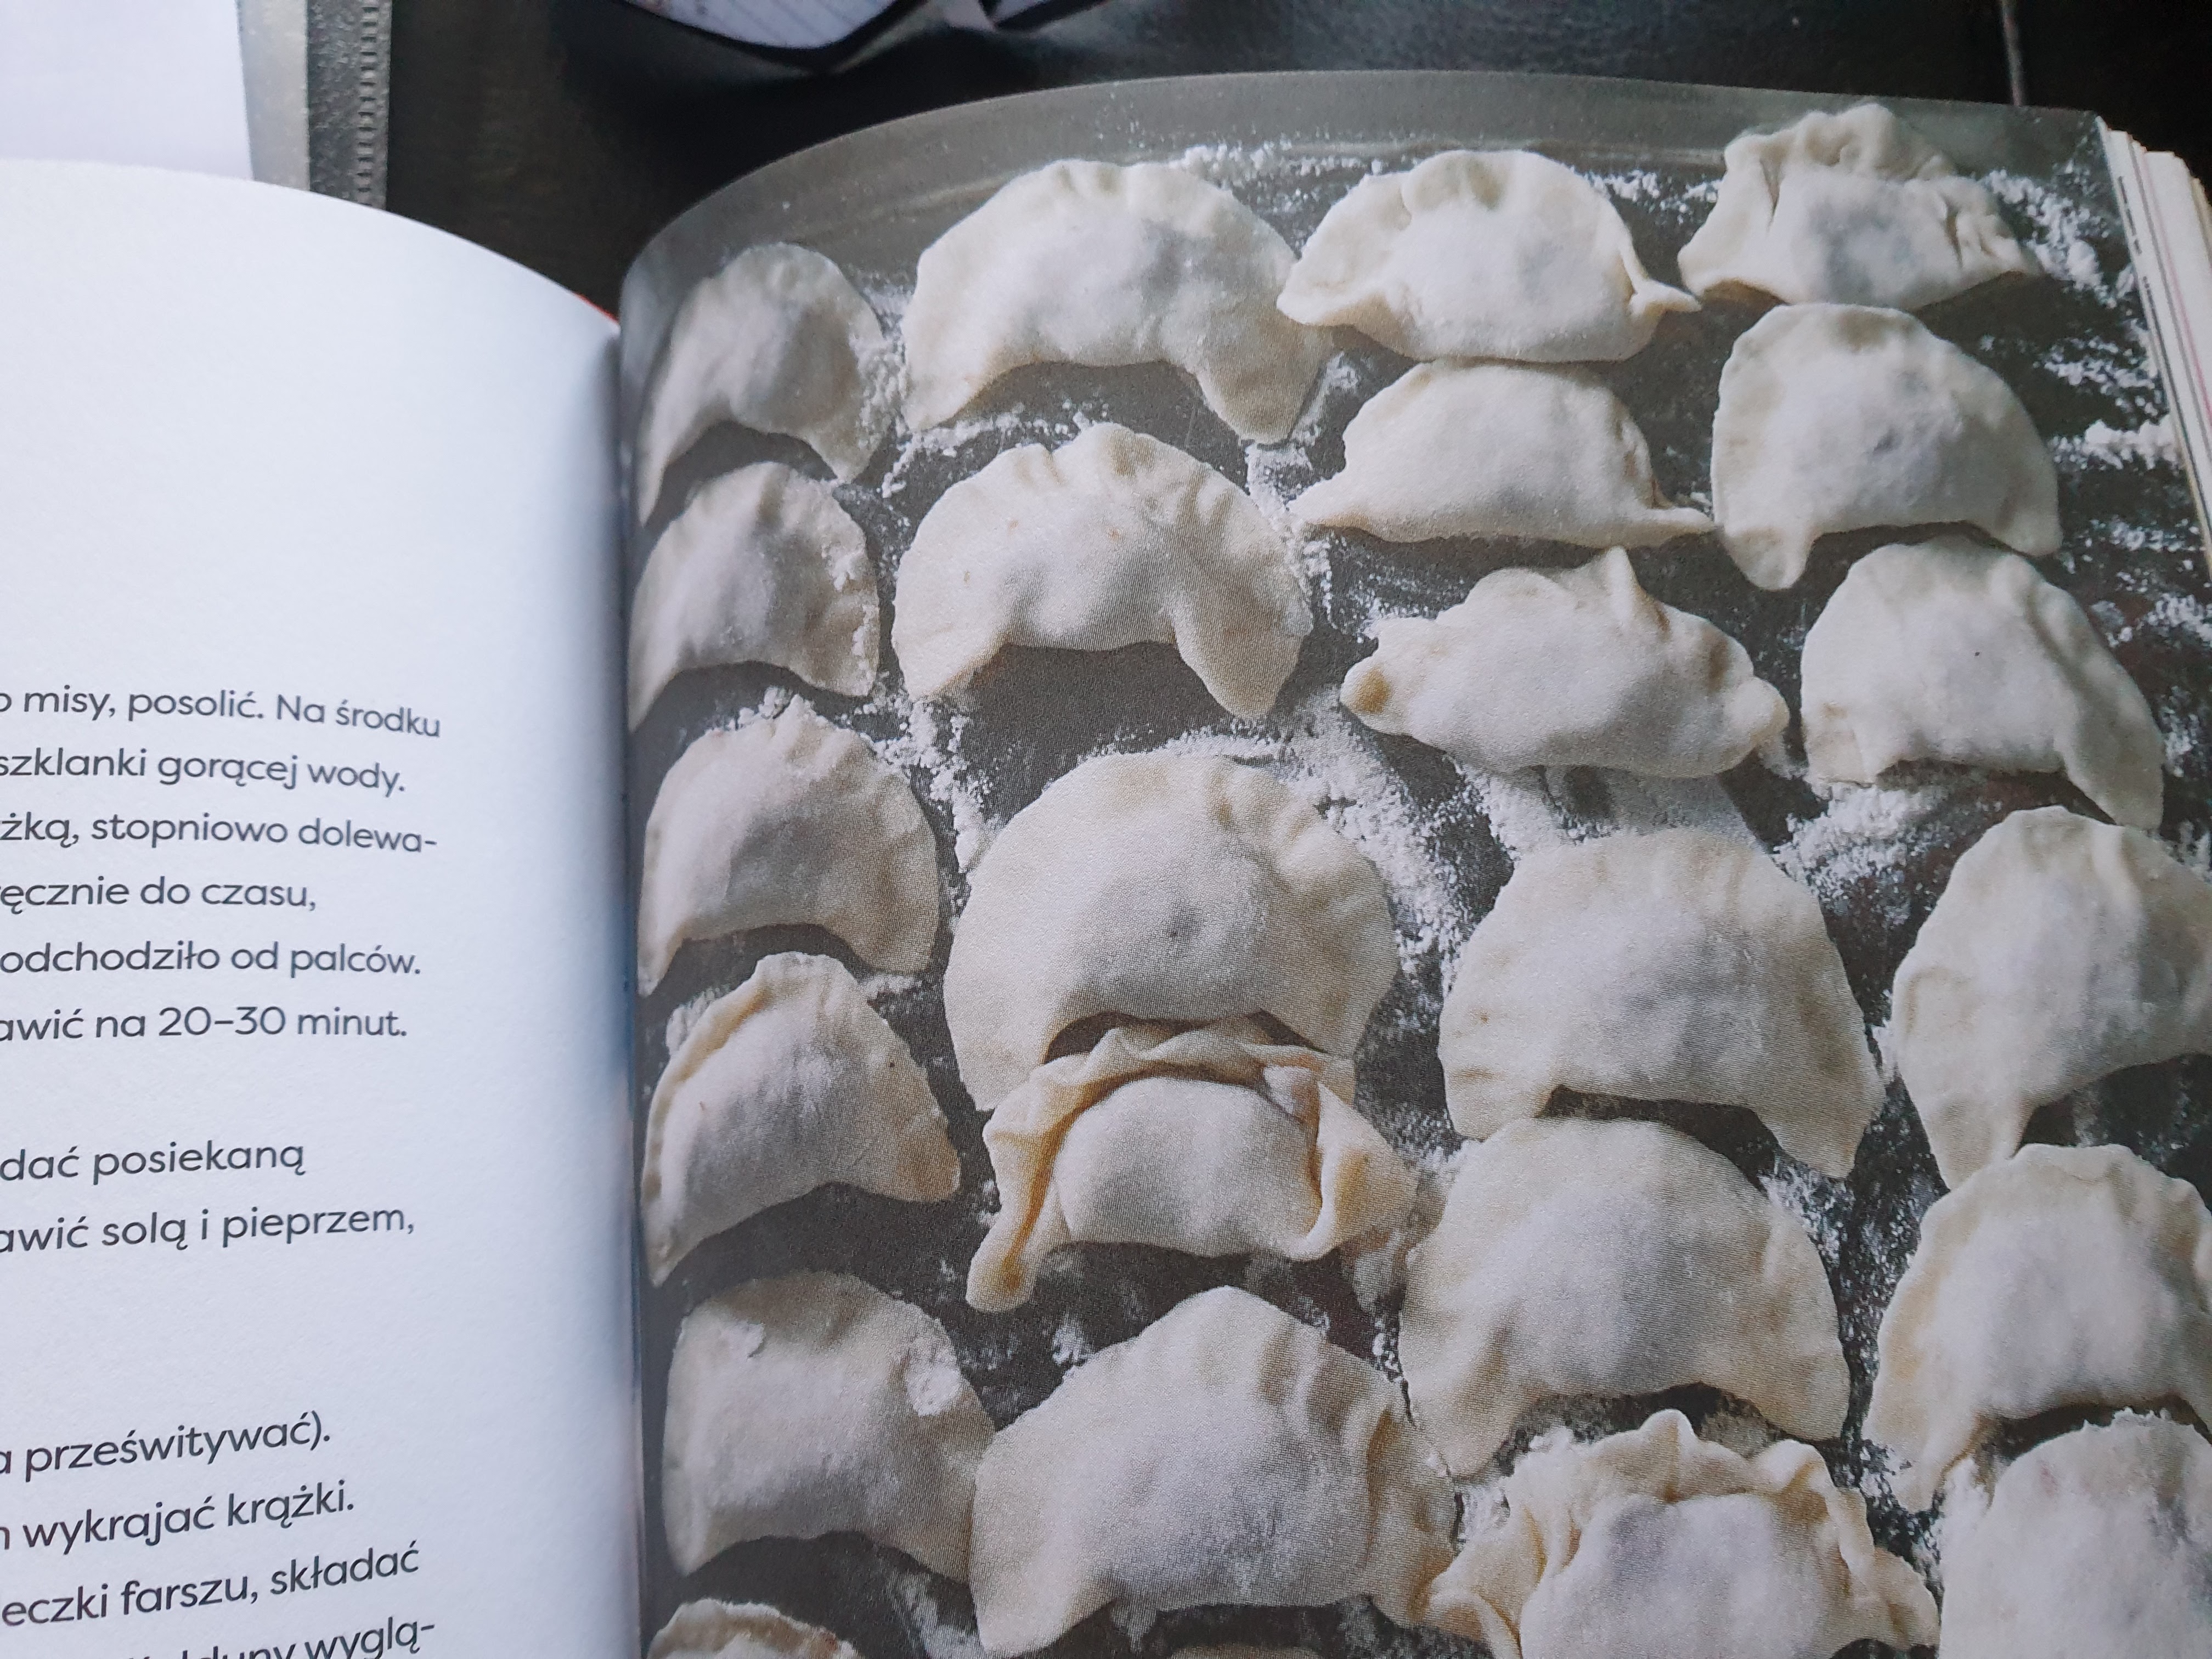
Around a half tablespoon of filling is put on each circle and then they are folded over and the edges pinched together to make a good seal.
You learn from experience how much filling to put in as too much will make it hard to seal them and if not properly sealed they will burst on boiling. Do not worry if you have a few mishaps – it still happens – even with experience – it is hard to salvage one that has gone wrong – just accept that there will be a few that you do not cook.
Place the sealed pierogi on prepared tray until they are all made, do not let then touch each other.
*
To cook the pierogi
Use a large pan of boiling water to which you have added some salt and a drizzle of oil.
Drop the pierogi in one by one and allow them to boil. I usually do about 5 to 6 at a time.
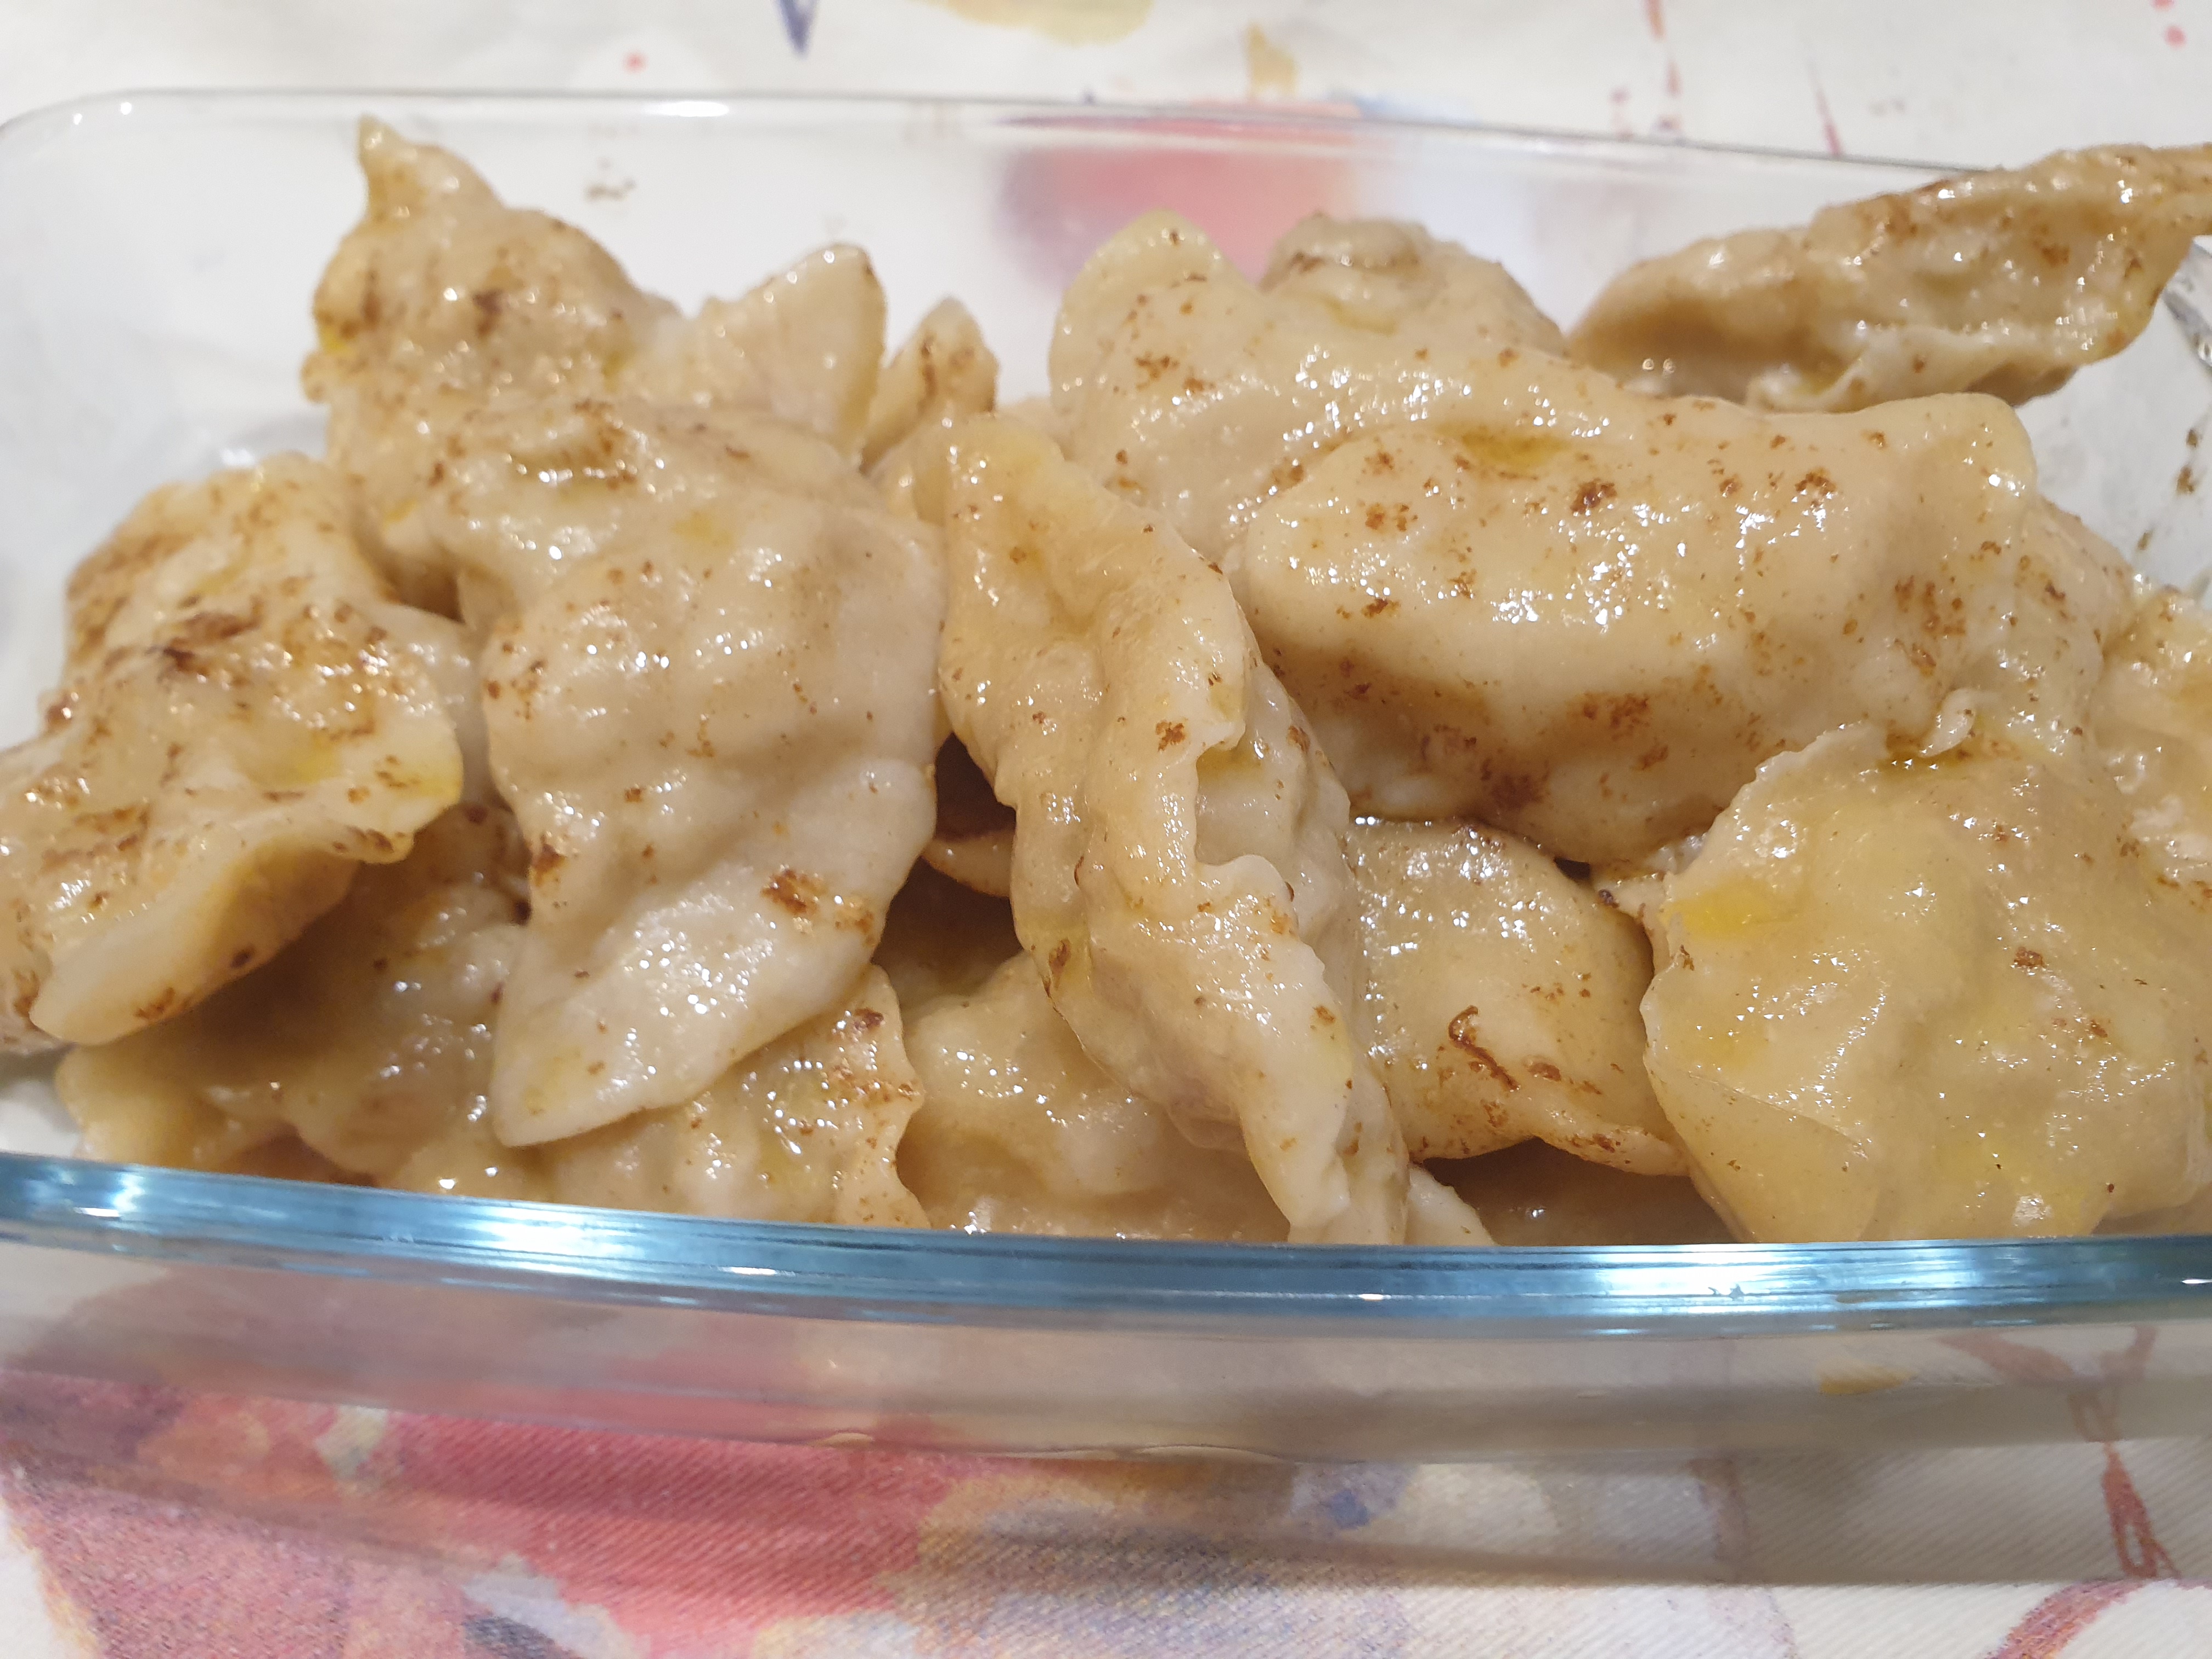
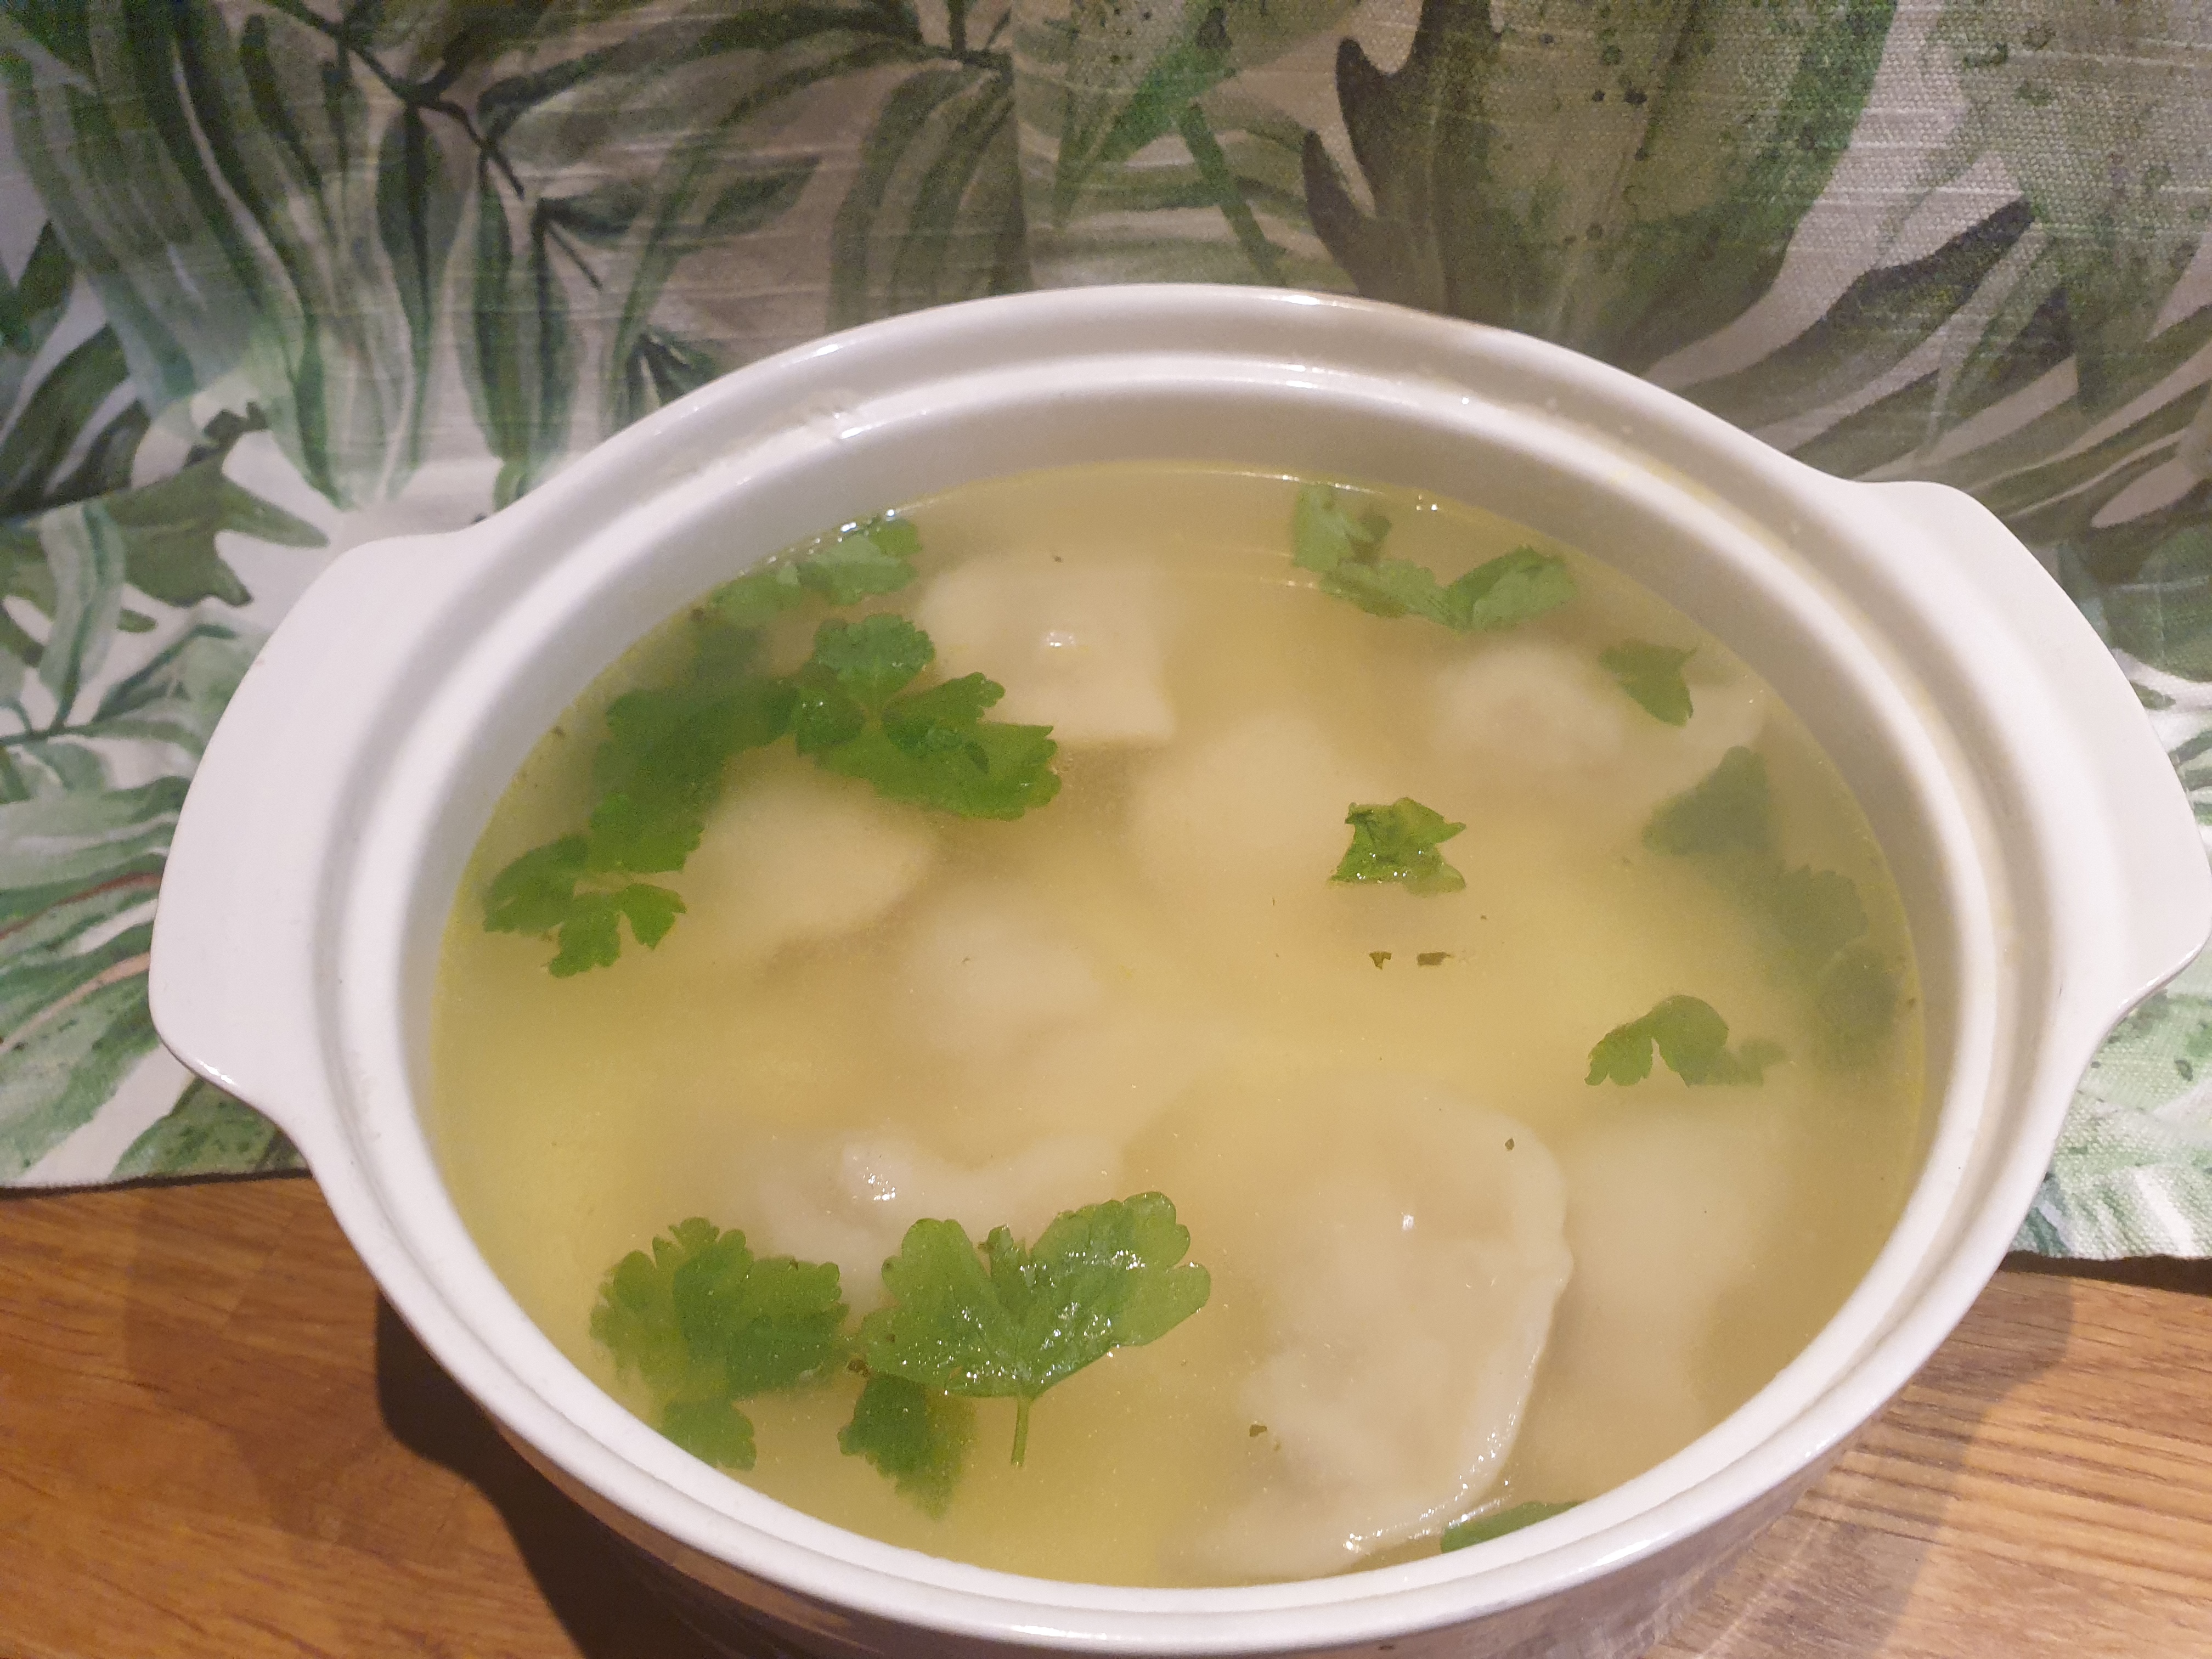
As they cook they will float to the surface, let them boil for 2 minutes and then remove them with a slotted or perforated spoon and put into a colander above a pan for a few seconds to drain and serve with melted butter.
Continue boiling batches in the same water.
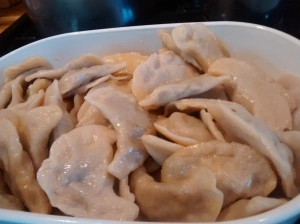
If you want to make all the pierogi to serve together then you need to get a large oven proof dish.
Melt lots of butter in the dish.
Keep the dish warm in a low oven.
As you take out the cooked pierogi add them to the dish and coat them with the melted butter.