-
- I have been trying out new fillings for pierogi – all with chicken – here is the third and last for now – will be trying out different ones later.
- The filling is made with cooked chicken as usual but I have found that chicken thighs make a tastier dish than chicken breast.
- I cooked the chicken as for rosȯł – chicken soup.
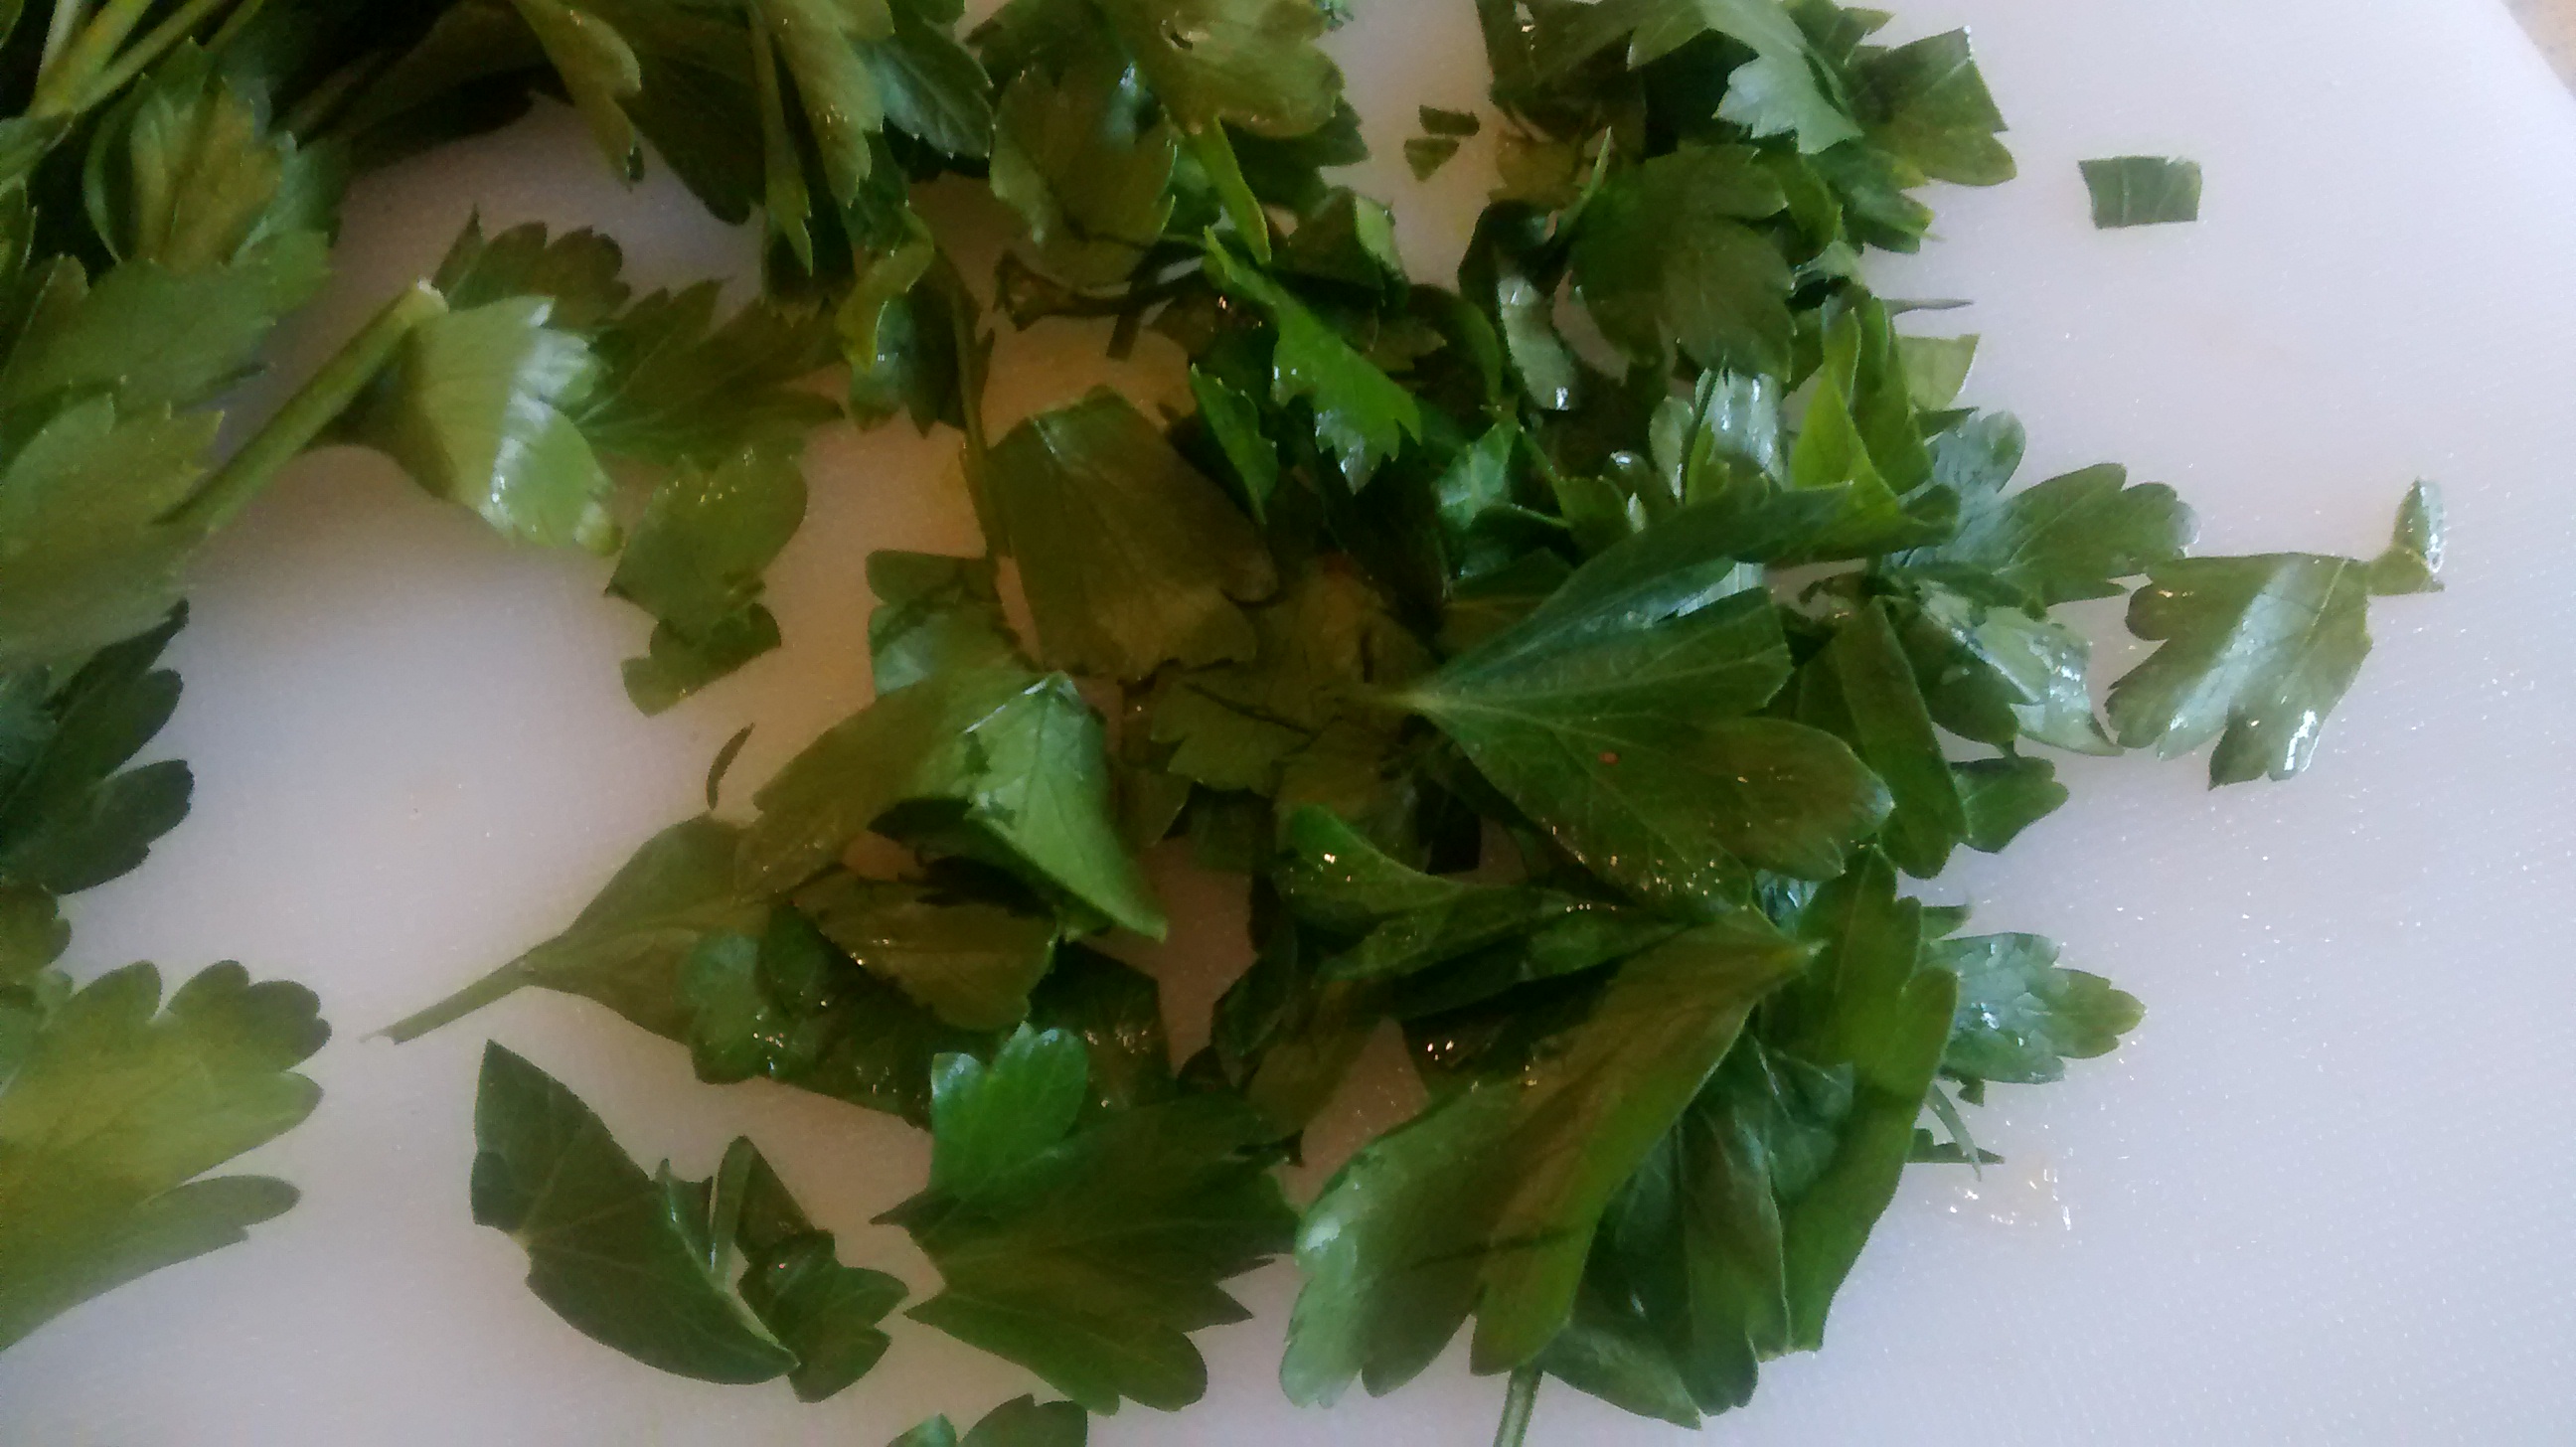
- Spinach is often added to twaróg or yoghurt cheese but I wanted a more meaty mixture.
- Lots of spinach cooks down to quite a small amount so the amount can be whatever you have.
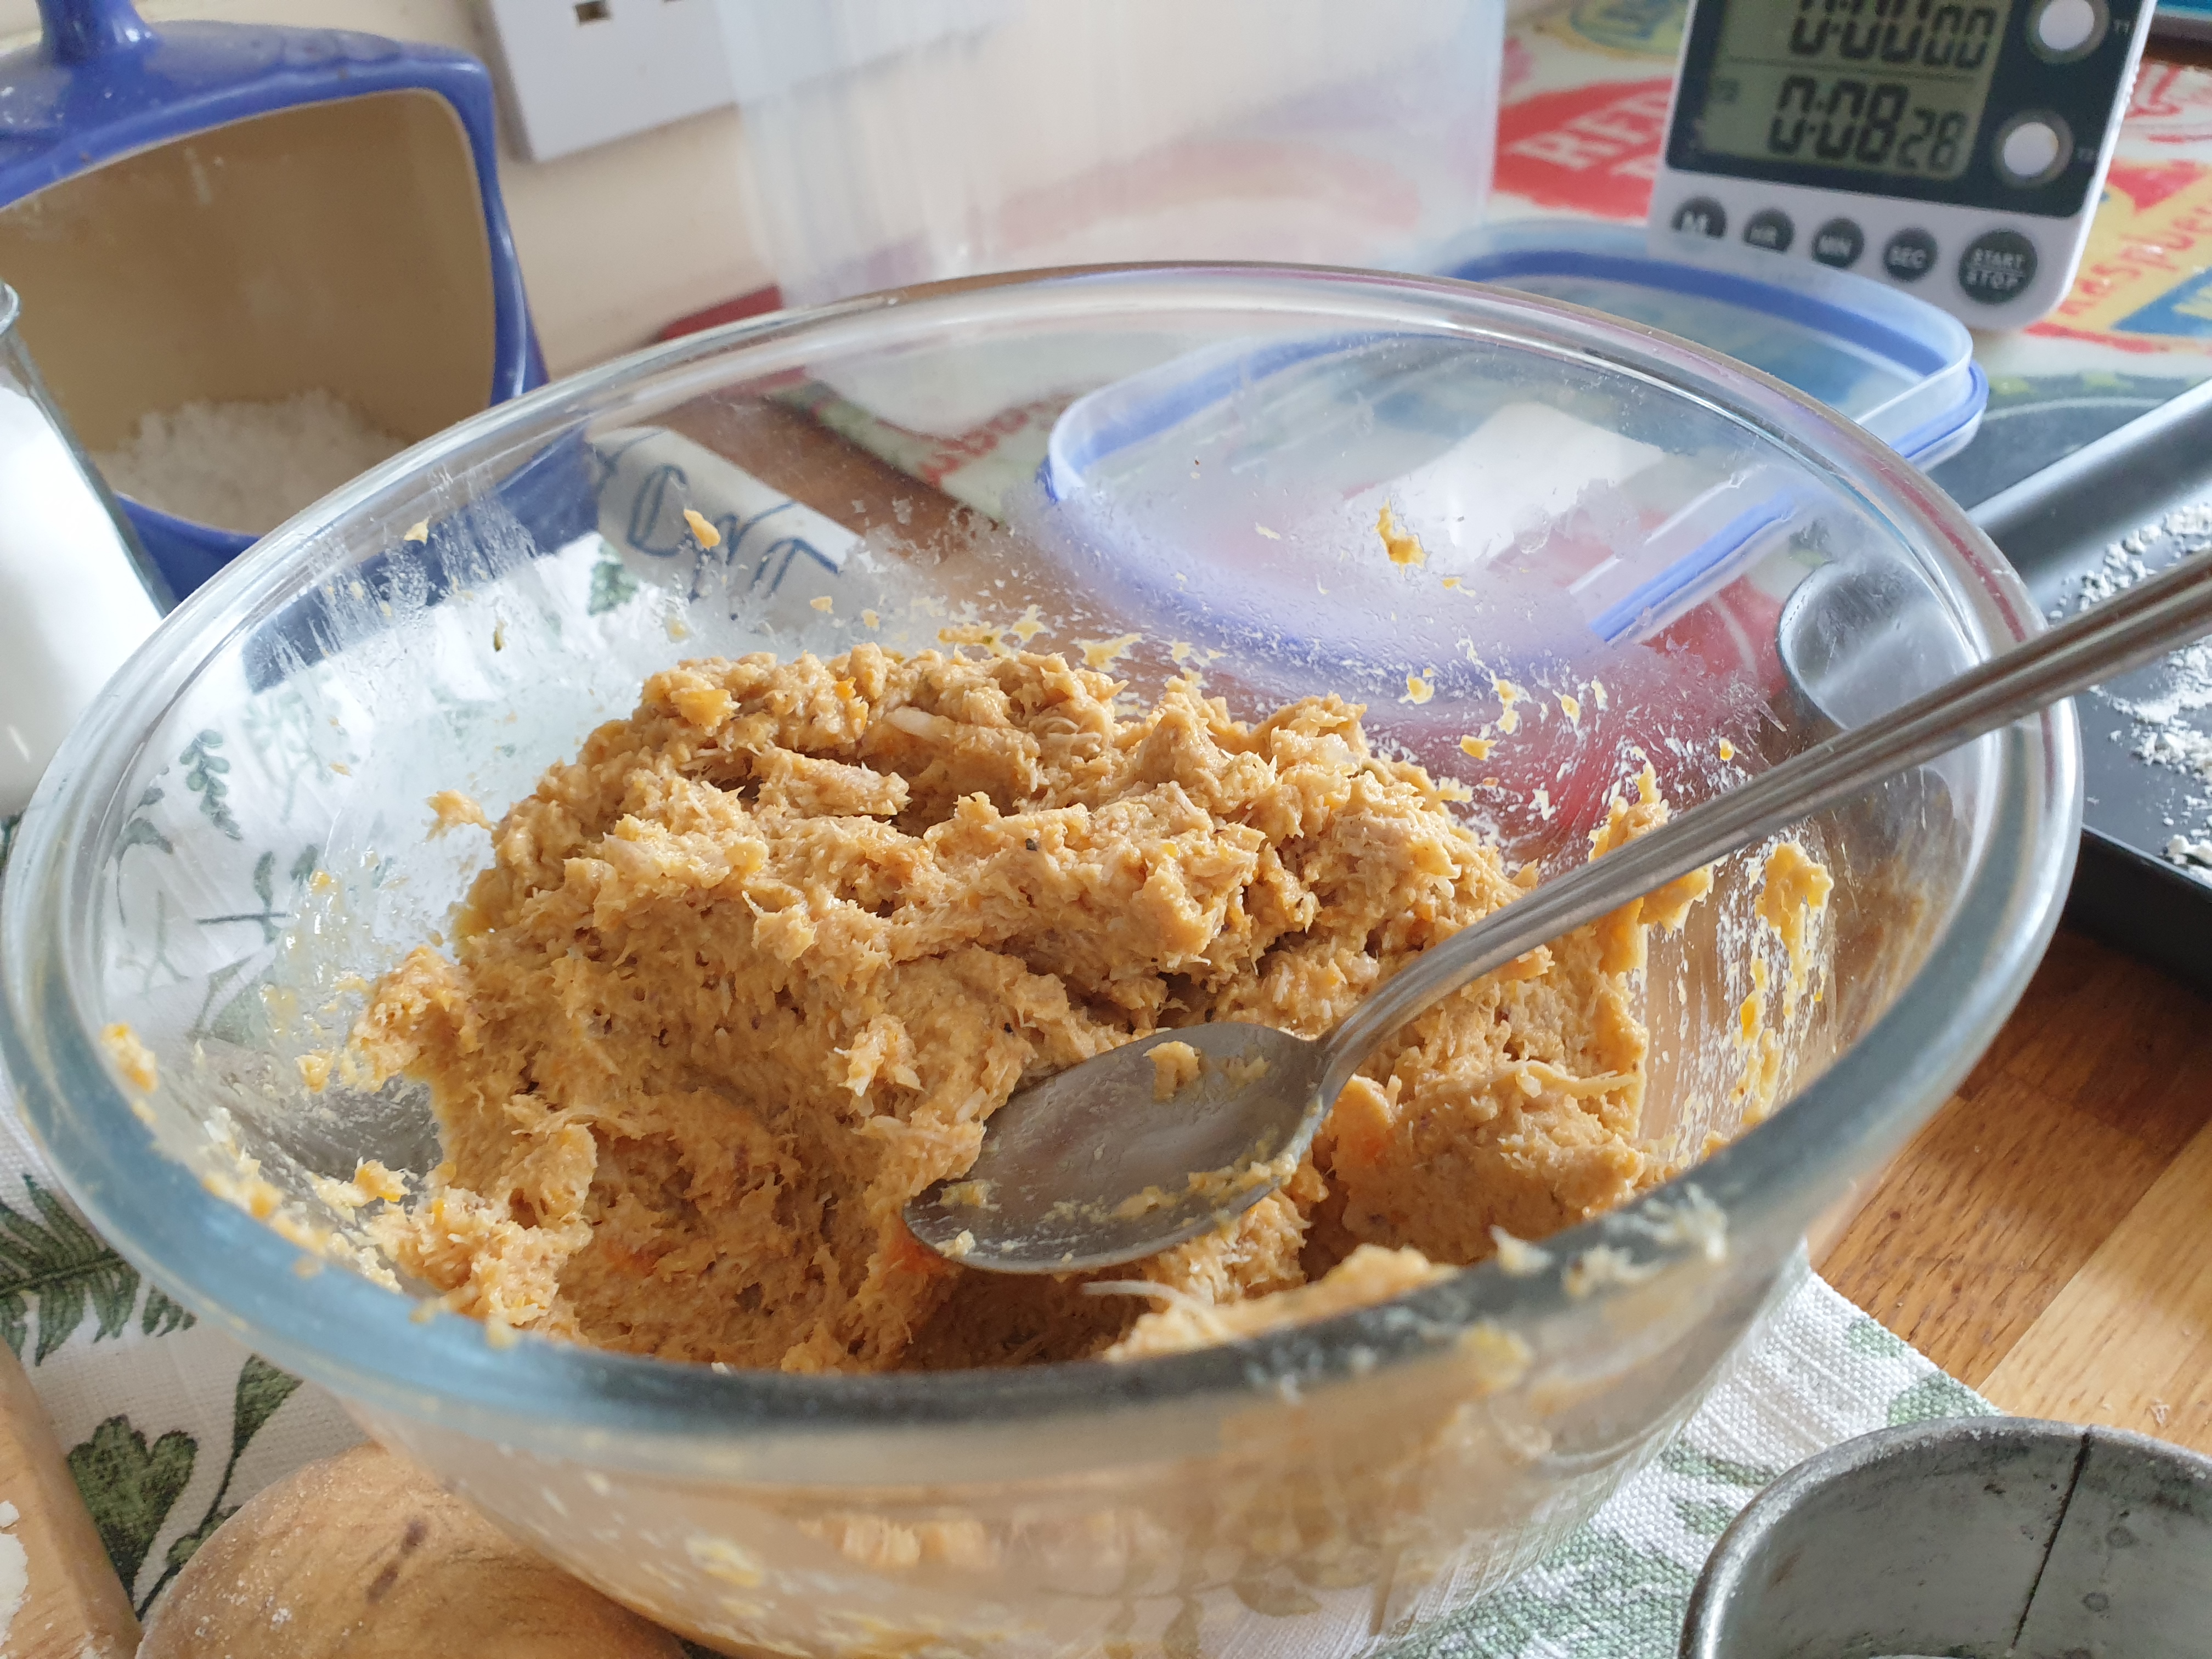
- You can mince the chicken and spinach but I used a mini-chopper, which gave a great smooth filling.
Ingredients – Filling
- 150 – 200g cooked chicken thighs
- 150 -200g fresh spinach
- 1-2 tablespoons melted butter
- Salt and pepper to taste
- *
- Melted butter to serve
Method – Filling
- Blanch the spinach in rosȯł, chicken stock or boiling water for several minutes.
- Let it cool and drain it.
- Whisk the spinach in a mini chopper.
- Minch the chicken or use a mini chopper.
- Mix the spinach with the chicken until well mixed.
- Mix well in the cooled, melted butter.
- Season to taste.
- *
- Serve with melted butter.
- *
- Instructions for putting the pierogi together are below the photographs.


How to make pierogi
Ingredients – Dough
- 250g pasta flour or plain flour & 2 tablespoons of fine semolina
- 150ml water
- 1 tablespoon oil – sunflower or light olive
- ½ teaspoon salt
- 1 egg yolk.
Method – Dough
- In a jug or bowl mix together the water, oil and the yolk.
- Put the flour and salt into a large bowl and make a well in the centre.
- Pour in the liquid from the jug and initially use a knife to mix this into the flour and then use your hands to mix the liquid and flour to get a ball of dough.
- Turn this out onto a floured board and knead the dough for a few minutes until you have a smooth ball.
- Cover and leave to rest for about ½ an hour.
- *
- Cut the dough into half.
- Prepare a large tray and cover it with a clean cotton or linen tea towel and sprinkle this with flour.
- On a floured board roll out the dough a half at a time until you have a sheet of thinly rolled dough.
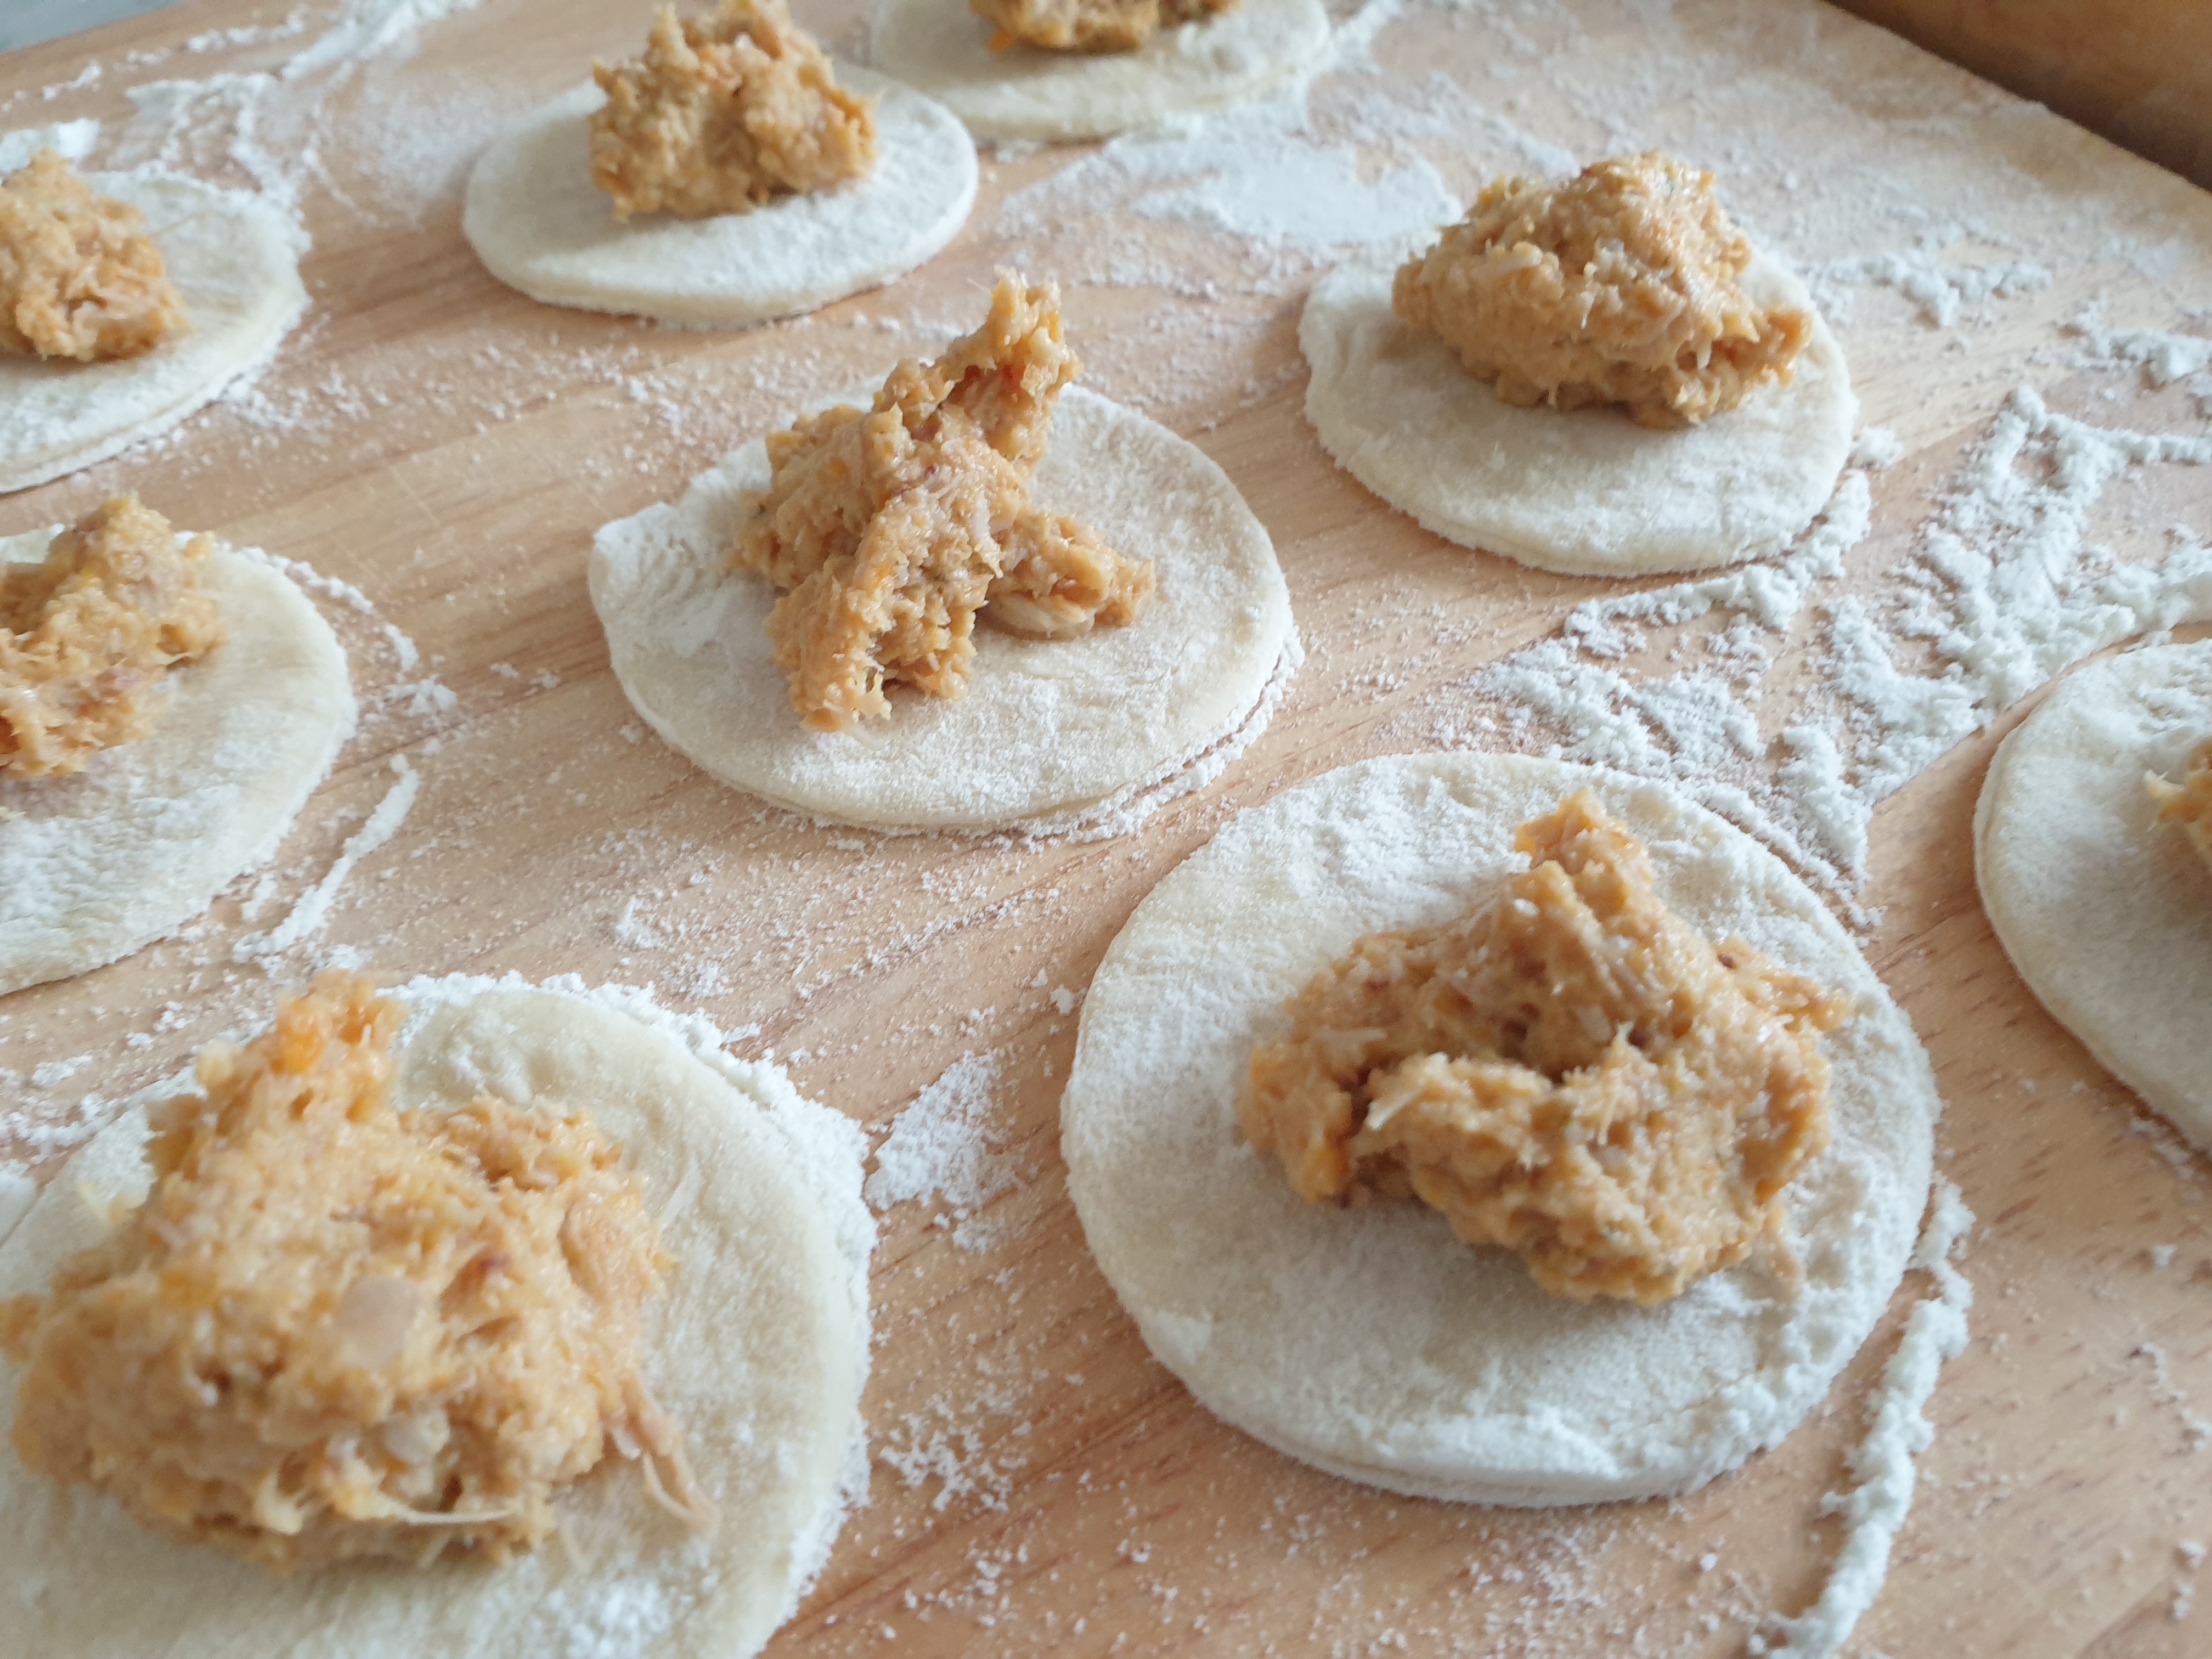
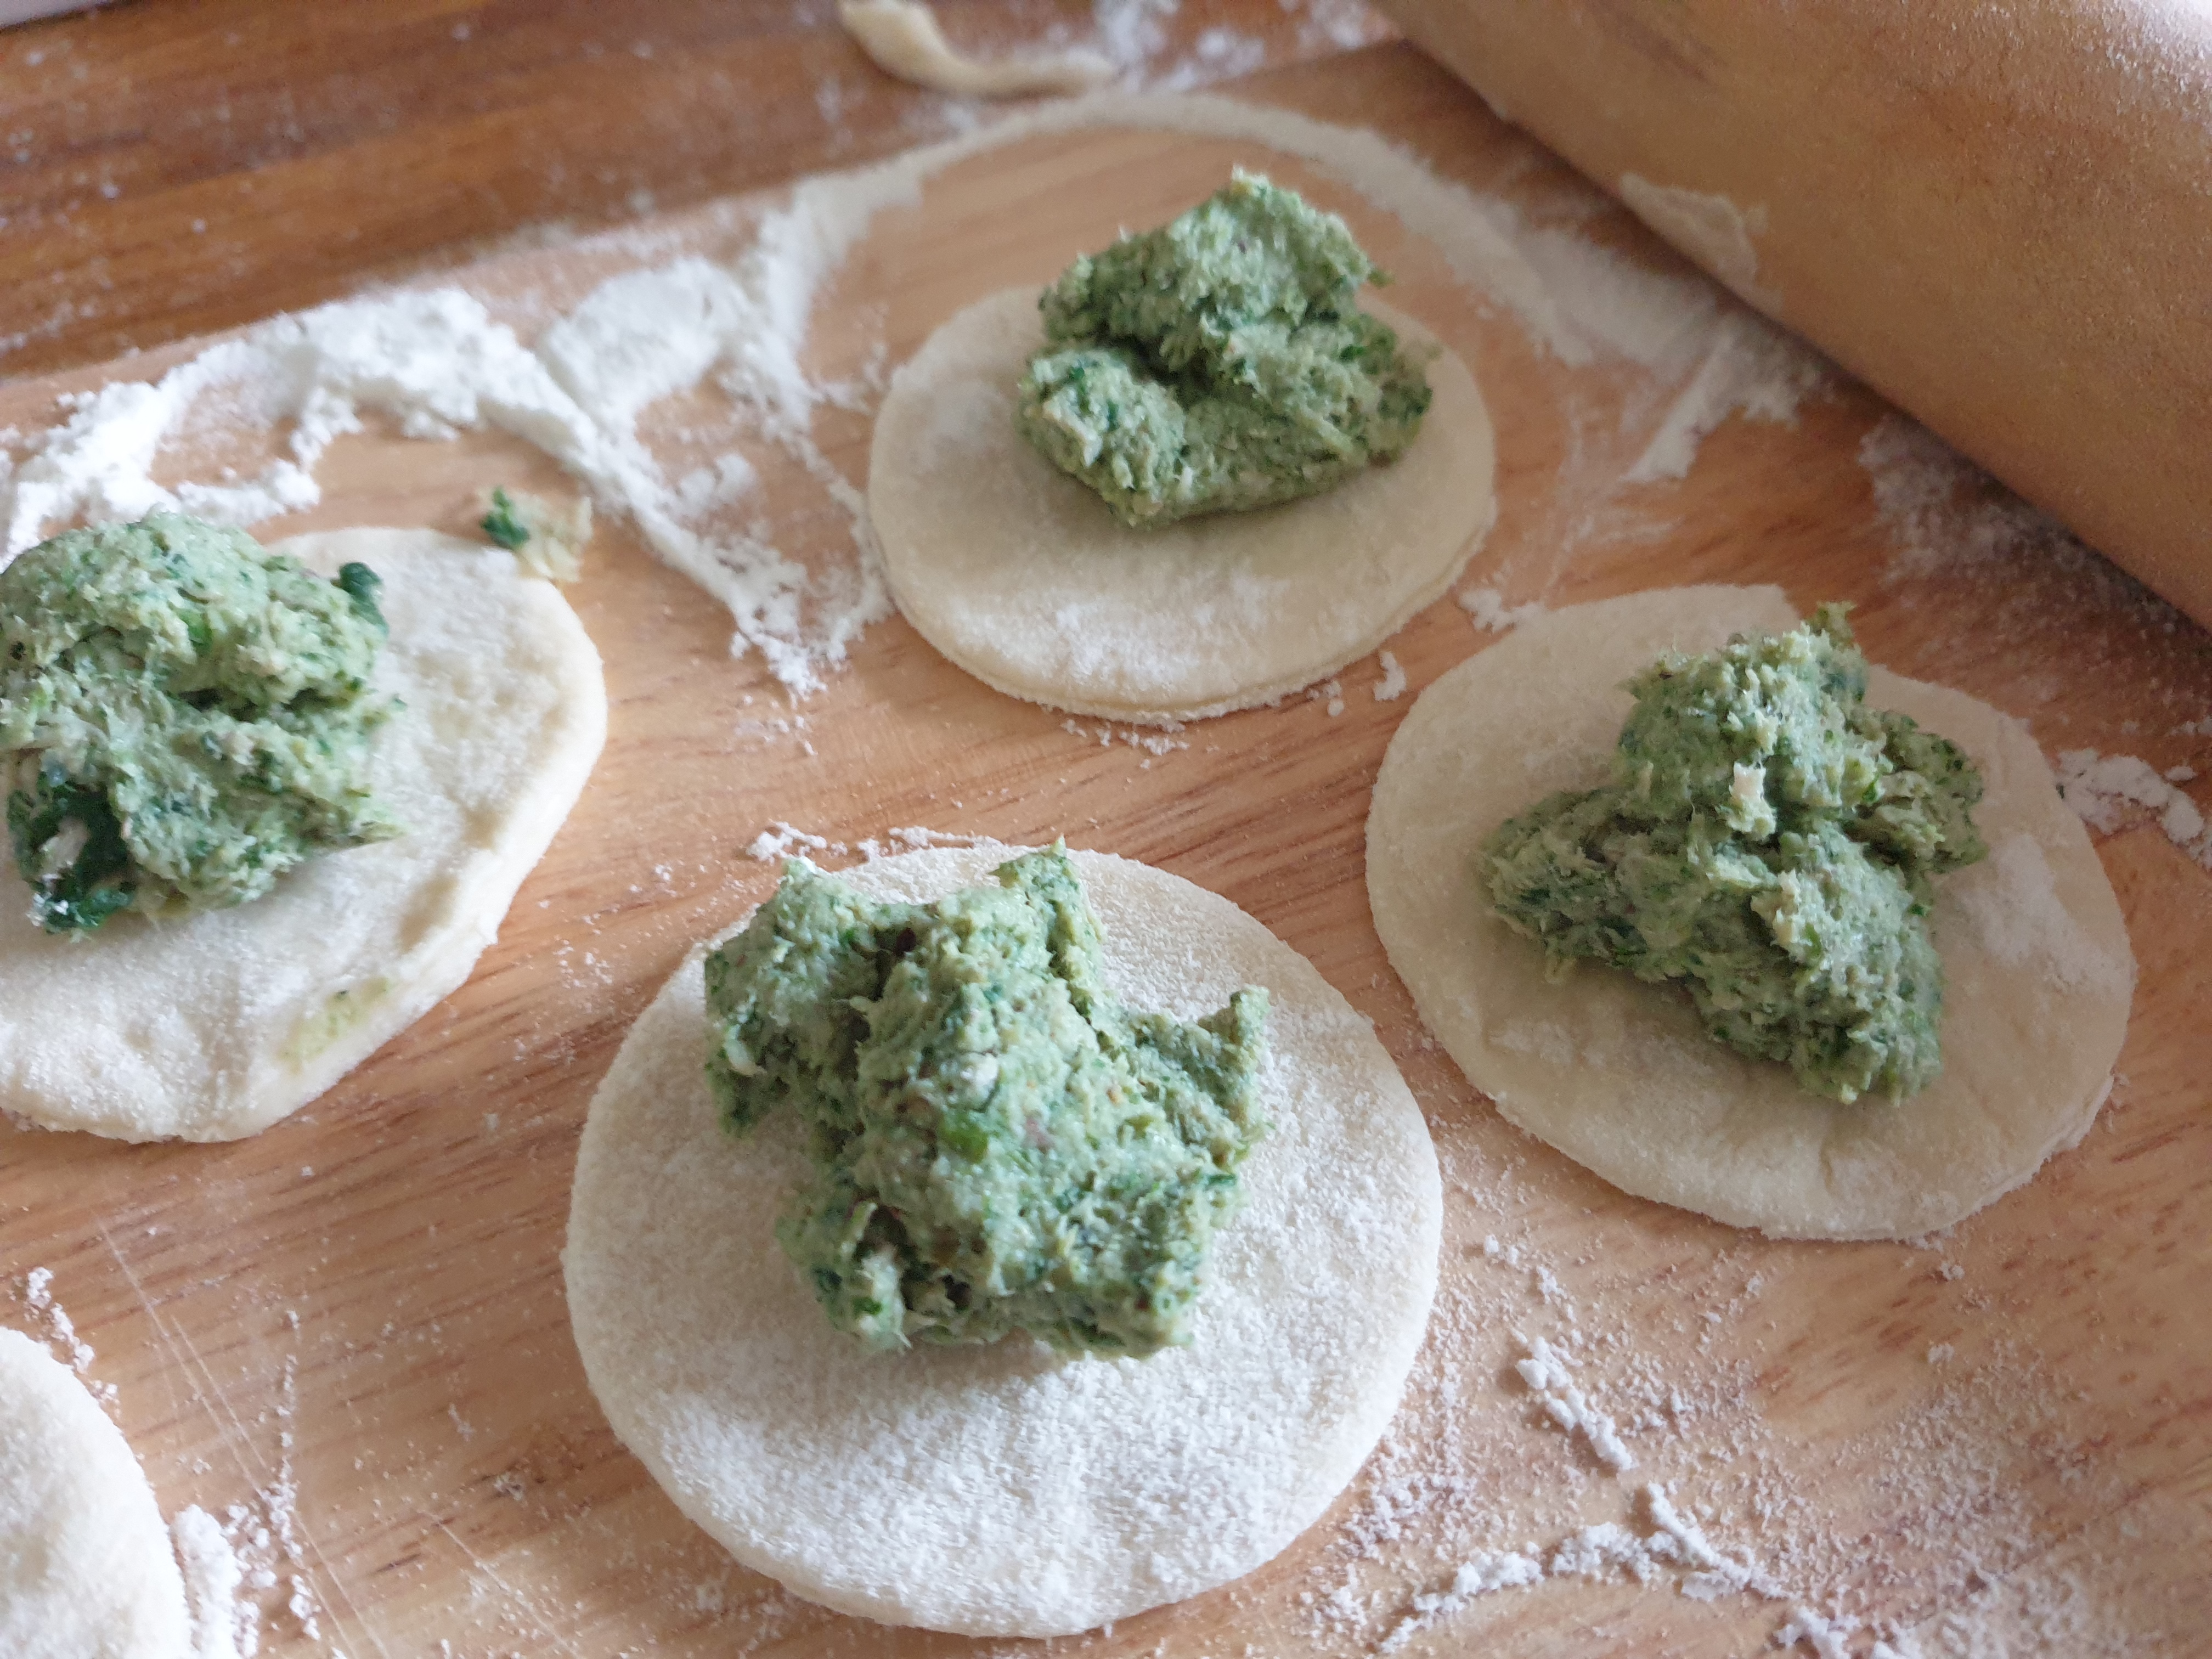
- Cut out circles using a 7 cm diameter cutter.
- The excess dough can be re-mixed and rolled out again.
- Around a half tablespoon of filling is put on each circle and then they are folded over and the edges pinched together to make a good seal.
- You learn from experience how much filling to put in as too much will make it hard to seal them and if not properly sealed they will burst on boiling. Do not worry if you have a few mishaps – it still happens – even with experience – it is hard to salvage one that has gone wrong – just accept that there will be a few that you do not cook.
- Place the sealed pierogi on prepared tray until they are all made, do not let then touch each other.
- *
- To cook the pierogi
- Use a large pan of boiling water to which you have added some salt and a drizzle of oil.
- Drop the pierogi in one by one and allow them to boil. I usually do about 5 to 6 at a time.
- As they cook they will float to the surface, let them boil for 2 minutes and then remove them with a slotted or perforated spoon and put into a colander above a pan for a few seconds to drain and serve with melted butter.
- Continue boiling batches in the same water.
- If you want to make all the pierogi to serve together then you need to get a large oven proof dish.
- Melt lots of butter in the dish.
- Keep the dish warm in a low oven.
- As you take out the cooked pierogi add them to the dish and coat them with the melted butter.
- Keep on adding more as they cook.