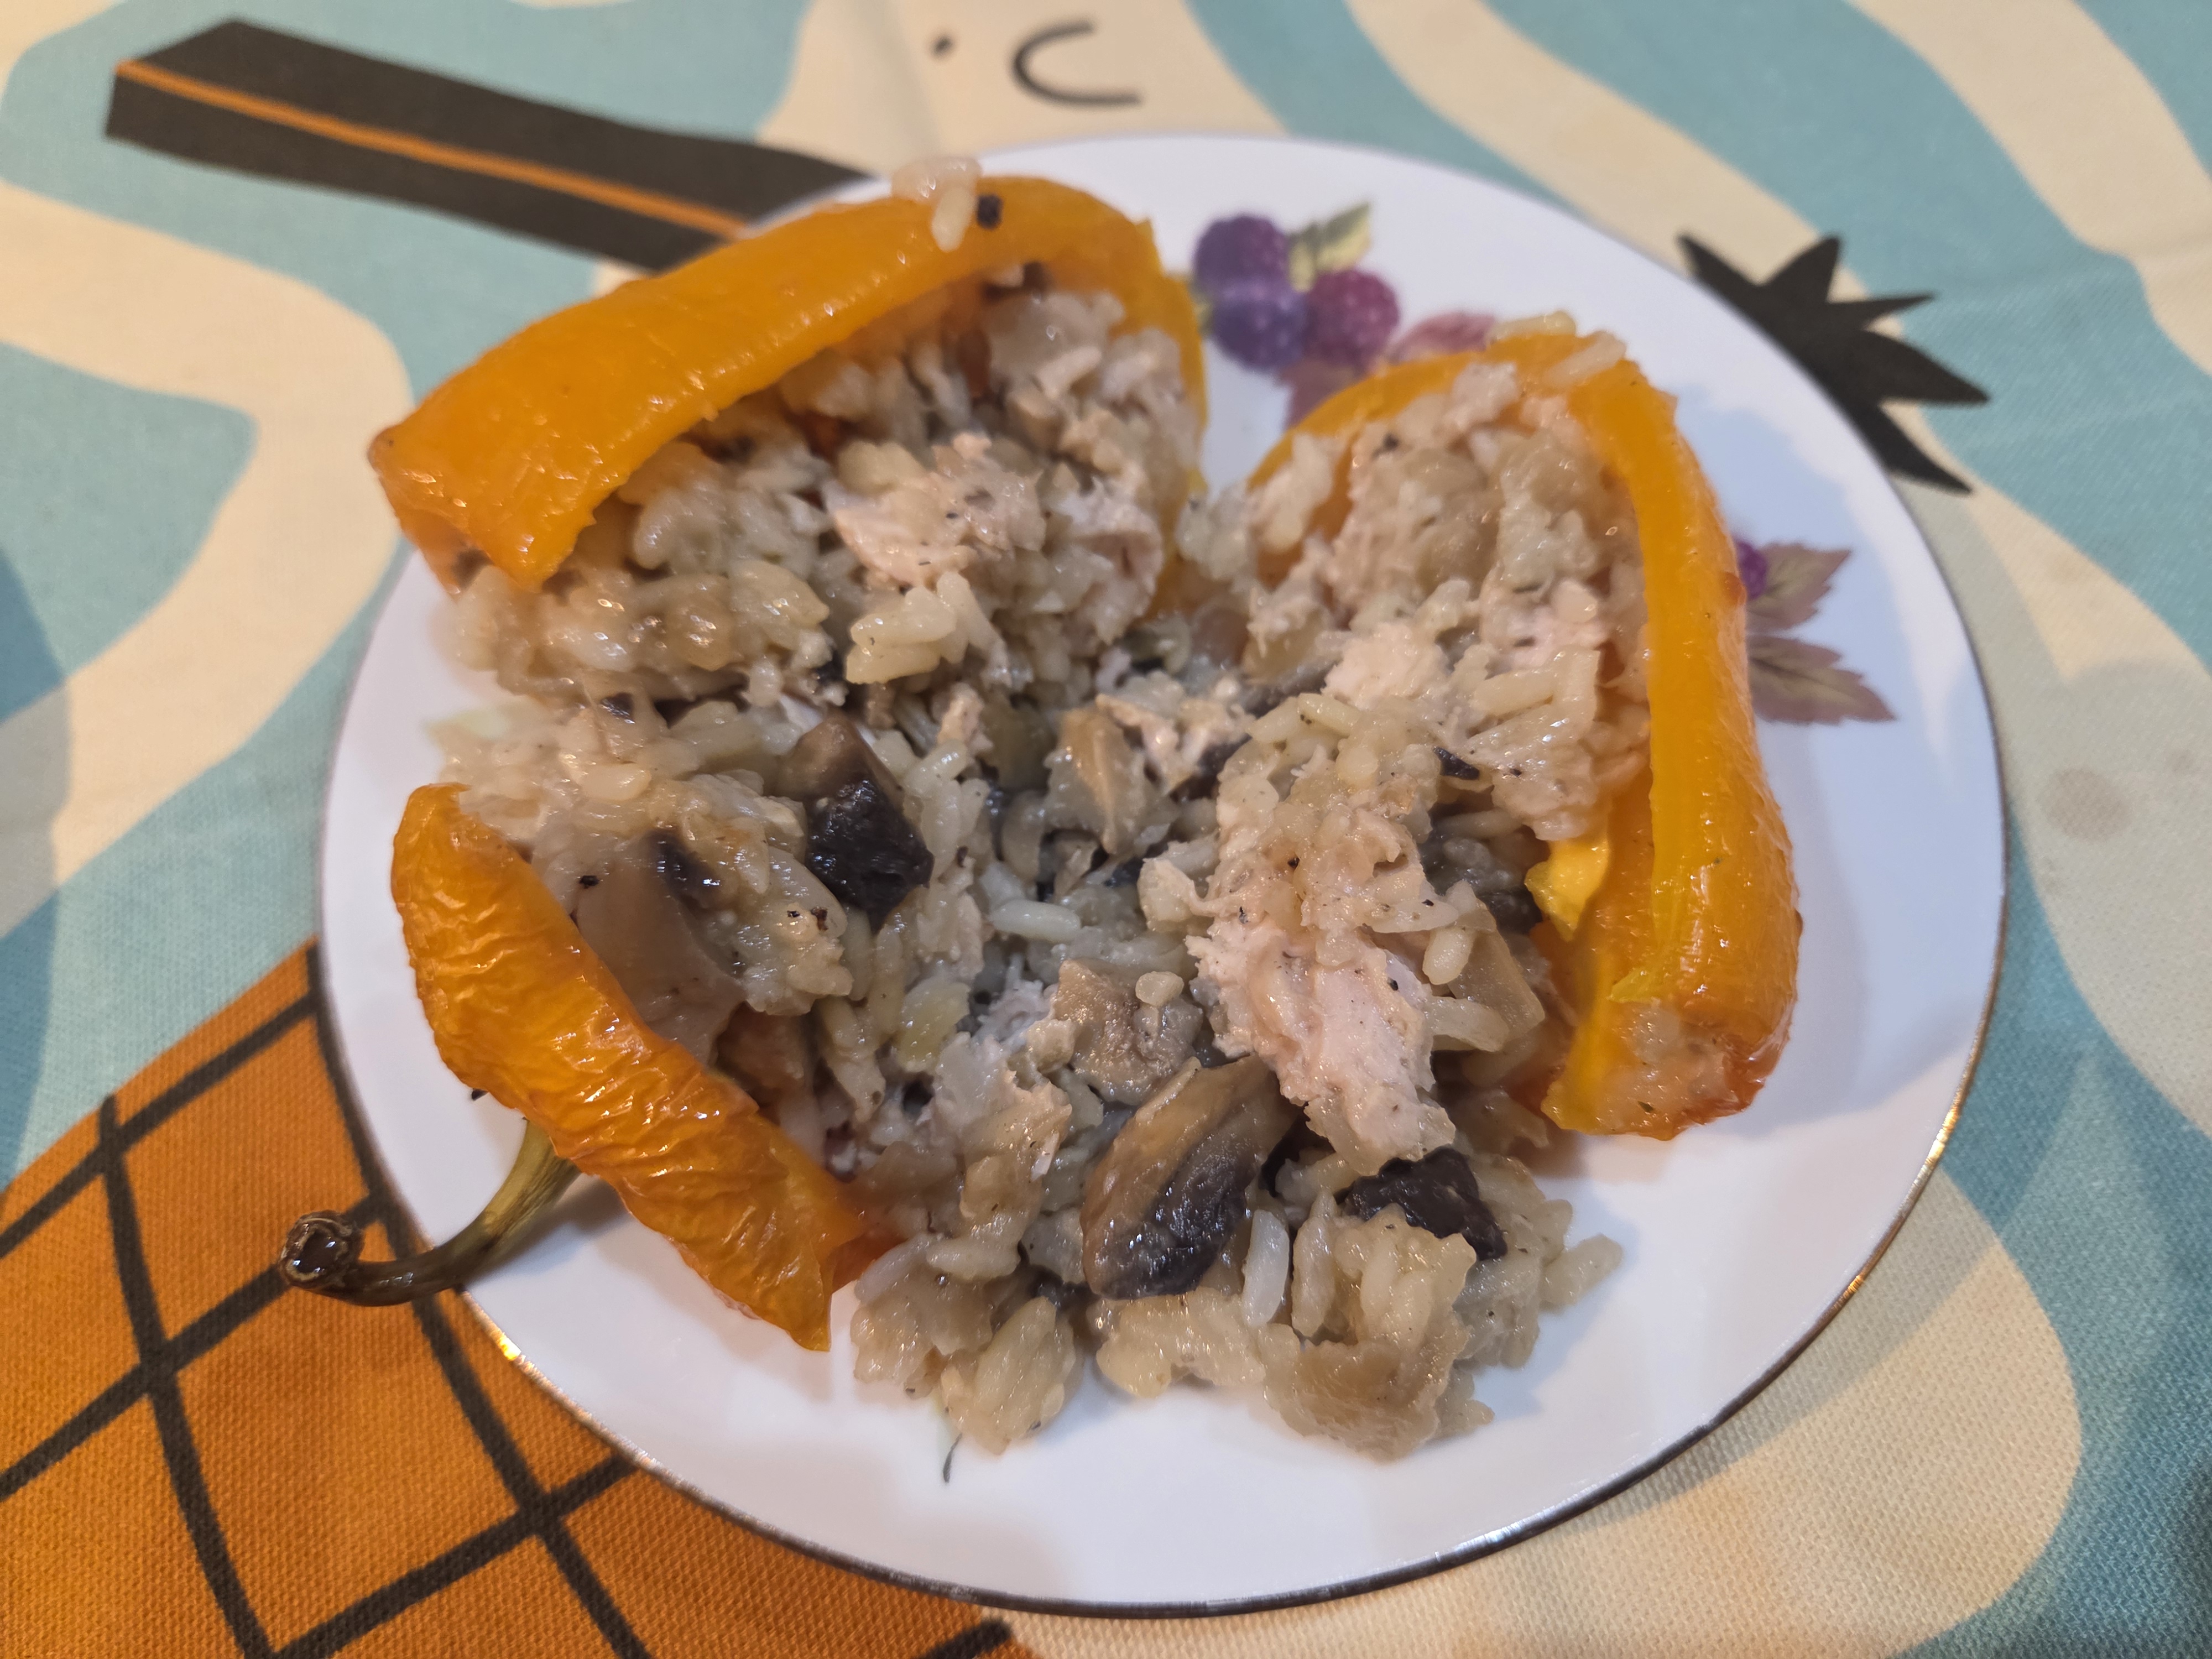
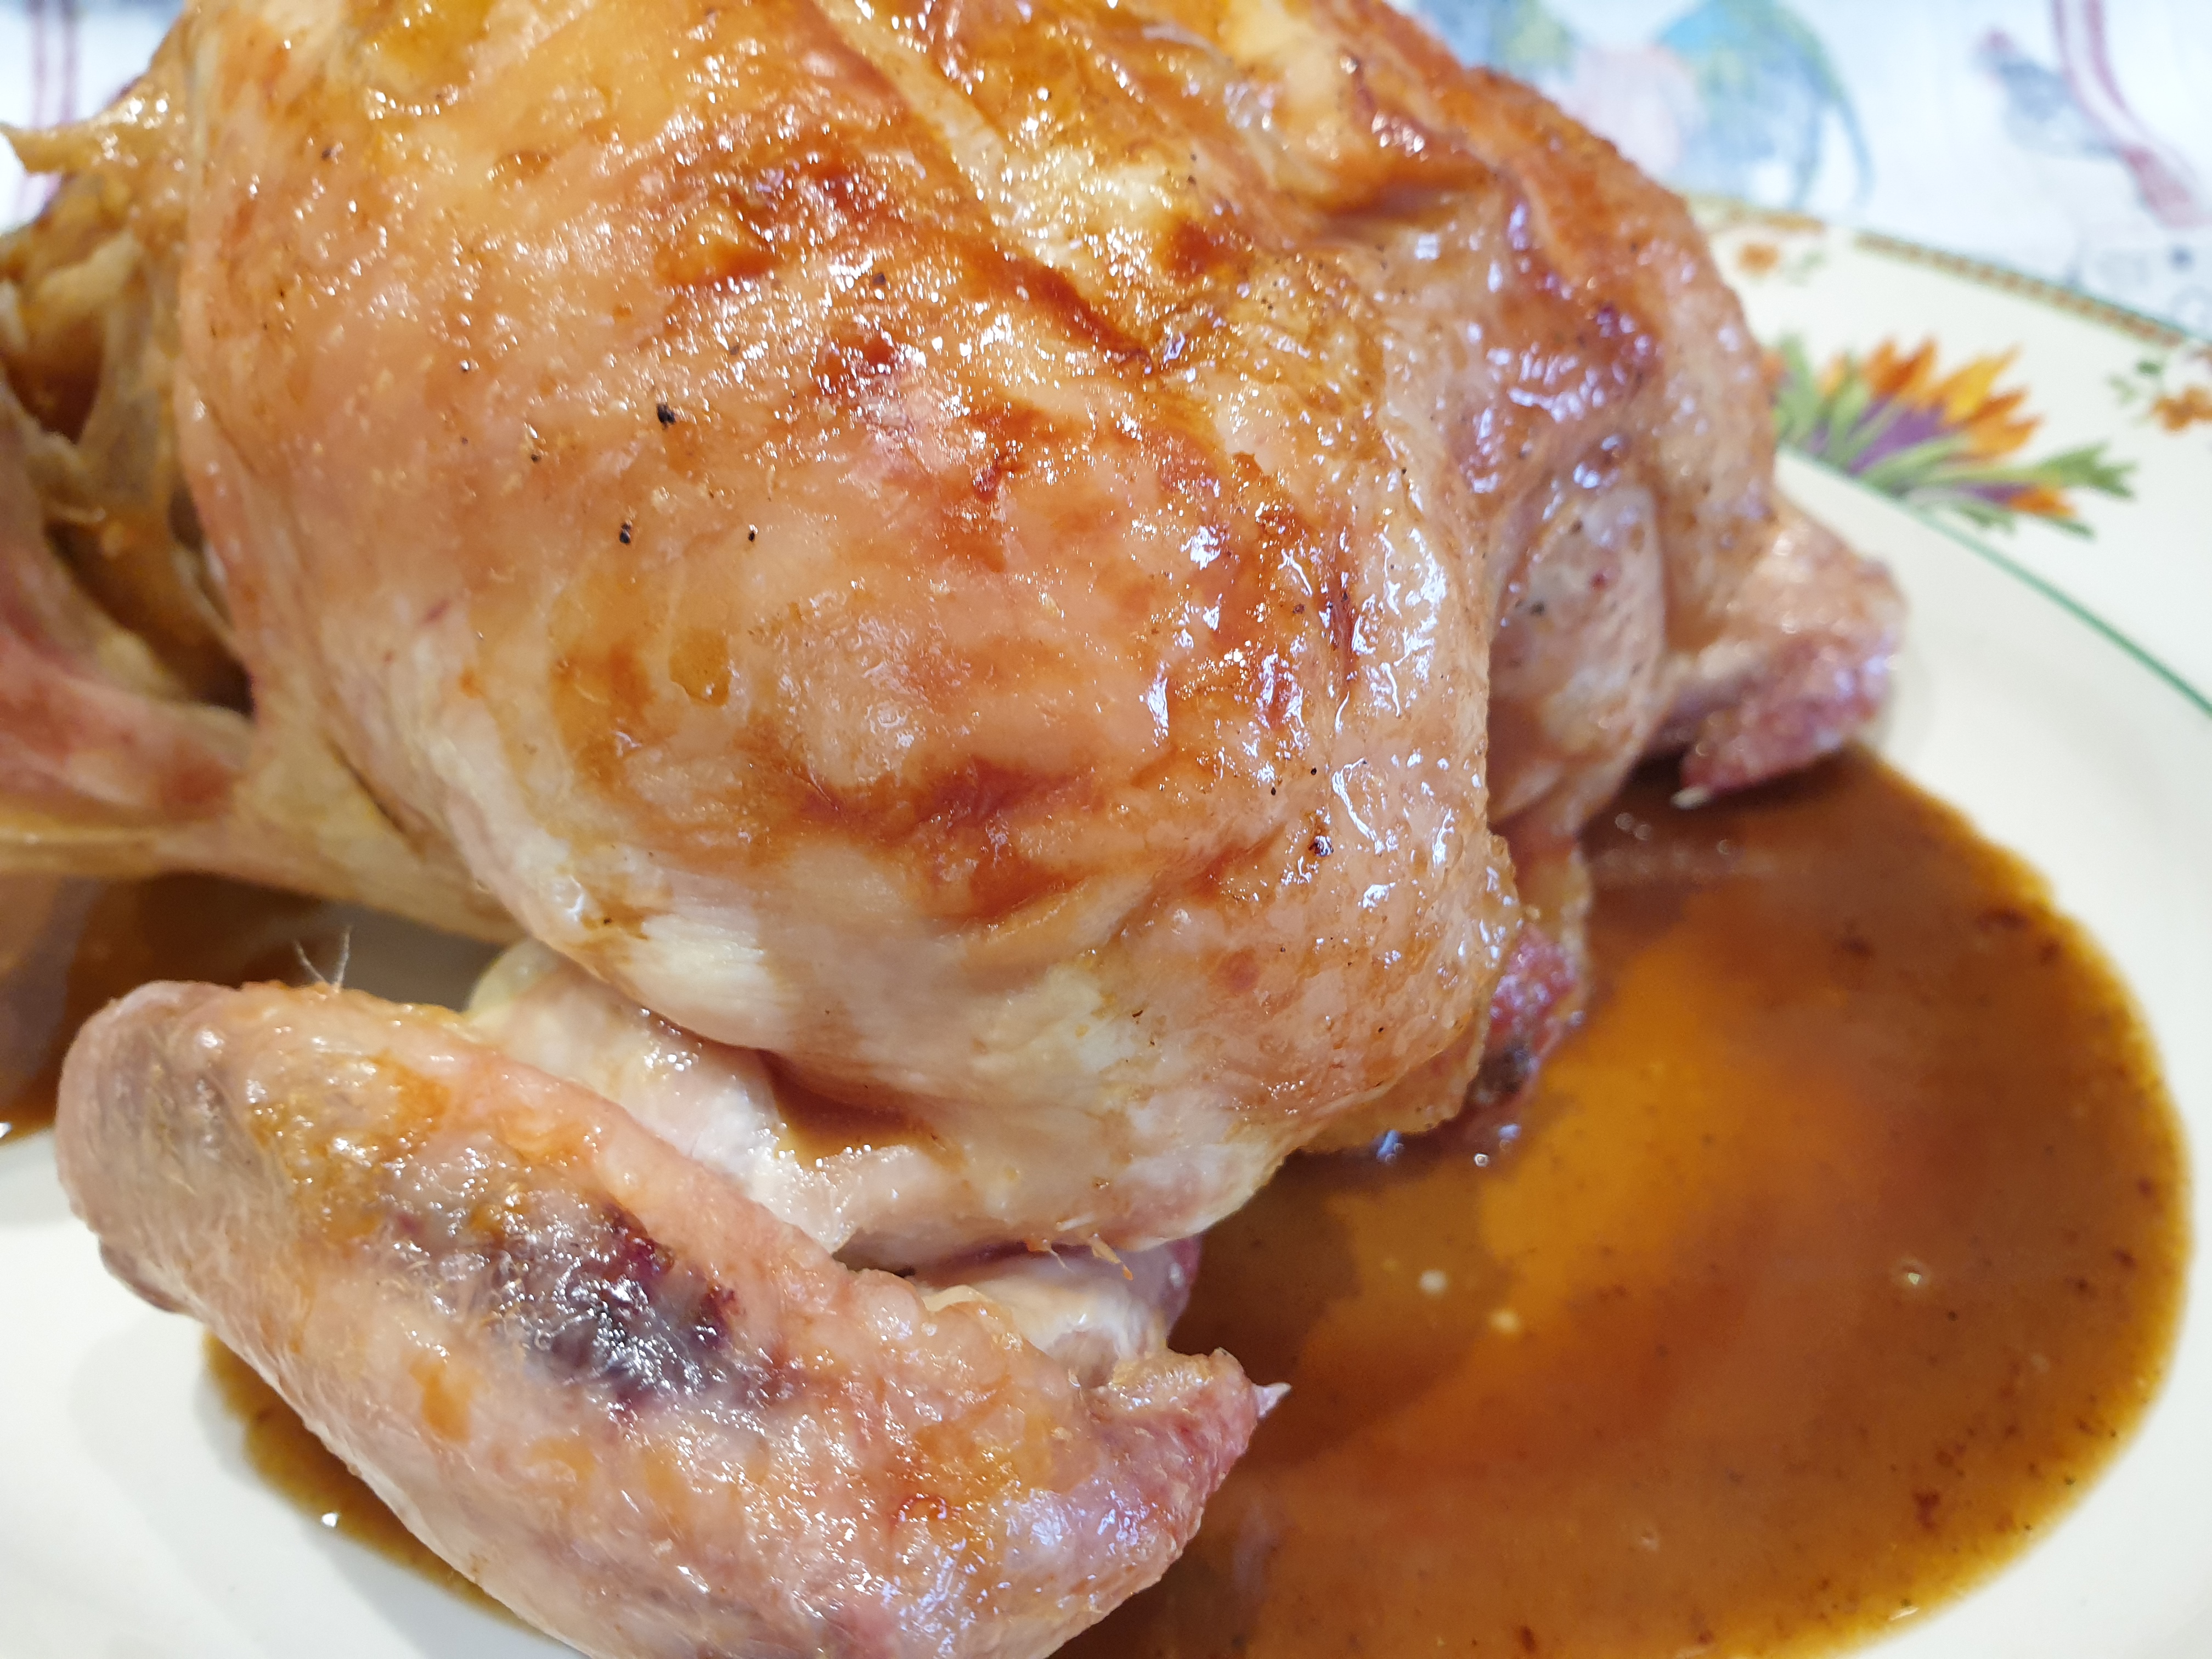
- Everyone liked my stuffed peppers so much I decided to try out a variation.
- This time I used rice as one of the fillings instead of buckwheat.
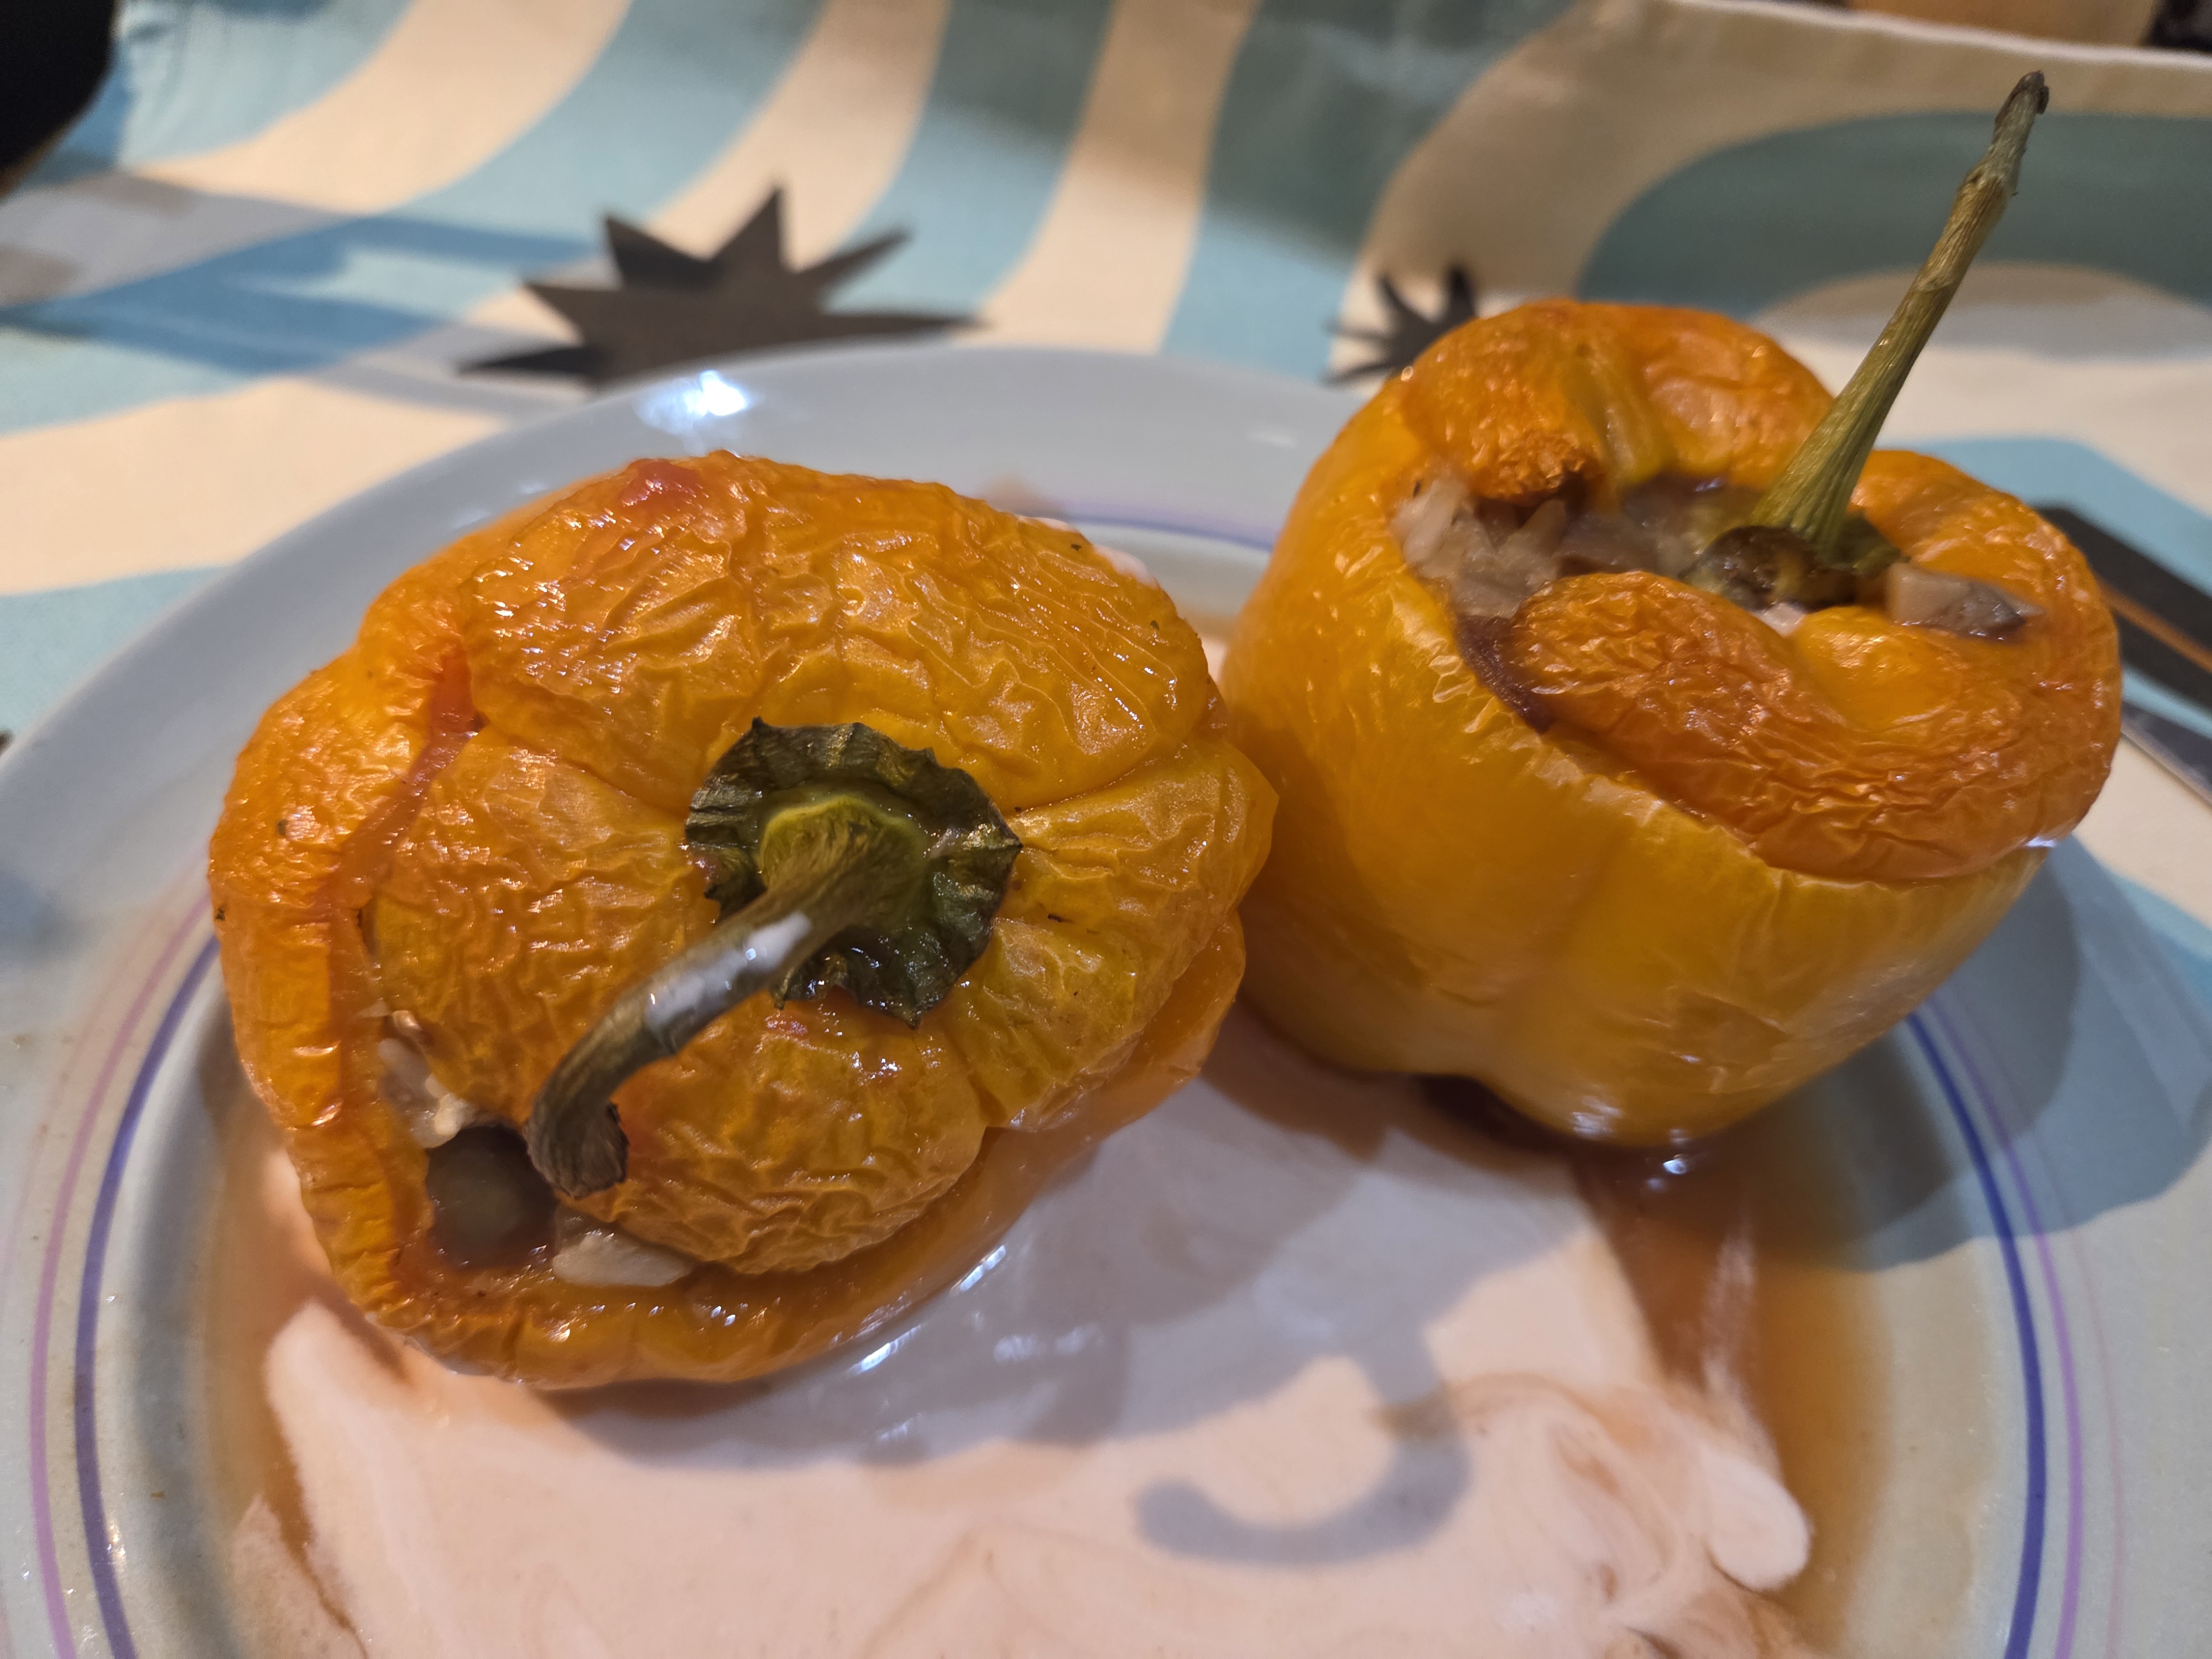
- I went to Leeds market and found that the red pepper season seemed to be over.
- There were lots of orange peppers but they were more a medium size.
- If you can get peppers with a flat bottom rather than a pointed one.
- Of course, you might not have any choice – you might have to use a knife in the baking try to hold the peppers up.
- The method is as before – but written up again for ease.
INGREDIENTS
- 6 orange or red large peppers
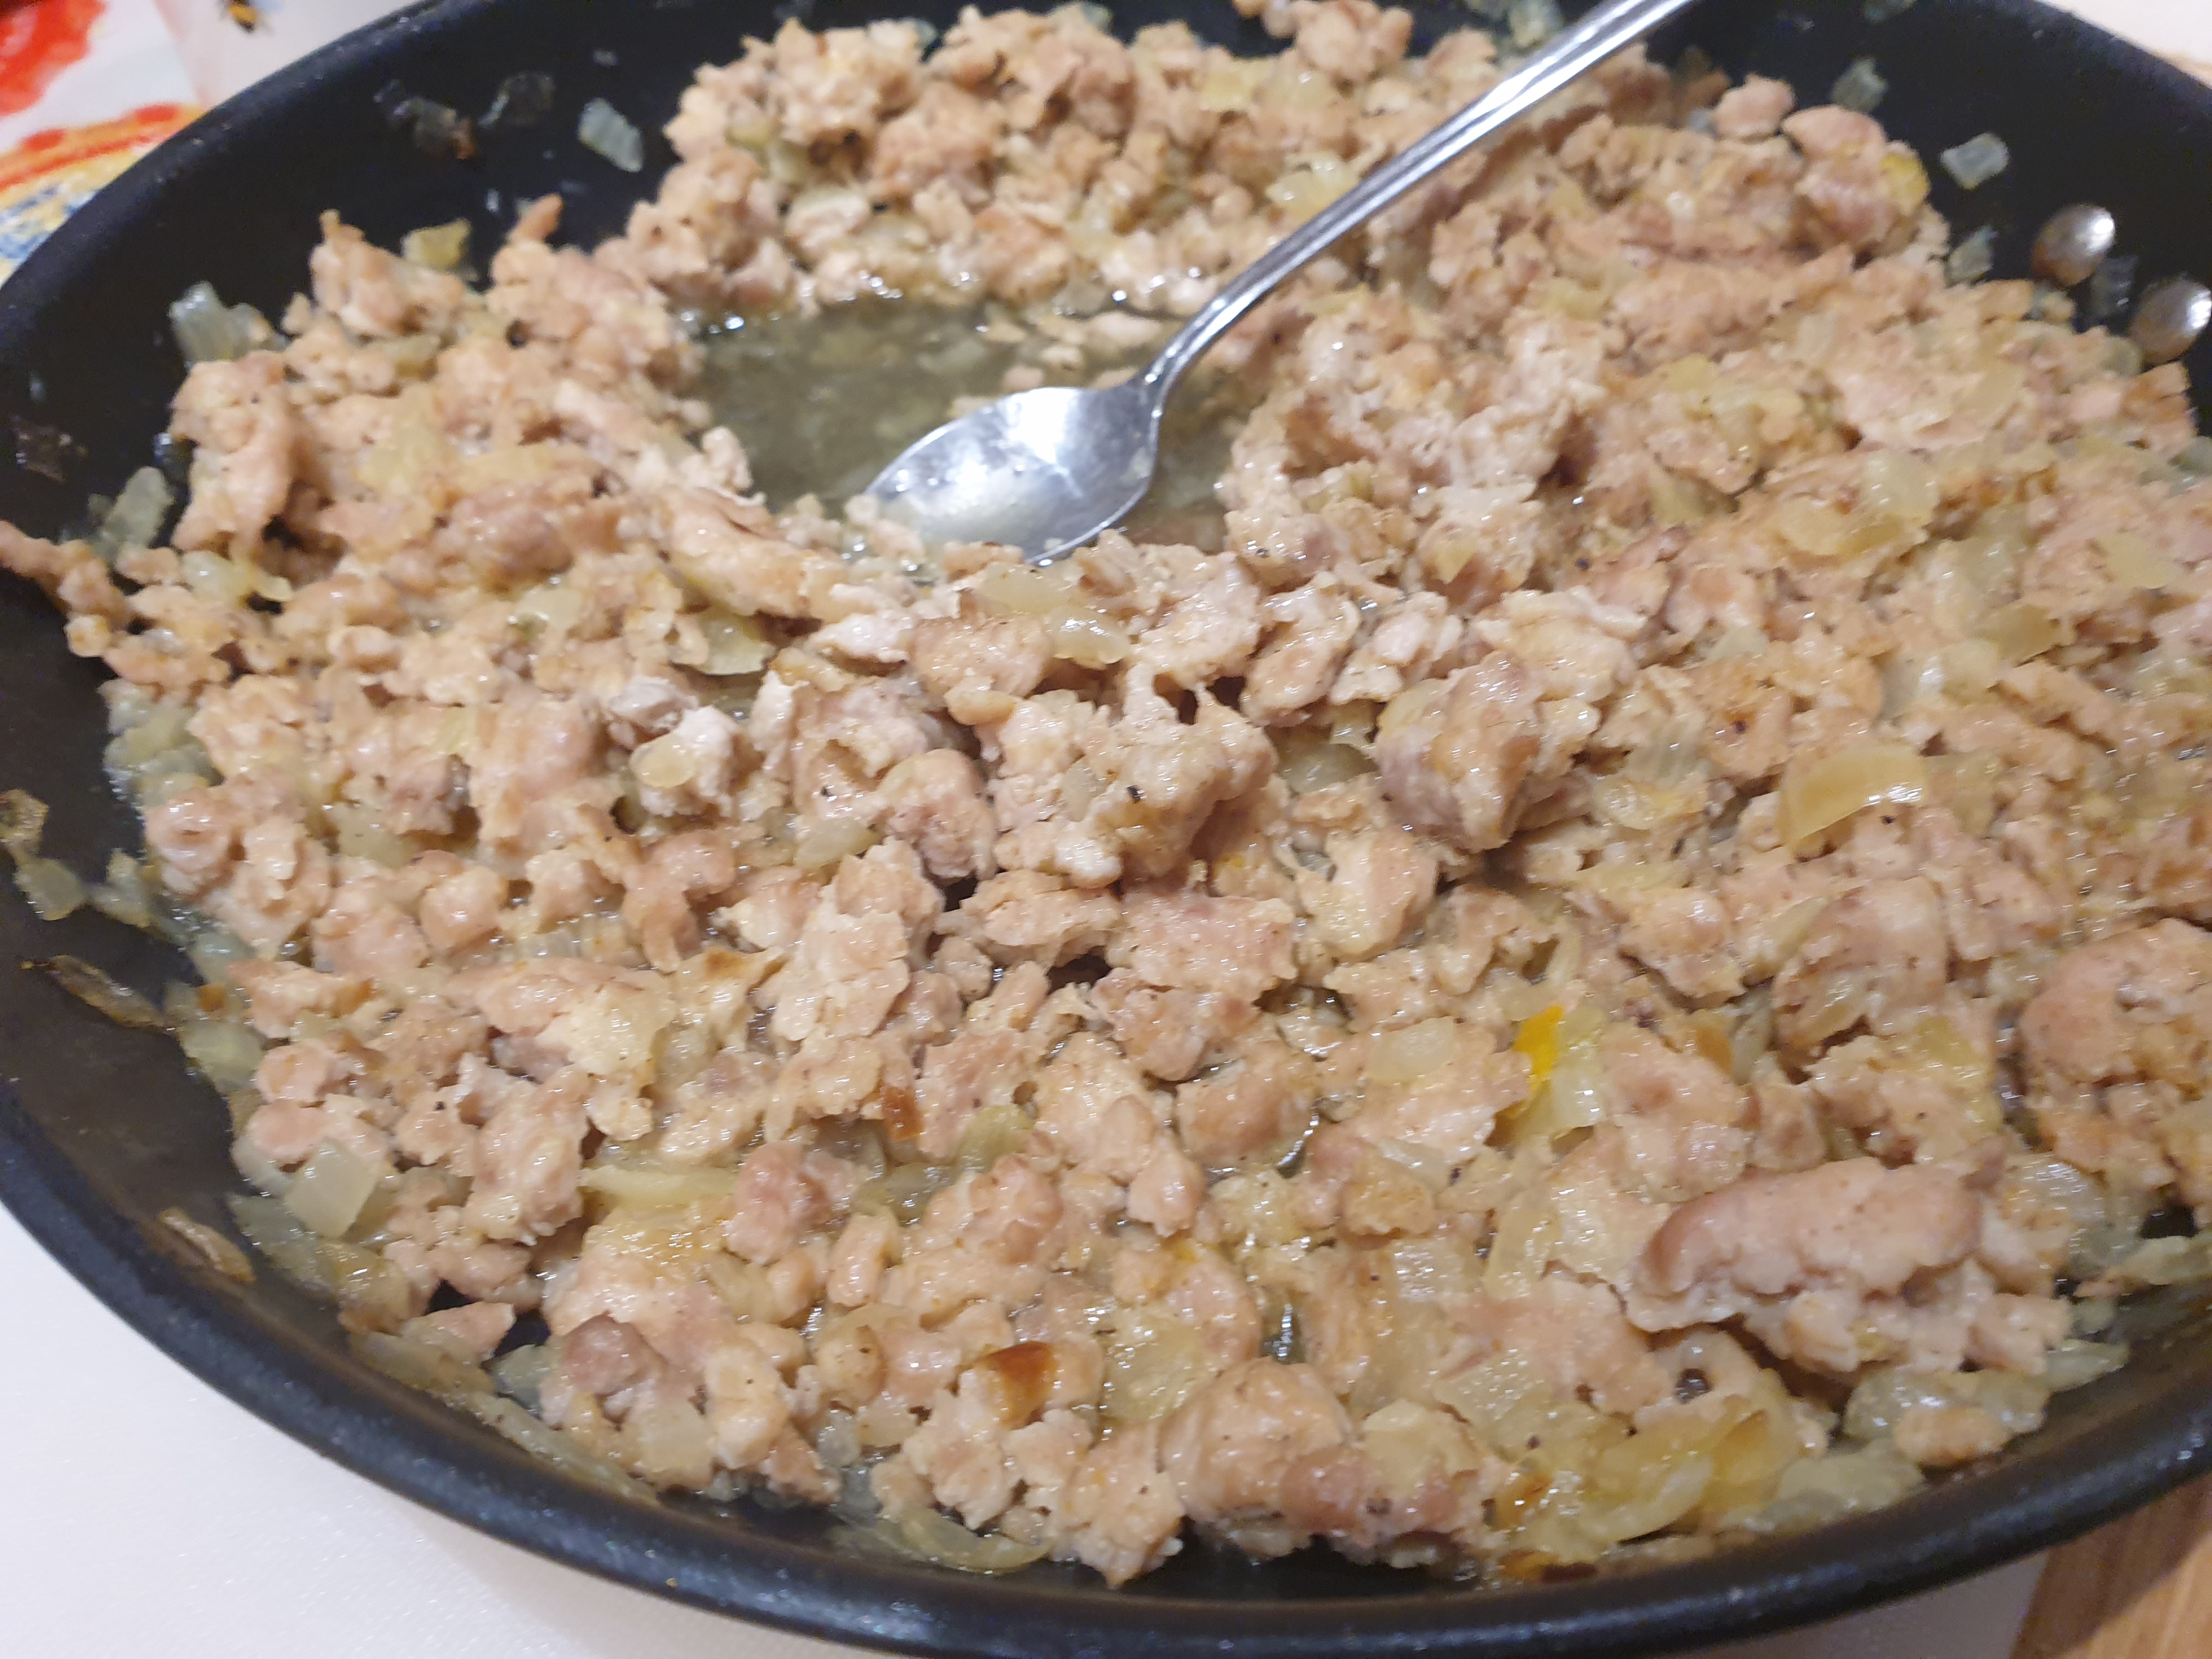
- 250-300g of minced or finely chopped chicken breast
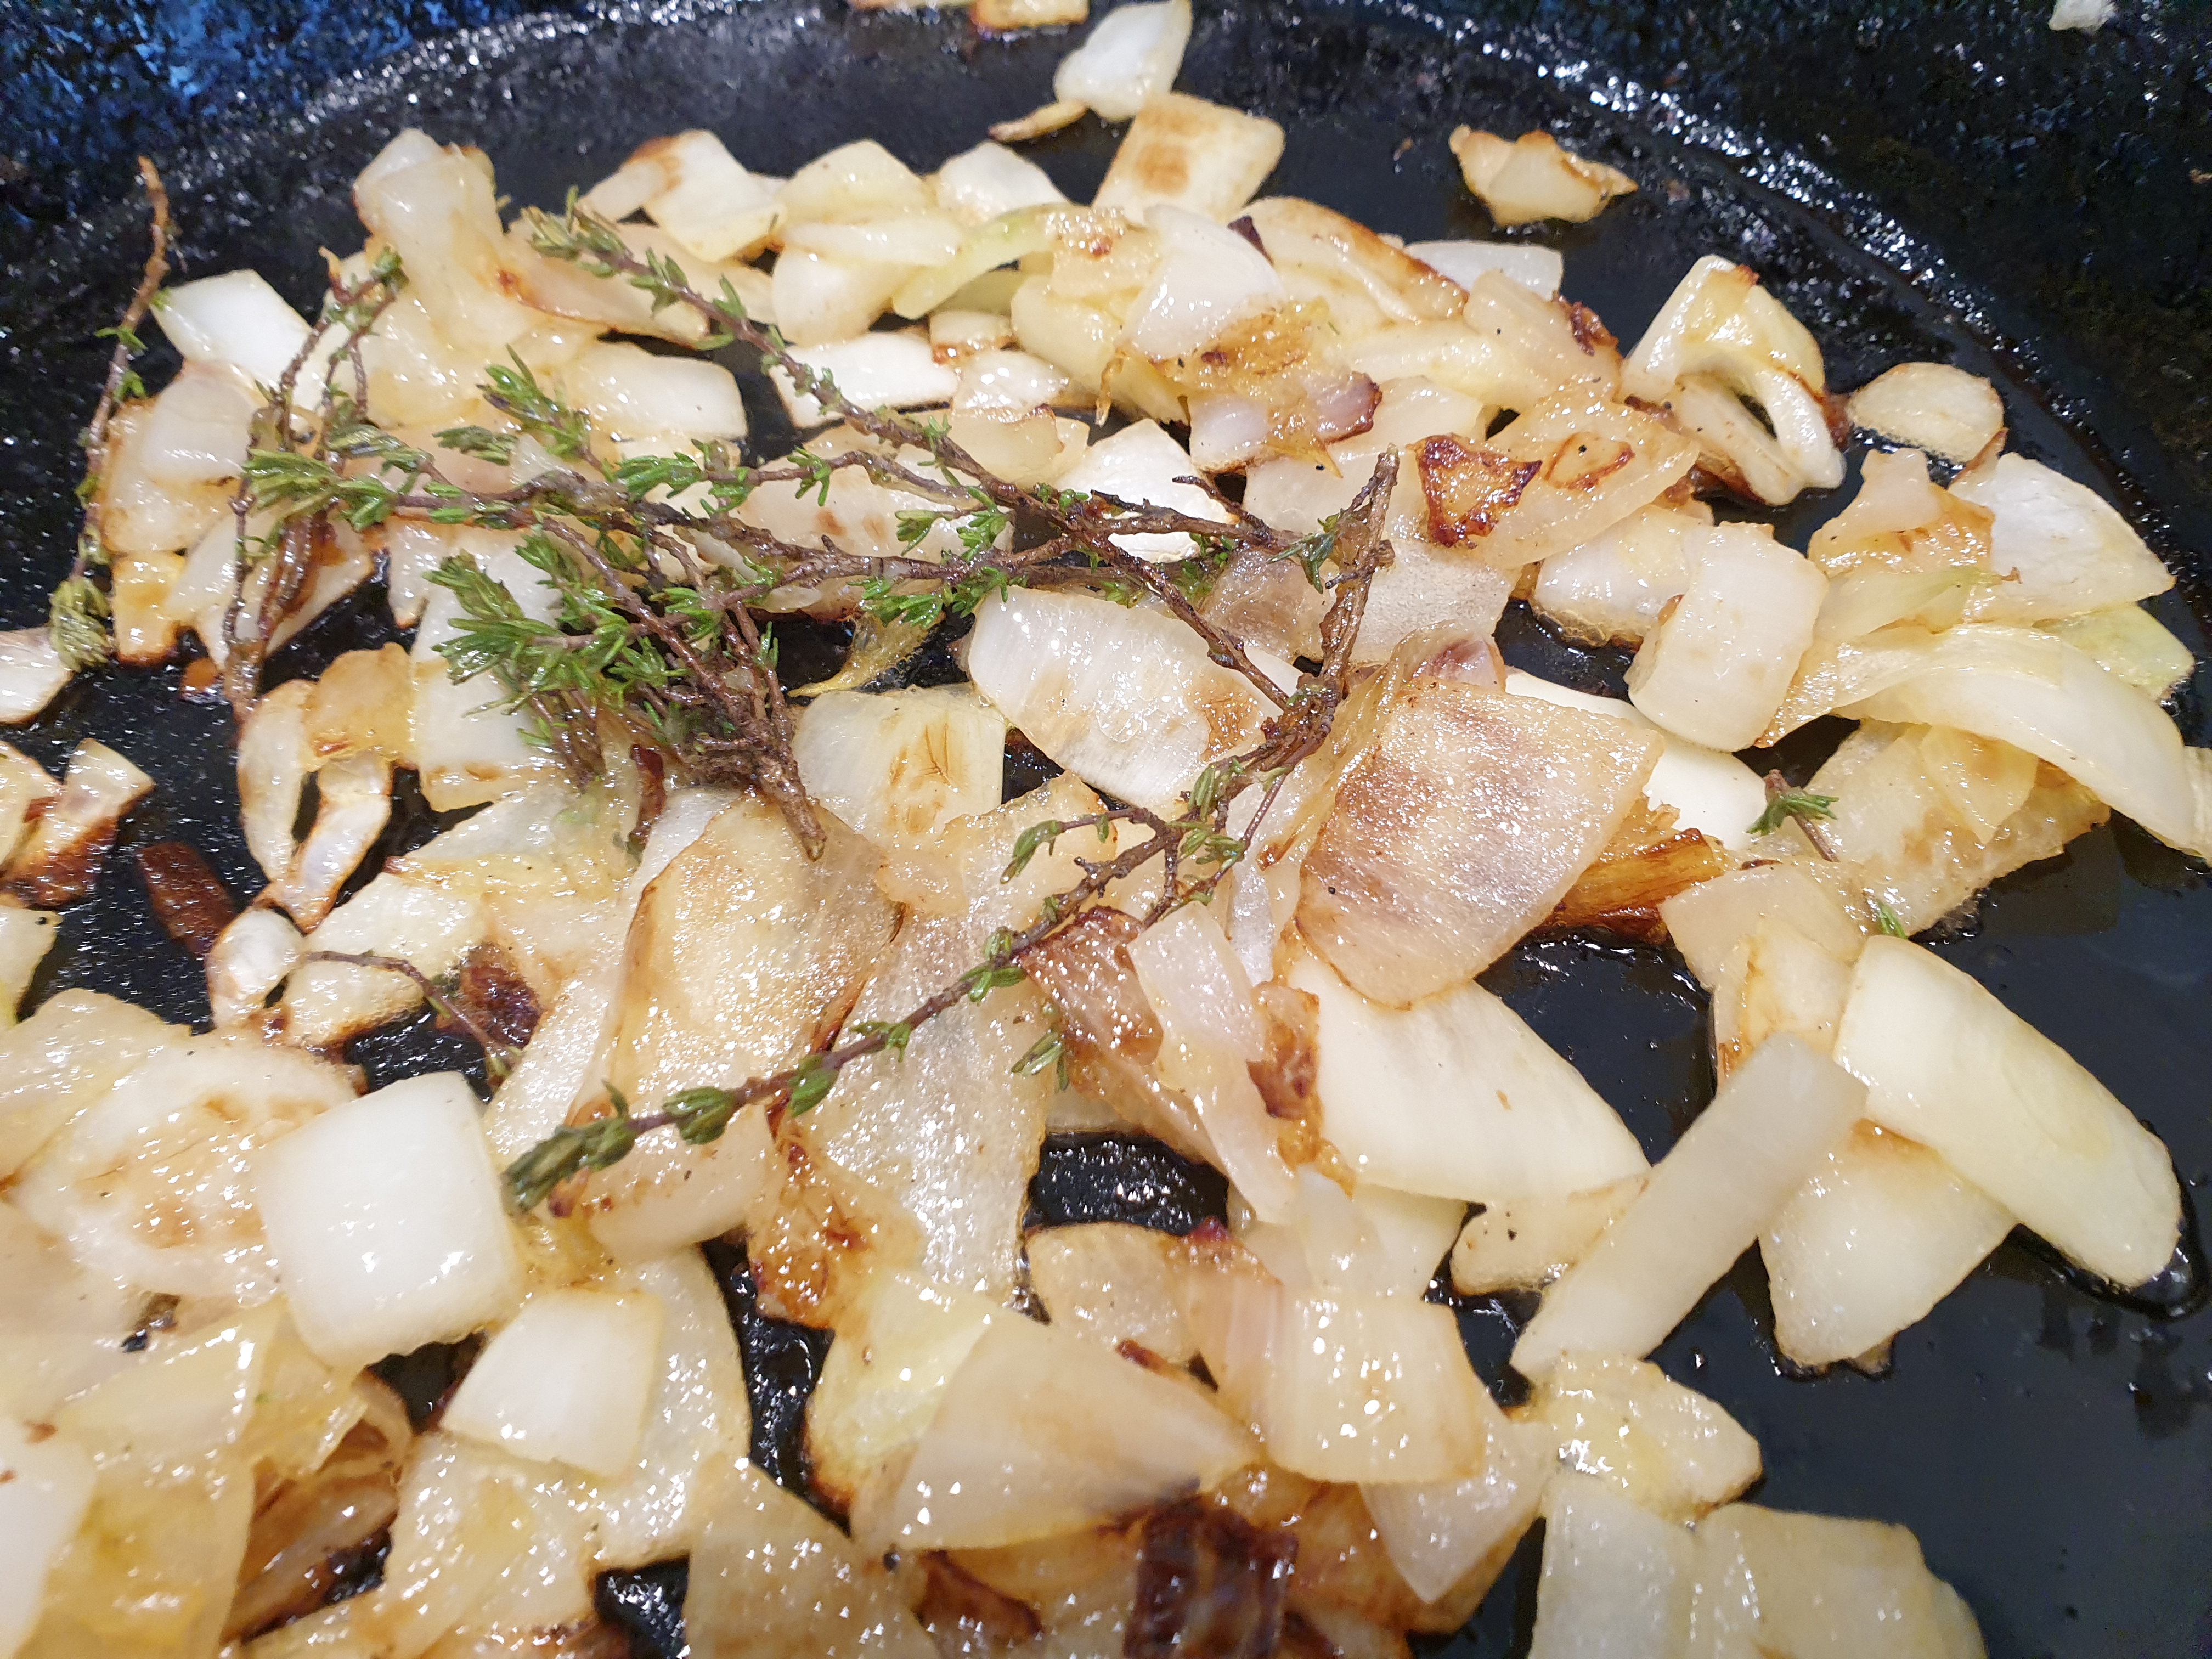
- 1 large onion – finely chopped
- 2 cloves of garlic – finely chopped
- 150 – 200g of mushrooms
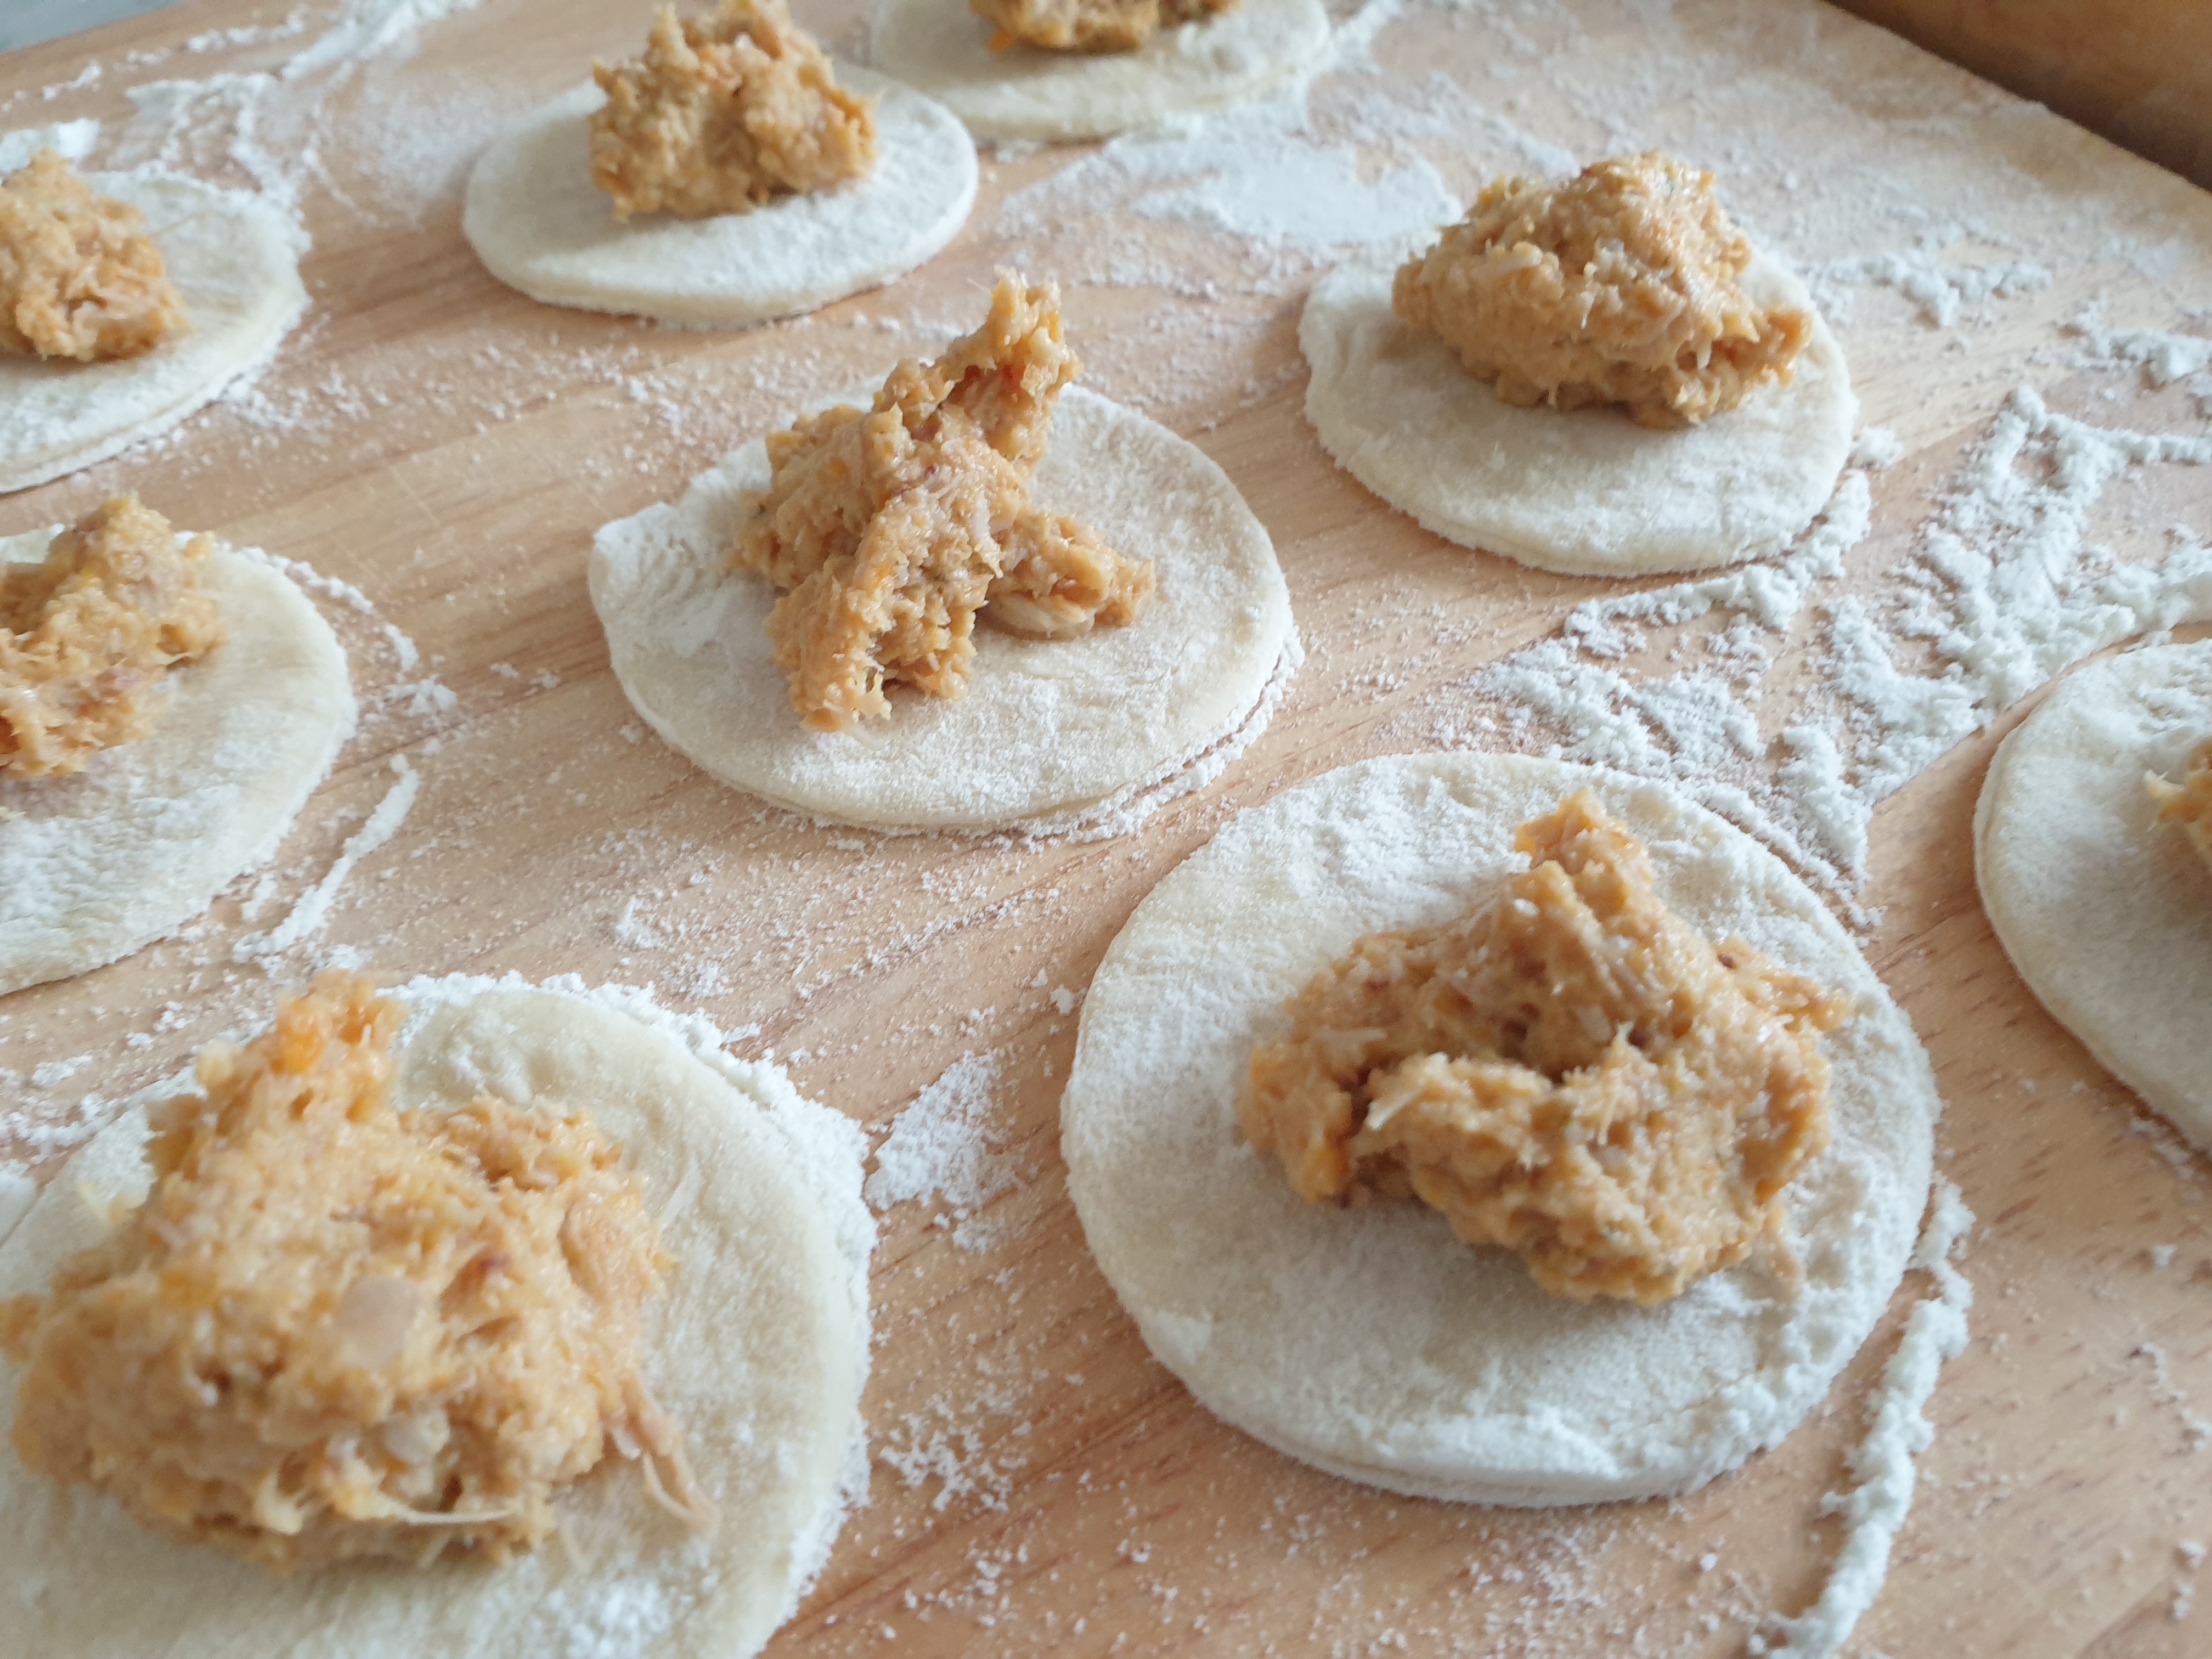
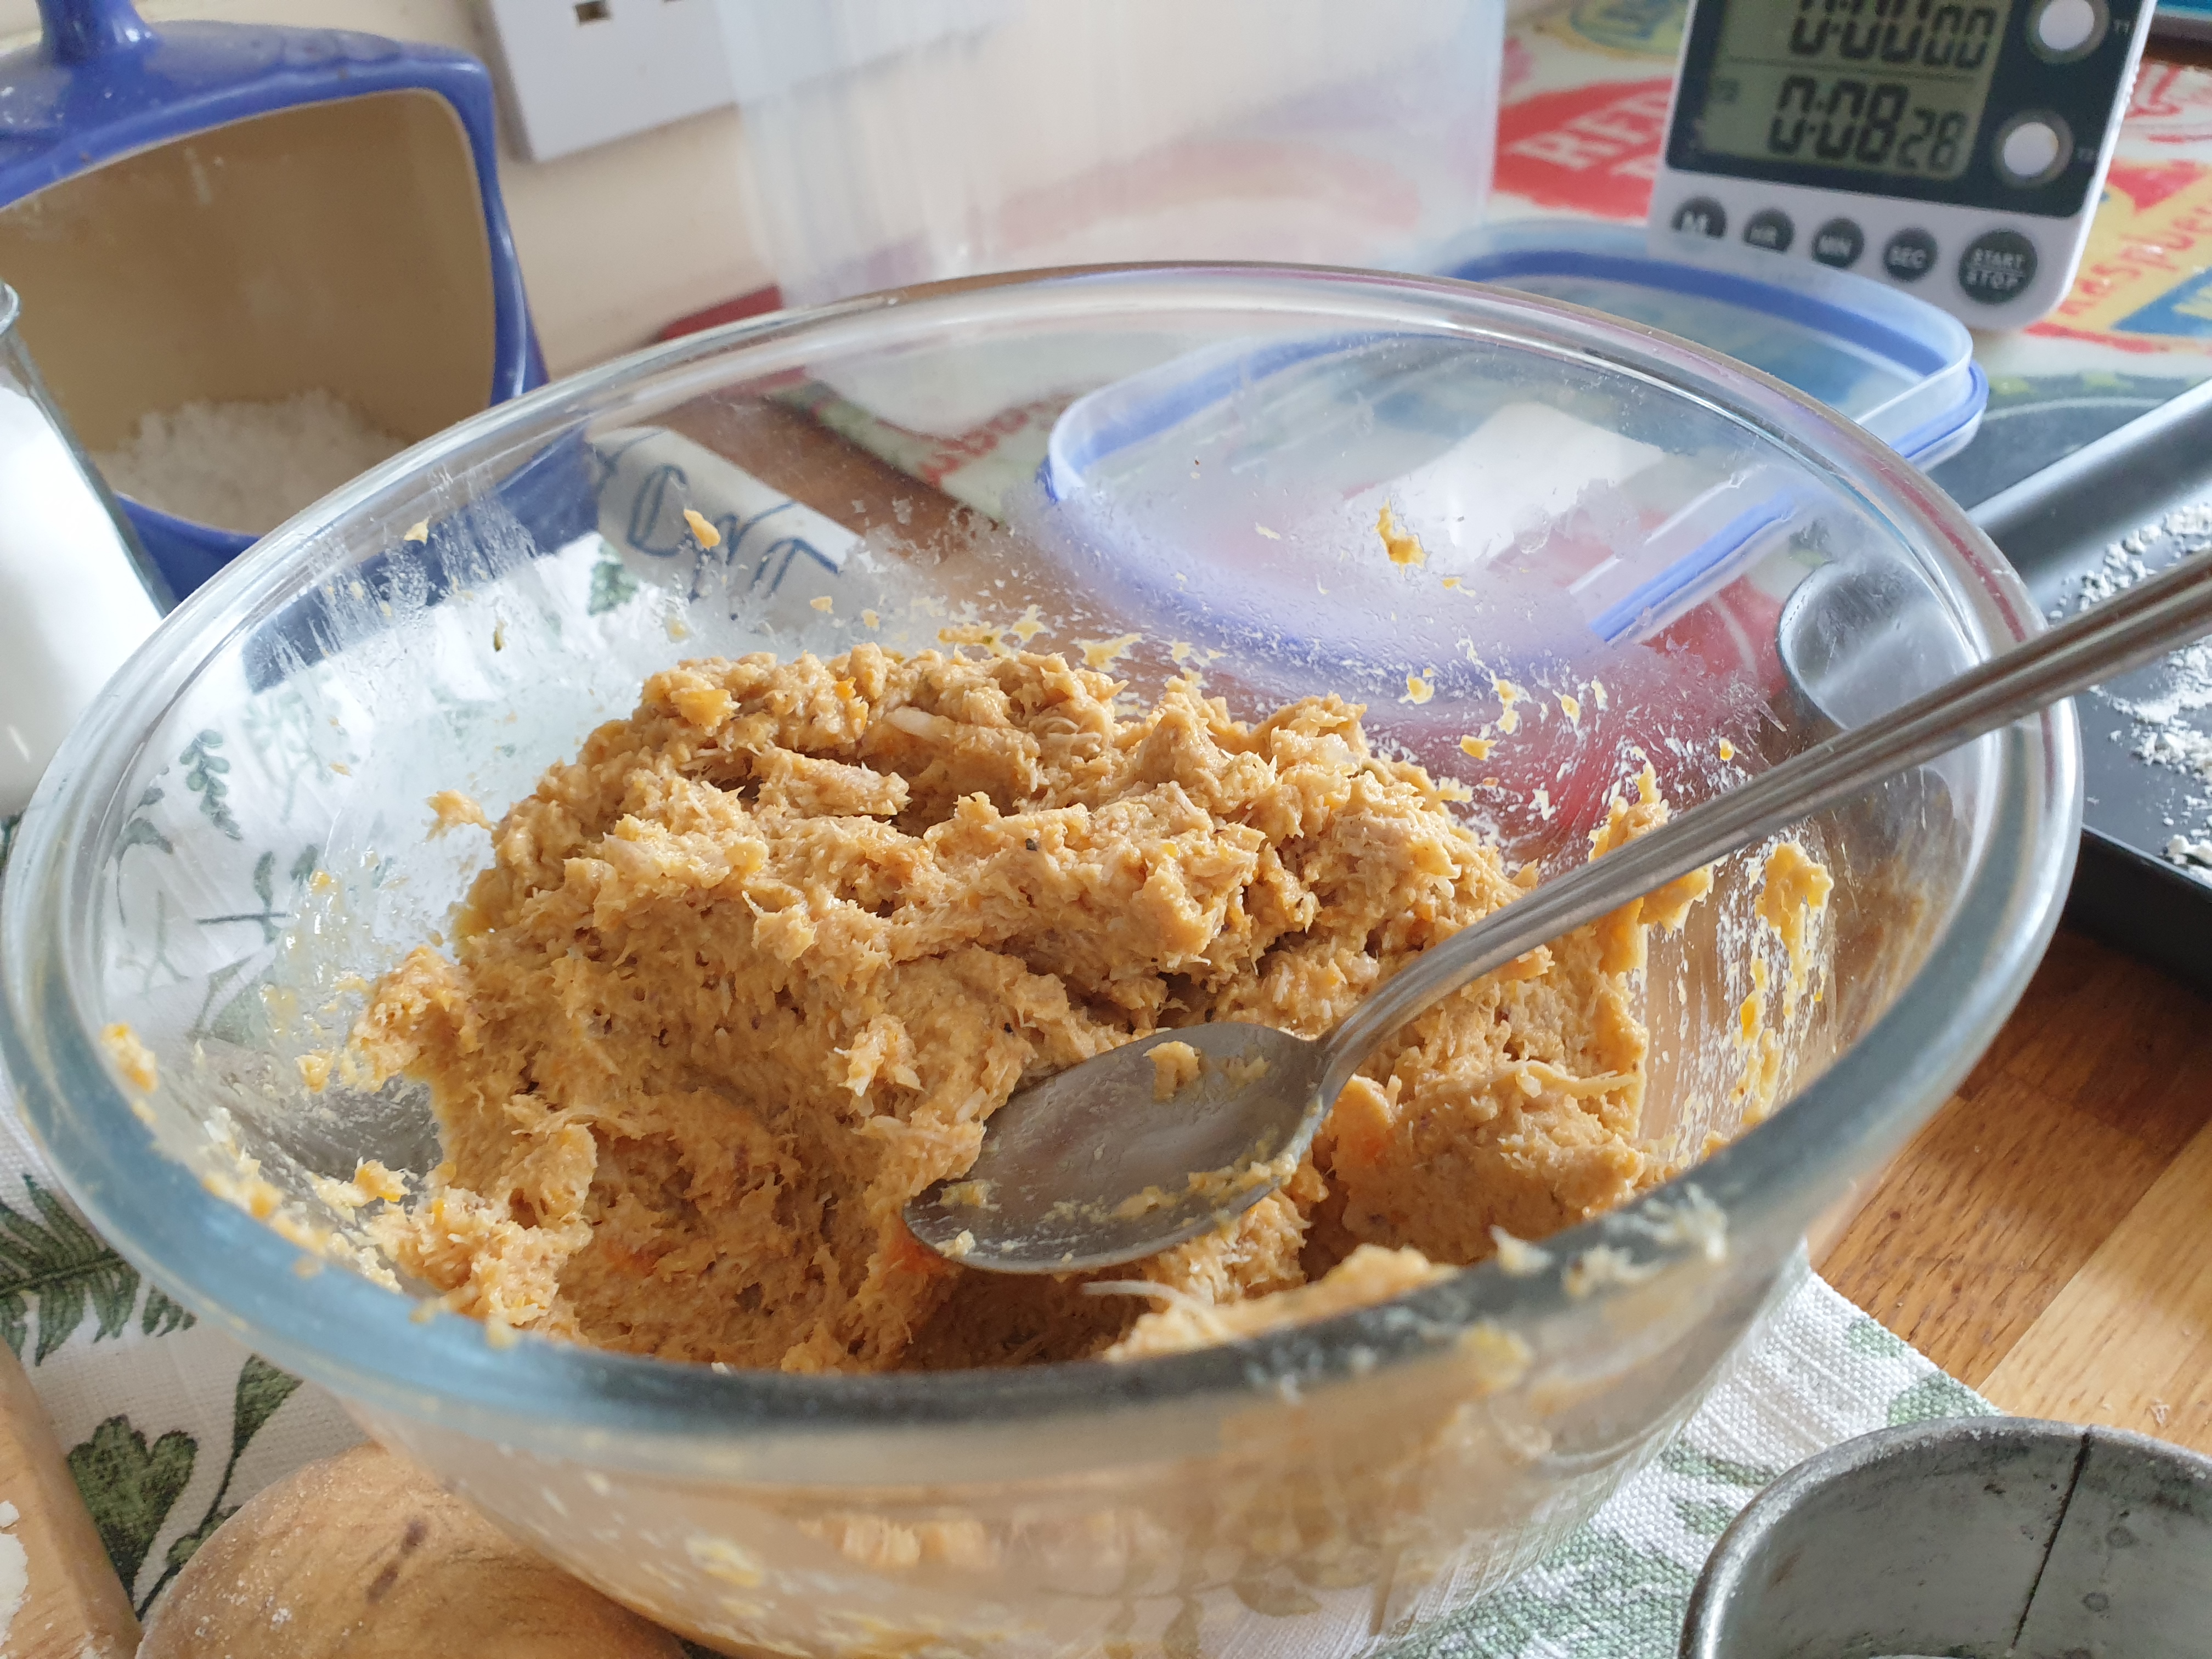
- 200g of cooked rice
- Butter for frying mushrooms and onions
- 1 teaspoon of dried thyme
- Salt & Pepper to taste
- 300ml of vegetable stock – I used marigold powder
- 1 -2 tablespoons of tomato purée or ketchup
- 1 teaspoon of dried paprika.
- *
- 1 tablespoon of soured cream or yoghurt – optional
METHOD
- Fry the onions in butter until they are golden.
- Chop the mushrooms into small pieces and add them to the onions.
- Fry them both together.
- Add the garlic and fry the mixture together.
- Pre- heat the oven to GM3 – 150°C.
- Cut the tops of the peppers and keep to one side.
- Scoop out the seeds from the peppers.
- Put the peppers into a roasting tray.
- Add some of the vegetable stock to the base.
- Cook for around 15 minutes to soften the peppers.
- Leave to cool slightly.
- Turn up the oven to GM4 – 180°C
- Mix together the cooked rice with the minced chicken and the mushroom mix, add the marjoram.
- Season to taste.
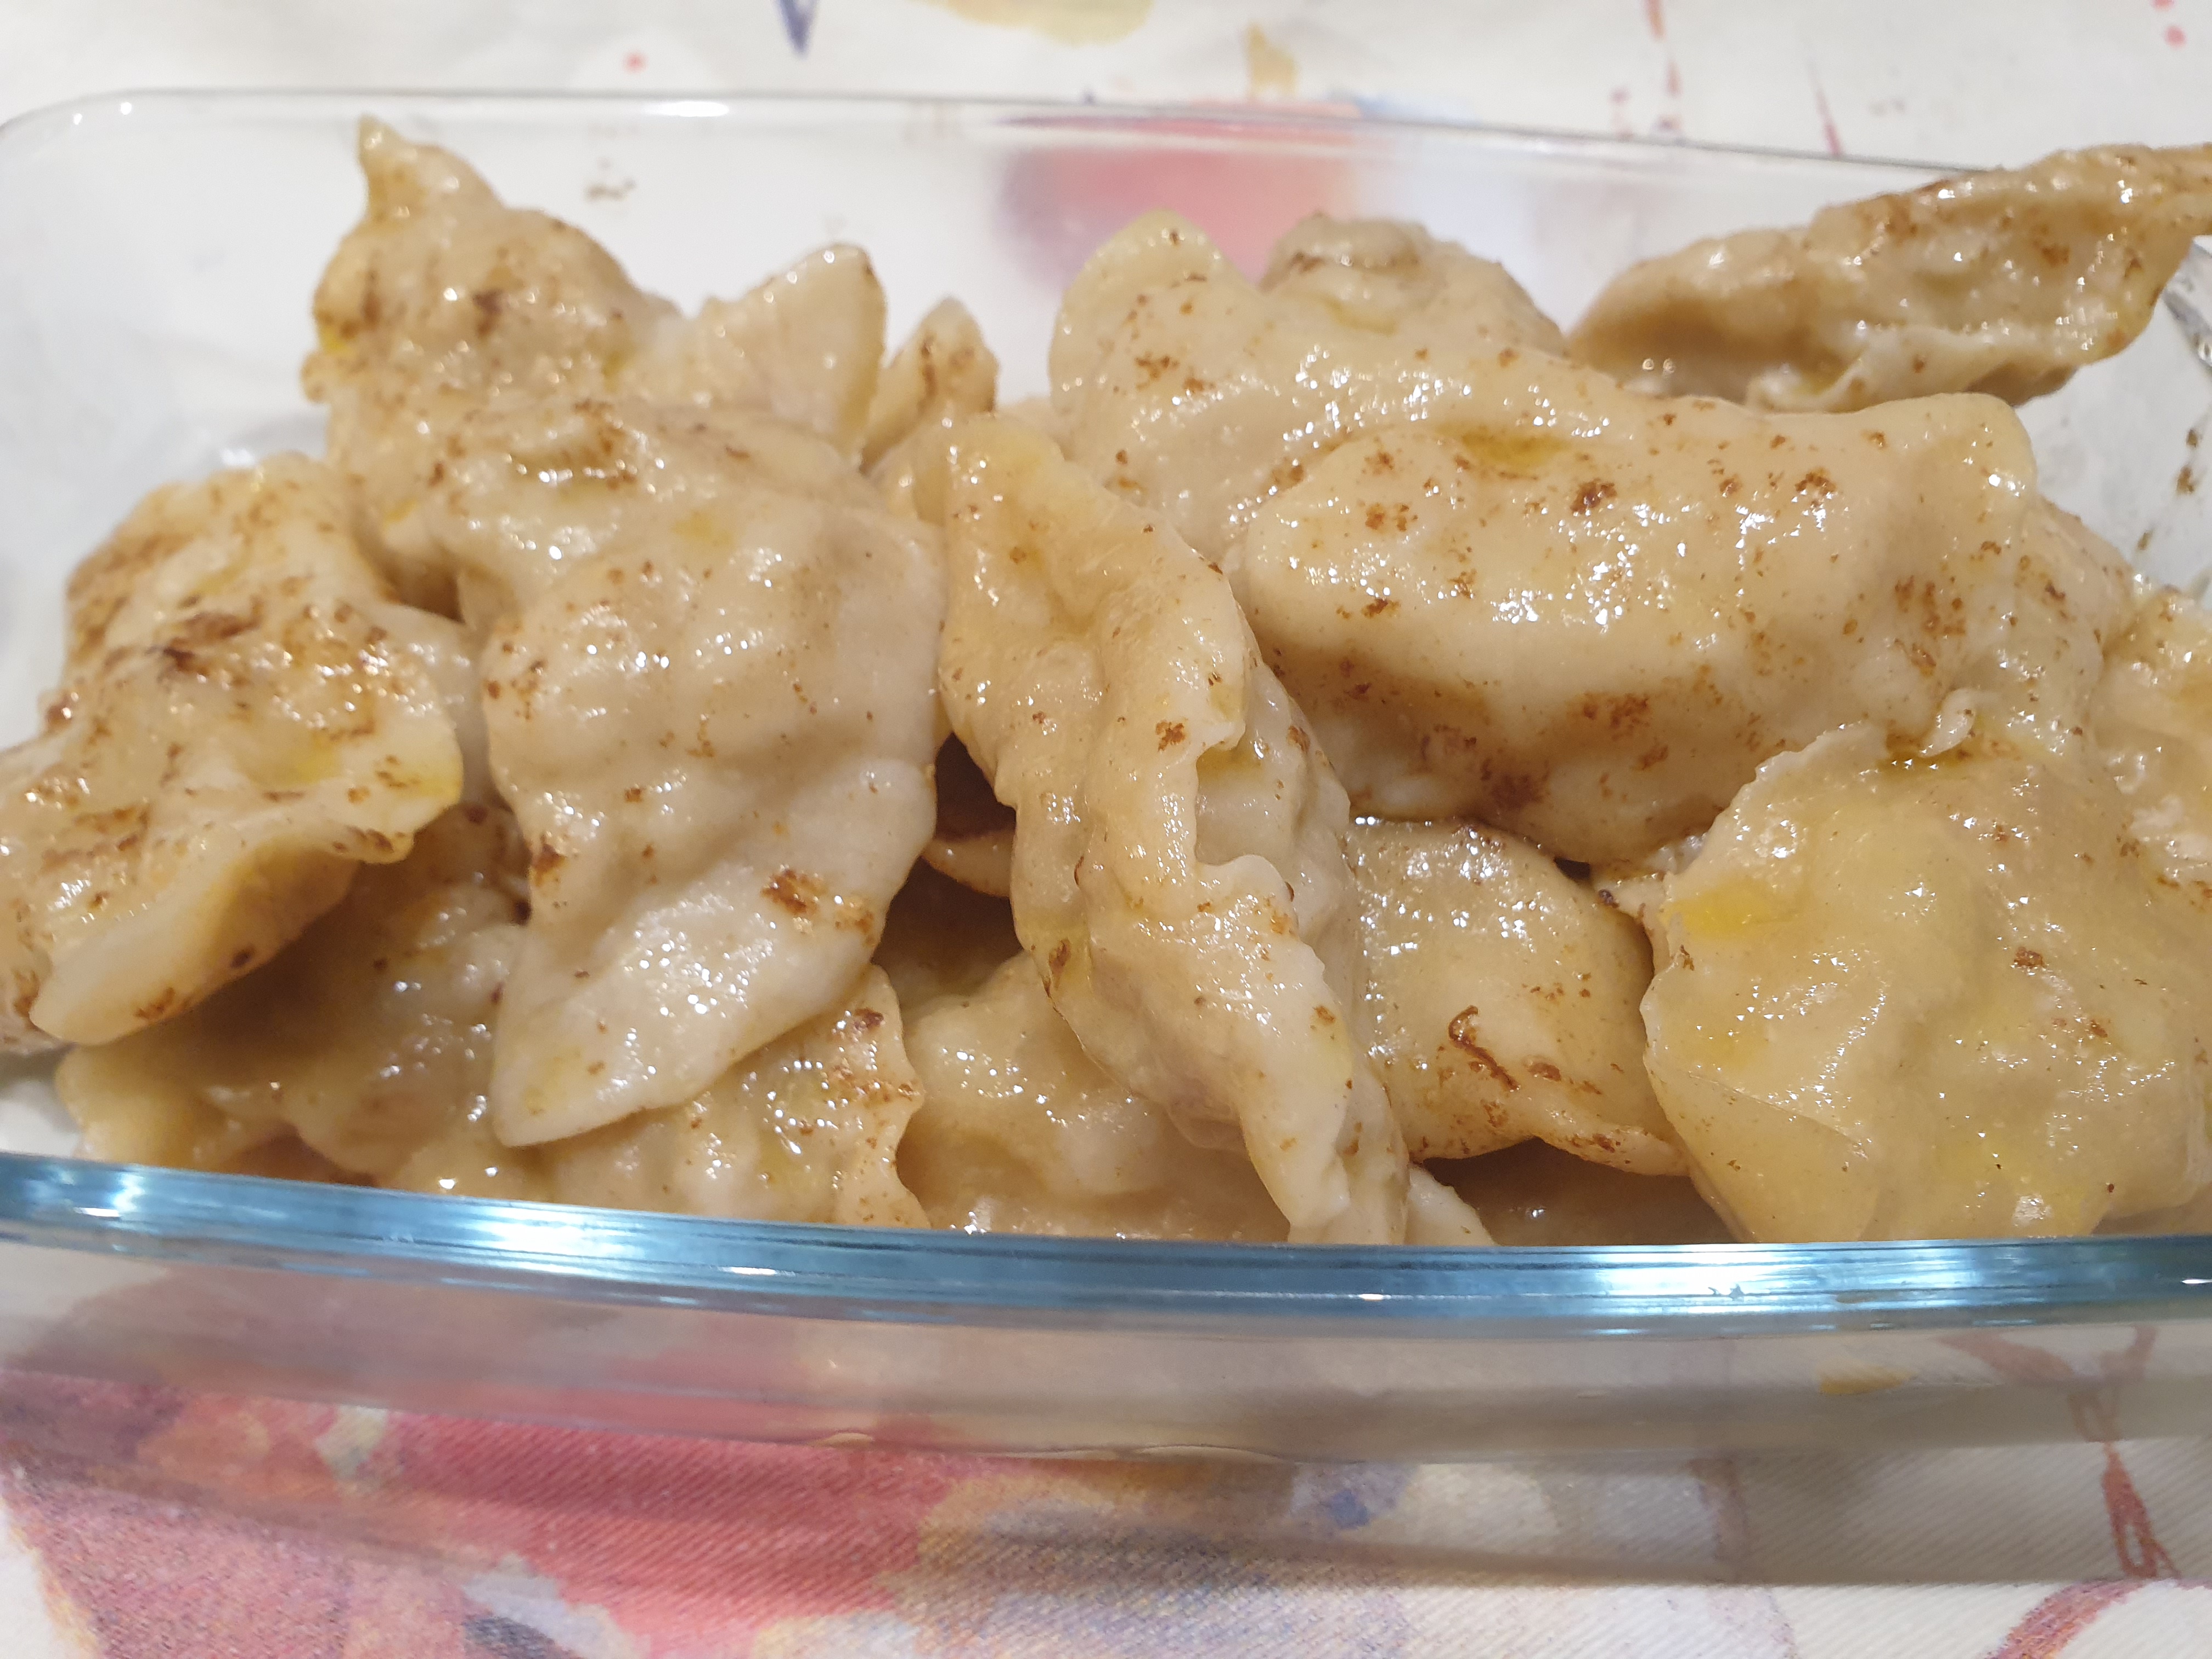
- Fill each pepper with the filling and put on the tops.
- *
- Add the rest of the vegetable stock to the baking tin and the paprika and tomato purée or ketchup and stir.
- Put the peppers to stand in the stock mixture.
- You might need a knife laid down to help keep the peppers vertical.
- Put back into the oven and cook for around 1 hour.
- You might need longer so the peppers are softish.
- Keep looking at the progress and pour some of the stock mixture over the peppers to keep them from drying out.
- *
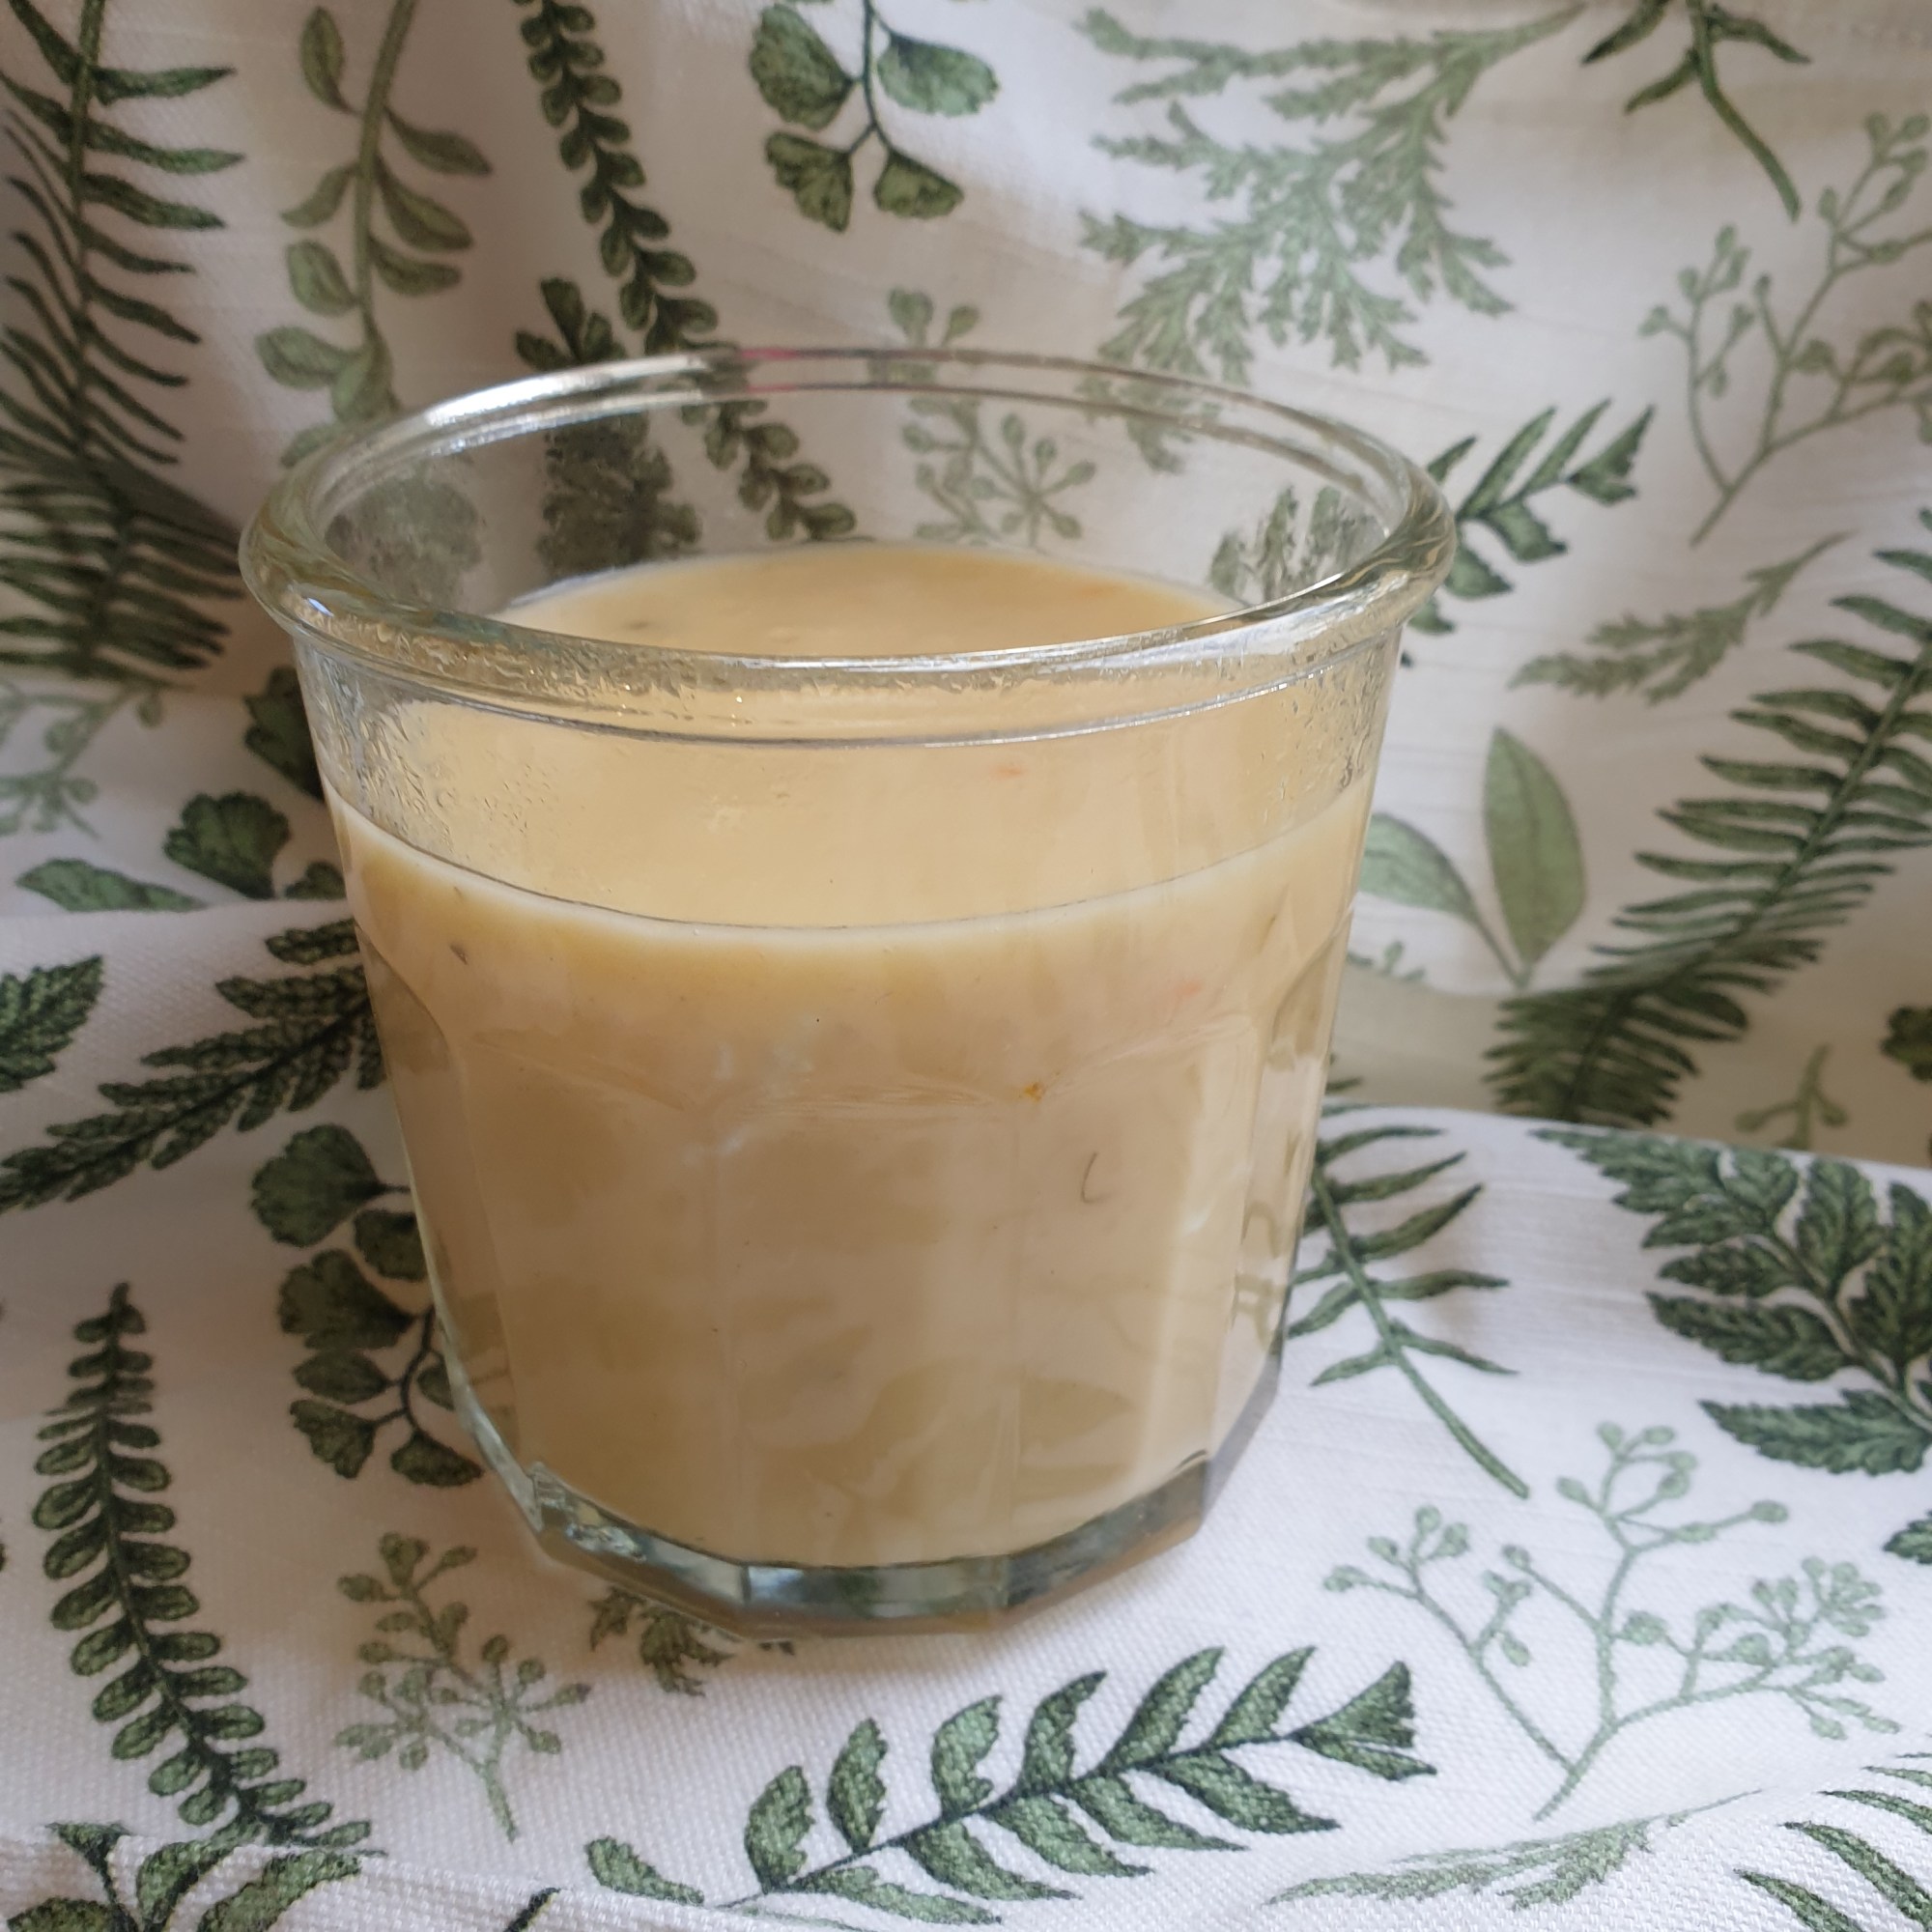
- Add the soured cream to the stock mixture to make a sauce.
NOTE – 1
If you think you will have any left – before adding the soured cream put them into an ovenproof pyrex dish with a lid with some tomato stock liquid – you can reheat them the next day in a microwave and them add some soured cream.
NOTE – 2
You can use cooked pearl barley instead of rice – NOT tested.