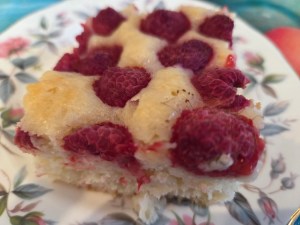
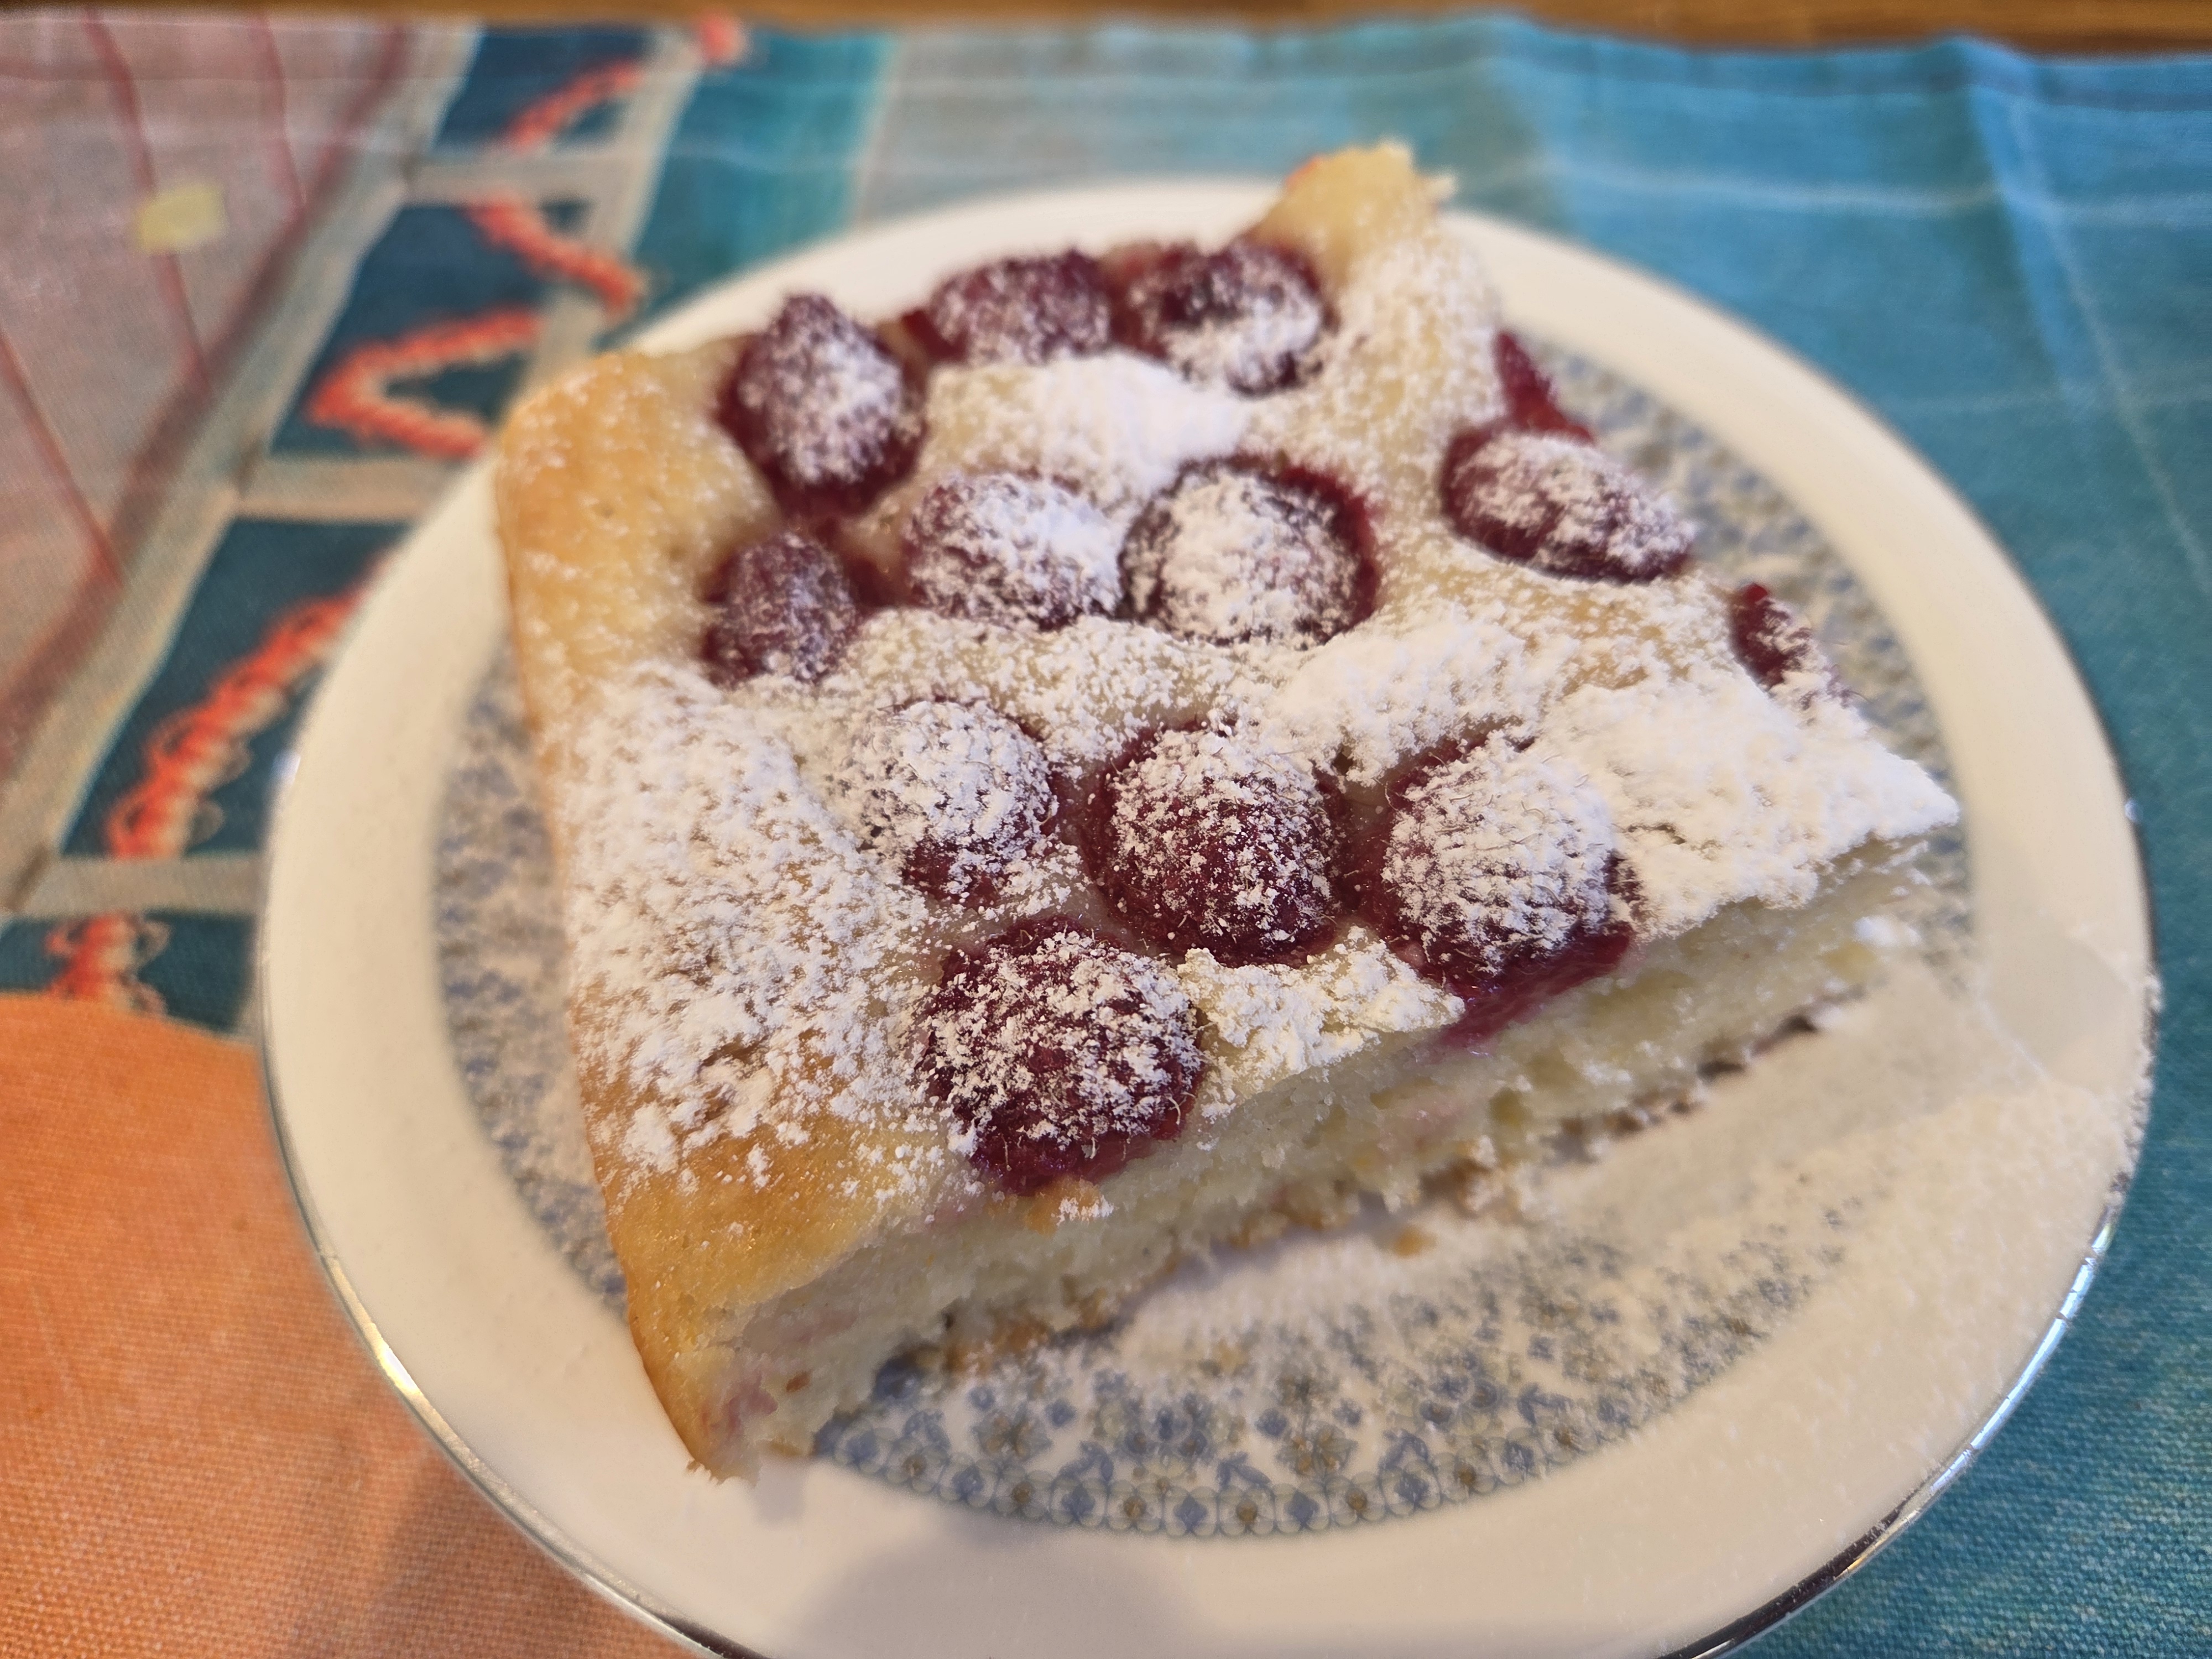
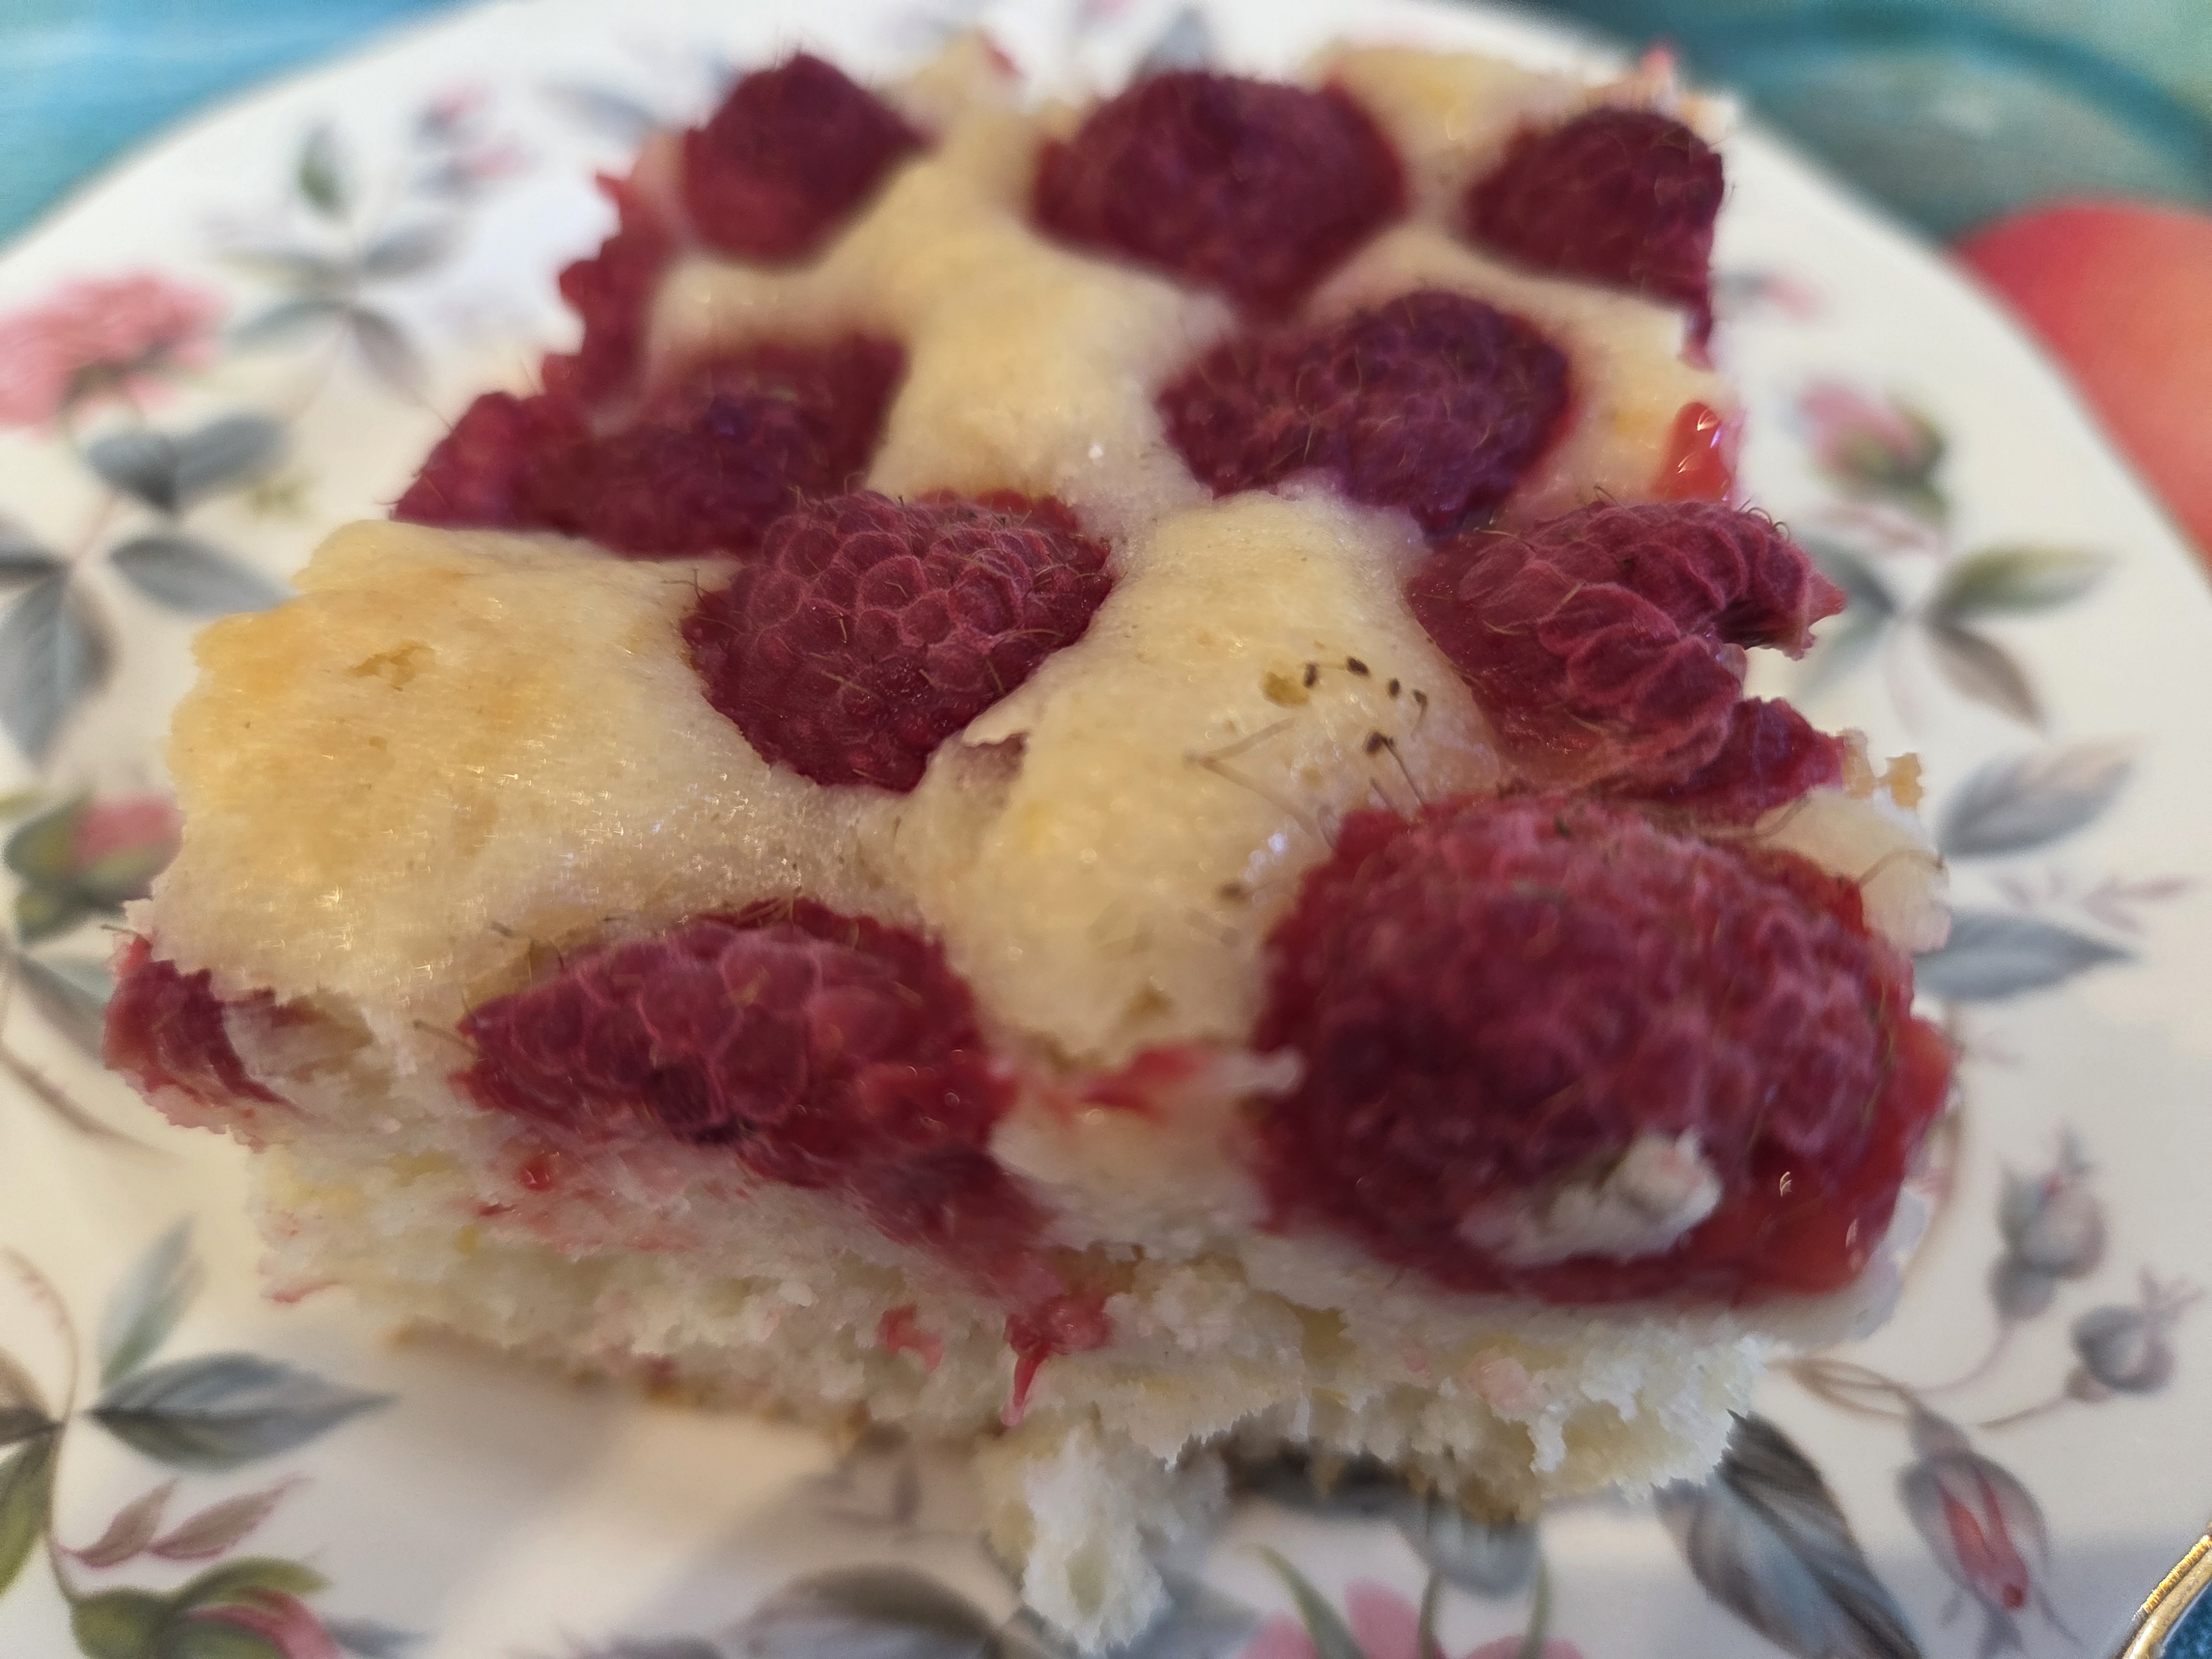
- I recently made a cake with raspberries on the top.
- These tasted so good I thought I would go back to an earlier recipe with fruit and this time just use raspberries.
- I will give the recipe again here for ease.
This cake made with kefir is lovely to make in summer or early autumn with fresh raspberries equally you can use frozen fruits later in the year.
Ingredients
- 350g plain flour
- 2 teaspoons of baking powder
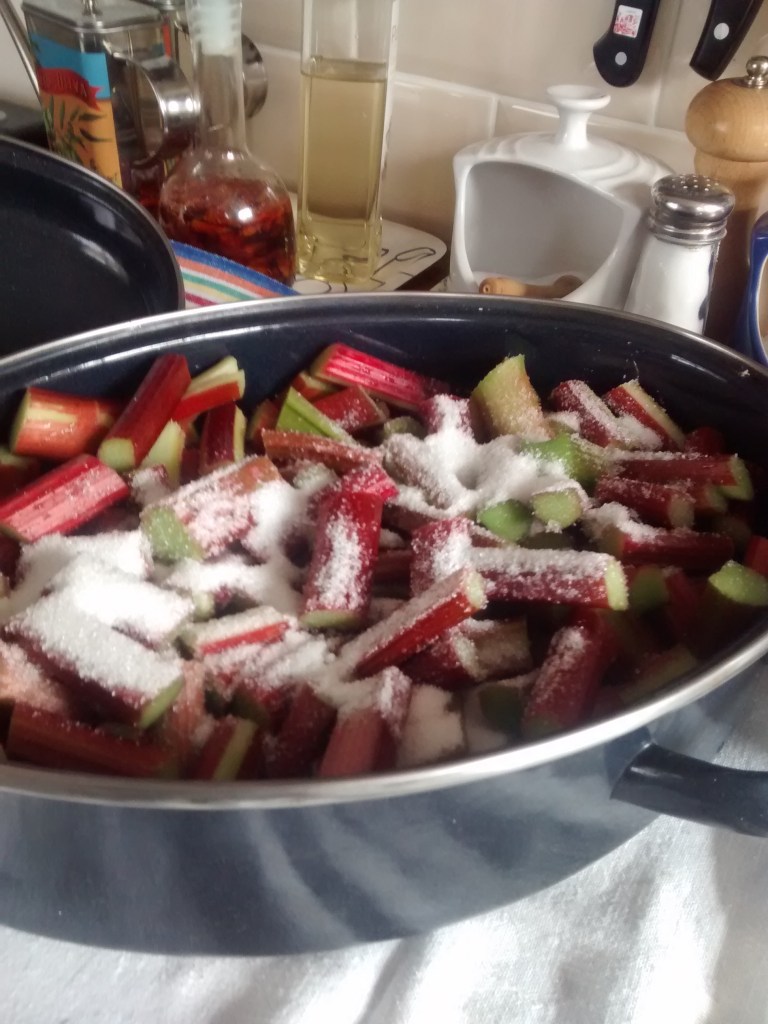
- 175g of granulated sugar
- 2eggs
- 400ml of kefir*
- 125ml of sunflower oil
- Grated rind of 1 large orange
- *
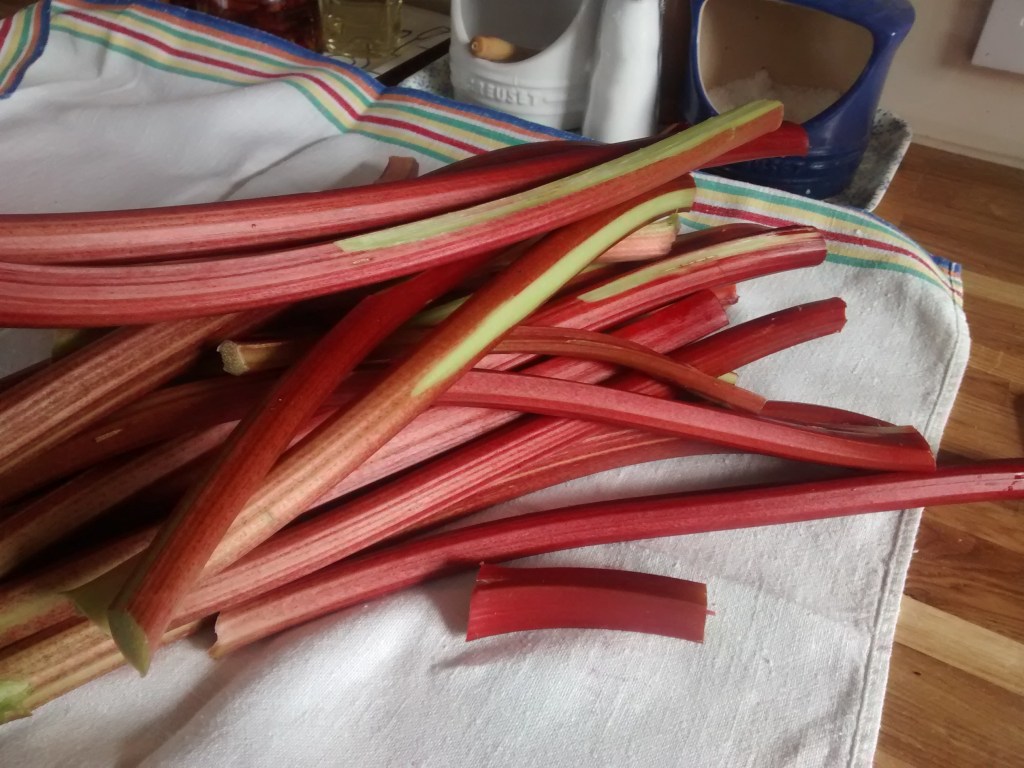
- Around 300g of fresh raspberries OR
- Frozen fruit should be part defrosted first
- *
- Icing sugar to dust – optional
- *my tub of kefir was 350ml so I added 3 tablespoons of Greek style yoghurt.
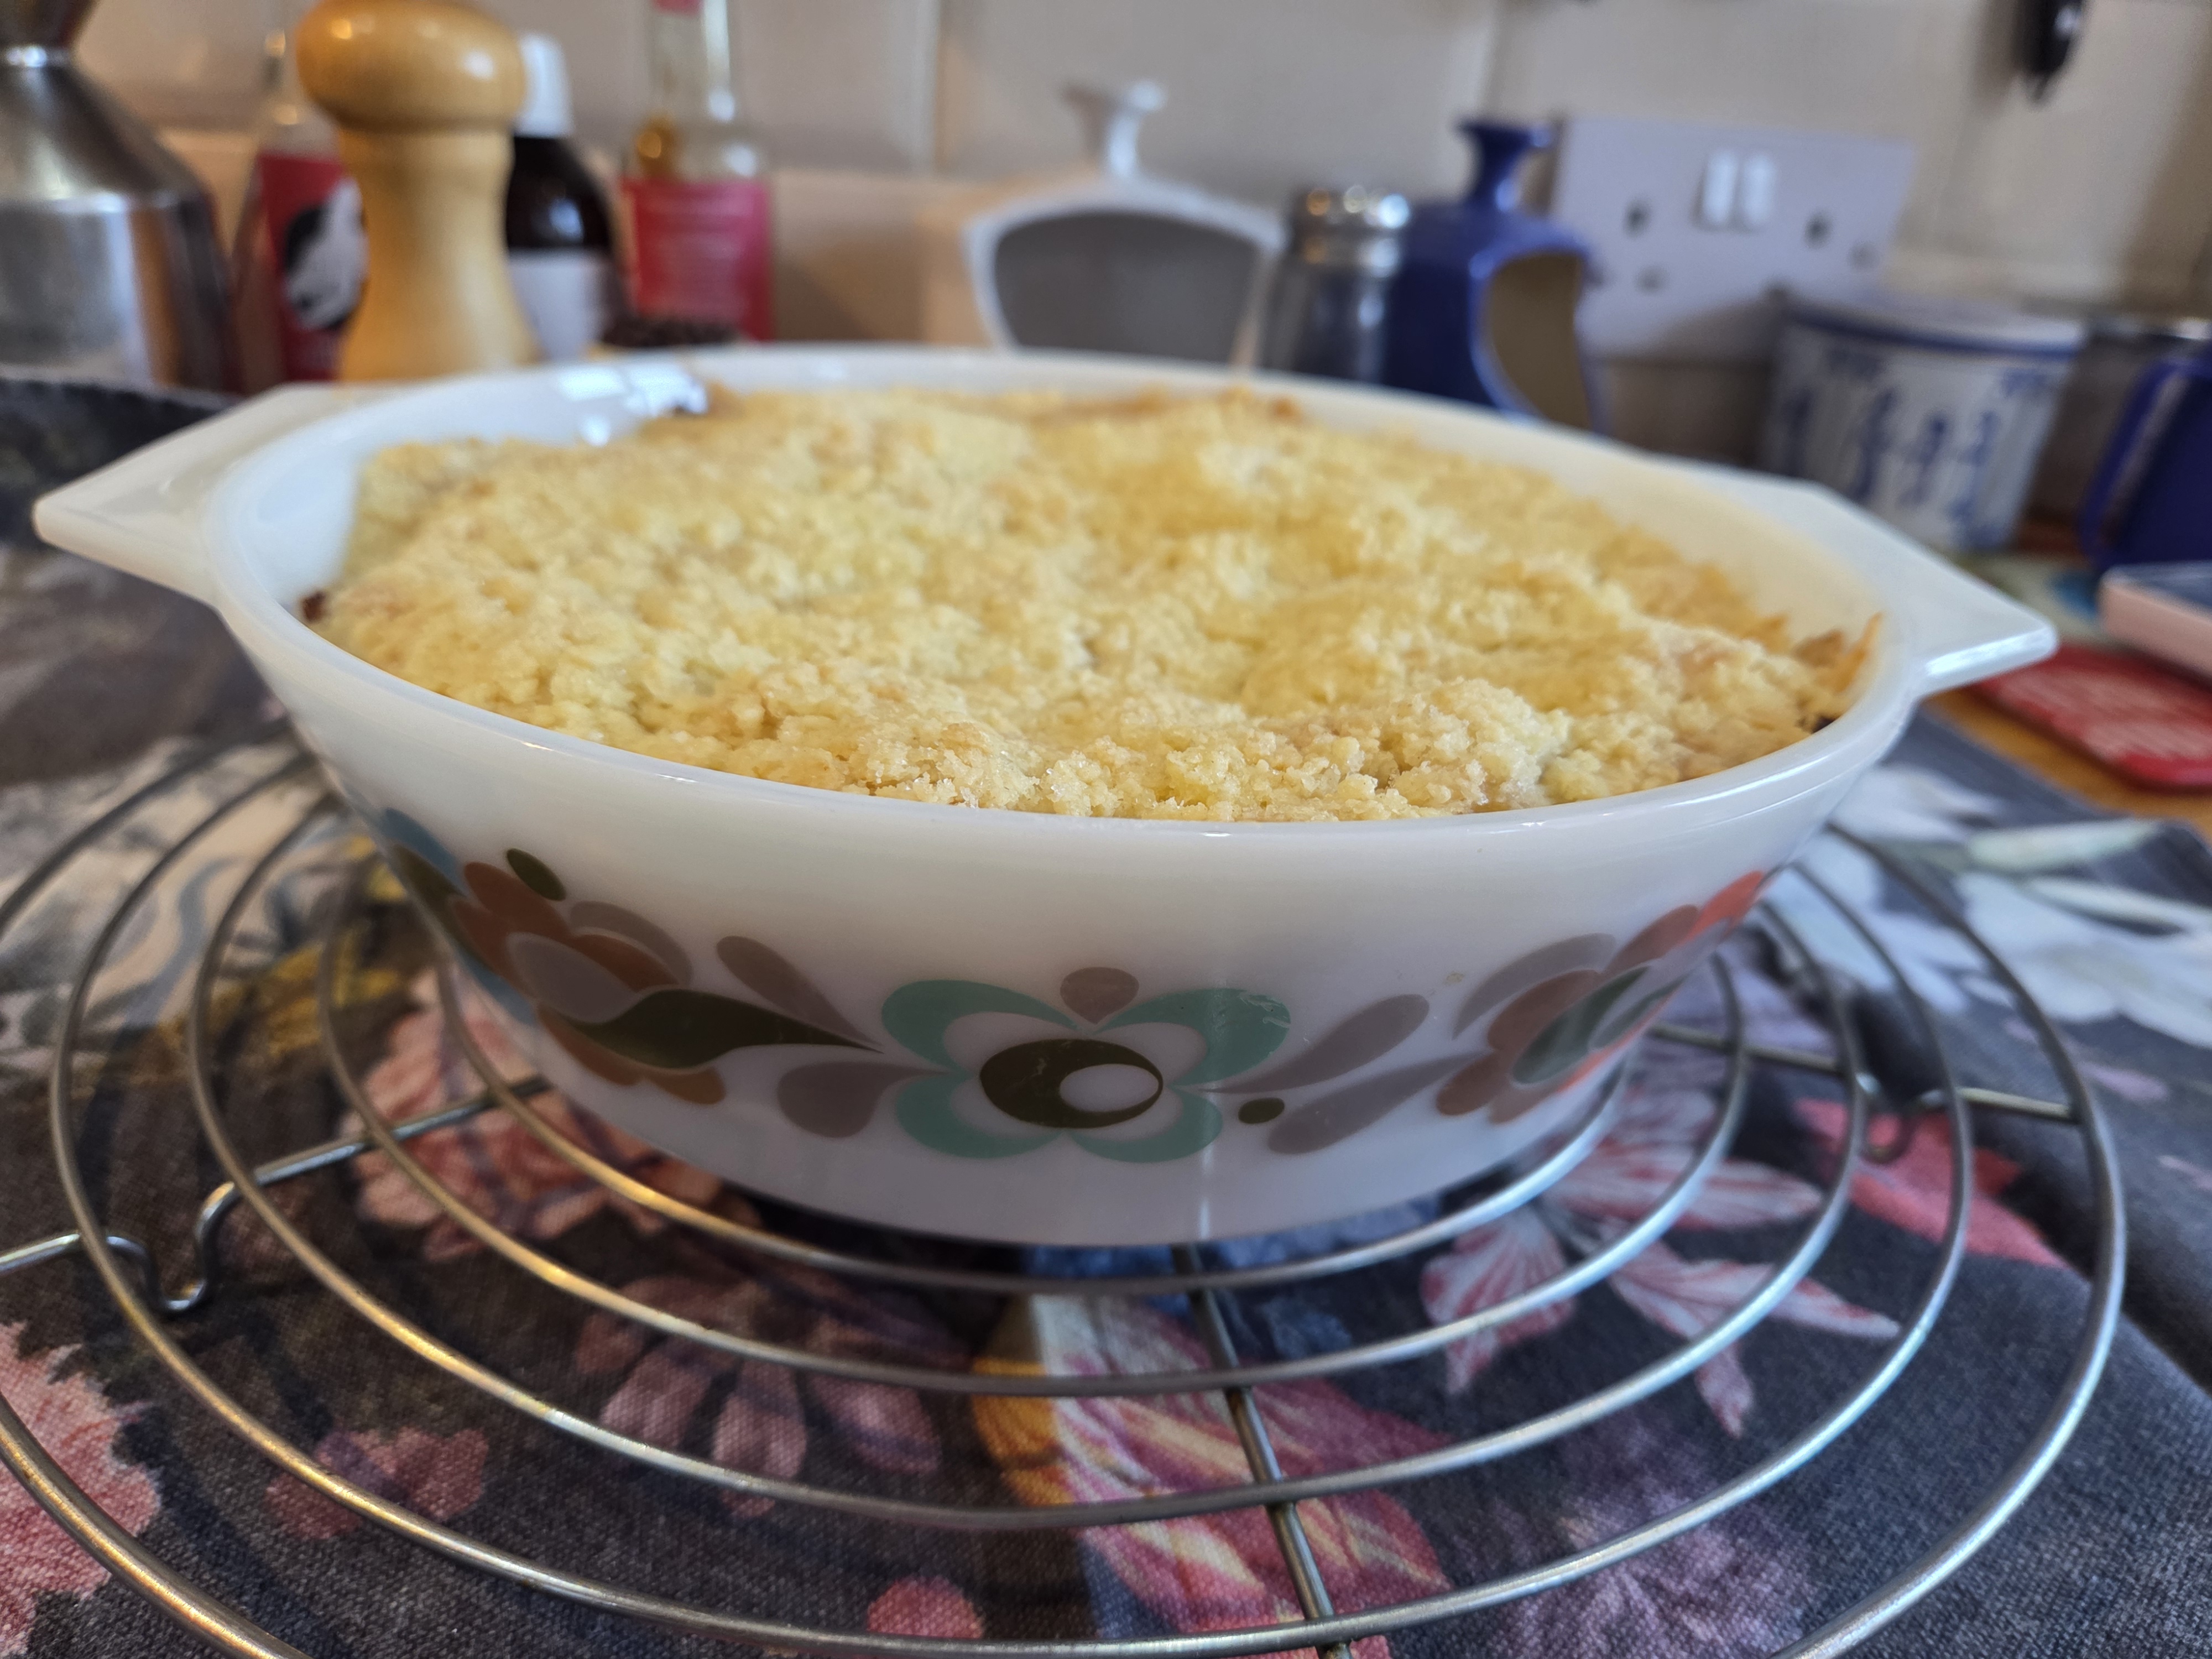
Method
- Grease and line with one piece of greaseproof a 32x22cm baking tray.
- Pre-heat the oven to GM4 – 180°C
- Mix all the dry ingredients together in a large bowl.
- In another bowl mix the eggs, oil, kefir and rind together.
- Pour the kefir mixture into the dry mixture.
- With a wooden spoon or Danish whisk mix well together until you have an even thick batter.
- Pour the cake batter into the prepared tin.
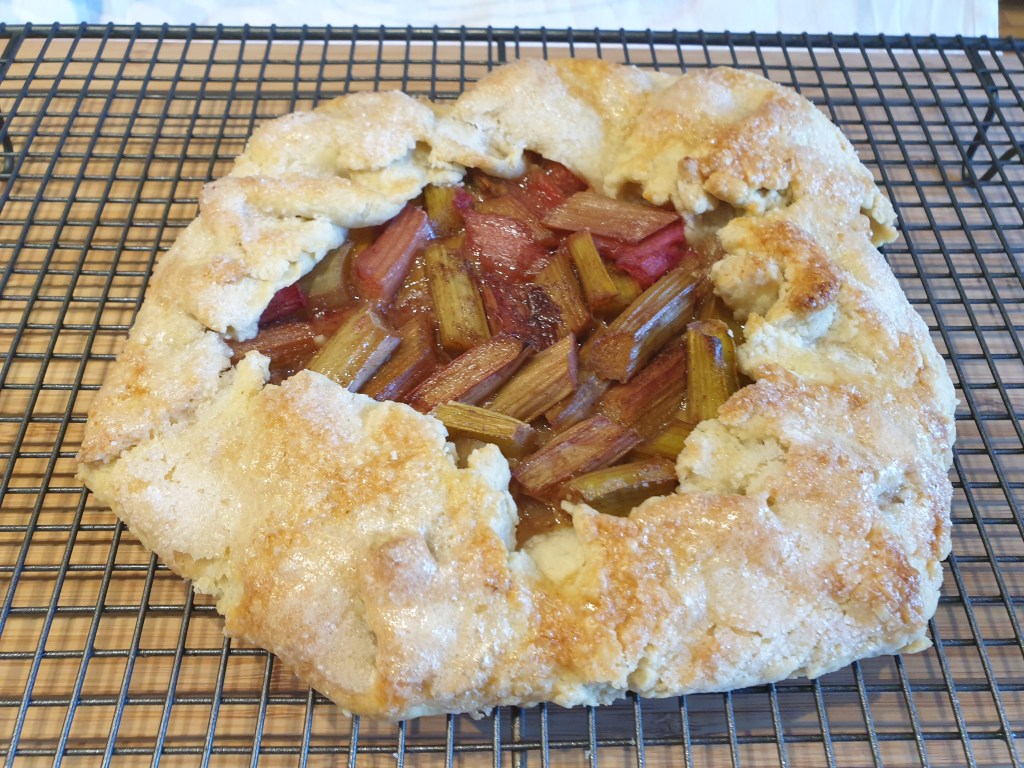
- Place the fruit evenly over the top
- Bake for 40 – 45 minutes.
- Leave to cool in the tin on a wire cake rack.
- *
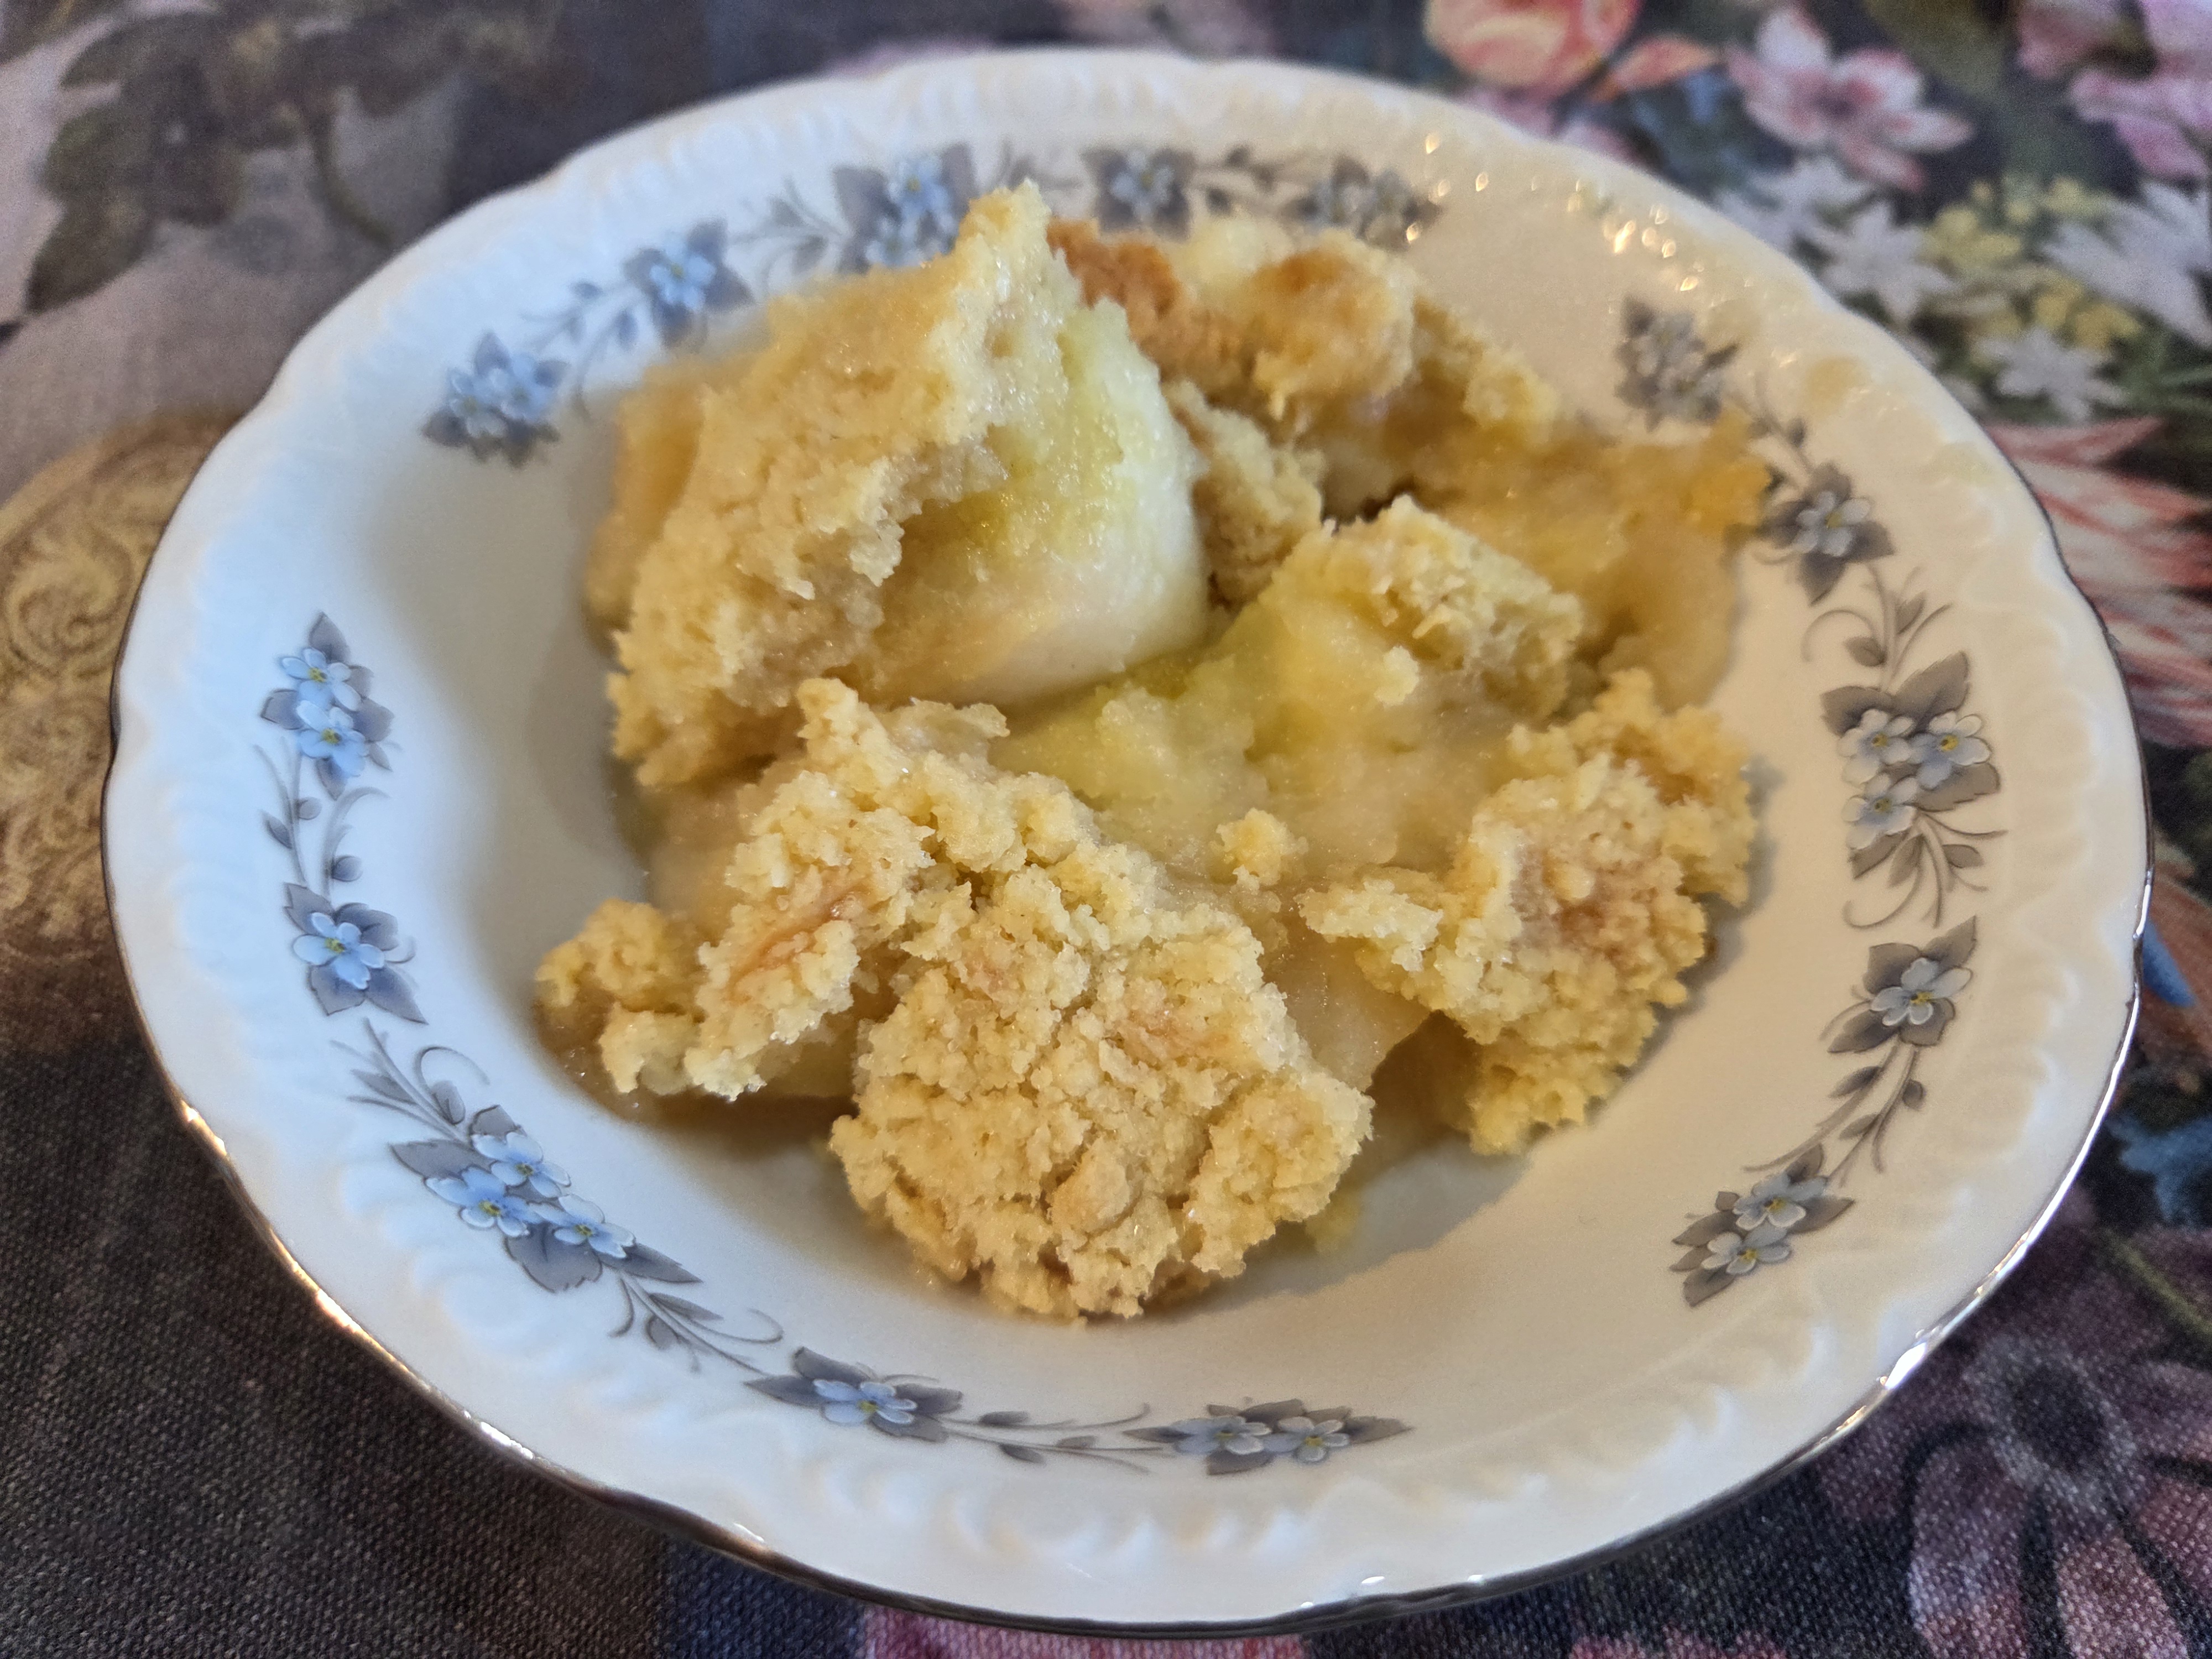
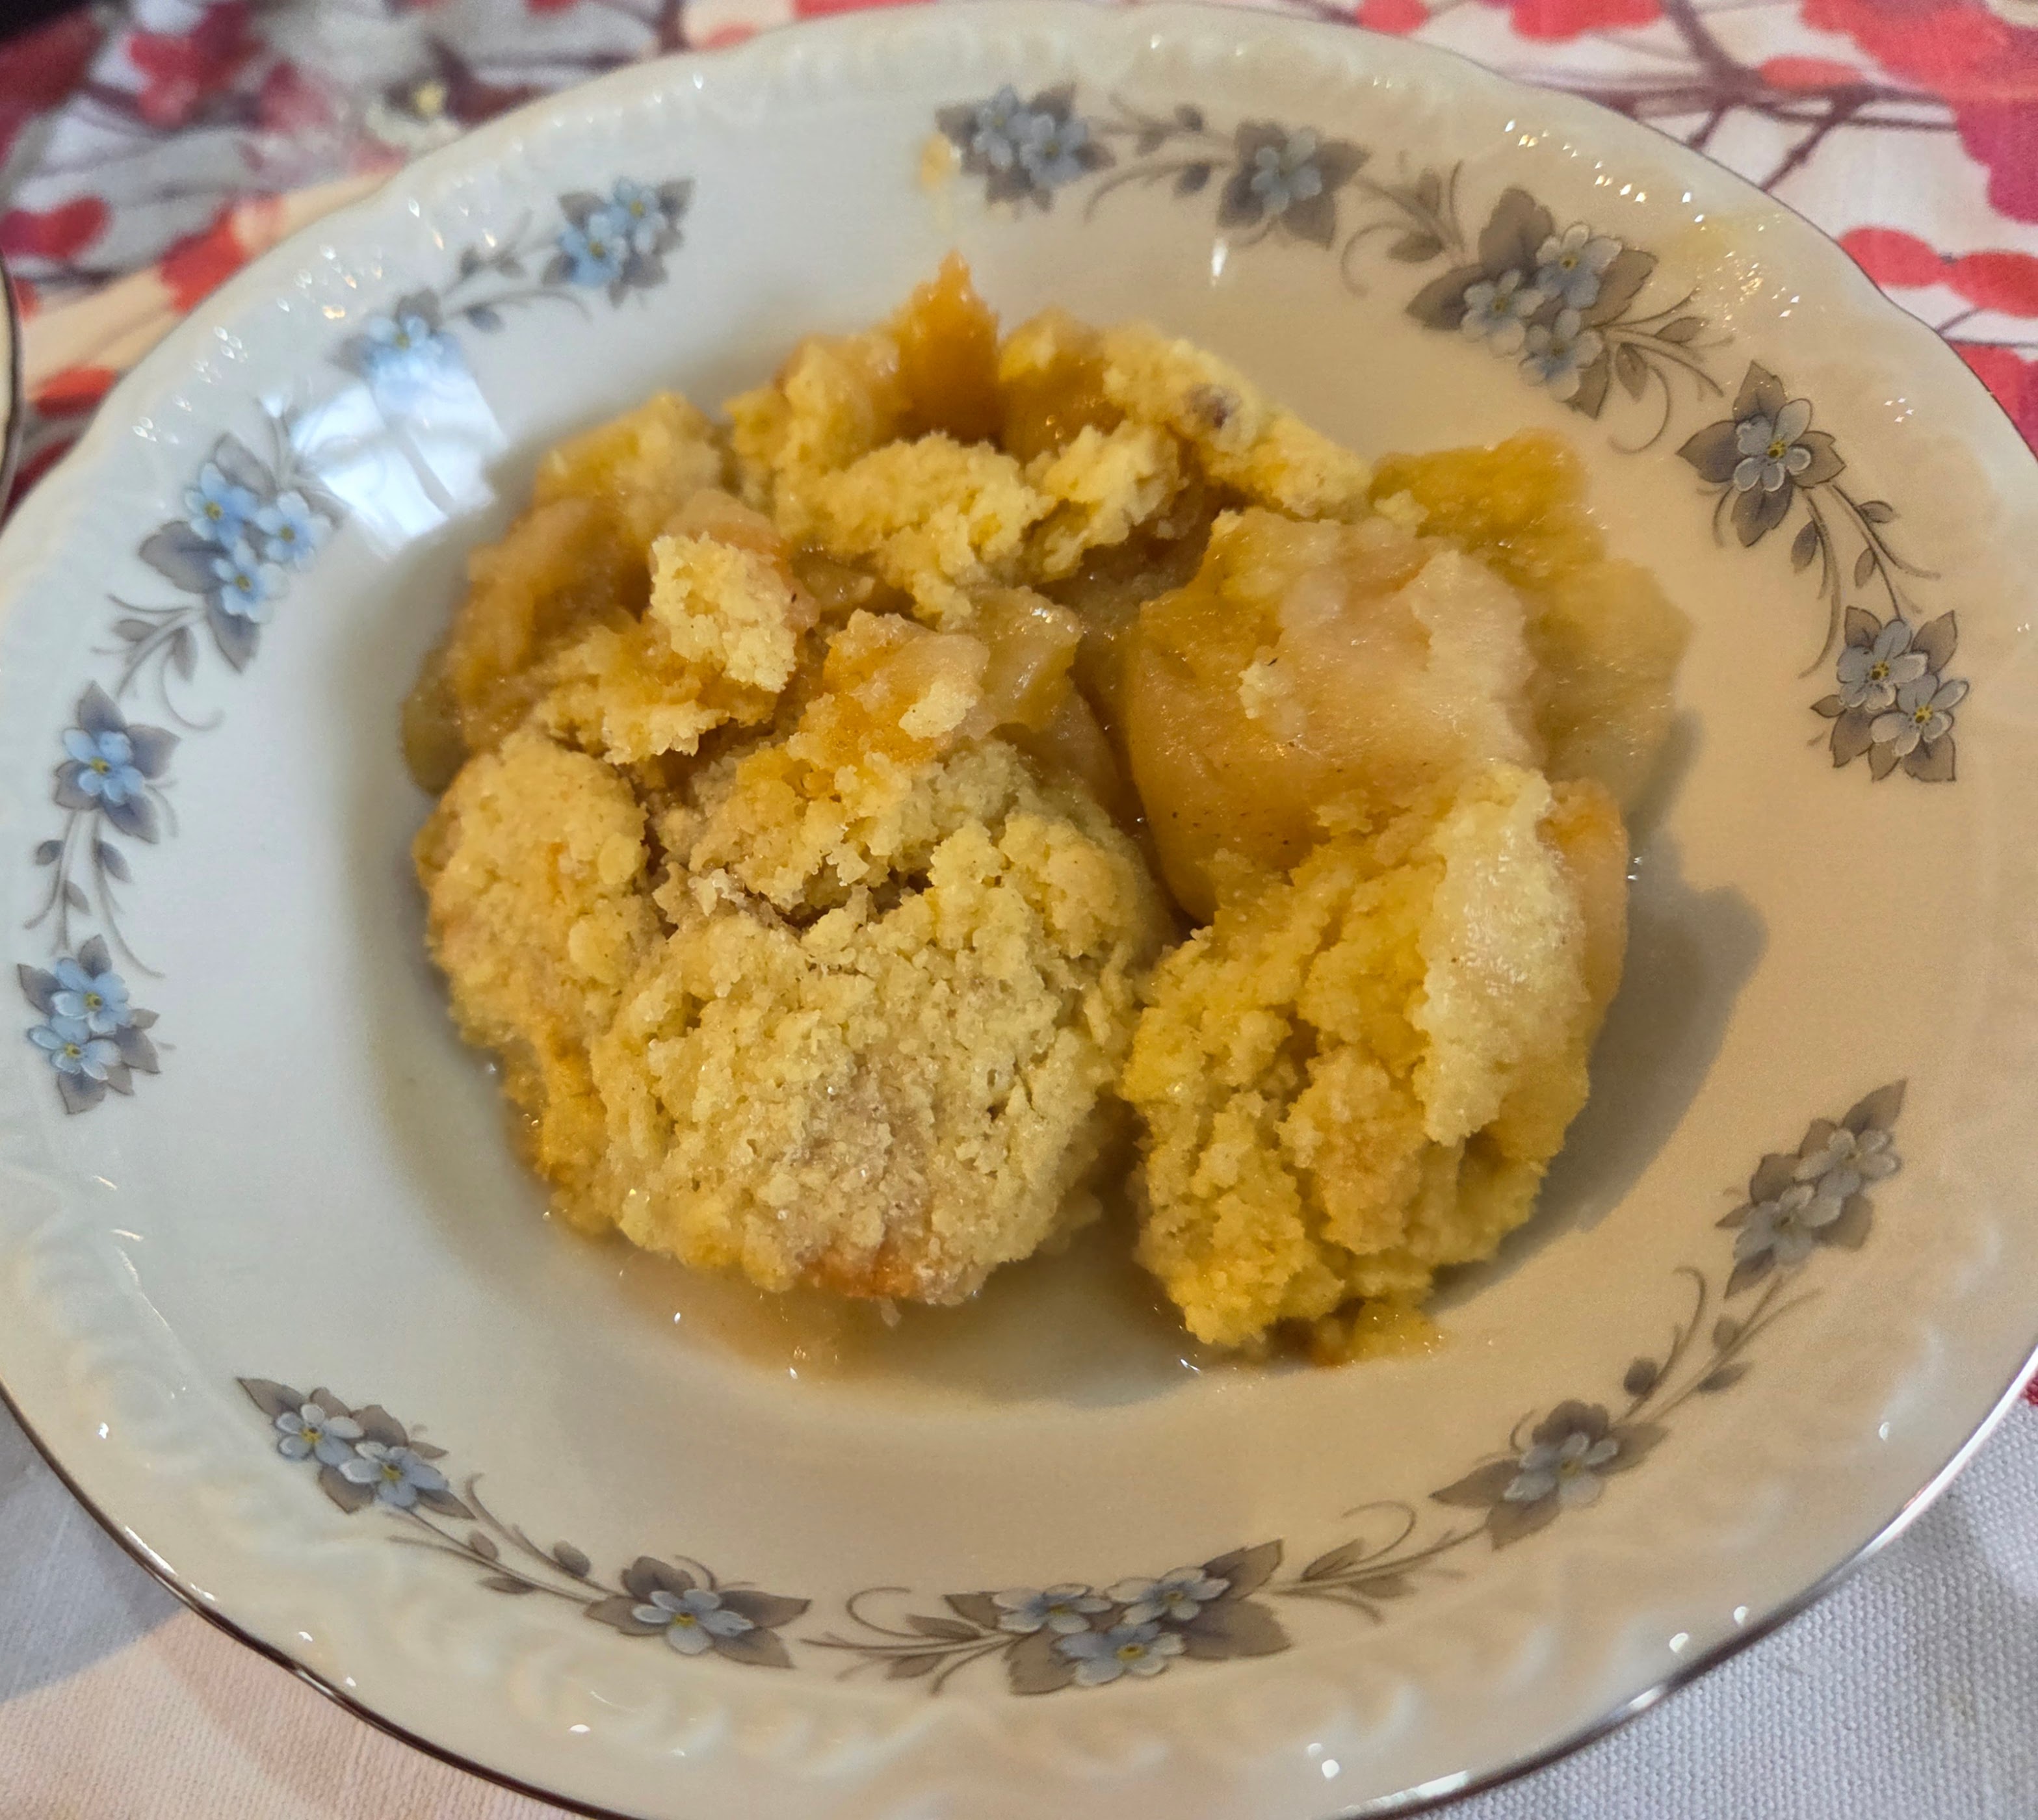
- Dust with icing sugar to serve – optional.
Royal Doulton – Counterpoint & Duchess – Bramble Rose tea plates.