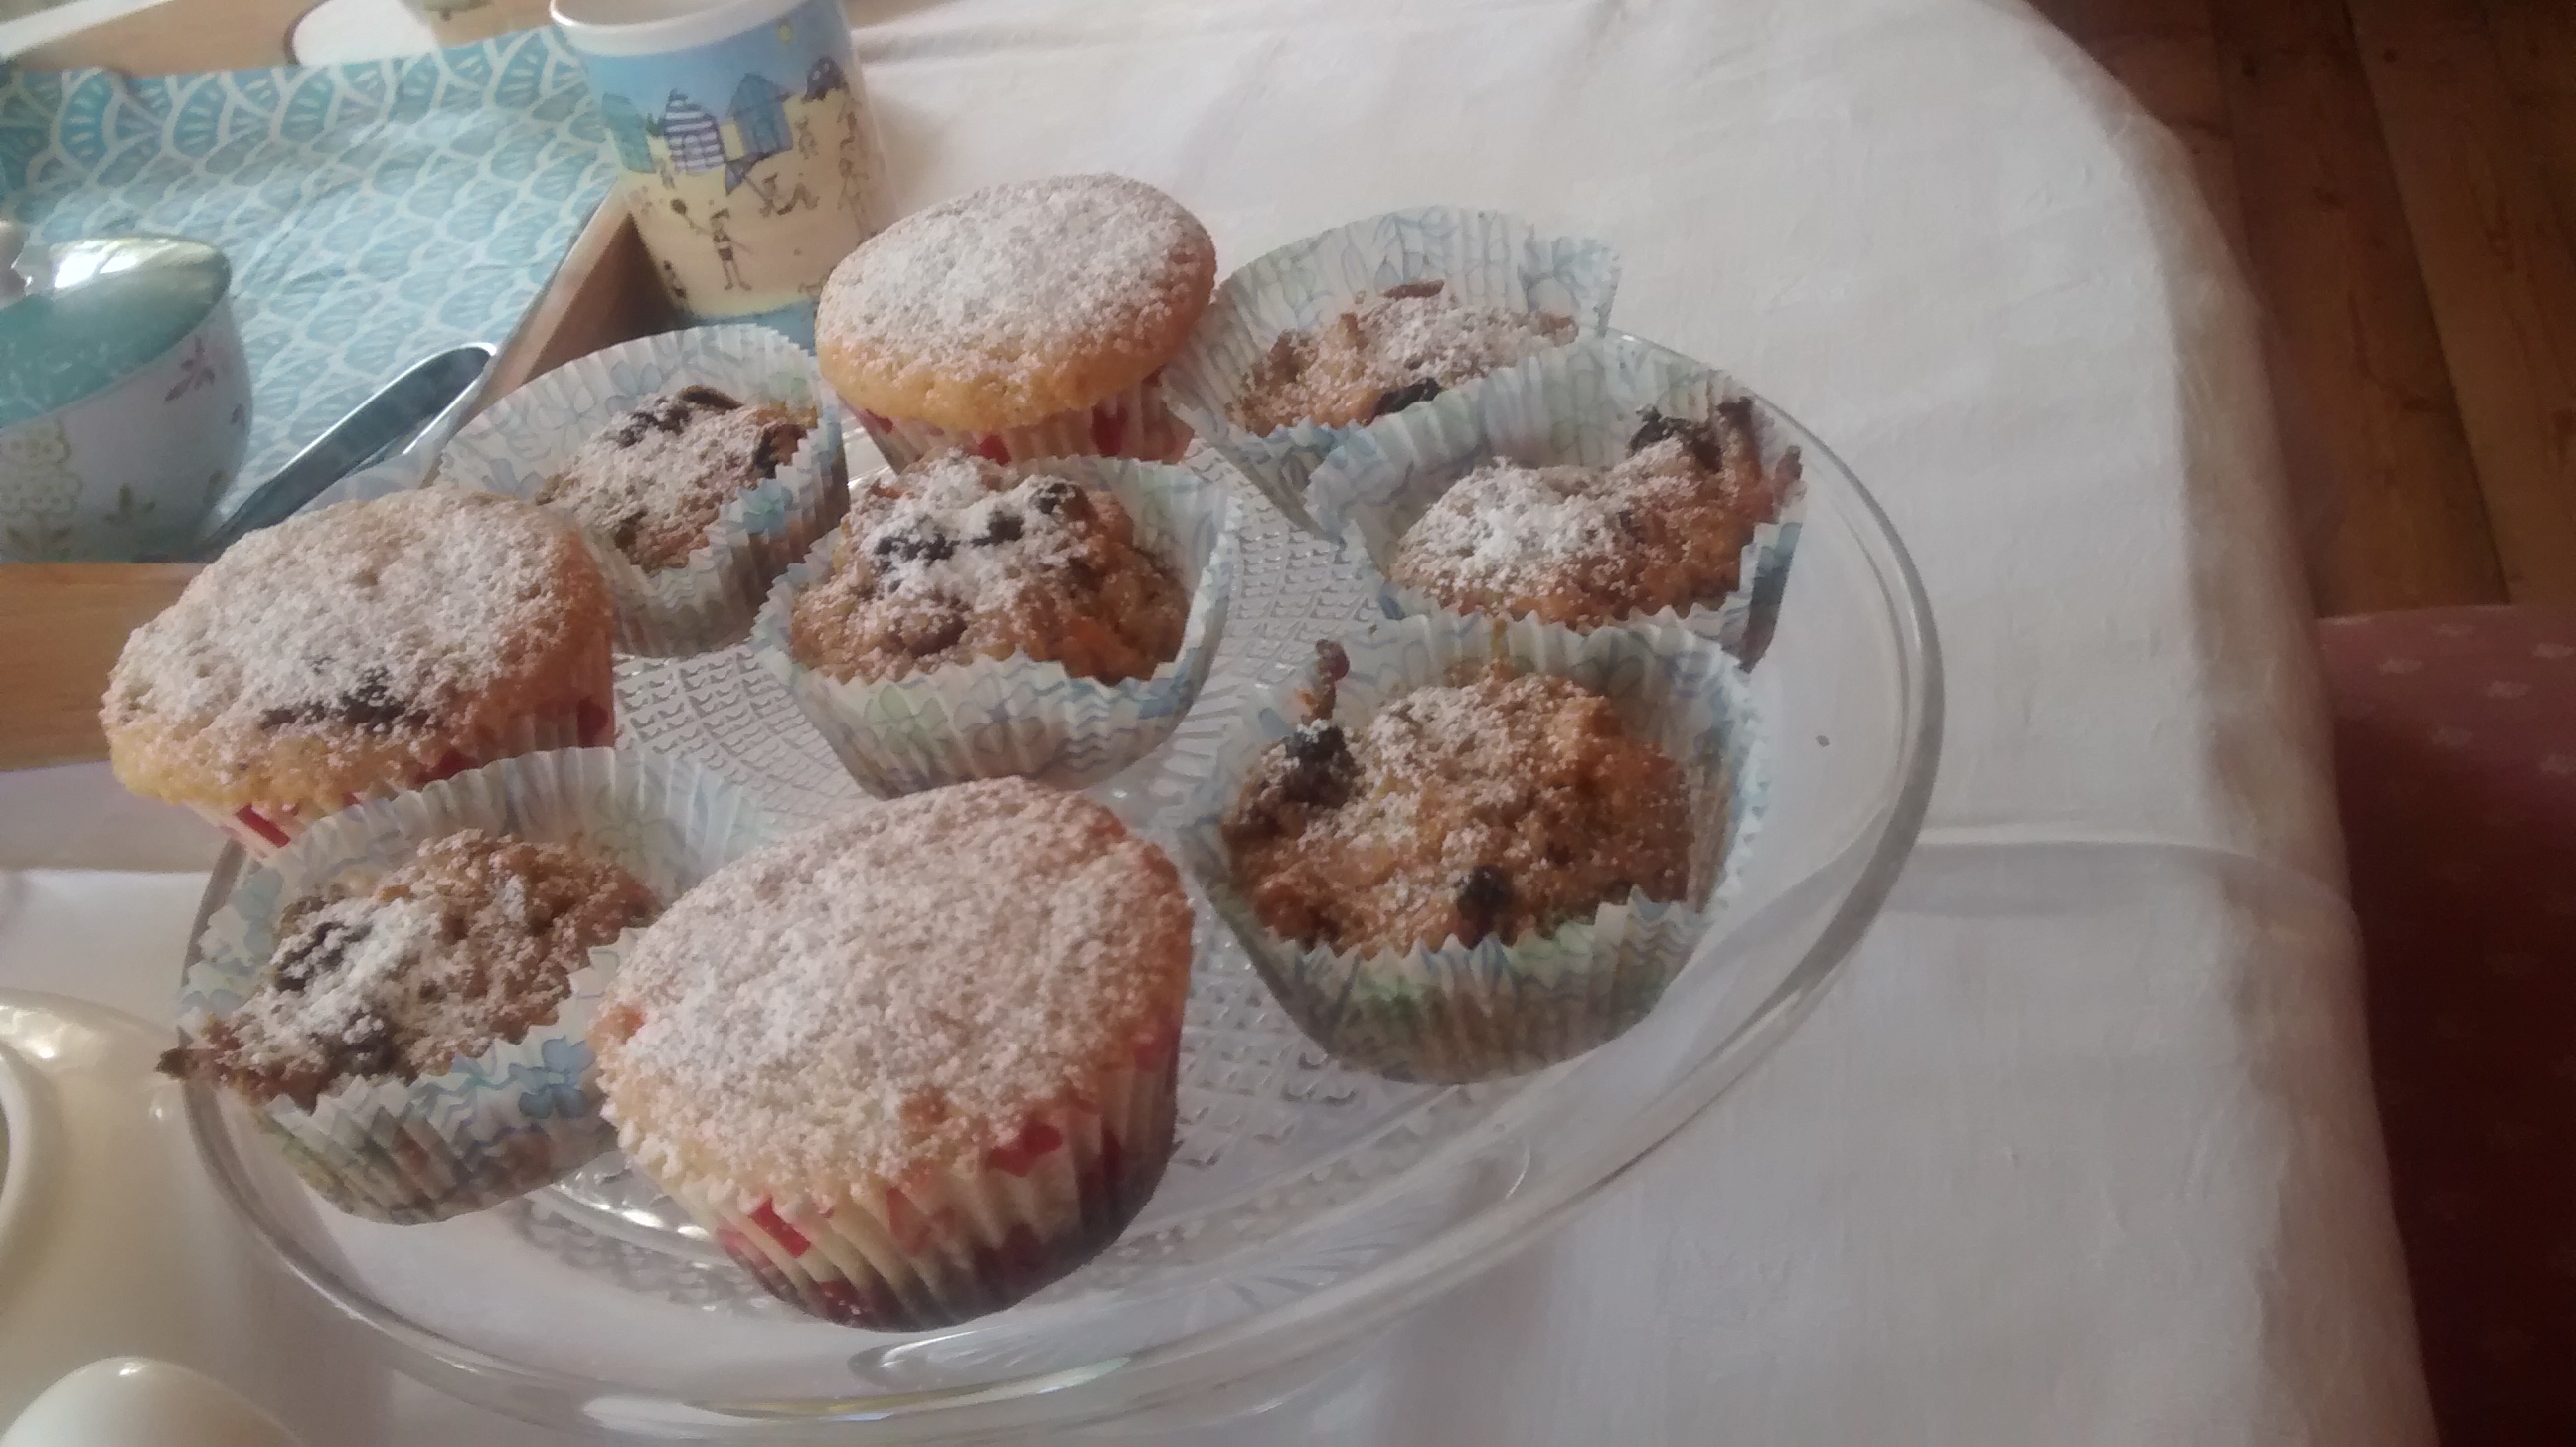
Babka means grandmother and refers to the round dumpy shape reminiscent of an older lady wearing a long full skirt as is traditional in many Polish folk costumes.
Wooden Dolls in Polish Costumes
There are references to this cake in Poland in the early 18 century.
The early cakes will have been yeast cakes.
Later cakes were creamed sponge cakes and then marbled (usually with cocoa powder) cakes became very popular.
Yeast cakes are glazed with either warmed honey, a sugar and lemon glaze or poncz (derived from the English word – punch) which is a sweetened syrup made with tea and rum.
At Easter a yeast babka is very traditional and it would also be covered in a thin icing glaze.
A creamed sponge babkacan be made with wheat flour or a mixture of potato flour and wheat flour.
Dried fruit such as currants, sultanas, raisins or candied peel can be added – just small amounts – this is not a heavy fruit cake!
Many are also iced or glazed with a lemon or vanilla icing
The marbled cakes are often coated with a runny chocolate icing which is allowed to run down from the top.
Assorted Babka Tins
Yeast Babka with Raisins – Dusted with Icing Sugar
Creamed Sponge Babka
Marbled Babka
In other parts of Europe there are similar cakes such as Gugelhopf or Kugelhopf in southern Germany, Austria and Switzerland and Bundkuchen in Northern Germany.
In Italy there is the panetonne – the name for this in Polish is włoska babka which means Italian babka.
In the 1950s Nordic Ware in the USA produced a tin which they trademarked as a Bundt tin.
It is thought the name comes from a Bundkuchen – a cake for a large gathering in Northern Germany.
Babecki – small Babka cakes
Babecki – made in a new tin from Marks & Spencer – which they call a 12 cup mini Bundt tray.
The origin of baba au rhum or rum baba
Legend has it that when Stanisław Leszczyński (1677-1766) the exiled King of Poland was living in Lorraine in France (He was made Duke of Lorraine and Bar for his lifetime) he had acquired some (yeast) babka which turned out to be very dry. His pastry chef revived it by soaking it in a sugary rum liquid (very like the poncz they use in Poland). This became the start of baba au rhum in France. These are usually done as small individual cakes nowadays. note
Dry babka will soak up more liquid than a freshly baked one – so if you are making this it is better to use cake at least a day old.
Savarin
The savarin was invented in Paris in 1844 and was inspired by the baba au rhum but it is large cake made in a circular(ring) tin. In the centre it usually has fruit in syrup and whipped cream (this is not used in Polish cookery).
Recipes to Follow
Future posts are coming up shortly with recipes for the various types of babka – look out for these!
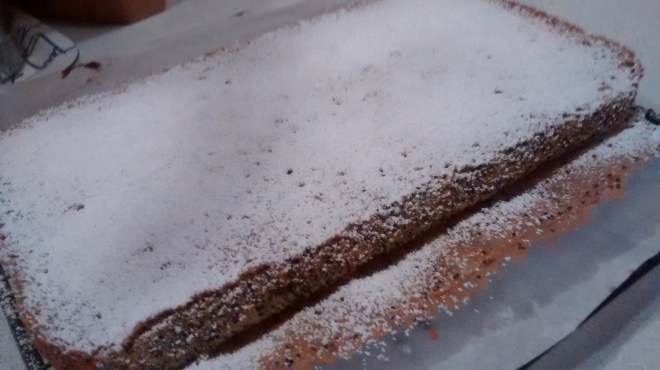
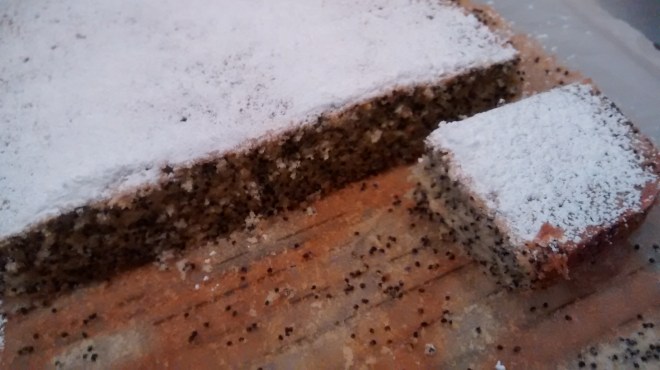
I came across this recipe recently using roasted poppy seeds which give a slightly nutty flavour to the cake.
The cake part is the same as a previous poppy seed cake – makowiec 4 -and uses the simple all in one method using soft tub margarine.
Here roasted poppy seeds are used and lemon rind is not, nor is there a lemon glaze.
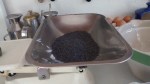
Roasting Poppy Seeds
100g of poppy seeds are used in this recipe.
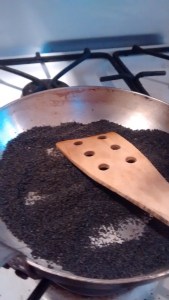
Use a small frying pan without any oil or butter.
Add the poppy seeds to the pan and heat gently for around 5 minutes, stirring the seeds with a wooden spatulas and do not let them burn.
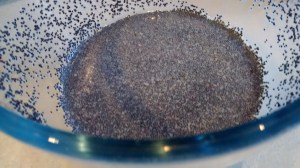
Pour some milk into a jug or bowl and tip the roasted poppy seeds into the milk.
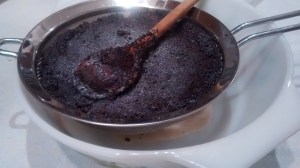
When the poppy seeds have cooled, tip then into a sieve and let them drain away until they are dry. You can press them with a spoon to speed up the process.
The seeds need to be as dry as possible – you could do this part several hours earlier or the night before.
This cake is a modern version as soft tub margarine is used and it is an all-in-one method which is so easy to do with an electric hand whisk.
I use either Flora original or Stork for baking – both of these have given good results.
Ingredients
100g poppy seeds – roasted
175g soft tub margarine for baking
225g self-raising flour
1 ½ teaspoons baking powder
175g caster sugar
3 eggs
3 tablespoon milk (full fat or semi-skimmed)
Method
Pre heat the oven to Gas mark 4 – 1800C.
Make this as a tray bake in a tin about 31×22 cm.
I have a selection of Mermaid Hard Anodised rectangular baking tins and they are superb.
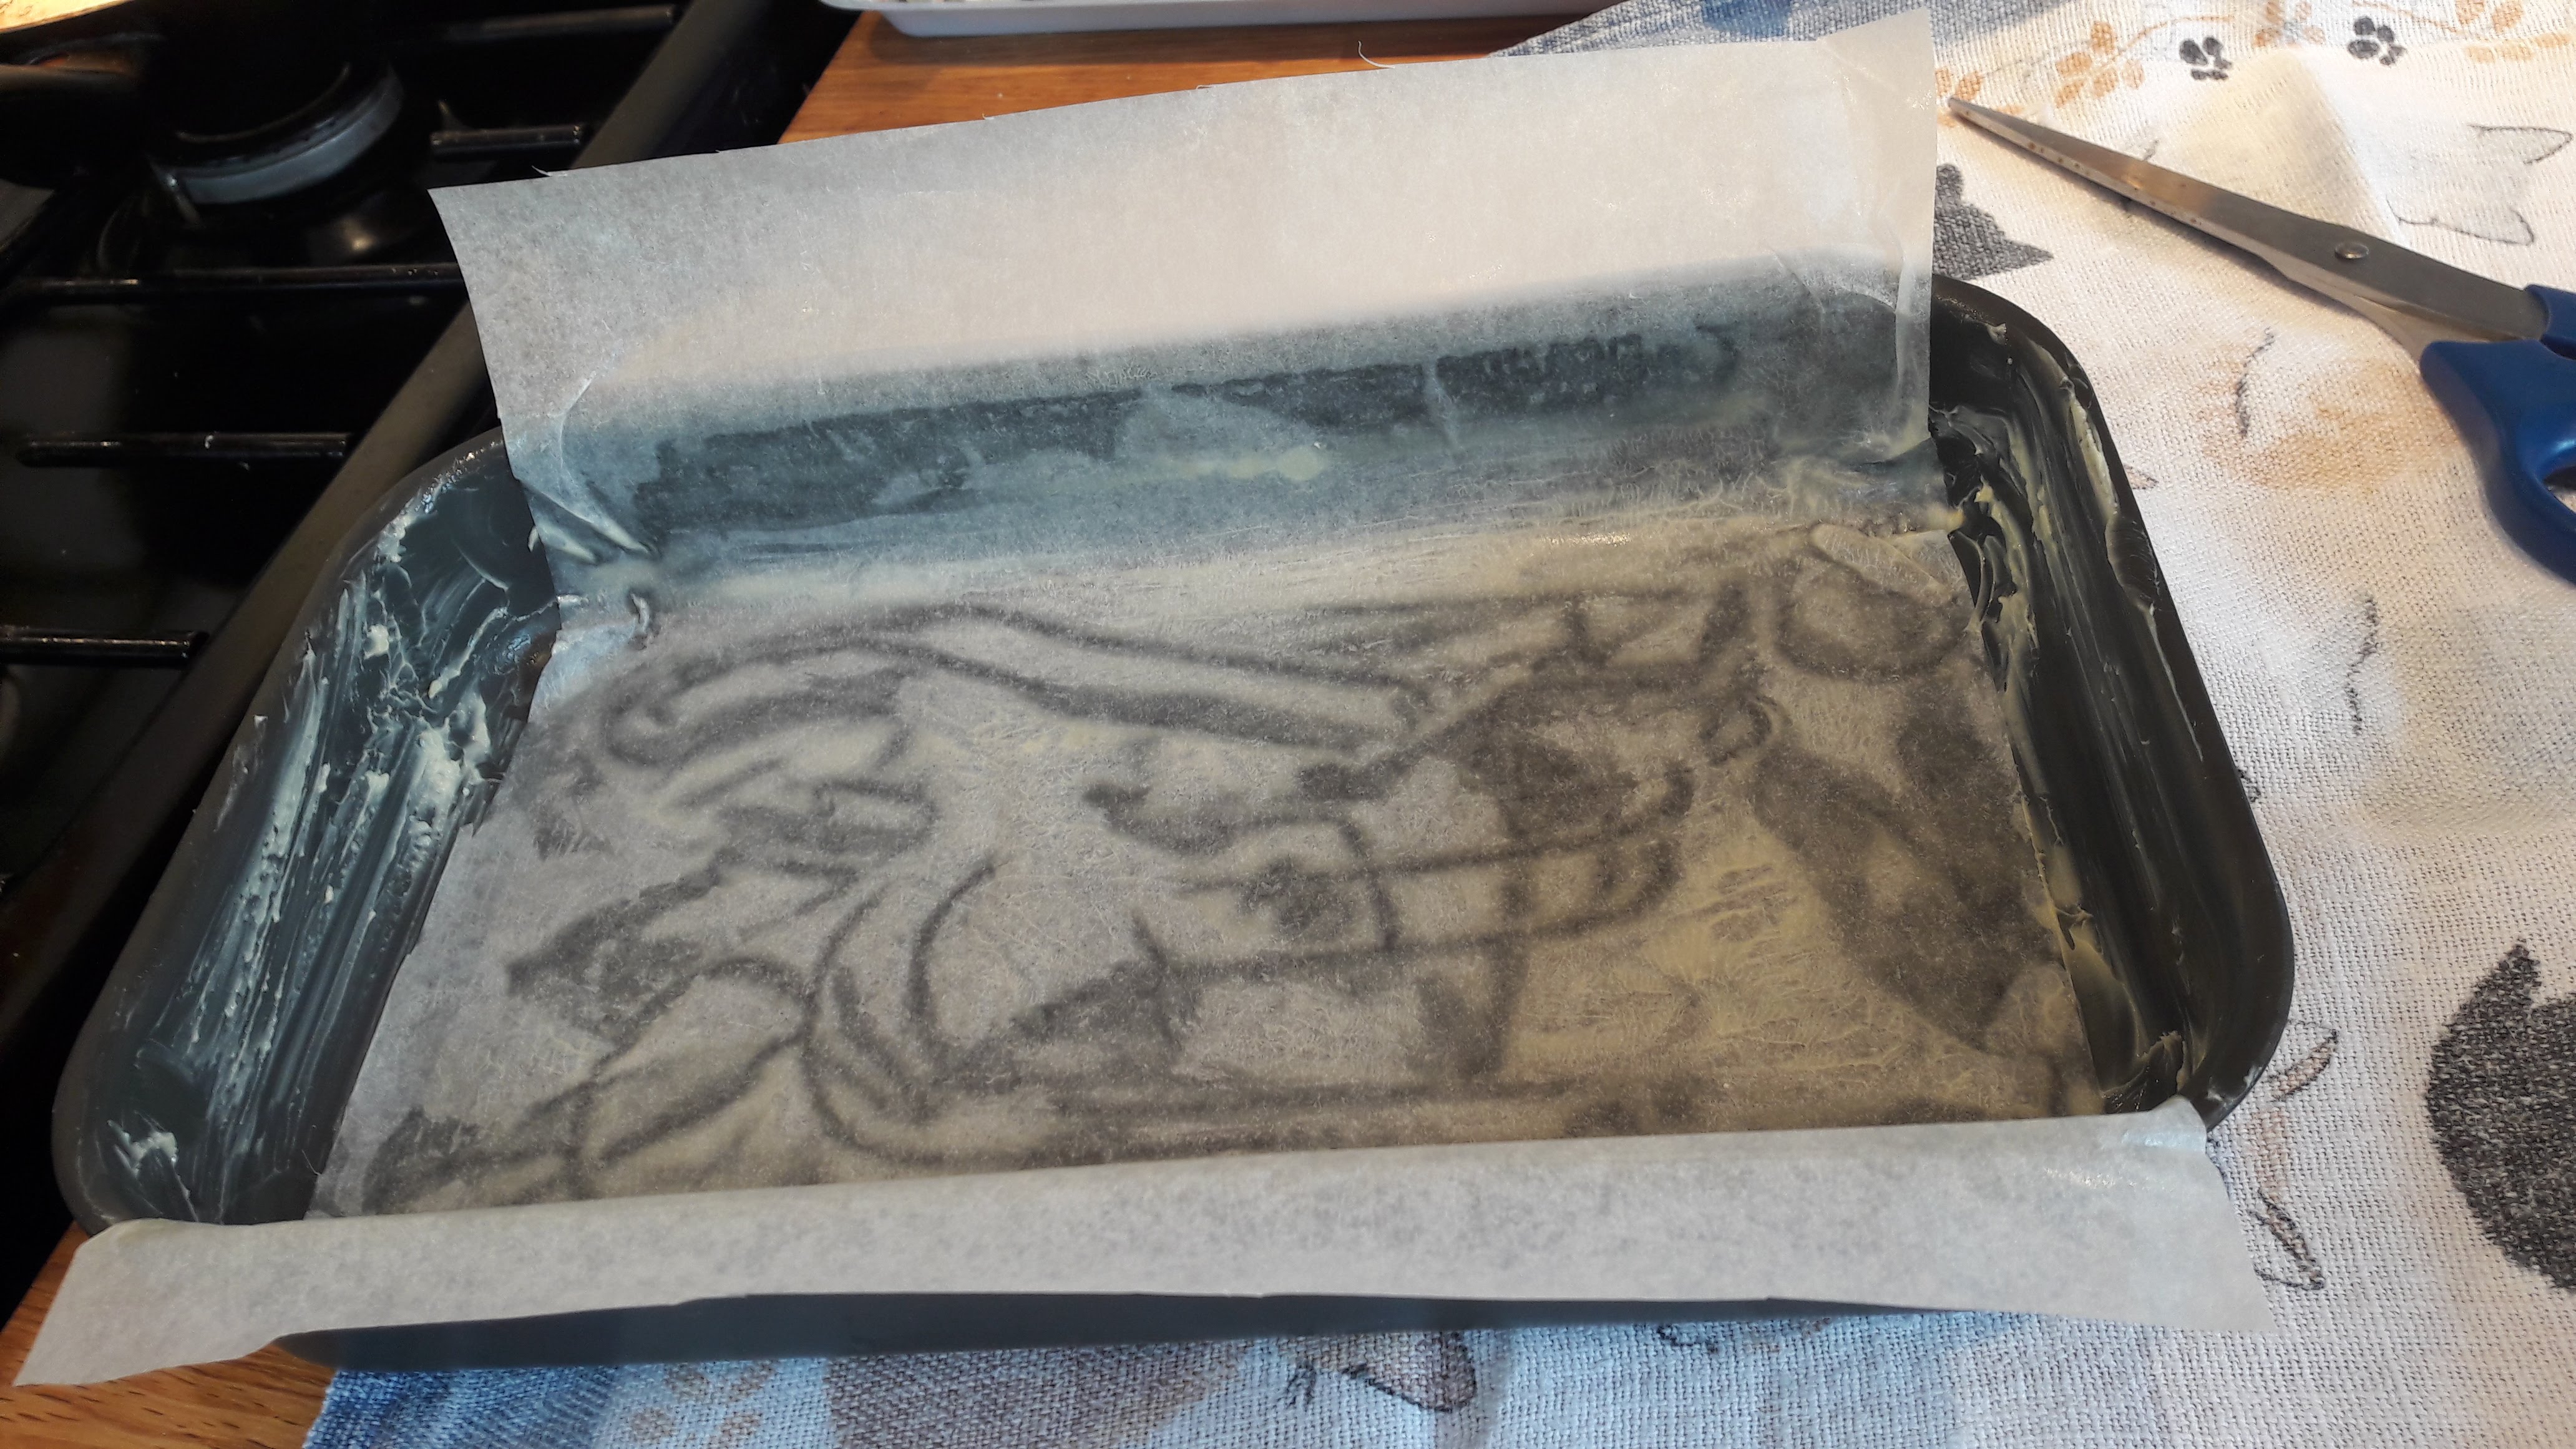
Grease the tin and use one piece of greaseproof paper to line the base and the two long sides of the tin.
Place all the ingredients except the poppy seeds into a large bowl and beat well for about 2 minutes until they are well blended.
Add the poppy seeds and mix them well in.
Put the mixture into the tin and bake for about 30-35 minutes.
Leave to cool on a cooling rack and then take the cake out of the tin.
Miód is the Polish word for honey and so Miodownik is a Honey Cake which usually contains spices. Pierna is an old Polish word for spices and so Piernik is also a Honey Spice Cake.
Some sources say the name is frompieprz – pepper or piorun – thunderbolt or devil – because of its spiciness.
These cakes have been known in Poland since the 12th century and the spices would have come from Turkey (originally brought back by the crusaders) or India.
Honey was the original sweetener, long before sugar and there are many traditional recipes that use honey not only in cakes, but also in meat dishes.
When you travel in Poland you will find many village ladies selling their own honey, the taste varies greatly depending on where the bees have found their flowers and the honey from a forest region is dark and very flavoursome.
Piernik can vary from a soft dense cake to a drier but soft biscuit.
The Polish town of Toruń is famous for its piernik and Chopin was very found of this.
Pierniki(plural) coated with chocolate are called Katarzynki – which means Katherine’s cakes – named after Katarzyna the daughter of one of the bakers.
Similar cakes are found throughout Europe including the French pain d’éspices, the Dutch peperkoek and the German lebkuchen.
Miodownik and piernik are often translated as Gingerbread but ginger is a spice rarely used in Polish cookery.
The main spices used are cinnamon and cloves with the addition according to different recipes of cardamon, black pepper, caraway, nutmeg, dried orange and/or lemon peel and then in later recipes allspice which is from the New World.
My older recipe book gives the proportions for mixing spices and there is one with black pepper which I intend to try out in the future.
Whilst looking through some of my more recent cookery books it would appear that it in Poland you can buy ready mixed spices for piernik so I would presume you can get these in Polish shops in England. I will try these out in the future as well.
I use the mixed spice mixture which is sold by Marks & Spencer which contains: dried orange peel, cassia (a variety of cinnamon), ginger, nutmeg, pimento (allspice) and caraway. I think it is the dried orange peel which makes it much nicer than other mixtures I have used.
Some recipes make a cake mixture and then leave it in a cool place for up to several weeks before baking it. I have tried one of these out many years ago and it was very good – I intend to try this again for a post in the early winter of next year.
Piernik in Poland is associated with the Christmas season and would be made for Christmas Eve and for Christmas Day, it would also be made for Święty Mikołaj – December 6th – St Nicholas Day. This a day for present giving in Poland to children and I would always get a piernik shaped and decorated to look like the bishop that was St Nicholas.
Mama’s Miodownik
This is of my mother’s recipes and it uses sunflower oil which is a more recent addition to recipes in Polish cookery. It is a dense cake which is lovely and moist and improves with keeping.
Miodownik on Greenway Hostess designed by John Russell 1960 – 1979
Ingredients
450g Clear honey
250g Icing sugar
4 Eggs separated
250ml Tepid water
4 Teaspoons cocoa
250ml Sunflower oil
450g Plain flour
Pinch of salt
1 Teaspoon of bicarbonate of soda
1 Teaspoon mixed spice (M&S is the best)
100g mixed peel
Method
You can use a 25cm square tin or a 31cm x21cm rectangular tray tin.
Grease and line the tin.
Pre-heat the oven to Gas Mark 3 – 160º C.
In a large bowl, mix the honey and the icing sugar.
Add the water, cocoa, egg yolks, oil and then the mixed peel.
In a separate bowl mix the plain flour, salt, bicarbonate of soda and the mixed spice.
Add the dry mixture to the honey mixture and mix together to make a batter.
Whisk the egg whites until they are stiff and fold these into the honey batter.
Pour the mixture into the prepared tin.
Bake on the middle shelf of the oven for around 1hour 30minutes.
Take care as this has a tendency to burn at the top, you might need to cover it after about 1 hour with a piece of greaseproof paper of aluminium foil.
Test to make sure it is cooked through with a fine cake tester.
Leave to cool in the tin.
Store in an airtight container or cover in aluminium foil
Miodownik on Greenway Hostess designed by John Russell 1960 – 1979
Addendum
I recently made this for Wigilia (Christmas Eve) around 3 weeks beforehand – it was lovely and moist by then.
Baked cheesecakes have a very long history with the Ancient Greeks baking them with cheese and then the Romans adding eggs to the recipes.
Varieties of cheesecakes were made in the Middle East and mentioned in the Old Testament. Maybe a land flowing with milk and honey is so good as these are ingredients needed to make a cheesecake!
The traditional cheesecake in Poland is a baked cheesecake and it is found in Christian and Jewish Traditions.
One story is that King Jan III Sobieski brought the recipe back with him after his victory against the Turks at the Battle of Vienna (1683).
This could tie up with the fact that one version of the cheesecake in Poland is called Viennese – Style.
When immigrants to the United States of America from Poland, Russia and Germany took their recipes with them in the 19 Century we eventually got the New York Cheesecake.
As ser is the Polish word for cheese – we get sernik as the Polish word for cheesecake.
Cheesecakes are made from twaróg – curd cheese, eggs and sugar and how they turn out depends not only on the proportions of each but also the cheese that is used. Butter and soured cream may also be used.
My mother used to make her own curd cheese from fresh farm milk that was allowed to sour and then the solid curds were separated from the whey by pouring the soured milk into a muslin cloth and leaving this to drain.
Unfortunately you cannot make soured milk from pasteurised milk.
Recently I have been making my own yoghurt and yoghurt cheese. You have to use a live yoghurt starter with pasteurised milk. This is very similar to twaróg, not identical but very near. The result tastes wonderful but it takes a lot of time and effort to get enough cheese at home and so the following recipes use bought cheese.
You can find twaróg now in Polish shops and some supermarkets and sometimes under its German name qwark.
Twaróg – Curd Cheese
Previously as the curd cheese was not available my recipes have been adapted to use a Philadelphia ™ style cream cheese.
Philadelphia ™ is a cream cheese invented in 1872 in New York State.
Full fat makes the best cheesecake. You can use a mixture of full fat and medium fat but never use low fat cheese.
You cannot make a good baked cheesecake from low fat cheese.
Curd cheese is slightlygrainyand to get the best results you either need to put it through a mincer or use a blender.
A traditional baked cheesecake has 2 layers – a cake base and then the curd cheese layer on top.
In my mother’s original cake the cheese mixture was poured over a baked cake base but for ease I often use a crushed biscuit base.
Mama’s Cheesecake
Biscuit Base Ingredients
75g melted butter
150g digestive, rich tea or morning coffee biscuits
You need a round tin with a loose base or a spring form tin or you will not be able to get the cake out. I always use an anodised aluminium tin, 23cm in diameter and 7 cm deep, which does not rust.
Selection of my anodised cake tins
Grease the tin well with butter.
Crush the biscuits to make fine crumbs and use some of these to coat the sides of the greased tin.
Crushed biscuits
Add the melted butter to the rest of the biscuits and mix together. Put this mixture onto the base of the tin pressing it down firmly.
Biscuit crumb mix – pressed into the tin
Leave the tin in a cold place whilst you make the cheese mixture.
Cheese Mixture Ingredients
700g of curd cheese or cream cheese (at room temperature)
6 egg yolks
2 egg whites
4 tablespoons of caster sugar
50 to 75g of melted butter
3 drops of vanilla essence
1 to 2 tablespoons of semolina (optional)
Pre heat the oven to GM4 – 180oC.
In a large bowl beat the yolks and sugar until they are thick and creamy – the mixture should be lighter in colour than the original yolks and be creamy. (This may take around 5 minutes). Then add the cooled melted butter, cheese and vanilla essence.
If using the semolina, add this now – it makes the cake a bit denser. (I rarely add this with cream cheese, more often with curd cheese).
Beat the whites with a whisk until you have soft peaks and fold these into the mixture.
Pour the mixture on top of the biscuit base and bake for 1 to 1 ¼ hours. Check after an hour, if the top starts to get too brown before the cake is cooked place a piece of foil over the top.
Once the cake is cooked switch off the oven, you can leave the door open slightly and let it cool down in the oven, this prevents it sagging and cracking too much as it cools. (It will sag and often does crack – this is not unusual).
Once the cake is cool you can take it out of the tin. I use a tin can and put the cake tin on this and slide the side of the cake tin down.
Dust the top of the cake with icing sugar before serving.
This cake tastes best if allowed to get cold, so make it the day before it is needed.
Variations
You can make endless variations on this basic recipe by adding raisins, mixed peel, fresh raspberries and so on or adding a drizzle of melted dark chocolate on the top when it has cooled.
In Poland one type of cheesecake is described as Vienneseand another as fromKraków. The Viennese one has sultanas or raisins and orange peel in the cheese mixture and sometimes some chocolate on top, whilst the one from Kraków is traditionally baked in a square or rectangular shape and has a lattice of pastry over the top and will also have sultanas or raisins in the cheese mixture.
Cheesecake Version 2
I cannot quite remember the origin of this version, I think my mother got it either from one of her friends or from the Polish newspaper. It has soured cream as one of the ingredients but no butter. It uses all the egg whites which are stiffly beaten causing this cake to have a lighter texture and it rises more but does sink down again as it cools.
The instructions are the same as the one above for the biscuit base. It is the cheese mixture which is different
Cheese Mixture Ingredients
600g curd cheese or cream cheese (at room temperature)
100g caster sugar
6 eggs separated
120 mls soured cream
grated rind of 2 lemons or 3 drops of vanilla essence
Pre heat the oven to GM4 – 180oC.
In a large bowl beat the yolks and sugar until they are thick and creamy, add the lemon rind (or vanilla essence), soured cream and cheese.
In another large bowl whisk the whites till they are stiff and fold these into the cheese mixture using a metal spoon.
Pour the mixture on top of the biscuit base and bake for 50 minutes to 1 hour. Check after 50 minutes if the top starts to get too brown before the cake is cooked place a piece of foil over the top.
Once the cake is cooked switch of the oven, you can leave the door open slightly and let it cool down in the oven, this prevents it sagging and cracking too much as it cools.
Once the cake is cool you can take it out of the tin. I use a tin can and put the cake tin on this and slide the side of the cake tin down.
Dust the top of the cake with icing sugar before serving.
This cake tastes best if allowed to get cold, so make it the day before it is needed.
Babka is the name of a cake in Polish – or rather it refers to its shape – the name means grandma or little old lady – the shape is round and dumpy.
It can be a yeast cake or a sponge type cake. I will go into detail about these later in the year.
A small bun or fairy cake can be called a babeczka (babeczki is the plural).
I have also seen the wordmufinkanow in Poland!
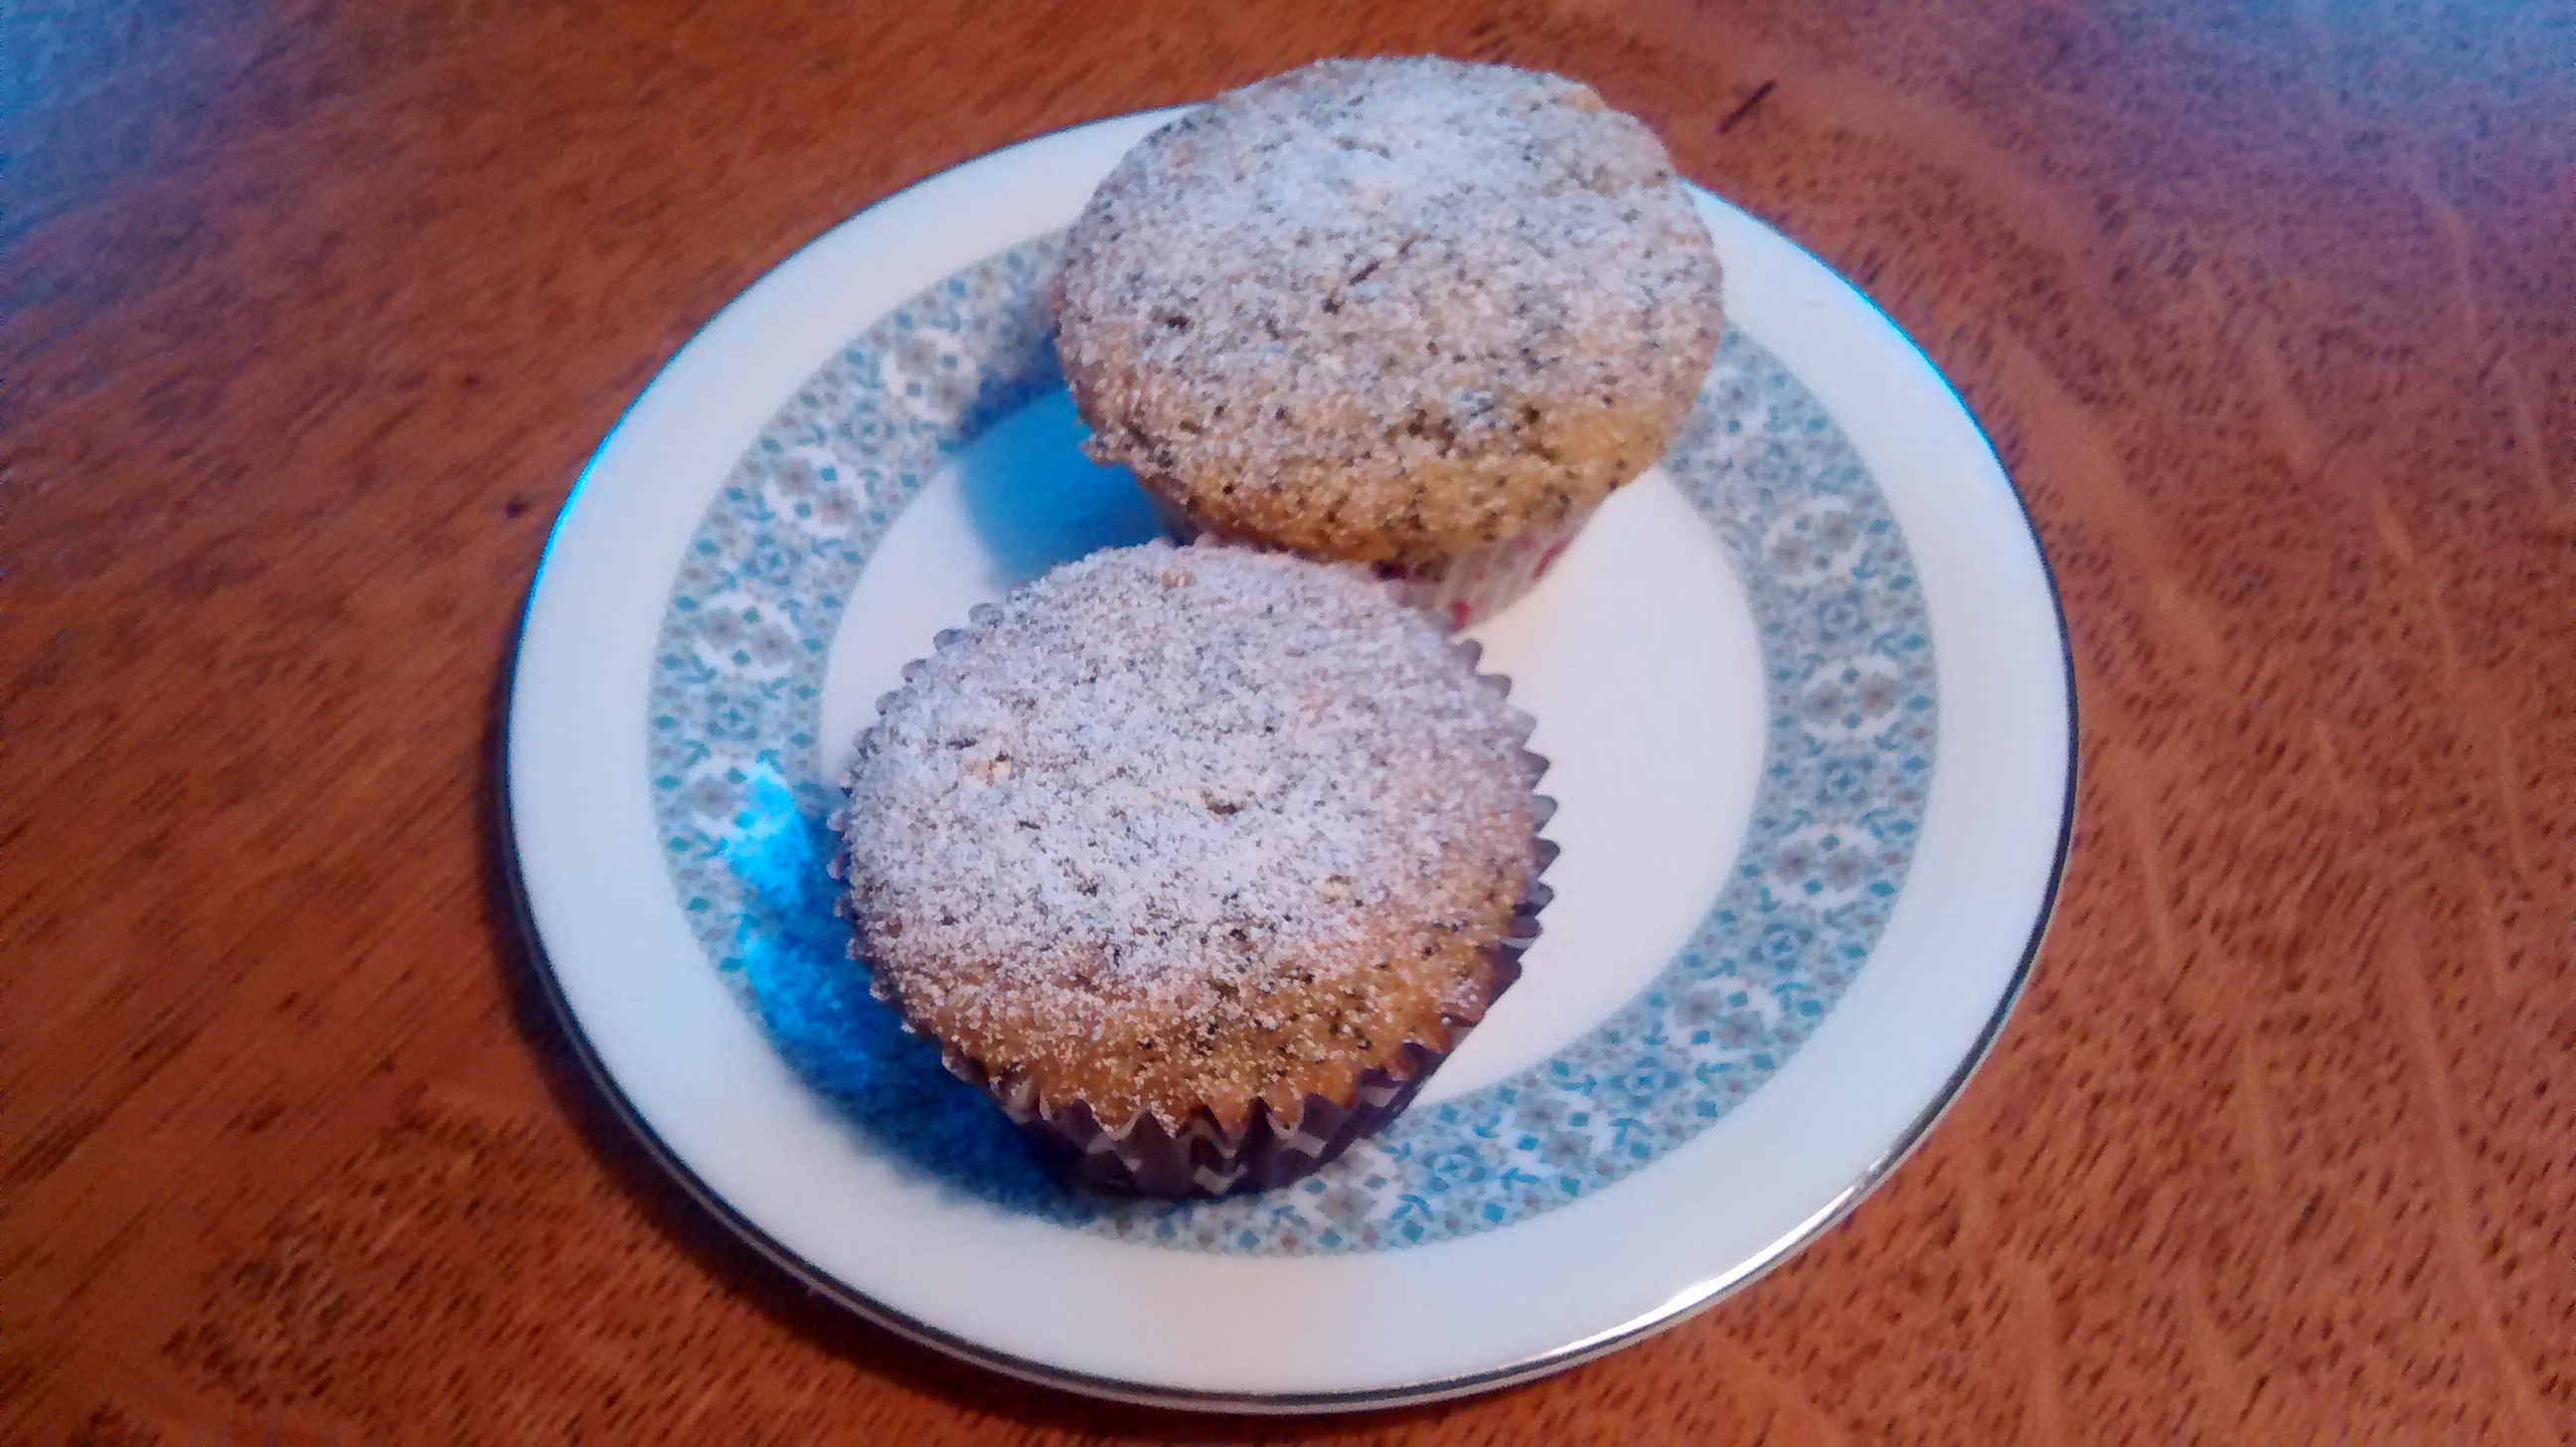
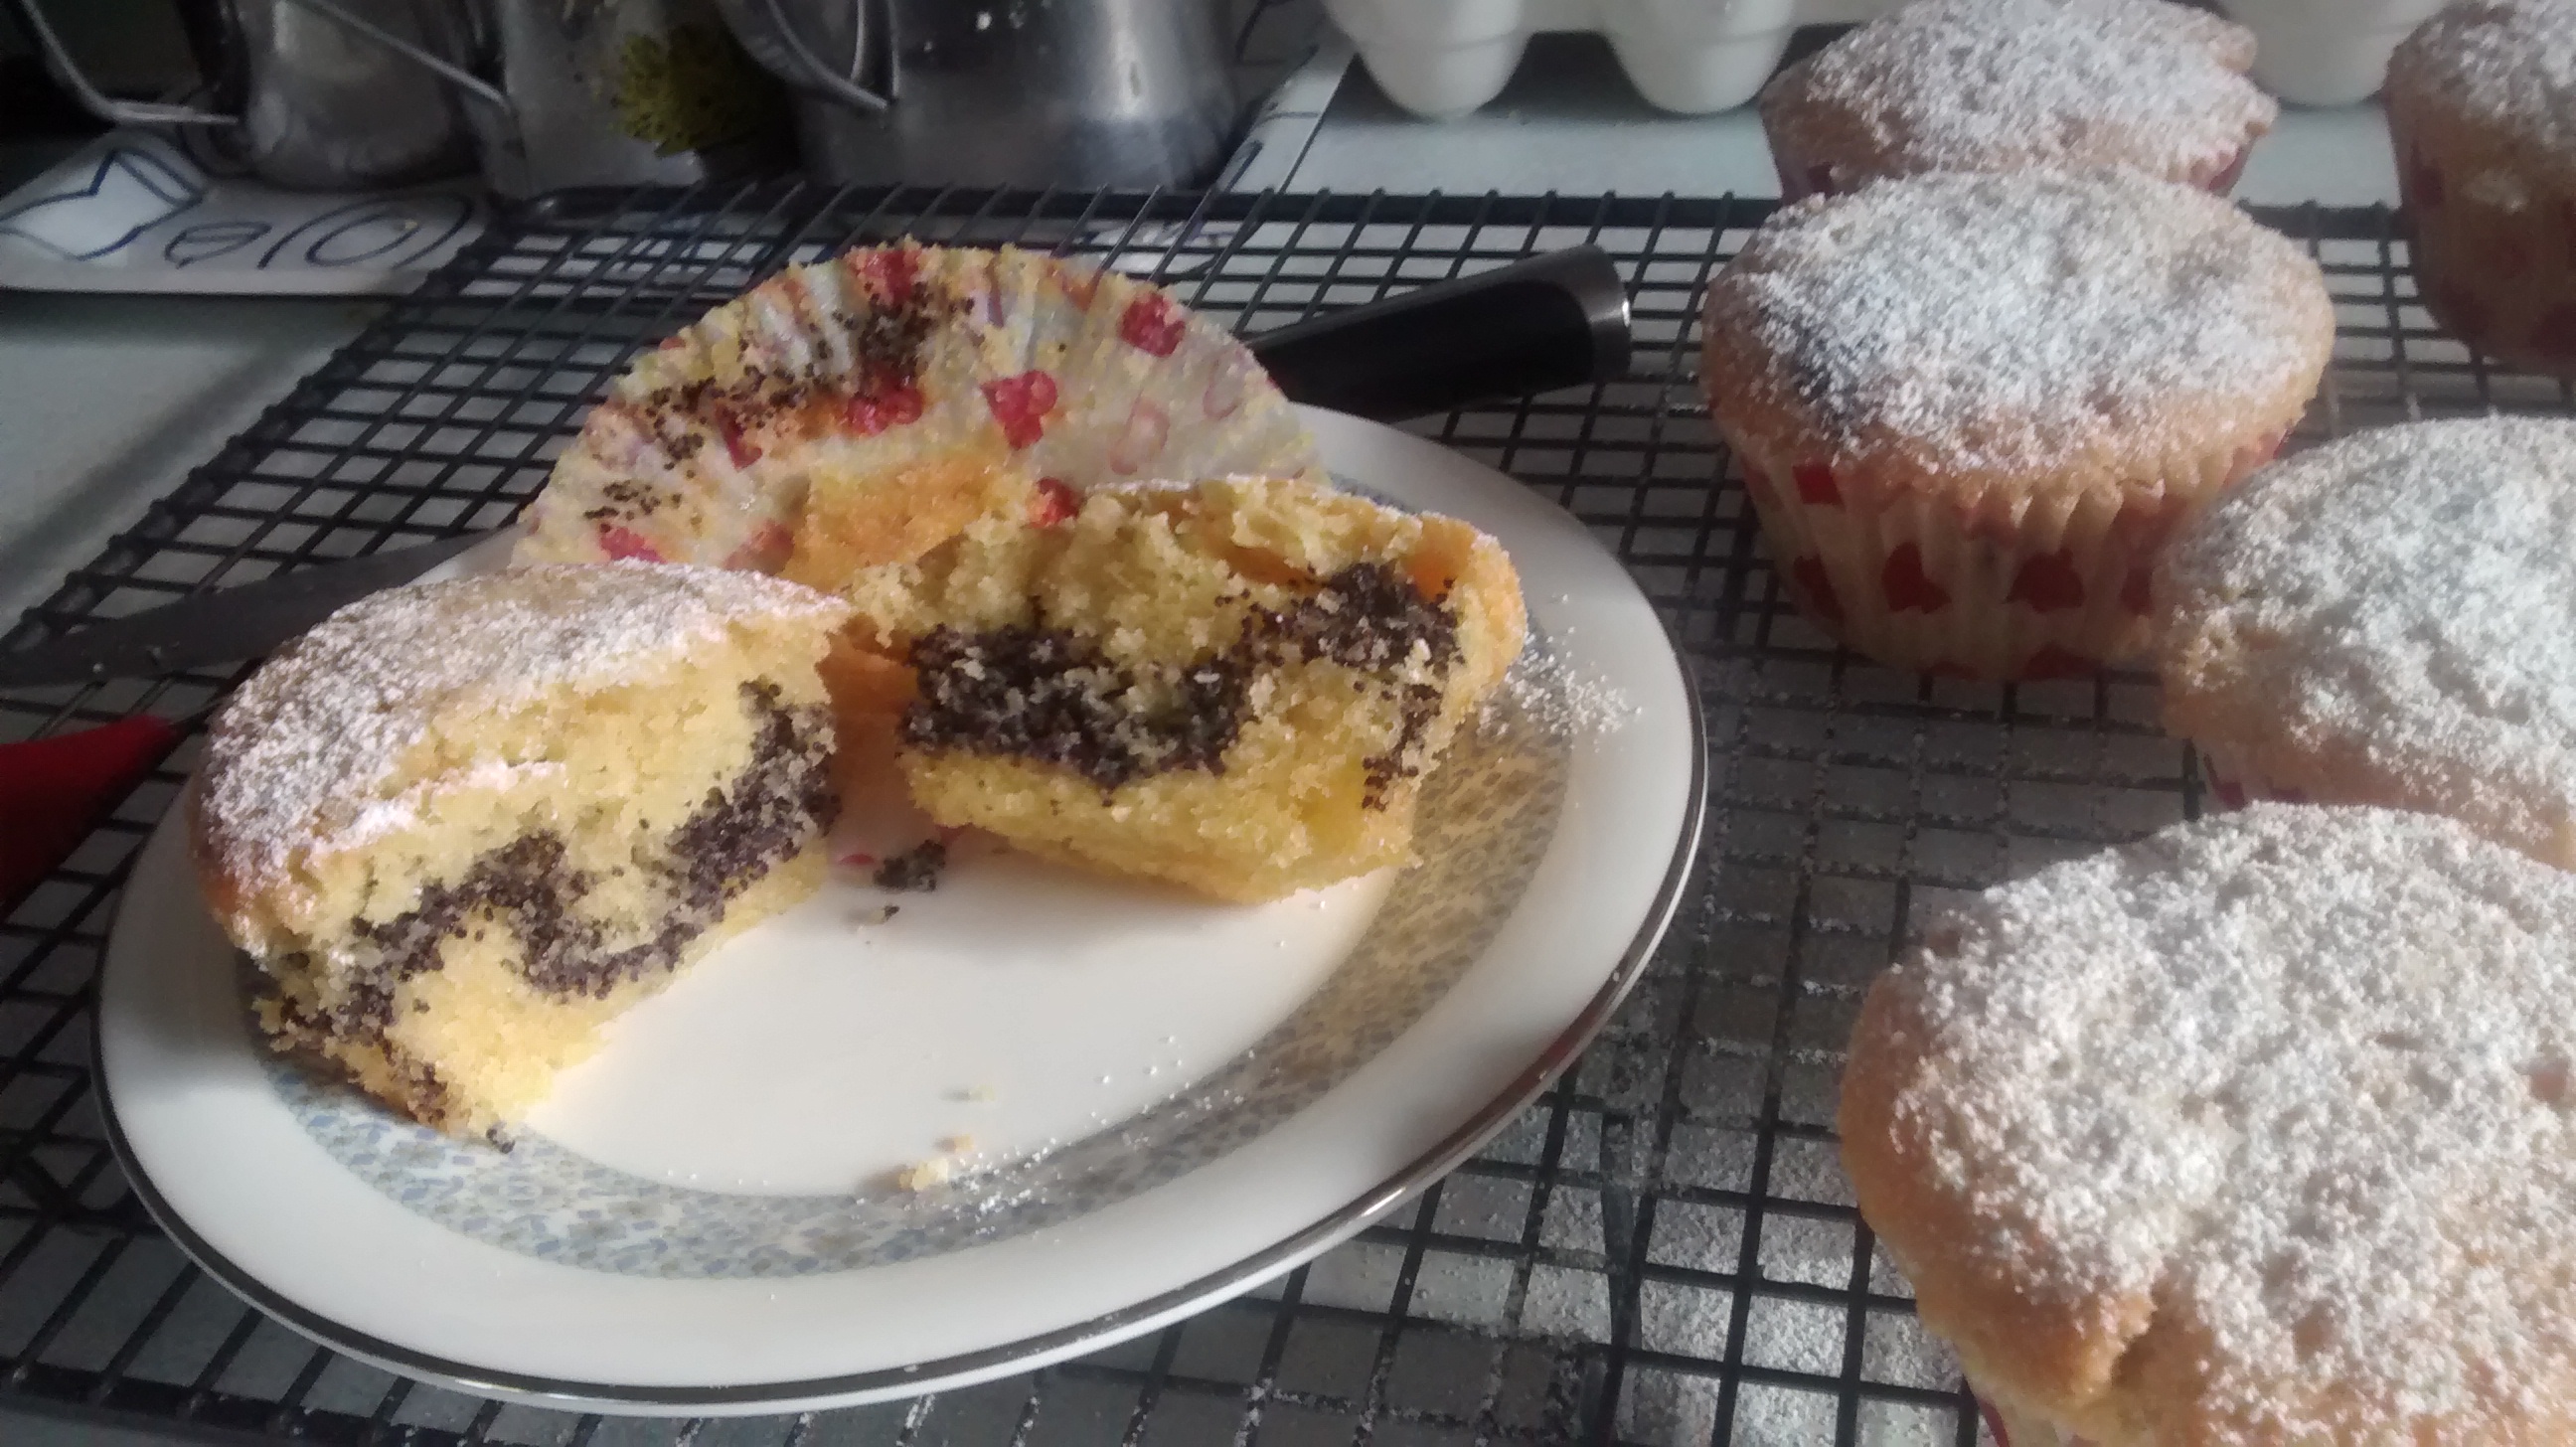
Using my various poppy seed recipes I have tried out some variations to make some babeczki.
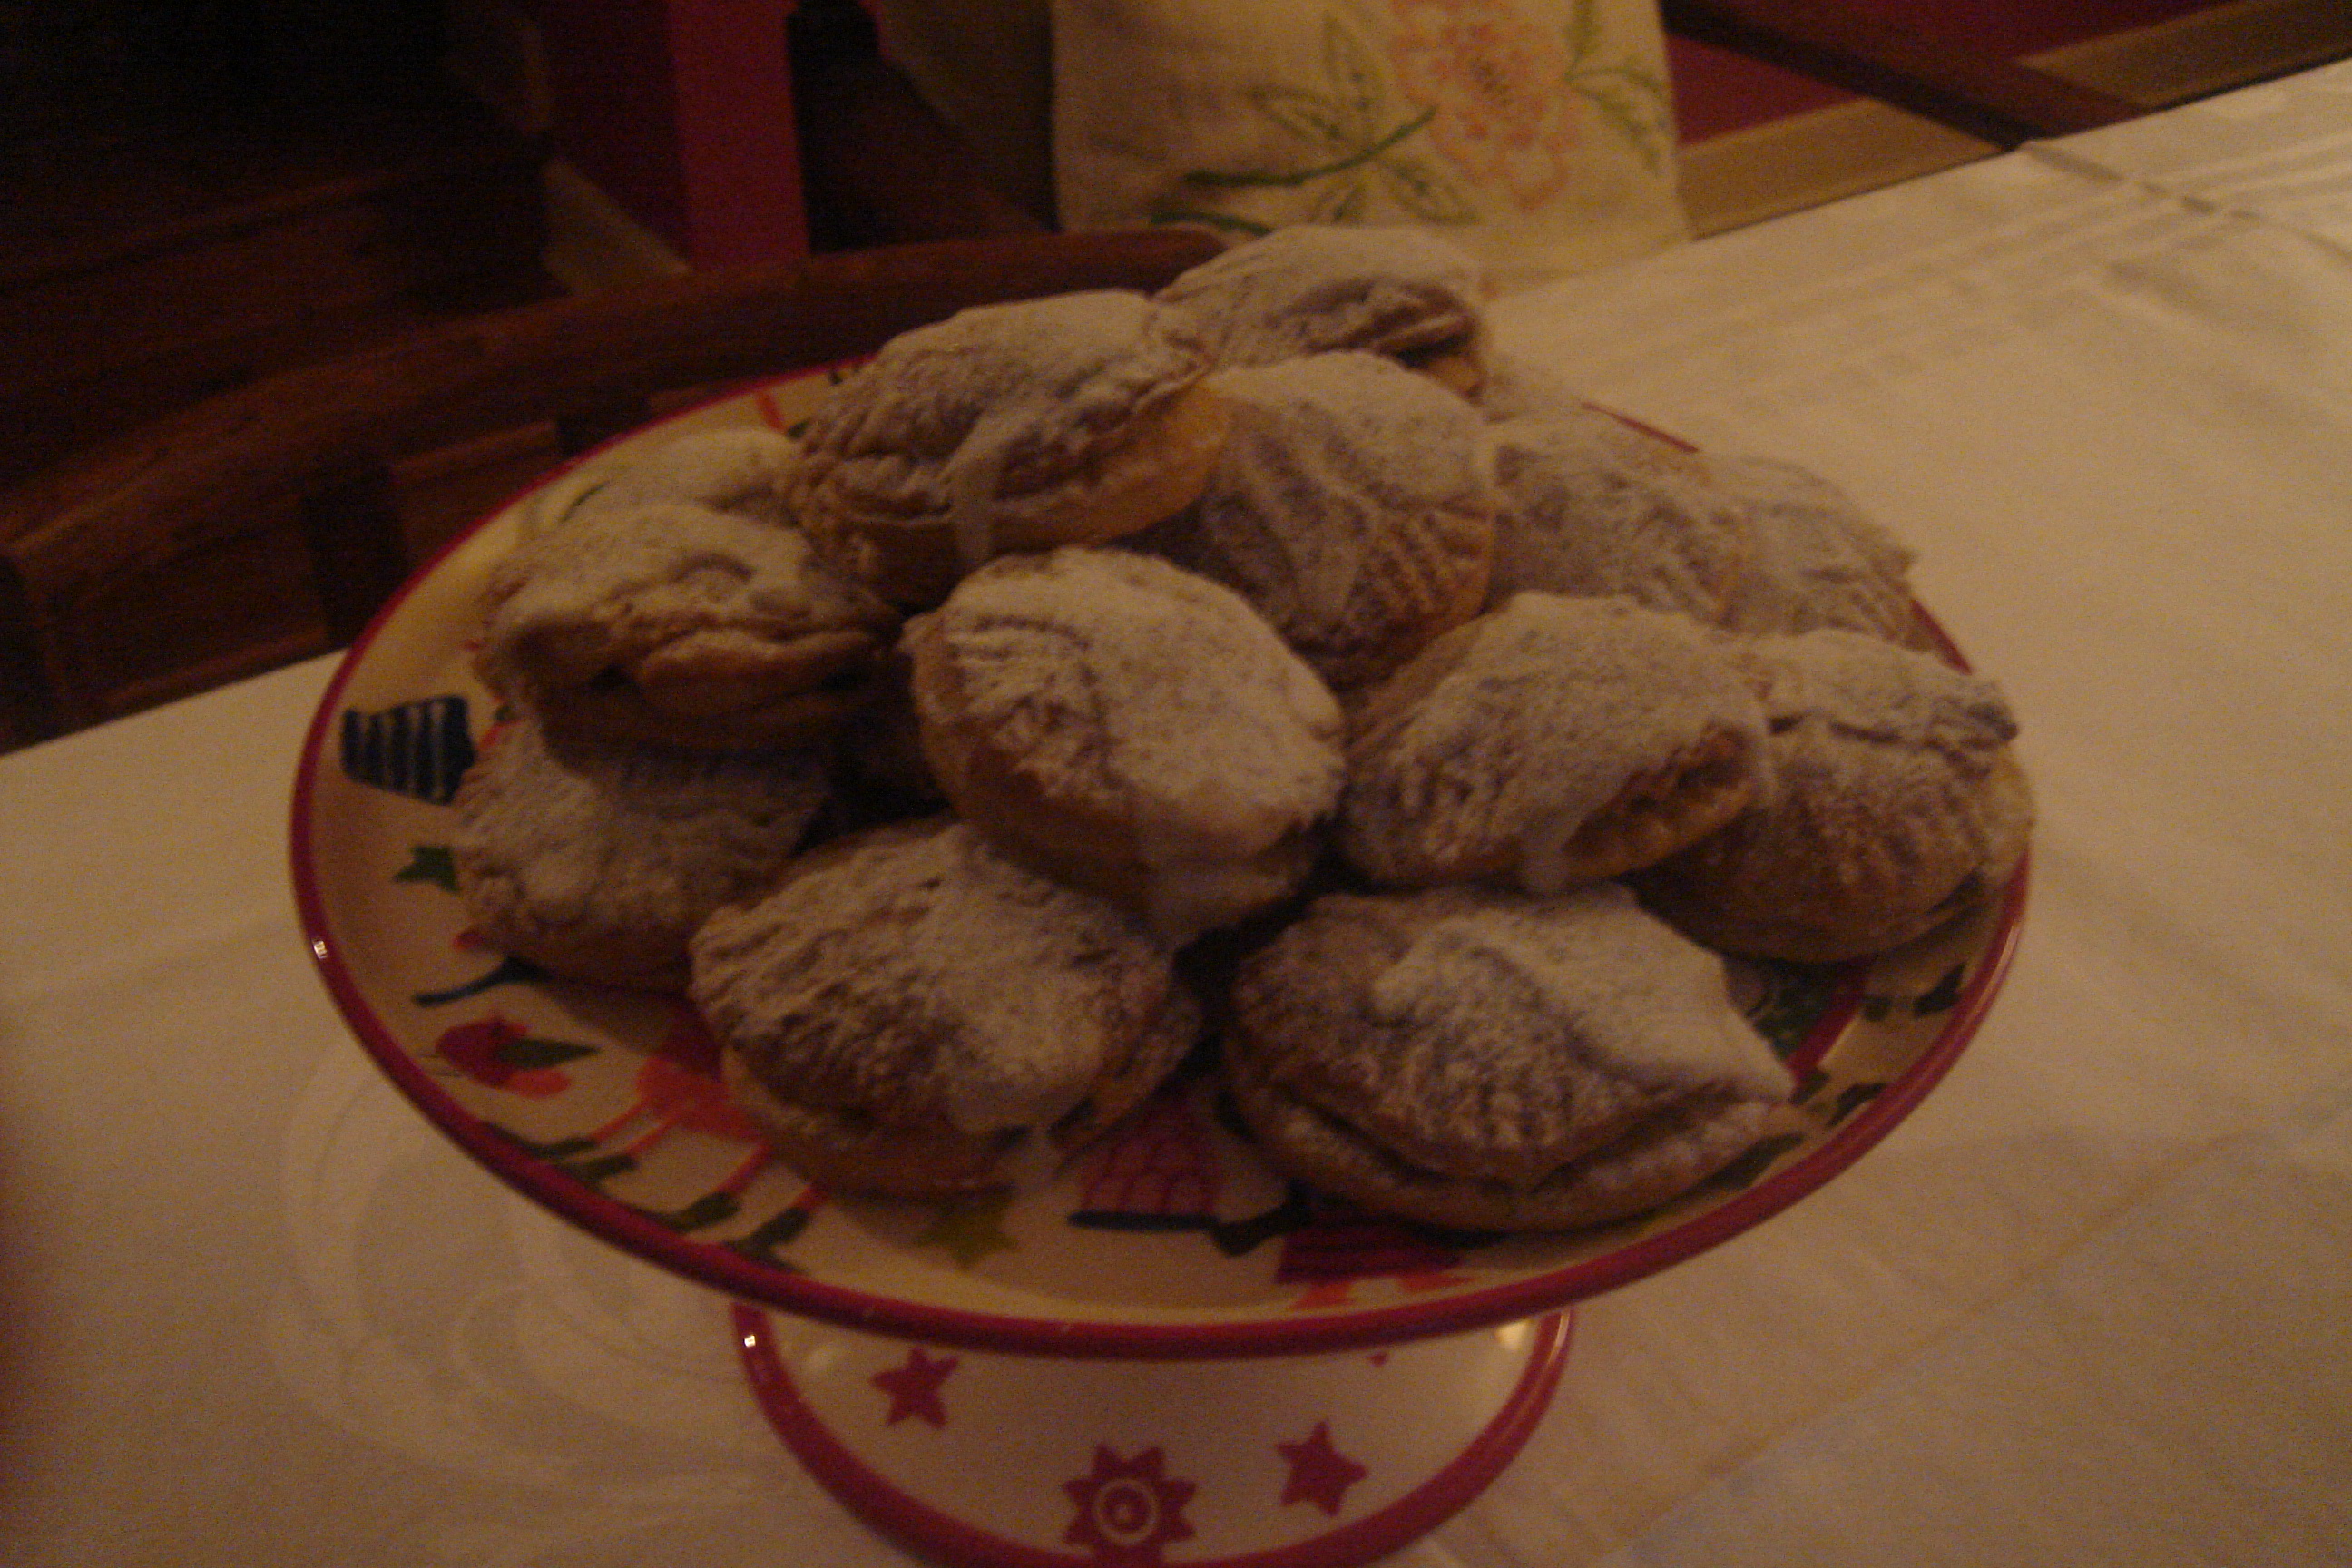
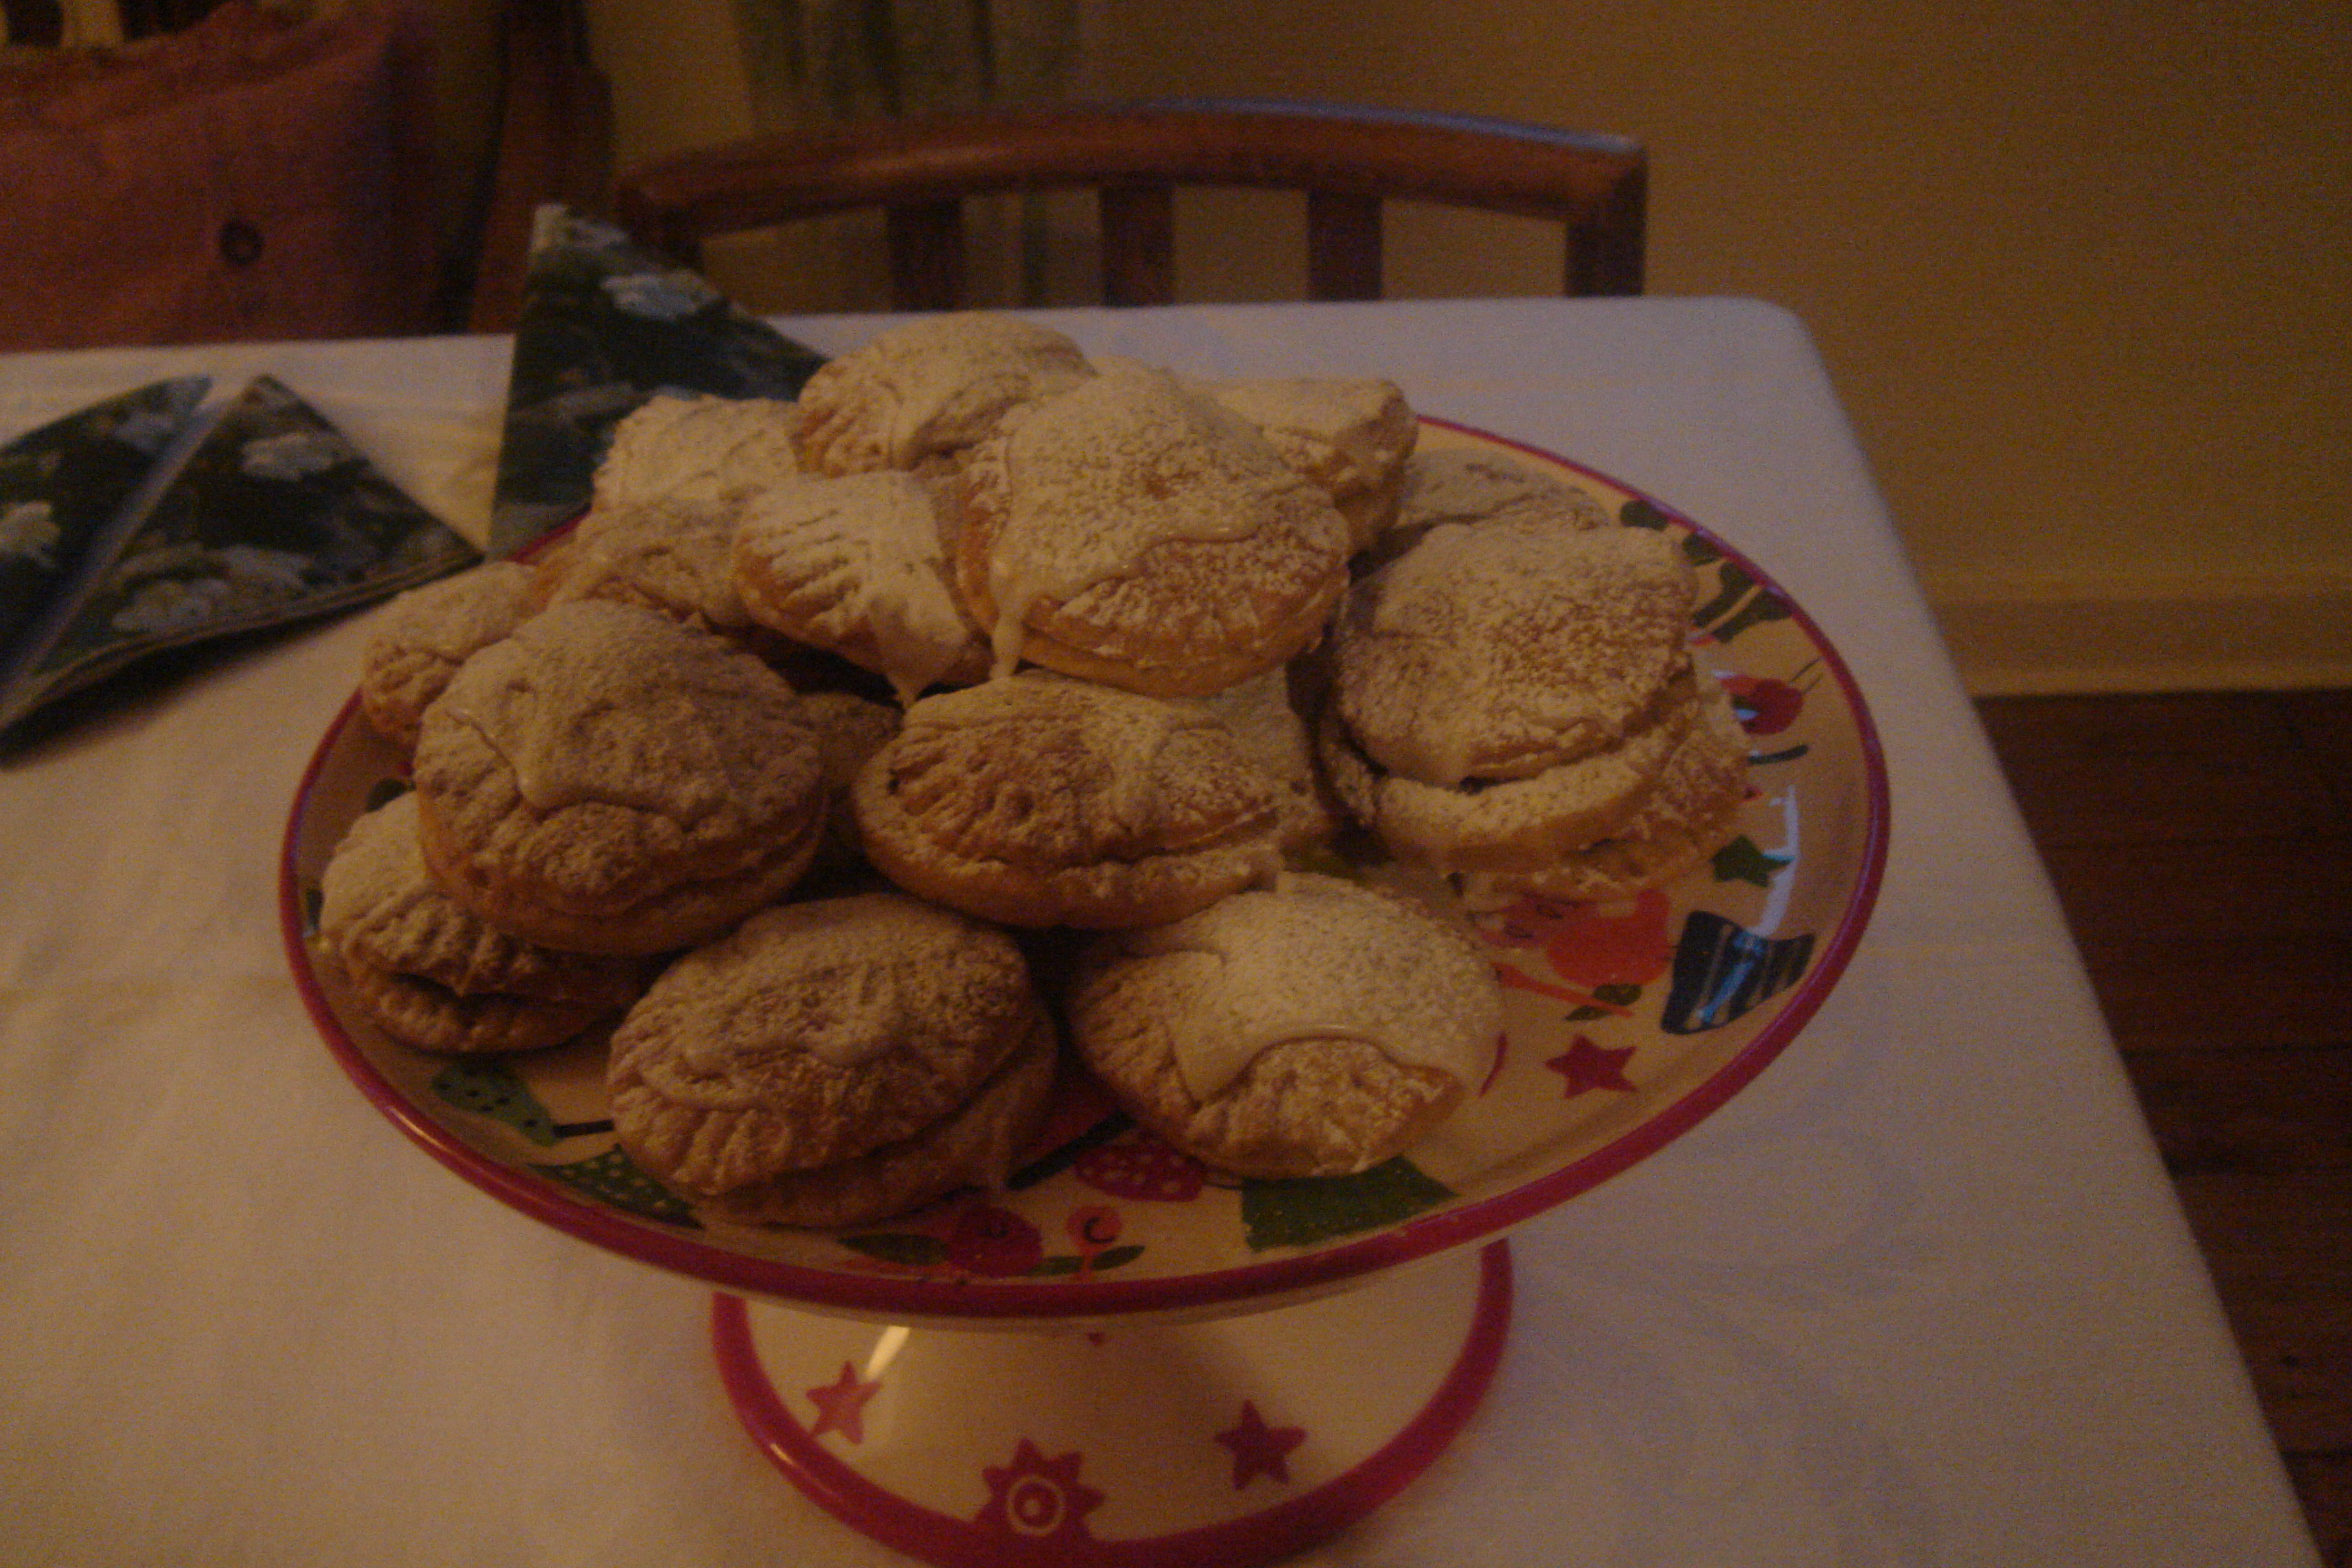
These I made with a yeast pastry & poppy seed filling for Wigilia – Christmas Eve – a couple of years ago – using a different yeast pastry to the one in the traditional poppy seed roll.
Babeczki with Poppy Seed filling. The photo is dark as it was taken in the evening whilst getting ready for the special meal.
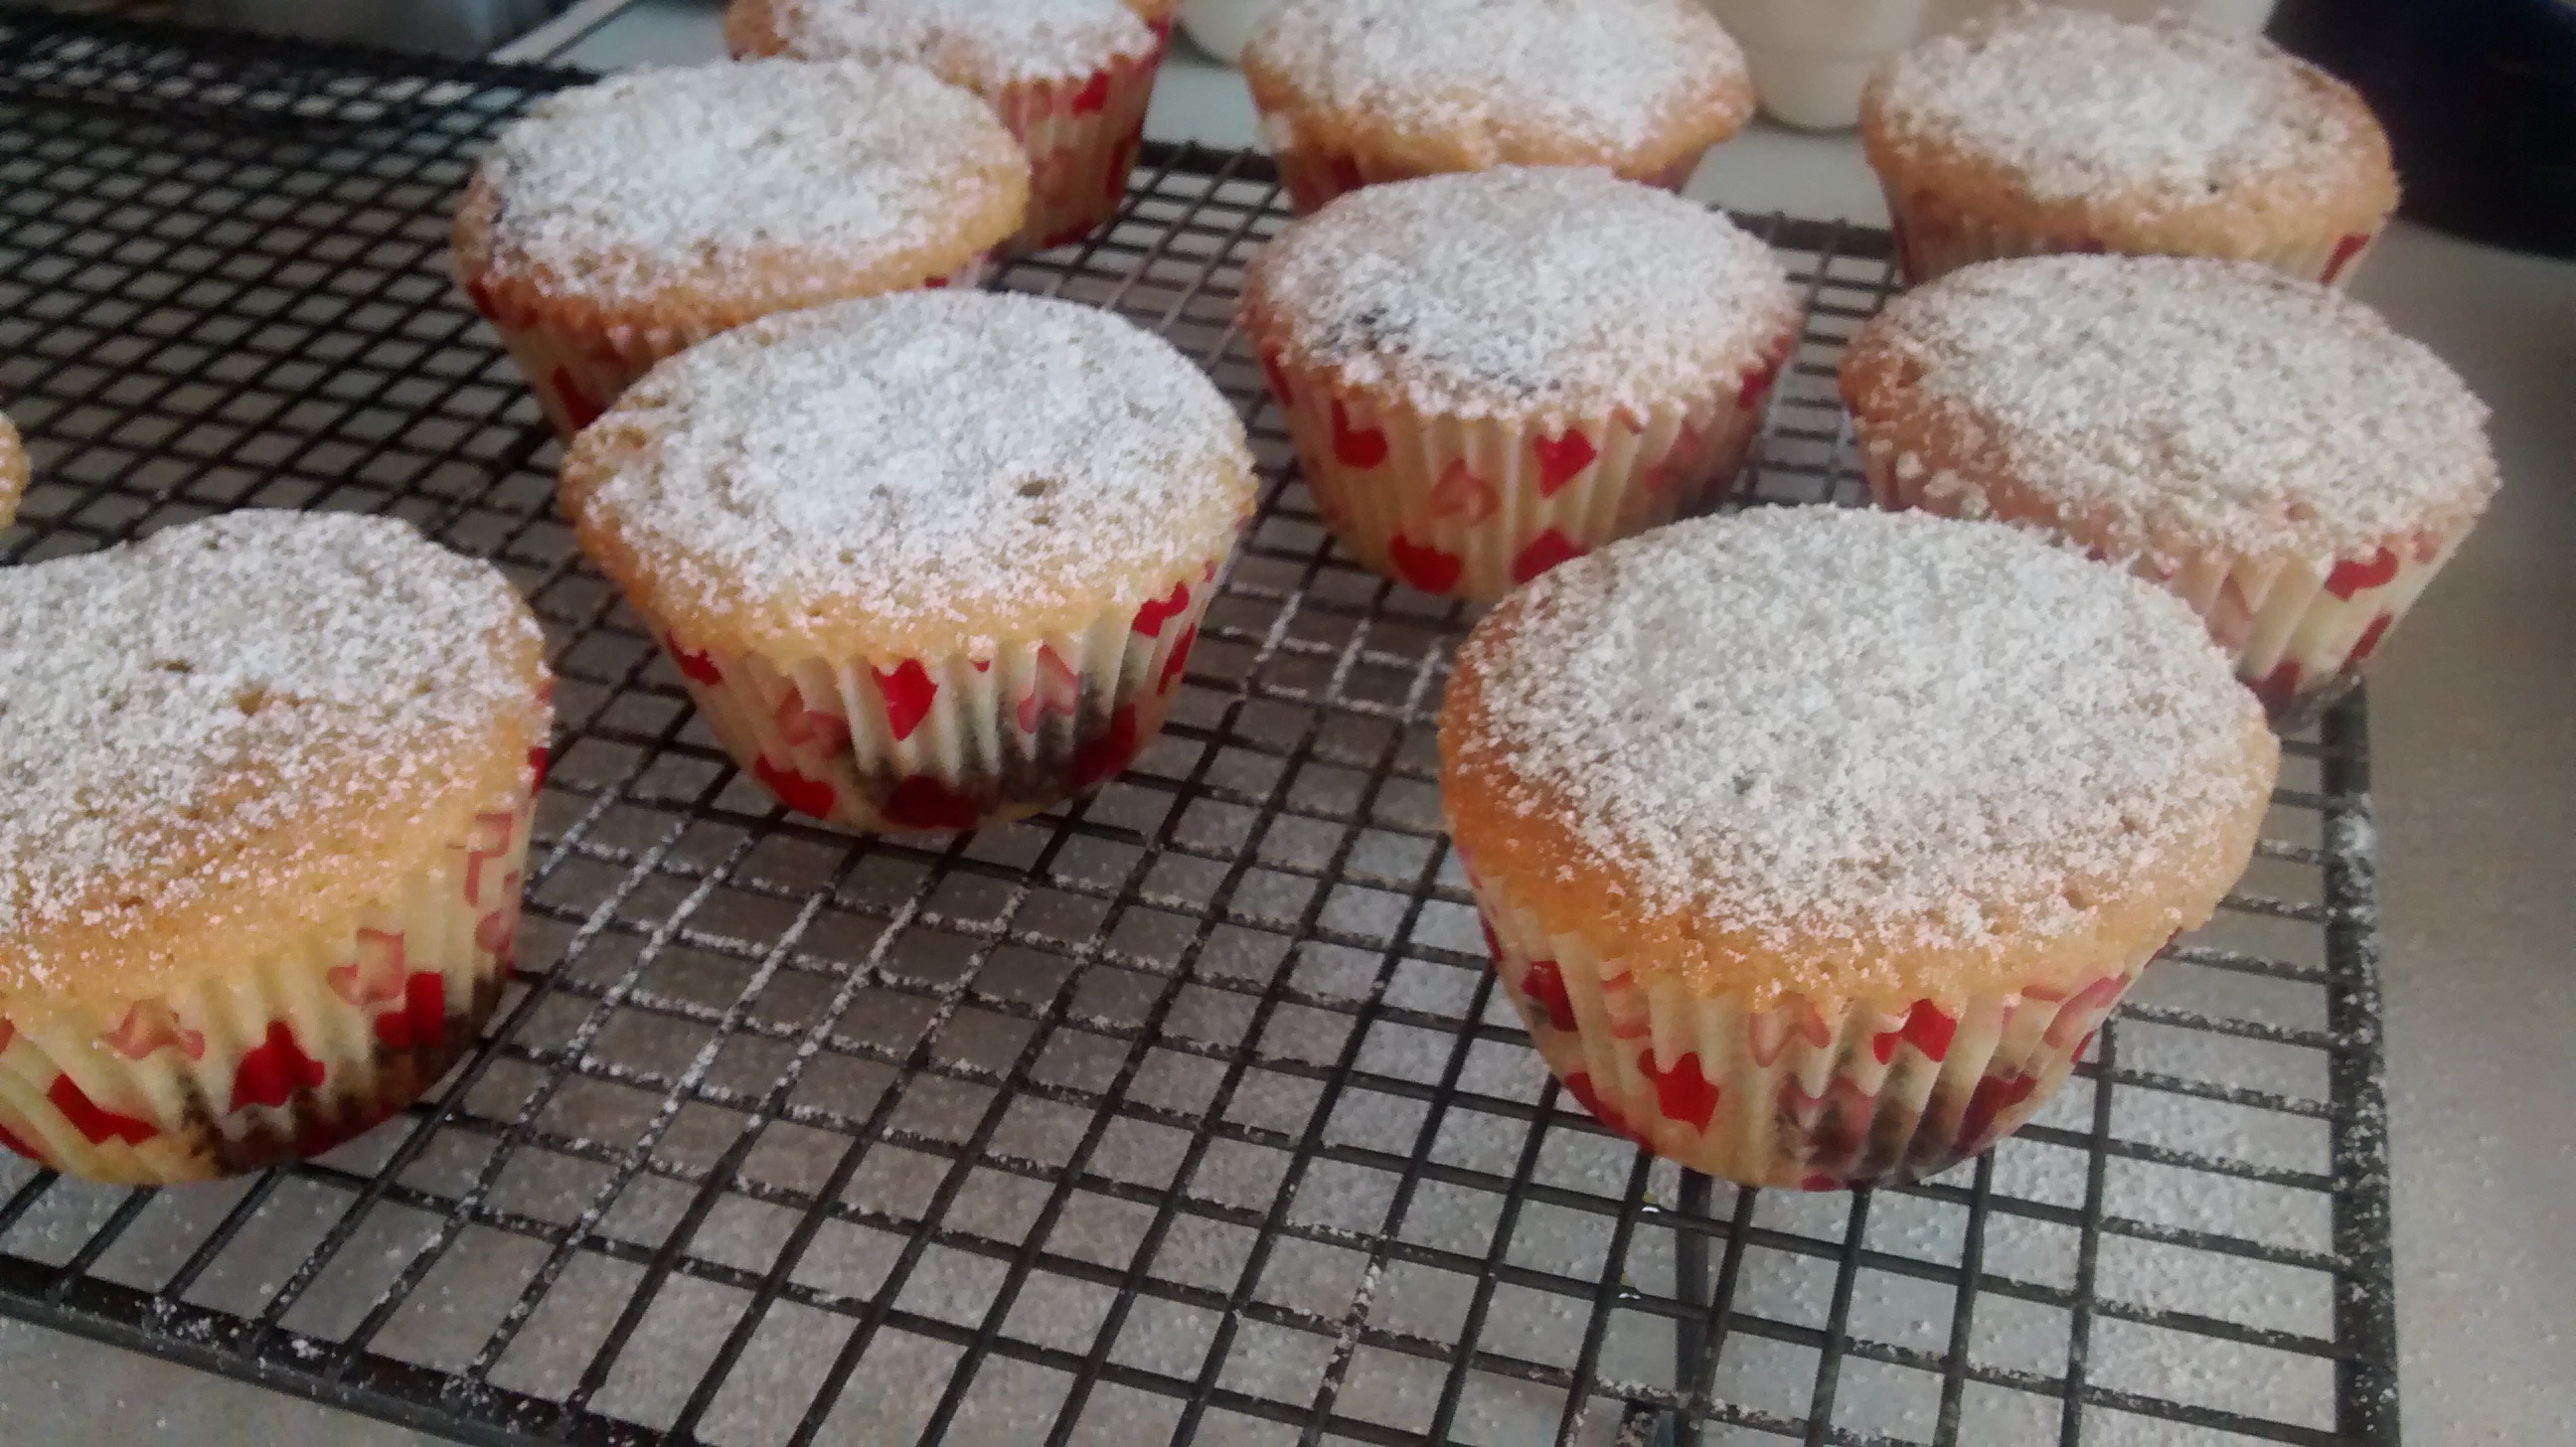
I used a simple sponge mixture to make 2 other types of poppy seed buns.
I have used paper cases – I am not sure if these are available or used in Poland but they are so useful and make the buns very portable and easy to eat.
You can use a basic Victoria sponge mixture made using 2 eggs, butter or margarine, caster sugar and self-raising – the recipe method and amounts such as in the Be-Ro recipe book will work well.
This mixture should make about 12 buns.
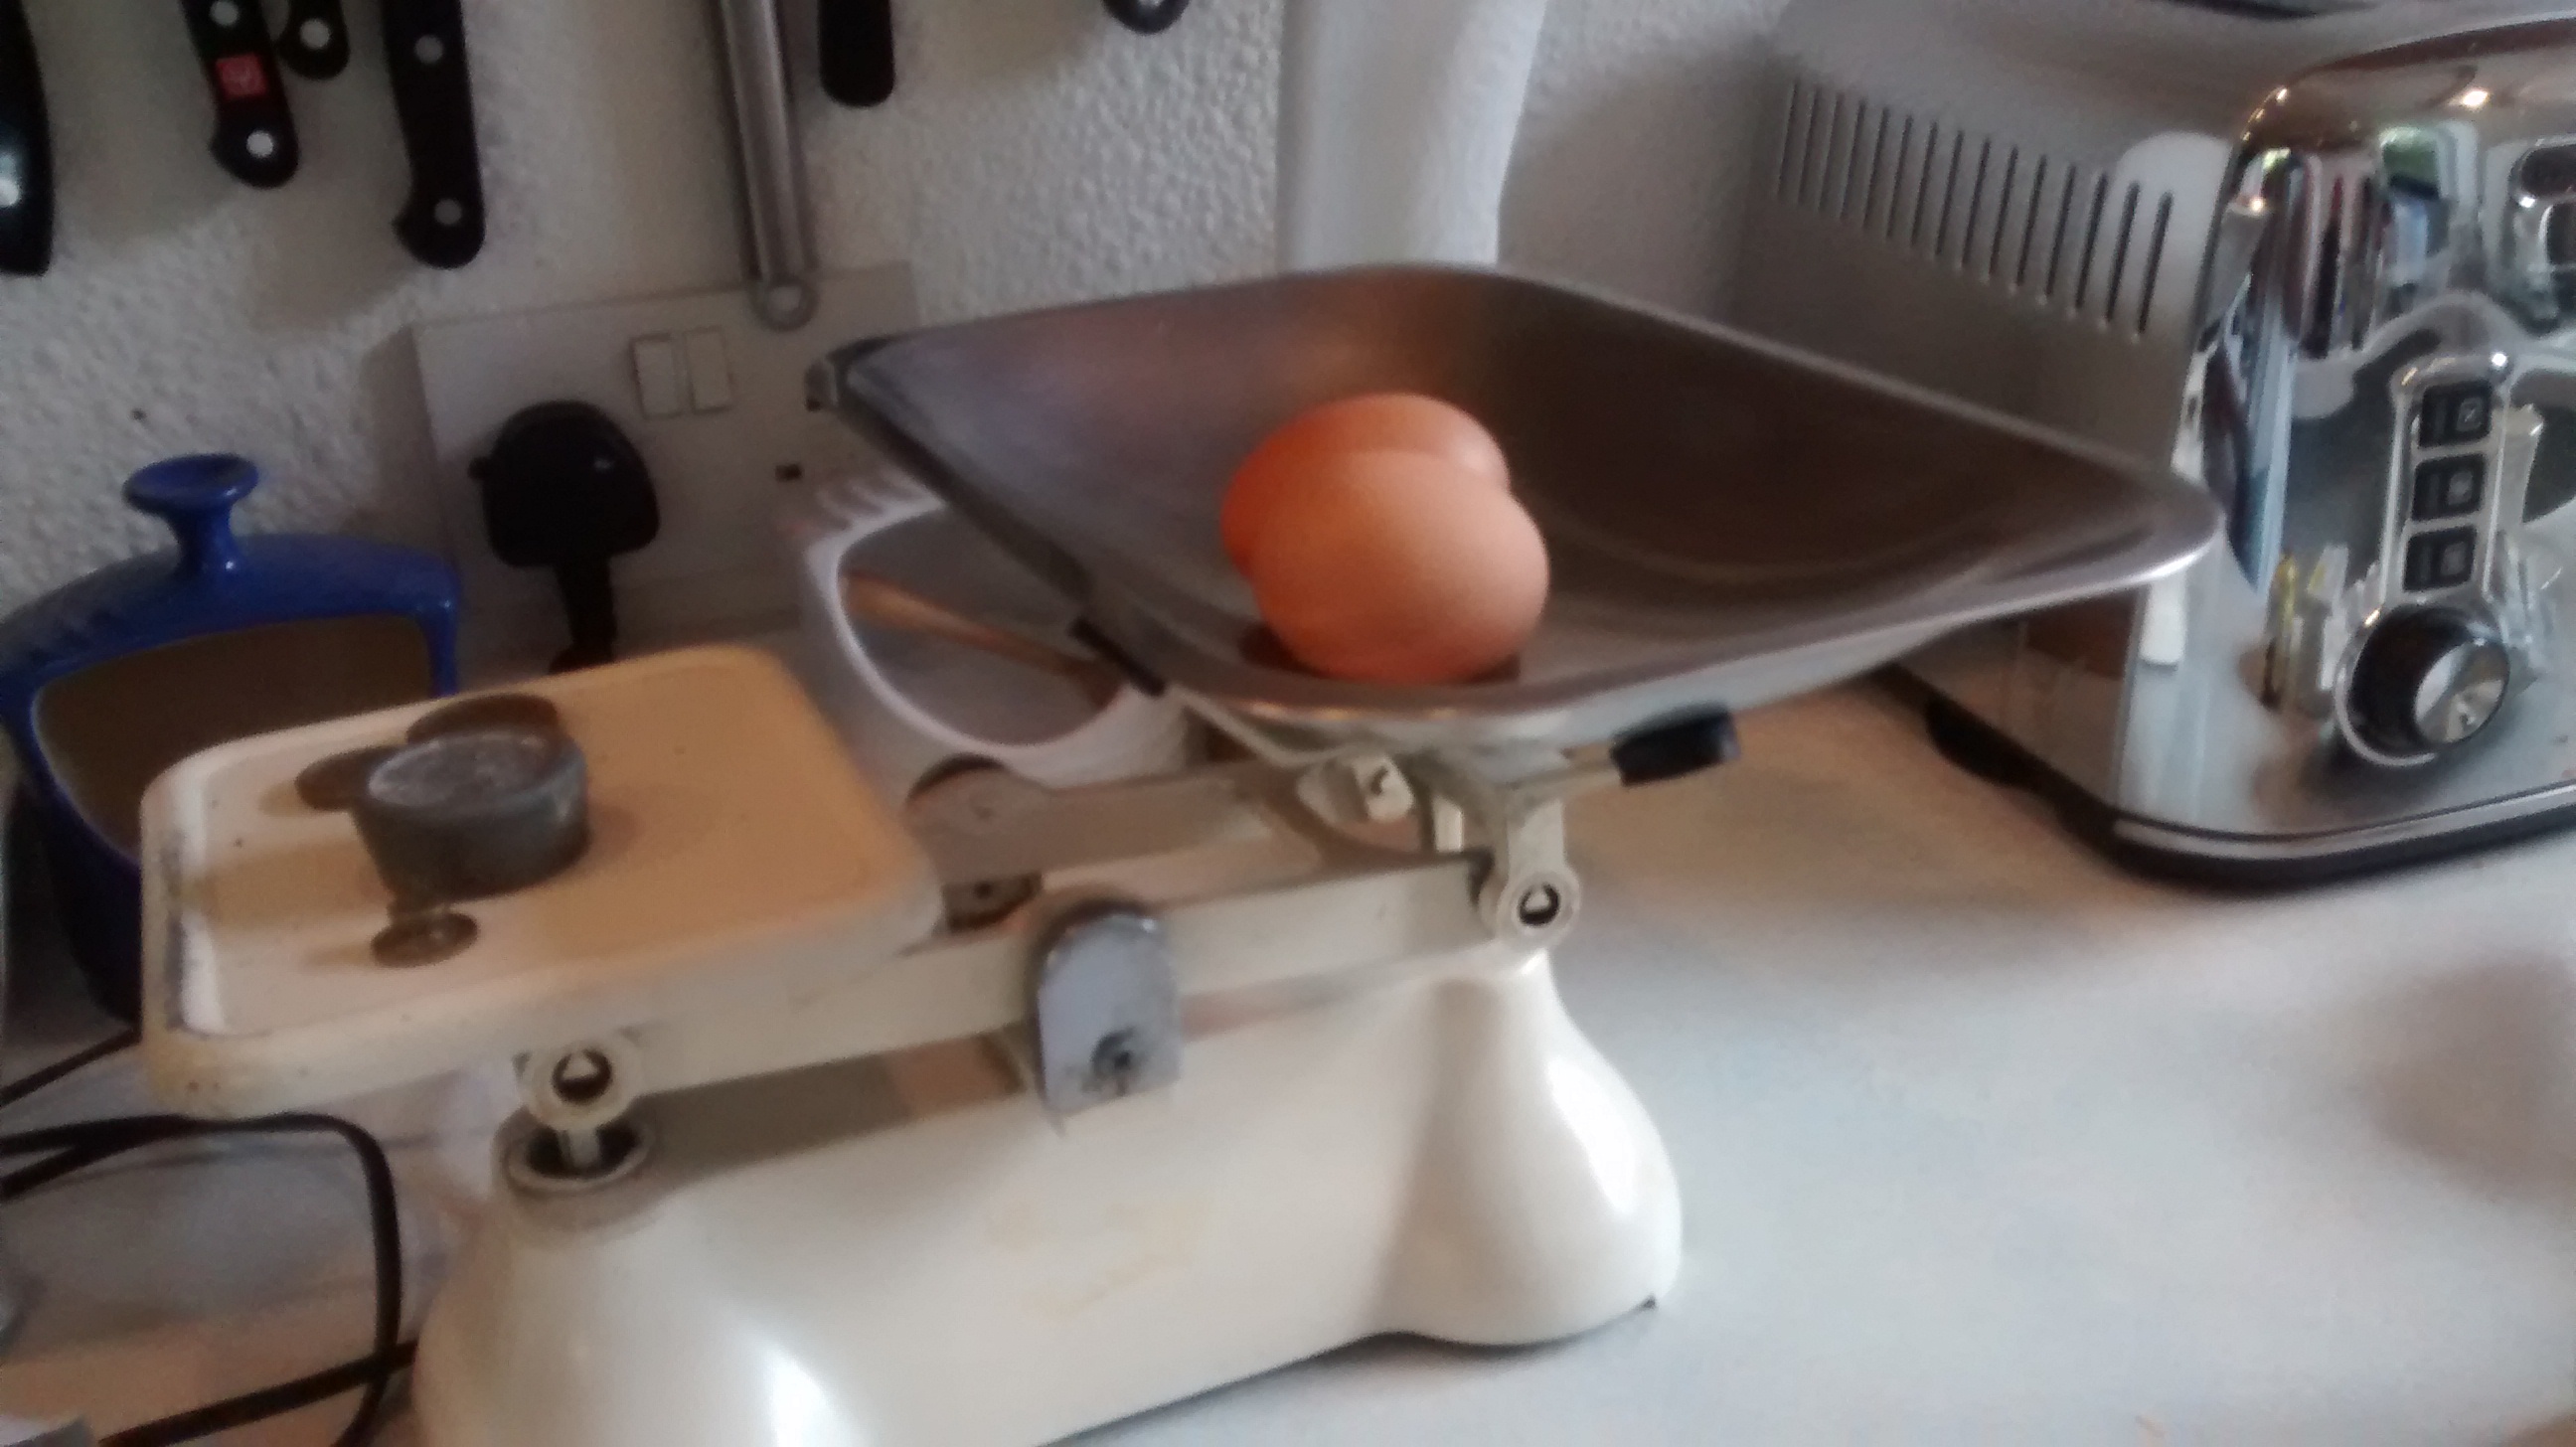
I use a method which I will write about in more detail later in the year, in this the eggs are weighed in their shells and each of the other ingredients is then that same weight.
Weighing eggs
Buns – 1 – Using dry roasted poppy seeds To the sponge mixture you add dry roasted poppy seeds. The dry roasting gives them a more nutty flavour. Note – Lemon zest is not used in this recipe.
Buns made with Dry Roasted Poppy Seeds
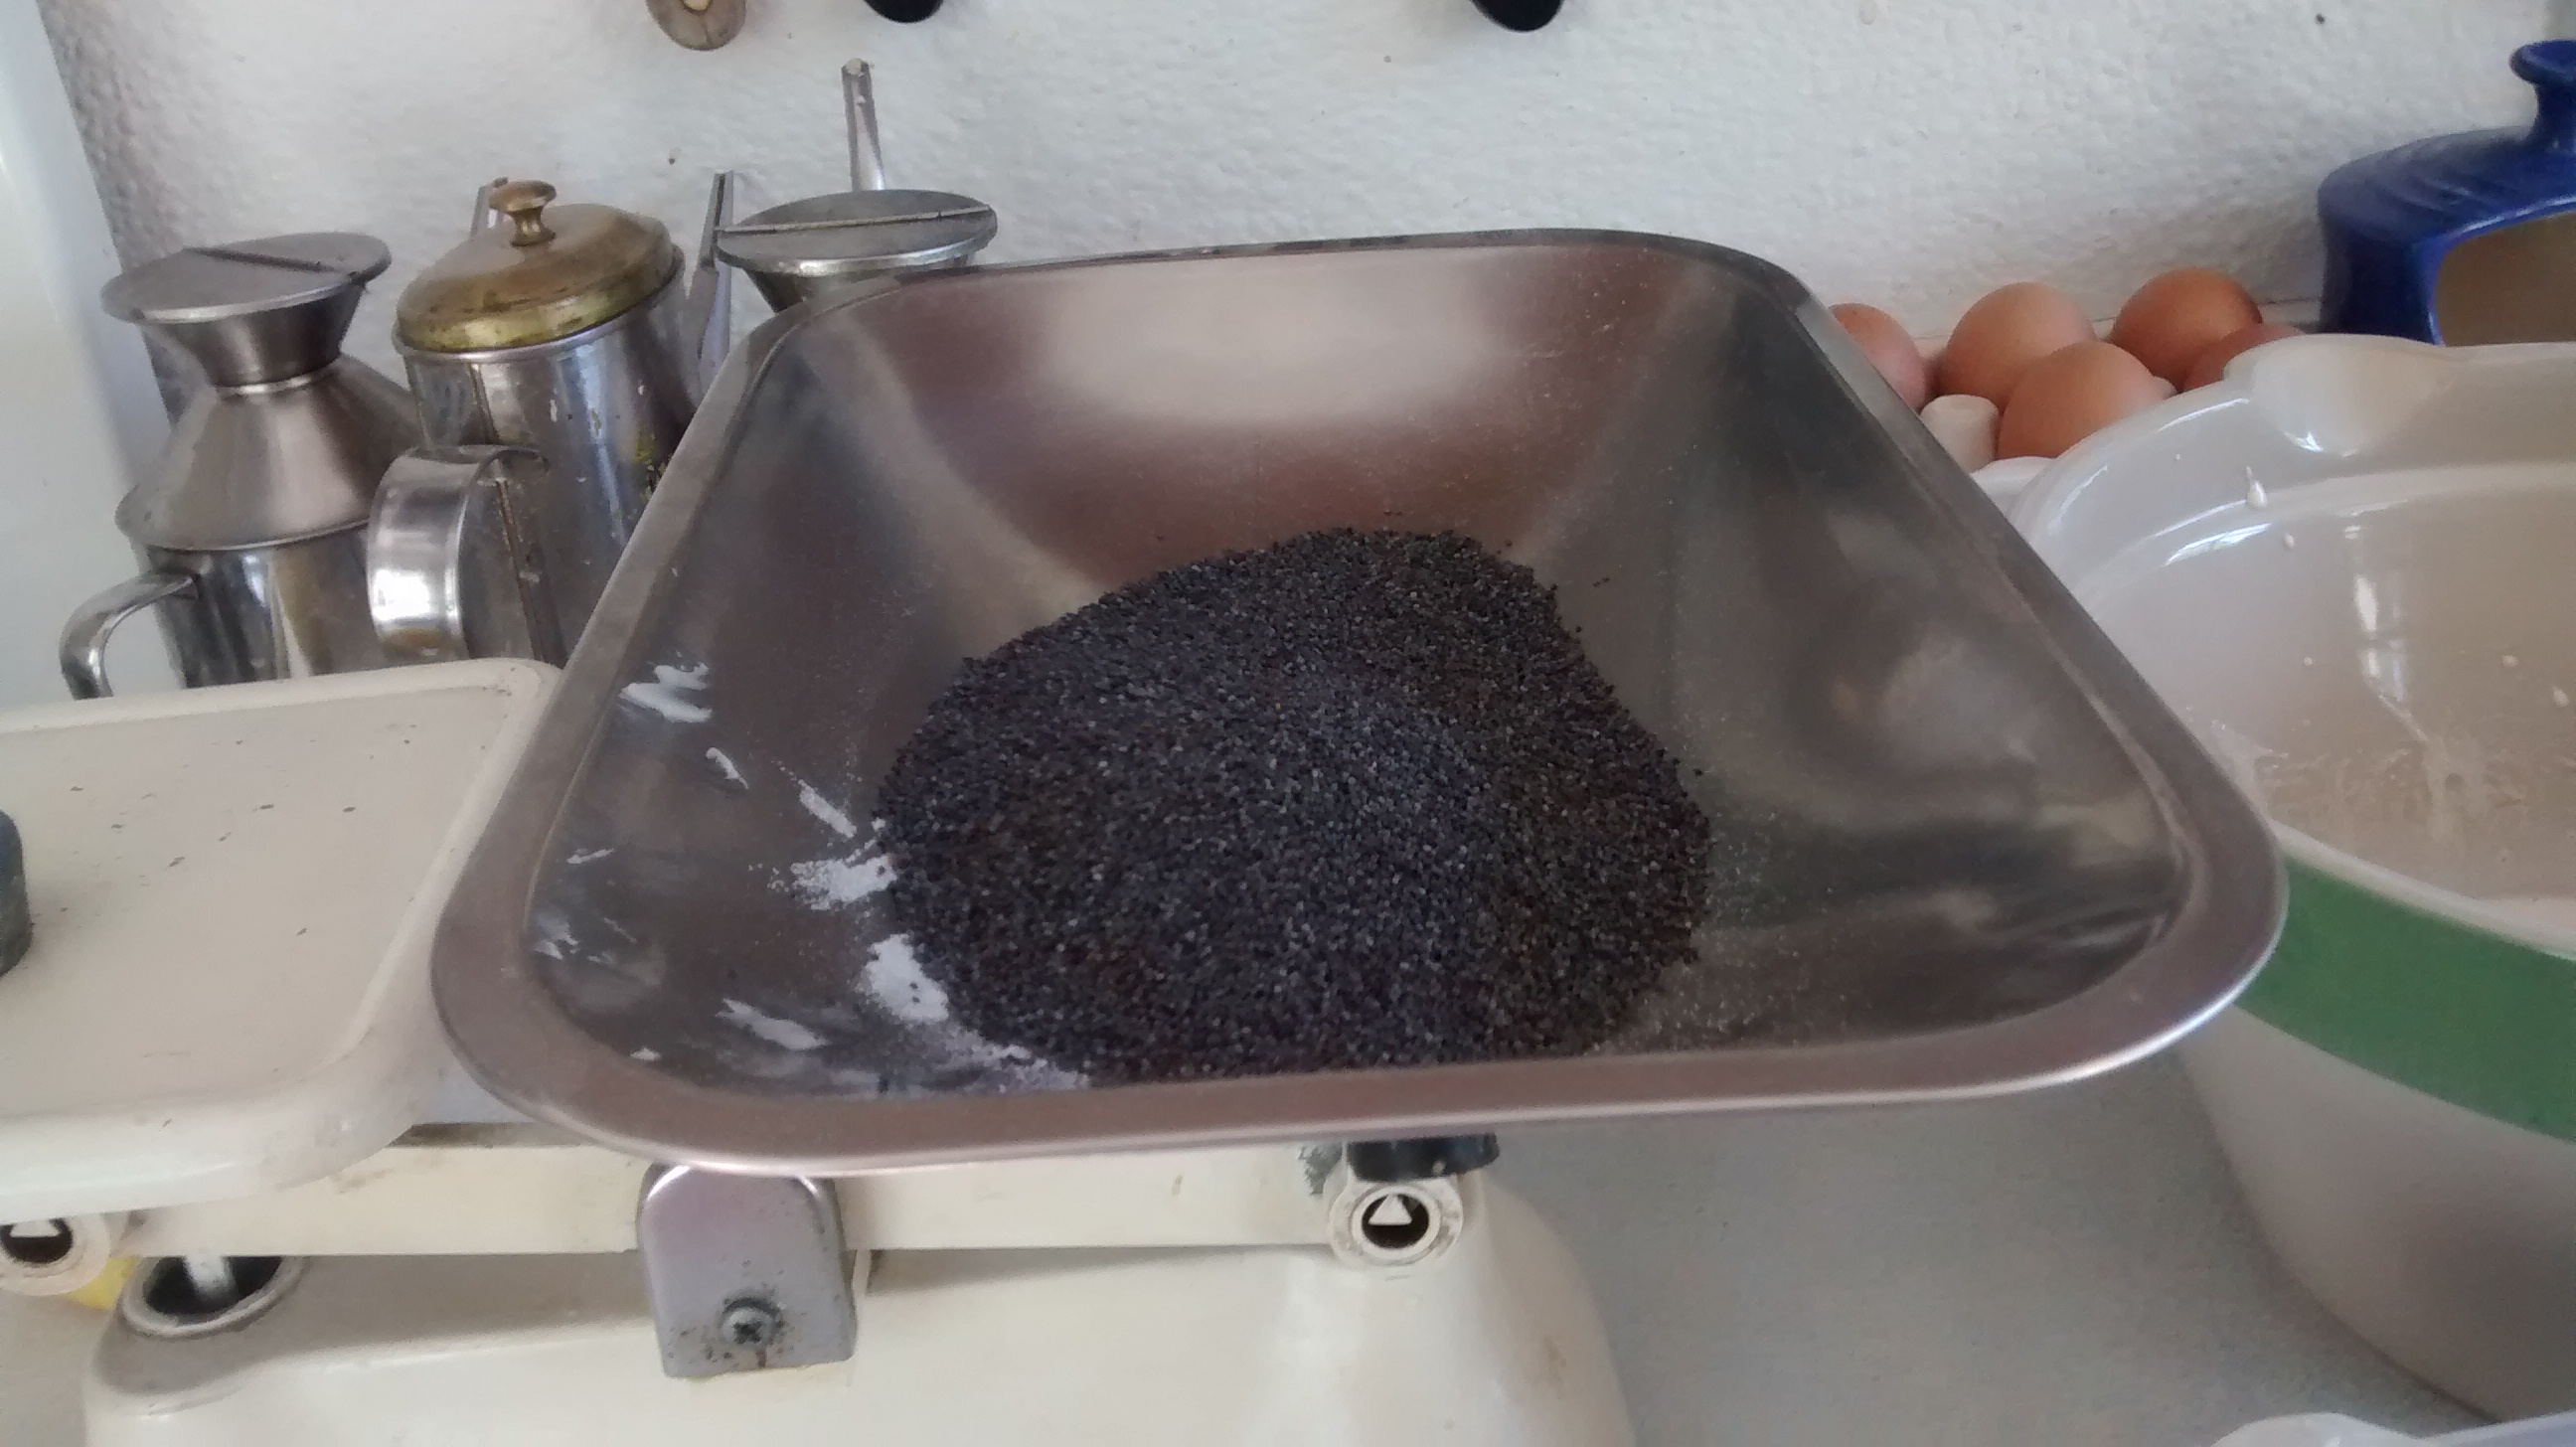
To dry roast poppy seeds It is best to make this first before mixing up the sponge cake. Weigh out the required amount of poppy seeds – in this case 40 – 50g for a 2 egg cake mixture.
In a small dry frying pan (ie without any oil or butter) fry the seeds for 5 minutes – stirring them with a wooden spoon or spatula – being careful not to burn them.
Tip the hot seeds into a bowl containing some cold milk. Once cool, pour the mixture into a fine sieve to separate the seeds from the milk.
Leave the sieve over an empty bowl, press down on the seed a few times to remove as much milk as possible.
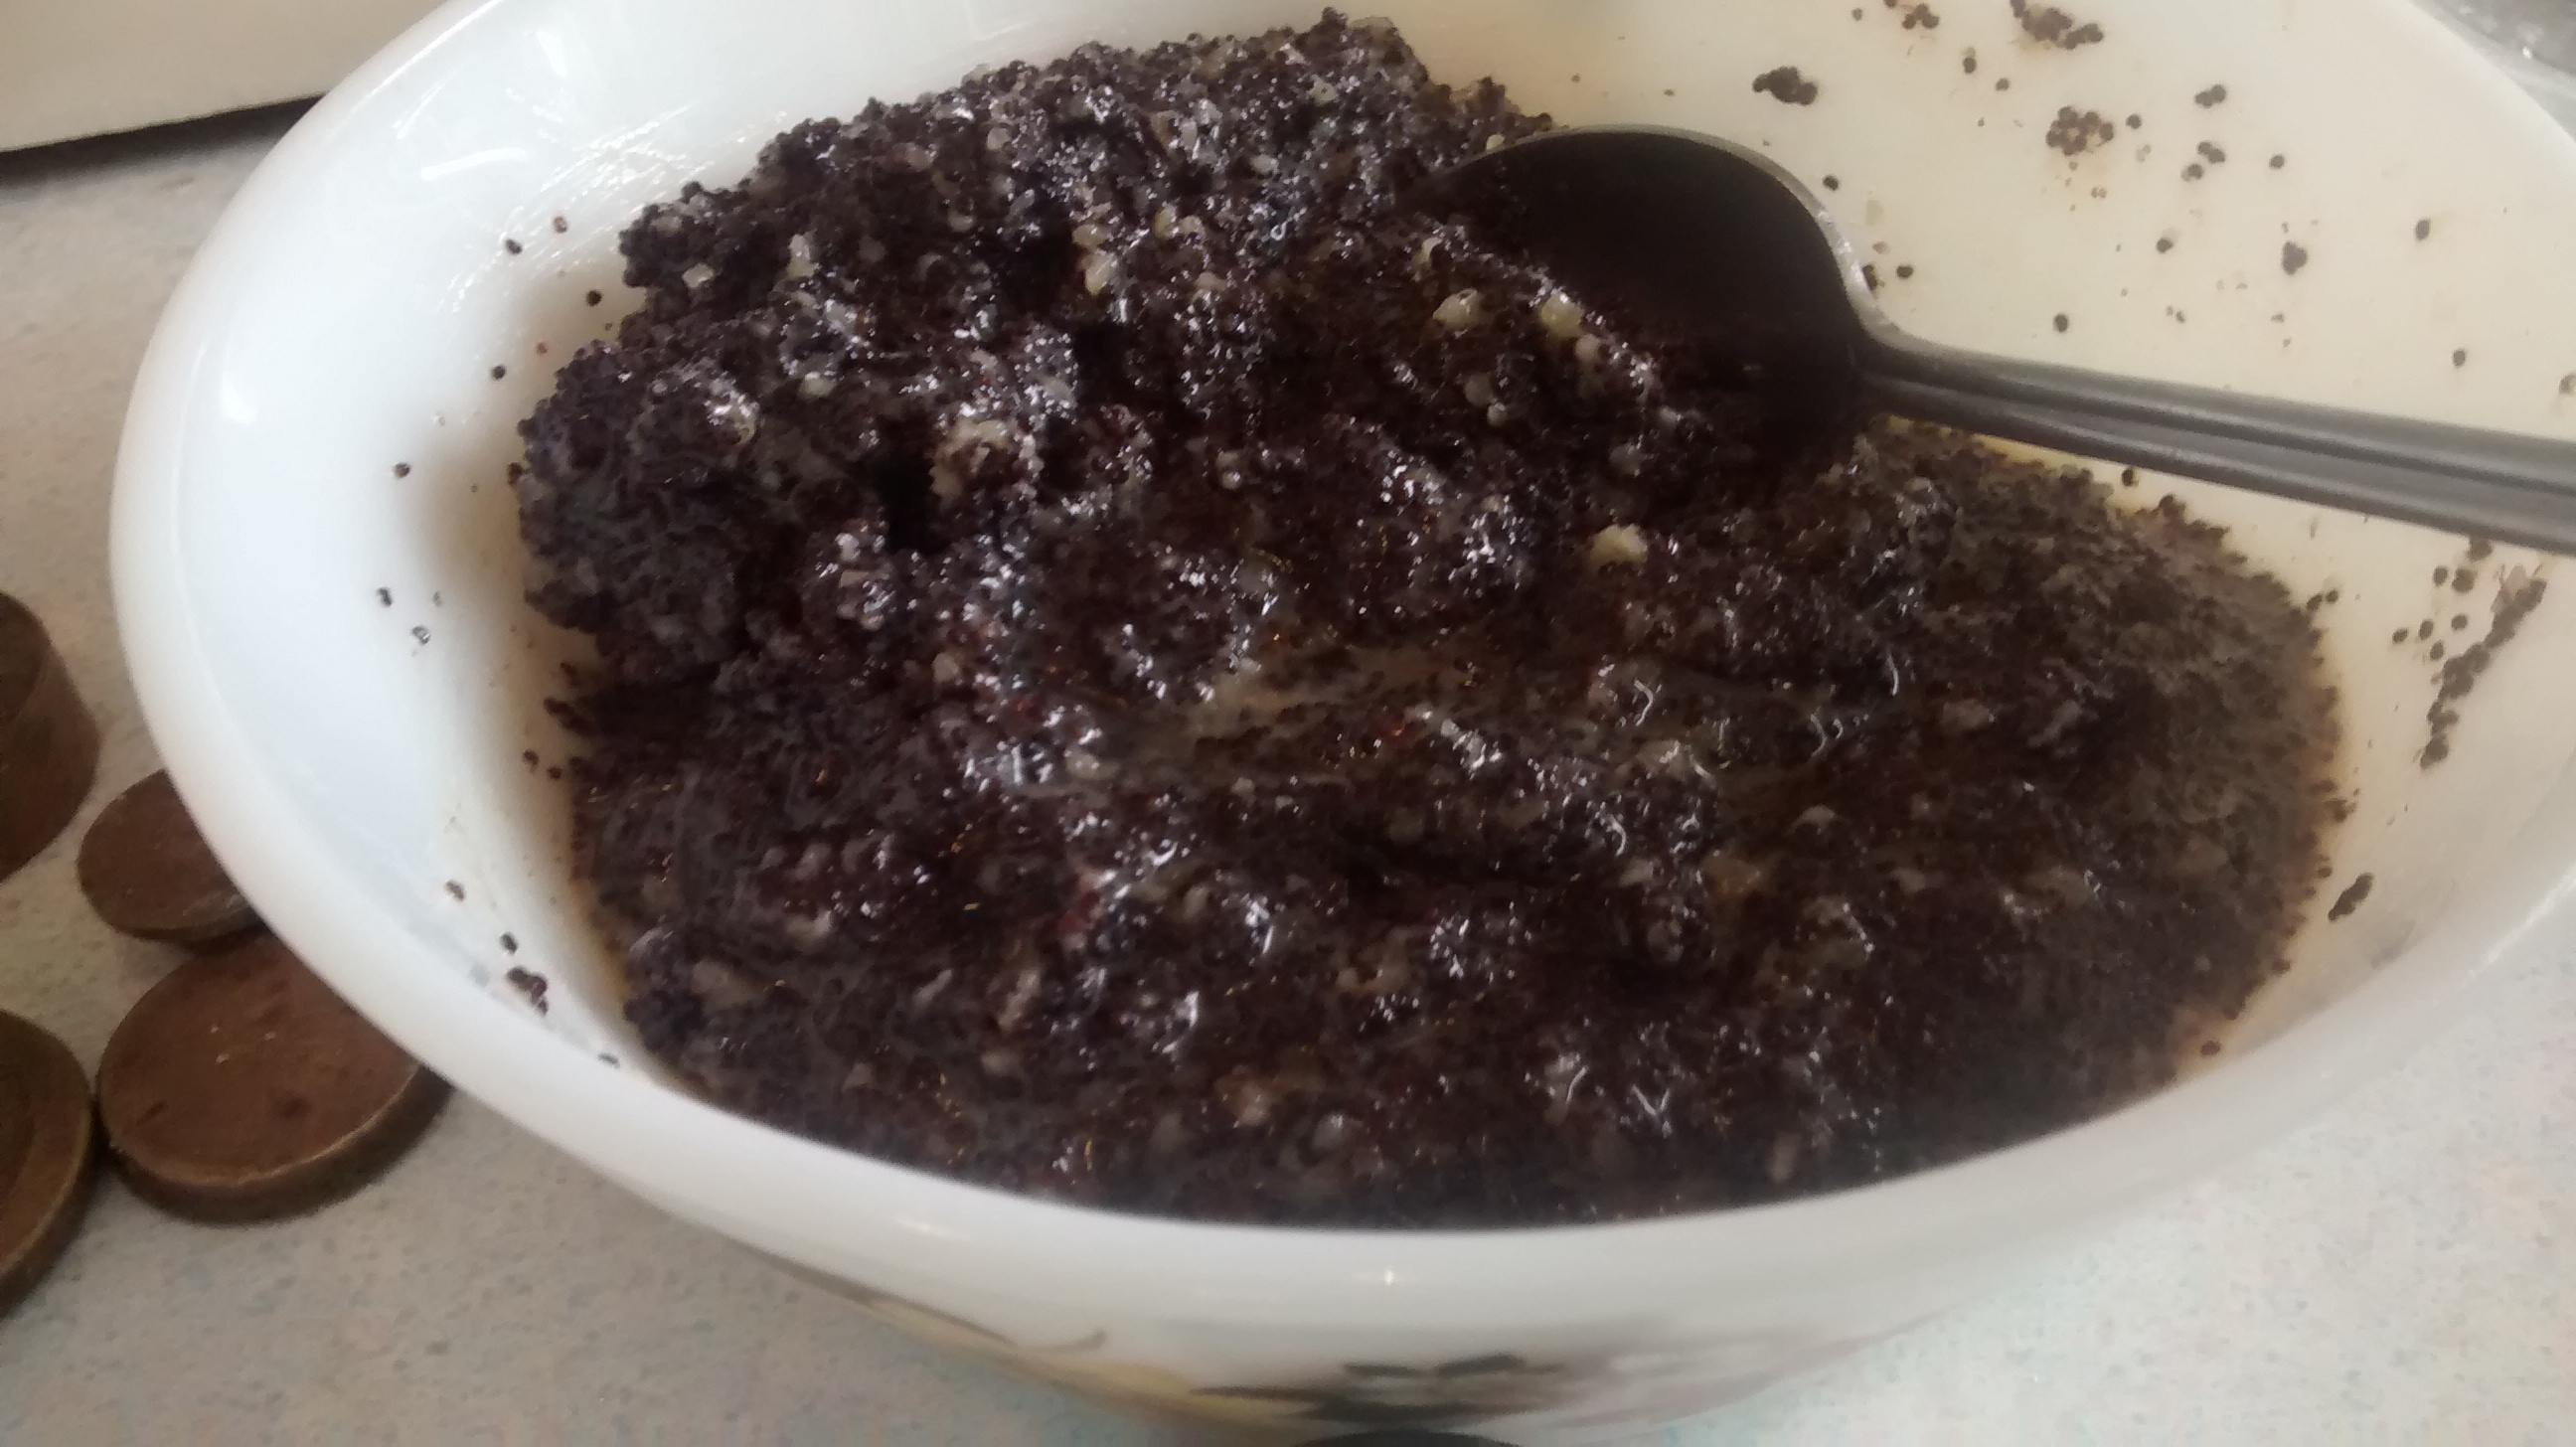
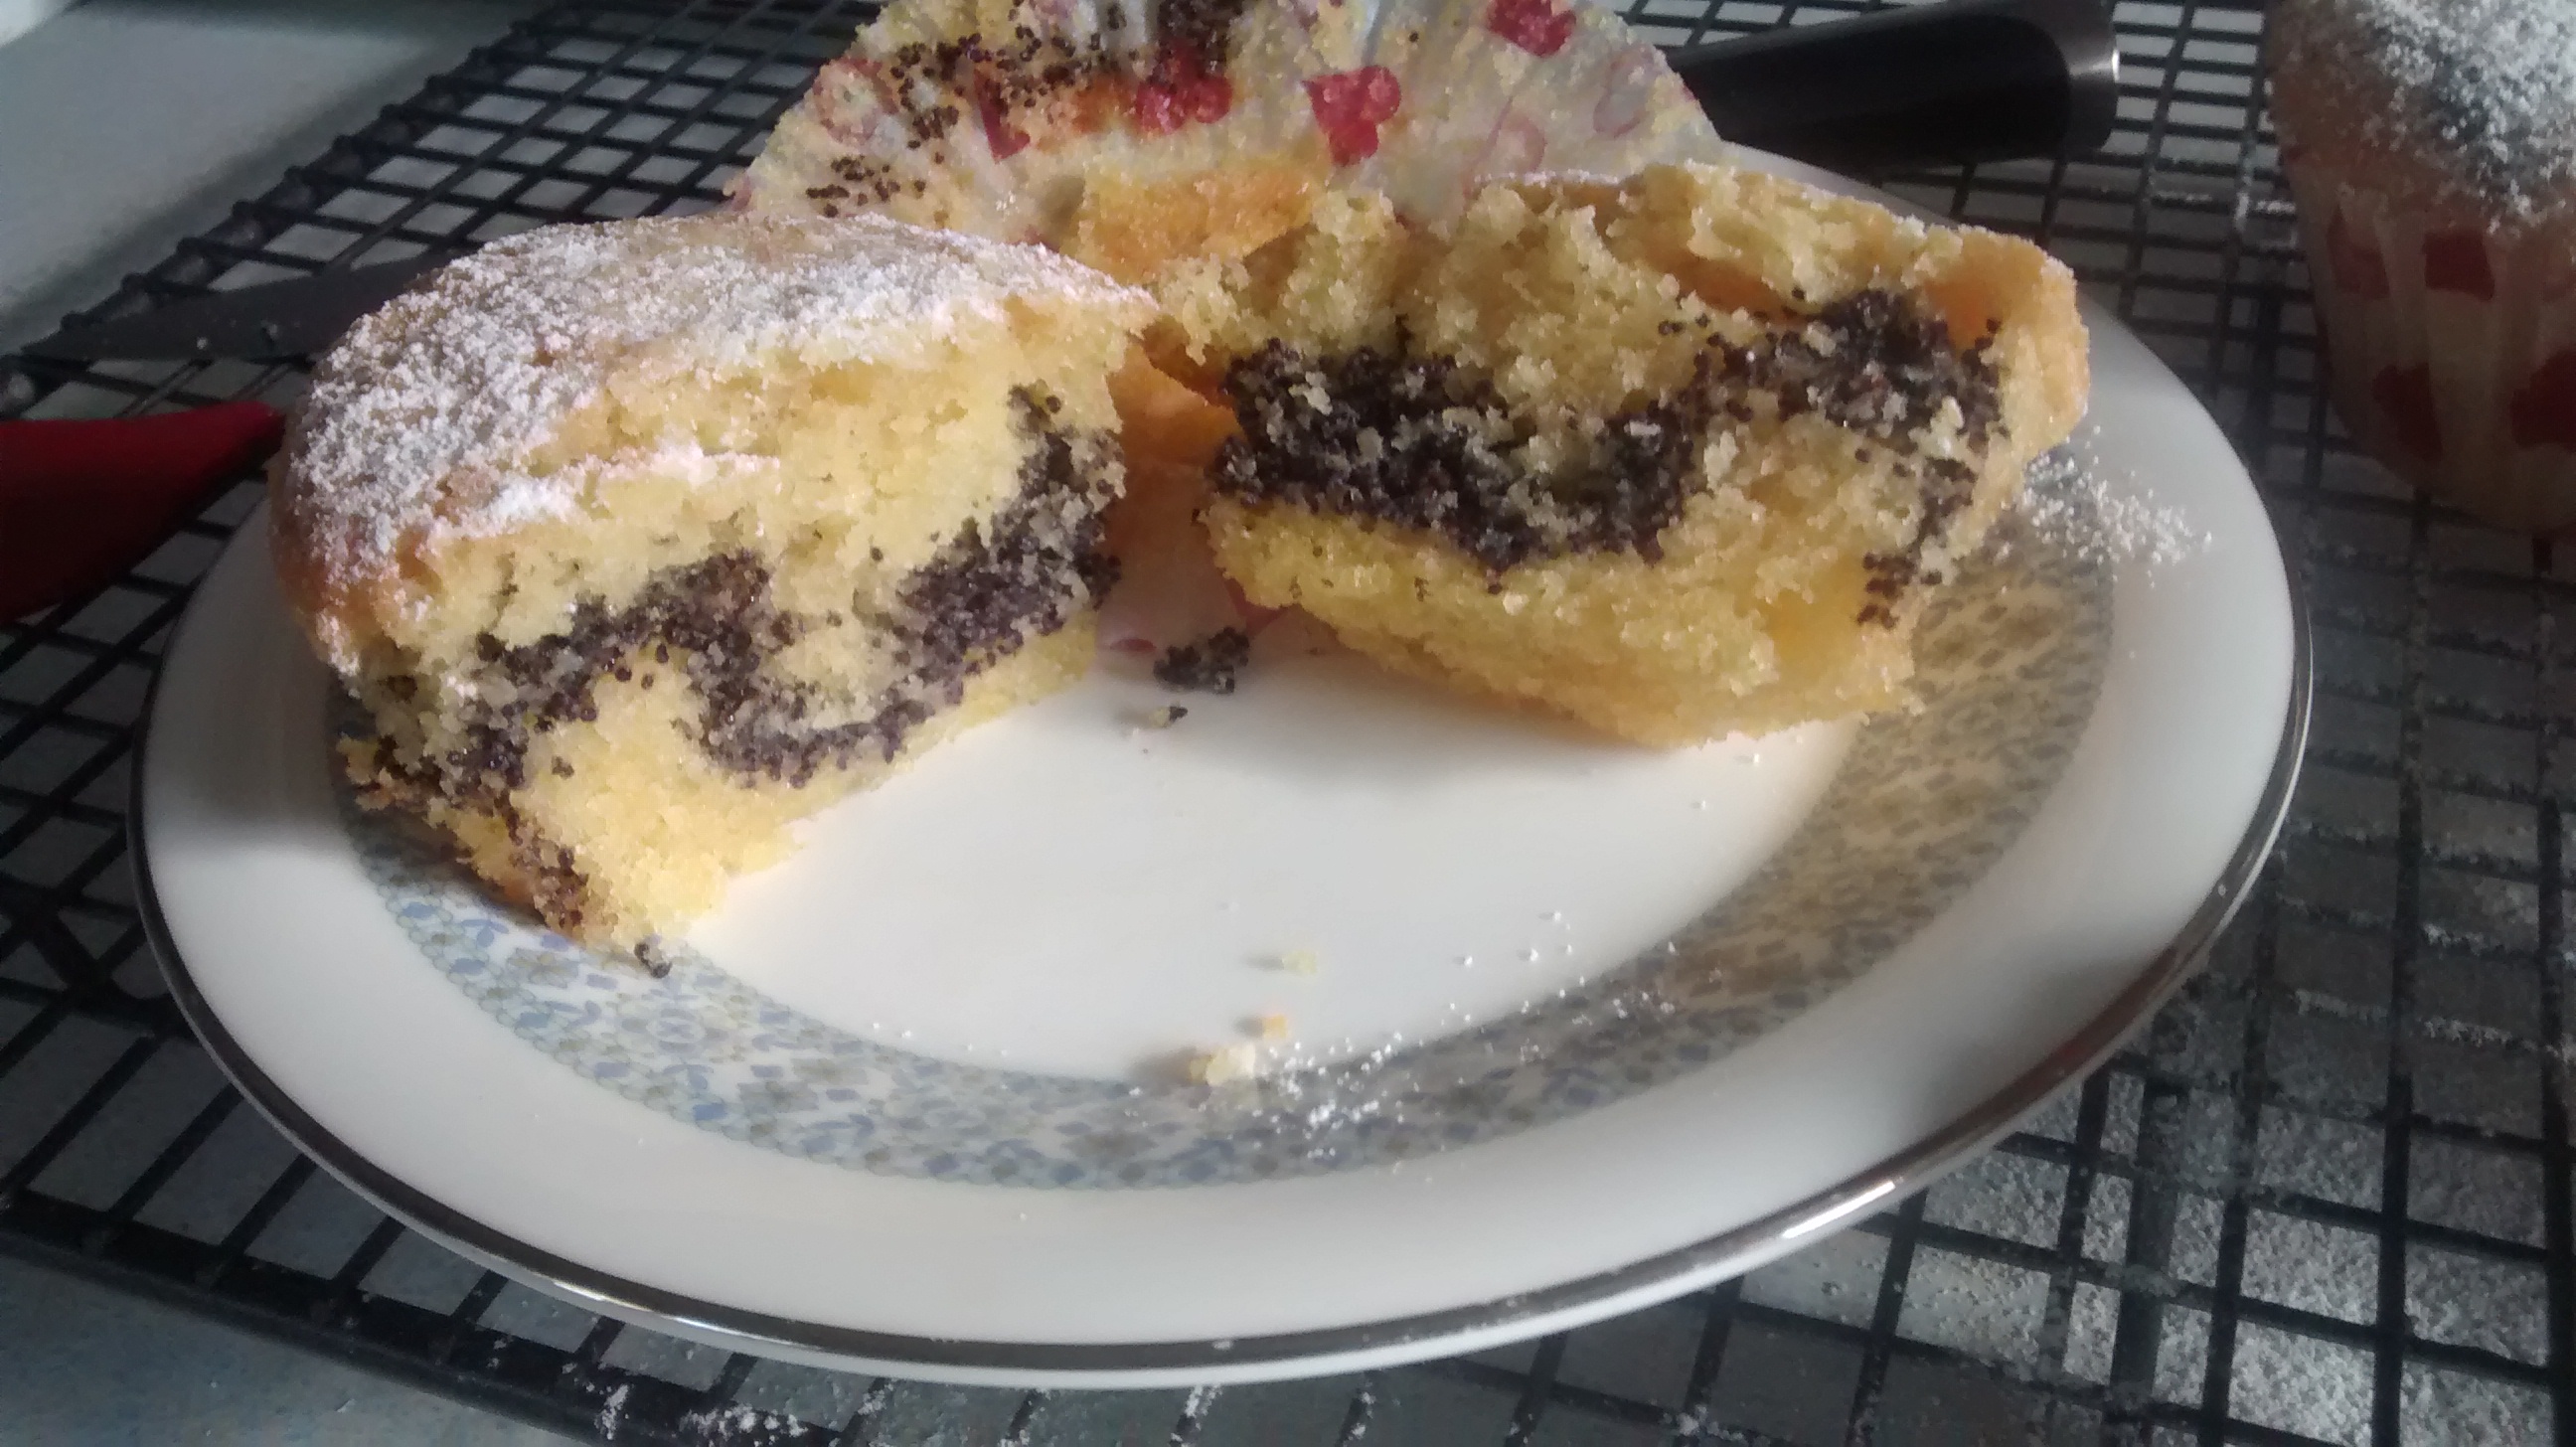
Buns -2 – Using the traditional poppy seed filling
Making the filling is time consuming but only a small amount is needed to make 12 buns.So what I do is to make in the full amount with 200g of poppy seeds as in an earlier post Poppy Seed Cakes and Yeast Cakes in advance and then portion this up into 2 or 3 portions and freeze them.
Poppy Seed Mixture
Put the bun cases into the bun tray.
Now the next it is a bit fiddly and you have to judge the quantities by eye.
The idea is to:
put a spoonful of cake mixture into each bun case
followed by a spoonful of poppy seed mixture
followed by a covering amount of cake mixture.
I have found it easier to do each step for all 12 buns at a time – that is :
cake mixture into all the cases
then the poppy seed filling
then final cake mixture.
Bake the buns in the usual way – GM5 – 190°C – for around 15 to 20 minutes.
Dust with Icing Sugar once they have cooled and before serving
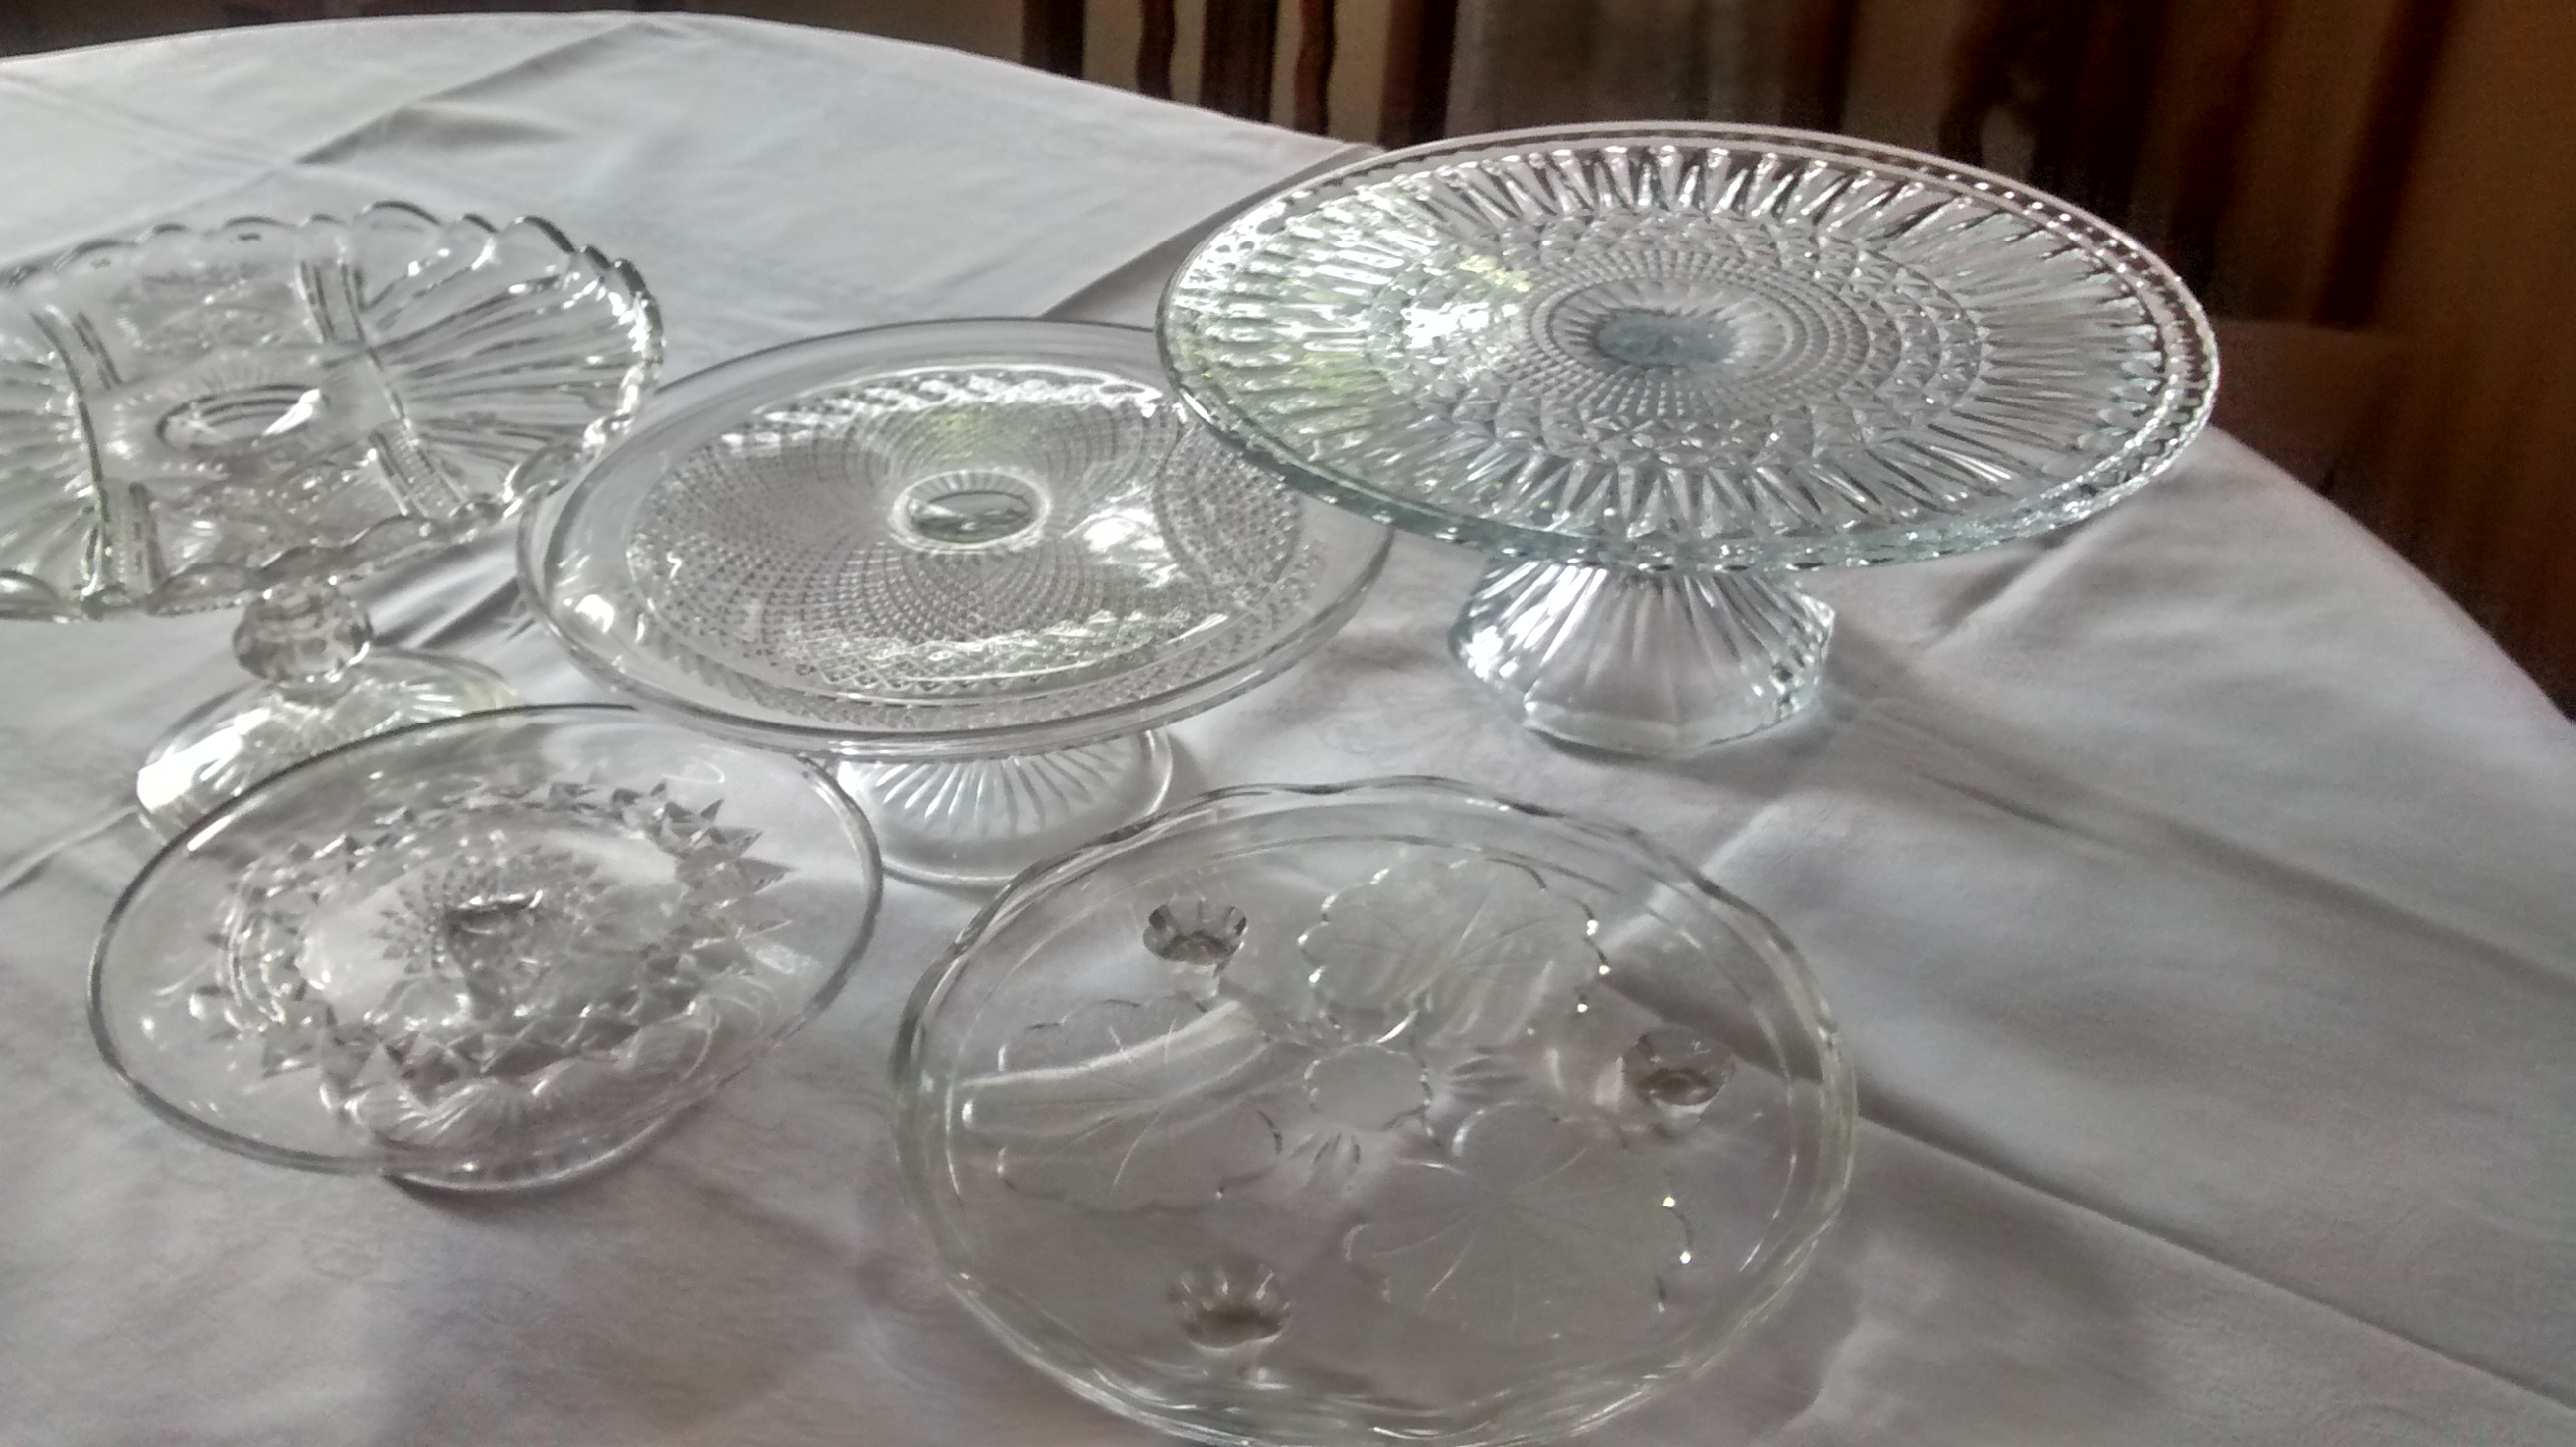
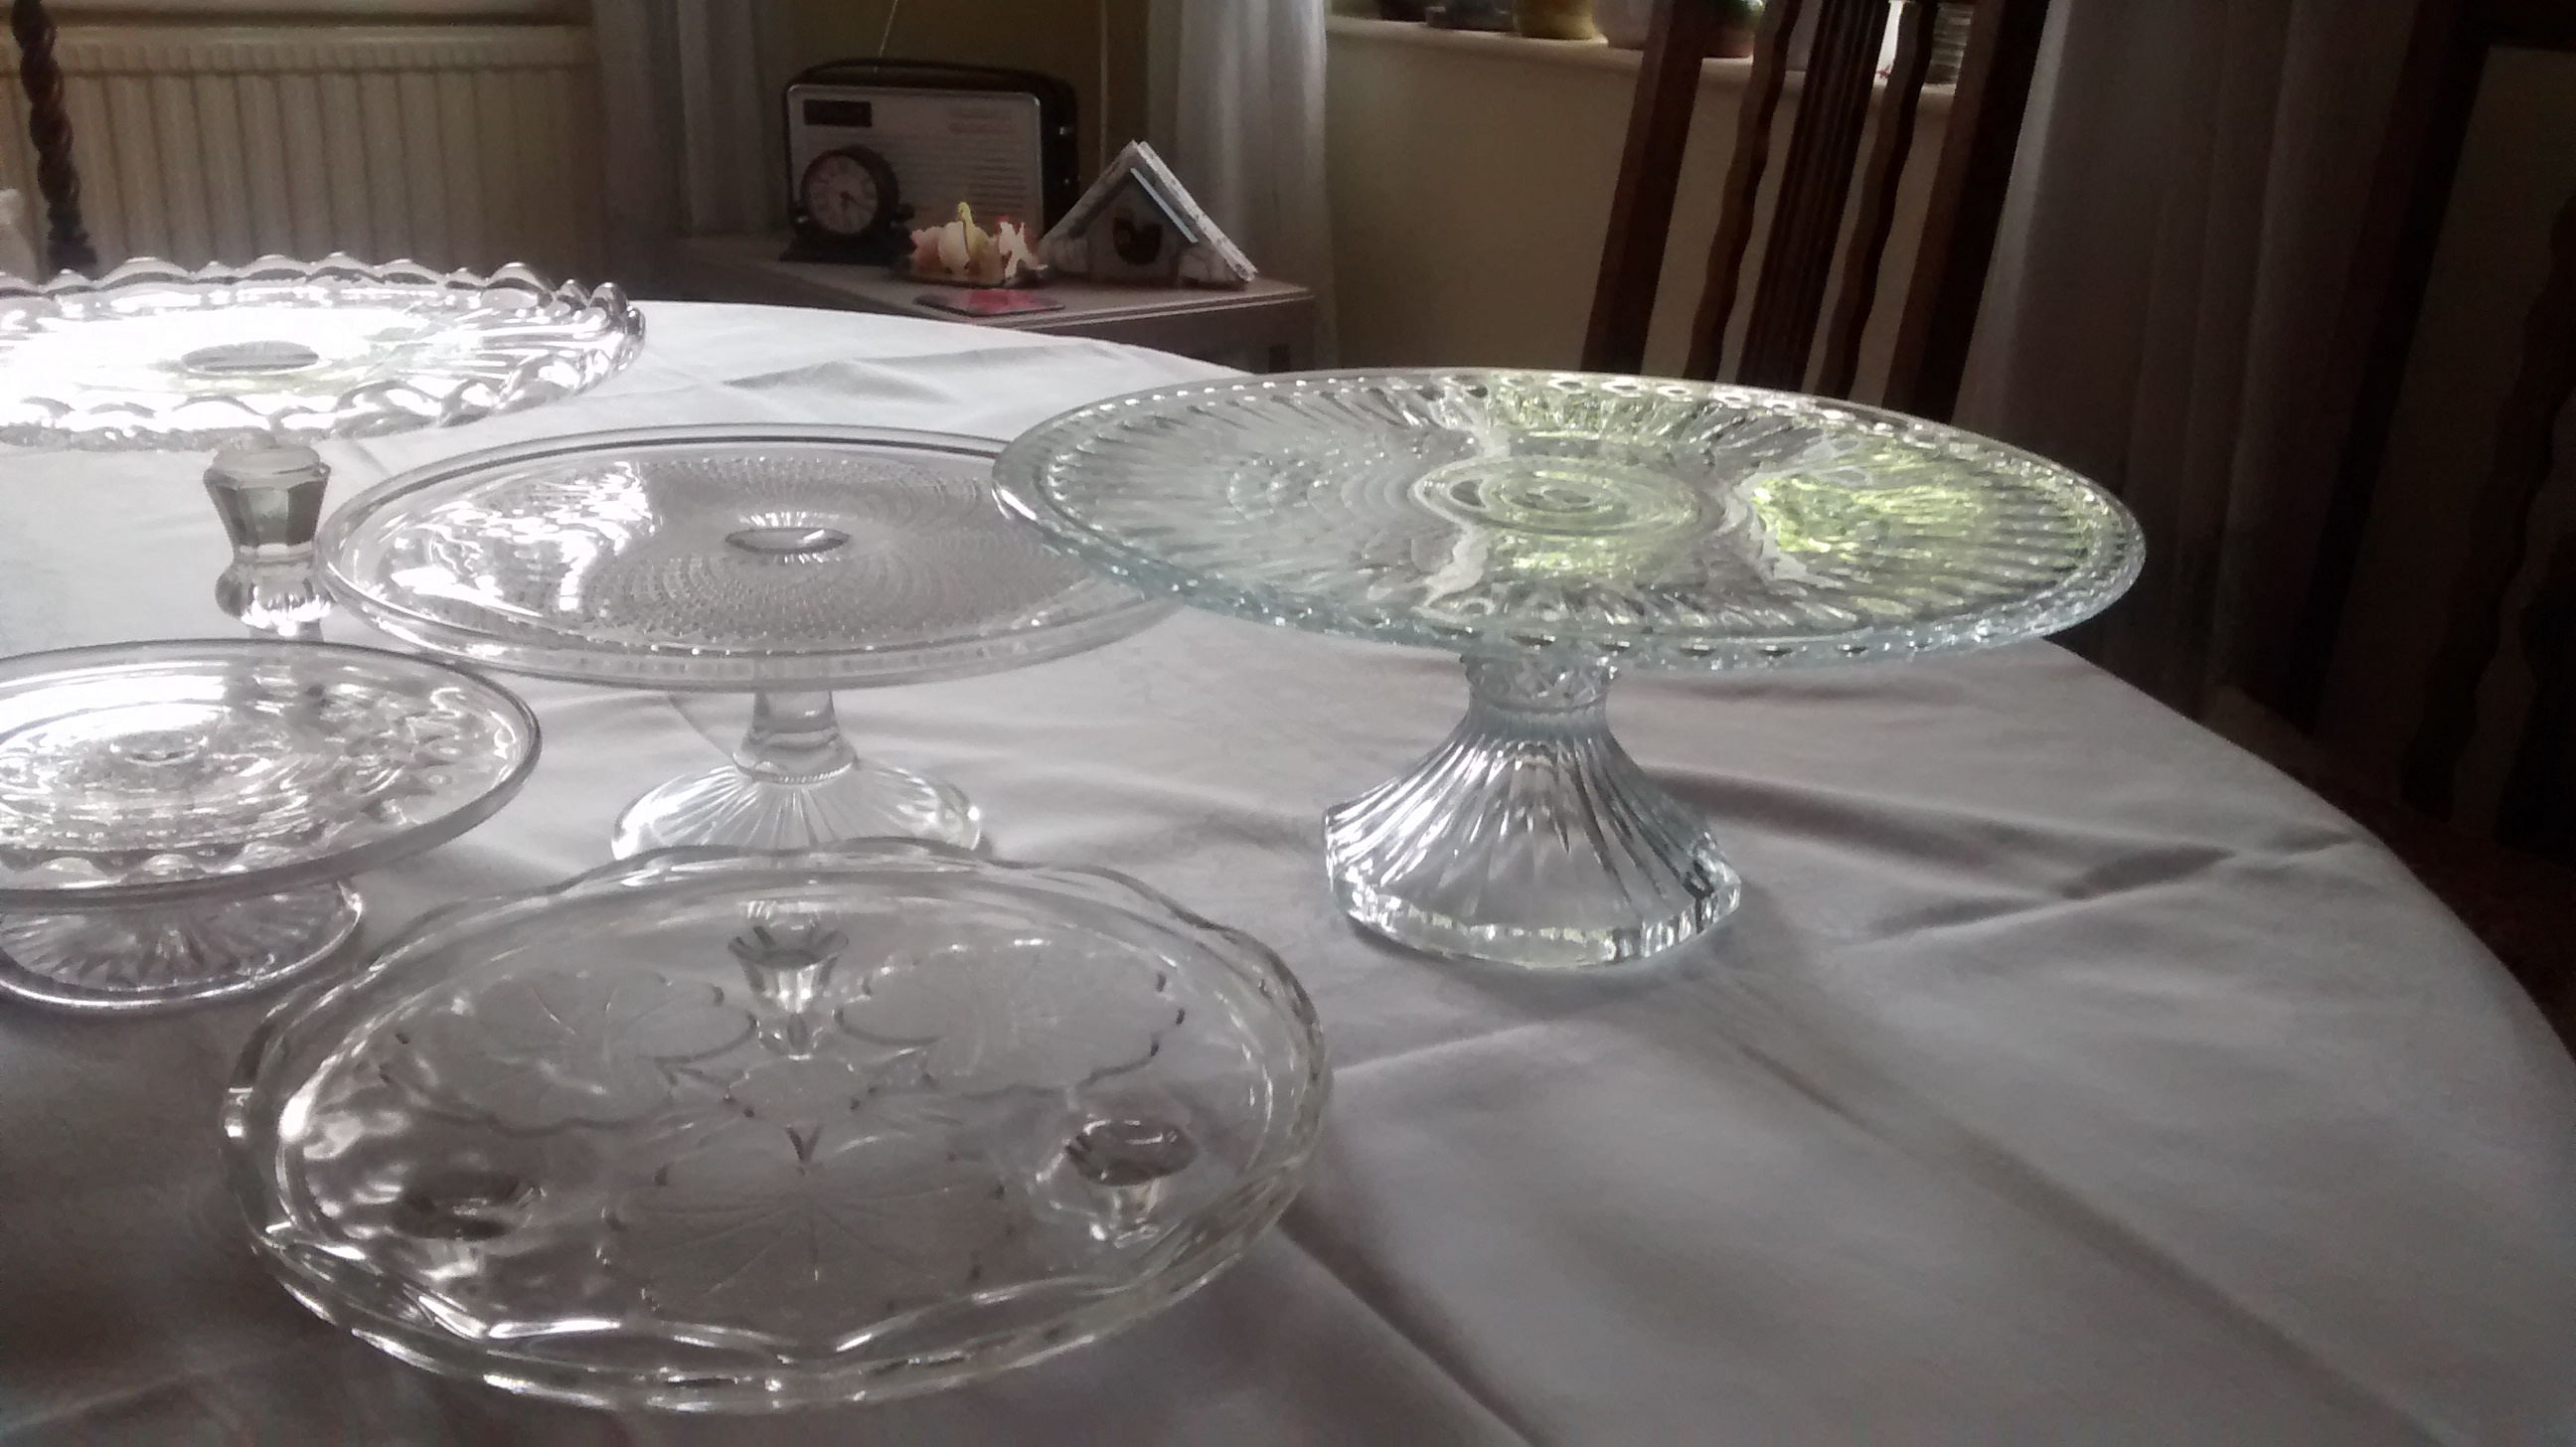
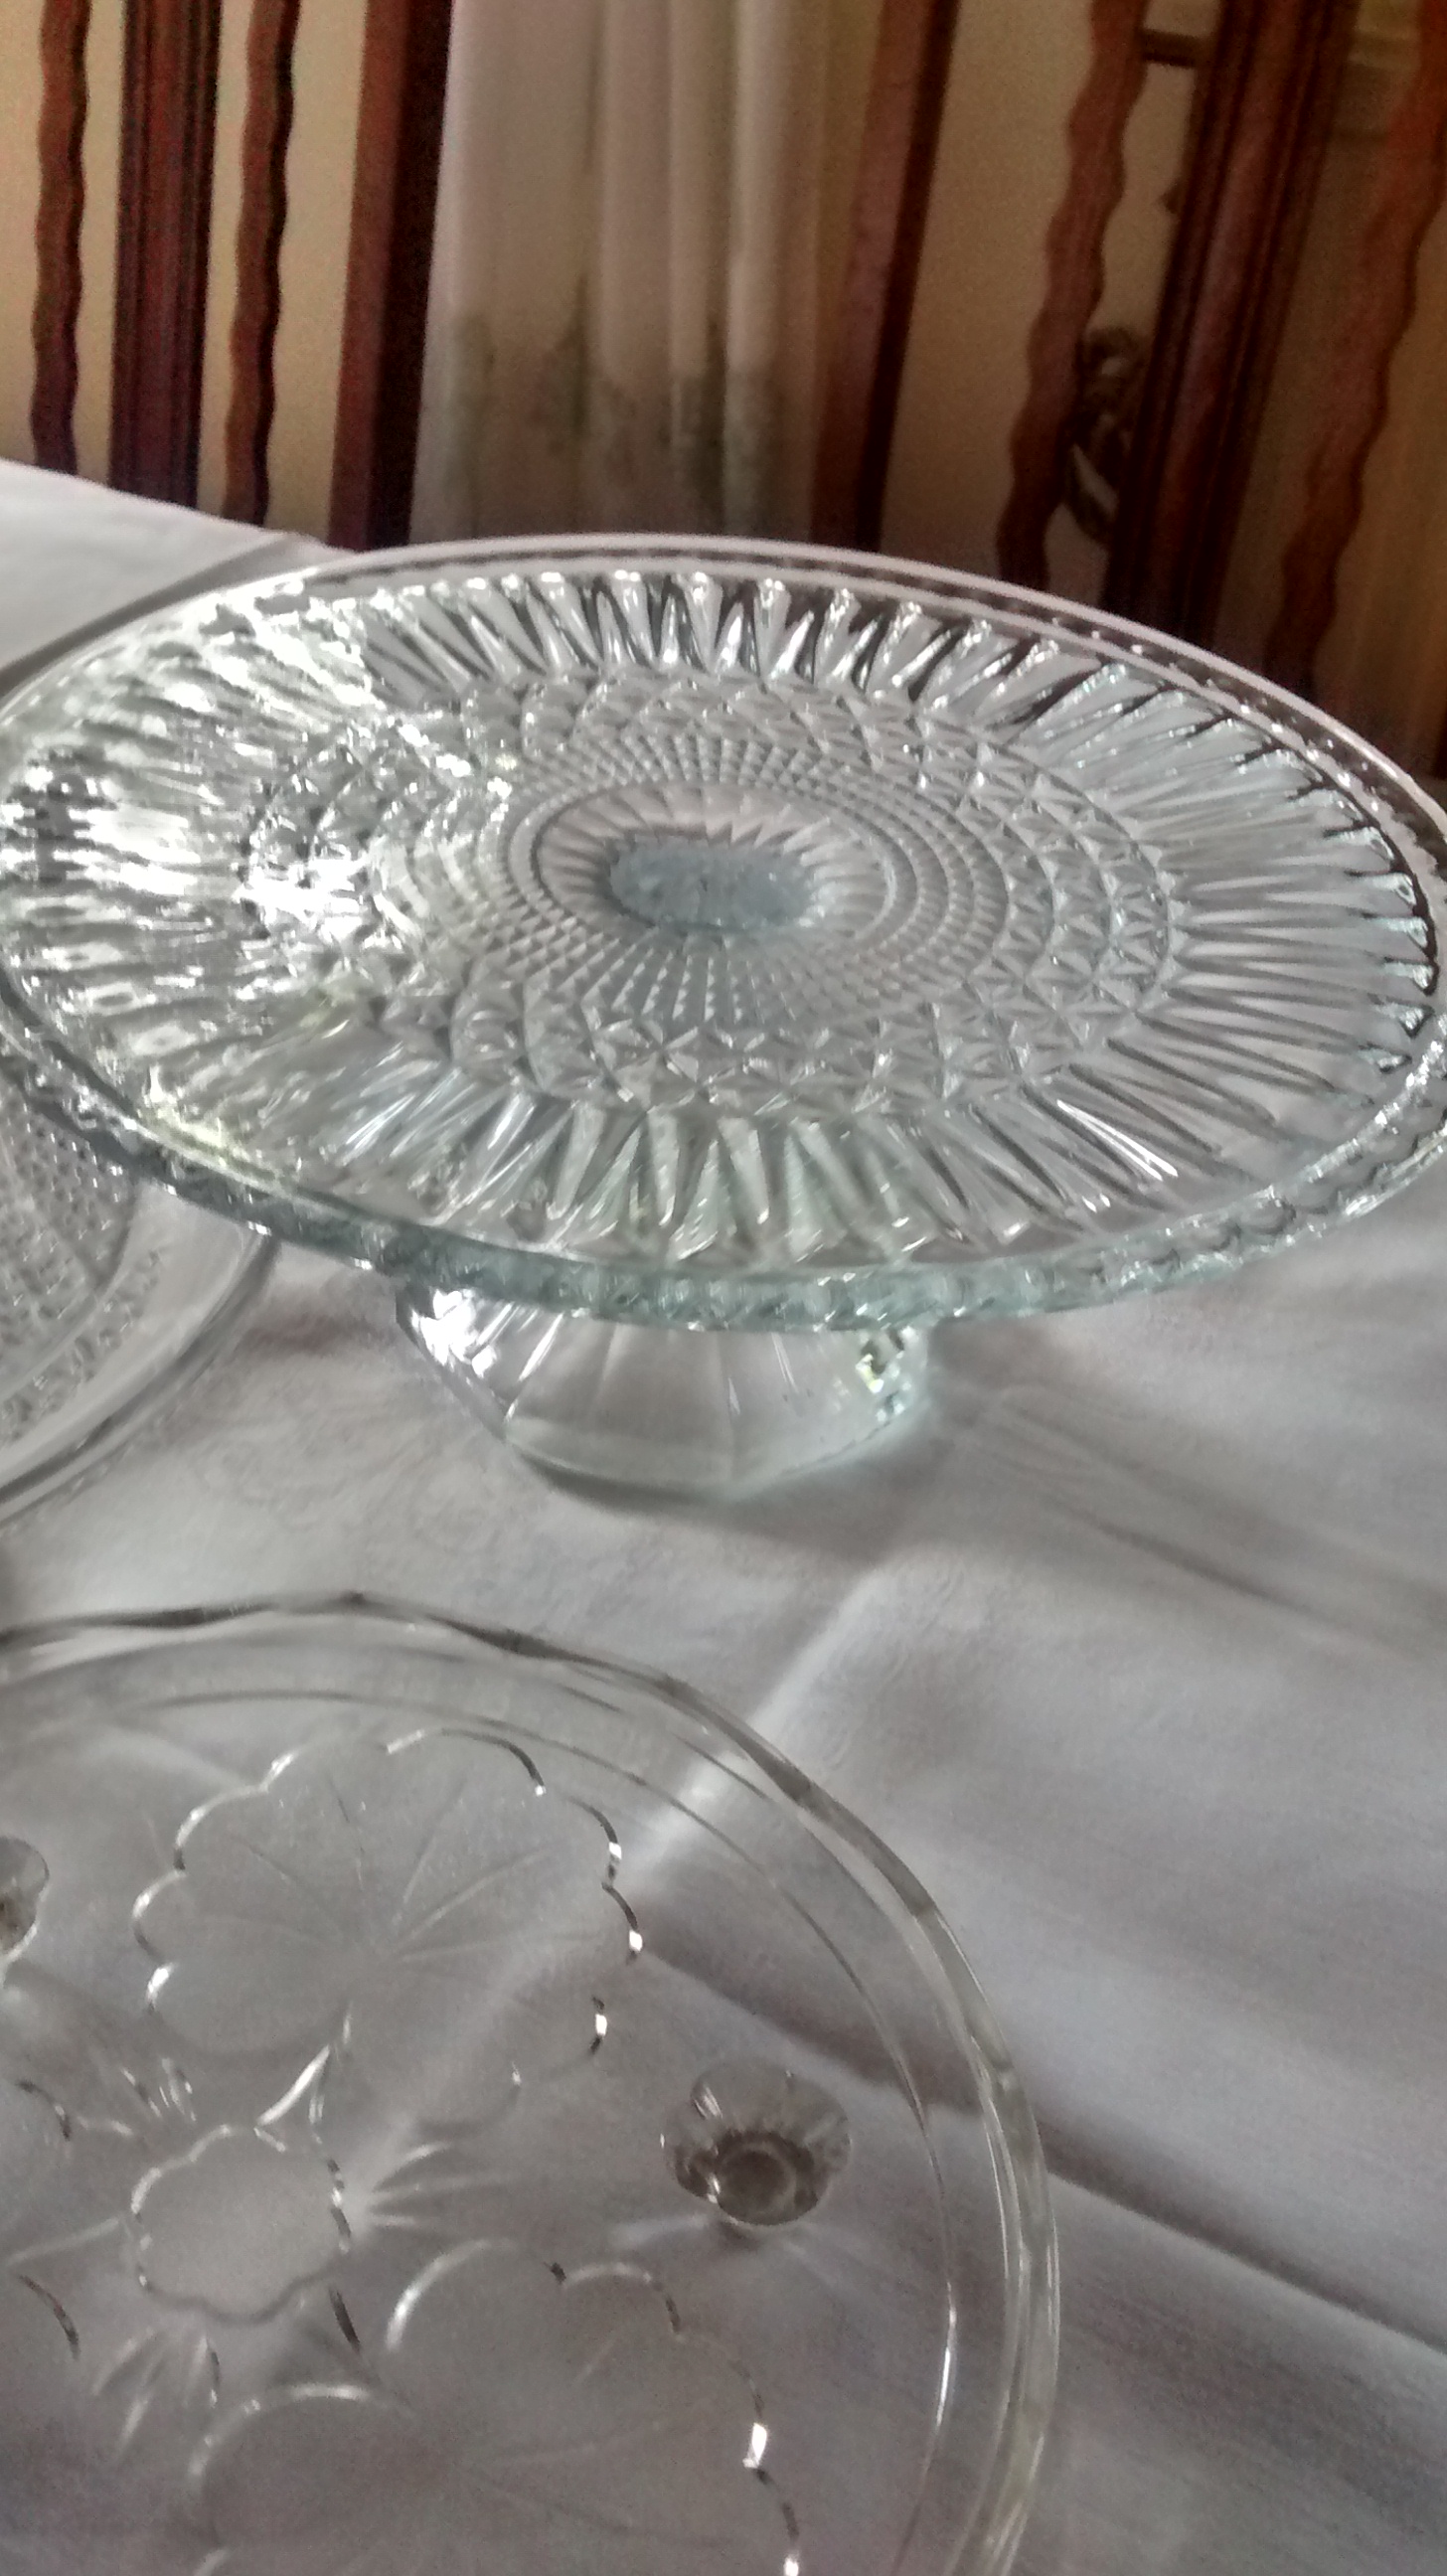
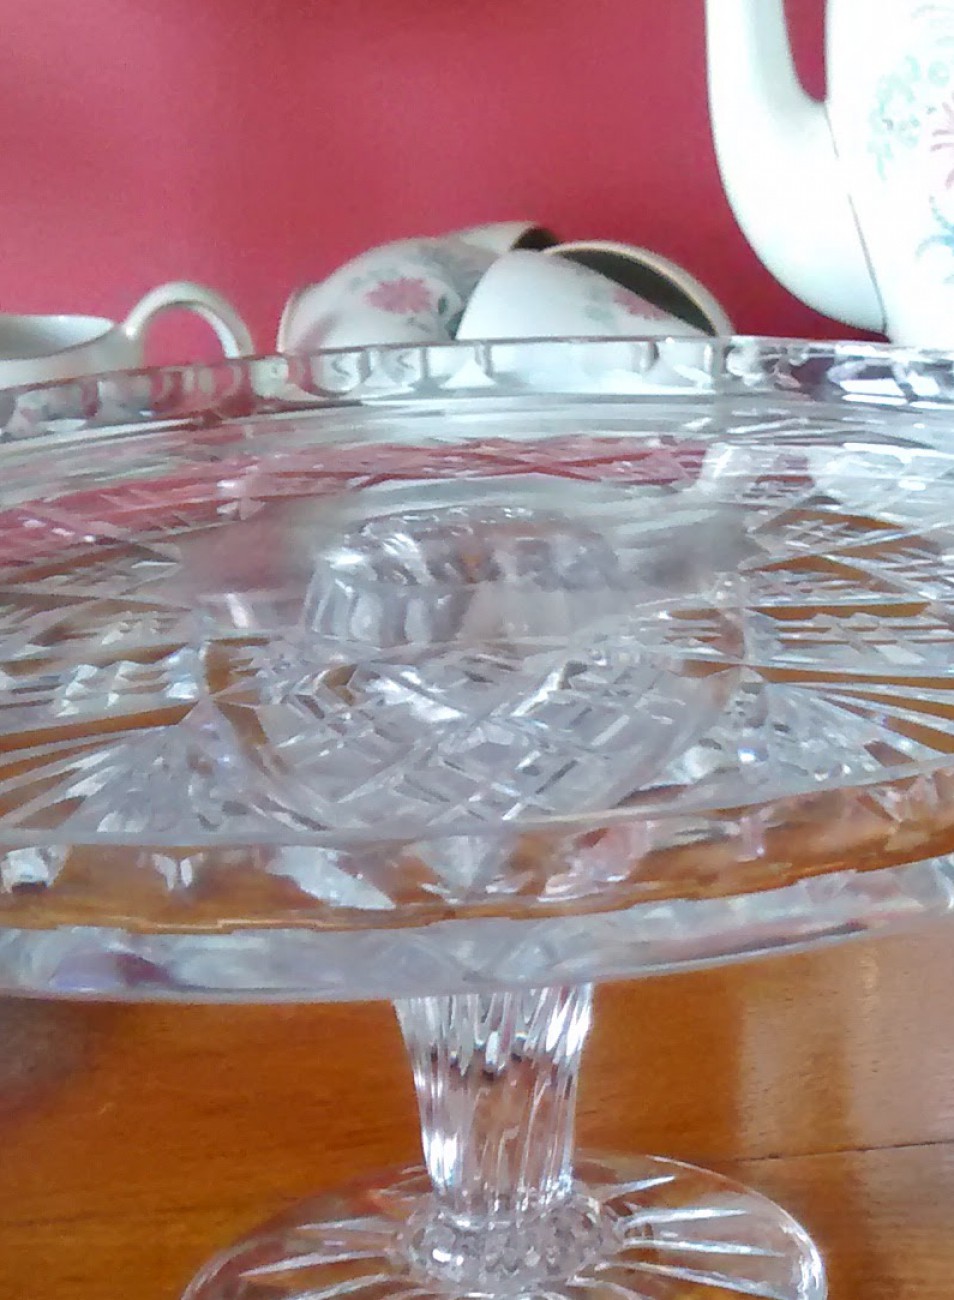
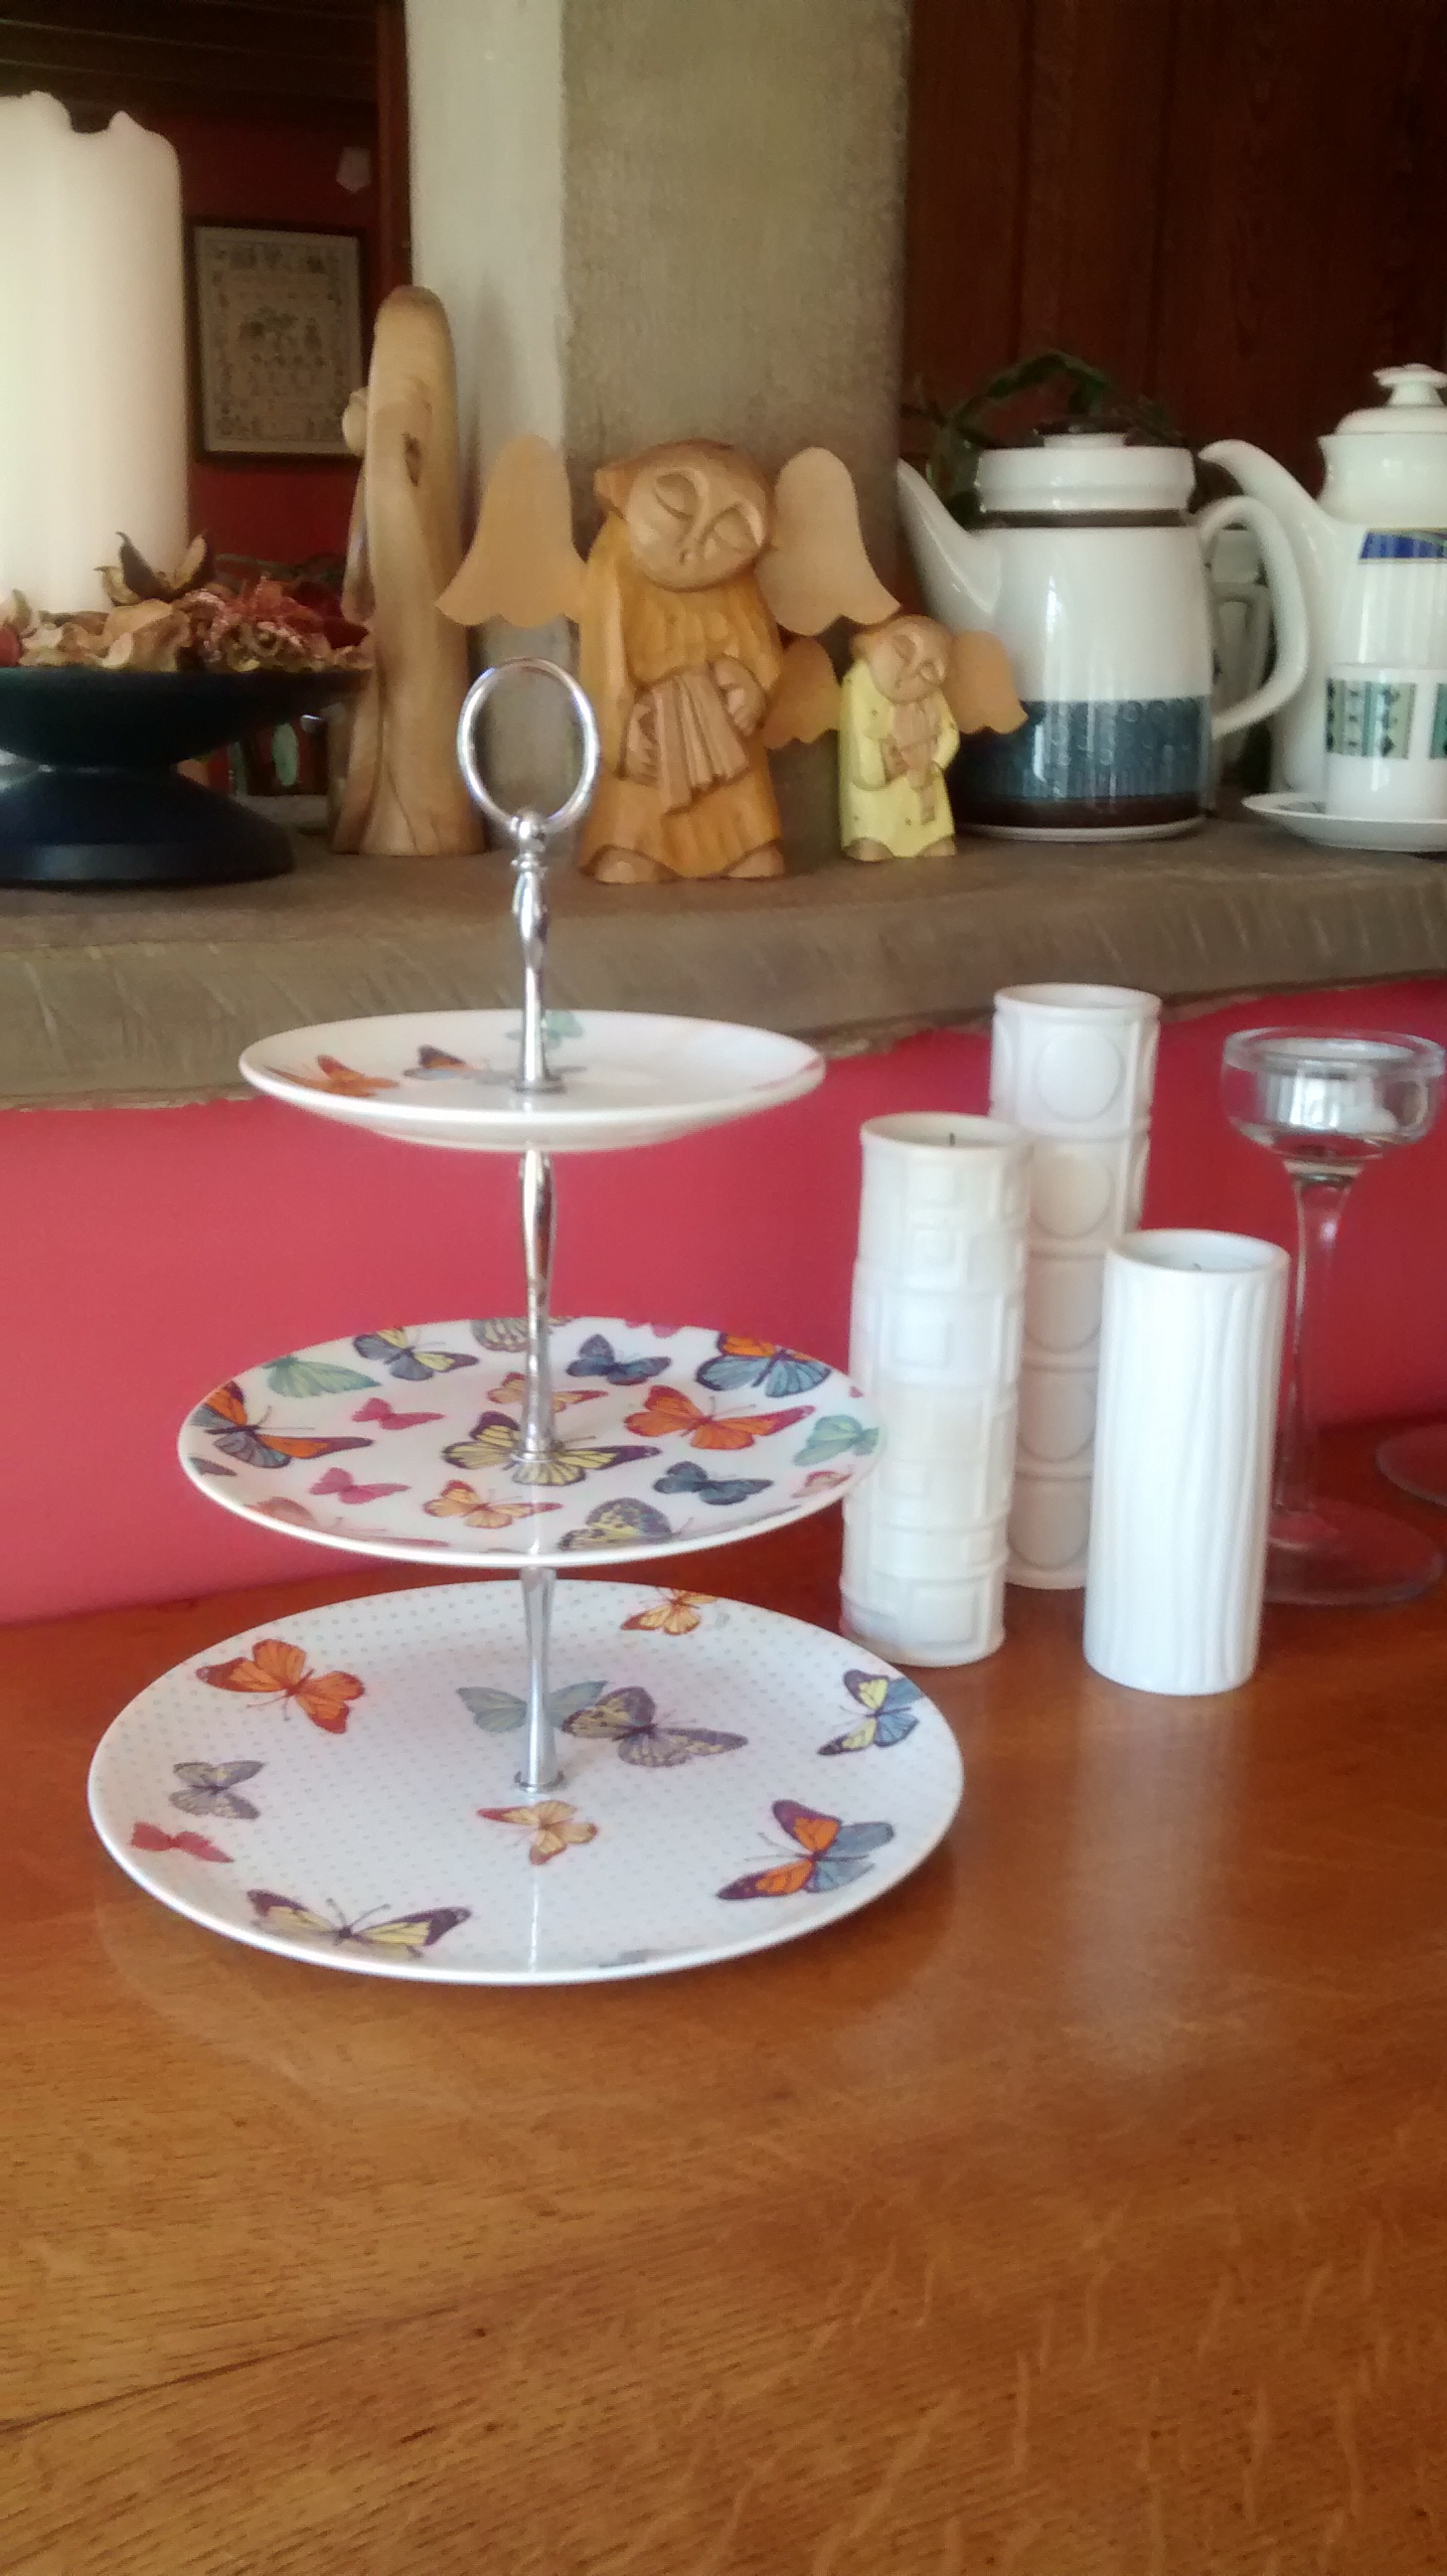
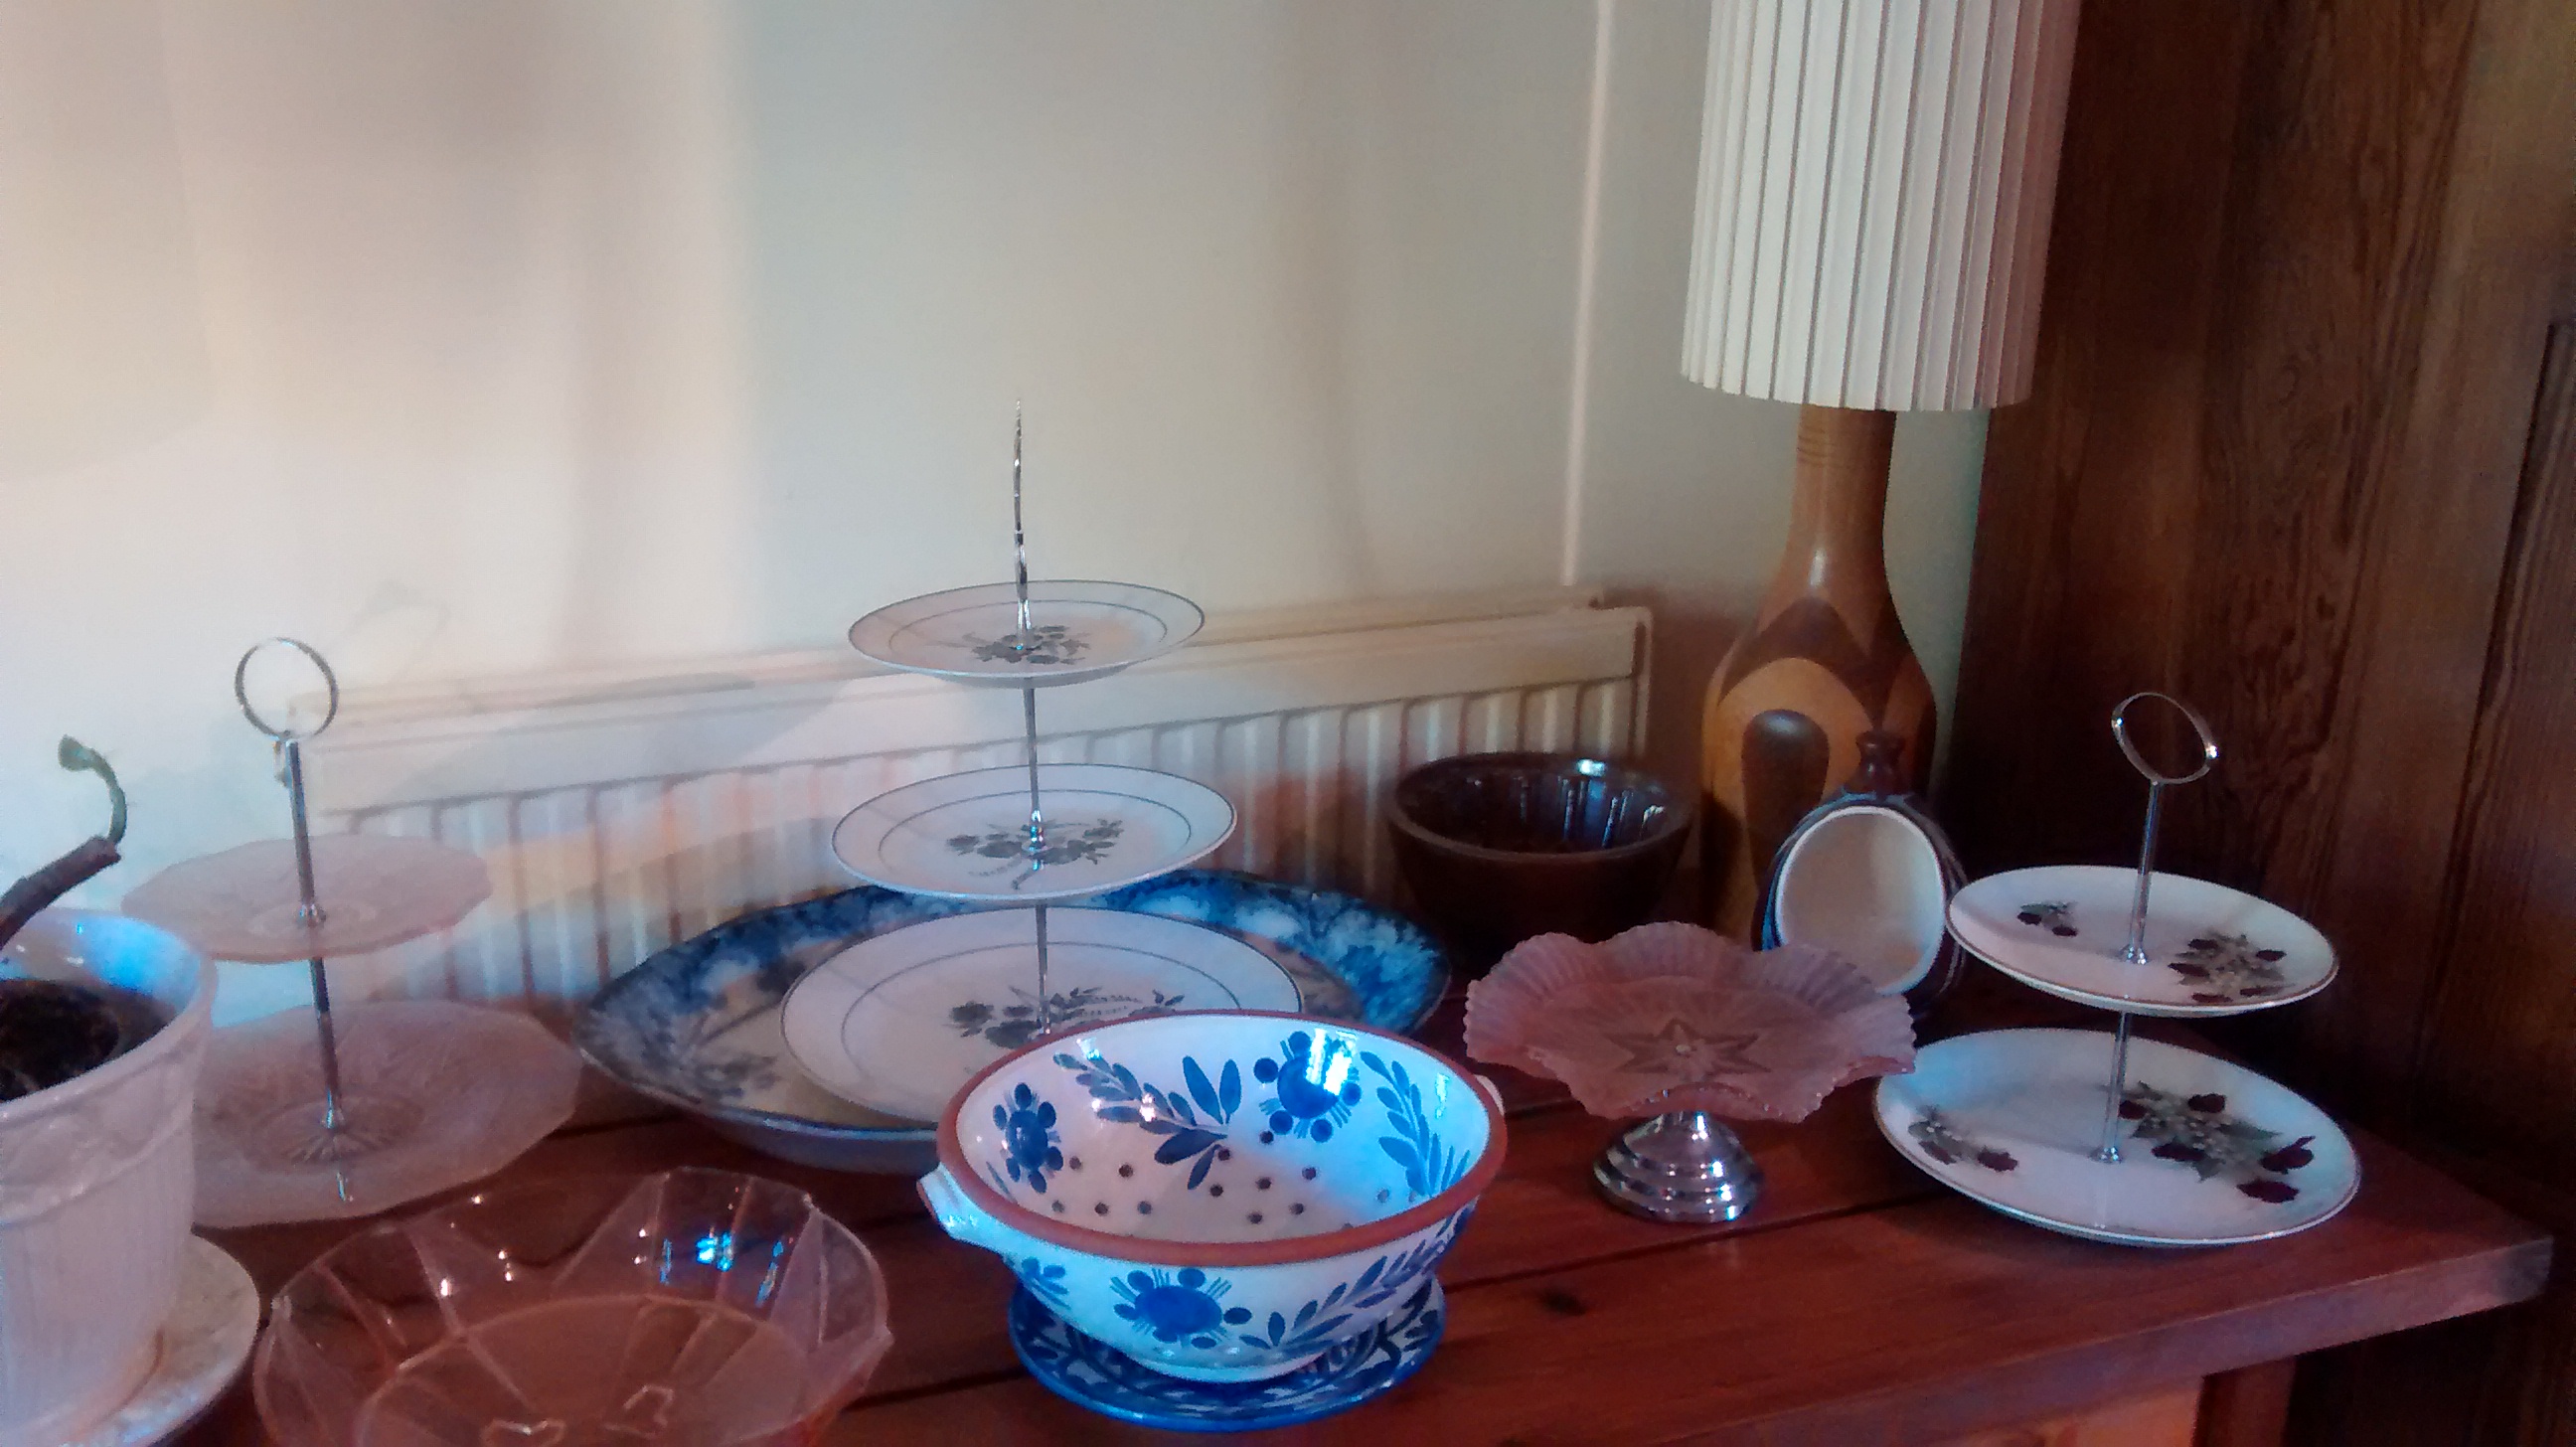
I just love cake stands. They make the cakes look really special.
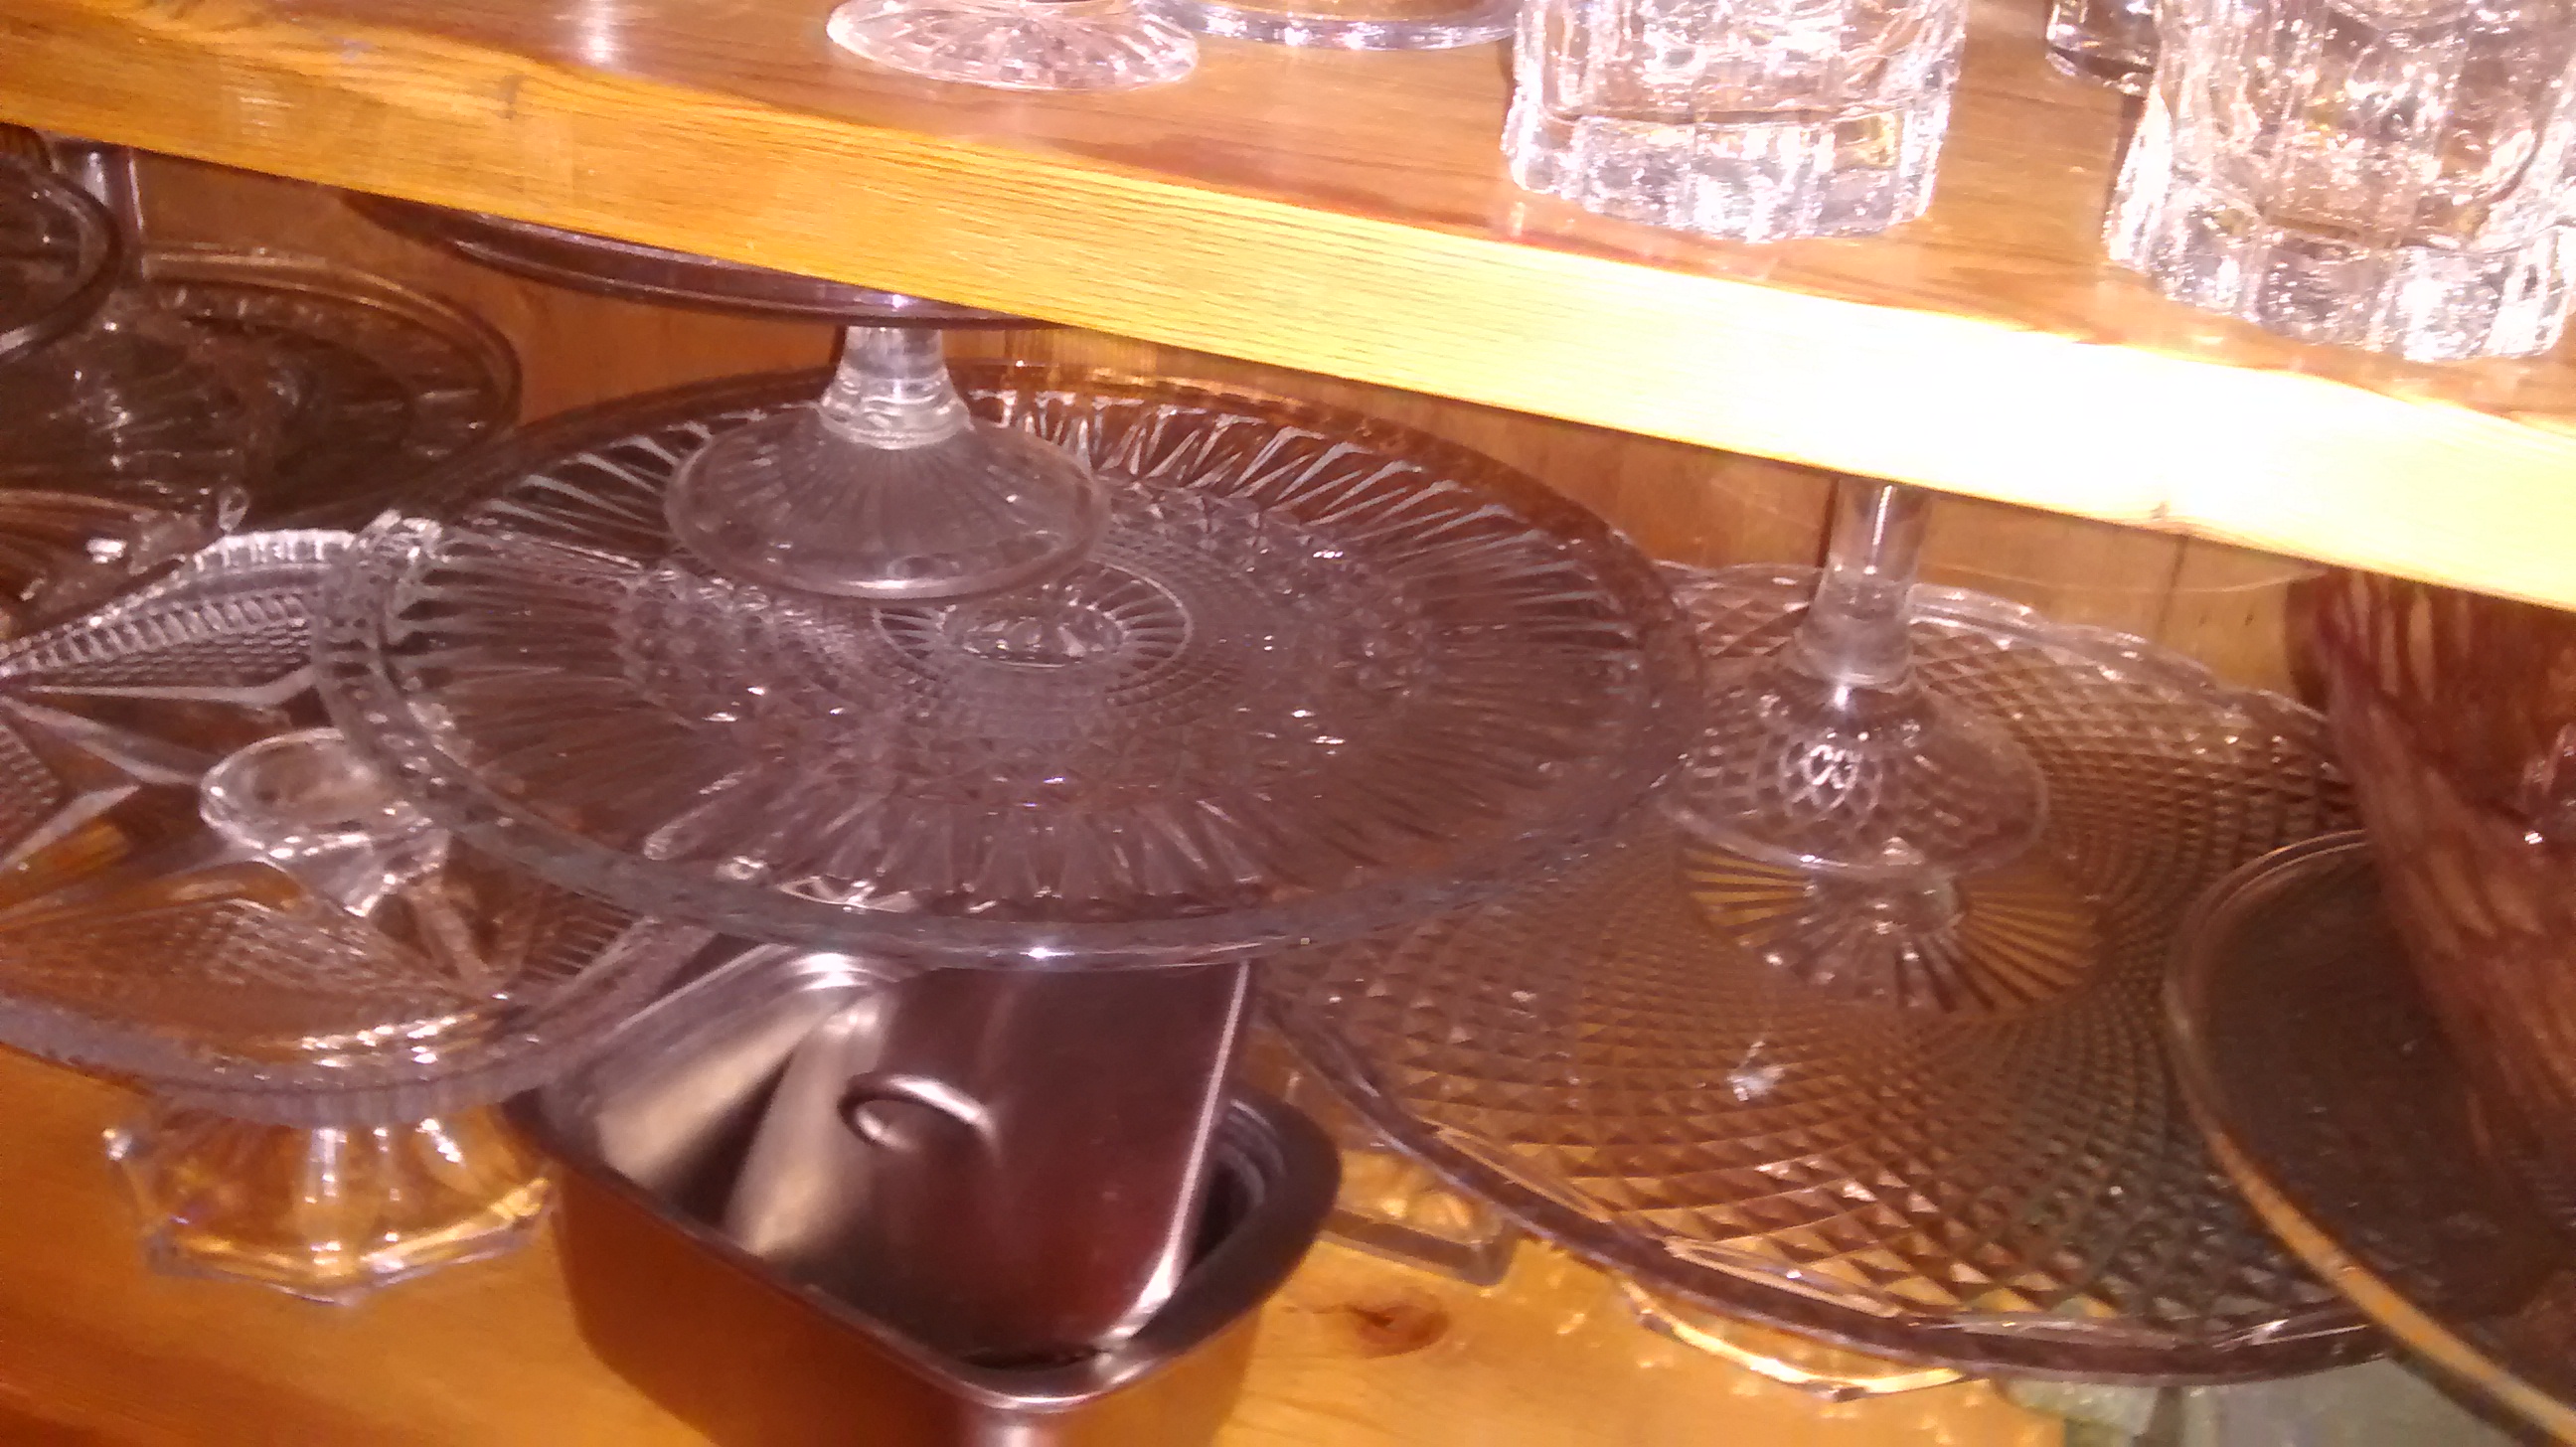
I started of with a few glass ones I got from my mother and now have at least seventeen.
Most are old, bought from charity shops and car boot sales.
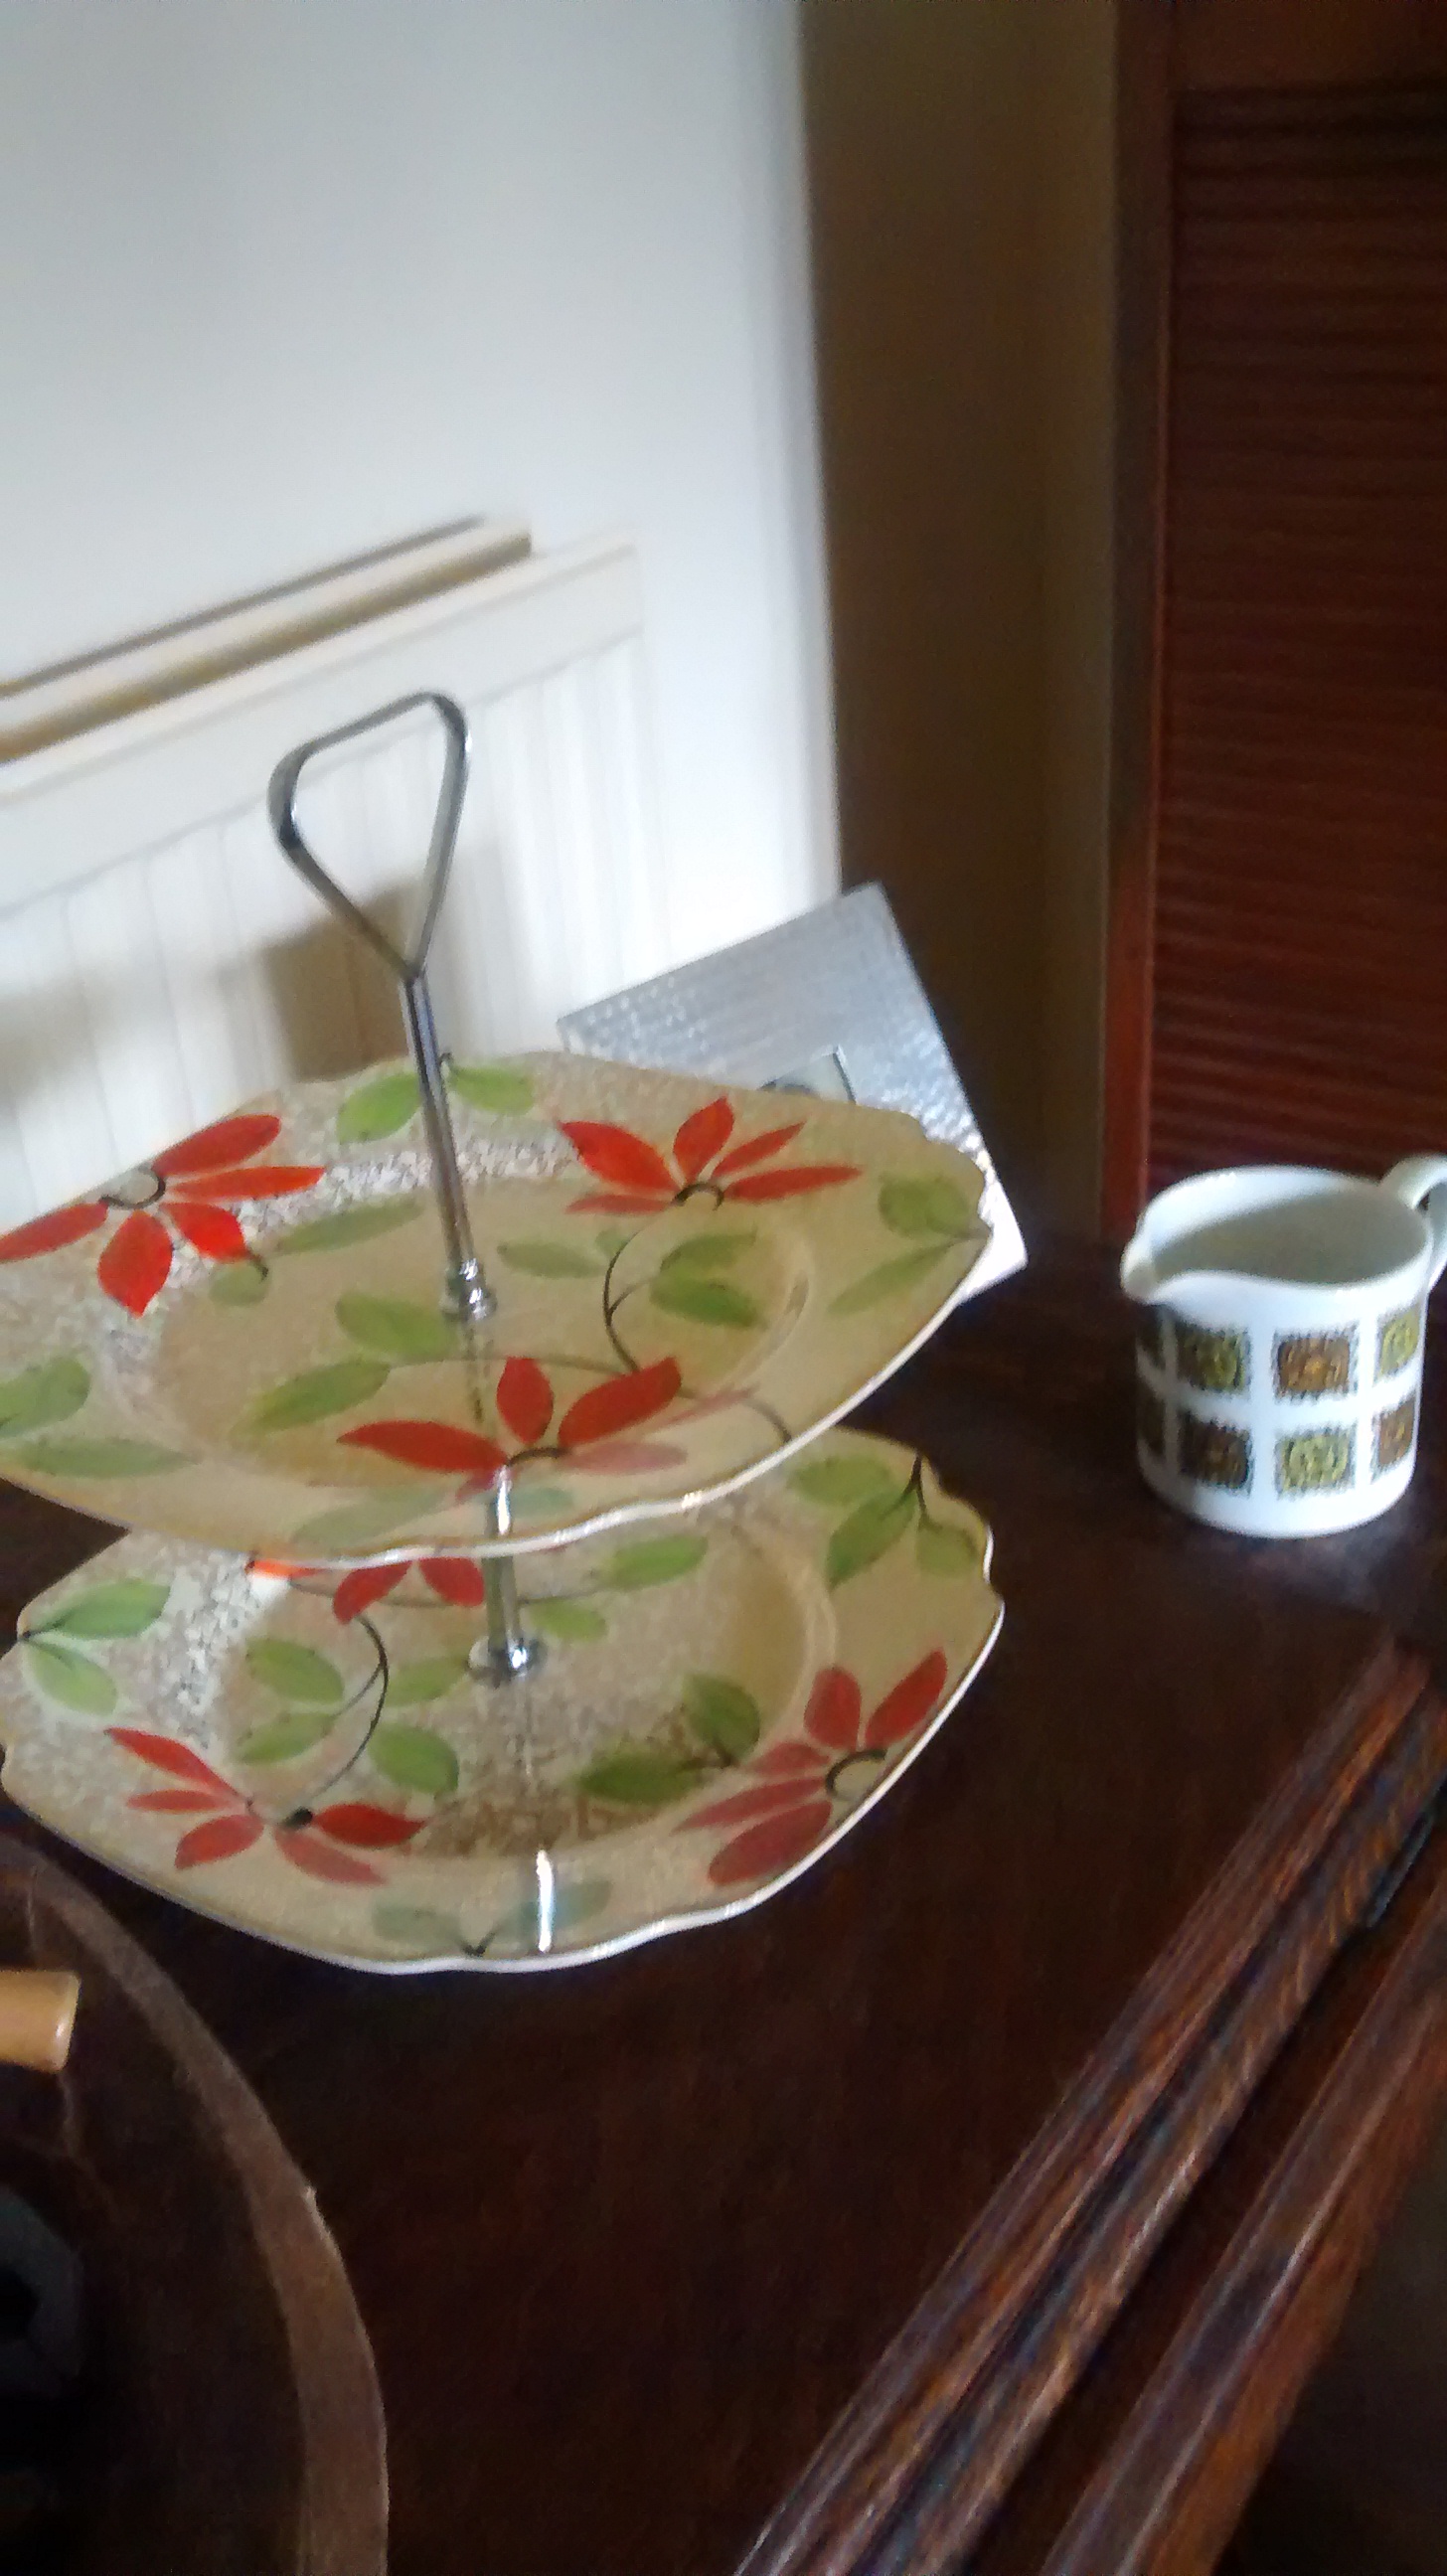
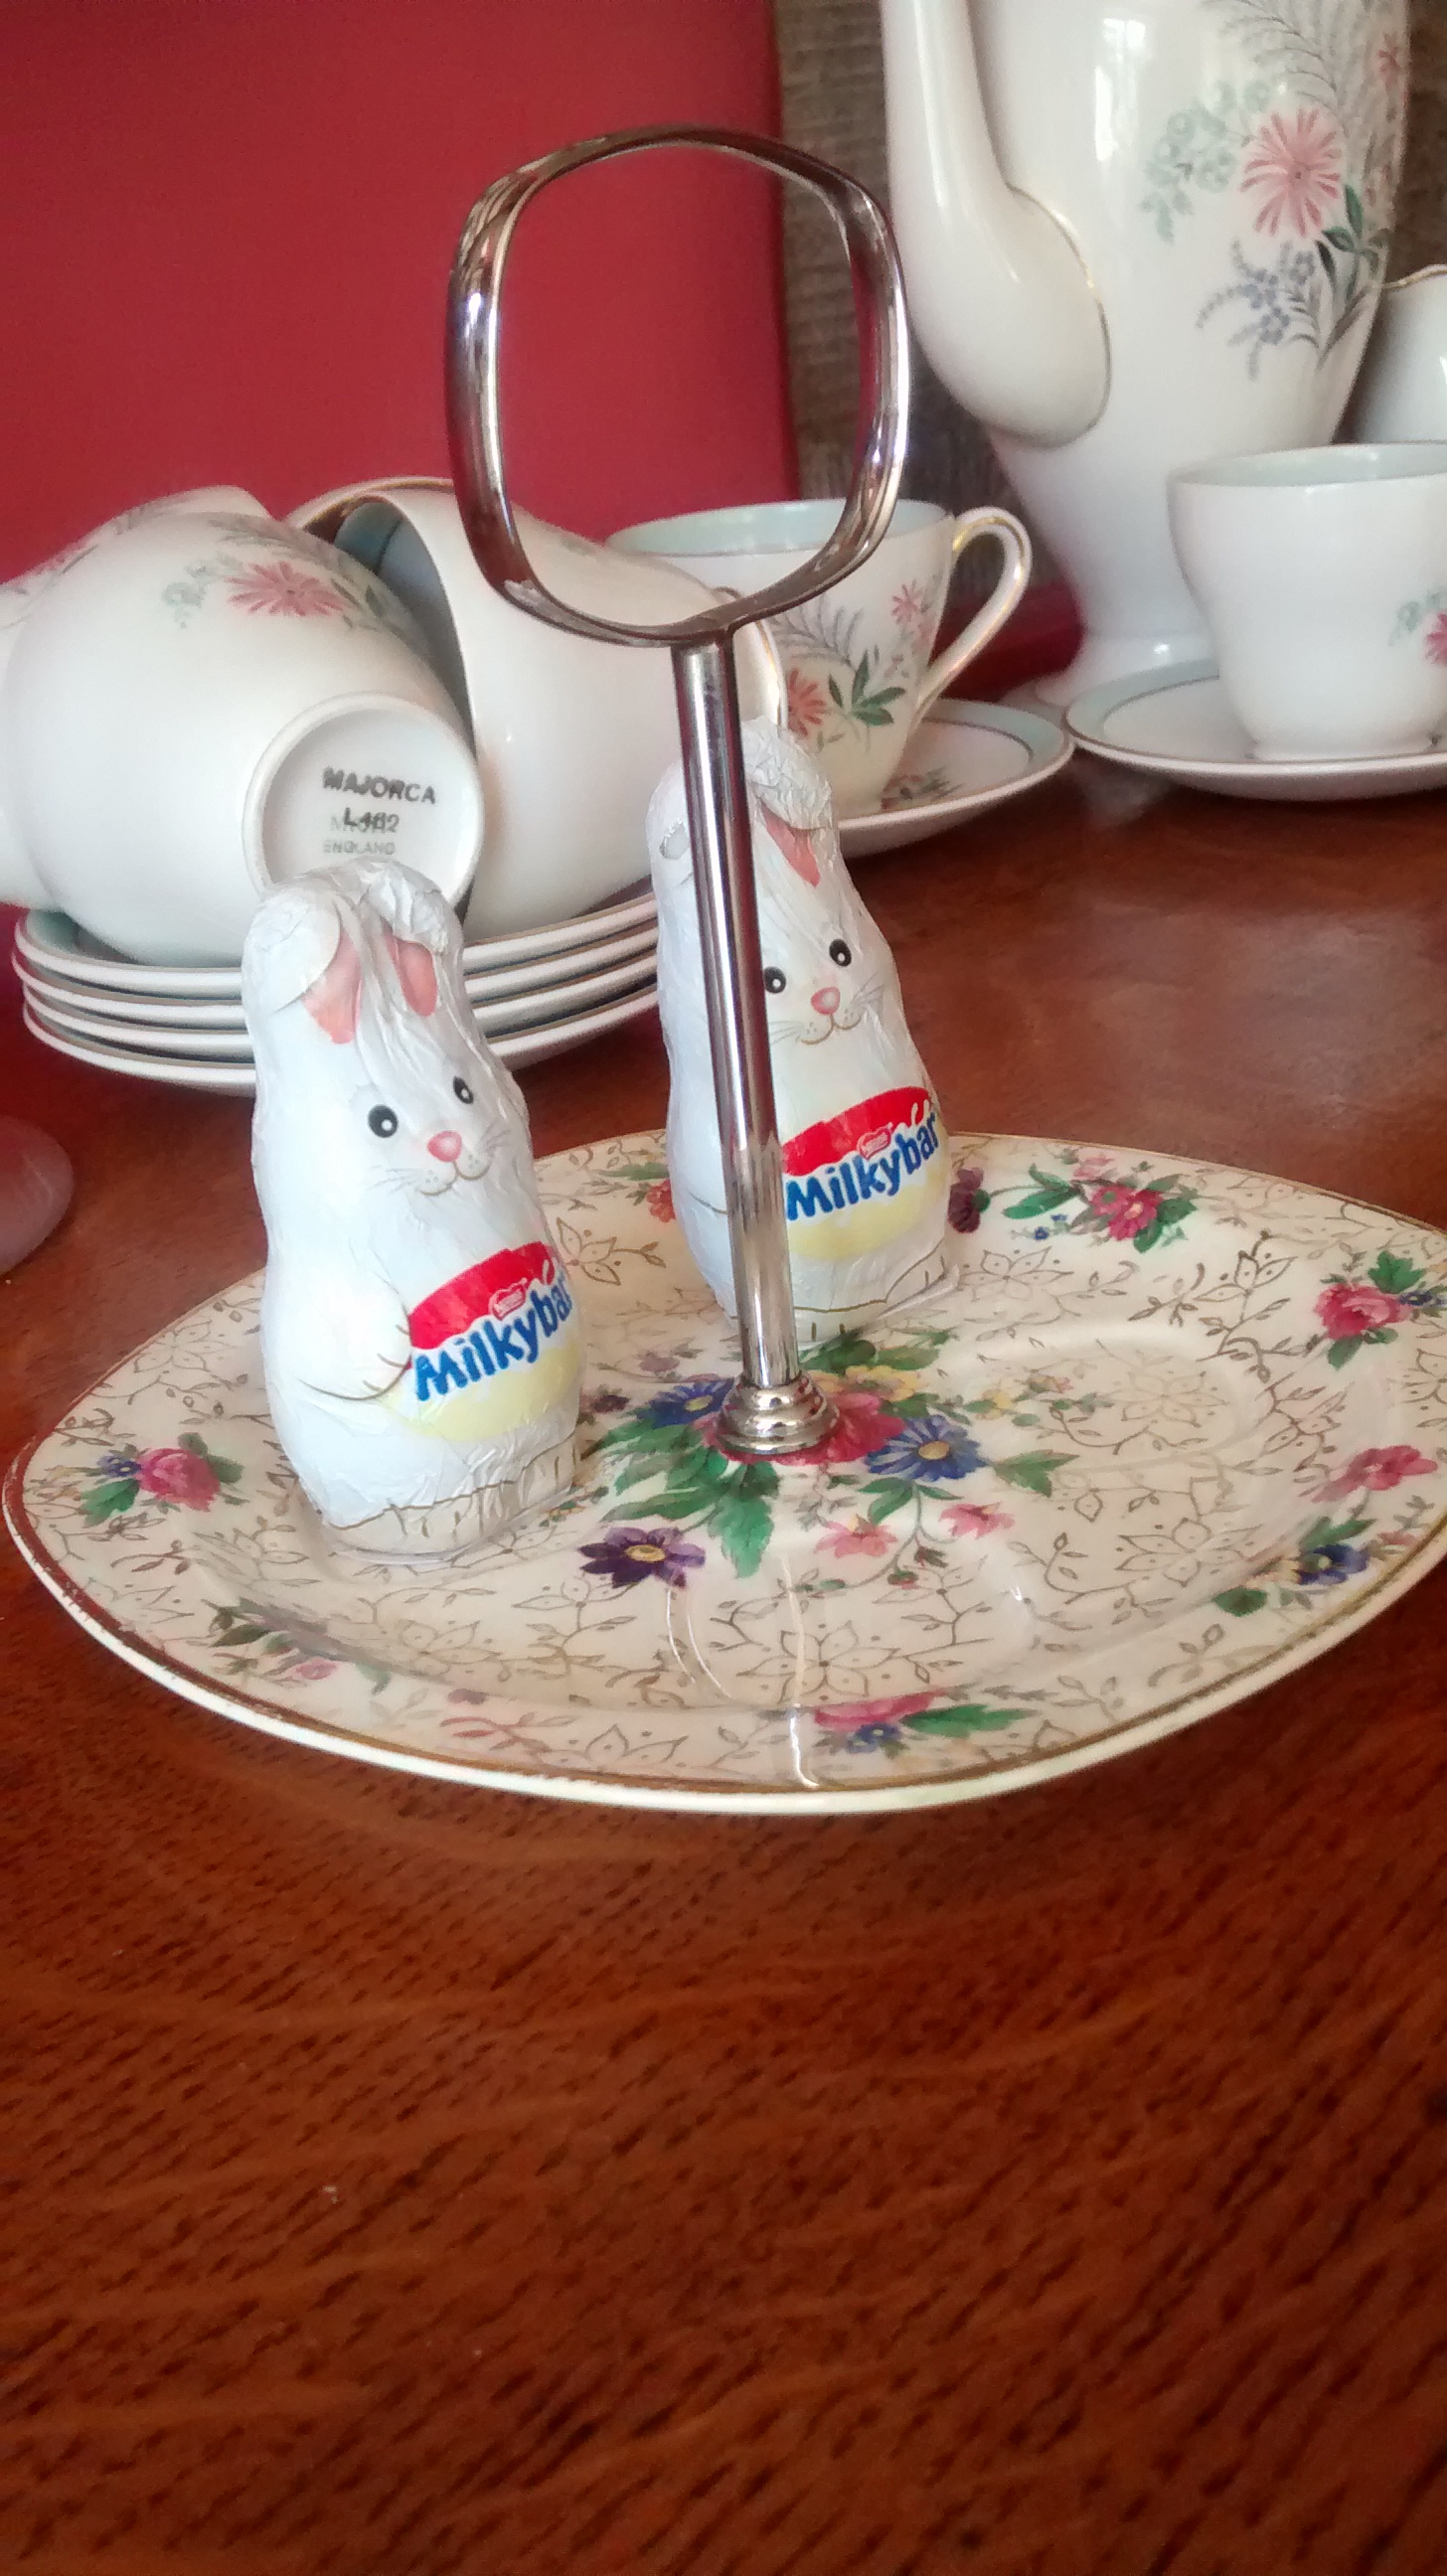
I have also started buying china tiered ones. These look better just placed around the dining room but I sometimes use them for small cakes, chocolates or fruit.
A Selection of my Cake Stands
This Cake Stand was one of my mother’s
This Large Stand I bought in an antique shop in Poland. I managed to get it back in my Hand Luggage. It is very HEAVY.My most recent china purchase. Maybe a bit bright for cakes but lovely coloursAnother Bright Cake Stand
An Egg Cup Holder. The egg cups were missing when I bought this.
Lead Crystal Cake Stand
Etched Glass Cake StandA Laura Ashley Cake StandPink Glass & China Cake Stands
Cake Stands in my Cupboard
Babeczki for Wigilia – Christmas Eve – with Poppy Seed filling on a Christmas Stand
This photo is taken from a very old slide and the plant was growing in my garden and most years looks as good as this.
However this year it has not done so well. I think it must be a combination of the alternating very dry days and the cold wet days this summer.
It is a good job I am not relying on this as my source of seeds. My best source of seeds is an indoor stall in Leeds Market. The stall sells dried fruits and nuts which are weighed out on request from large jars as well as other aids for baking.
On my first visit to Poland I went to stay with my mother’s sister and her family who had a small farm in the Masurian Lakes in the North East of Poland. This was still in Communist times.
I saw there was a huge field of large headed purple flowered poppies. My auntie had a Government contract that year to grow these poppies for the production of morphine for hospital use.
Poppy seeds of superior quality for culinary purposes are harvested when they are ripe, after the seed pod has dried.
Seeds for the production of morphine are harvested while the seed pods are green and their latex is abundant and when the seeds have only just begun to grow.
Lemon and Poppy Seed Cake
This Poppy Seed cake is inspired by one I had when I was in America. It is like a lemon drizzle cake with fewer poppy seeds than in my other recipes.
This can be made with butter or block baking margarine. I find that with many flavoured cakes margarine is as good if not better than butter.
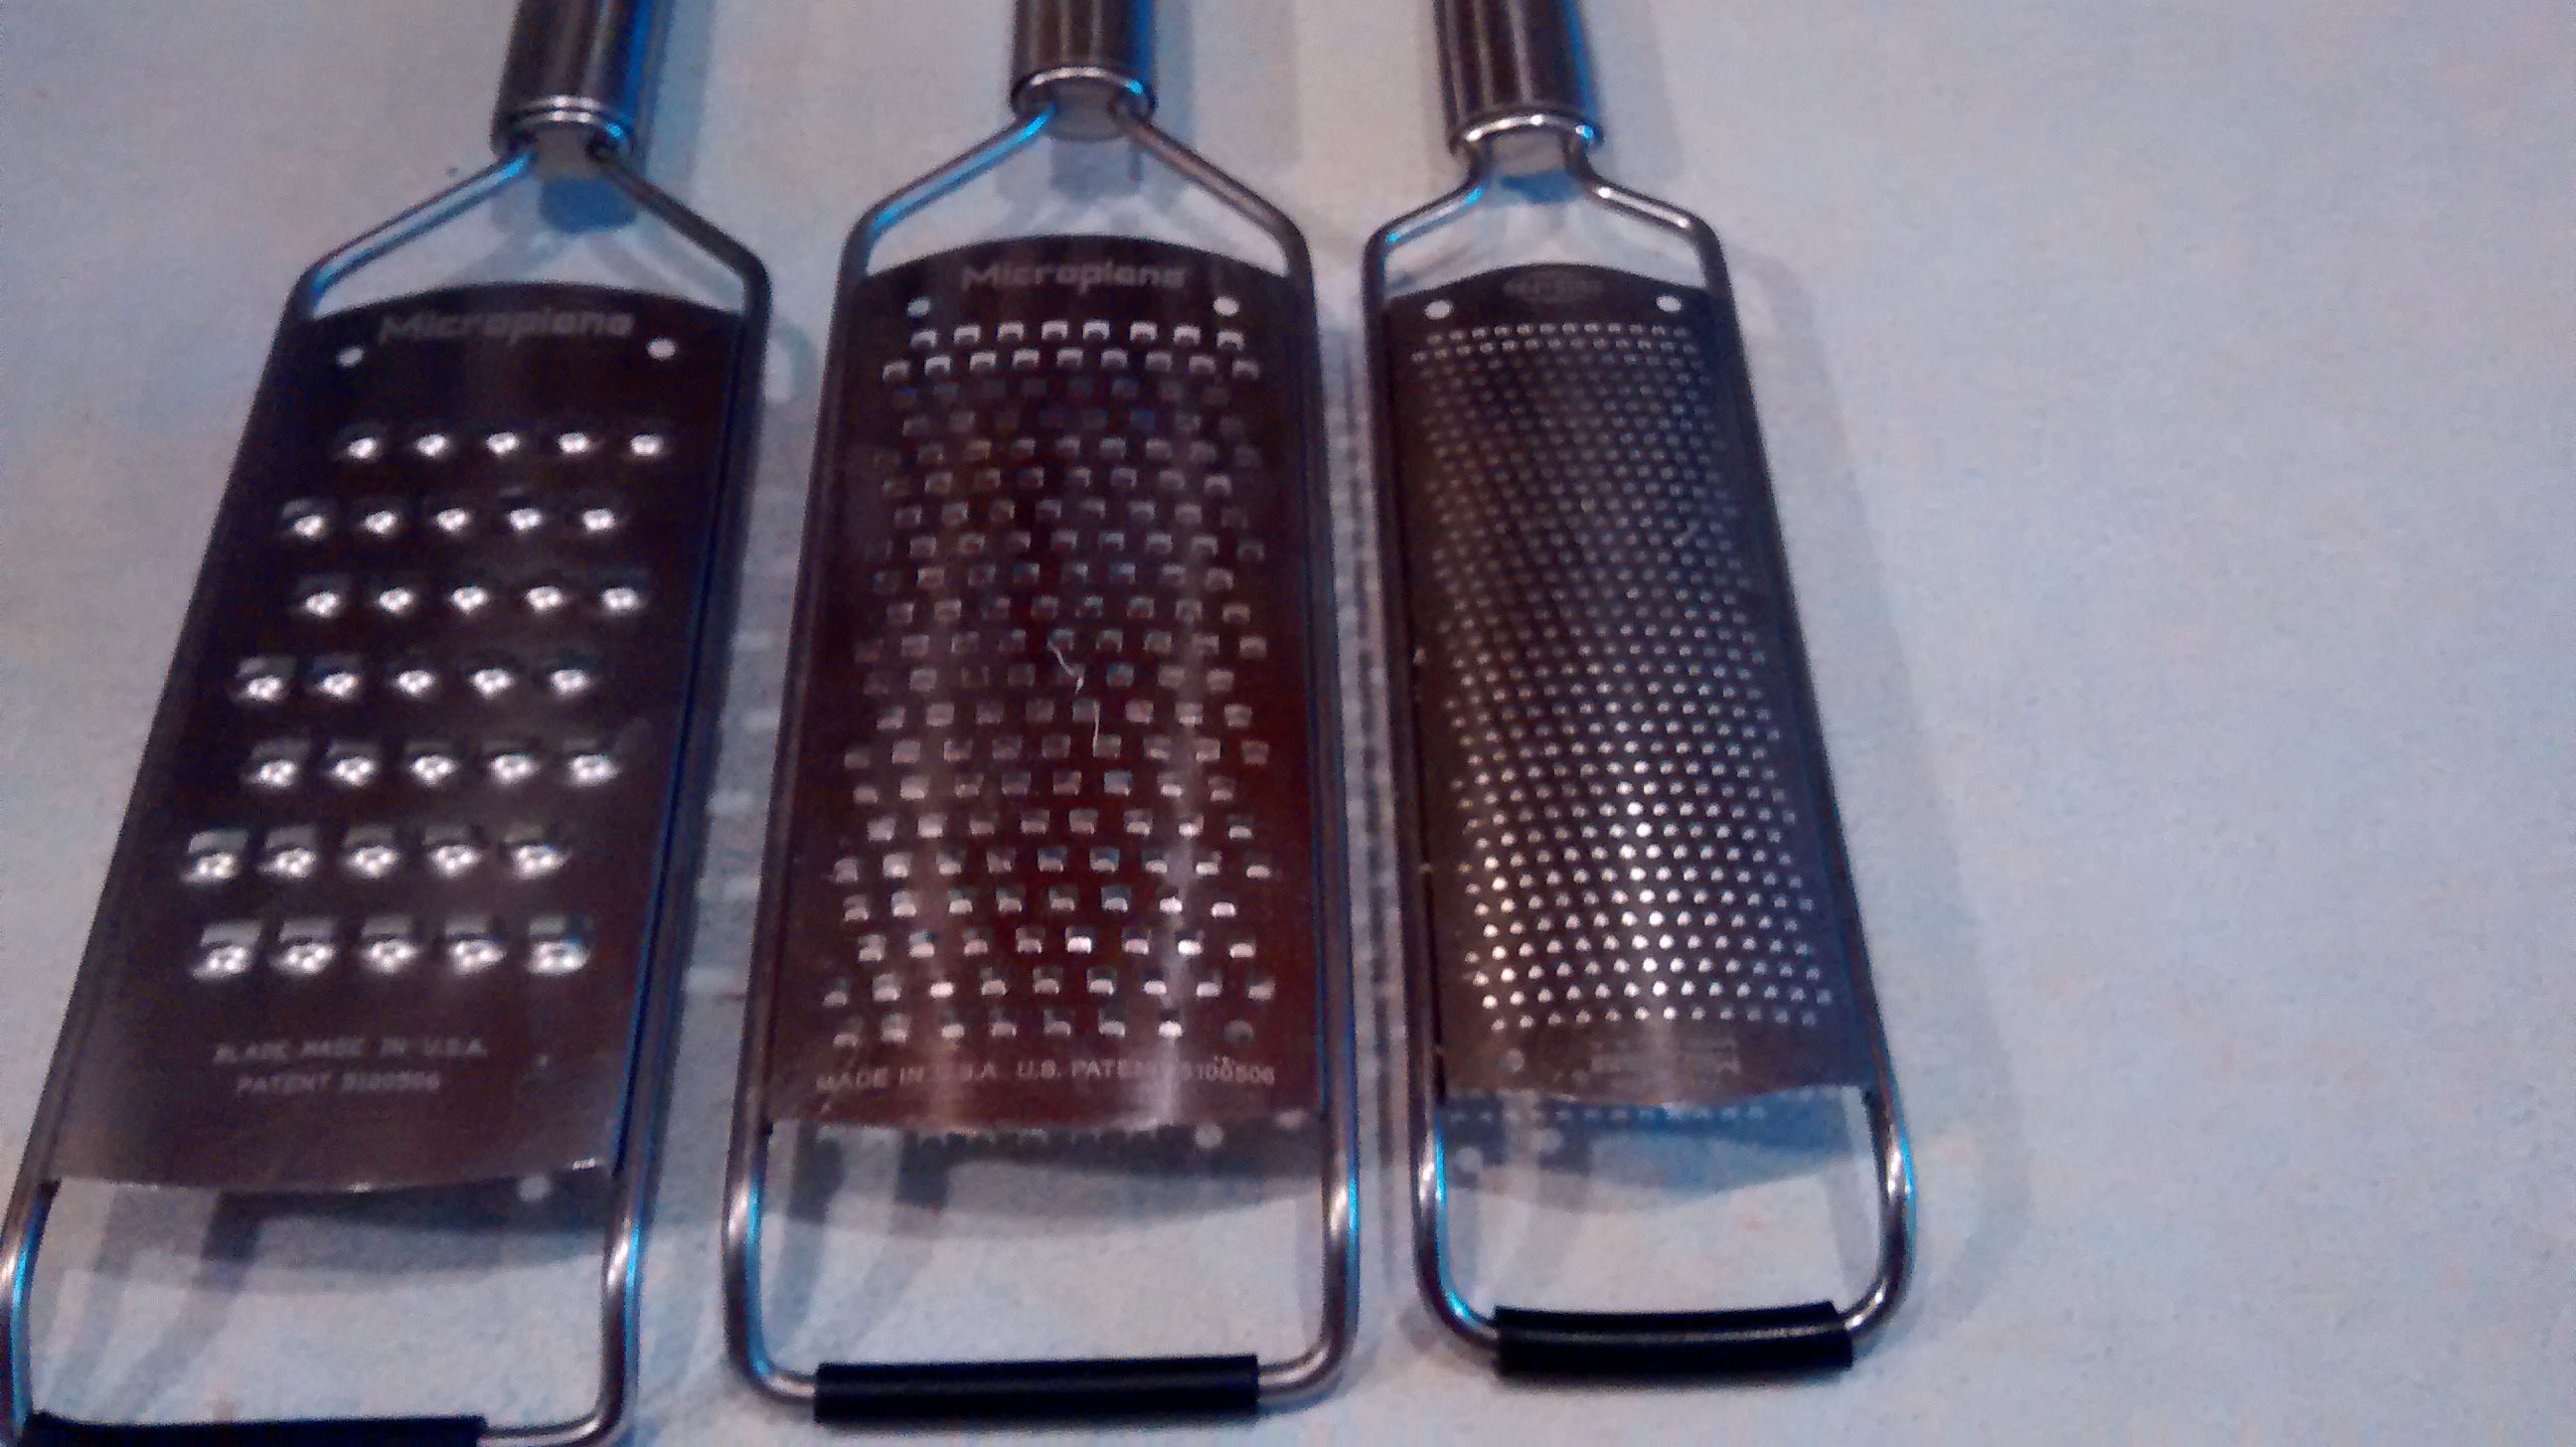
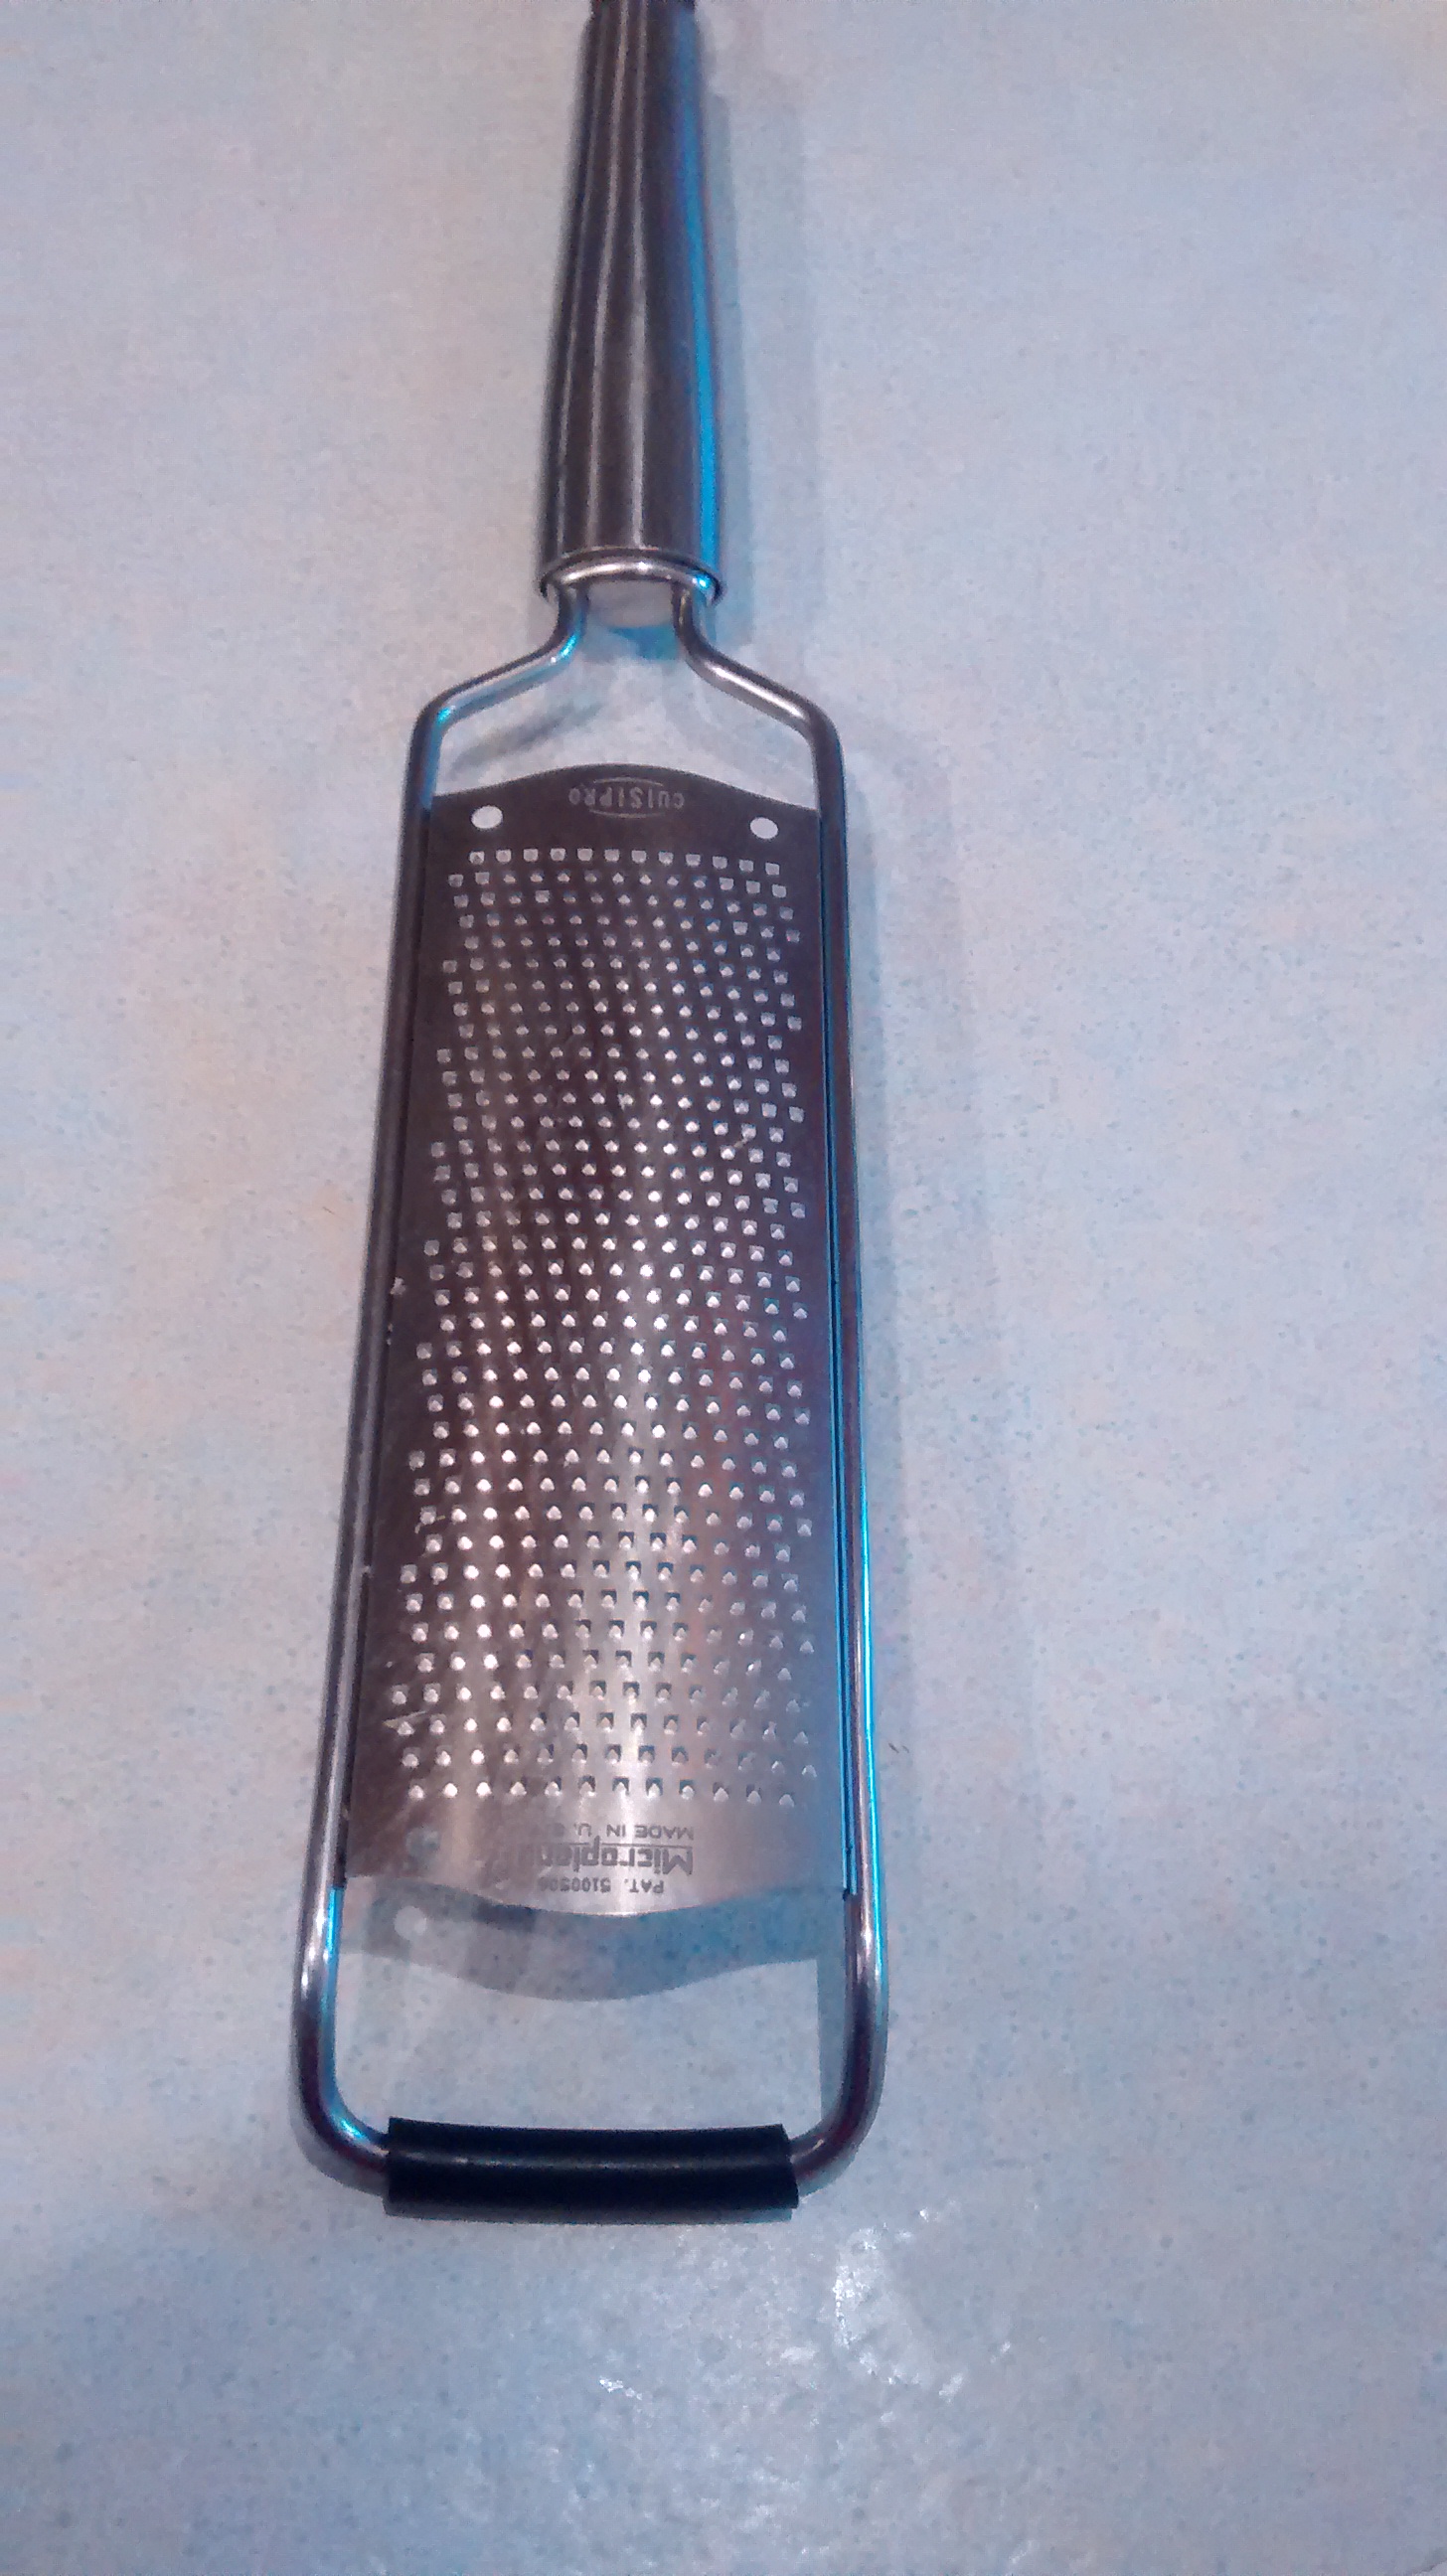
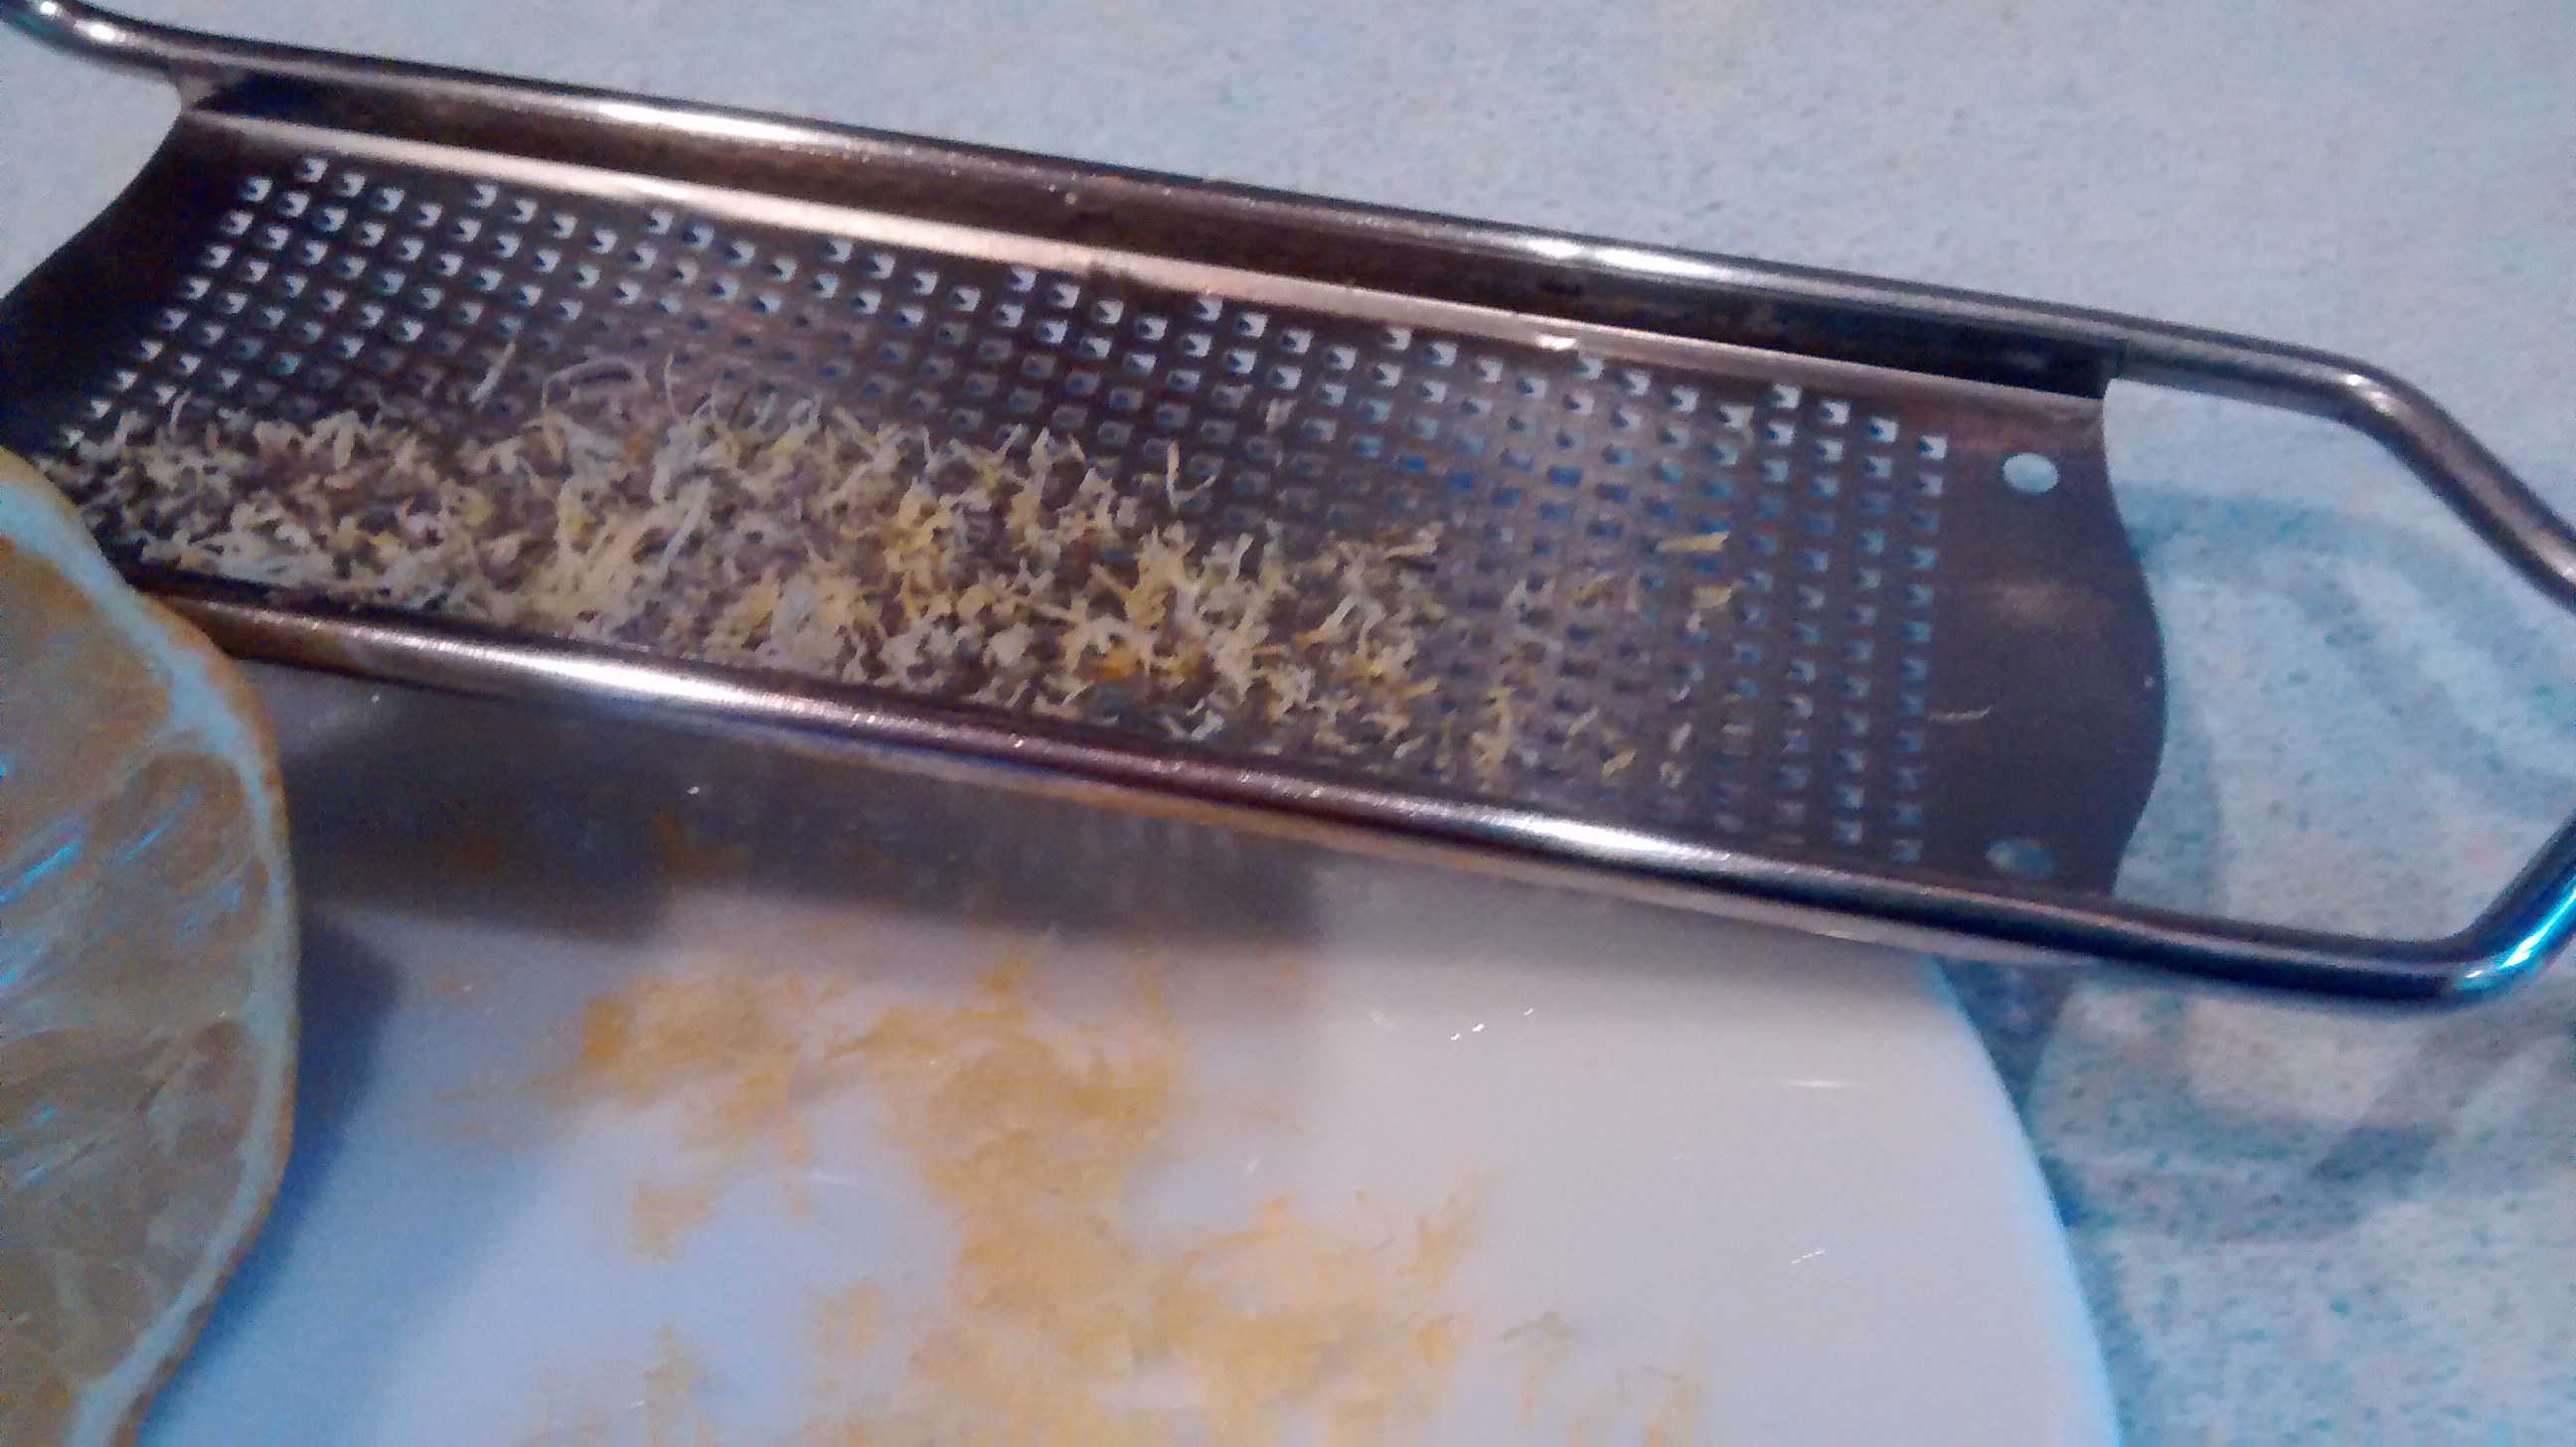
To get the most zest from the lemons I use a fine Microplane Zester – It is the best!
2 Graters & 1 Fine Zester
Fine Microplane ZesterLemon Zest
Cake Ingredients
60g poppy seeds
125g plain flour
1 teaspoon of baking powder
100g butter
100g caster sugar
2 eggs
Grated zest of 2 lemons
2 tablespoons of warm water
Glaze Ingredients
80g caster sugar
Juice of 2 lemons
Method
Pre-heat the oven to GM4 – 1800 C
Grease and line a 20cm square tin or 25 x16cm rectangular tin.
Beat the butter and sugar together till they are light and creamy.
Stir in the lemon zest.
Mix the baking powder with the flour.
Sift the flour mixture.
Lightly beat the eggs together and then beat them into the mixture, a little at a time, adding a little of the flour with the last of the eggs.
Using a metal spoon, fold in the remaining flour and the water and then fold in the poppy seeds.
Turn the mixture into the prepared tin and bake the cake for about 35 minutes, or until it starts to shrink from the sides of the tin.
In a small pan dissolve the sugar in the lemon juice over a gentle heat.
When the cake is baked remove it from the oven and leave for a few minutes before turning it out onto a wire rack.
Put a plate underneath, prick the cake all over with a fine skewer whilst it is still warm and spoon the lemon glaze over it. If any runs through spoon it back on.
When the cake is cold dust it with icing sugar before serving.
The original recipe used twice this amount but I often found it would sink in the middle which did not look as nice so now I always make this smaller one.
This version has a lemon glaze followed by lemon icing – this is my favourite but you could just dust the cooled cake with icing sugar or use the glaze then dust with icing sugar before serving.
Ingredients
125g caster sugar
1 egg
5ml vanilla extract
100g poppy seeds
Grated rind of 1 lemon
65g self-raising flour
½ tsp baking powder
Pinch of salt
60ml milk
65g melted butter
15 ml sunflower oil
Lemon Glaze & Icing
Glaze – Juice of 1 lemon & 50g caster sugar
Icing – Juice of 1 lemon & 200g icing sugar
Method
Pre heat the oven to Gas mark 4 – 1800C
I find this easer to remove using either a loose bottom or spring form tin – Grease a 20cm diameter tin.
or
grease and line with one piece of greasproof for the 2 long sides and base -so you can remove the cake from the tin easily – a 16 x 27 cm tin.
Whisk the egg, sugar and vanilla extract until they are thick and creamy.
Stir in the poppy seeds and lemon rind.
Sift the flour and add the baking powder and salt.
Fold this into the egg and poppy seed mixture alternating with the milk – do this in about three batches.
Fold in the melted butter and the oil.
Pour the mixture into the tin and bake for around 30 to 35 minutes.
Leave to cool for about 5 minutes and release the cake from the tin and put on a cooling rack or remove using the 2 ends of the greaseproof.
Prick the top in several places with a thin cake testing skewer.
Lemon Glaze
Mix the lemon juice and caster sugar to dissolve the sugar, dribble this over the cake so the top in covered. Leave till nearly cool then put the cake on a plate or stand.
Lemon Icing
The amount of icing sugar you need will vary depending on the size of the lemon and the dampness of the sugar. (If you want less icing use a small lemon or half a large one and 100g of icing sugar)
Place the lemon juice in a bowl and slowly add the sugar mixing it with a wooden spoon is best, use more or less sugar to make a soft runny icing which will coat the back of the spoon.
Pour this over the cake.
You can aim for just the top covered or to have drips down the sides.
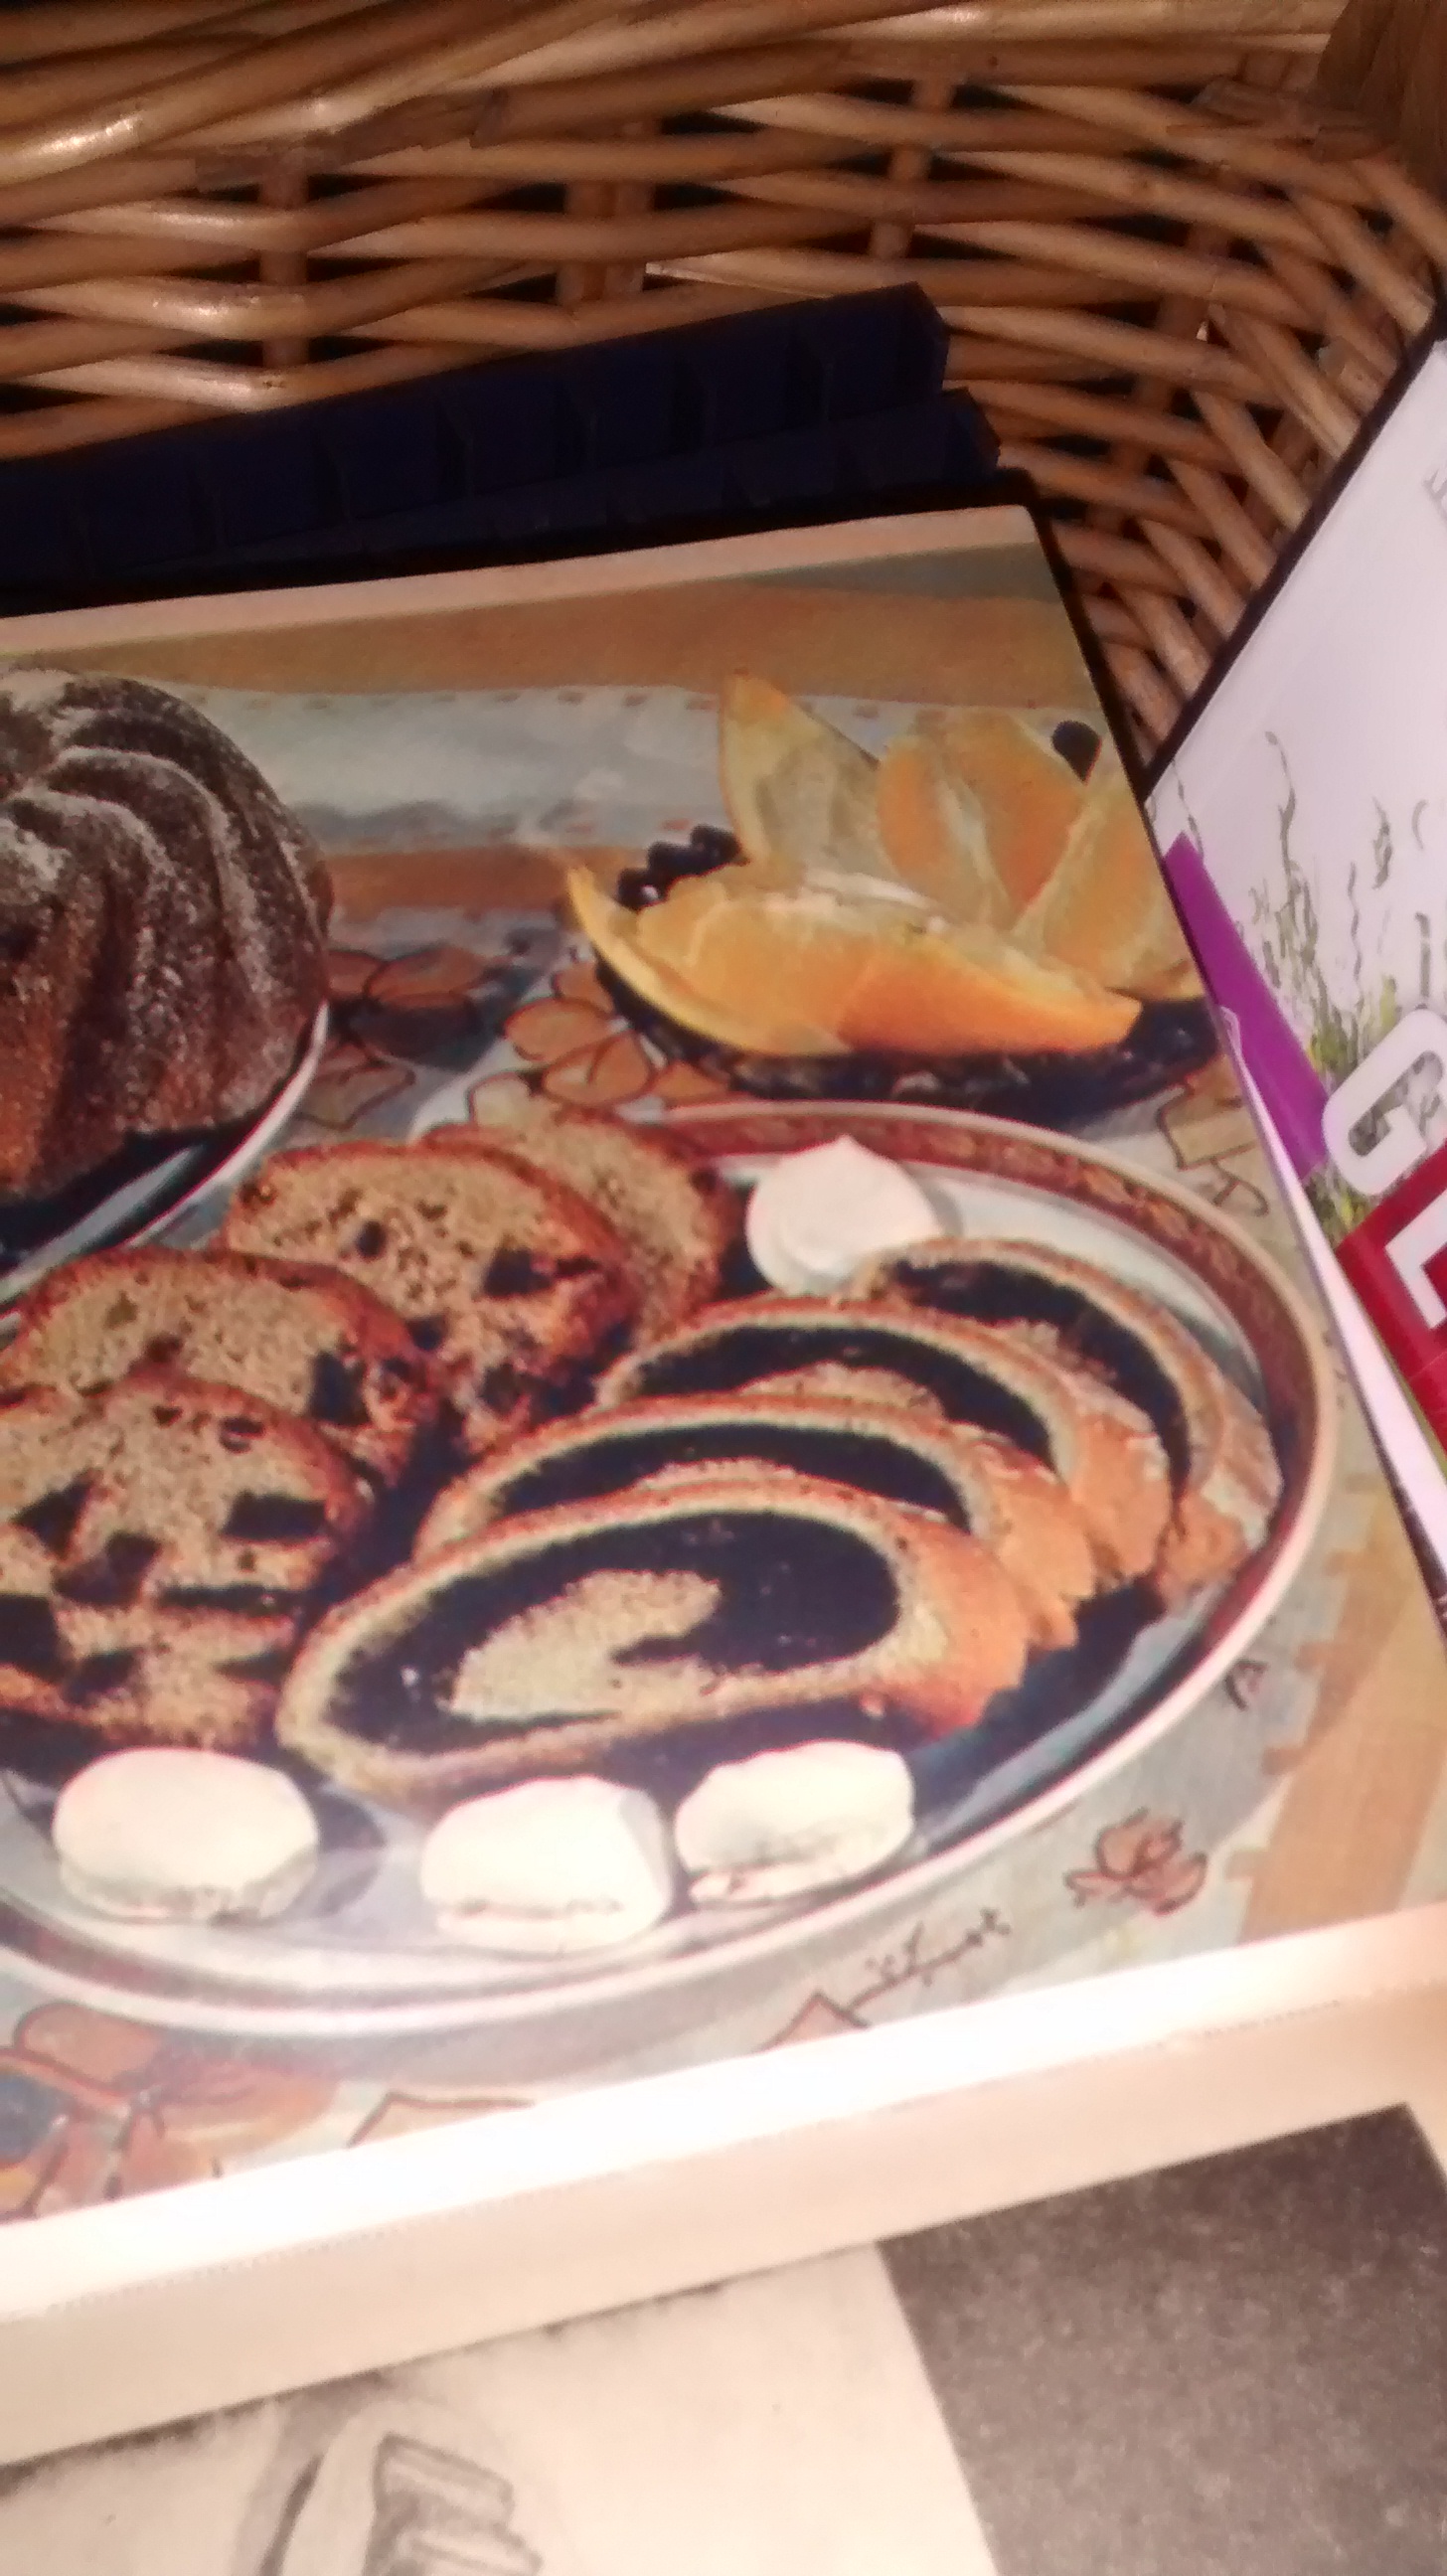
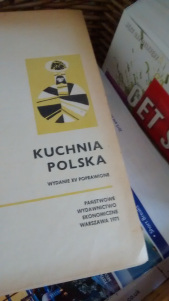
Photo from my Old Polish CookbookKuchnia Polska – Polish Kitchen or Polish Cookery
Weighing Poppy Seeds
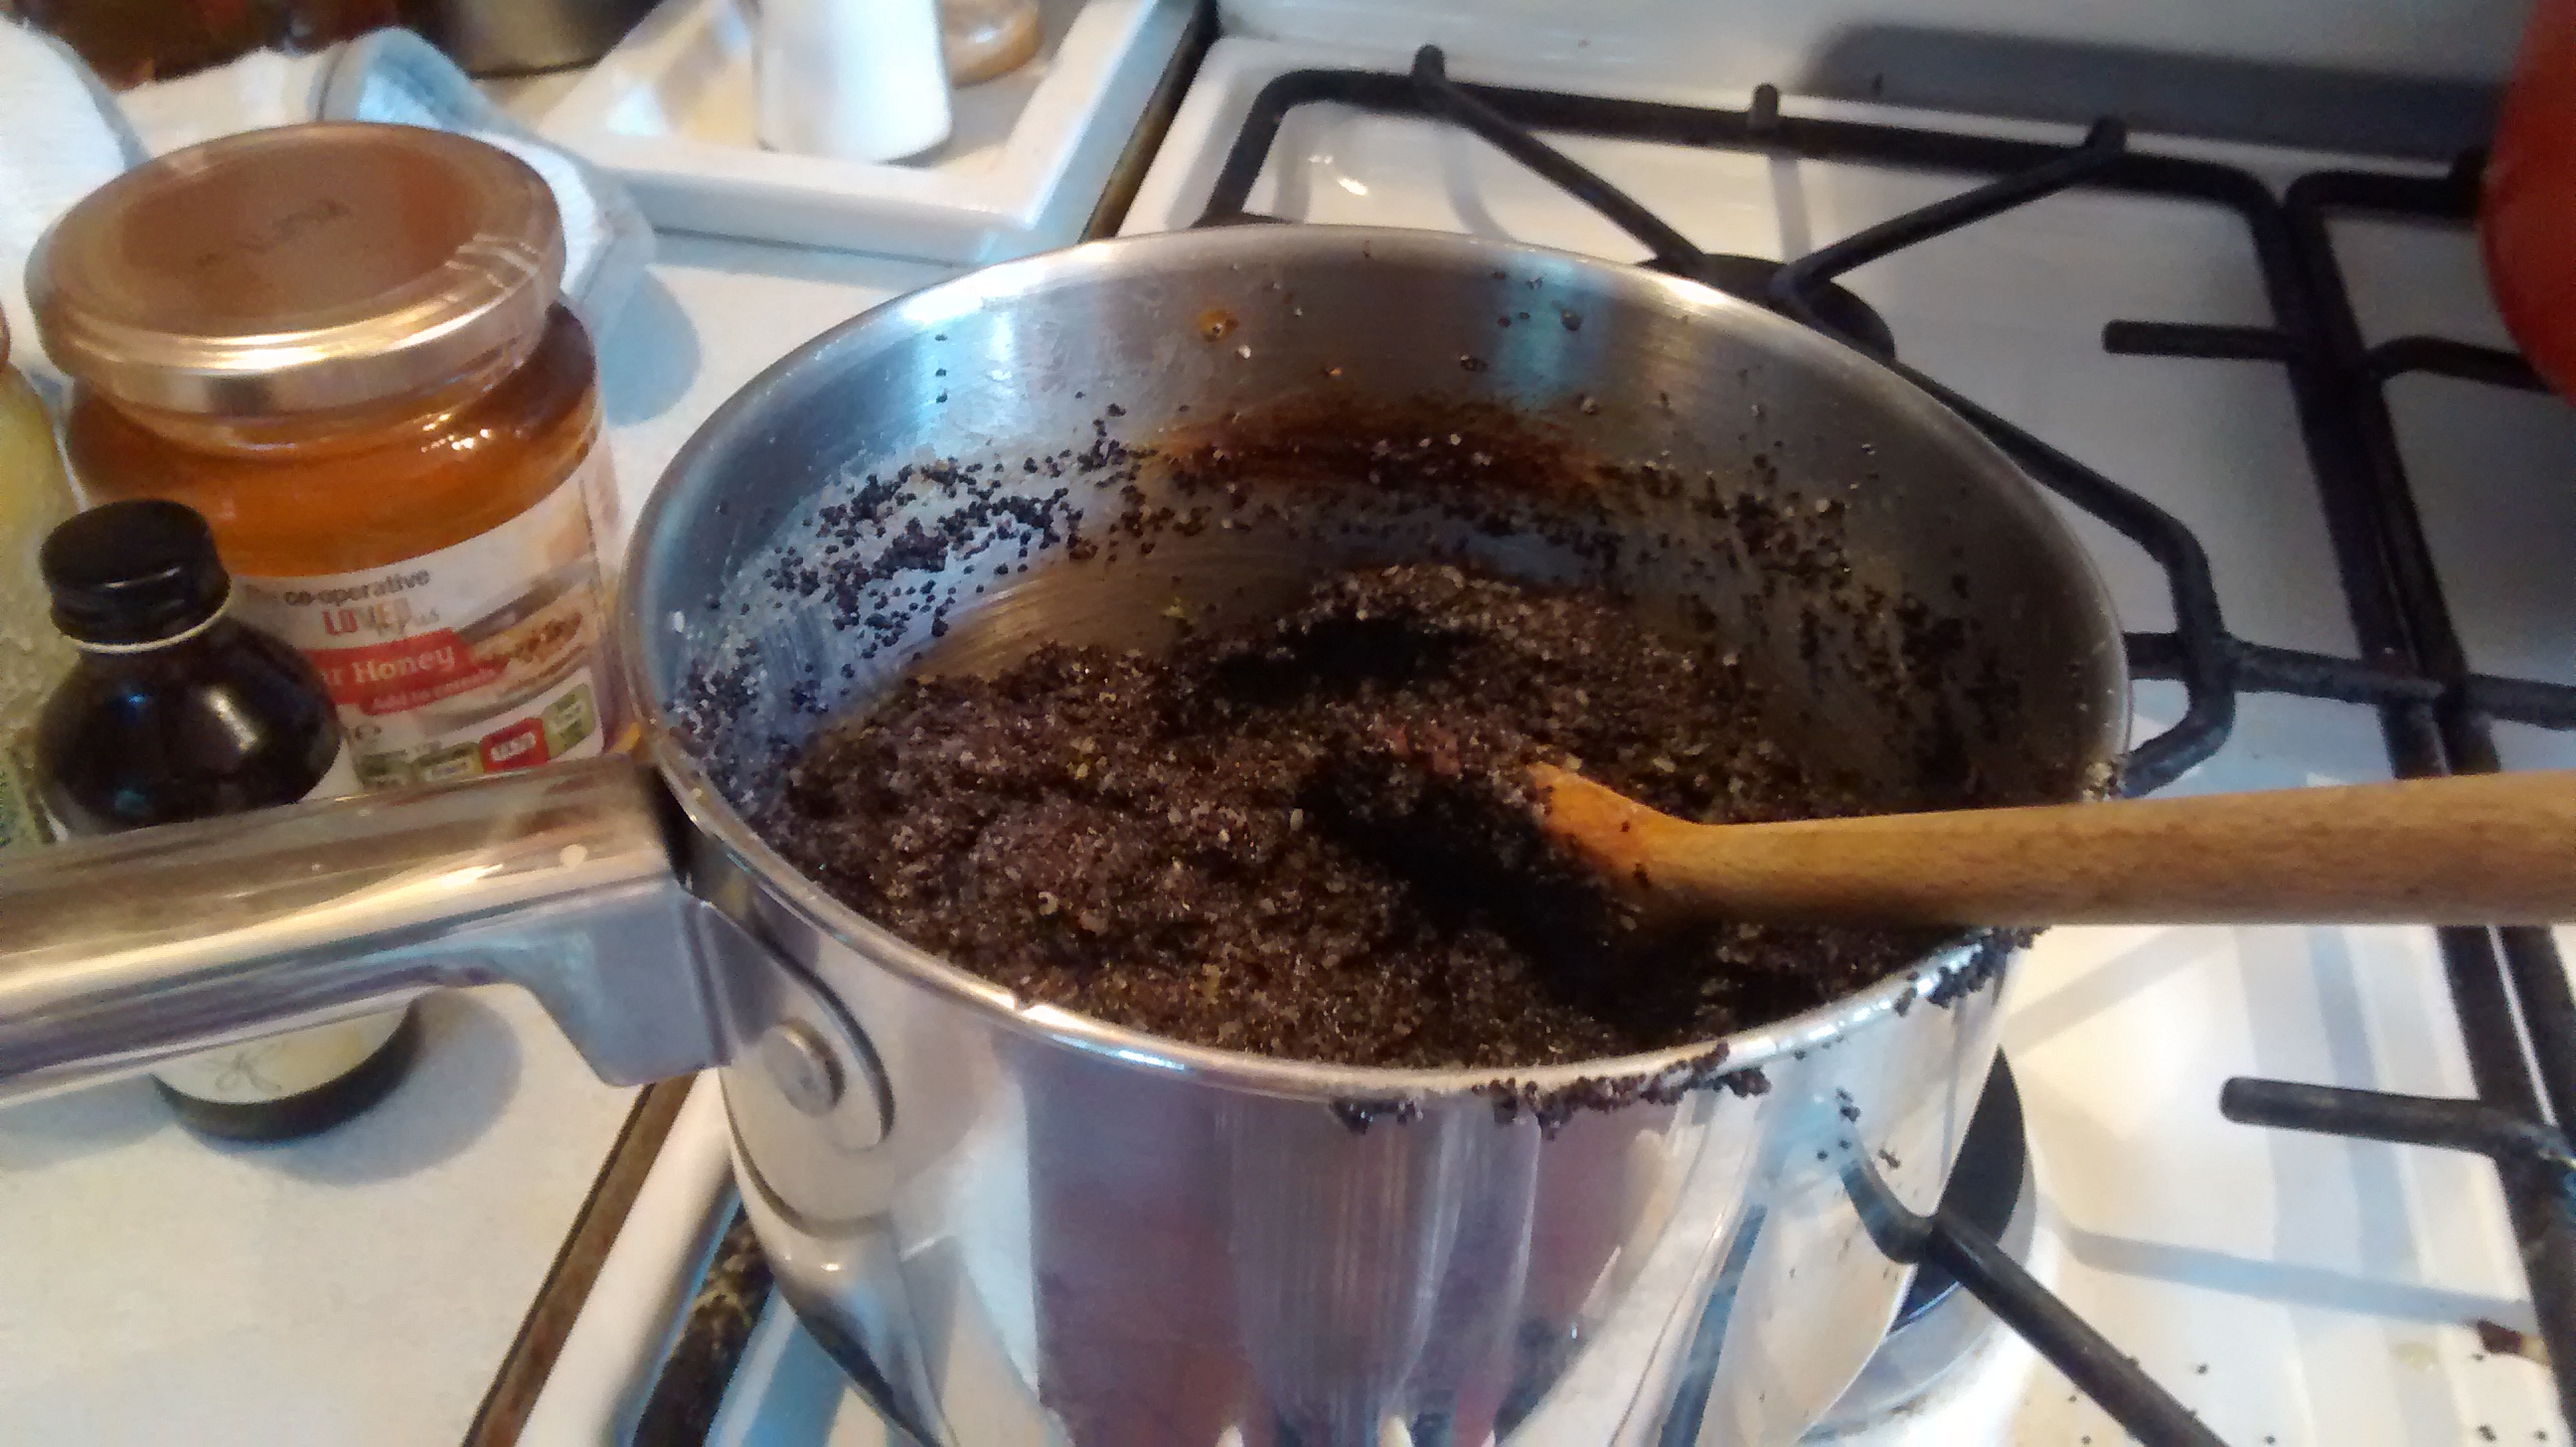
Poppy seed mix
I do not know why but the smell of baking yeast cakes just fills me with warm loving feeling, it is so wonderful.
Yeast cakes feature greatly in Polish festivals and there is Babka for Easter, Makowiec (Poppy seed roll) for Christmas Eve and doughnuts before the start of Lent and New Year’s Eve and Epiphany.
Surprisingly my mother did not seem to have a great success with yeast cookery, maybe her kitchen was a bit cool, I do not know. We got our yeast cakes from her friends. I have done lots of experimenting with yeast recipes and have had a lot of success (and some failures from which I also learnt much!). I now know that you can succeed in a cool kitchen; you just have to start a day beforehand.
Watching the yeast rise still seems like magic to me even though I am well aware of the science that makes it happen. It can be unpredictable and depends on the yeast and the temperature.
I prefer to use fresh yeast but cannot always get it, so now I use dried yeast and also get good results. I have used the type of yeast that you add straight to the flour but I like to see that the yeast is active before it goes into the flour so this is not my favourite type – but I have to admit is does work in many recipes.
Many recipes use a batter starter and I like this method as you can see the yeast making the mixture really rise.
The best time to make a yeast cake is on a day when you are in and doing other things as the times for rising and proving can vary, you have to be around and do the next stage when the time is right, you cannot rush it.
One of the drawbacks with yeast pastry is that the cakes go stale very quickly so you need lots of people on hand to help to eat it all.
Poppy Seeds
Poppy seeds are the blue-grey seeds of the poppy – Papaver somniferum. They have been used since antiquity and were known in Egyptian, Minoan and Sumerian cultures. They are used in European and Middle Eastern cooking and are especially popular in Jewish and in Polish cooking.
Mak is the Polish word for poppy seed and a cake made with poppy seeds is called makowiec.
This is one of the dishes served on Christmas Eve and I will be writing about the food for that evening later in the year.
Makowiec – Poppy Seed Roll
Traditional Recipe
This classic yeast cake is served on Christmas Eve. Poppy seeds and honey are used to make a filling which I think is just so delicious. Some fillings also use dried fruits such as raisins but I prefer it without.
I have been searching for many years for the best recipe for this cake and I think I now have it. Many recipes that I have tried, have made a cake which is so large that it has tried to escape out of the baking tray and the oven and I have been experimenting to get an amount which is more suitable for the standard size oven in the United Kingdom.
Also the shape of a nice roll of cake has eluded me till now, mine seemed to rise too much and crack and spread across the baking tray with all the filling escaping!
On a visit to Poland I was given a suggested that you wrap the rising yeast roll in greaseproof paper to keep its shape and this worked. So at last I have the size and shape that works well.
Without a doubt this recipes is time consuming – so in my next posts I will give some easier simpler variations which are also delicious.
There are 3 parts to the making of this cake: the poppy seed filling, the yeast pastry and the icing.
Poppy Seed Filling
I make the poppy seed filling first, or during the time the yeast is rising, as it has to be cool when used. You can make the filling ahead of time – there are several stages where you can leave it to finish later. I often make till until the addition of the butter and add the rum and egg just before I need it. You can also freeze this filling at this stage.
Ingredients
200g poppy seeds
500ml milk (whole or semi-skimmed)
50g ground almonds
120 ml runny honey & 1 tablespoon
25g butter
1 large egg – separated
1 tablespoon of rum
¼ teaspoon of vanilla essence
Put the poppy seeds and milk into a saucepan and simmer then together for 30 minutes, stirring occasionally to stop any sticking or burning. The aim is to cook the seeds and adsorb as much of the milk as possible. You need to watch this carefully and keep adjusting the heat to stop the mixture burning.
Using a fine sieve, strain the poppy seeds from the liquid – leave this for a while to remove as much liquid as possible.
The poppy seeds need to be crushed, I use a hand held blender for about 5 minutes which I find is the easiest way but you can use a pestle and mortar or a mincer.
Once crushed, place the poppy seeds back into a saucepan and add the ground almonds, the vanilla essence and the 120ml of honey and mix thoroughly.
Add the butter to the mixture and simmer gently for about 5 minutes and then leave this mixture to cool completely and then add the rum.
Whisk the 15ml (1 tablespoon) of honey with the egg yolk until this is thick and creamy and then add this to the mixture.
Just before you need the filling, whisk the egg white until it is stiff and then fold this egg white into the poppy seed mixture.
Yeast Pastry
This is made in 2 stages
Yeast Starter
5g fresh yeast or a 1/2 teaspoon of dried yeast
40g plain flour
60ml of milk (whole or semi-skimmed)
Mix the ingredients together in a bowl then cover this with a tea towel or cling film and leave the bowl in a warm place for 3 hours.
After this place the bowl in the fridge – you can leave this overnight.
Rest of Dough
10g fresh yeast or 1 teaspoon of dried yeast
40g sugar
60ml milk (whole or semi-skimmed)
1 egg and 2 egg yolks
300g plain flour
pinch of salt
100g butter at room temperature
Warm the milk slightly and put it into a large bowl, add the yeast and sugar and leave in a warm place for 15 minutes or until you can see that the yeast is active and rising.
Add the starter, the egg and egg yolks, the pinch of salt and the flour. Mix and then knead the dough until it forms a soft ball.
Cover the bowl with a tea towel or cling film and leave for 15 minutes.
Add the butter in tablespoonful amounts to the dough, kneading slightly at each addition and then knead the dough for 10 minutes. The dough should be soft and elastic but not sticky, if it is too sticky add some more flour knead till it is the correct texture.
Place the dough into an oiled bowl and cover with a tea towel or cling film and leave to rise.
Putting together the poppy seed roll
Have ready a greased baking tray as the size of rectangle of dough you need is governed by the length of the baking tray.
When the dough is ready, roll it out into a rectangle of around 20cm by 25cm. It will be about 1cm in thickness.
Place the filling onto the dough leaving about 2cm clear at all the edges.
Roll up the poppy seed roll lengthwise and then enclose the roll reasonably tightly lengthwise in greaseproof paper, do not cover the ends of the roll which will rise and expand lengthwise.
Place the roll onto a baking sheet with at least 5cm at each end to allow for the expansion and leave this to rise for about 1 hour.
Pre heat the oven to GM4 – 180oC
Place the risen roll into the oven with the greaseproof paper still on.
Bake for about 40 minutes and then cool on a wire rack, remove the greaseproof paper as soon as the roll has cooled slightly.
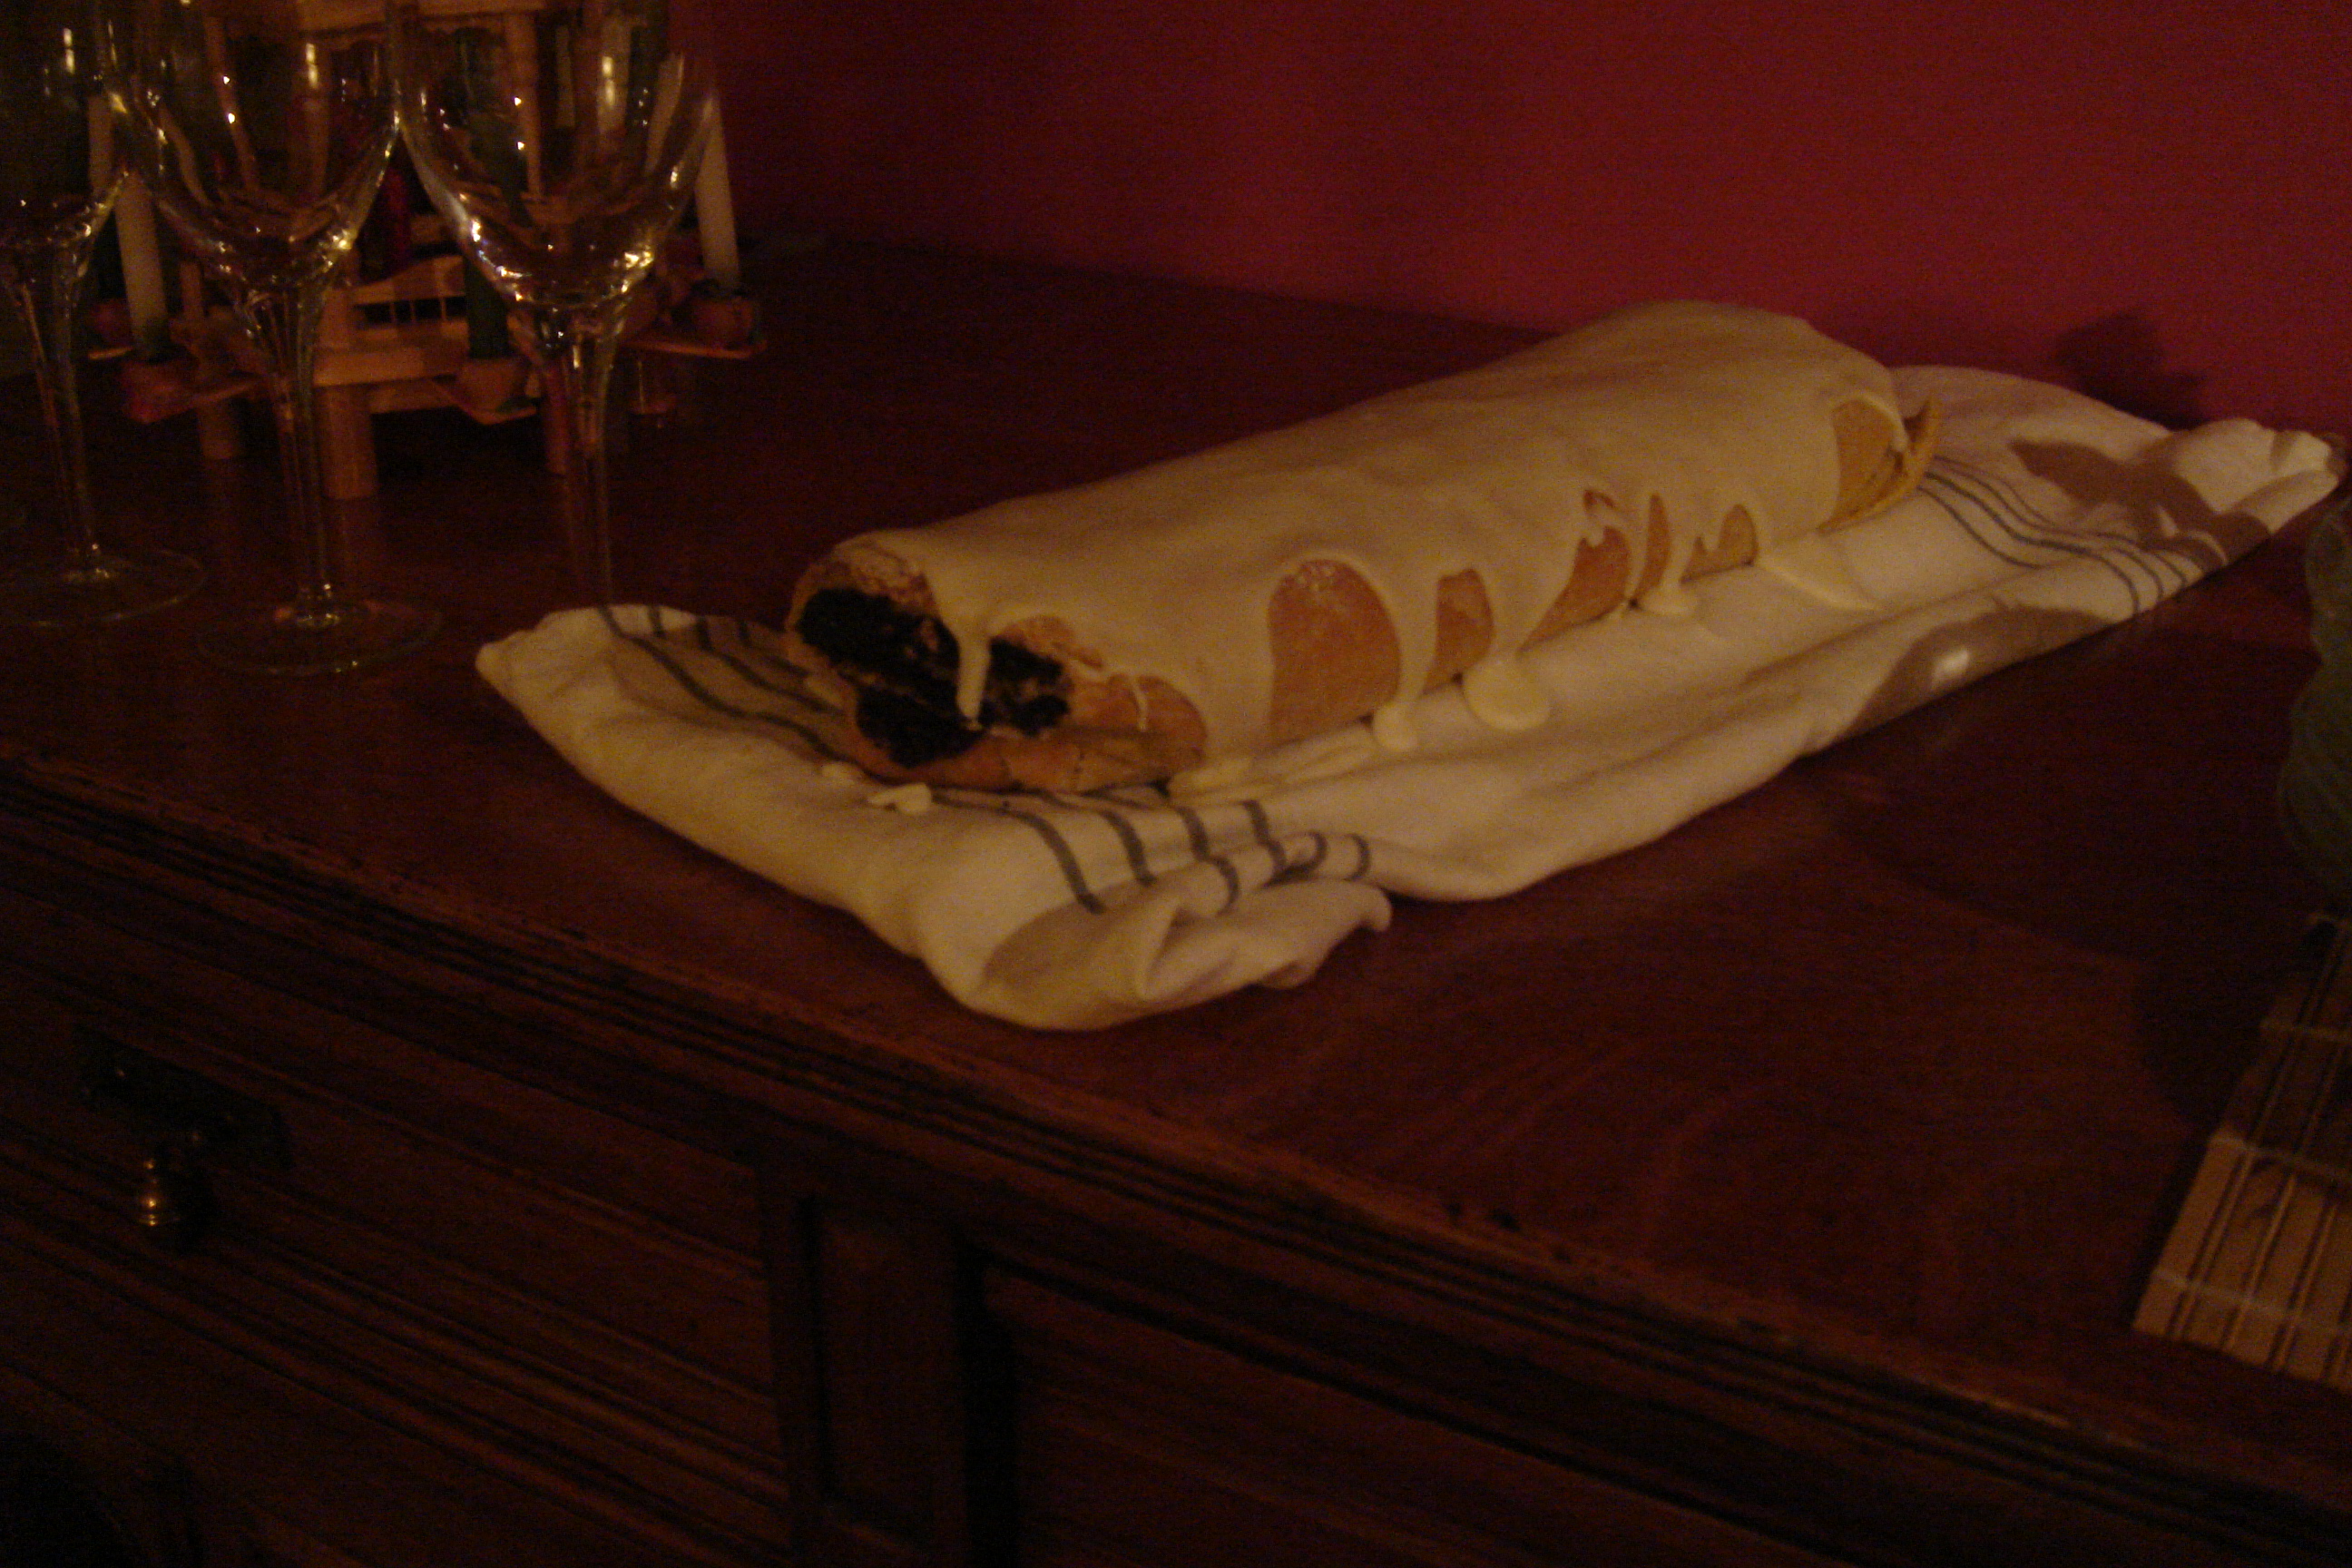
Before serving dust the roll with icing sugar – or you can glaze it with a thin lemon icing.
I cut the short end of the roll off and do not serve these.
Lemon Icing
Juice of ½ lemon
100g icing sugar – sieved
The amount of icing sugar you need will vary, depending on the size of the lemon and the dampness of the sugar.
Place the lemon juice in a bowl and slowly add the sugar mixing it with a wooden spoon is best, use more or less sugar to make a soft runny icing which will coat the back of the spoon.
Easier Recipes
So that is the end of my first recipe, which does take quite a while to make but I felt I had to include this traditional version especially now I have mastered it.
There are many other poppy seed cakes and I will be continuing next with a few of these. They quicker and easier to make but are still very delicious and also a few recipes for poppy seed cakes which have evolved from these.