There are two similarly named pastries in Polish cookery:
Ciasto francuskie – translates as French pastry – this is puff pastry.
Ciasto pȯłfrancuskie – translates as half or semi French pastry.
I have seen ciasto pȯłfrancuskie described as rough puff pastry – but it is not – rough puff is a slightly easier and quicker version of puff pastry.
I have seen many different recipes for this semi-French pastry and they fall into three broad categories:
ciasto pȯłfrancuskie – śmietanowe – dough made with some soured cream.
ciasto pȯłfrancuskie – serowe – dough made with twaróg – curd cheese.
ciasto pȯłfrancuskie – drożdźowe – dough made with yeast.
Ciasto pȯłfrancuskie 3 – with yeast
This is very much like the pastry used to make real French croissants, which are more yeast based than the crumbly puff pastry type you get here in England.
Note – This recipe takes most of the day with frequent bits of activity and longer times of rest.
There are two parts to this pastry:
The first is to make a yeast pastry and I have used the rogaliki (little horns) recipe which I posted recently for this.
The second is to use lots of butter and to layer up the pastry as you would do for puff pastry.
I have seen lots of different methods for adding the butter and doing the layering as well as how cold the butter should be and how long to rest between layering, whether to chill and how often. – I have described one of the shorter ways of doing this.
Ingredients – Yeast Dough
Leaven – Starter
150g plain flour
200ml warm milk
4 tablespoons of granulated sugar
1 pkt of dried yeast (= 1 tablespoon)
Rest of Ingredients
300g plain flour
100g butter
2 yolks
*
a little more milk might be needed
Egg white to glaze
Icing sugar to dust
*
For layering
Around 180g of butter
Method
Mix the yeast and sugar into the hand hot milk.
Put 150g of flour into a bowl and mix in the milk mixture until it is like double cream.
Cover the bowl and leave it to rise.
*
Rub the butter into the 300g of flour until it is like breadcrumbs.
Add the egg yolks and the yeast starter.
Mix till you get a soft dough – you might need to add a tablespoon or so of milk – depends on the flour.
Knead the dough till you have a nice smooth ball.
Leave in a bowl, covered, to rise and double in size.
*
Place the butter into a dish and leave at room temperature to soften.
Knead the risen dough lightly for a few minutes.
**
Roll out the dough out thinly into a large rectangle.
Spread a around a sixth of the butter over 2/3rds of the surface.
Fold the dough without the butter over a third of the dough.
Fold the rest of the dough over this – making a rectangle.
Turn the dough by 90°.
Repeat the rolling, butter spreading and folding
Leave to rest for around 10 minutes.
***
Repeat from ** to *** twice.
*
Cover the dough in greaseproof paper and place in the fridge for about 30 minutes or longer if you do not want to use just straight away.
When you want to use the dough take it out of the fridge for 20 minutes
*
Pre-heat the oven to GM 4 – 180°C
Grease two baking sheets.
Roll the dough out into a rectangle to use.
I made rogaliki but you can do other shapes & use fillings.
*
Cut into eight triangles.
Roll each one up from the large end.
Place them on a baking sheet – as far apart as possible.
Brush the tops with egg white.
Cover loosely and leave for about 15 minutes.
Bake for around 15 minutes.
Leave to cool slightly
You can dust with icing sugar.
Phew! this was a marathon but I wanted to try this to see how it is done.
Paszteciki are little savoury pastries often served as a soup accompaniment. They are made with with a pre-cooked filling which sometimes contains meat but vegetable versions are very popular and mushroom or sauerkraut & mushroom ones are very often made for Wigilia – Christmas Eve.
They are shaped like little sausage rolls or diagonal slices cut from a large roll.
I think they are best served warm.
You can make these using many sorts of pastry doughs – the following yeast dough is one that is often used.
Yeast Dough
Ingredients
250g plain flour or a mixture of spelt & plain flour
1 tablespoon of dried yeast
1 teaspoon of granulated sugar
125-150ml of milk
1 egg & 1 yolk
40g butter – melted
1/2 teaspoon of salt
1 egg white used for glaze
Method
Put 50g of the flour into a bowl.
Add the yeast and sugar.
Add enough of the milk to make the mixture like double cream.
Leave in a warm place to bubble and froth up.
Place the rest of the flour into a bowl.
Add the salt and mix.
Lightly beat the whole egg and the yolk together.
Add the egg mixture to the flour.
Add the yeast mixture to the flour.
Start to mix together using a wooden spoon.
Slowly add as much milk as needed.
Bring the dough together using your hands until it leaves the side of the bowl.
Knead the dough lightly until it is smooth.
Flatten the dough into a rectangle.
Slowly pour on the butter and fold over the dough.
Keep kneading the buttery dough until it is all incorporated.
Knead a little longer until you have a nice glossy ball.
Put the dough back into a bowl.
Cover with a cloth or cling film and leave to rise in a warm place.
***********************
Pre-heat the oven to GM7 220 °C.
Grease several baking trays.
Take the pastry and shape into a rough rectangle.
Roll out thinly into a large rectangle.
Cut the rectangle into two lengthwise so you have two long thin rectangles.
Place the cold filling in the centre lengthwise.
Fold the two long sides over the filling so the pastry just meets and is not too thick.
Turn the roll over so the seam is underneath.
Cut the roll into diagonal slices about 5cm thick.
Place the pieces on the baking trays.
Glaze the pieces with beaten egg white.
Leave for around 30 minutes.
Bake for 14-15 minutes.
Allow to cool a little and then remove from the tray and place on a cooling rack.
Served on Royal Worcester – Evesham – tea plates – a design from 1961
Fillings
A variety of fillings can be used such as ones that you would use for pierogi – Polish filled pasta, for example mushroom or sauerkraut & mushroom or you can use pre-cooked vegetables, meats and also include hard boiled eggs.
All fillings should be cold when used.
Below are two fillings that I made for my paszteciki.
Fresh Cabbage & Mushroom Filling
Ingredients
Small head of white cabbage or sweetheart cabbage.
150-200g of mushrooms (I used the chestnut ones)
1 large onion
100g of butter
2 or more hard boiled eggs
Salt & pepper to taste
Method
Shred and then chop the cabbage into small pieces.
Chop the onion into small pieces.
Chop the mushrooms into small pieces.
Melt the half the butter in a large deep frying pan.
Slowly cook the onions and the cabbage but do not brown.
Cover with a lid and let them simmer till they are both soft.
Stir occasionally – you might need to add a little hot water.
In another pan melt the rest of the butter and fry the mushrooms.
Add the mushrooms to the cabbage and onion mixture and mix well.
Heat gently together to remove all the excess liquid.
Leave to go cold.
Rough chop the hard boiled eggs and add them to the mixture.
Season to taste.
Note – this might be more filling than you need – you can always freeze what is left.
Mushroom Filling
This is a new filling for me using just fresh mushrooms.
Ingredients
250 -300g mushrooms(I used chestnut)
1 onion
Around 50g of butter
3-4 tablespoons of soured cream
Salt & pepper to taste.
Method
Slice and chop the mushrooms into small pieces.
Chop the onion into small pieces.
Fry the onion in butter till they are soft – do not brown.
Add the mushrooms and fry together.
Keep stirring and cook gently till the mushrooms are soft.
Add the soured cream and stir together.
Heat for a little while to remove excess liquid.
Leave to go cold.
Season to taste.
Note – this might be more filling than you need – you can always freeze what is left.
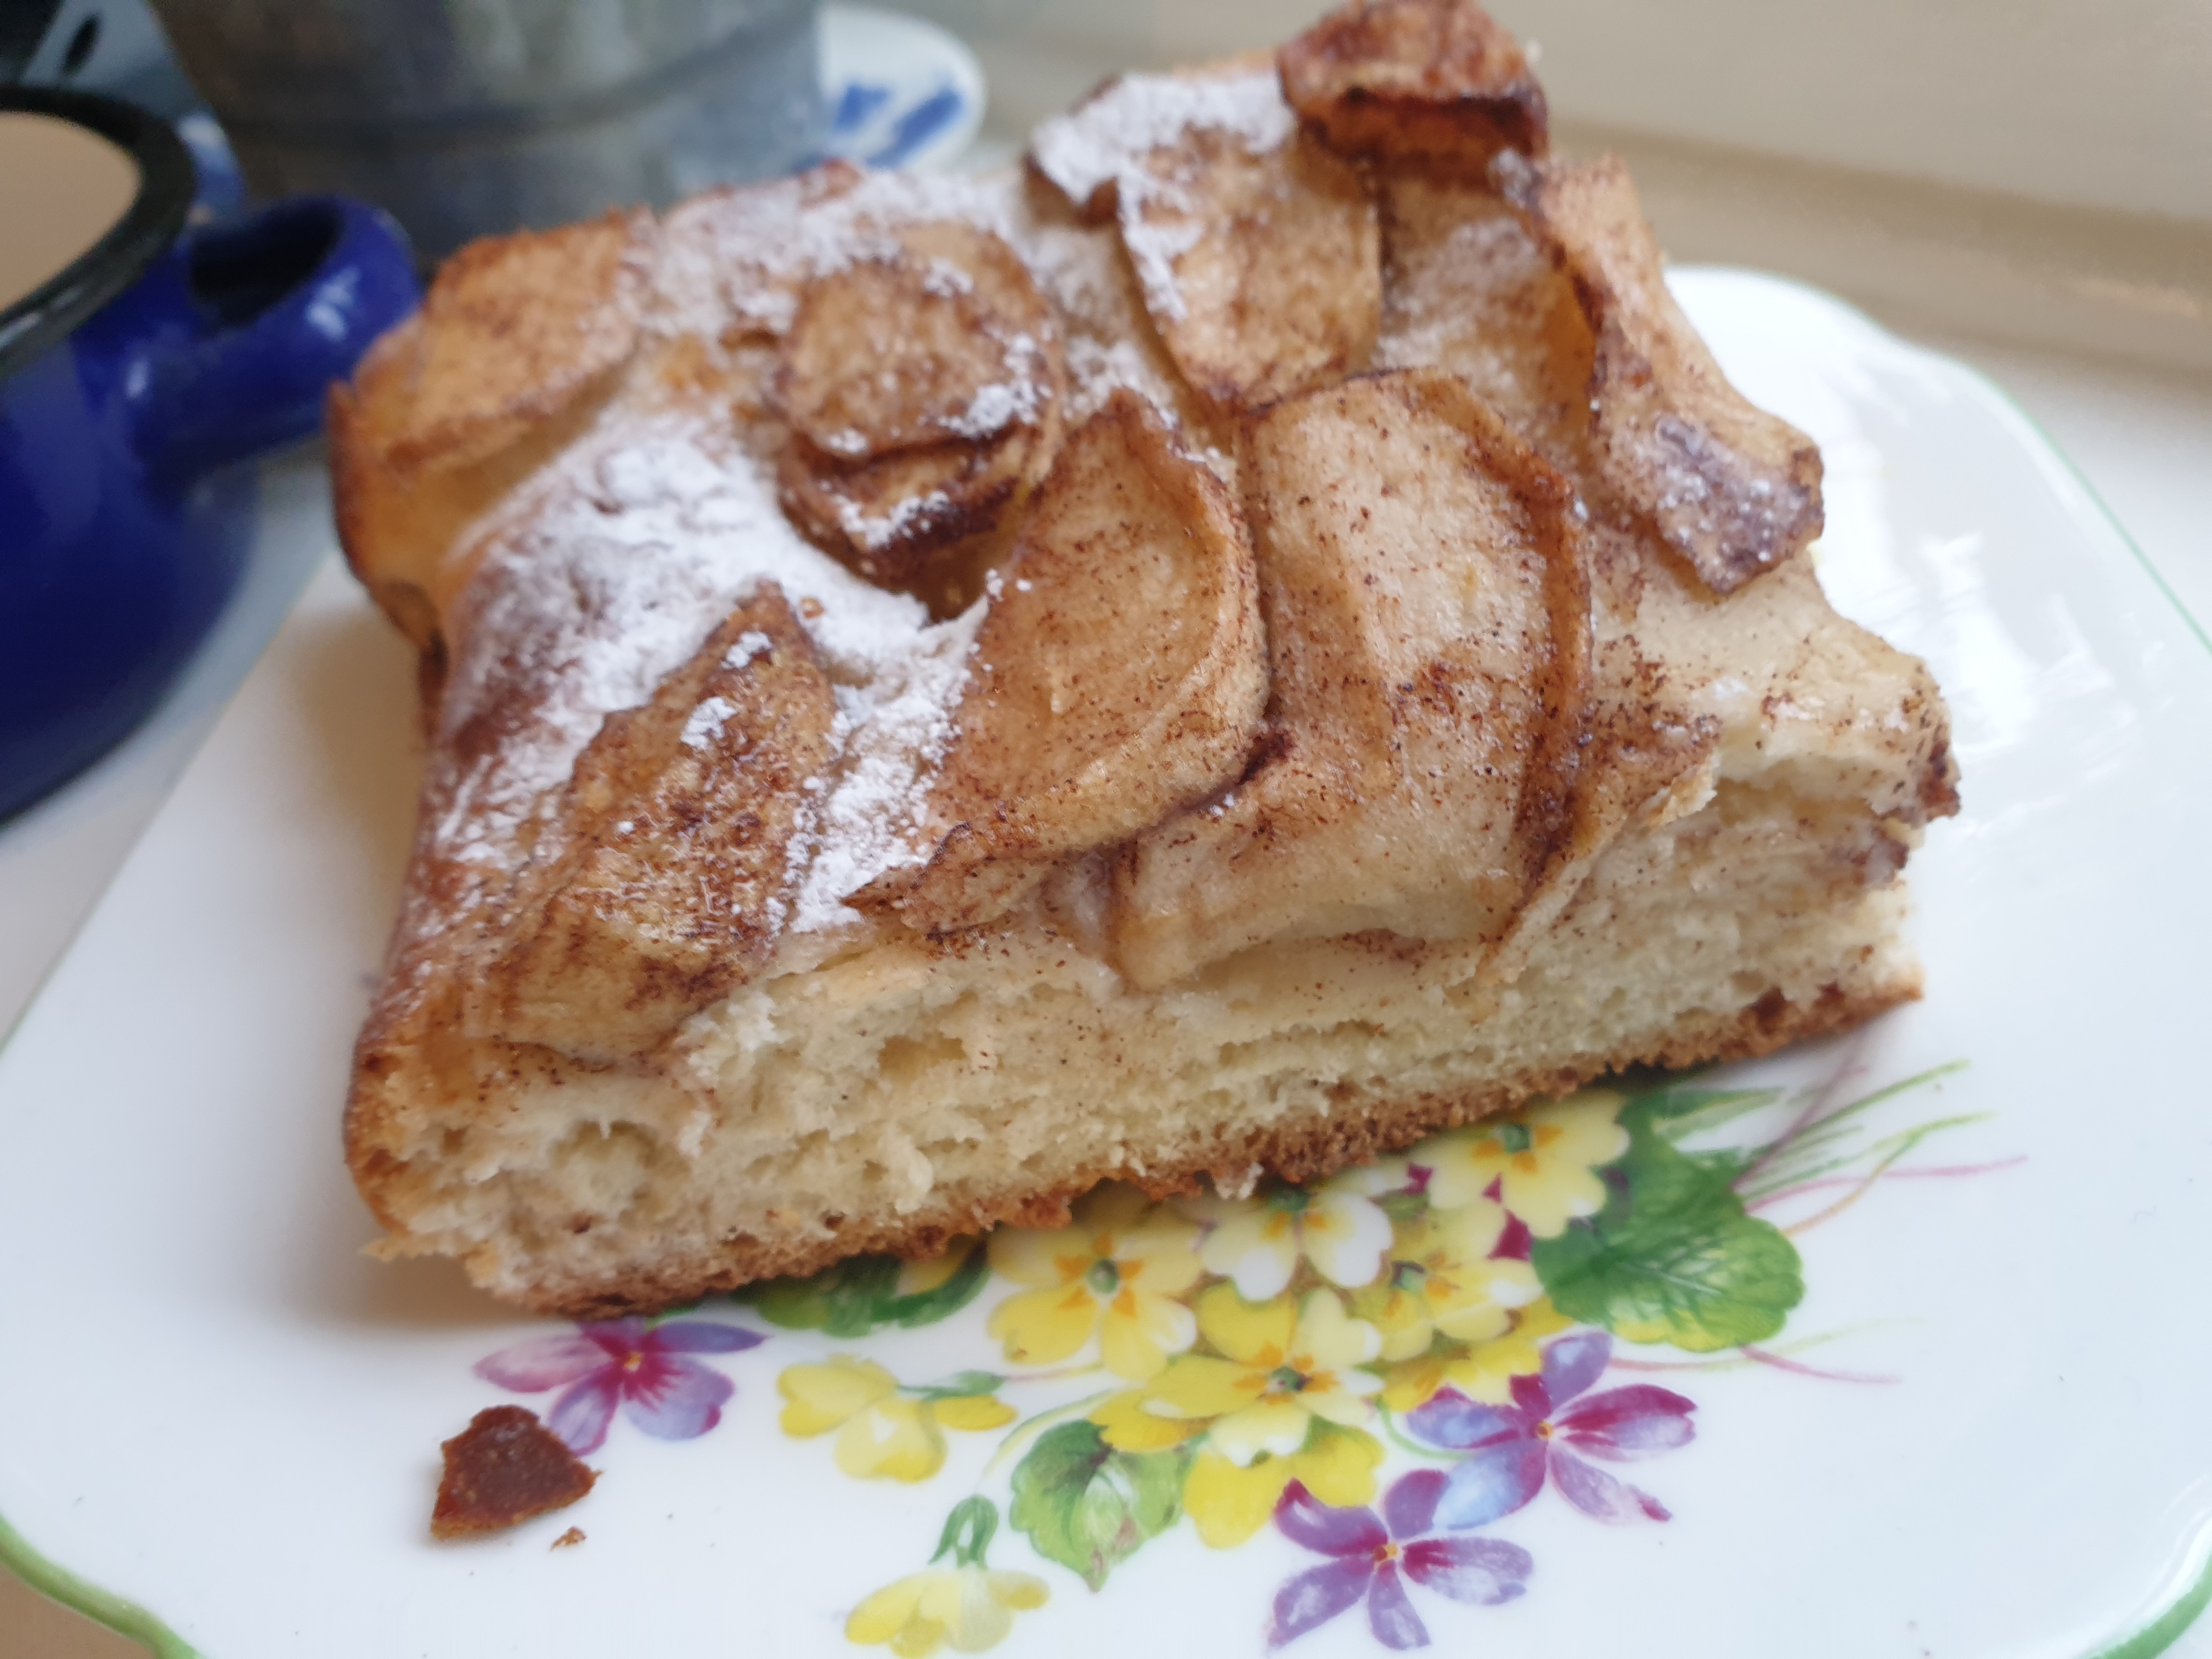
Most people know that a mazurek (mazurka in English) is a Polish folk dance. It is also the word for someone or something from Mazur (the region known as Mazowsze in Polish) in North Central Poland.
A tasty meaning of mazurek, is a flat Polish cake made with different bases and toppings. The varieties are seemingly endless and vary from region to region and family to family. They can be made with yeast doughs, crumbly shortbread-like doughs (ciasto kruche) or flaky, puff-pastry-like doughs.
The mazurek is usually baked in a rectangular or square shape.
The topping varieties include: almond paste, dried fruits, fresh fruits, nuts, meringues, kajmak, jam or poppy seed paste.
There is often an icing of some sort poured over the topping.
A mazurek is rarely over 2.5 cm (1 inch) in height.
It is thought that the mazurek, was inspired by sweet Turkish desserts that came to Poland via the spice trade routes from Turkey in the early 17th century .
Mazurek is traditionally served at Easter when it is considered an Easter treat after 40 days of fasting for Lent and this is maybe why this cake is so sweet.
Another reason is that Holy Week, the period from Palm Sunday to Easter Sunday, is a busy one in a Polish household as the interior and exterior of the house is cleaned from top to bottom so any baking that could be prepared well in advance of Easter Sunday without getting stale was good and the mazurek, often made with an over-abundance of dried fruits to keep it moist is well suited to this.
When the top of an Easter mazurek is iced , it typically is emblazoned with the words “Alleluja” or “Wesołego Alleluja“ (Happy Alleluja or Happy Easter).
I used a Mermaid shallow tin, 31cm x 21cm, which I greased and lined – to make it easier to get the mazurek out of the tin.
Using around 1/2 to 2/3rds of the pastry dough, roll out a rectangle for the bottom of the tin – if it is too crumbly you might have to piece and press this in.
Using the rest of the dough make stripes about a finger thickness and place these around the edge of the tin.
Use a sharp knife to make a cut pattern in these strips.
Bake for 25 -30 minutes until the pastry is golden.
Leave to cool completely.
Fill the mazurek hollow with jam.
You will need around a whole jar of jar and you can heat the jam slightly to make it easier to spread.
Make some icing with beaten egg white, lemon juice and icing sugar and drizzle this over the jam.
Mazurek with blackcurrant jam
Served here on a bamboo board and Las Palmas tea plates by Aynsley from the 1960s
Mazurek with raspberry jam
Served here on a bamboo board and tea plates with a violet design by Colclough from the 1930s.
Kołaczyki means little wheels from the word koła which means wheels.
In a previous post – Bułeczki – Sweet Yeast Buns– I gave a recipe for basic sweet yeastdough – since then I have tried out a slightly different recipe – nearly the same ingredients but a slightly different method – and I think these turned out to be the best yeast buns I have ever made – so this is – Basic sweet yeast dough version two.
A few reminders when using yeast in baking
Learn to be patient – you cannot control the timings exactly with yeast, it depends on the temperature of the room and the flour used and other variables.
Do yeast baking on a day you are planning to be in & have other things to do, but ones you can break off from when needed.
Heat the milk so it is at body temperature – use the finger test – too hot and you will kill the yeast – too cold is okay – it will just take longer.
An egg glaze often burns too quickly – I have found an egg white or egg white & water glaze gives a better result.
Older Polish recipes use fresh yeast. I have used dried yeast and have had very good results. (I have not tried using easy bake yeast for this recipe).
Basic Sweet Yeast Dough Version 2
Ingredients
Leaven – Starter
100g plain flour
30g fresh yeast or 15-20g dried yeast
125ml milk
Rest of ingredients
3 egg yolks
60g sugar
50g melted butter or block margarine
400g plain flour
1/4 tsp salt
Zest of 1 lemon
2-3 drops of vanilla essence
125ml milk
and
Save 1 egg white for use as a wash on the buns.
Method
Warm the milk slightly – so it is just warm to the touch – and add the yeast and mix together.
Put the flour in to a bowl and add the milk and yeast mix it all together and leave it covered until it is double in size.
*
Melt the butter and leave it to cool.
*
Whisk the yolks and sugar until they are pale and fluffy.
Grease 2 baking sheets – You should get around 15 buns. – invite people round!
Into a large bowl put: the flour and the salt, the yeast starter, the yolk mixture, the zest of a lemon, the vanilla essence and the milk.
Mix it all together so that you get a soft dough that comes away from the side of the bowl – you do not have to knead it.
Then work in the melted butter (this is the hardest part) until it is all incorporated and you have a uniform shiny dough.
Cover the dough with a cloth and leave this to rise until it is double in size.
Onto a floured surface place the dough and form it into a rectangle and then roll this out until it is around 2cm thick.
Using a 8cm diameter cutter cut out circles of dough and place them on the greased baking sheets, leaving room for the dough to rise.
Gather together the left over dough and repeat the process.
Cover the trays and leave the circles to rise and double in size.
Pre heat the oven to GM5 – 190ºC
Use a clean napkin or tea towel and cover the base of a tumbler.
Use the covered tumbler and press down on the centre of each circle to form an indentation into which you will put a filling.
I do not know why but the smell of baking yeast cakes just fills me with warm loving feeling, it is so wonderful.
Yeast cakes feature greatly in Polish festivals and there is Babka for Easter, Makowiec (Poppy seed roll) for Christmas Eve and doughnuts before the start of Lent and New Year’s Eve and Epiphany.
Surprisingly my mother did not seem to have a great success with yeast cookery, maybe her kitchen was a bit cool, I do not know. We got our yeast cakes from her friends. I have done lots of experimenting with yeast recipes and have had a lot of success (and some failures from which I also learnt much!). I now know that you can succeed in a cool kitchen; you just have to start a day beforehand.
Watching the yeast rise still seems like magic to me even though I am well aware of the science that makes it happen. It can be unpredictable and depends on the yeast and the temperature.
I prefer to use fresh yeast but cannot always get it, so now I use dried yeast and also get good results. I have used the type of yeast that you add straight to the flour but I like to see that the yeast is active before it goes into the flour so this is not my favourite type – but I have to admit is does work in many recipes.
Many recipes use a batter starter and I like this method as you can see the yeast making the mixture really rise.
The best time to make a yeast cake is on a day when you are in and doing other things as the times for rising and proving can vary, you have to be around and do the next stage when the time is right, you cannot rush it.
One of the drawbacks with yeast pastry is that the cakes go stale very quickly so you need lots of people on hand to help to eat it all.
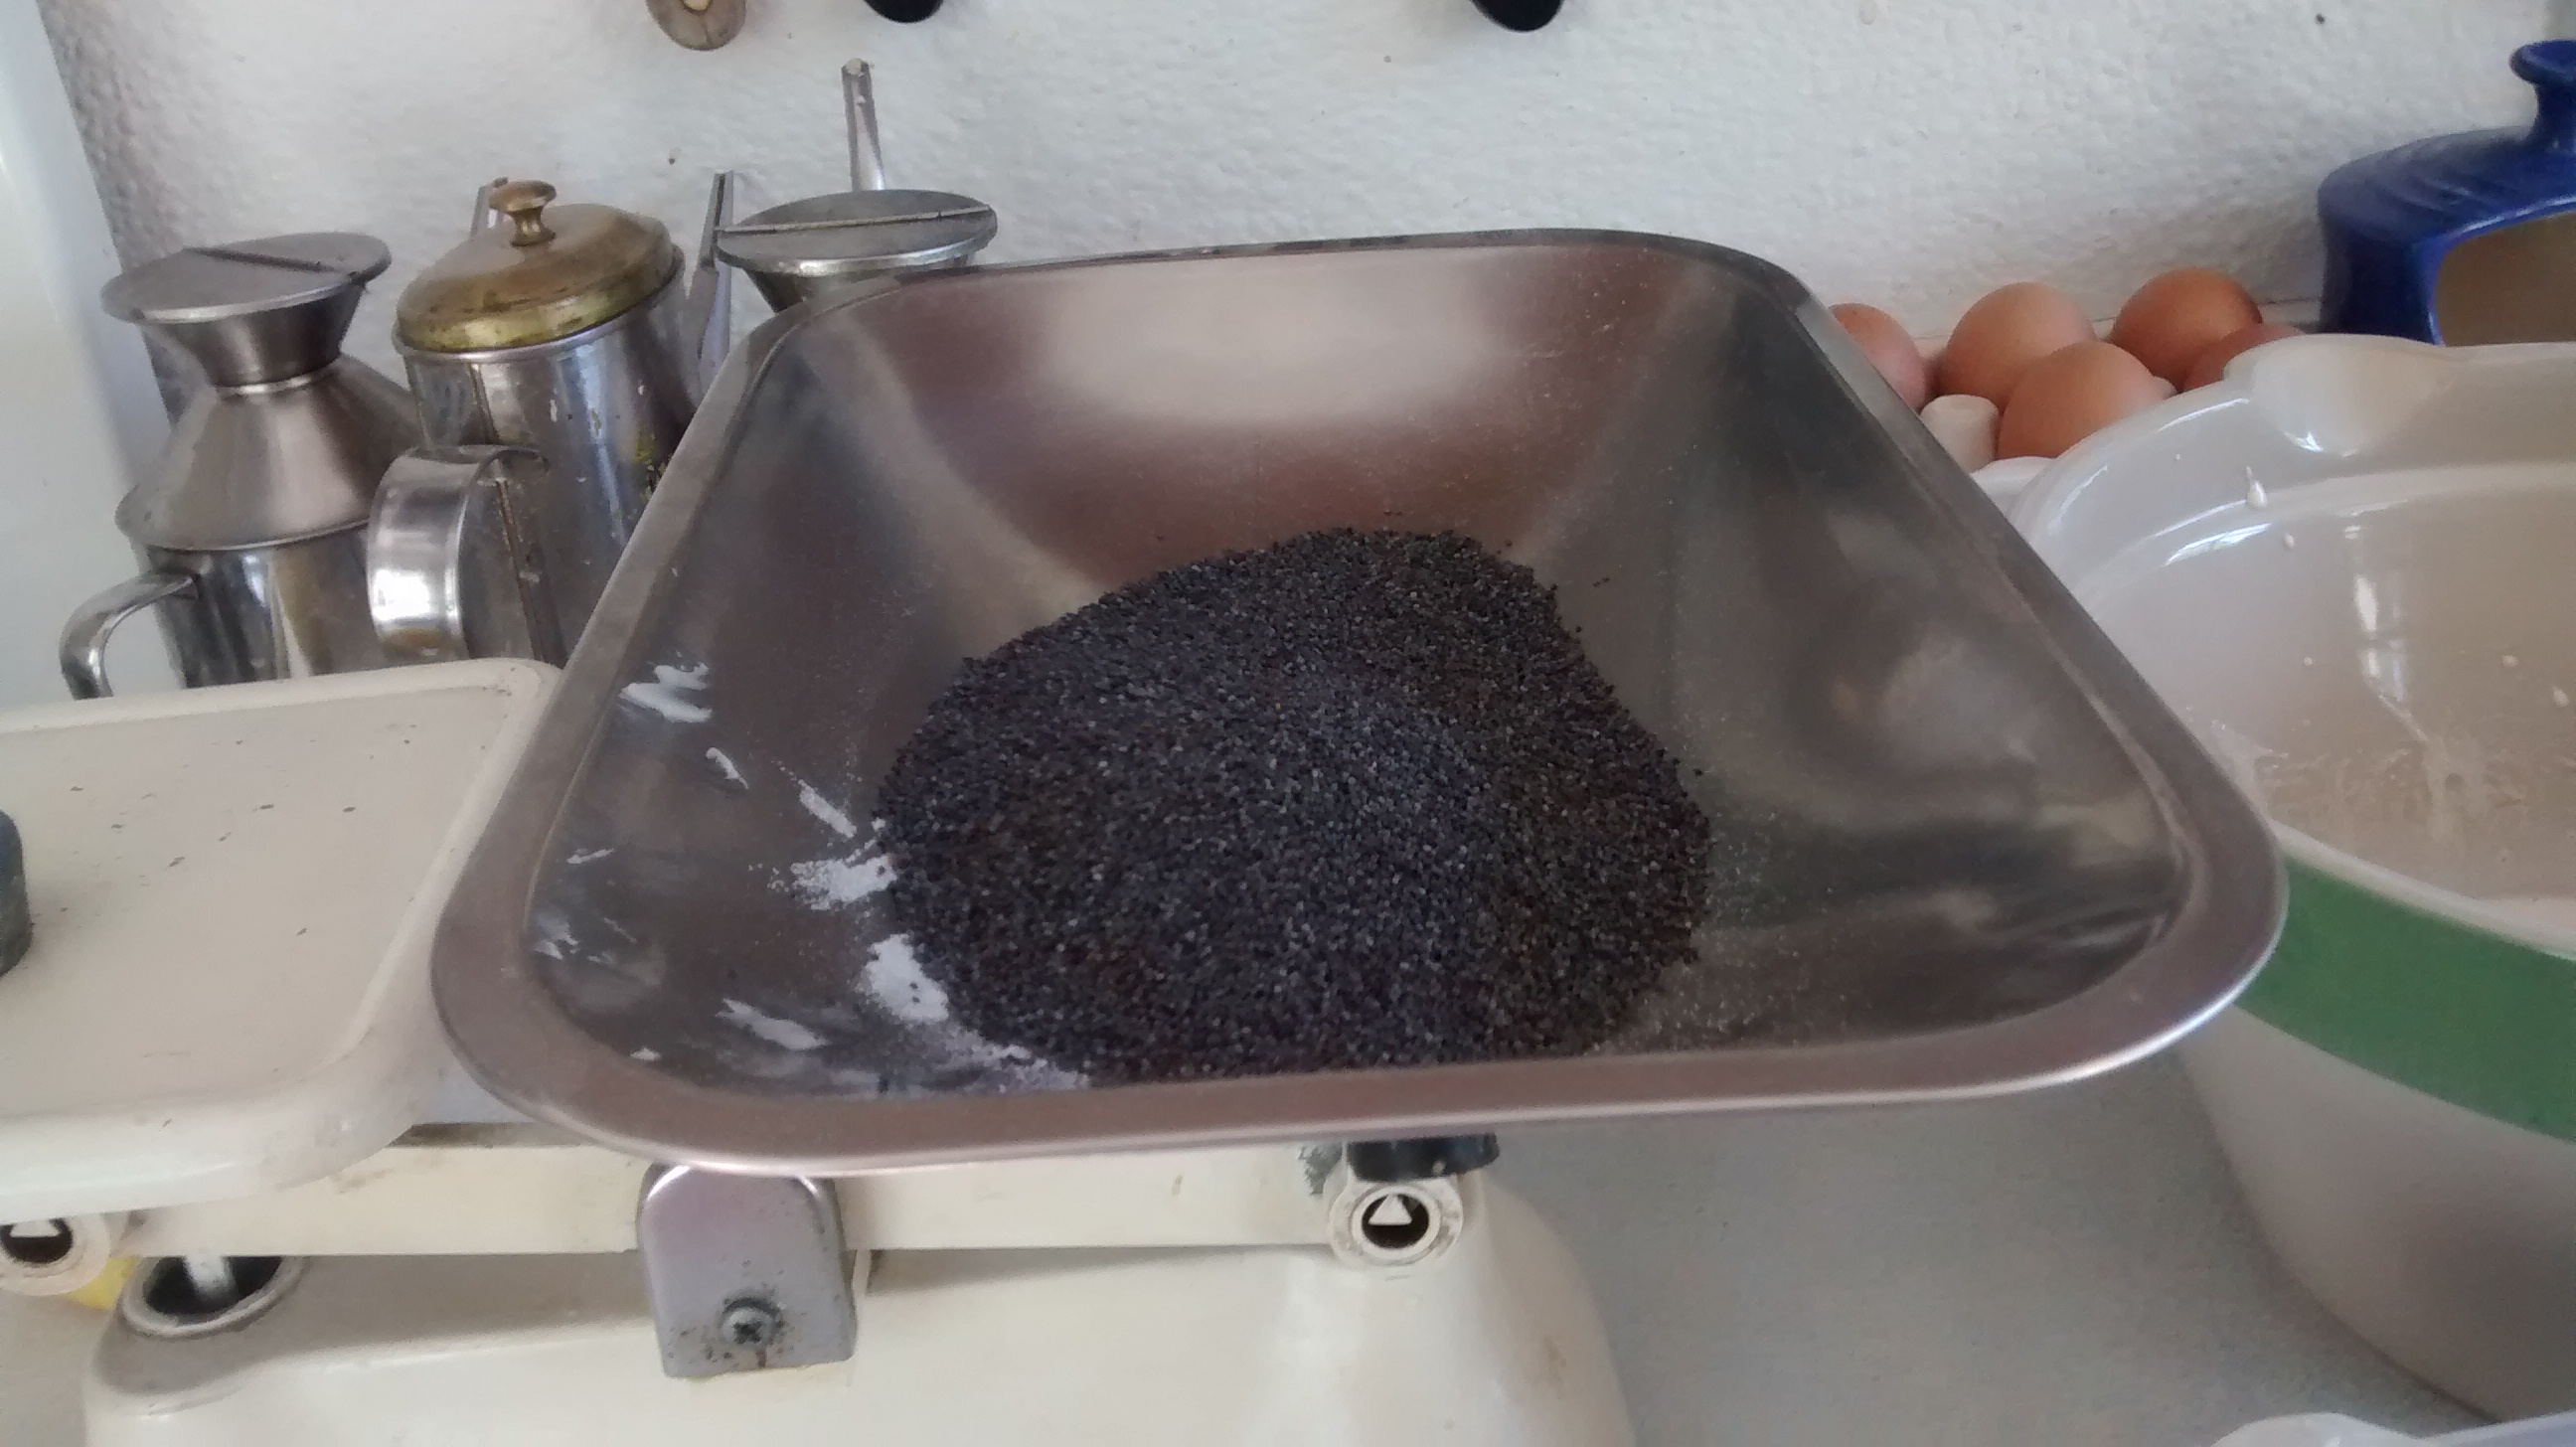
Poppy Seeds
Poppy seeds are the blue-grey seeds of the poppy – Papaver somniferum. They have been used since antiquity and were known in Egyptian, Minoan and Sumerian cultures. They are used in European and Middle Eastern cooking and are especially popular in Jewish and in Polish cooking.
Mak is the Polish word for poppy seed and a cake made with poppy seeds is called makowiec.
This is one of the dishes served on Christmas Eve and I will be writing about the food for that evening later in the year.
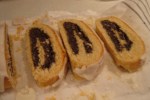
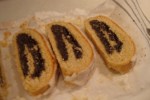
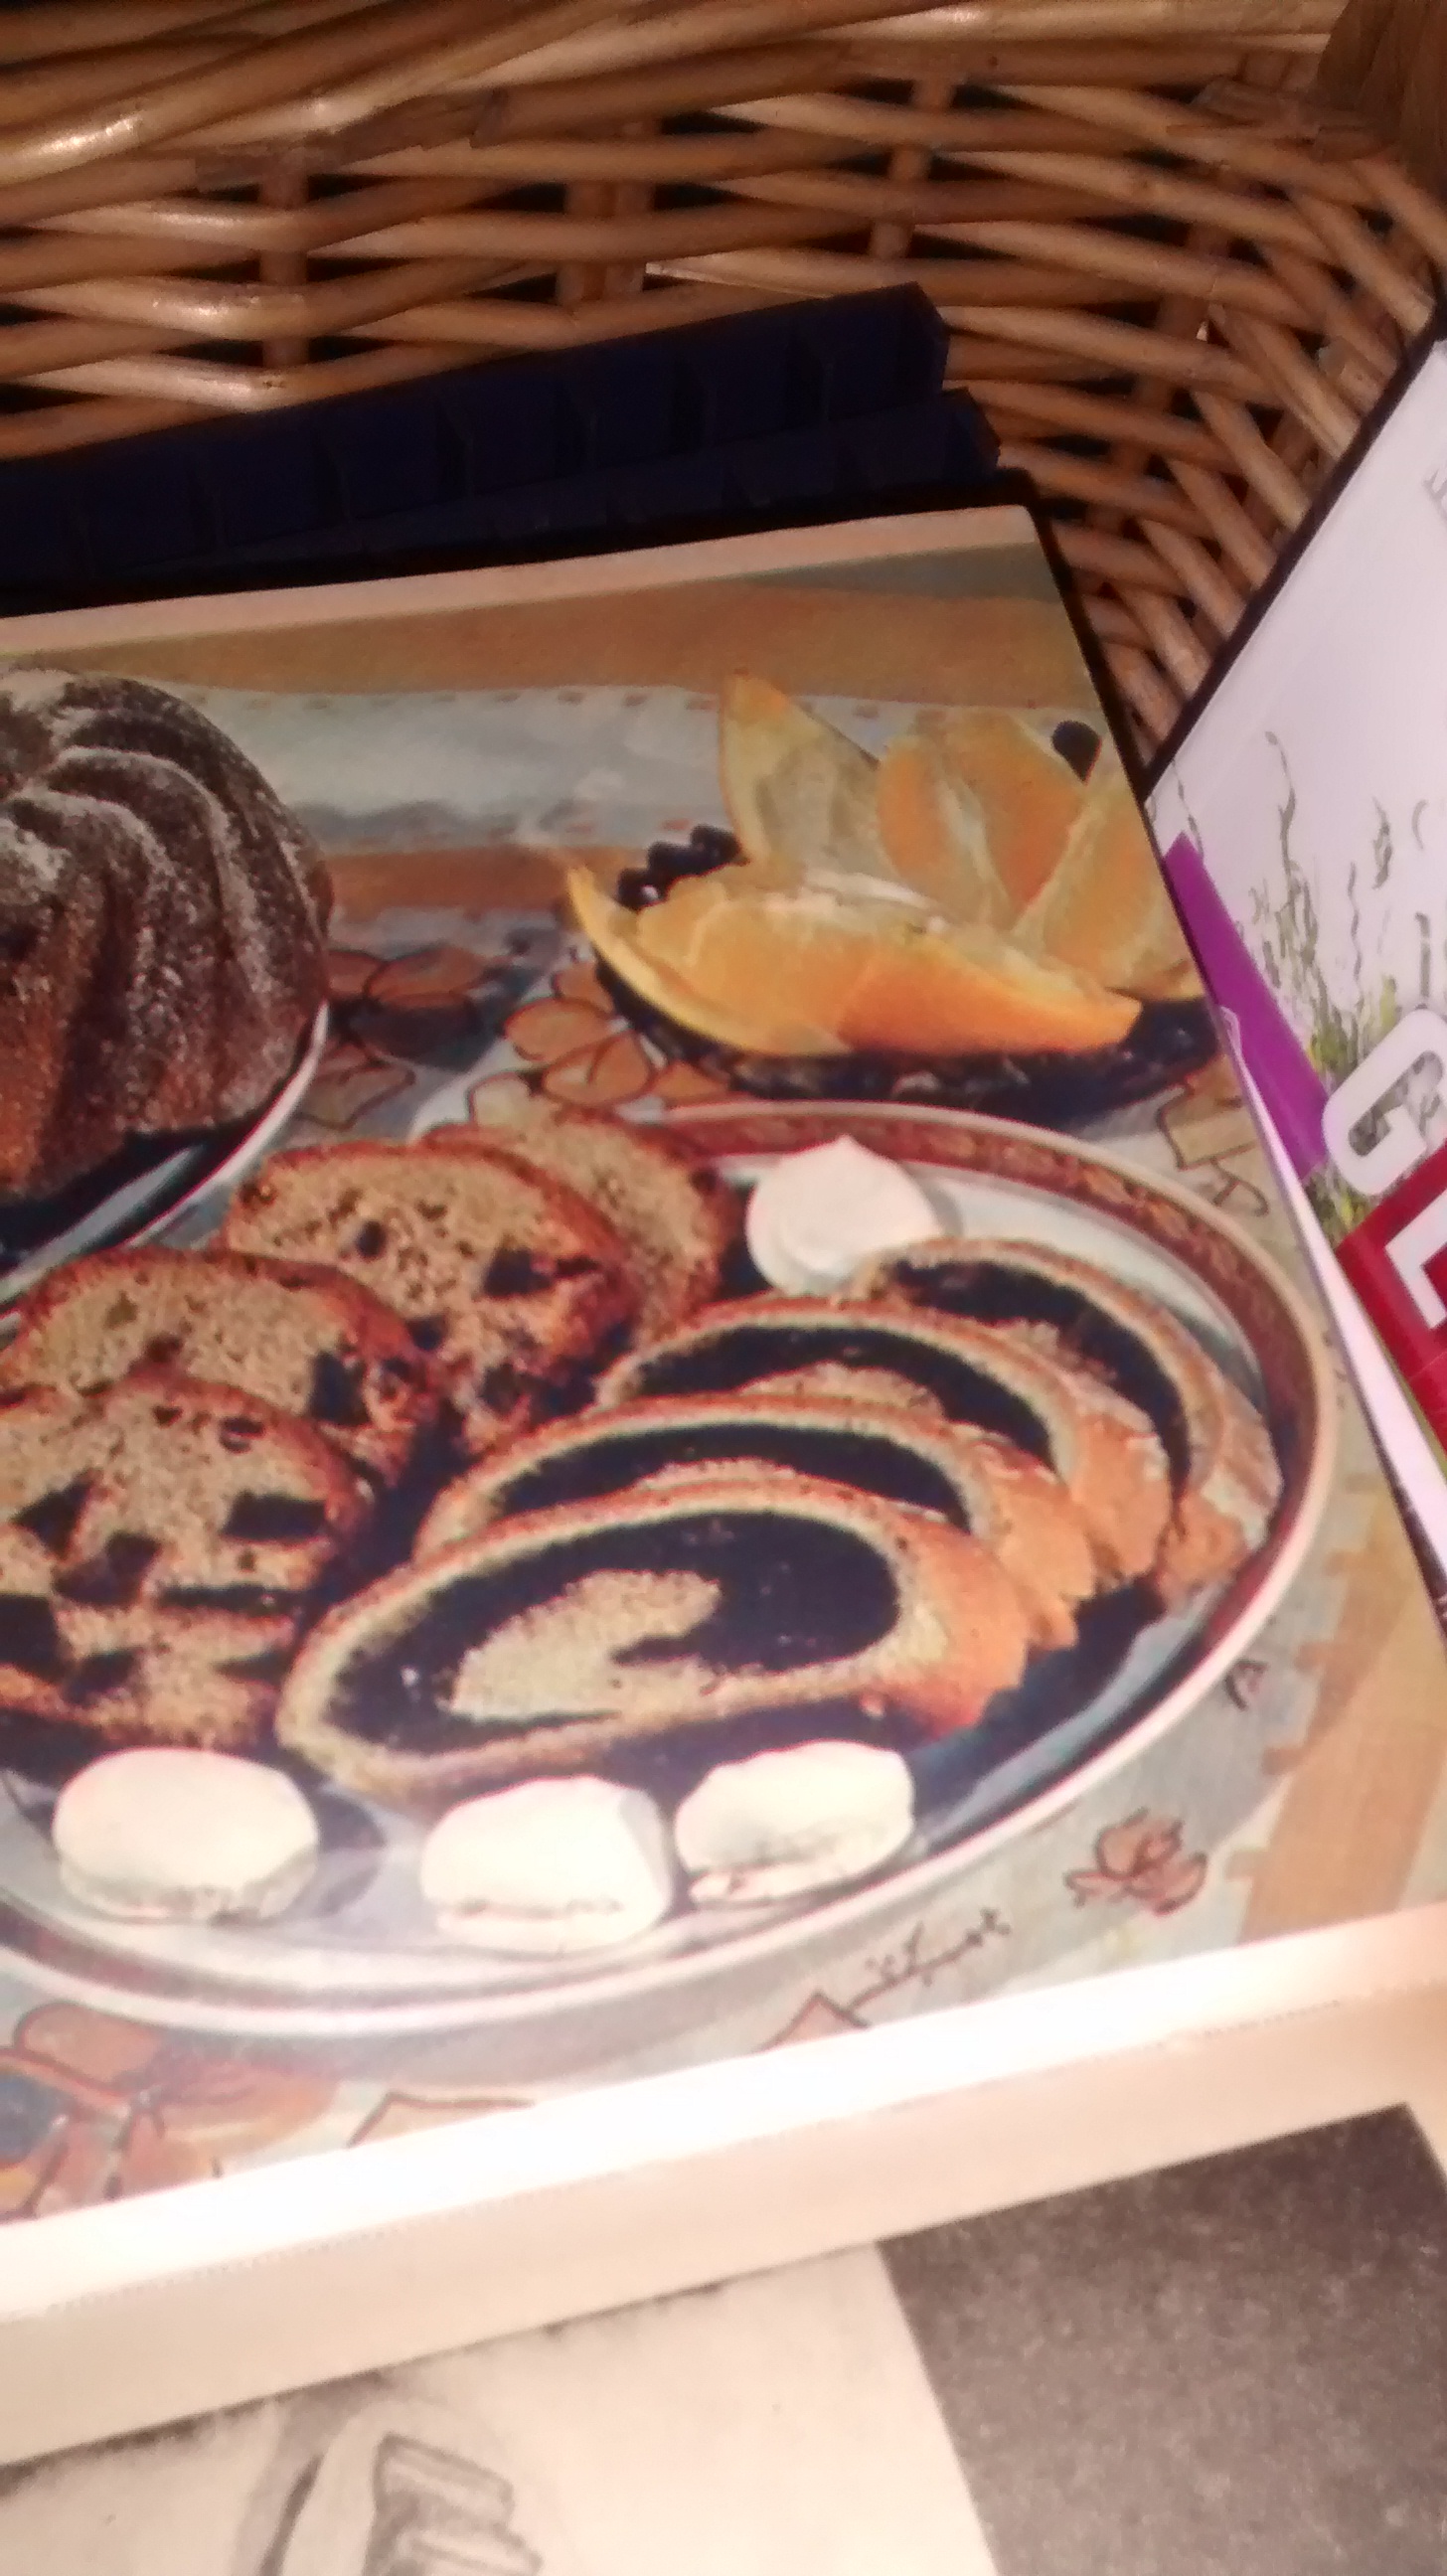
Makowiec – Poppy Seed Roll
Traditional Recipe
This classic yeast cake is served on Christmas Eve. Poppy seeds and honey are used to make a filling which I think is just so delicious. Some fillings also use dried fruits such as raisins but I prefer it without.
I have been searching for many years for the best recipe for this cake and I think I now have it. Many recipes that I have tried, have made a cake which is so large that it has tried to escape out of the baking tray and the oven and I have been experimenting to get an amount which is more suitable for the standard size oven in the United Kingdom.
Also the shape of a nice roll of cake has eluded me till now, mine seemed to rise too much and crack and spread across the baking tray with all the filling escaping!
On a visit to Poland I was given a suggested that you wrap the rising yeast roll in greaseproof paper to keep its shape and this worked. So at last I have the size and shape that works well.
Without a doubt this recipes is time consuming – so in my next posts I will give some easier simpler variations which are also delicious.
There are 3 parts to the making of this cake: the poppy seed filling, the yeast pastry and the icing.
Poppy Seed Filling
I make the poppy seed filling first, or during the time the yeast is rising, as it has to be cool when used. You can make the filling ahead of time – there are several stages where you can leave it to finish later. I often make till until the addition of the butter and add the rum and egg just before I need it. You can also freeze this filling at this stage.
Ingredients
200g poppy seeds
500ml milk (whole or semi-skimmed)
50g ground almonds
120 ml runny honey & 1 tablespoon
25g butter
1 large egg – separated
1 tablespoon of rum
¼ teaspoon of vanilla essence
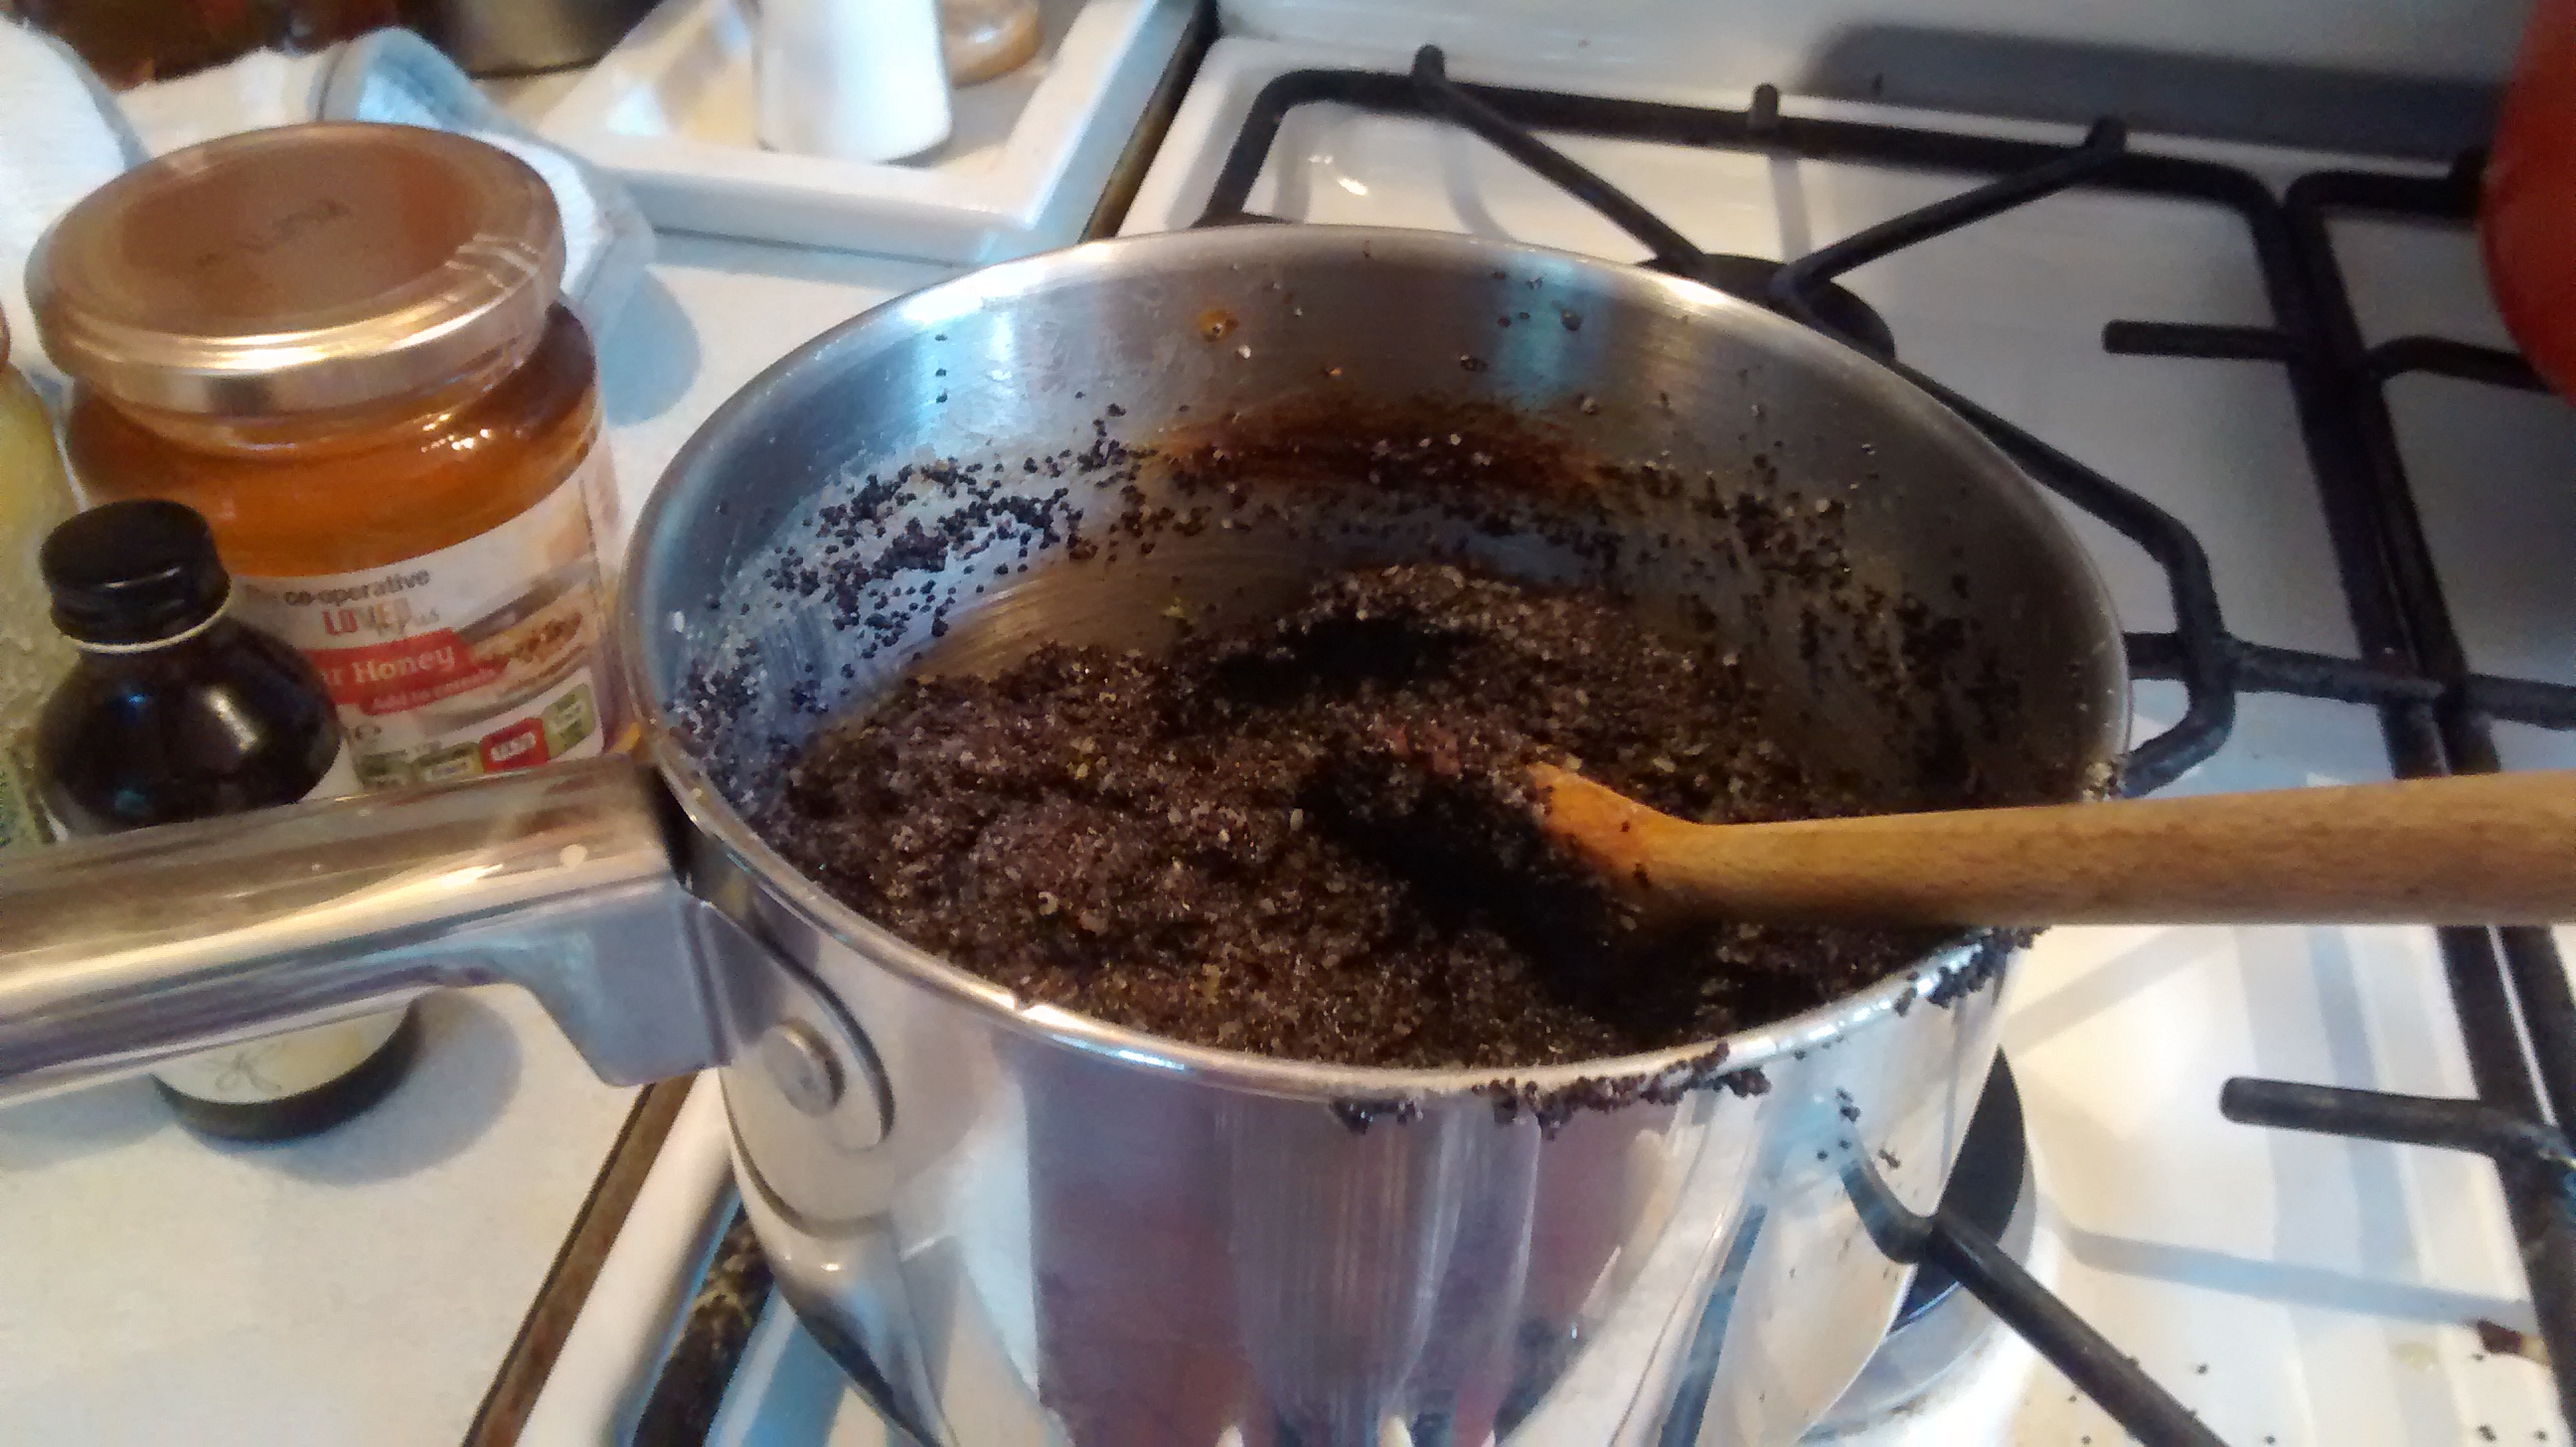
Put the poppy seeds and milk into a saucepan and simmer then together for 30 minutes, stirring occasionally to stop any sticking or burning. The aim is to cook the seeds and adsorb as much of the milk as possible. You need to watch this carefully and keep adjusting the heat to stop the mixture burning.
Using a fine sieve, strain the poppy seeds from the liquid – leave this for a while to remove as much liquid as possible.
The poppy seeds need to be crushed, I use a hand held blender for about 5 minutes which I find is the easiest way but you can use a pestle and mortar or a mincer.
Once crushed, place the poppy seeds back into a saucepan and add the ground almonds, the vanilla essence and the 120ml of honey and mix thoroughly.
Add the butter to the mixture and simmer gently for about 5 minutes and then leave this mixture to cool completely and then add the rum.
Whisk the 15ml (1 tablespoon) of honey with the egg yolk until this is thick and creamy and then add this to the mixture.
Just before you need the filling, whisk the egg white until it is stiff and then fold this egg white into the poppy seed mixture.
Yeast Pastry
This is made in 2 stages
Yeast Starter
5g fresh yeast or a 1/2 teaspoon of dried yeast
40g plain flour
60ml of milk (whole or semi-skimmed)
Mix the ingredients together in a bowl then cover this with a tea towel or cling film and leave the bowl in a warm place for 3 hours.
After this place the bowl in the fridge – you can leave this overnight.
Rest of Dough
10g fresh yeast or 1 teaspoon of dried yeast
40g sugar
60ml milk (whole or semi-skimmed)
1 egg and 2 egg yolks
300g plain flour
pinch of salt
100g butter at room temperature
Warm the milk slightly and put it into a large bowl, add the yeast and sugar and leave in a warm place for 15 minutes or until you can see that the yeast is active and rising.
Add the starter, the egg and egg yolks, the pinch of salt and the flour. Mix and then knead the dough until it forms a soft ball.
Cover the bowl with a tea towel or cling film and leave for 15 minutes.
Add the butter in tablespoonful amounts to the dough, kneading slightly at each addition and then knead the dough for 10 minutes. The dough should be soft and elastic but not sticky, if it is too sticky add some more flour knead till it is the correct texture.
Place the dough into an oiled bowl and cover with a tea towel or cling film and leave to rise.
Putting together the poppy seed roll
Have ready a greased baking tray as the size of rectangle of dough you need is governed by the length of the baking tray.
When the dough is ready, roll it out into a rectangle of around 20cm by 25cm. It will be about 1cm in thickness.
Place the filling onto the dough leaving about 2cm clear at all the edges.
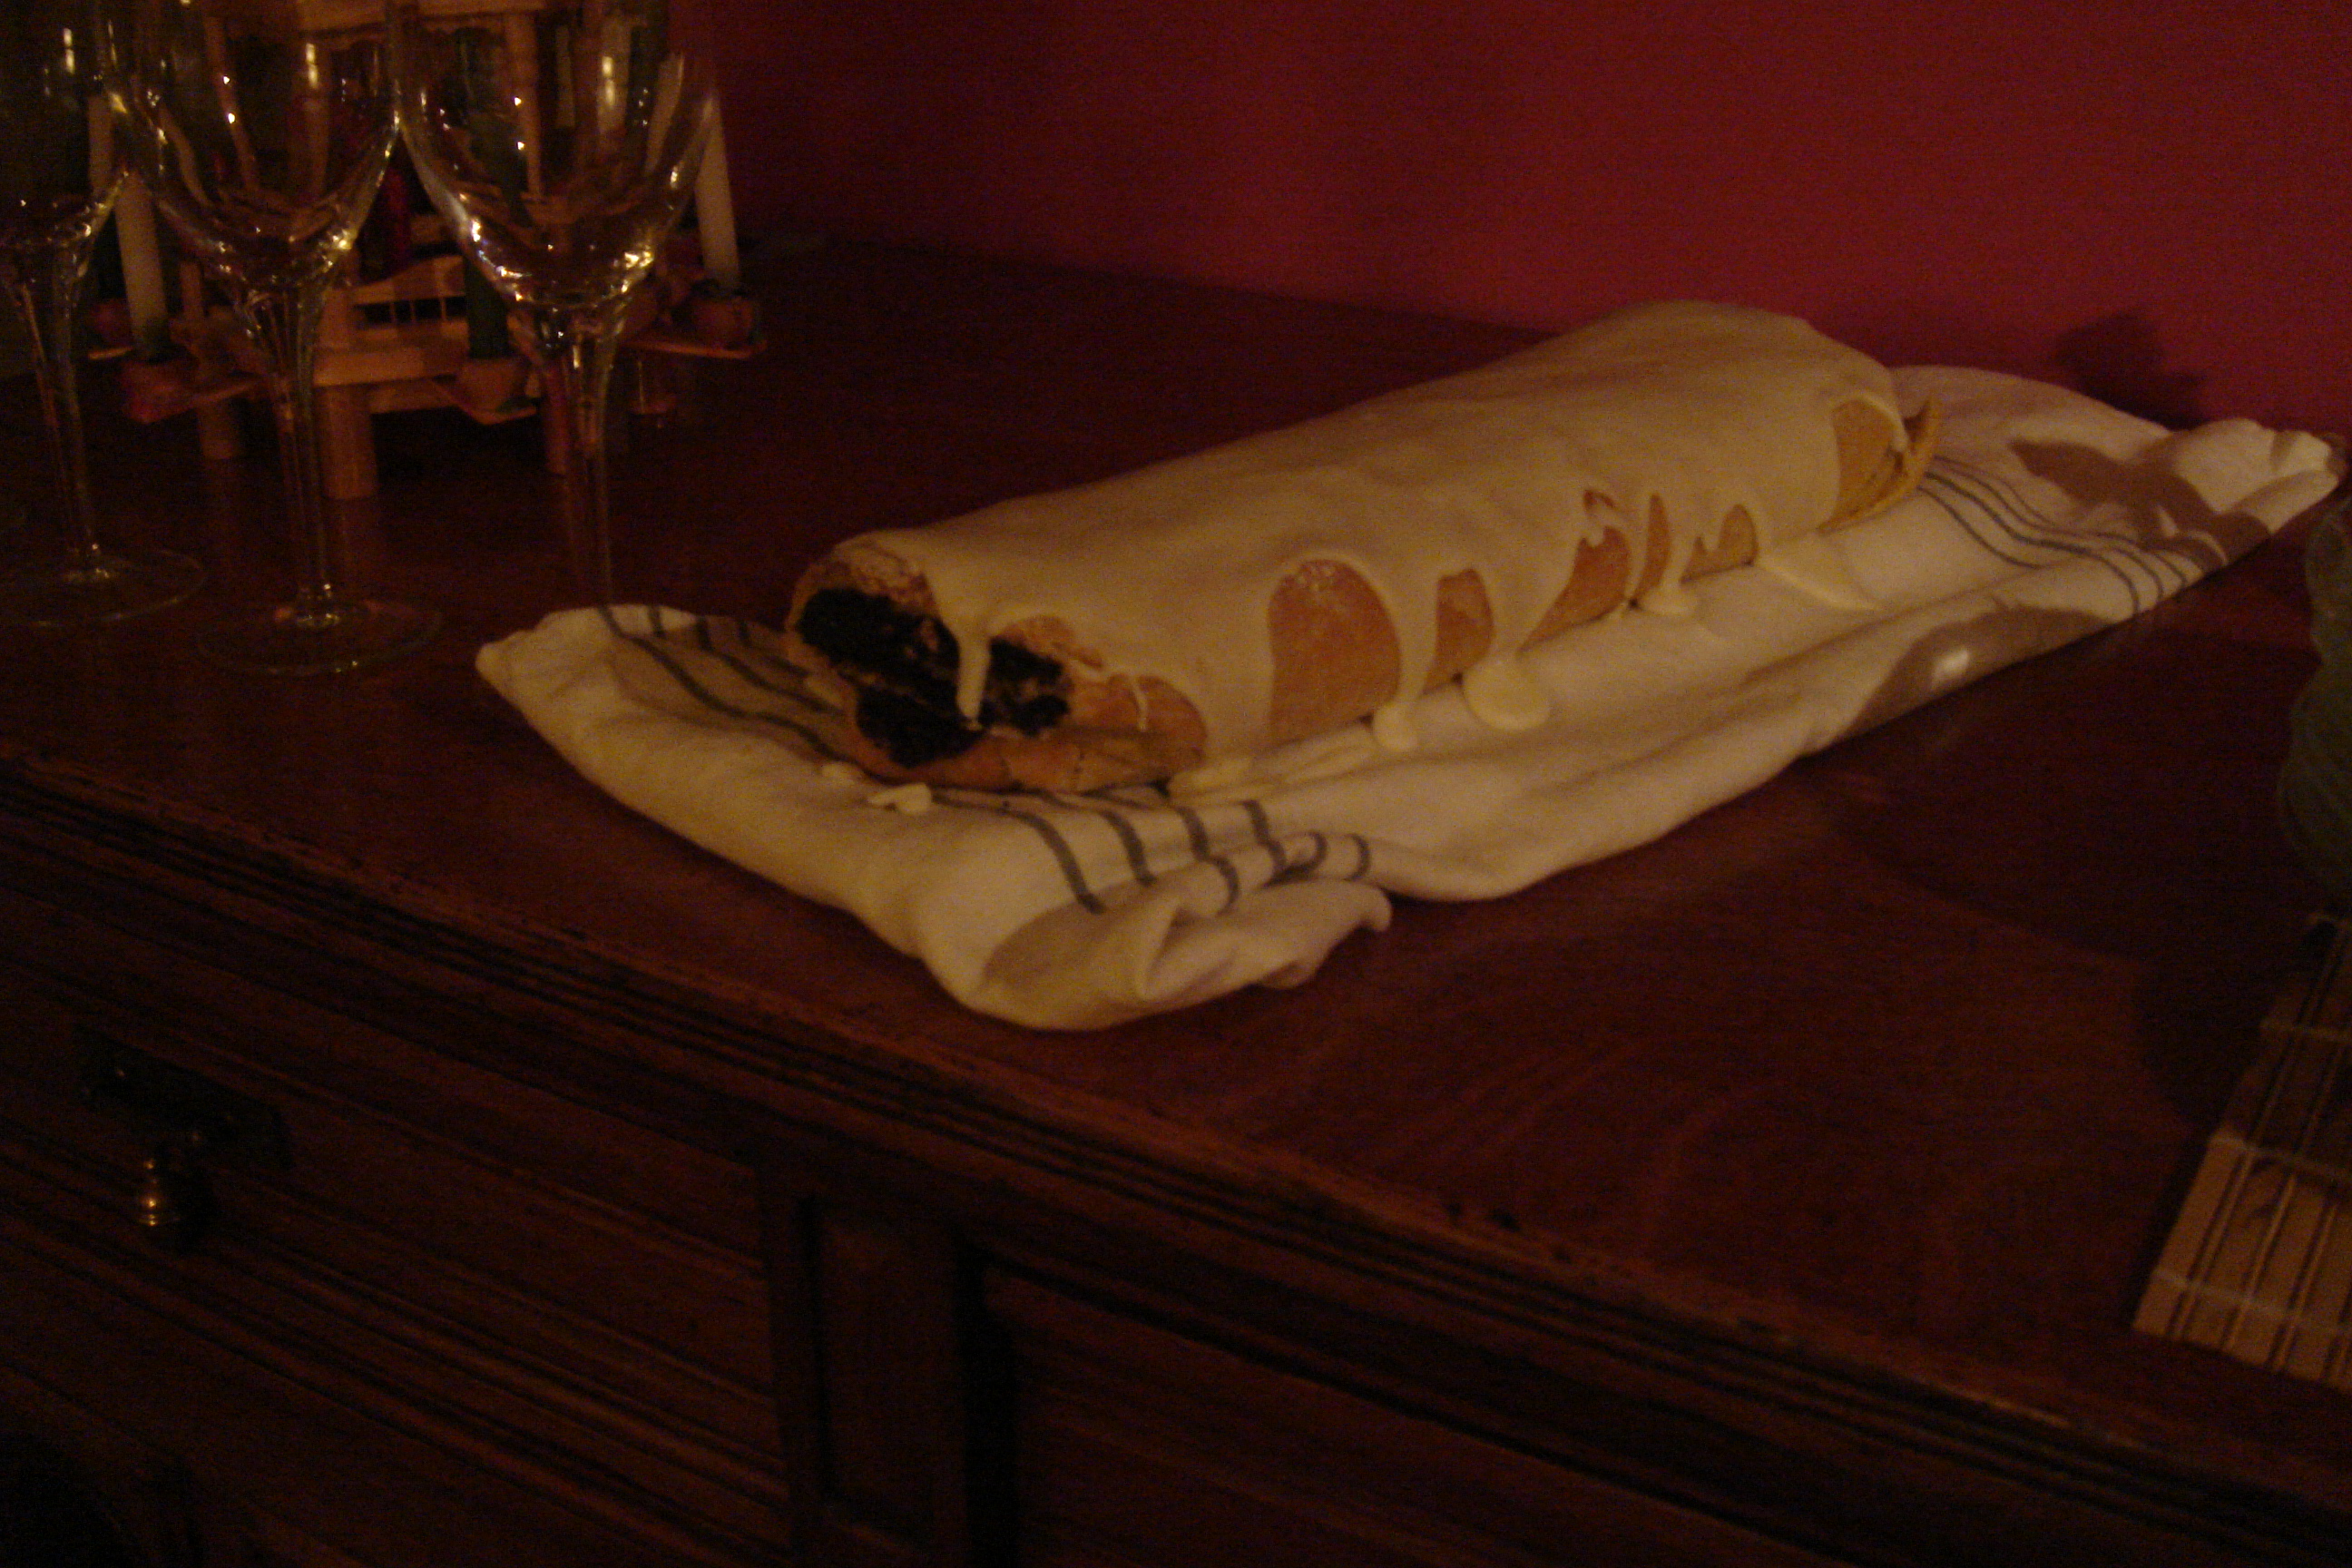
Roll up the poppy seed roll lengthwise and then enclose the roll reasonably tightly lengthwise in greaseproof paper, do not cover the ends of the roll which will rise and expand lengthwise.
Place the roll onto a baking sheet with at least 5cm at each end to allow for the expansion and leave this to rise for about 1 hour.
Pre heat the oven to GM4 – 180oC
Place the risen roll into the oven with the greaseproof paper still on.
Bake for about 40 minutes and then cool on a wire rack, remove the greaseproof paper as soon as the roll has cooled slightly.
Before serving dust the roll with icing sugar – or you can glaze it with a thin lemon icing.
I cut the short end of the roll off and do not serve these.
Lemon Icing
Juice of ½ lemon
100g icing sugar – sieved
The amount of icing sugar you need will vary, depending on the size of the lemon and the dampness of the sugar.
Place the lemon juice in a bowl and slowly add the sugar mixing it with a wooden spoon is best, use more or less sugar to make a soft runny icing which will coat the back of the spoon.
Easier Recipes
So that is the end of my first recipe, which does take quite a while to make but I felt I had to include this traditional version especially now I have mastered it.
There are many other poppy seed cakes and I will be continuing next with a few of these. They quicker and easier to make but are still very delicious and also a few recipes for poppy seed cakes which have evolved from these.