- I remember these being made by Ciocia (aunty) Wanda in Białystok many years ago.
- They are a little like pancakes(American style).
- Ser is the Polish for cheese and in this case it means the white twaróg/strained yoghurt cheese.
- I could not find the recipe which I am sure I jotted down.
- In some ways it is similar to one I got in Holland and wrote up in Racuszck – a kind of pancake.
- But I know hers just used mostly cheese.
- I looked around for a recipe and found this one.
- They came out well.
- I served them with cranberry & apple jam sauce.
- But you could try them serve with icing sugar, honey or fresh fruit.
-
INGREDIENTS
- 250g twaróg or yoghurt cheese(well drained) – room temperature
- Around 2-3 tablespoons of plain flour
- 1 large egg
- 1 tablespoon of vanilla sugar
- *
- Butter to gently fry.
METHOD
- In a bowl mix the twaróg, egg and vanilla sugar well together.
- Slowly add the flour until you have a batter which is of a thick dropping consistency.
- Melt the butter gently in a frying pan.
- Put large tablespoons of the mixture into the pan.
- Leaving enough room so they do on touch each other.
- Turn them over when they are cooked golden on one side.
- Serve with jam sauce or sugar or honey.
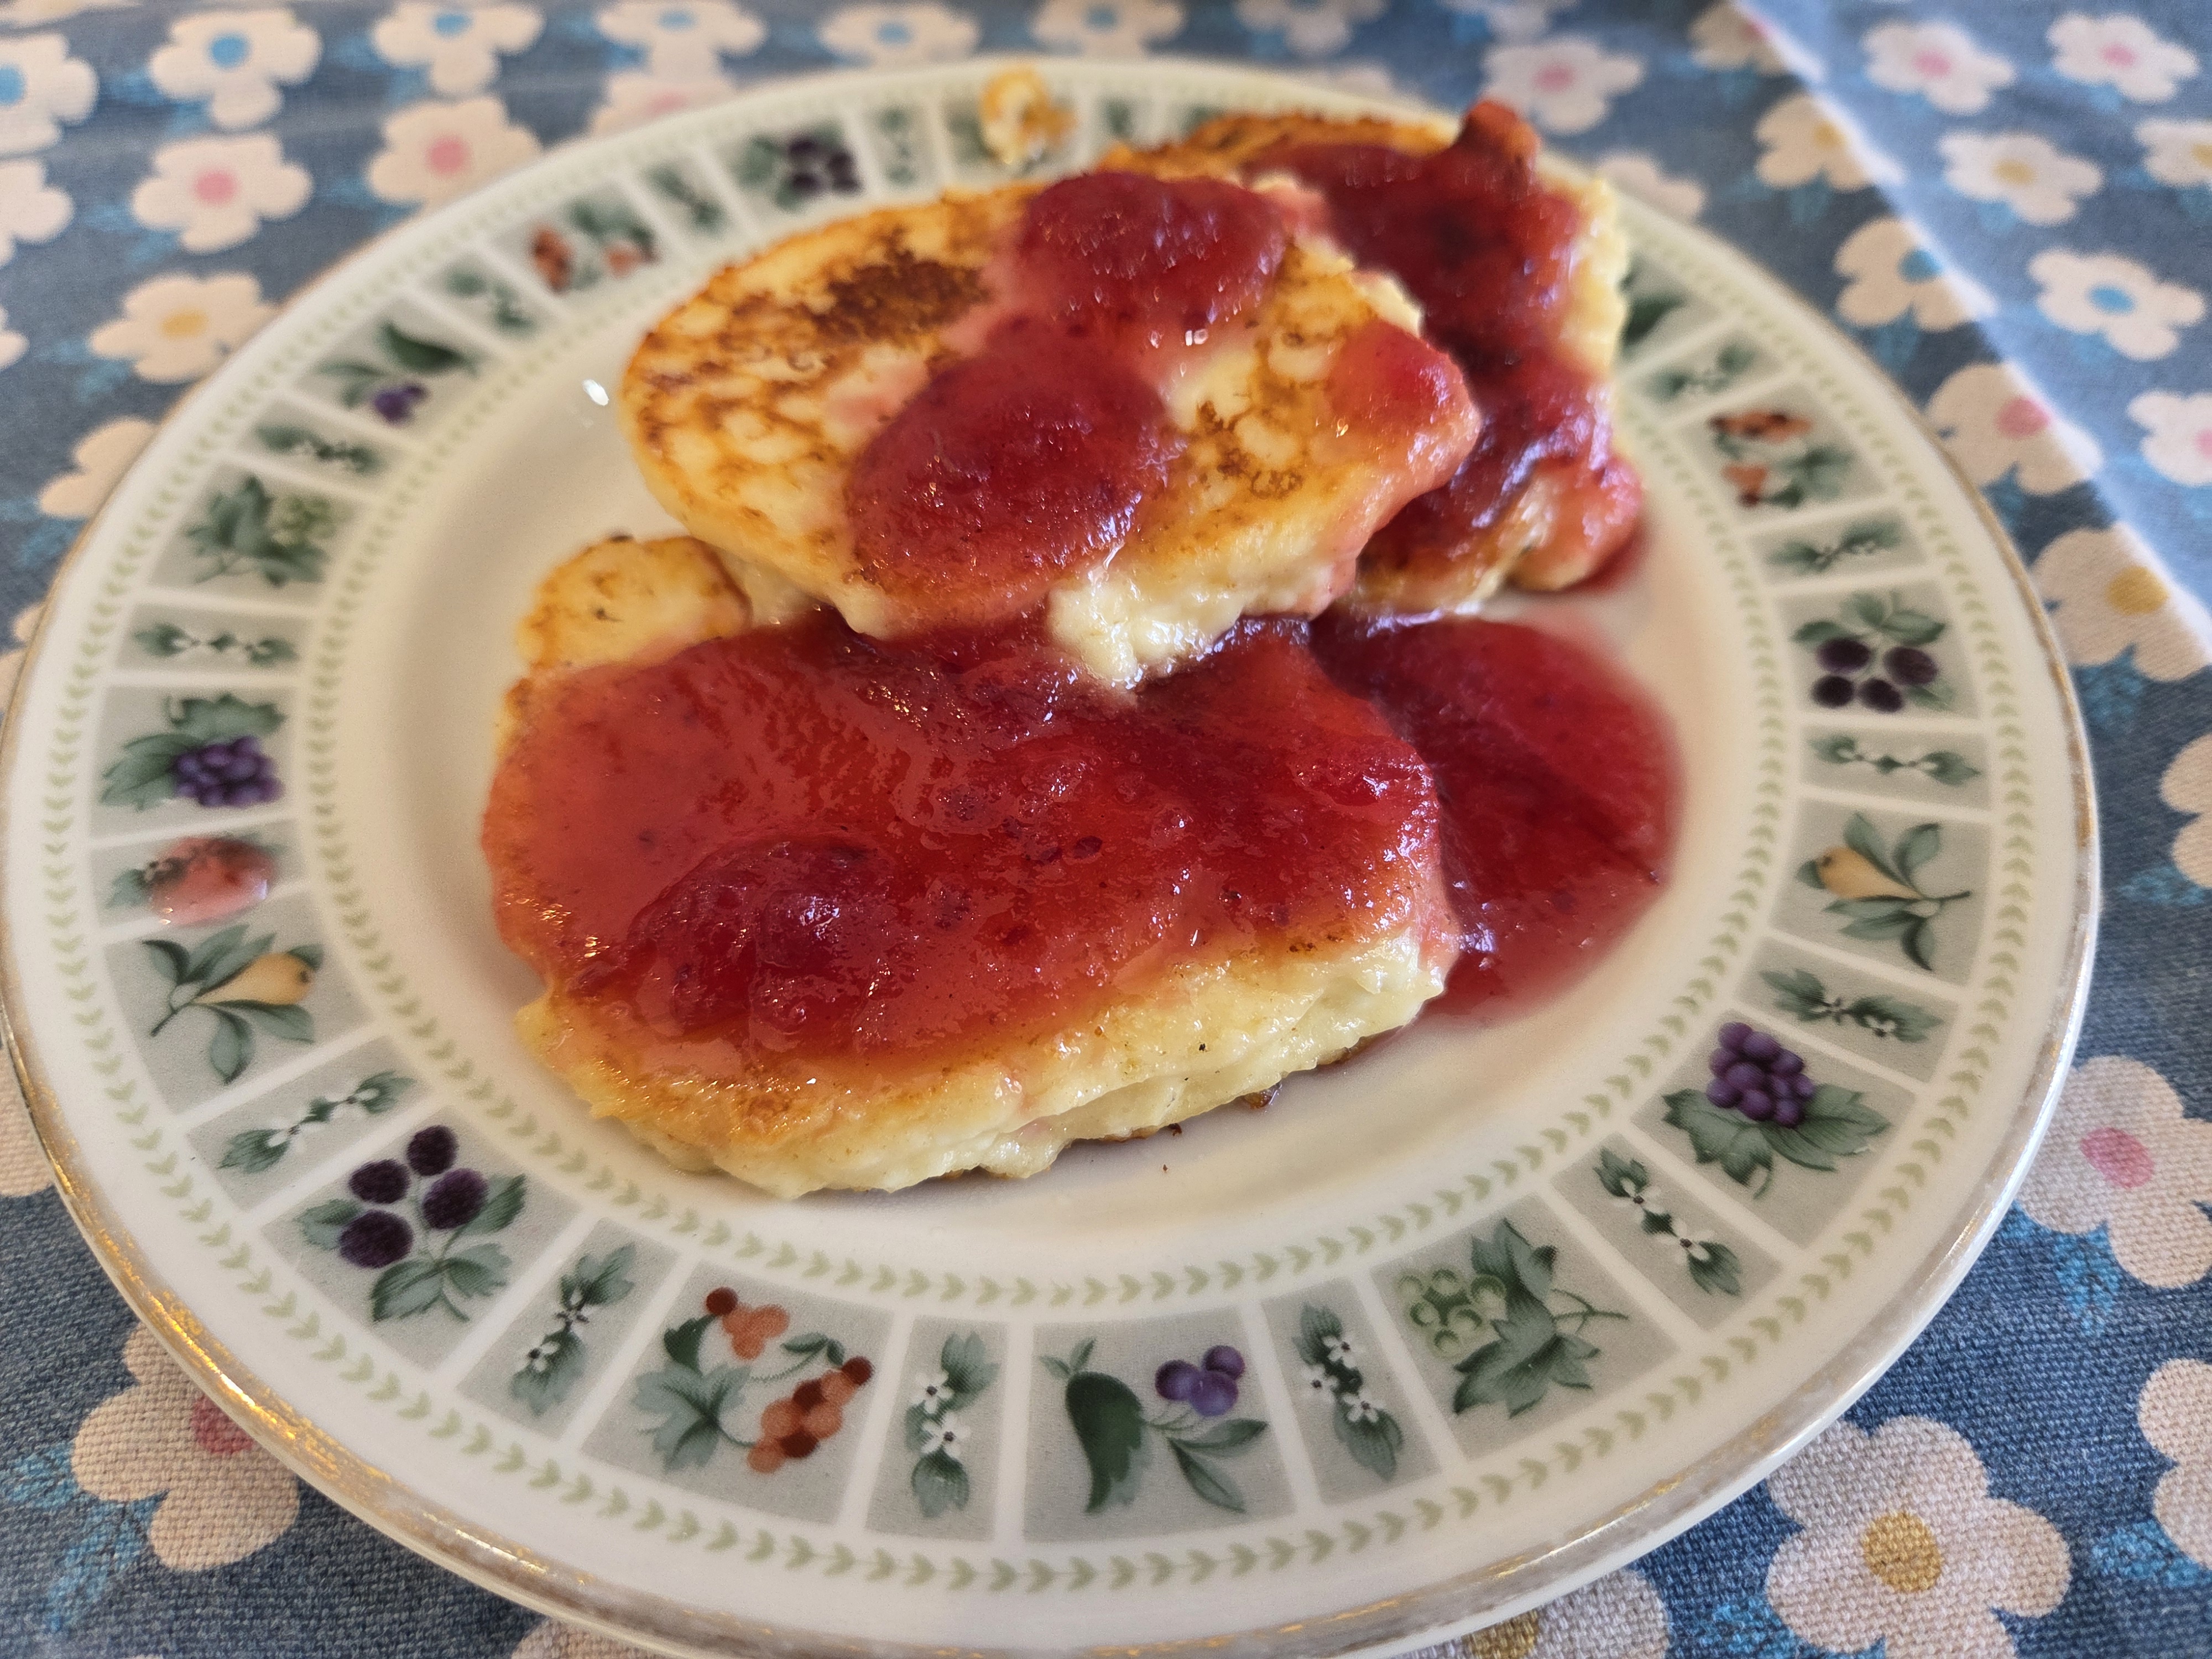
Served on Royal Doulton Tapestry plate.


")

")


