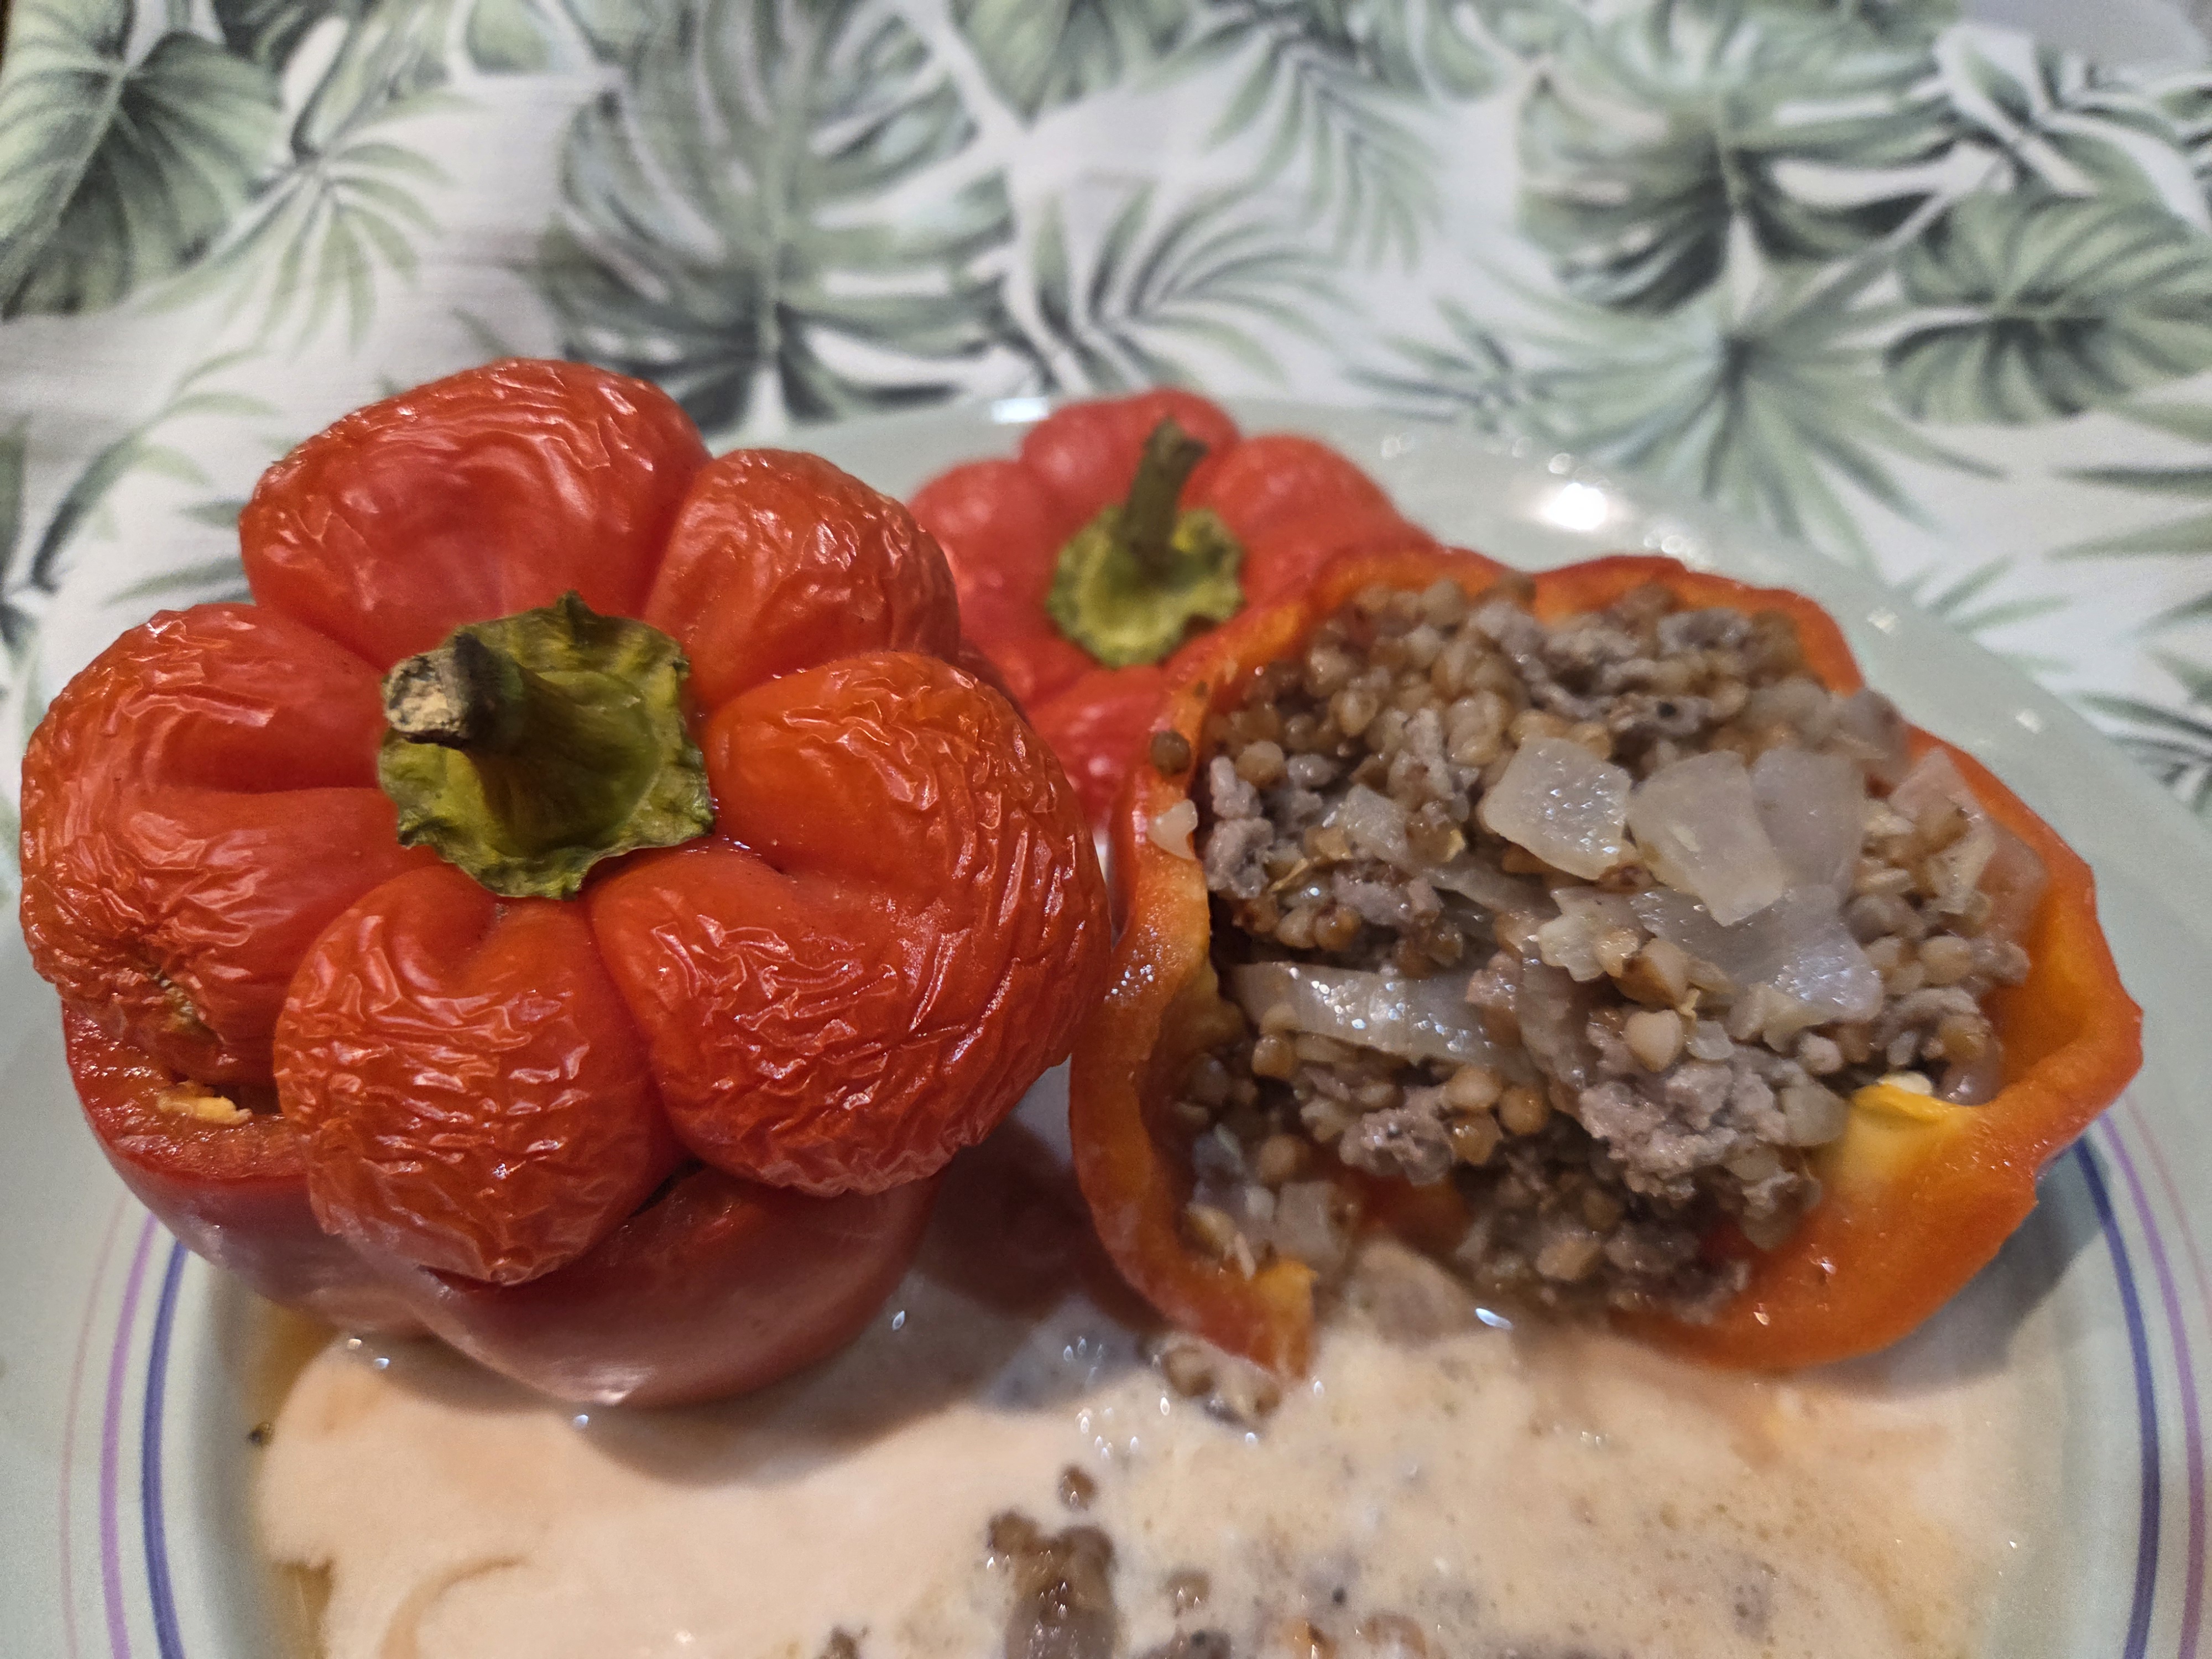
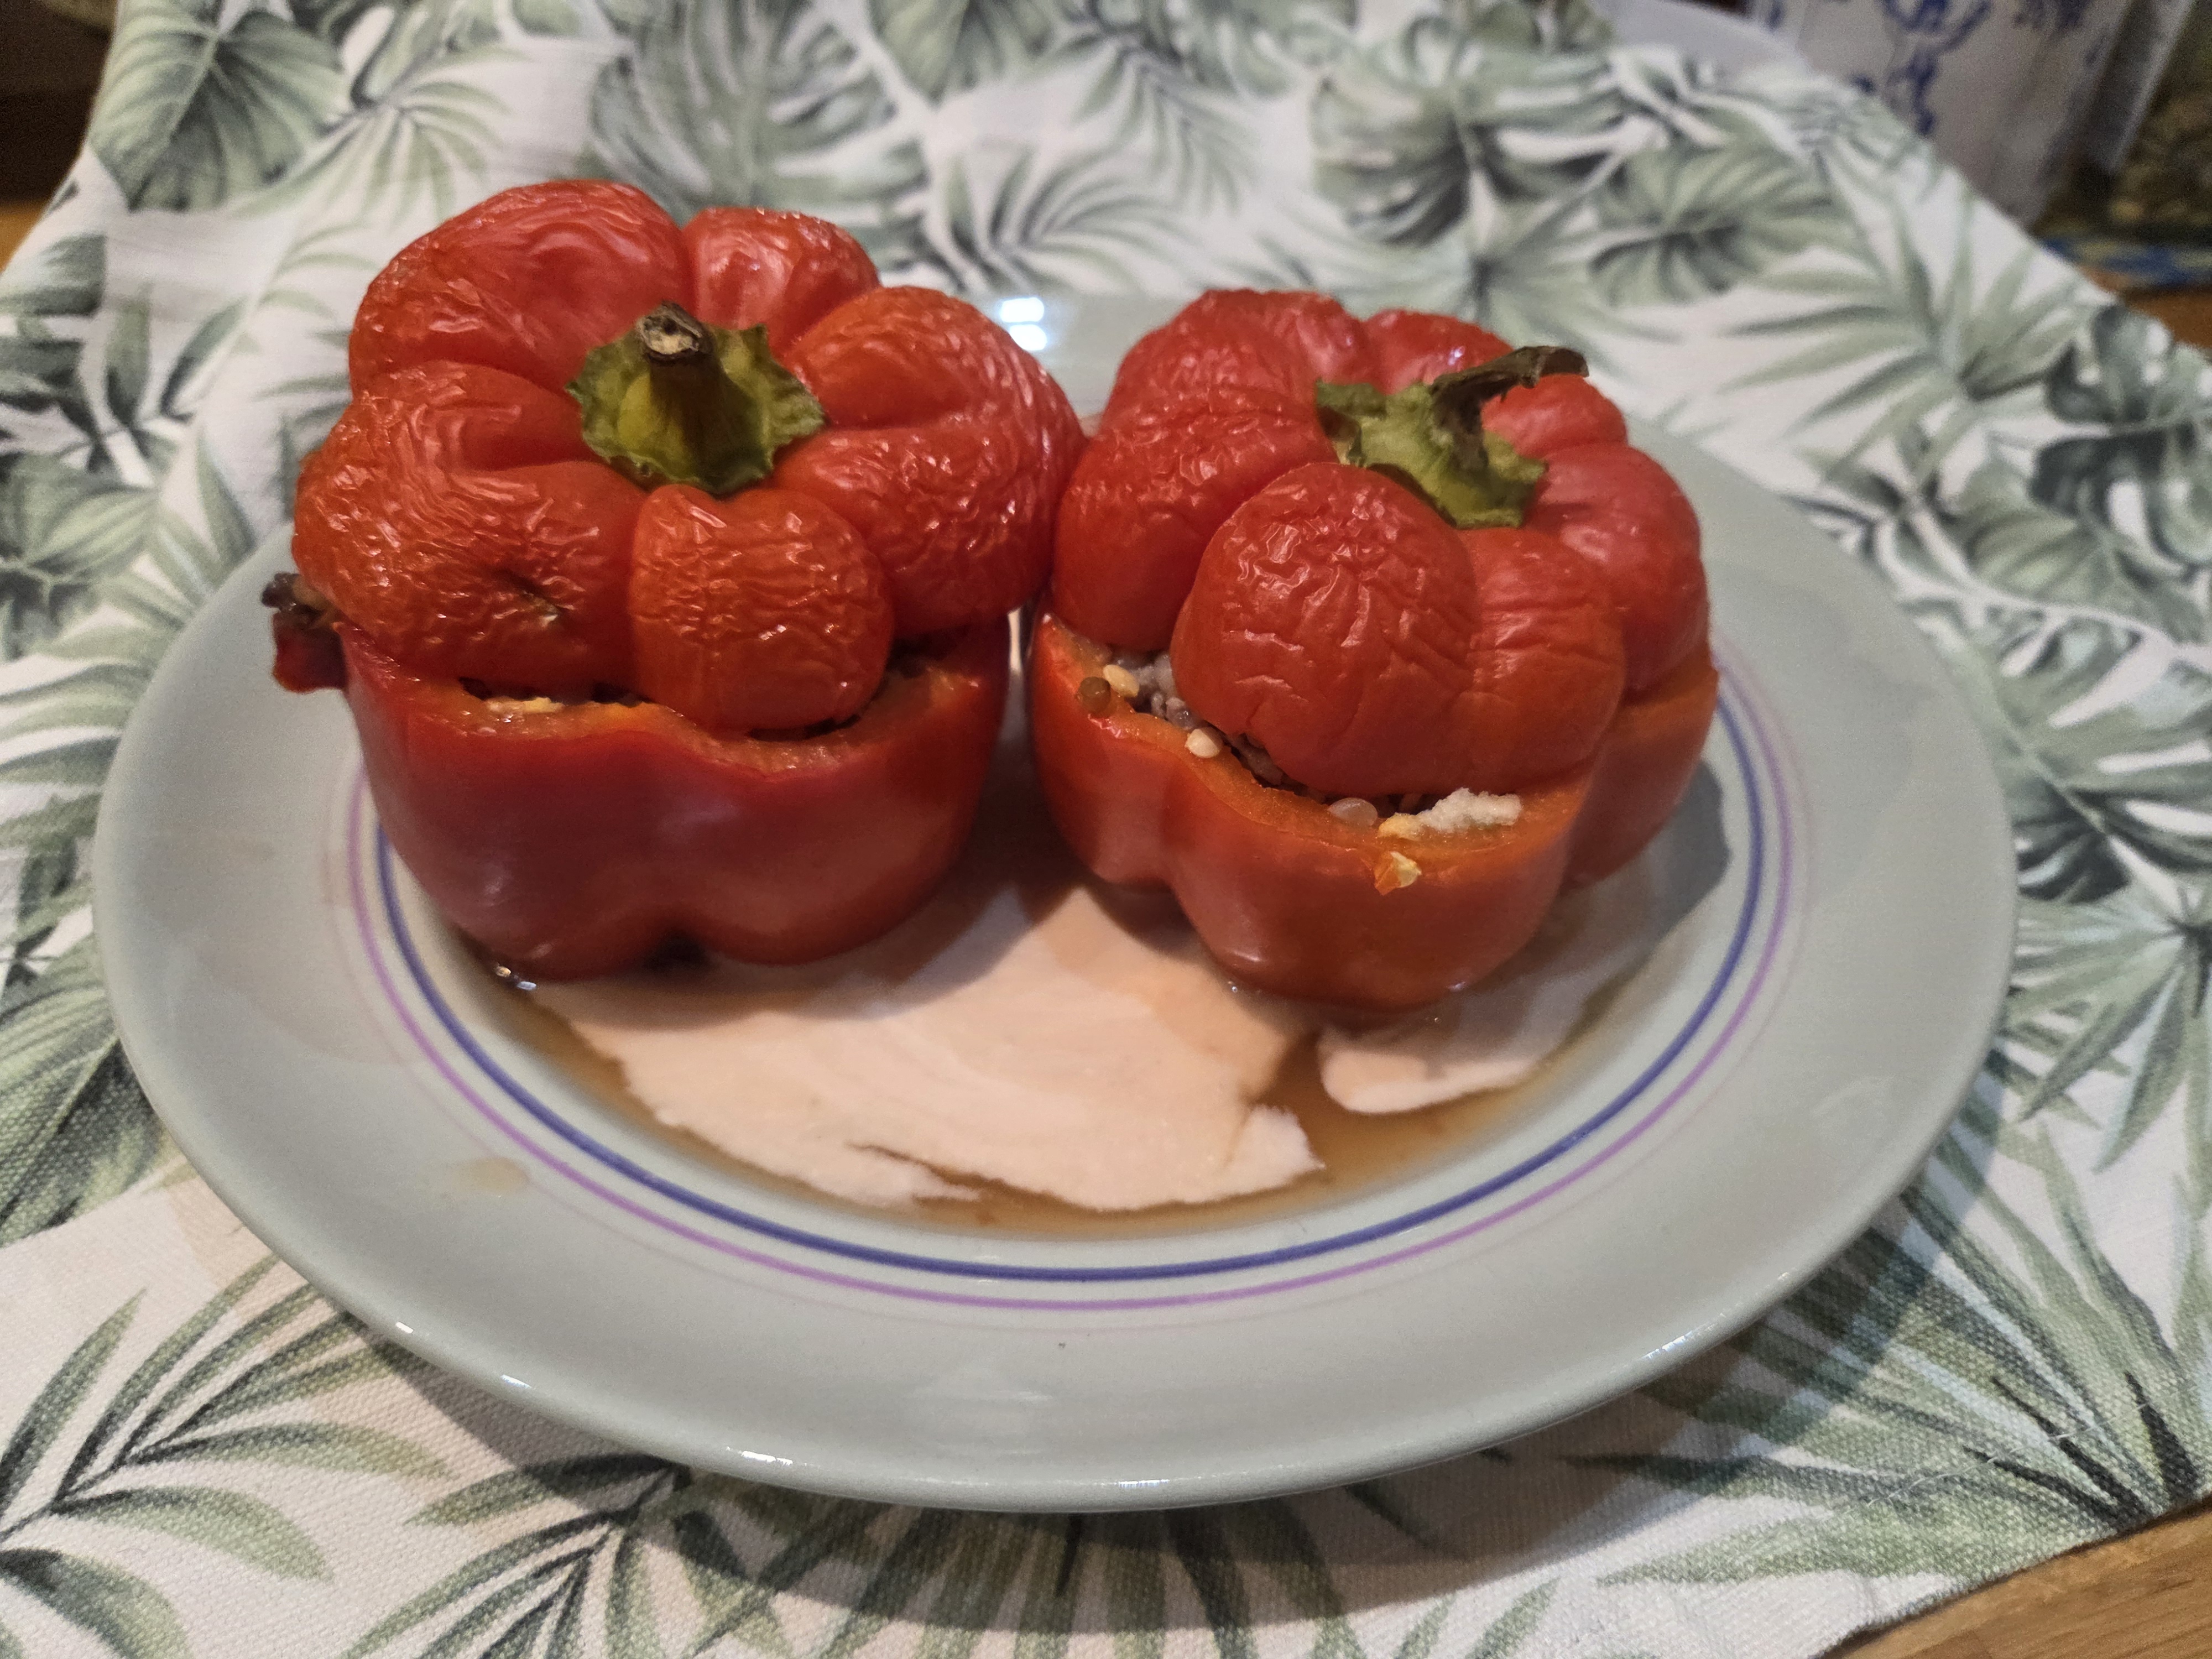
When I was served this in Poland, the peppers were really big and smelt wonderful.
You can vary the stuffing to suit but I will write up the dish I was served.
Cooked buckwheat or rice is used.
INGREDIENTS
4 to 6 large red peppers
100g cooked buckwheat or rice
1 large onion – chopped and lightly fried
2 cloves of garlic – chopped.
200g – 250g minced beef
*
Salt & pepper to taste.
Dried marjoram or mixed herbs
*
Vegetable stock – can be from powder or a cube
2 tablespoons of tomato purée or tomato ketchup
1 teaspoon of ground paprika
2-3 tablespoons of soured cream
METHOD
Pre- heat the oven to GM3 – 150°C.
Cut the tops of the peppers and keep to one side.
Scoop out the seeds from the peppers.
Put the peppers into a roasting tray.
Add some of the vegetable stock to the base.
Cook for around 10 minutes to soften the peppers.
Leave to cool slightly.
Turn up the oven to GM4 – 180°C
Mix together the cooked buckwheat(or rice) with the minced meat, onion, garlic, marjoram or herbs.
Season to taste.
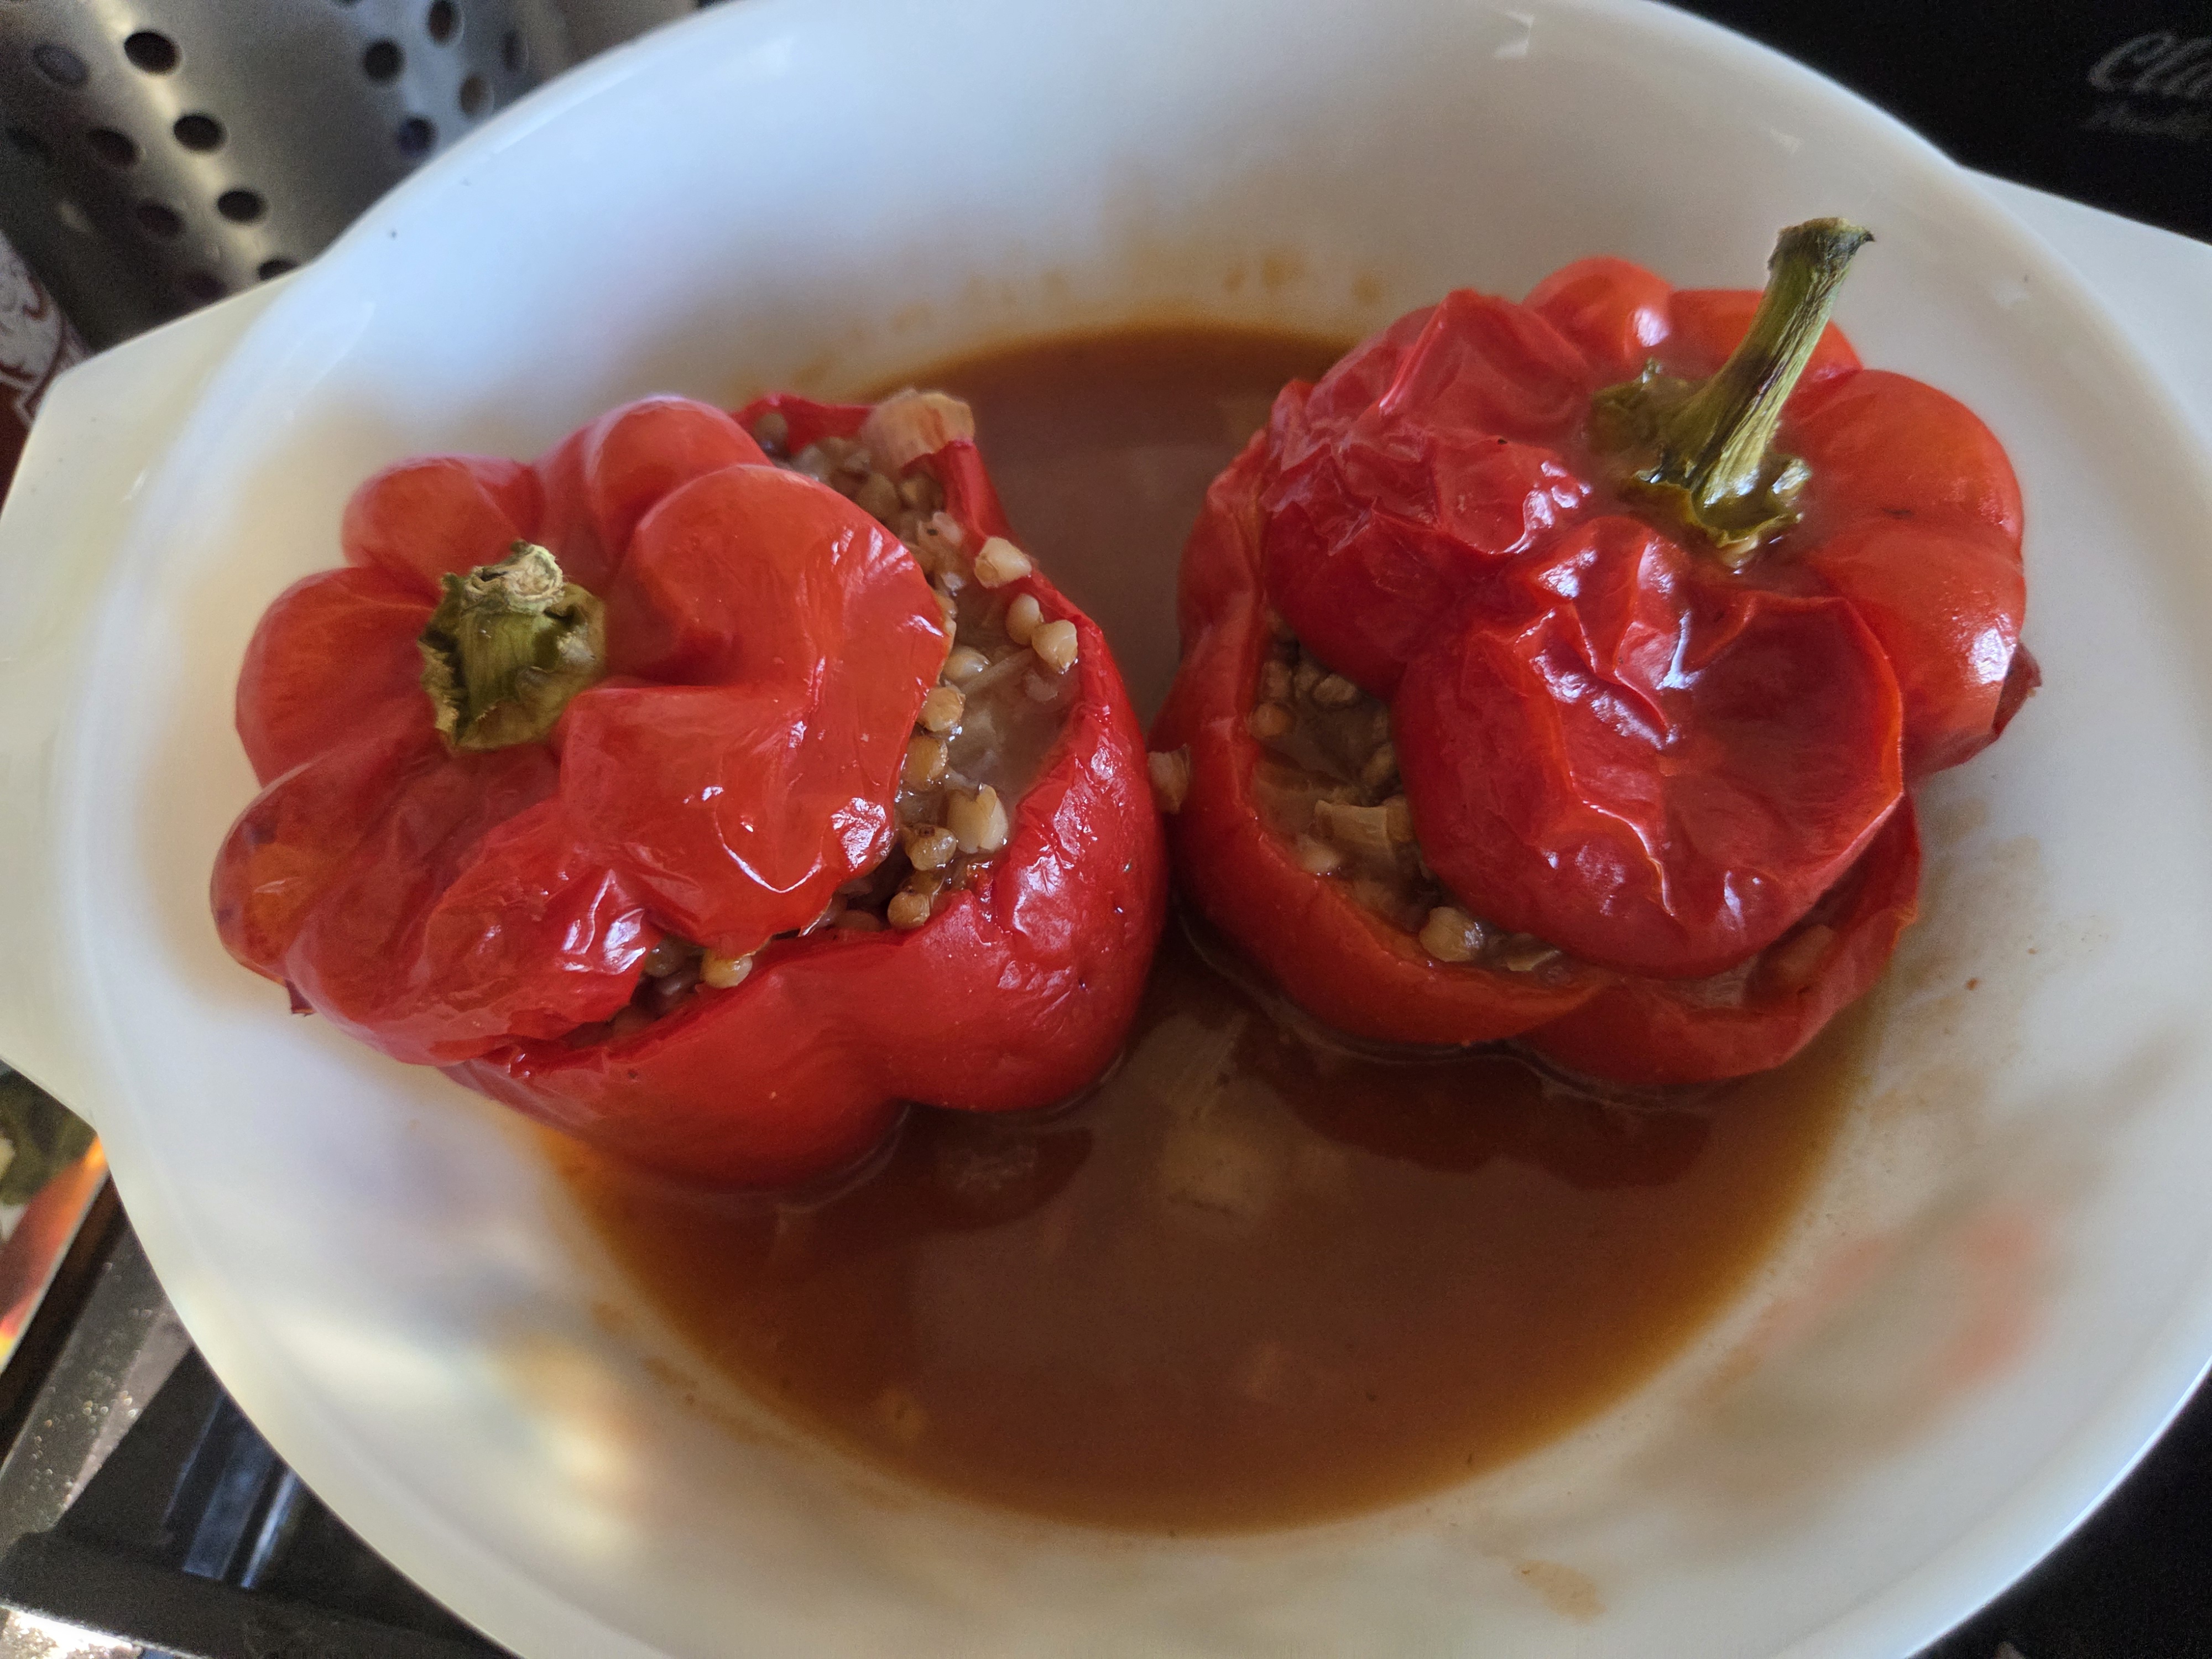
Fill each pepper with the filling and put on the tops.
*
Add the rest of the vegetable stock and add the paprika and tomato purée or ketchup and stir.
Put the peppers to stand in the stock mixture.
Put back into the oven and cook for around 1 hour.
You might need longer so the peppers are softish.
*
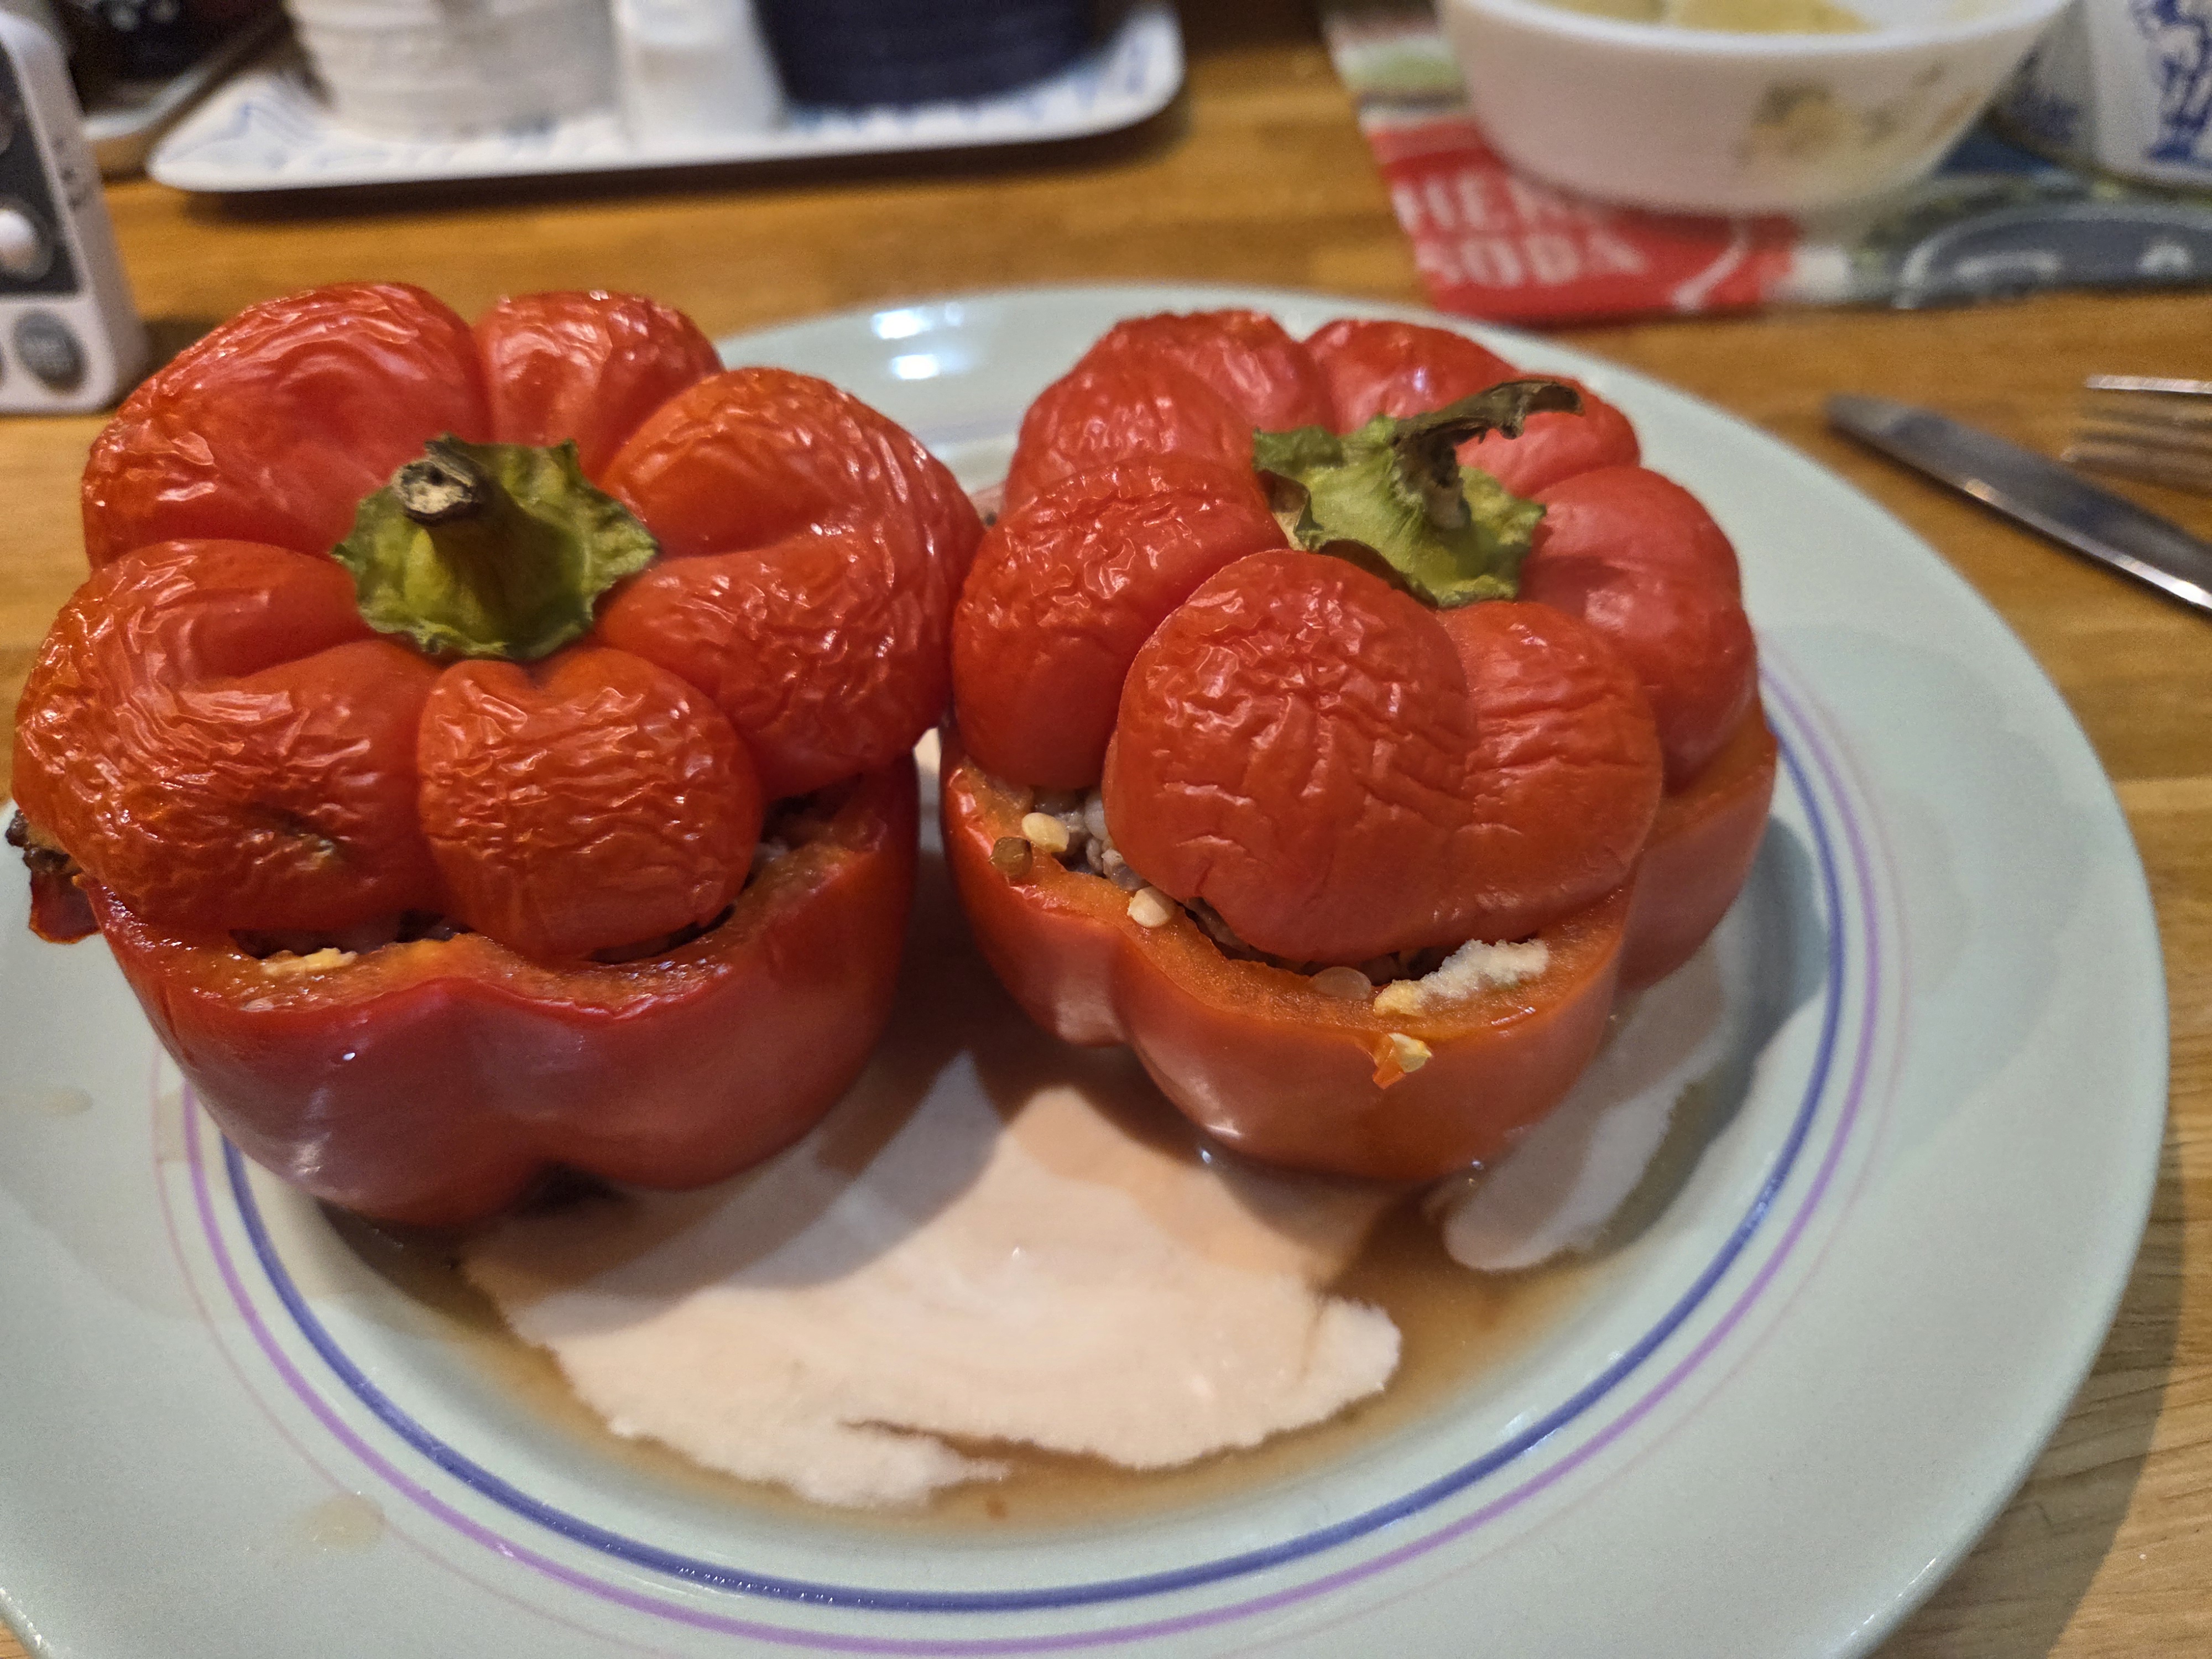
Add the soured cream to the stock mixture to make a sauce.
If you think you will have any left – before adding the soured cream put them into an ovenproof pyrex dish with a lid with some tomato stock liquid – you can reheat them the next day in a microwave and them add some soured cream.
These were so delicious and I am planning to try out some different fillings soon.
Podkarpackie is a mountainous province in the south-eastern corner of Poland.
Its name translates into English as Subcarpathian – these are the the foot hills of the Carpathian Mountains.
The usual Polish word for buckwheat is gryka but here a regional word hreczka is used.
Buckwheat (Fagopyrum tataricum) is used very much in Polish cookery and was eaten in Poland long before the introduction of the potato in the 18th century.
I have written already about the use of its flour to make bliny & pancakes.
The buckwheat has a strong, slightly perfumed taste and I think beef is a good meat to mix with it.
These are often serve with mushroom sauce. I heated some up in the sauce itself and I thought they were even better this way. They soak up the sauce and are delicious.
I have recently returned from a super, short holiday in Gdańsk and in one restaurant I saw on the menu pierogi (Polish filled pasta) which had leeks, peas and soured cream as a filling – I liked the idea of the sweetness of garden peas with leeks and thought I could adapt this and use it as a filling with buckwheat pancakes.
Buckwheat Pancakes
Ingredients
75g buckwheat flour
25g plain flour
2 eggs
125ml of milk (full or semi-skimmed)
125ml of water
25g of melted butter
pinch of salt
Some extra milk might be needed.
Method
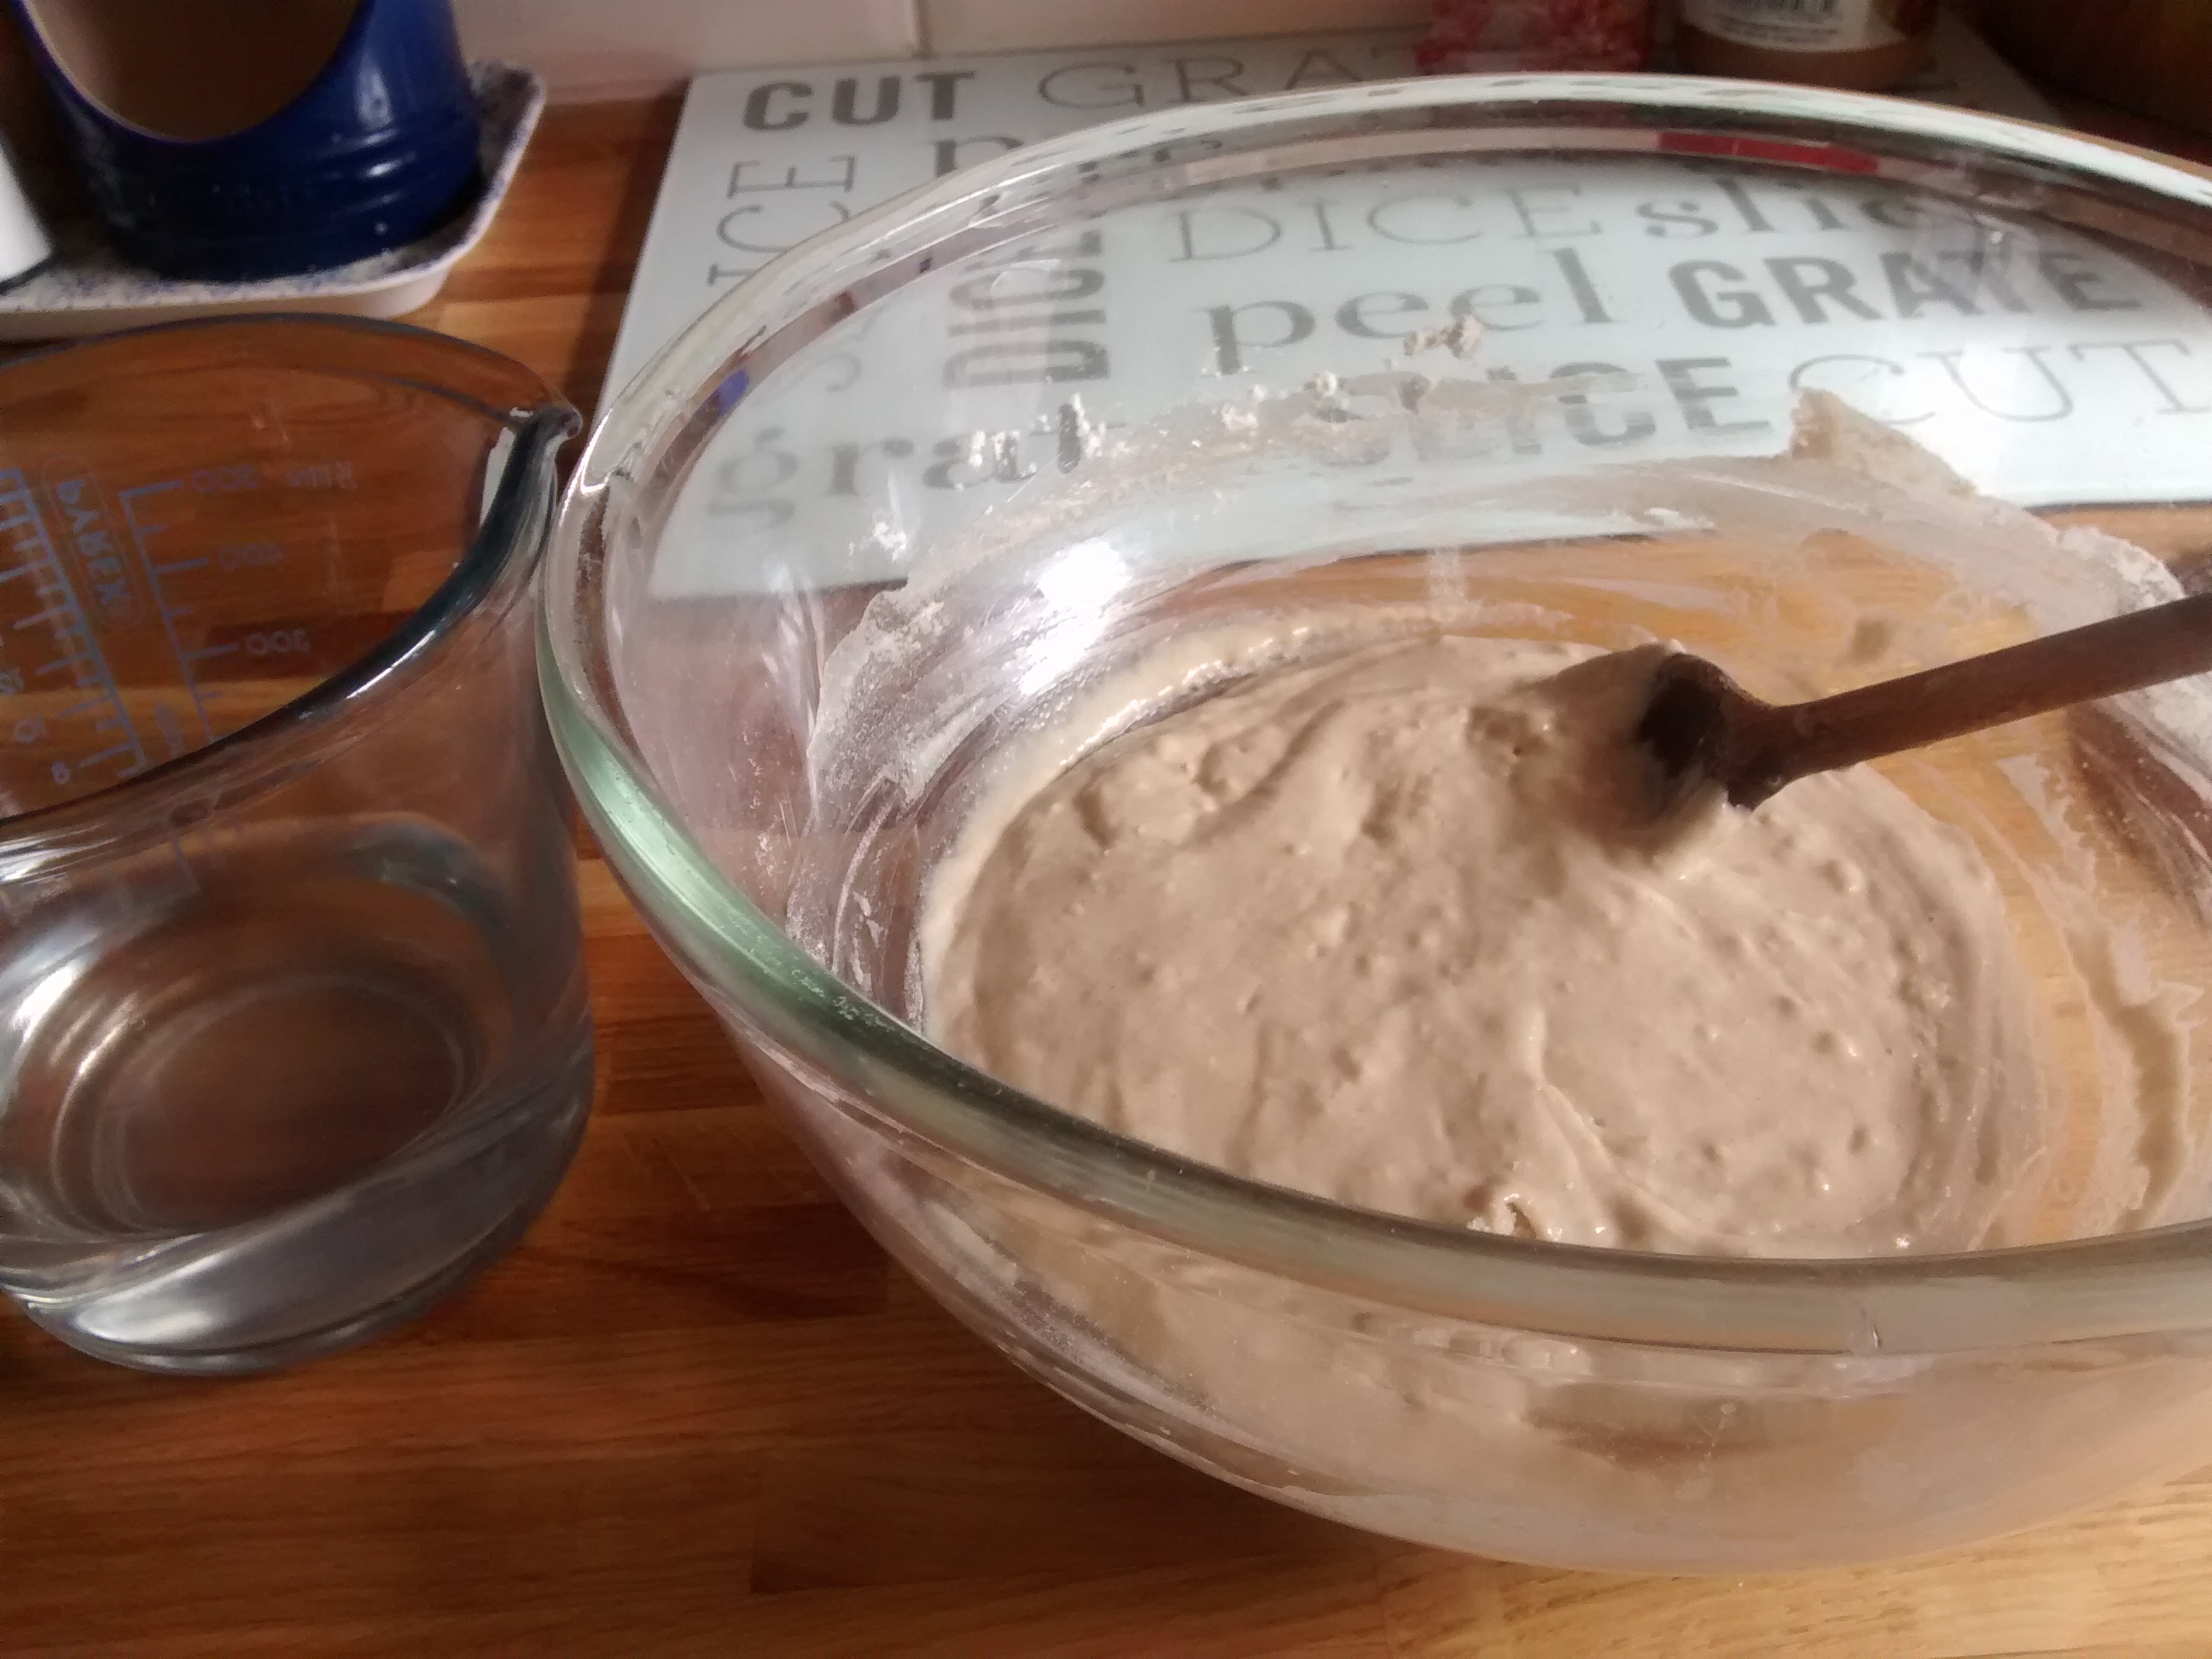
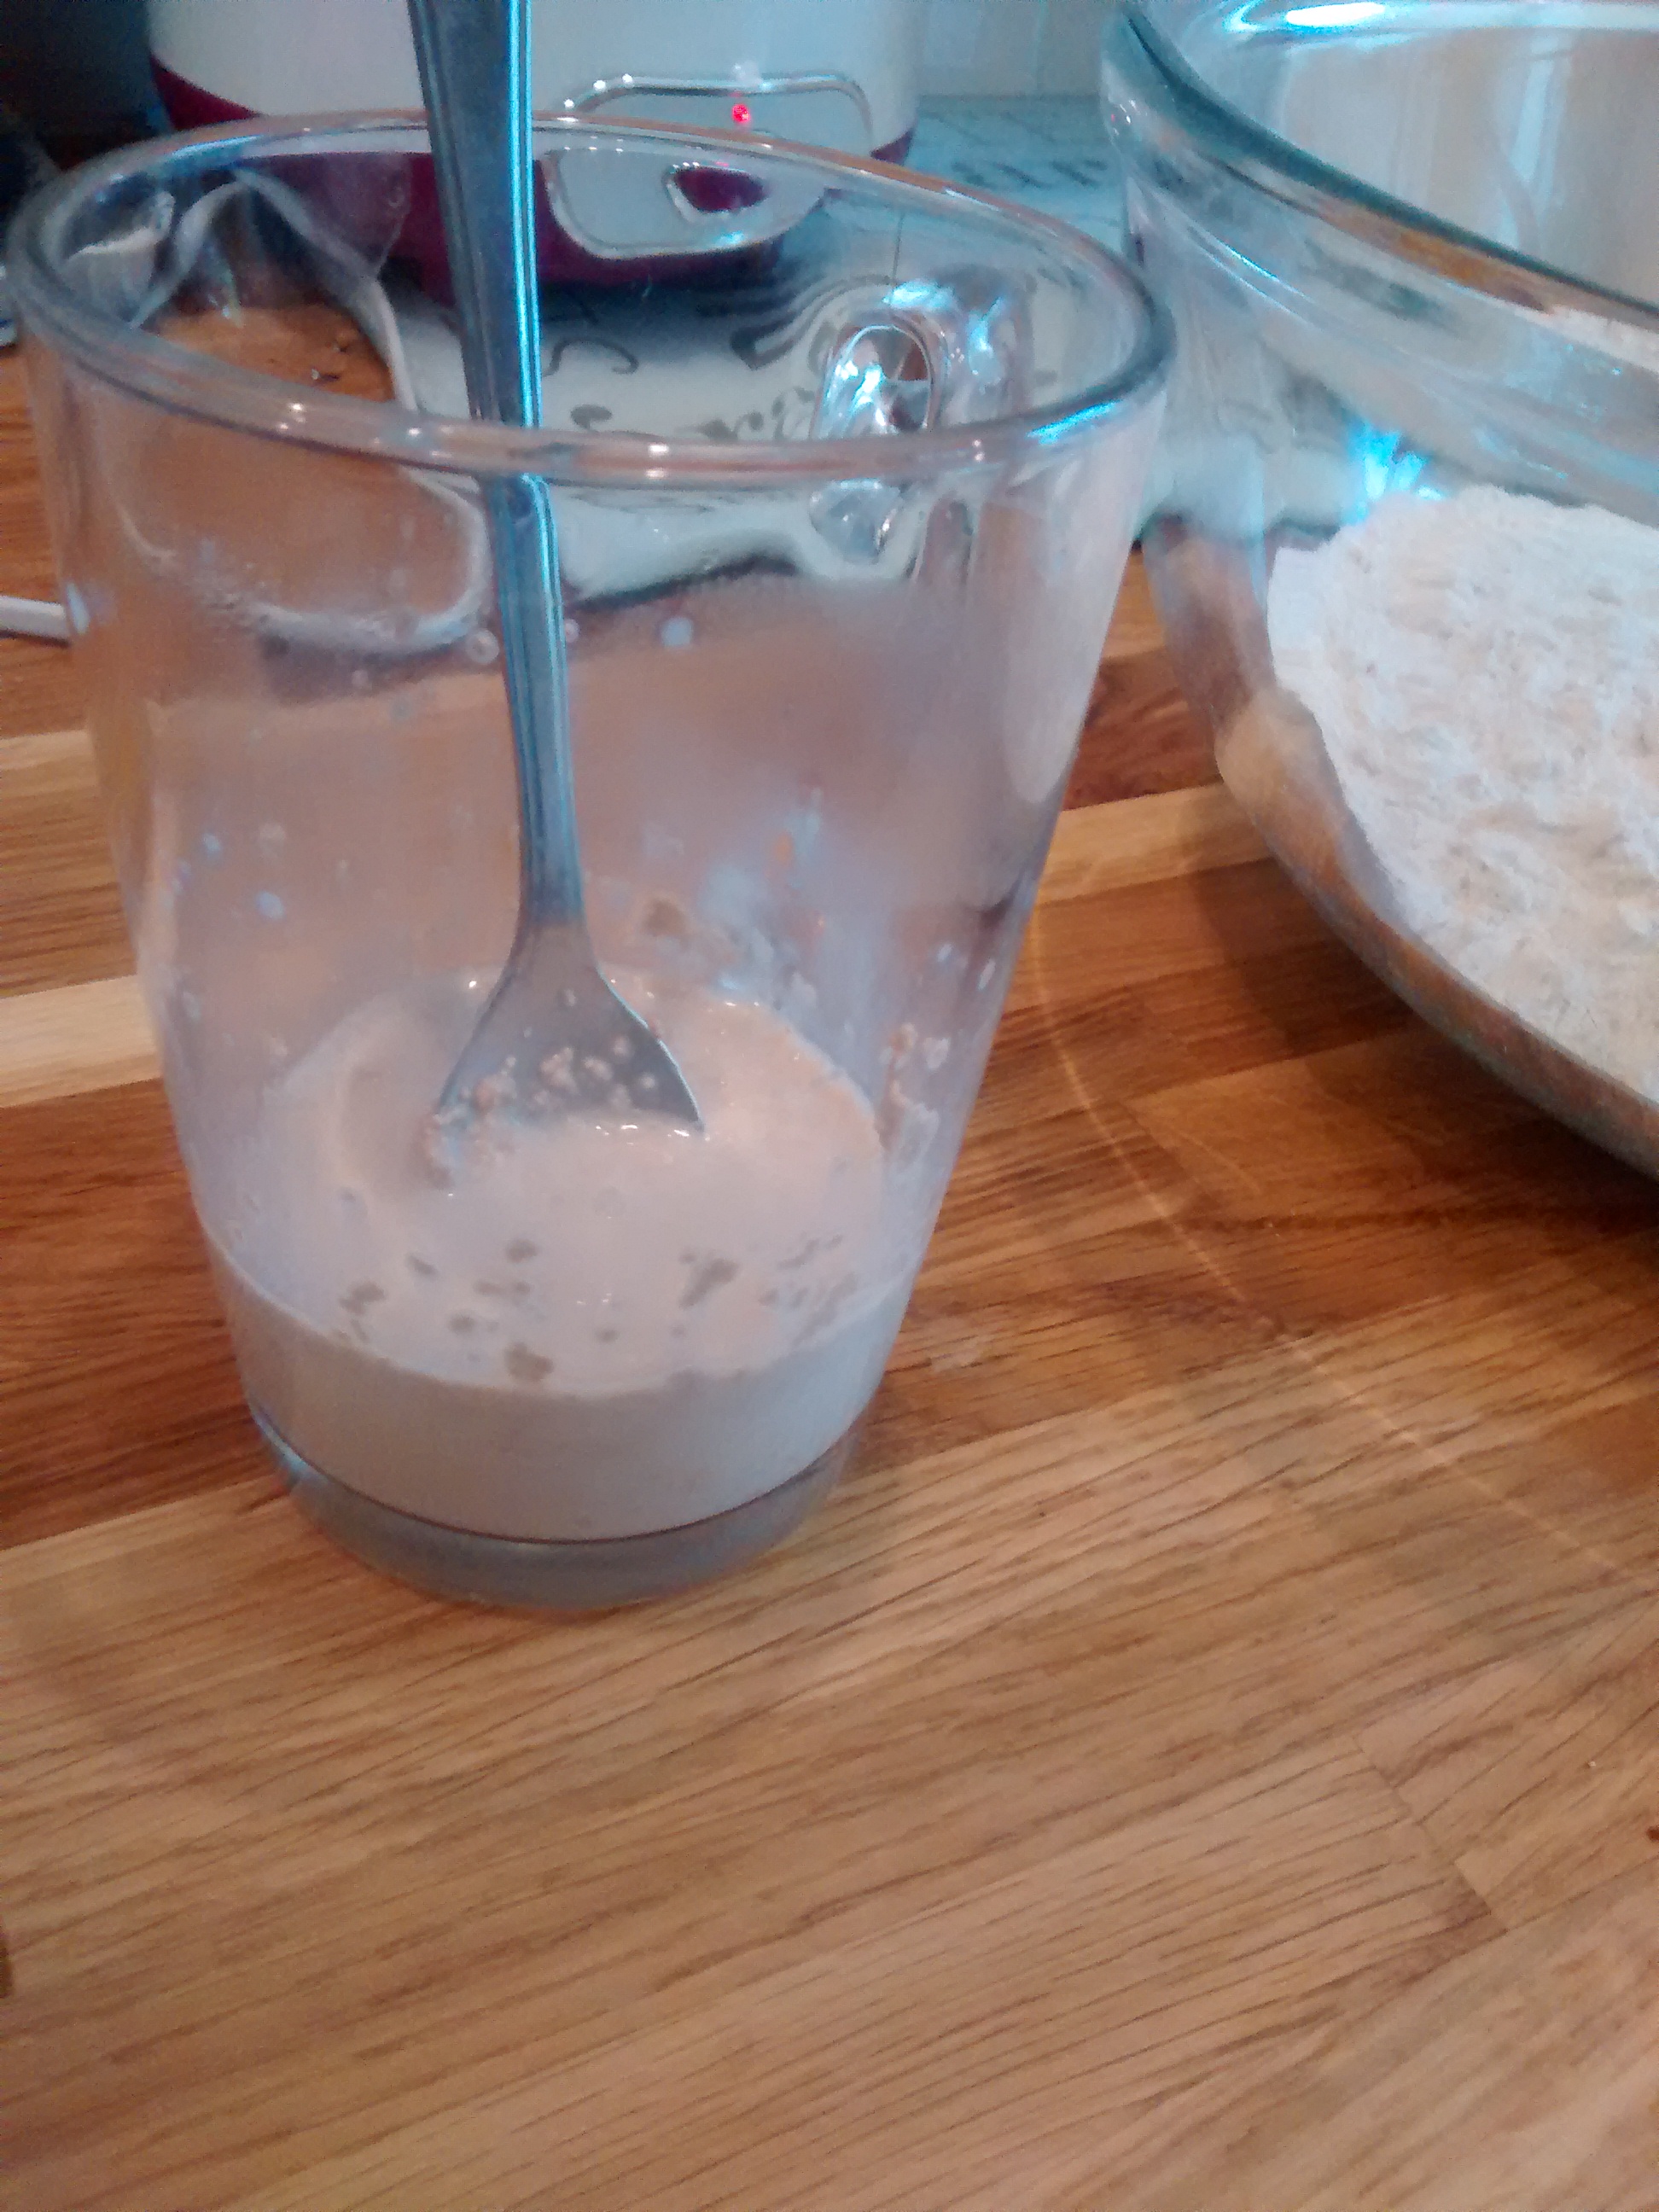
Beat the eggs and add then them first to the sifted flour.
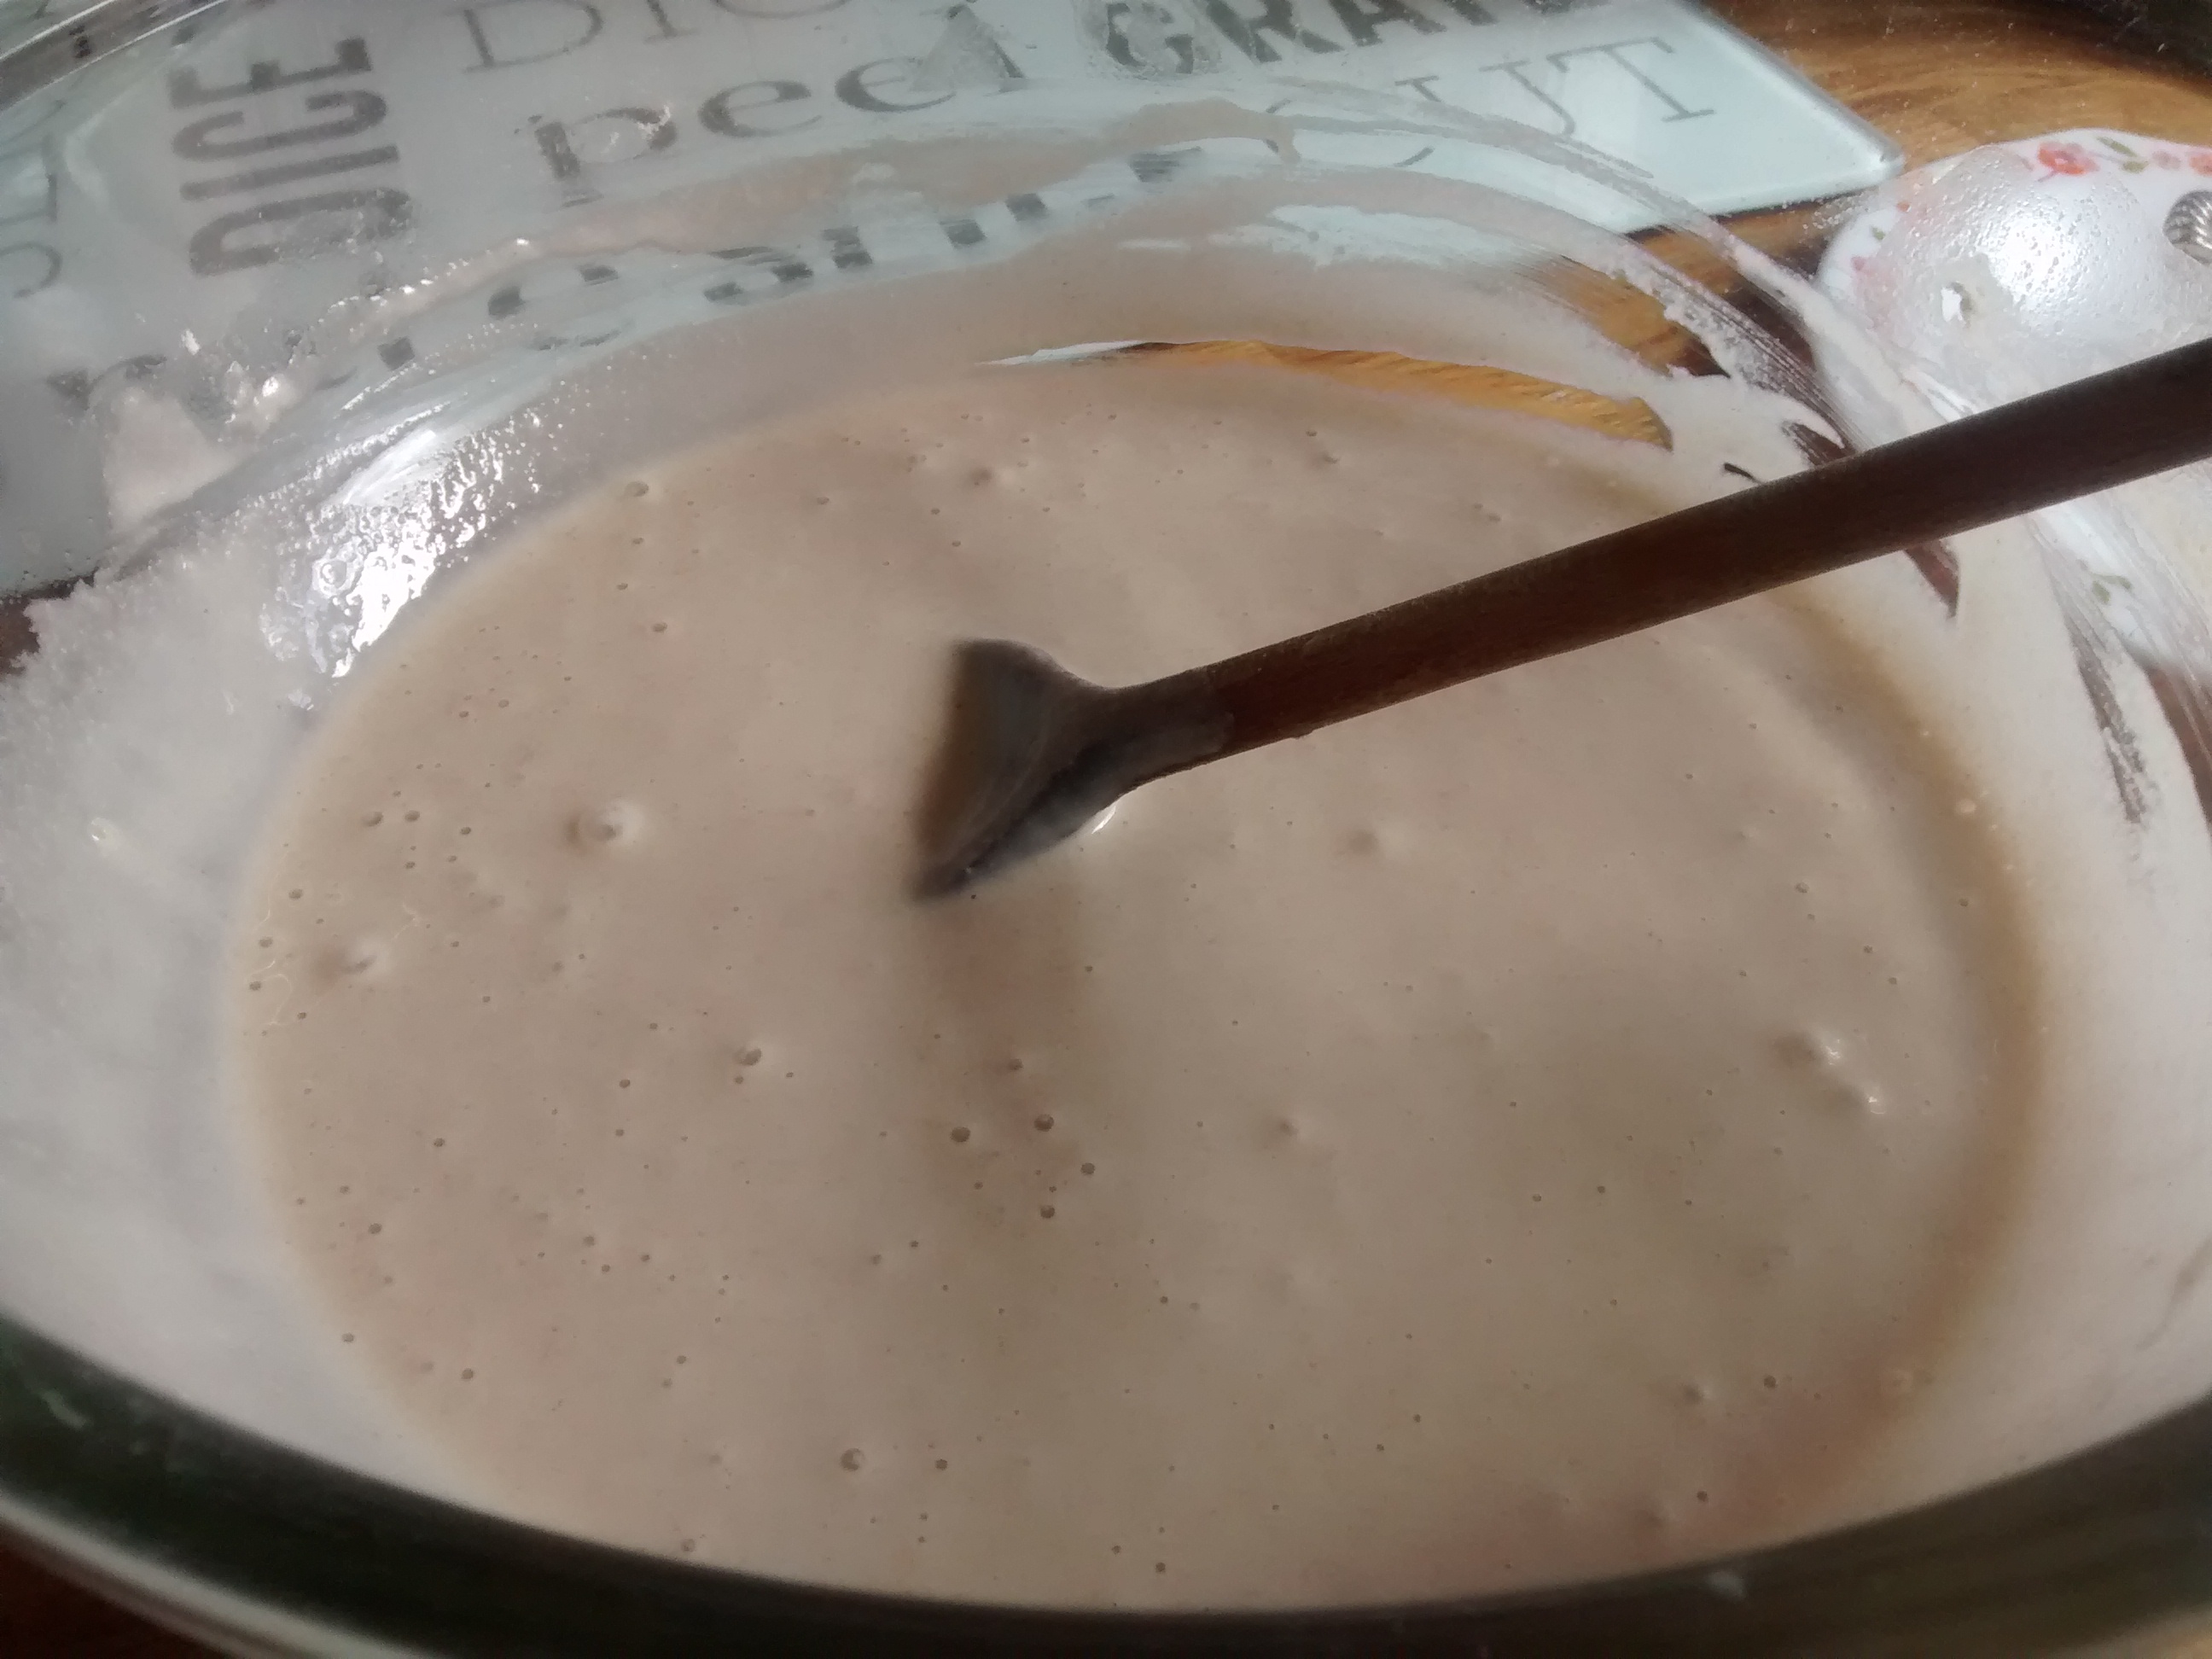
Add the milk mixture to the egg and flour mix until you have a batter the consistency of pouring cream.
Mix the milk with the water
Add the milk mixture to the egg and flour mix until you have a batter the consistency of pouring cream.
Leave the batter to stand for at least 1 hour in which time it will thicken, then add a little more liquid.
Use a special thin pan which you use just for pancakes, mine has a base diameter of 20 cm and is made of steel, once seasoned, just wipe it clean between uses with kitchen roll – never scour it or use detergent.
Work out how much batter you need for a pancake and find a measure which will then give you a consistent amount – I use a small ladle which holds 45ml.
Have a dish of melted butter or margarine and sunflower oil for frying so you can add just enough and tip some back if needed.
Heat the pan – you want a high heat but not too much to burn the pancakes – you will find you have to keep adjusting the heat. (As I cook using gas this is easy to do).
Using the ladle pour the mixture into the pan.
Tilt the pan so that the mixture covers the surface completely and evenly.
Cook the pancakes on one side and turn then over – you can make them up one by one or stack then up with a piece of greaseproof paper in between them. You can do this and leave then for later use.
Filling
3 leeks – chopped
100g frozen peas
2-3 tablespoons of butter
2 -3 tablespoons of soured cream
Using a deep large frying pan with a lid (a glass one is best), melt the butter and gently cook the leeks to soften them but not brown.
Add the frozen peas and cover with the lid and cook for a few minutes.
Stir the mixture and add the soured cream.
Place some of the mixture on a cooked pancake in the centre and out to the sides – but not quite to the edge.
Fold in two of the opposite sides and then roll up the pancake from the long end to make a long parcel.
Other Ways to use the Filling
The leek & pea mixture goes really well as a vegetable to serve with roast chicken.
Or heat some cooked chicken breast pieces with the leeks & peas.
I think some pasta would also be good with this, though have not yet tried this yet.
I have recently returned from a super, short holiday in Gdańsk and had several delicious breakfasts in a restaurant in the Old Town called Gvara- the name is based on the Polish word gwara which means dialect (Polish does not have the letter v !).
One of the breakfasts was buckwheat pancakes with a filling of chopped cucumber and smoked bacon, topped with a soft cooked egg and chives.
On my return I had to recreate this lovely dish.
Ingredients
Cooked buckwheat pancakes
Chopped cucumber and smoked bacon filling
Soft cooked egg – poached or lightly fried
Chopped chives or the green parts of spring onions.
The hardest part is getting getting all the parts cooked and warm at the same time.
Buckwheat Pancakes
Ingredients
75g buckwheat flour
25g plain flour
2 eggs
125ml of milk (full or semi-skimmed)
125ml of water
25g of melted butter
pinch of salt
Some extra milk might be needed.
Method
Make these in the same way as standard pancakes adding the melted butter after the batter has been standing for about an hour.
Beat the eggs and add then them first to the sifted flour.
Add the milk mixture to the egg and flour mix until you have a batter the consistency of pouring cream.
Mix the milk with the water
Add the milk mixture to the egg and flour mix until you have a batter the consistency of pouring cream.
Leave the batter to stand for at least 1 hour in which time it will thicken, then add a little more liquid.
Use a special thin pan which you use just for pancakes, mine has a base diameter of 20 cm and is made of steel, once seasoned, just wipe it clean between uses with kitchen roll – never scour it or use detergent.
Work out how much batter you need for a pancake and find a measure which will then give you a consistent amount – I use a small ladle which holds 45ml.
Have a dish of melted butter or margarine and sunflower oil for frying so you can add just enough and tip some back if needed.
Heat the pan – you want a high heat but not too much to burn the pancakes – you will find you have to keep adjusting the heat. (As I cook using gas this is easy to do).
Using the ladle pour the mixture into the pan.
Tilt the pan so that the mixture covers the surface completely and evenly.
Cook the pancakes on one side and turn then over – you can make them up one by one or stack then up with a piece of grease-proof paper in between them. You can do this and leave then for later use.
Filling
Cucumber
Smoked Bacon
Peel the cucumber and chop it into little cubes.
Cut the bacon into small squares and cook these in a frying pan – aiming for cooked but maybe not that crispy.
Whilst the bacon is still warm, mix it with the cucumber.
Place some of the mixture on the cooked pancake in the centre and out to the sides – but not quite to the edge.
Fold in two of the opposite sides and then roll up the pancake from the long end to make a long parcel.
Top the pancake with a soft cooked egg – poached or lightly fried.
Sprinkle with chopped chives or the green parts of spring onions.
Served on Royal Doulton – Carnation – 1982 to 1988.
Buckwheat (Fagopyrum tataricum) is gryka in Polish – and I have written already about the use of its flour to make bliny & pancakes.
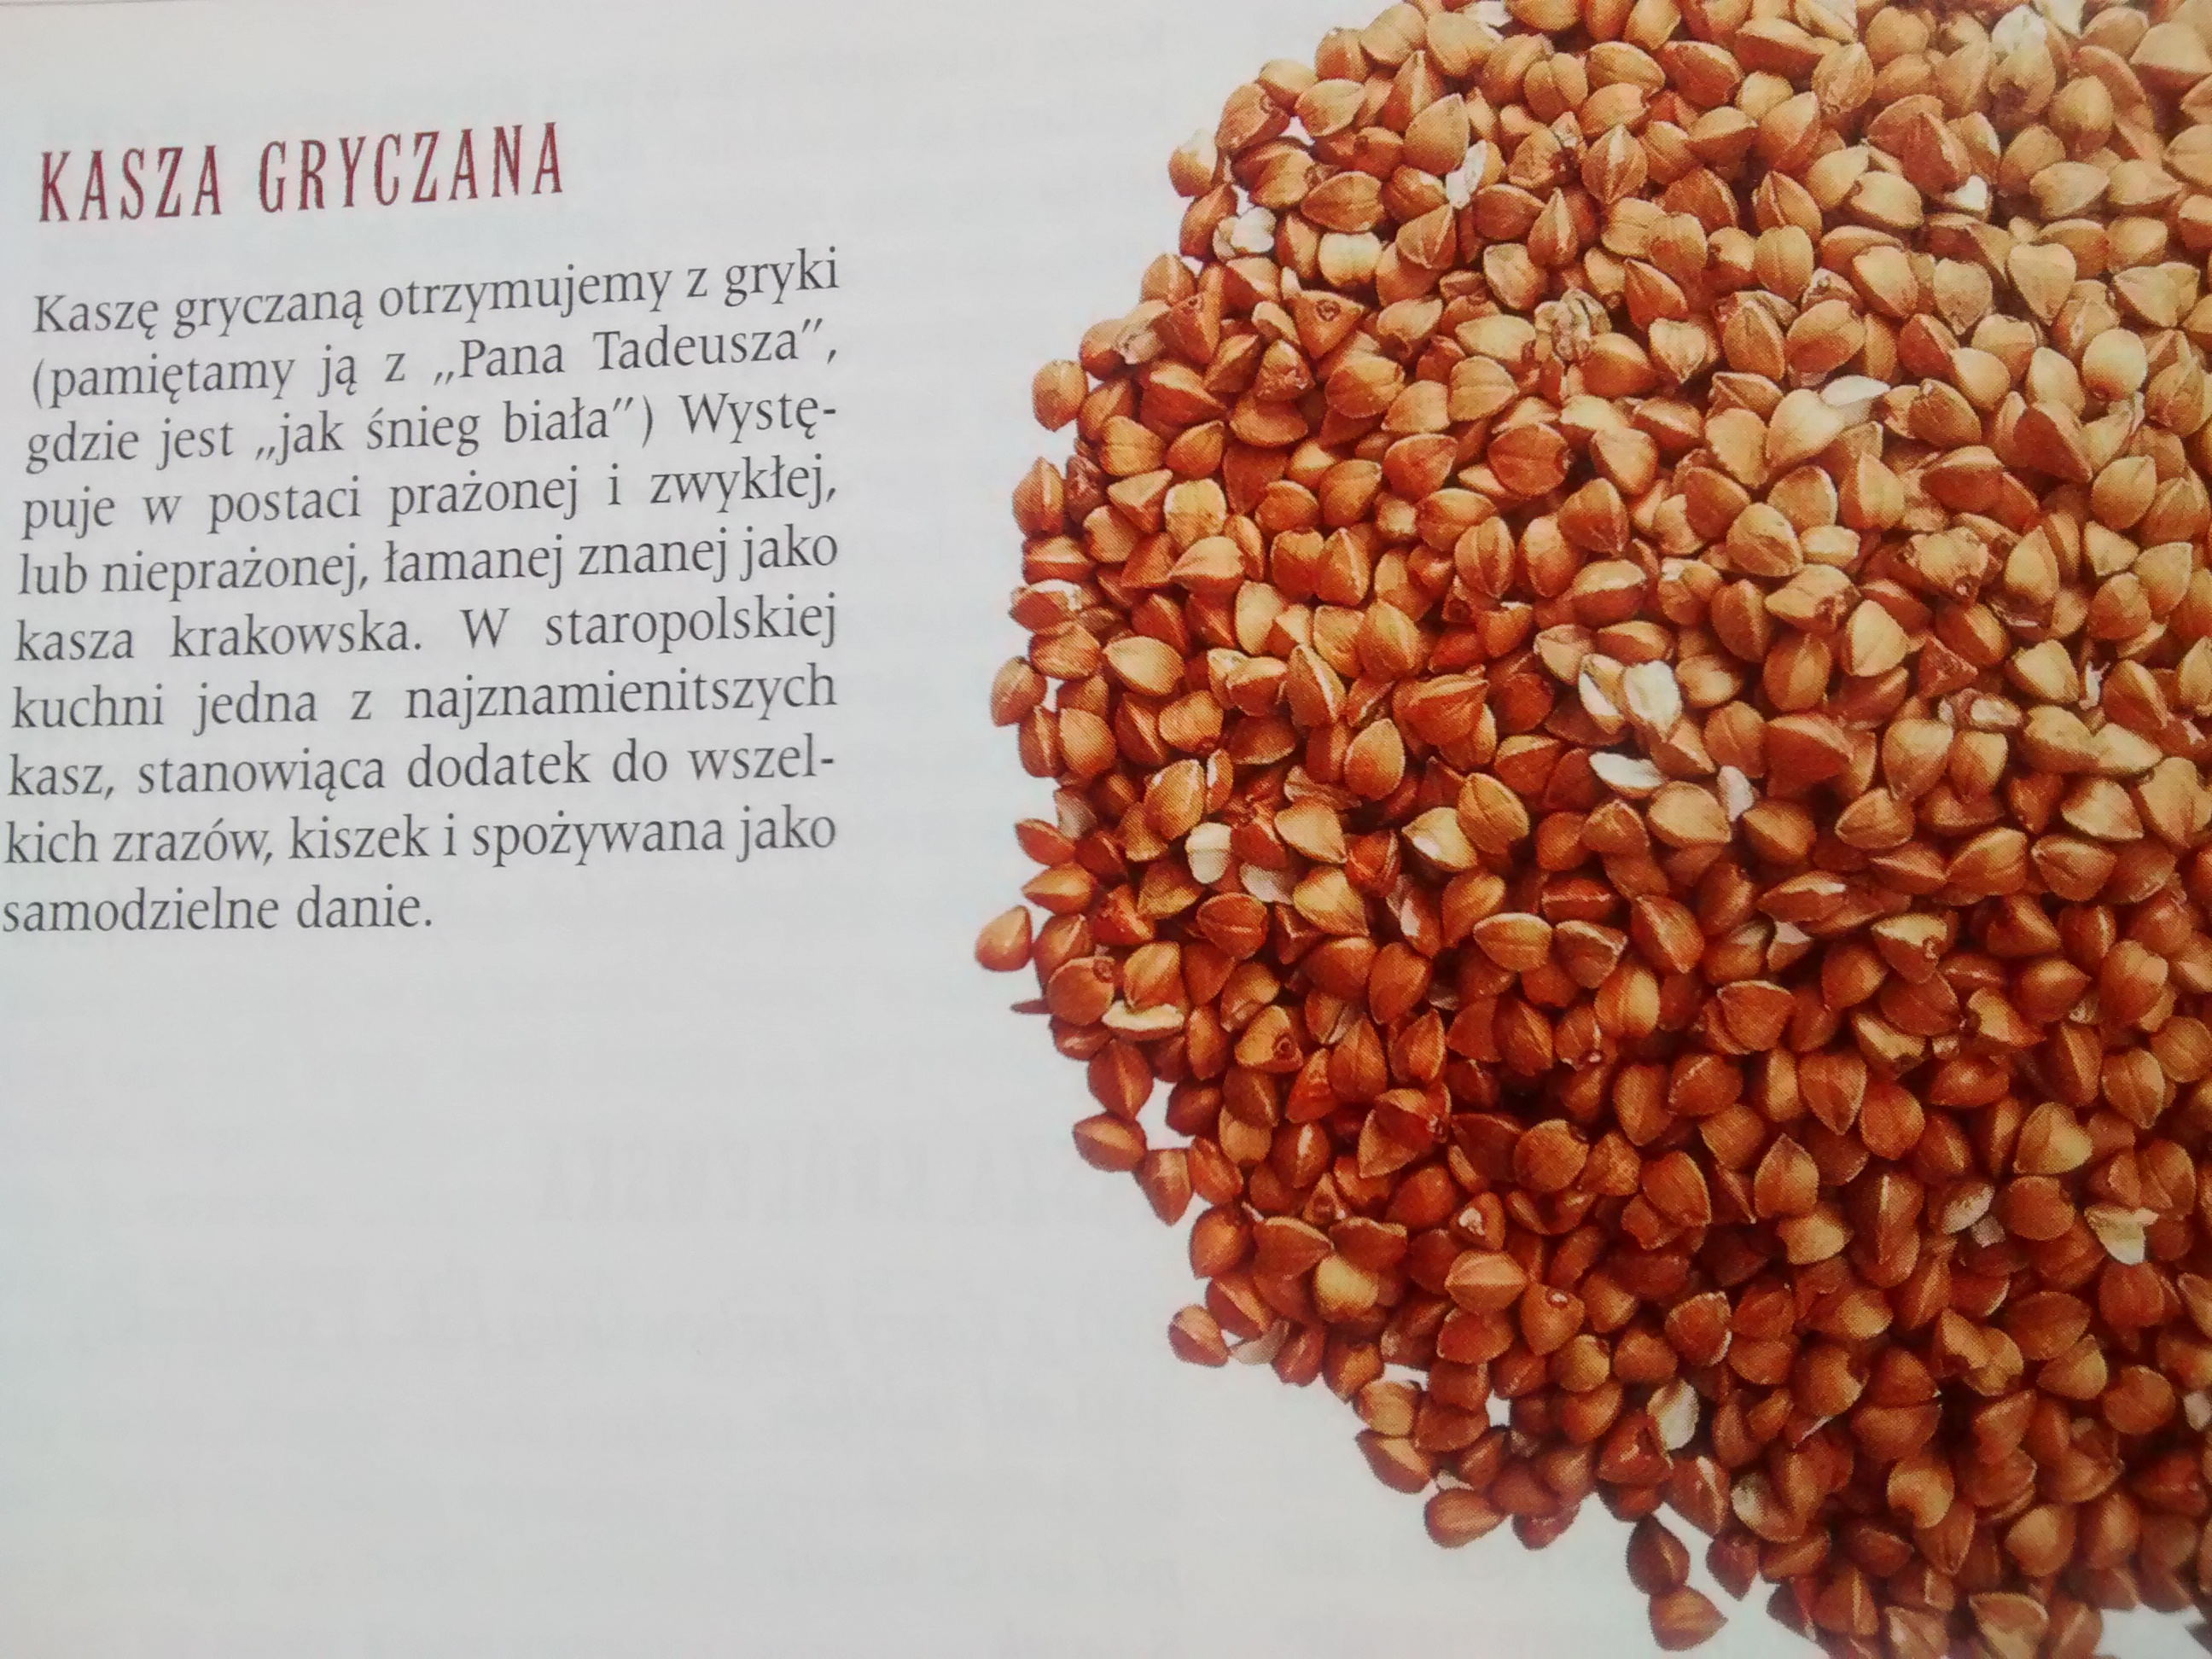
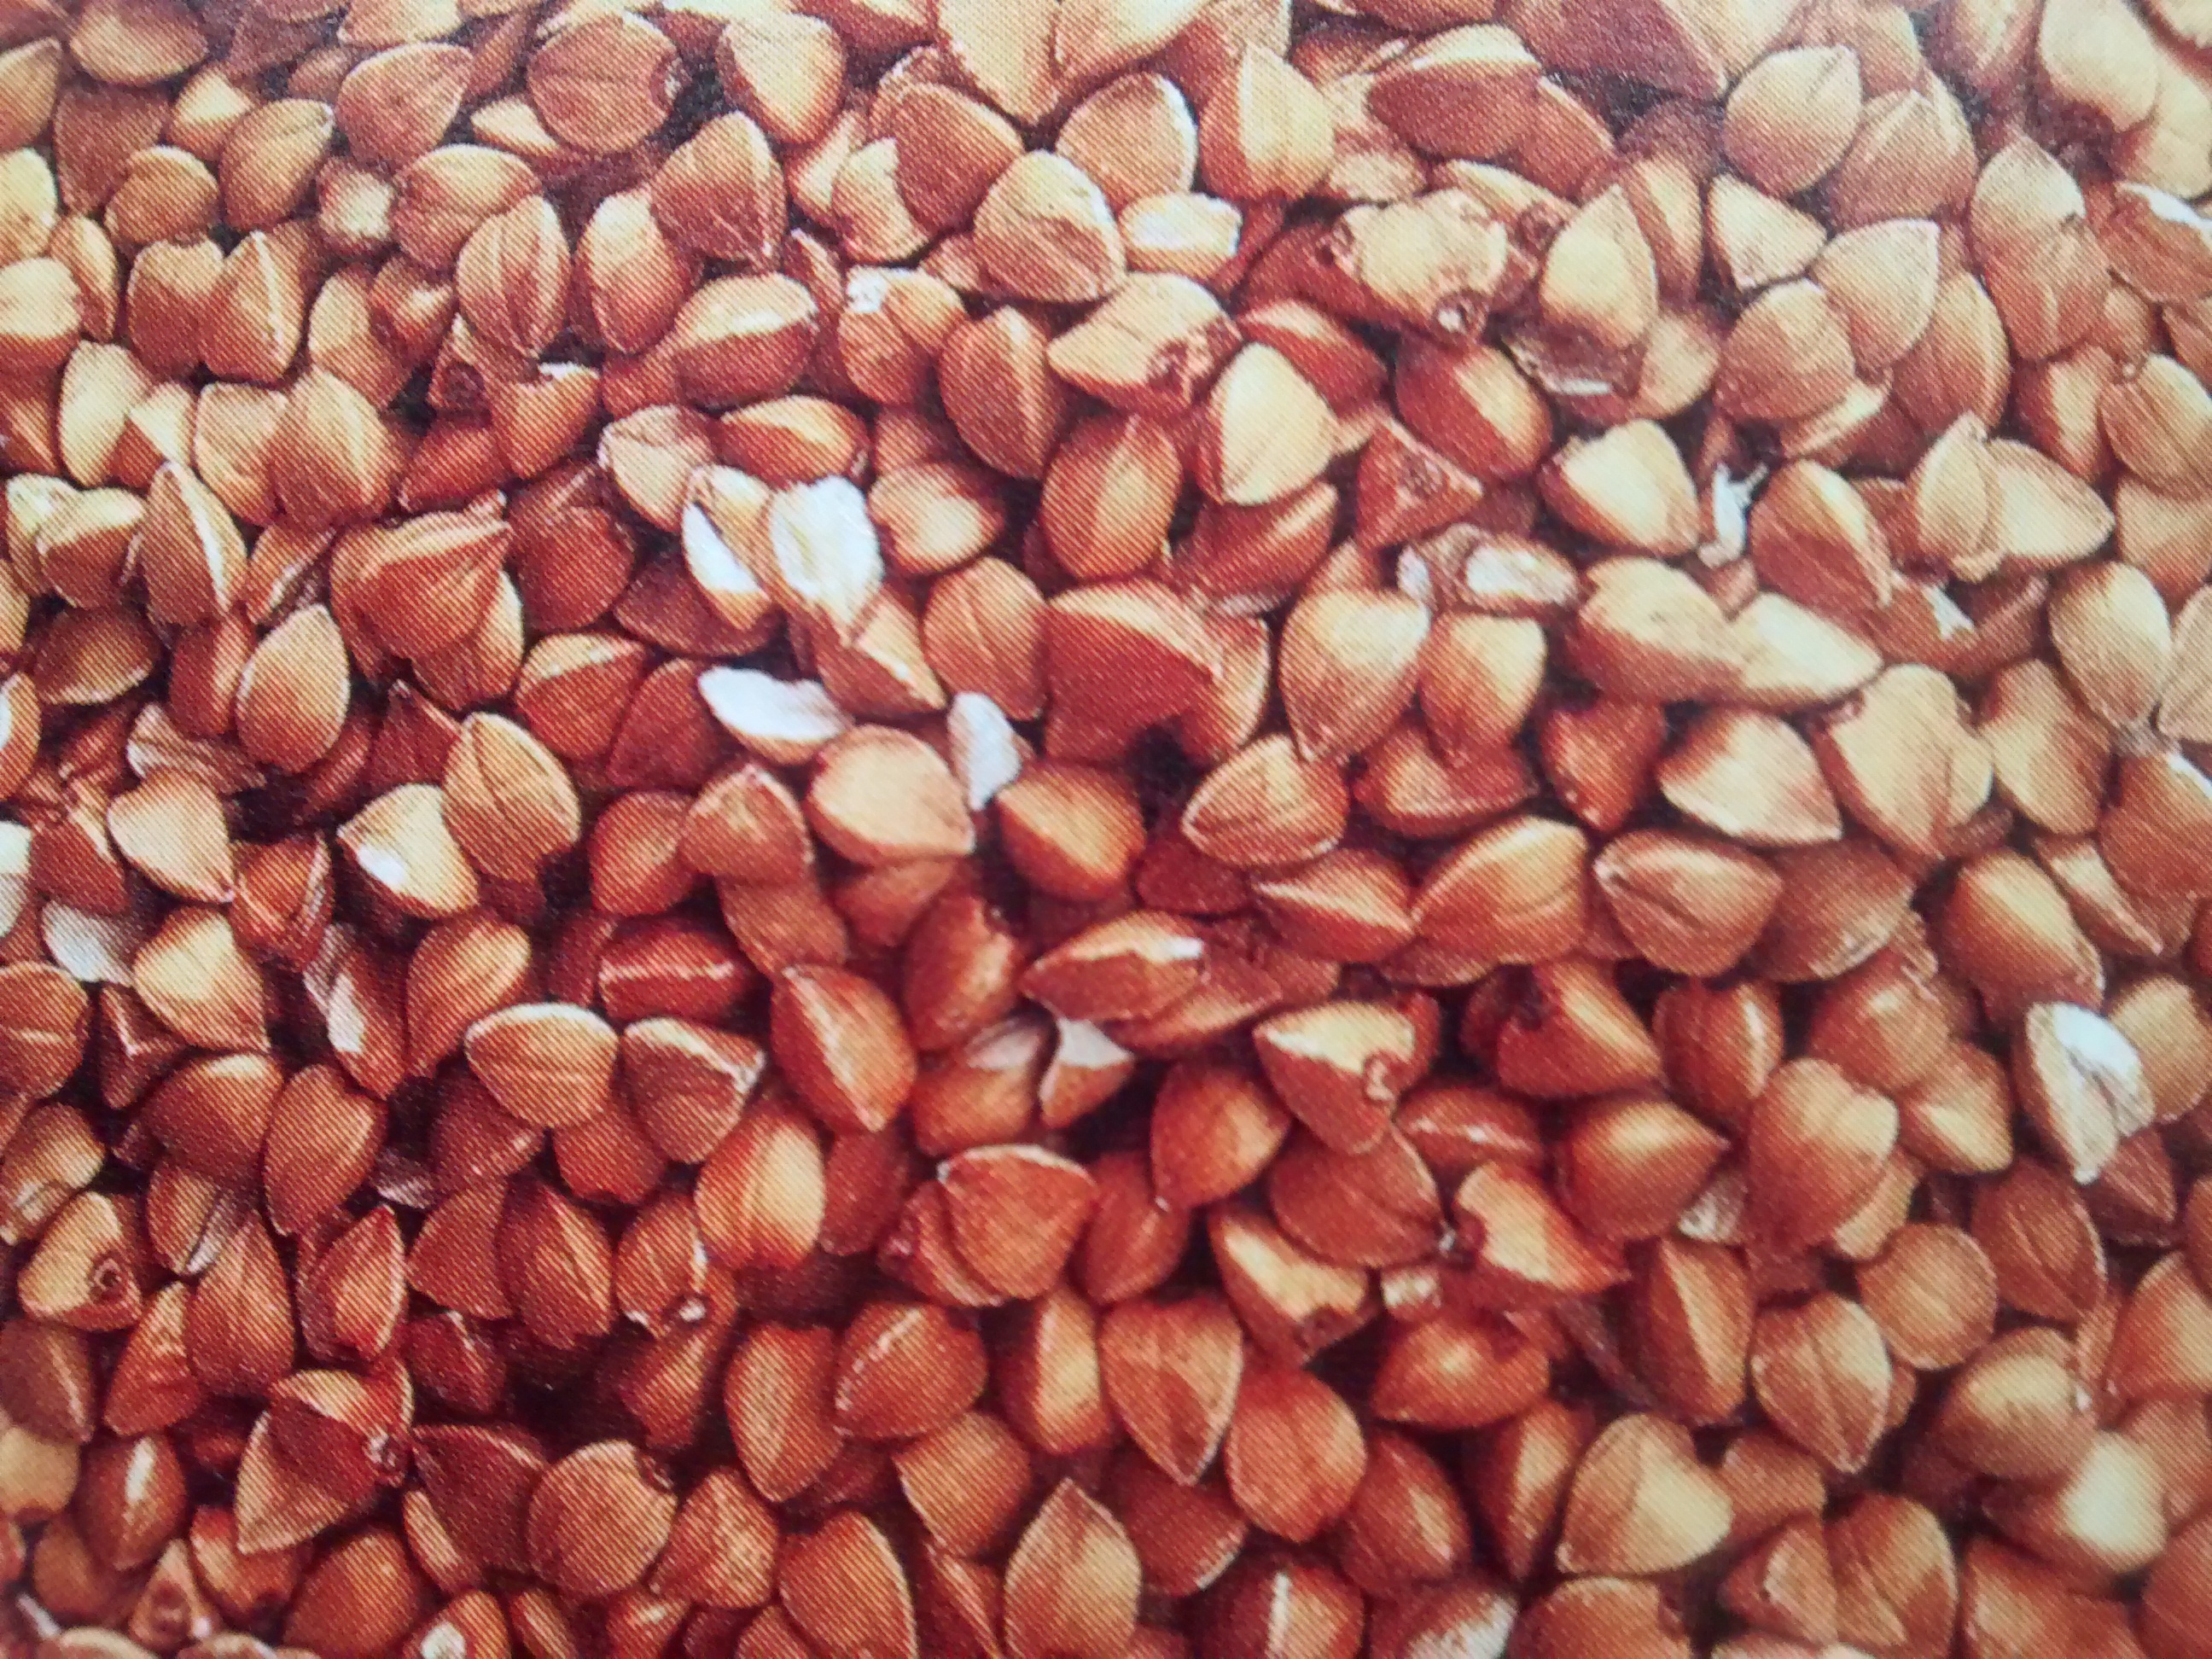
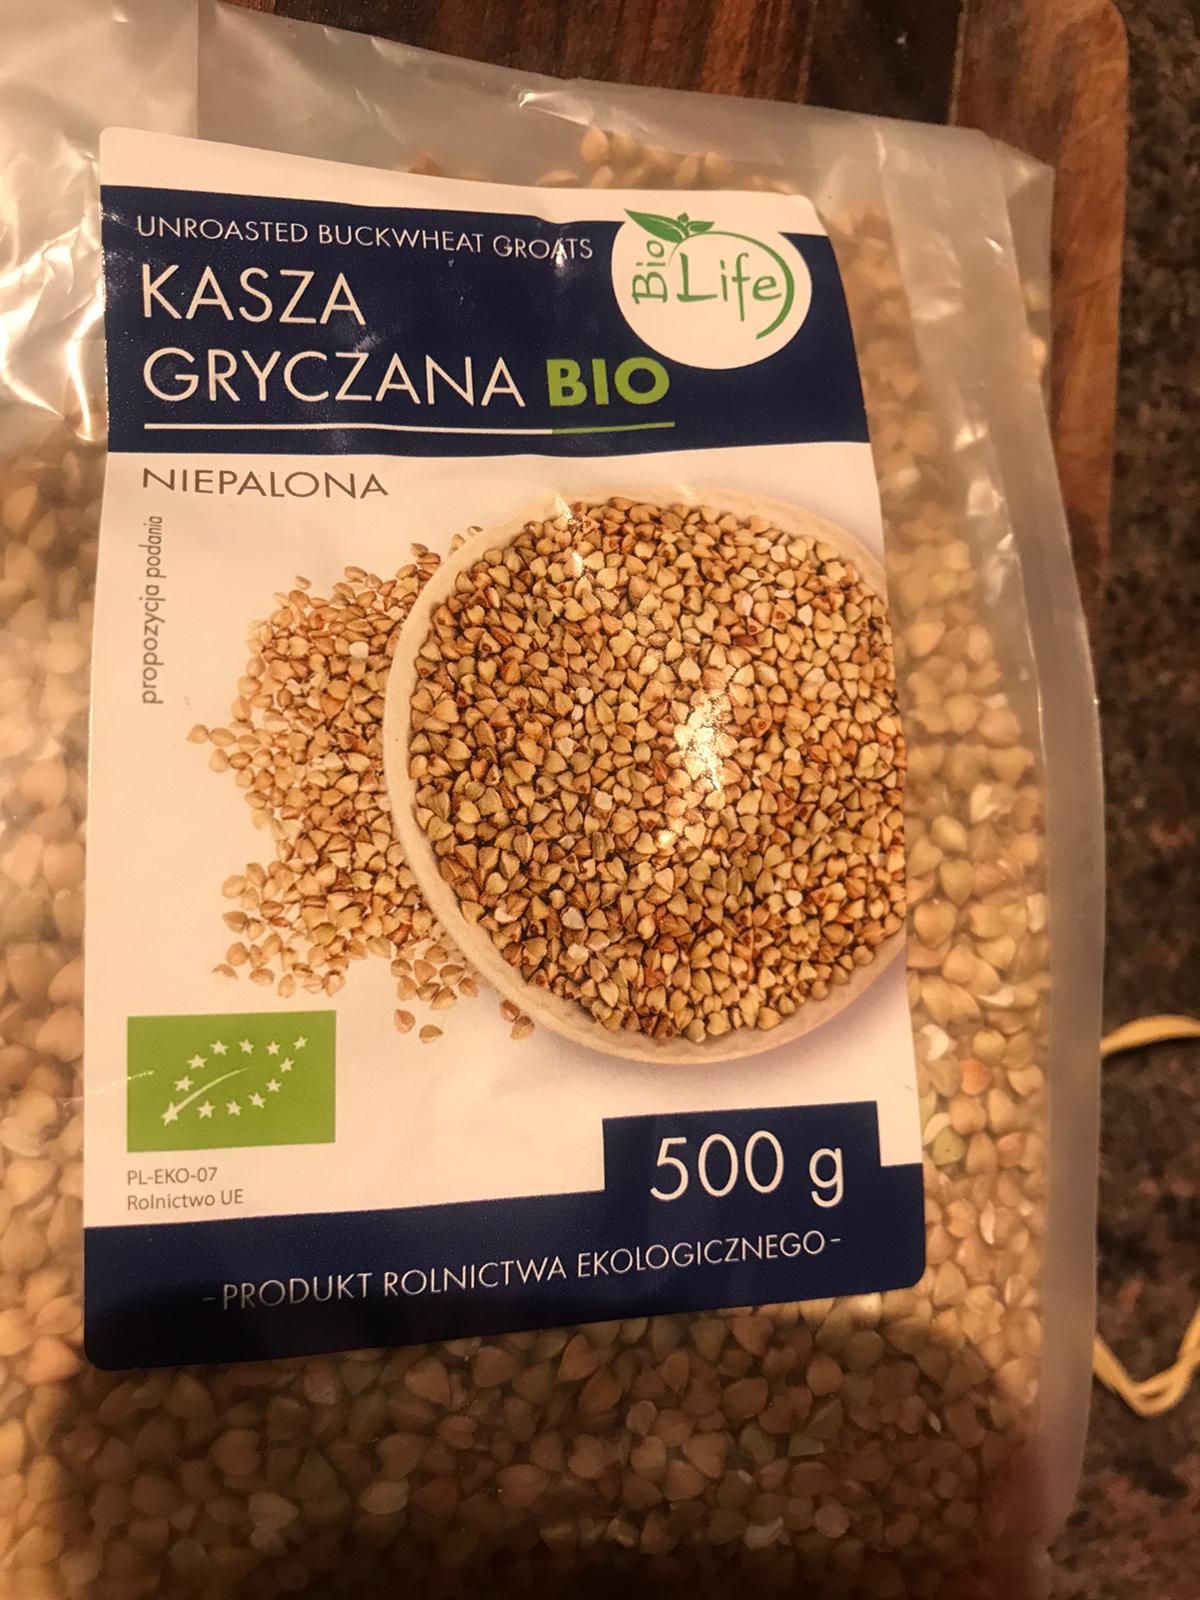
Buckwheat is not a grain but a seed – however it is classed under grains for culinary purposes.
The small triangular seeds have a strong scent which is quite distinctive.
In the United States – they are called groats.
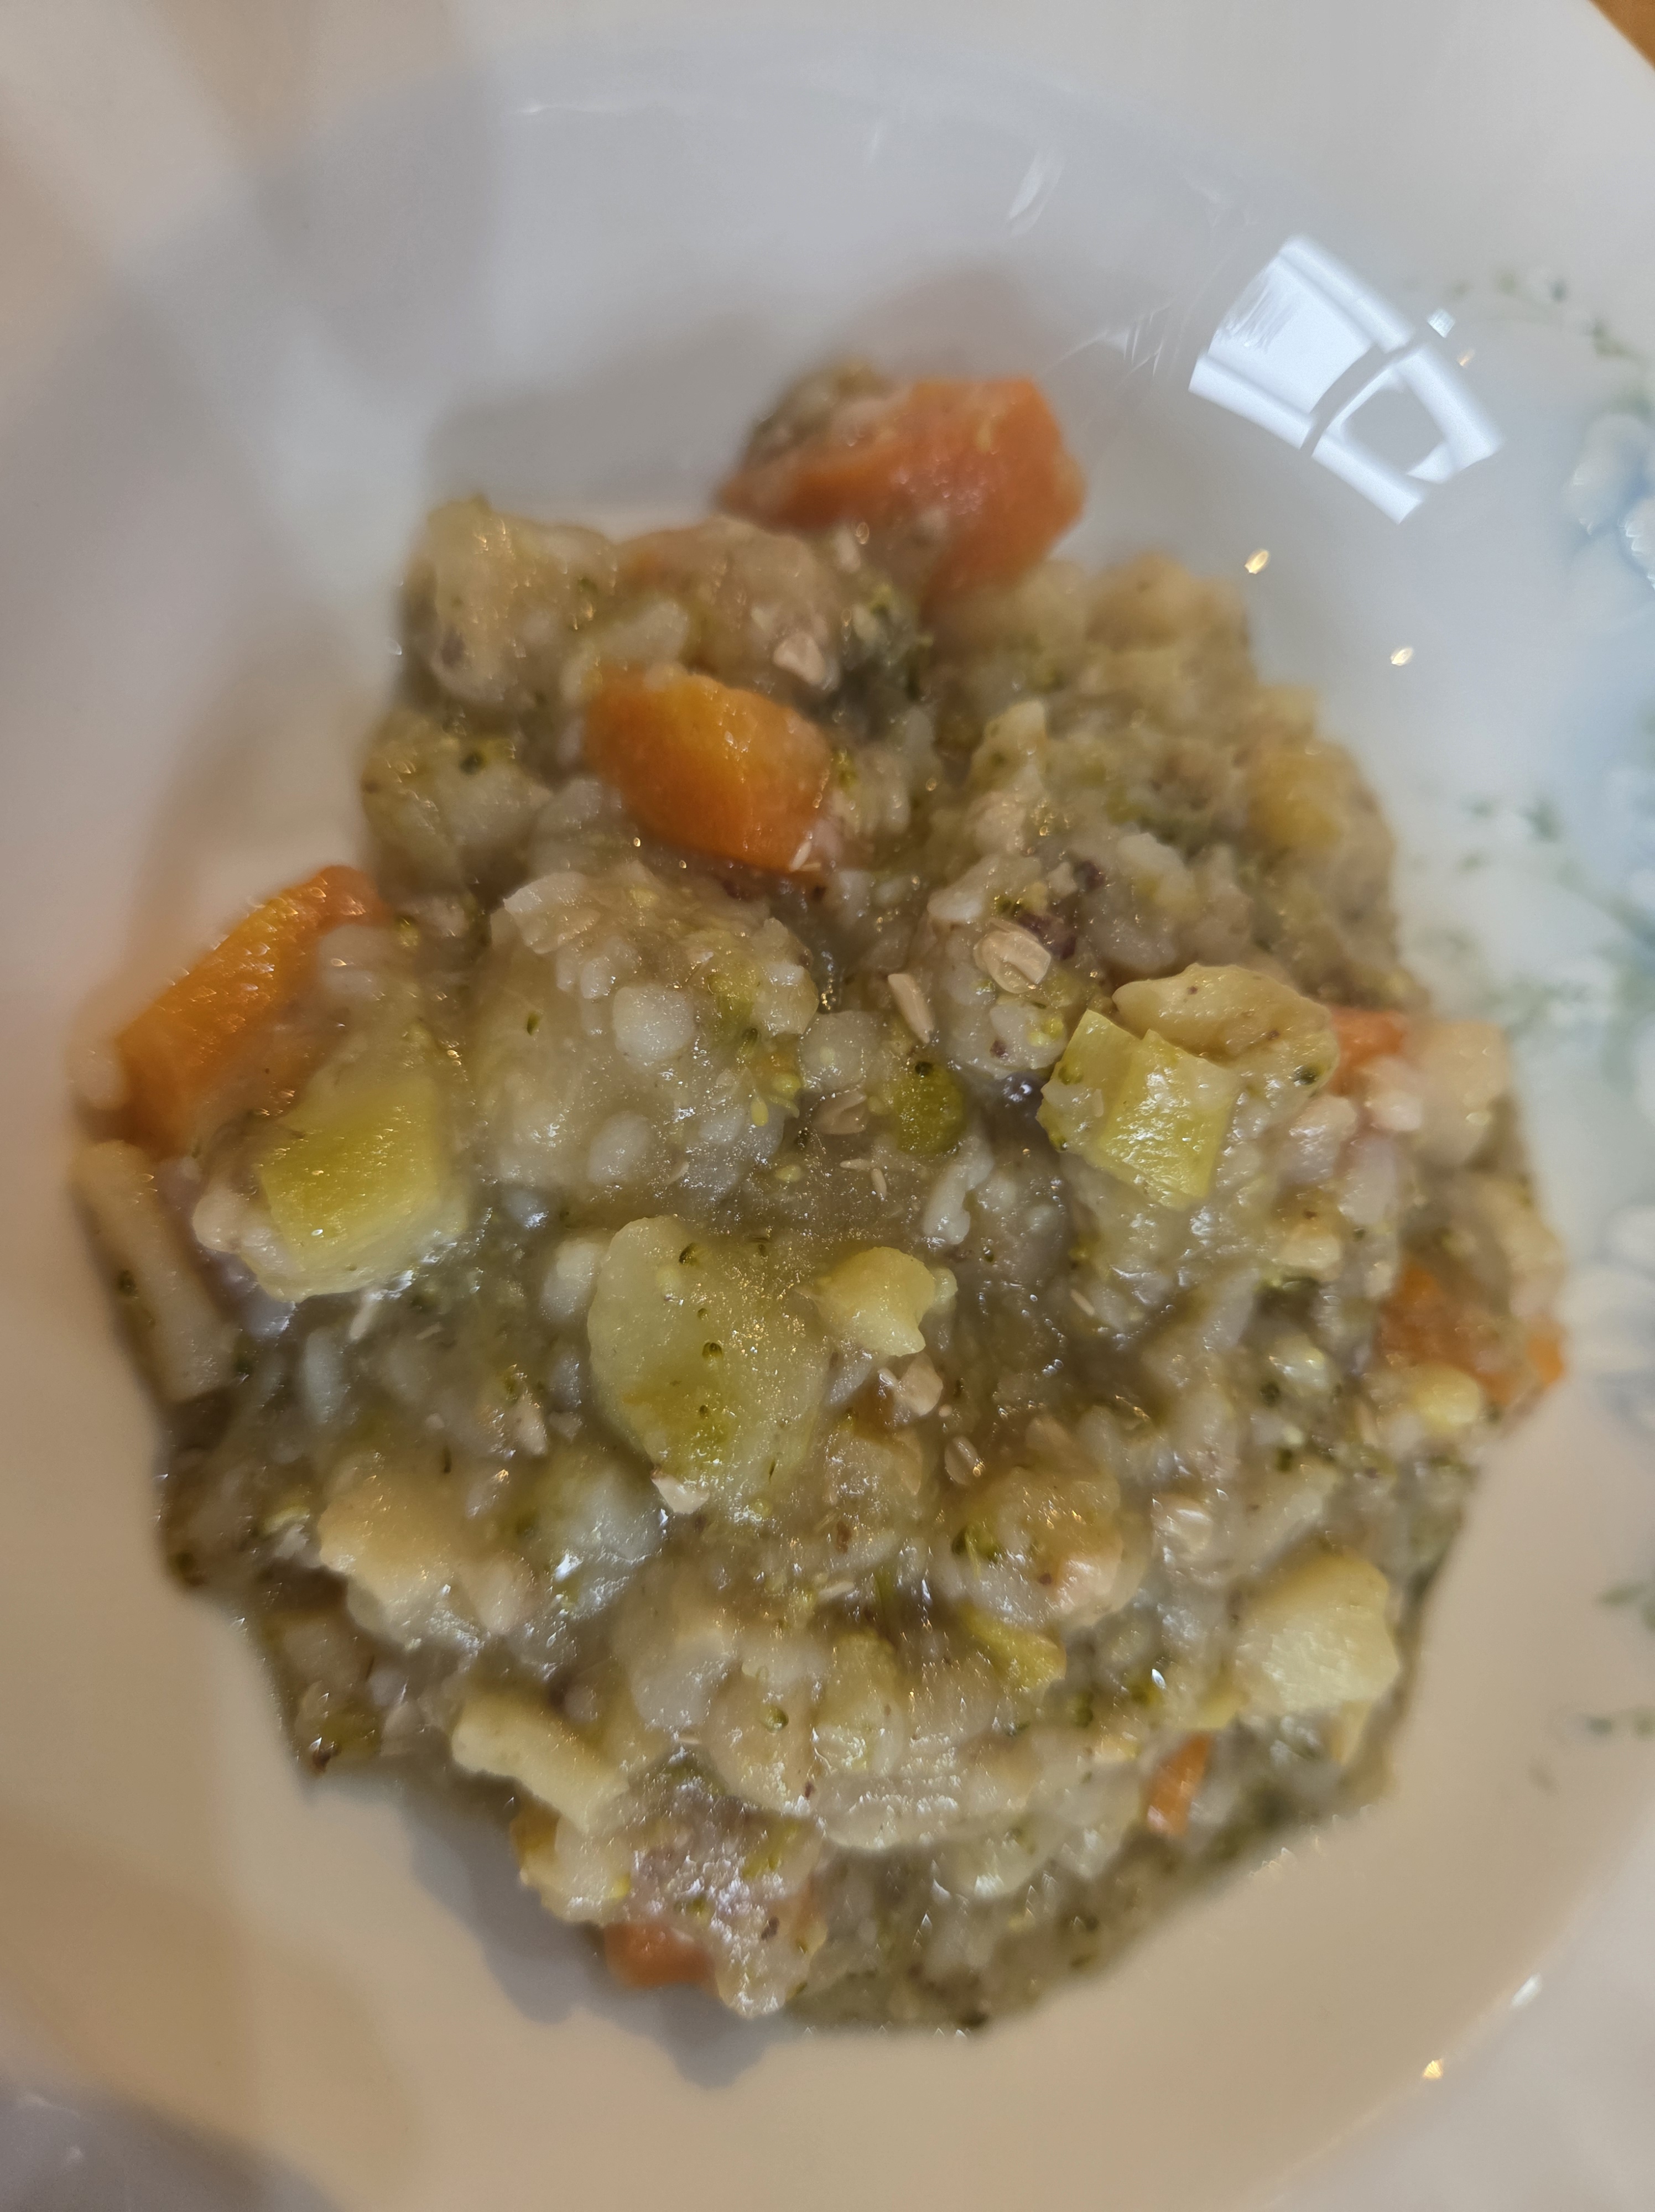
Kasza – porridge – is very popular in Poland and refers to grains or seeds boiled in water or milk – usually served salted – rather than sweet.
Kasza gryczanna is cooked buckwheat and was eaten in Poland long before the introduction of the potato in the 18th century
You can get buckwheat grains which are roasted or not roasted.
You can get loose grains & if you are cooking these you need twice as much water by volume as the buckwheat and you simmer this gently with a lid on the pan, until all the water is absorbed.
Then add a large knob of butter (or bacon fat) and place this in an oven-proof dish with a lid or covered in foil and placed in a low oven for at least 20 minutes.
Note
In olden times the dish could be covered with a pillow or small duvet to keep it warm for hours – so it could be prepared early on for eating later.
This is similar to using a hay box which was much used in England in earlier times.
An easy way of cooking the buckwheat is to use the boil in the bag method.
You can buy packets of buckwheat which come in 4 x 100g perforated bags.
Place the bag in 1 litre of salted boiling water and simmer with the lid on for 15 minutes.
Then empty the grains out of the bag and add a large knob of butter and place this in an oven-proof dish with a lid or covered in foil and place in a low oven for at least 20 minutes.
Because of the distinctive strong taste of the buckwheat it is best served with food with “robust” flavours such as beef or pork gulasz.
You can reheat the boiled buckwheat by frying it gently in butter, with fried onion or with skwarki*.
*Skwarki
Skwarki are crisp smoked bacon bits. My mother would use streaky bacon and cut this into little squares and heat them in a frying pan so all the fat would come out.
Other people might use a more fatty, smoked belly pork to make skwarki.
This smoked streaky bacon was quite lean!
Are lardons the same as skwarki?
I have been trying to get a definitive answer to this for ages!
Well – Yes & No or They can be!
As I understand it lardons are cubes of pork belly which may or may not be smoked.
Swarki for me will always be smoked and the pieces are small flat pieces rather than cubed.
Buckwheat (Fagopyrum tataricum) is used very much in Polish cookery as the plant grows well in a cold climate. Buckwheat requires a well drained soil but without too much fertiliser – lots of fertiliser reduces the yield. It is not in fact a grass or cereal crop but the flour is used in much the same way as wheat.
Buckwheat is related to sorrel and rhubarb and has small triangular seeds. The plant originated in South East Asia and then was brought to Europe.
I have read that it came to Poland via Manchuria and Siberia but the Polish word for buckwheat – grykaindicates that it came from the Greeks – I have also read that the plant was brought to areas of what are now Eastern Poland, Russia & the Ukraine in the 7th century by Byzantine Greeks.
Another regional word used in Polish for buckwheat is hreczka – this again suggests a Greek origin.
Photographs from the book Kuchnia Polska by Maciej Kuroń
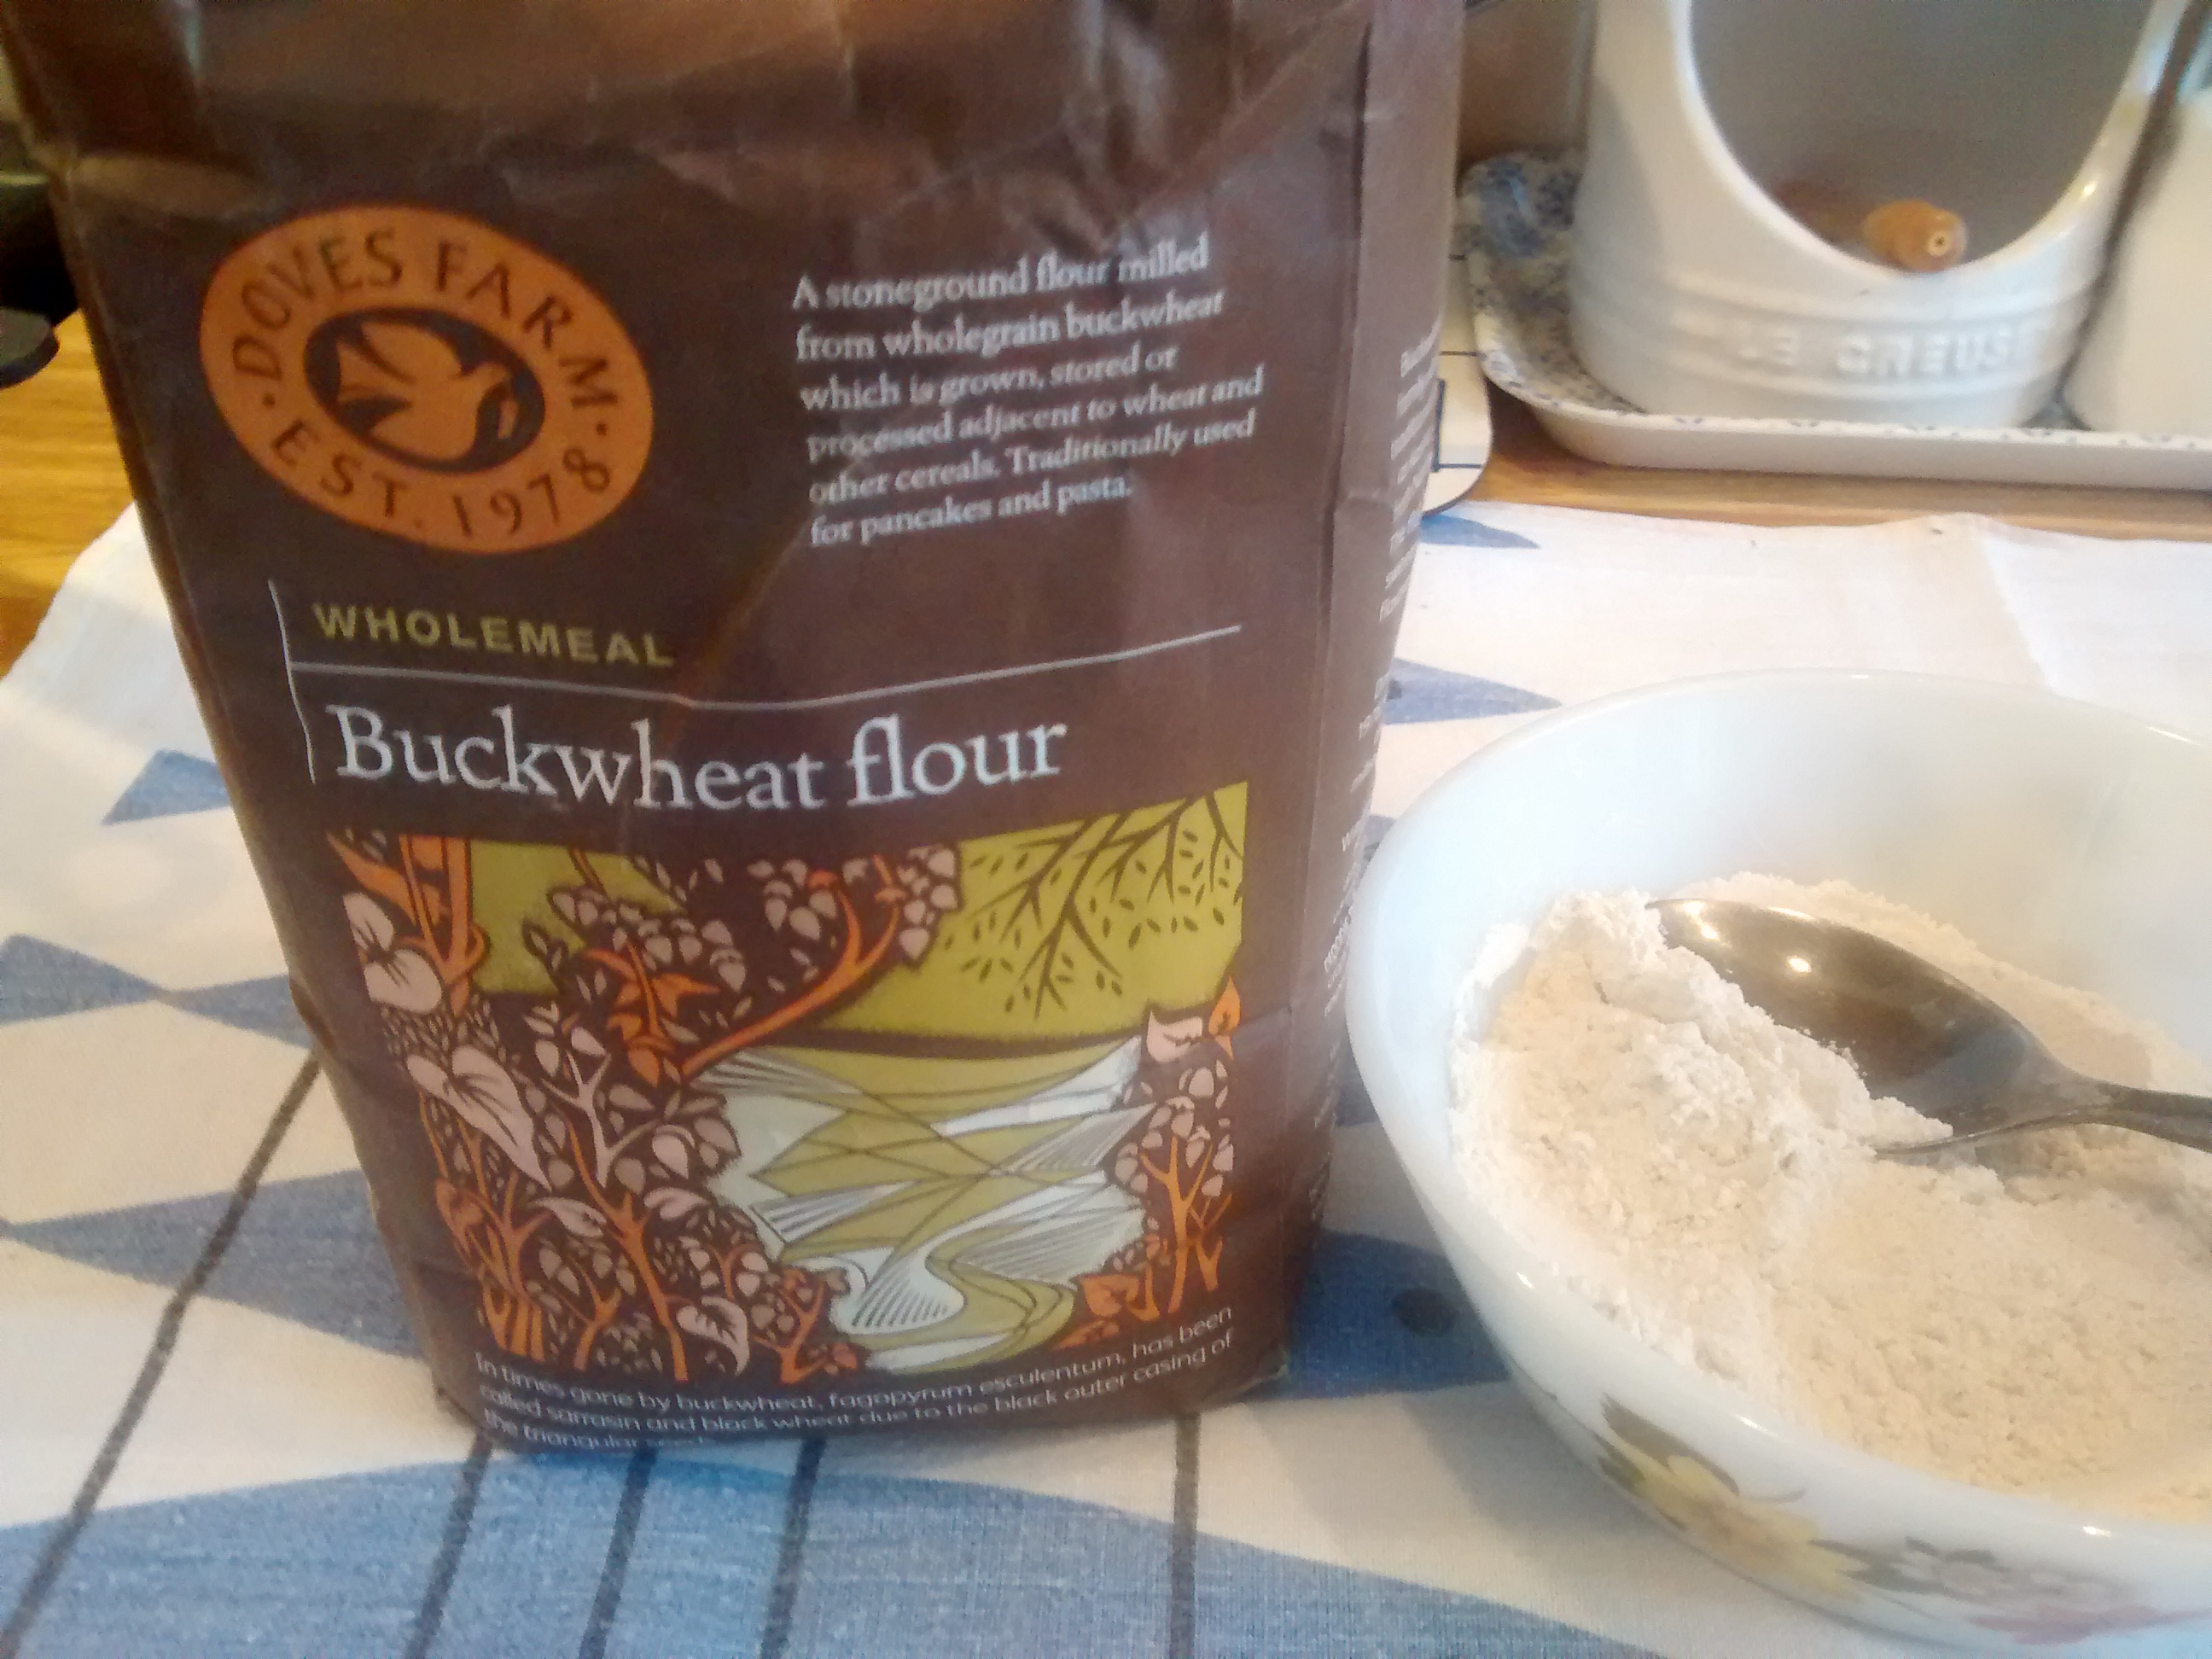
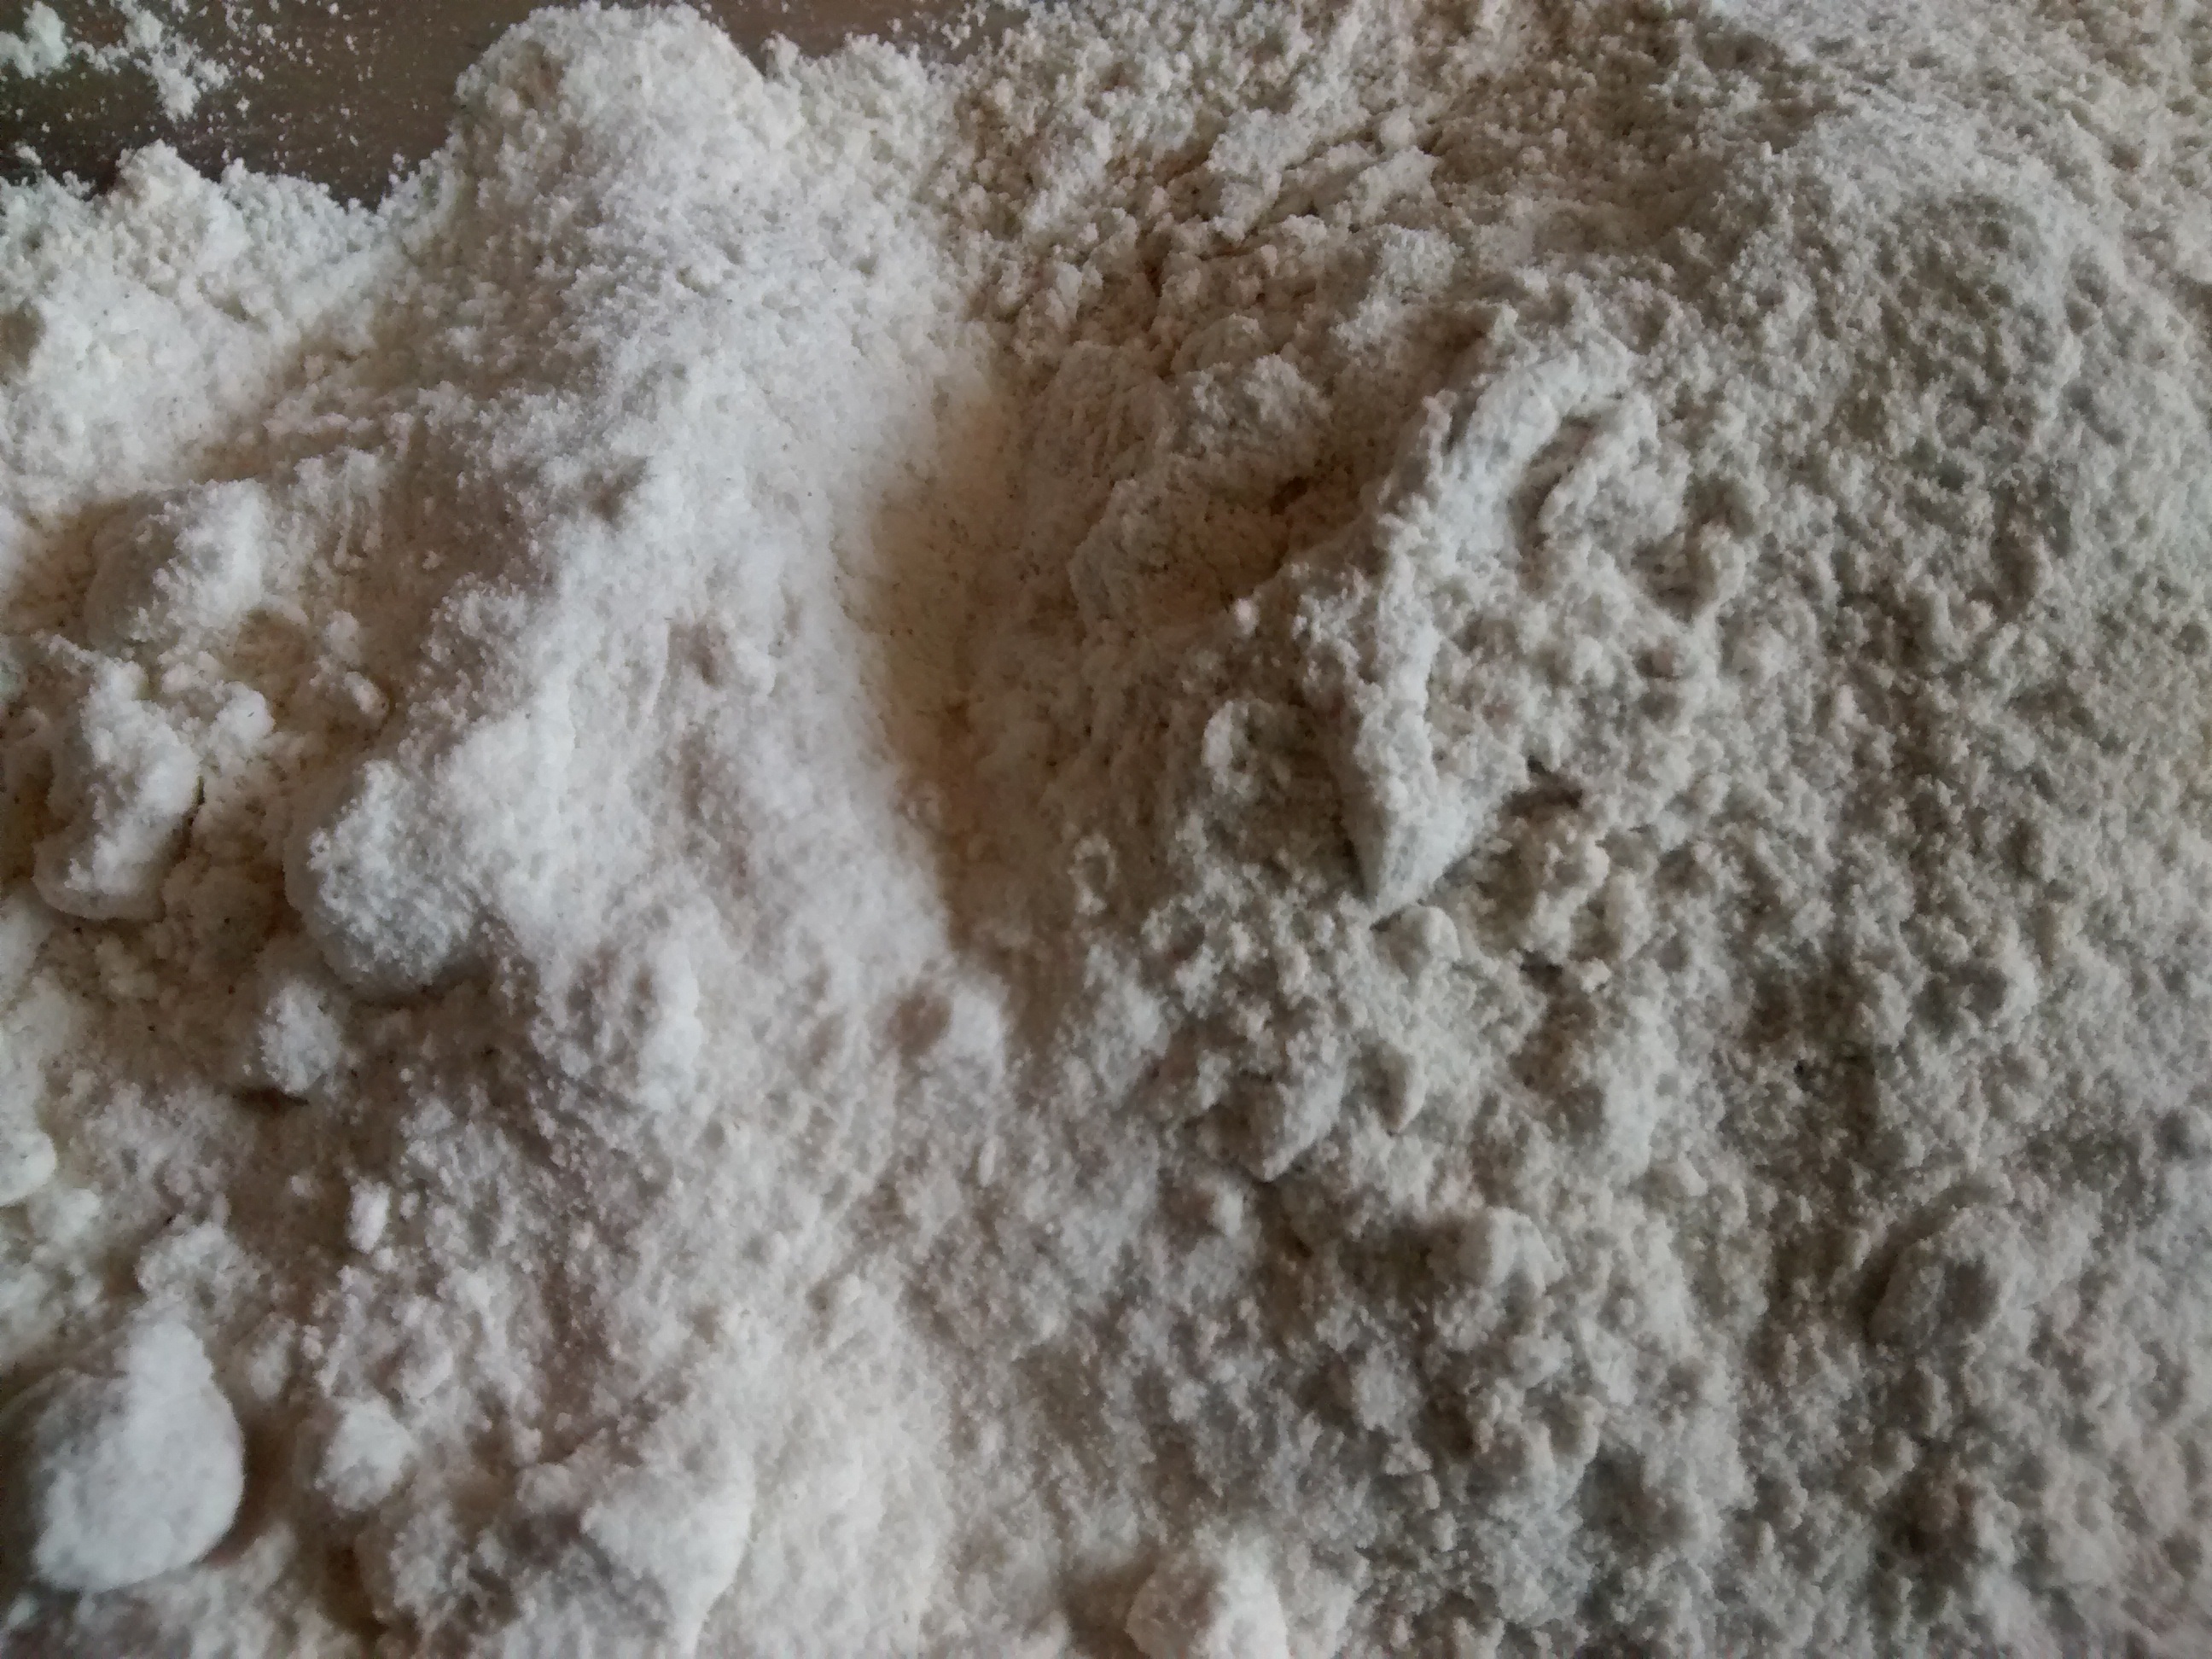
The triangular seeds have a strong scent which is quite distinctive and the flour is grey/speckled black in colour. It is mixed with wheat flour to make pancakes and bliny.
Bliny are popular in Eastern Poland and in the area called Kresy – the Eastern Borderlands – from where both my parents came as well as in the Ukraine and Russia.
The word bliny is plural – I doubt very much if the singular blin is much used!
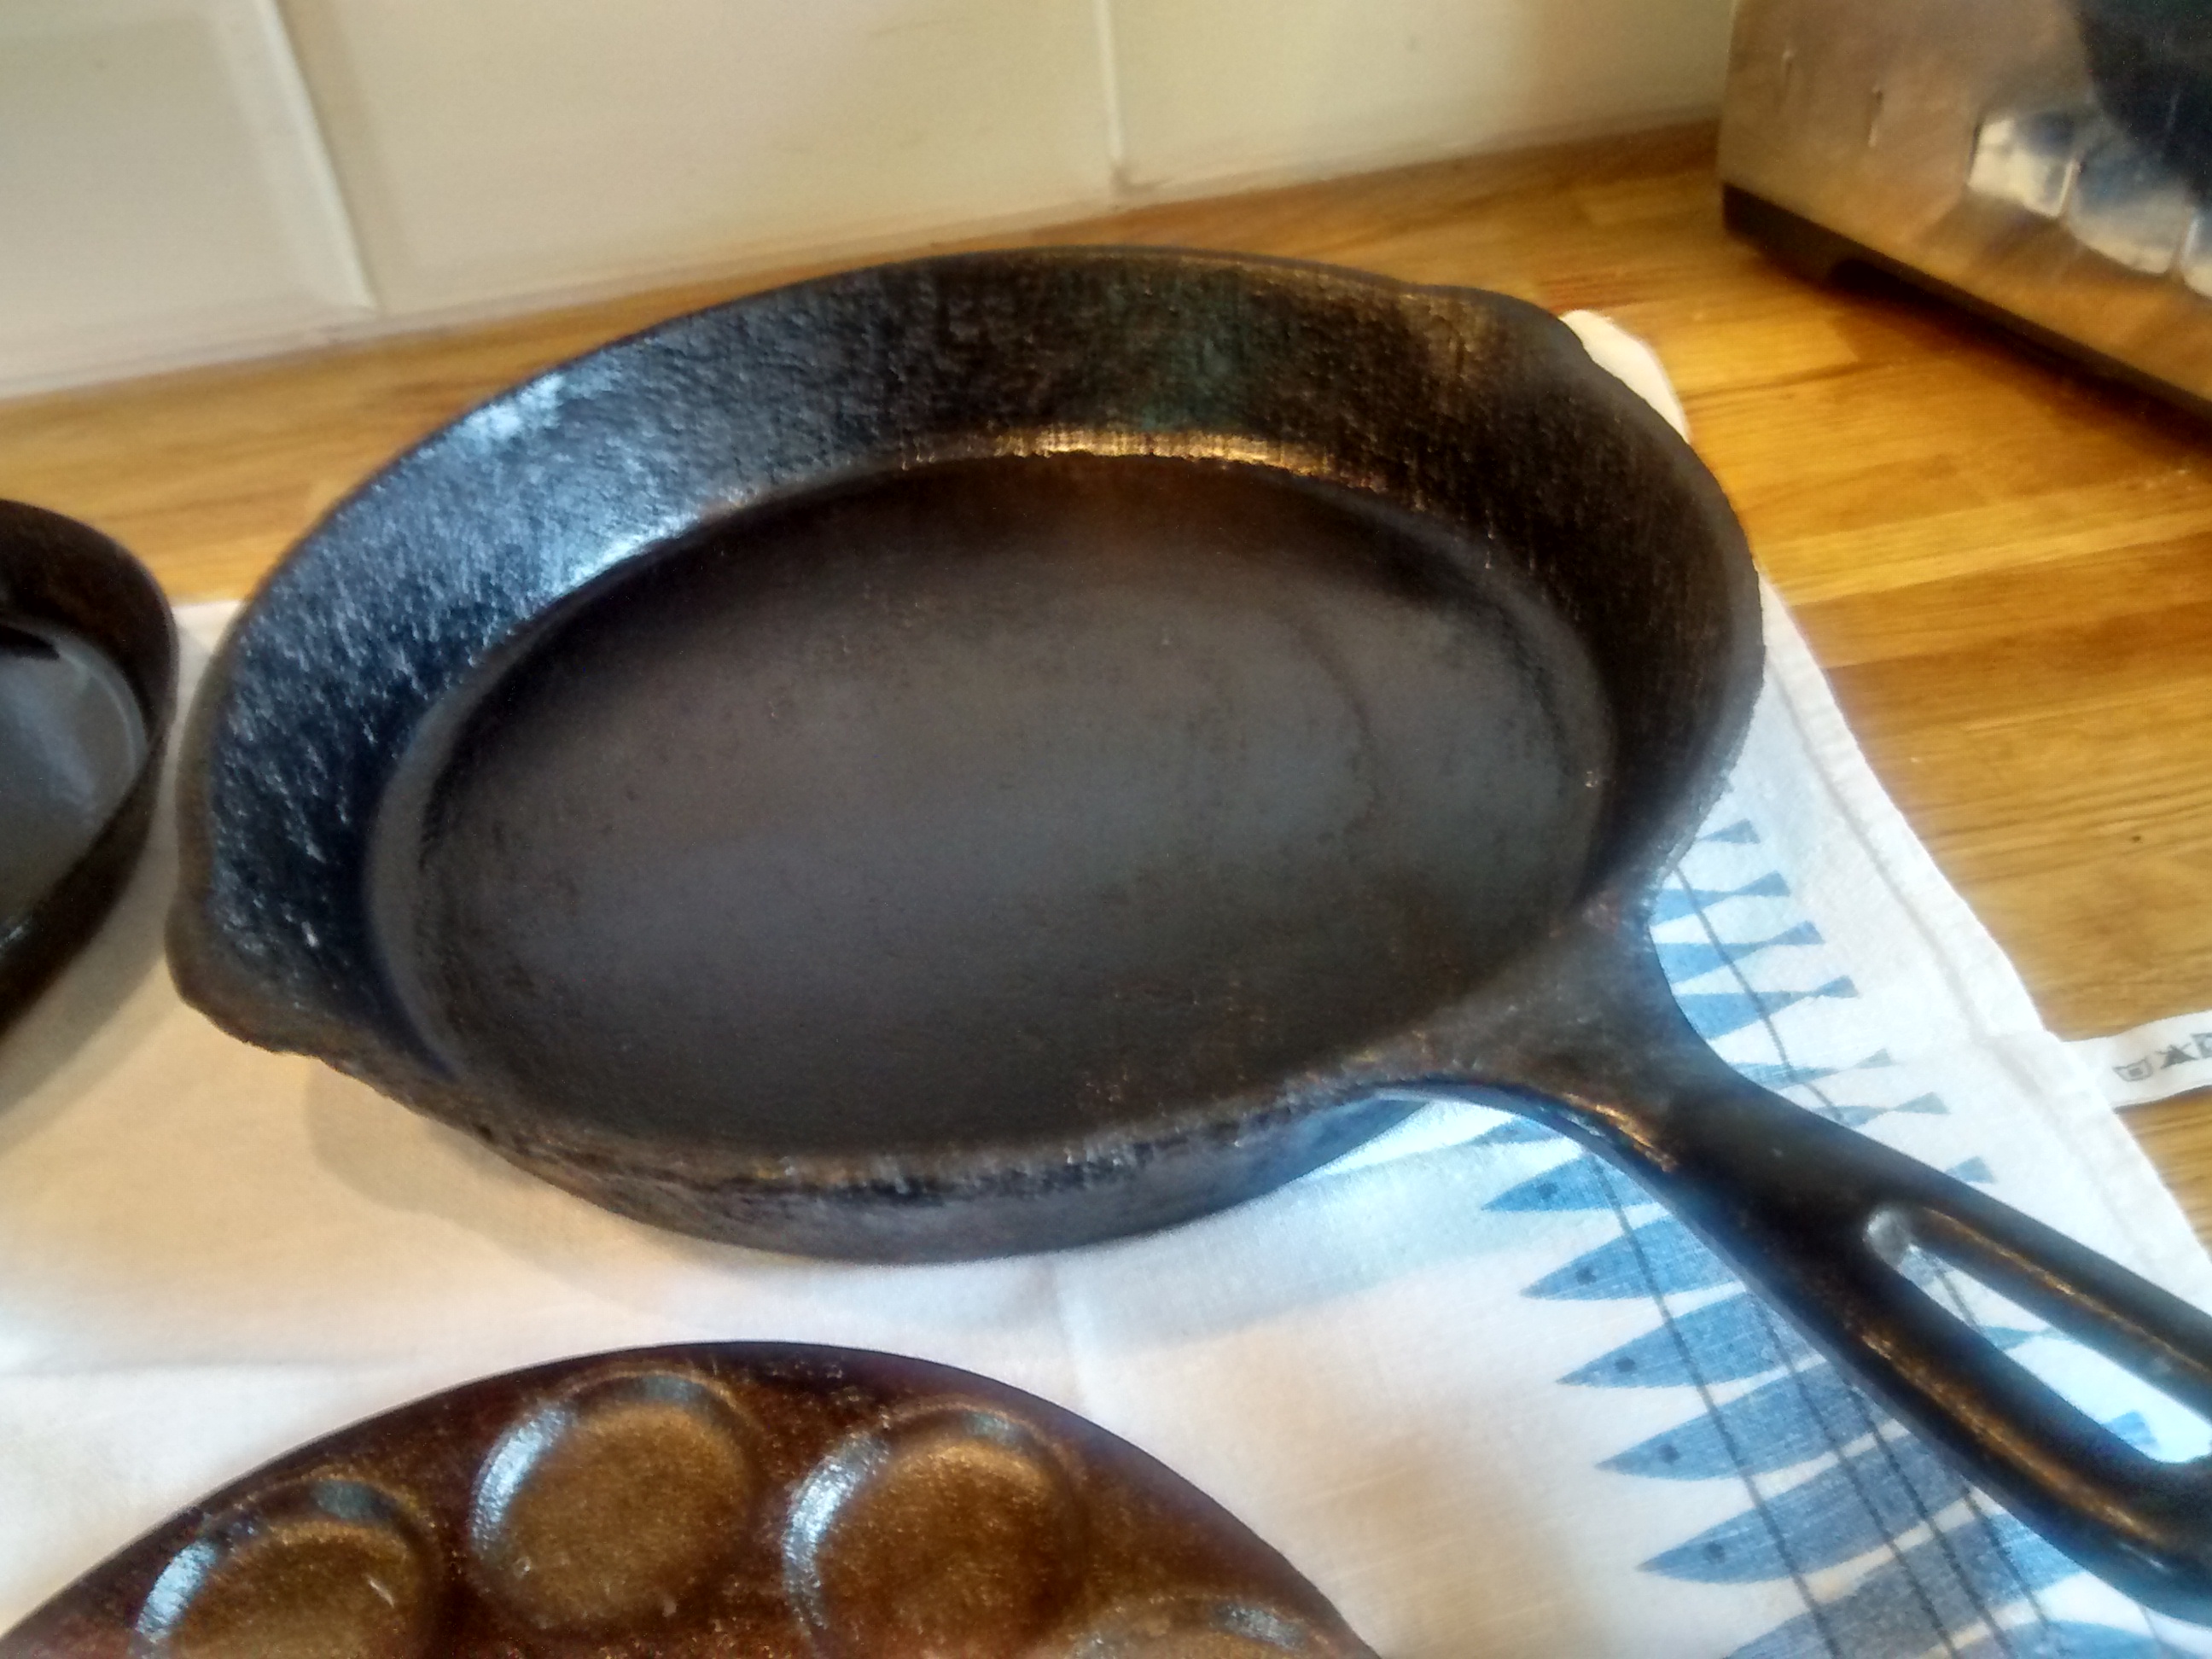
Bliny are best cooked on a griddle or a cast iron frying pan.
Bliny are small risen pancakes made using yeast they are in the American style of pancake.
Bliny can be served warm or cold – I much prefer them warm!
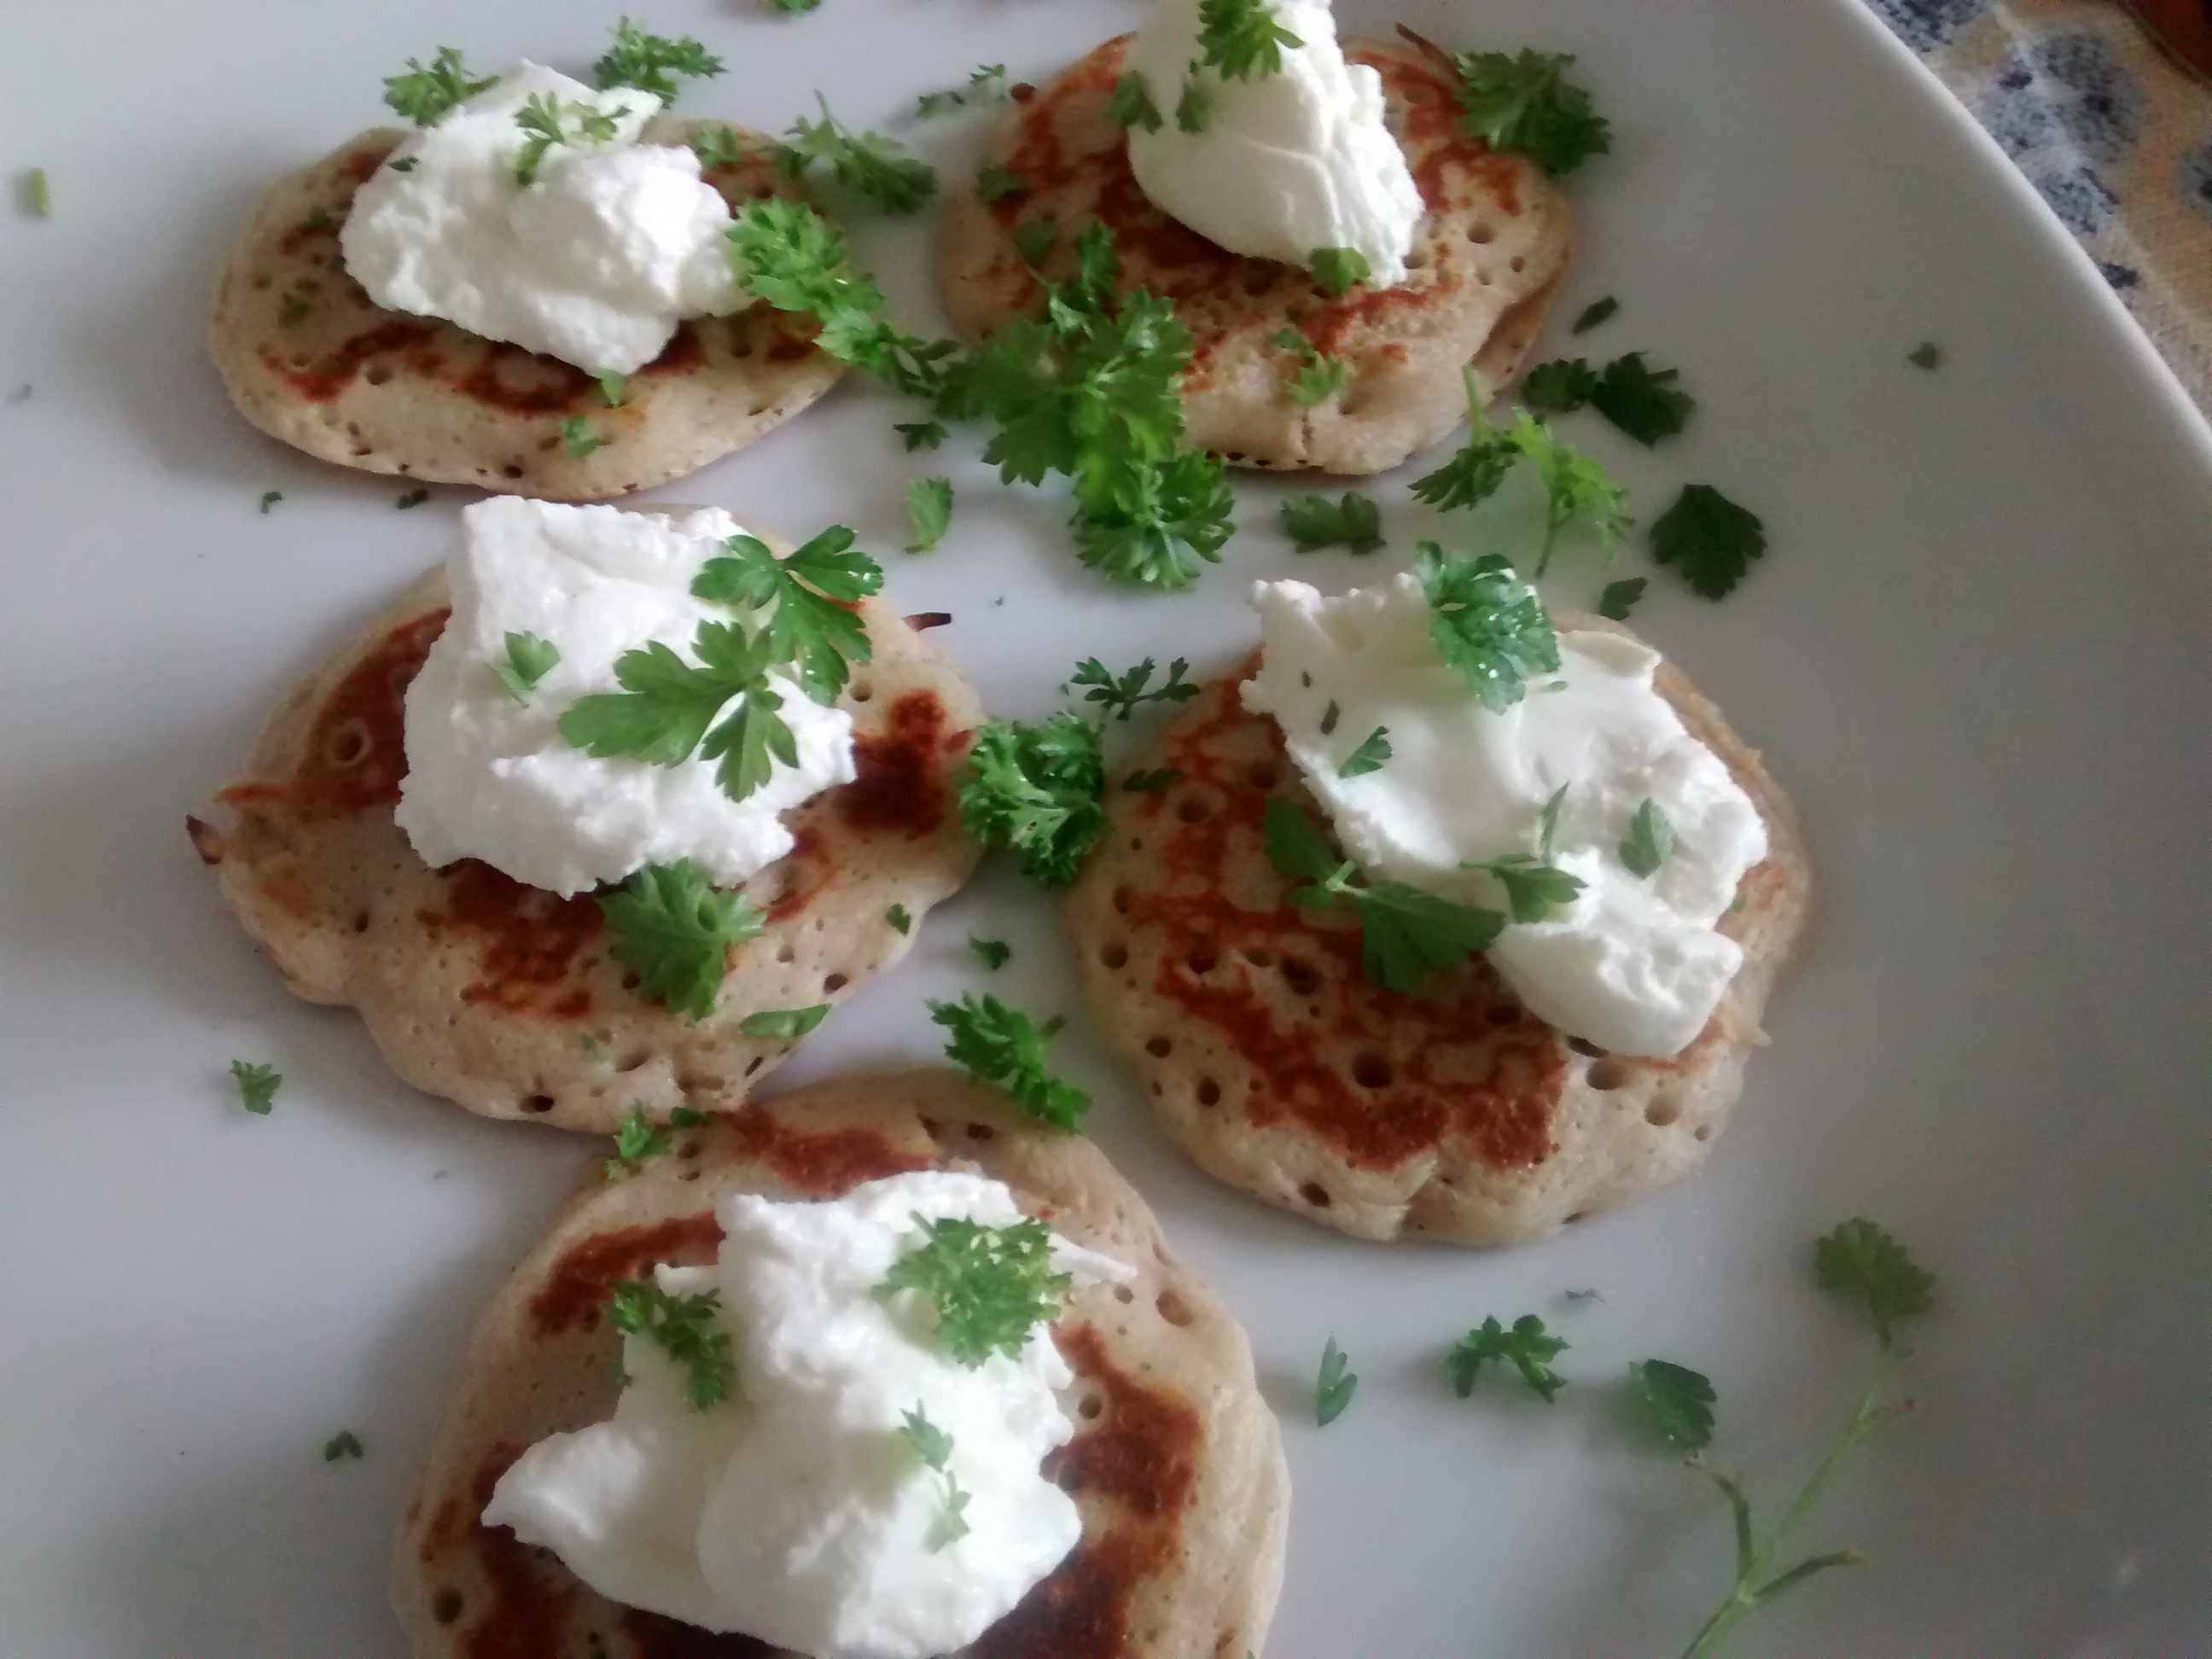
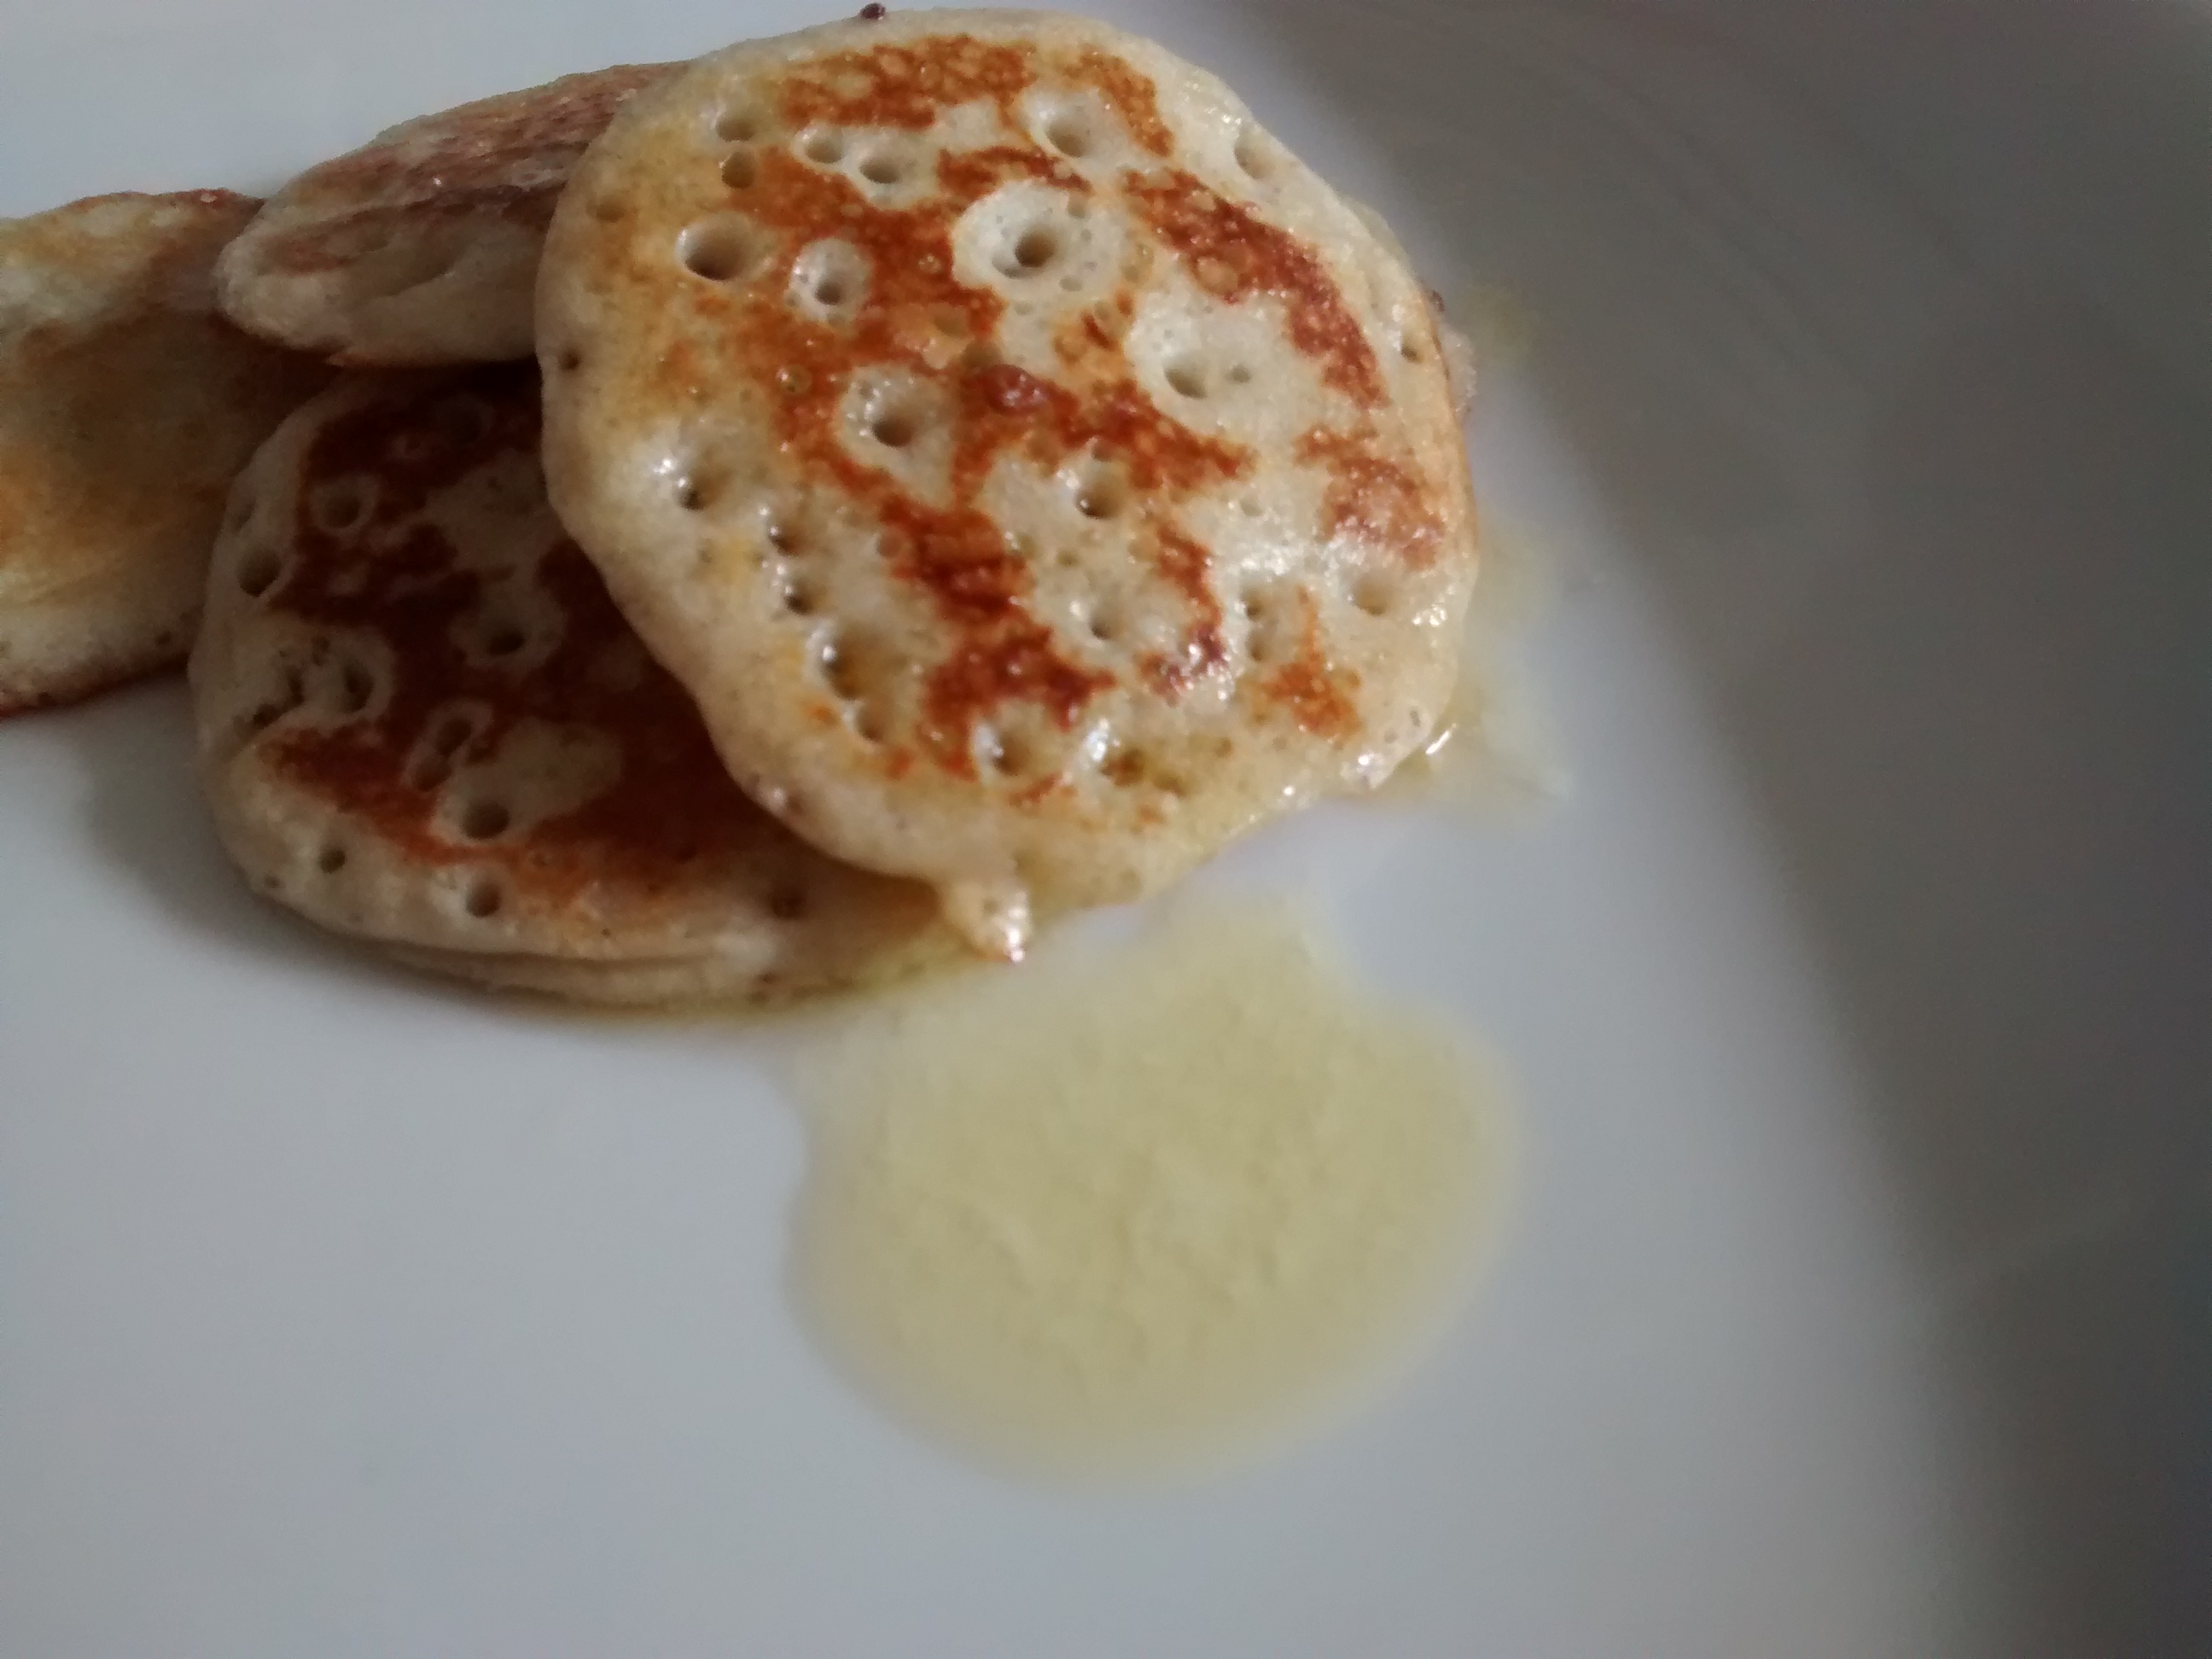
Bliny
Ingredients
80g plain flour
80g buckwheat flour
1 egg
125 ml warm milk (full or semi-skimmed)
125 ml warm water
25g fresh yeast or 1 tablespoon of dried yeast
1 tablespoon of sugar
1 tablespoon of melted butter
Pinch of salt
Method
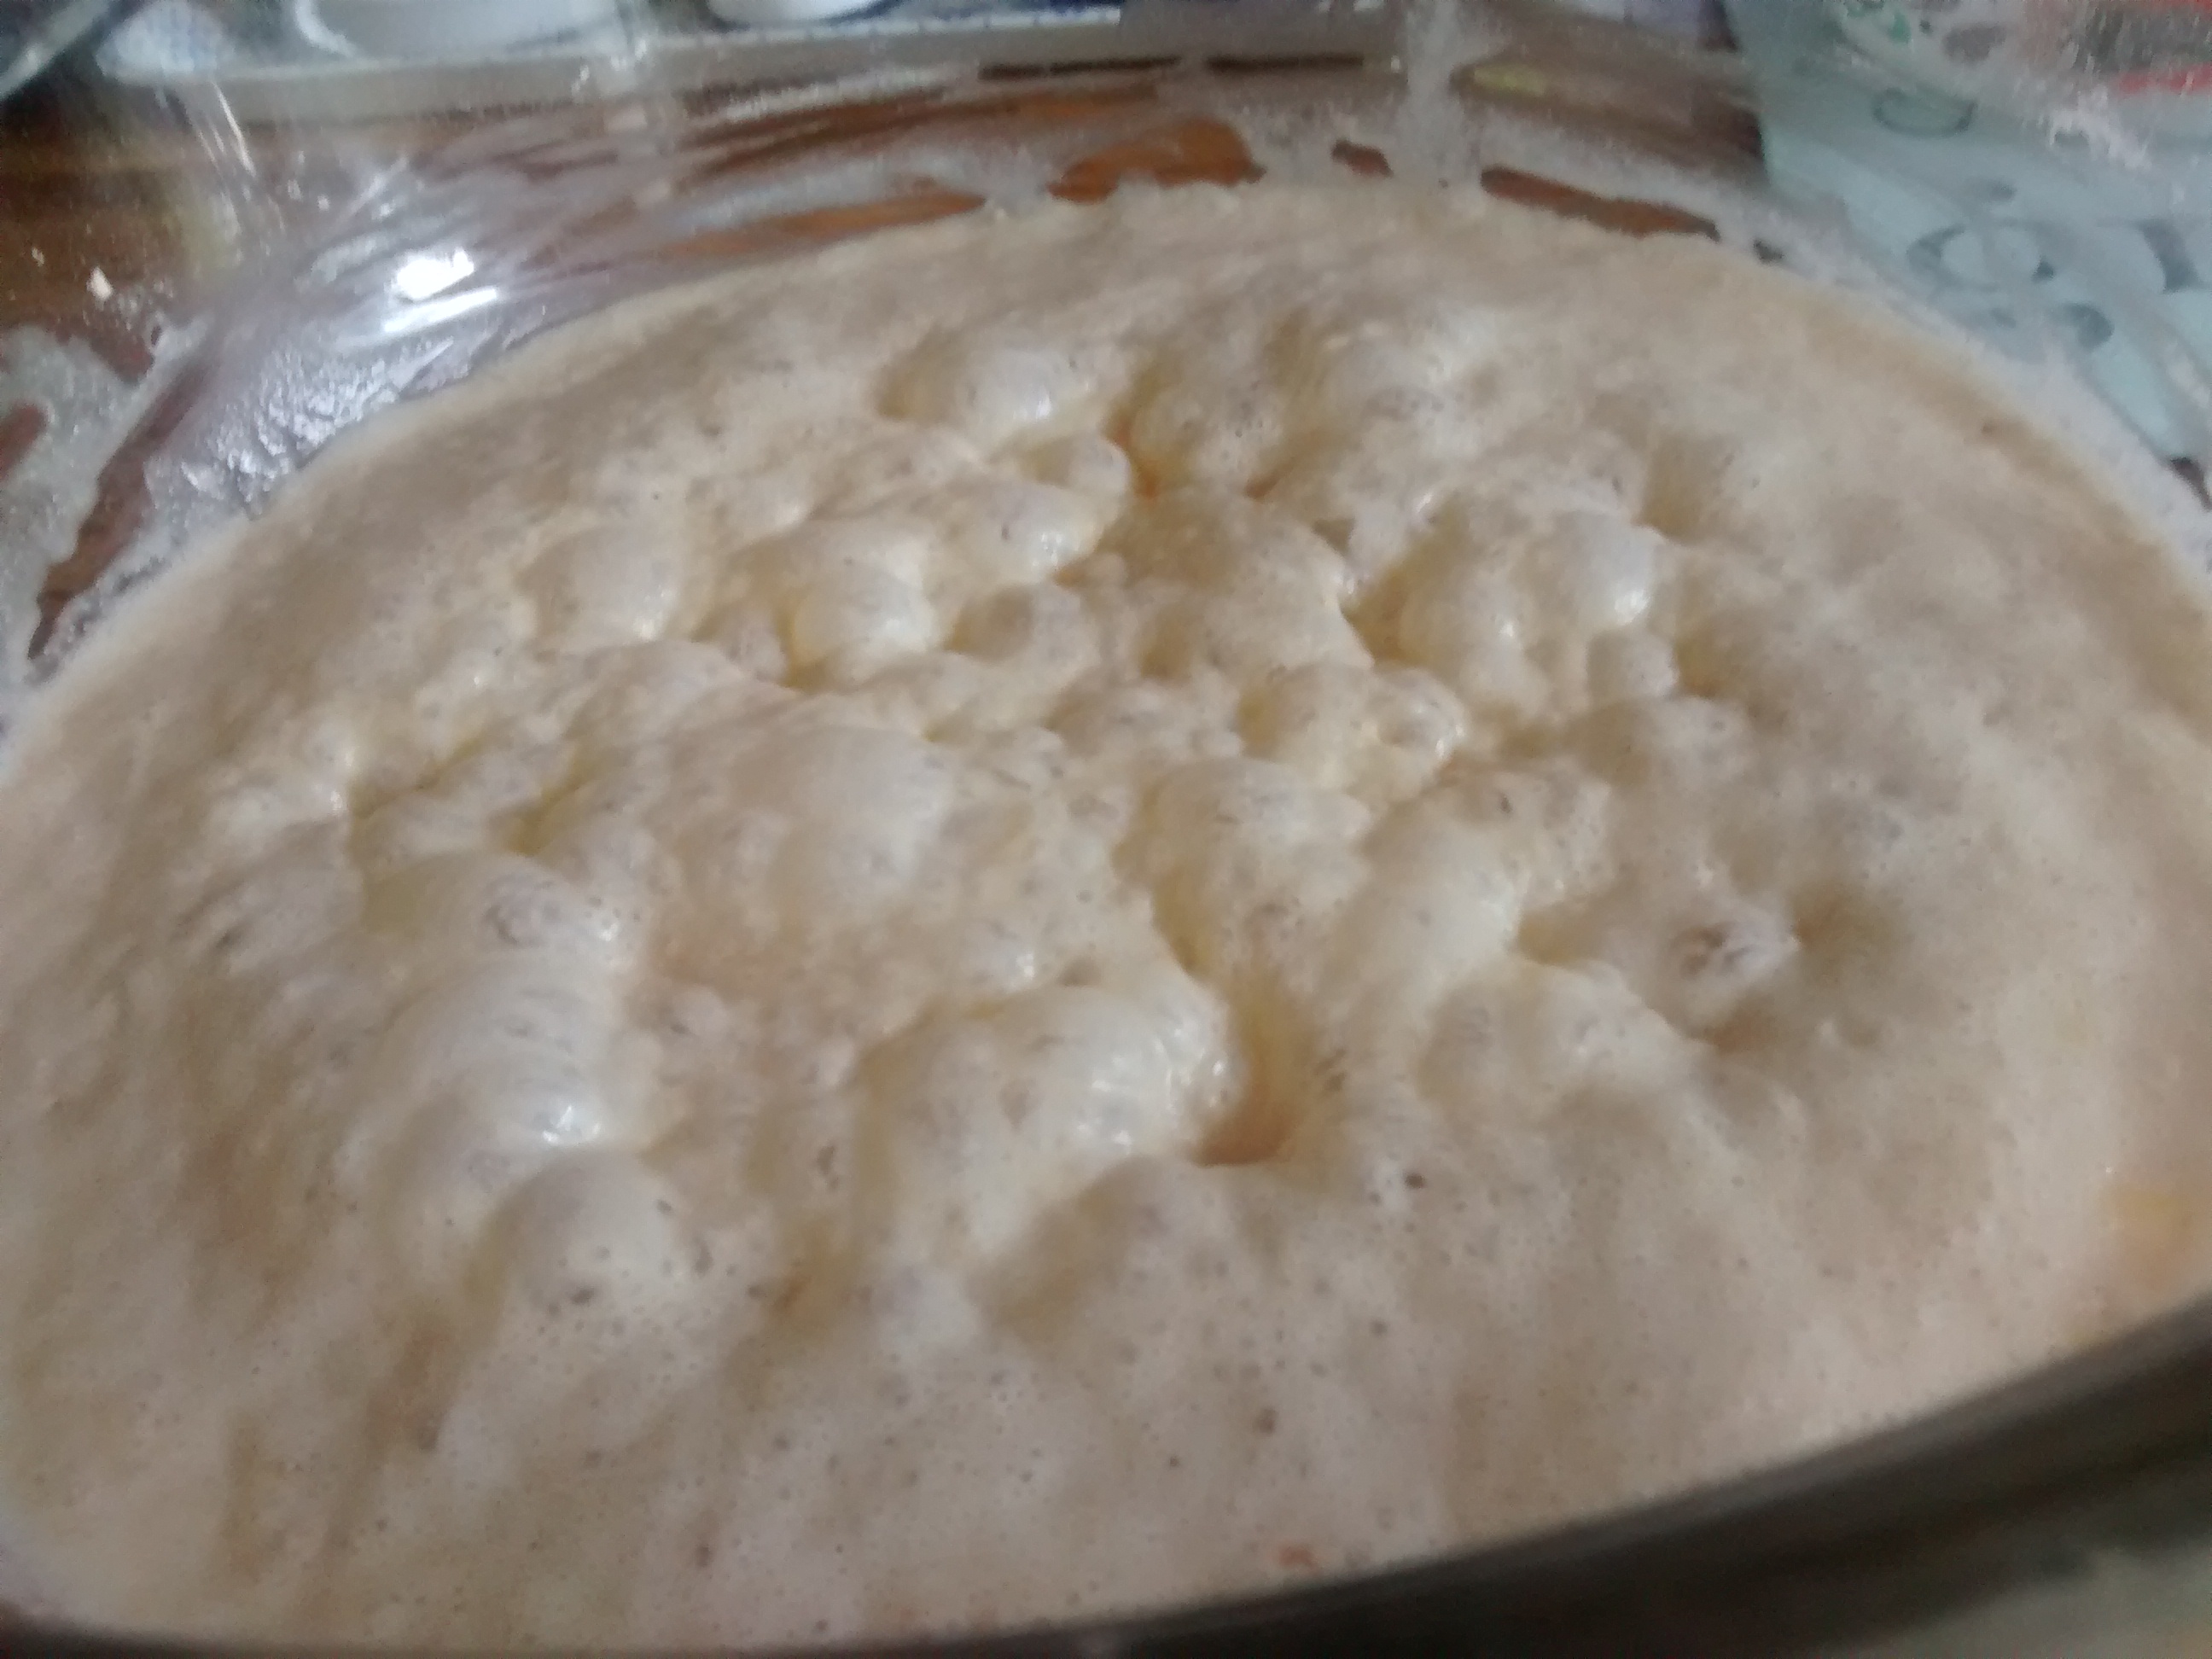
Put the yeast, sugar and milk in a bowl and leave to rise. (You can place this over bowl of warm water).
Wheat Flour & Buckwheat Flour
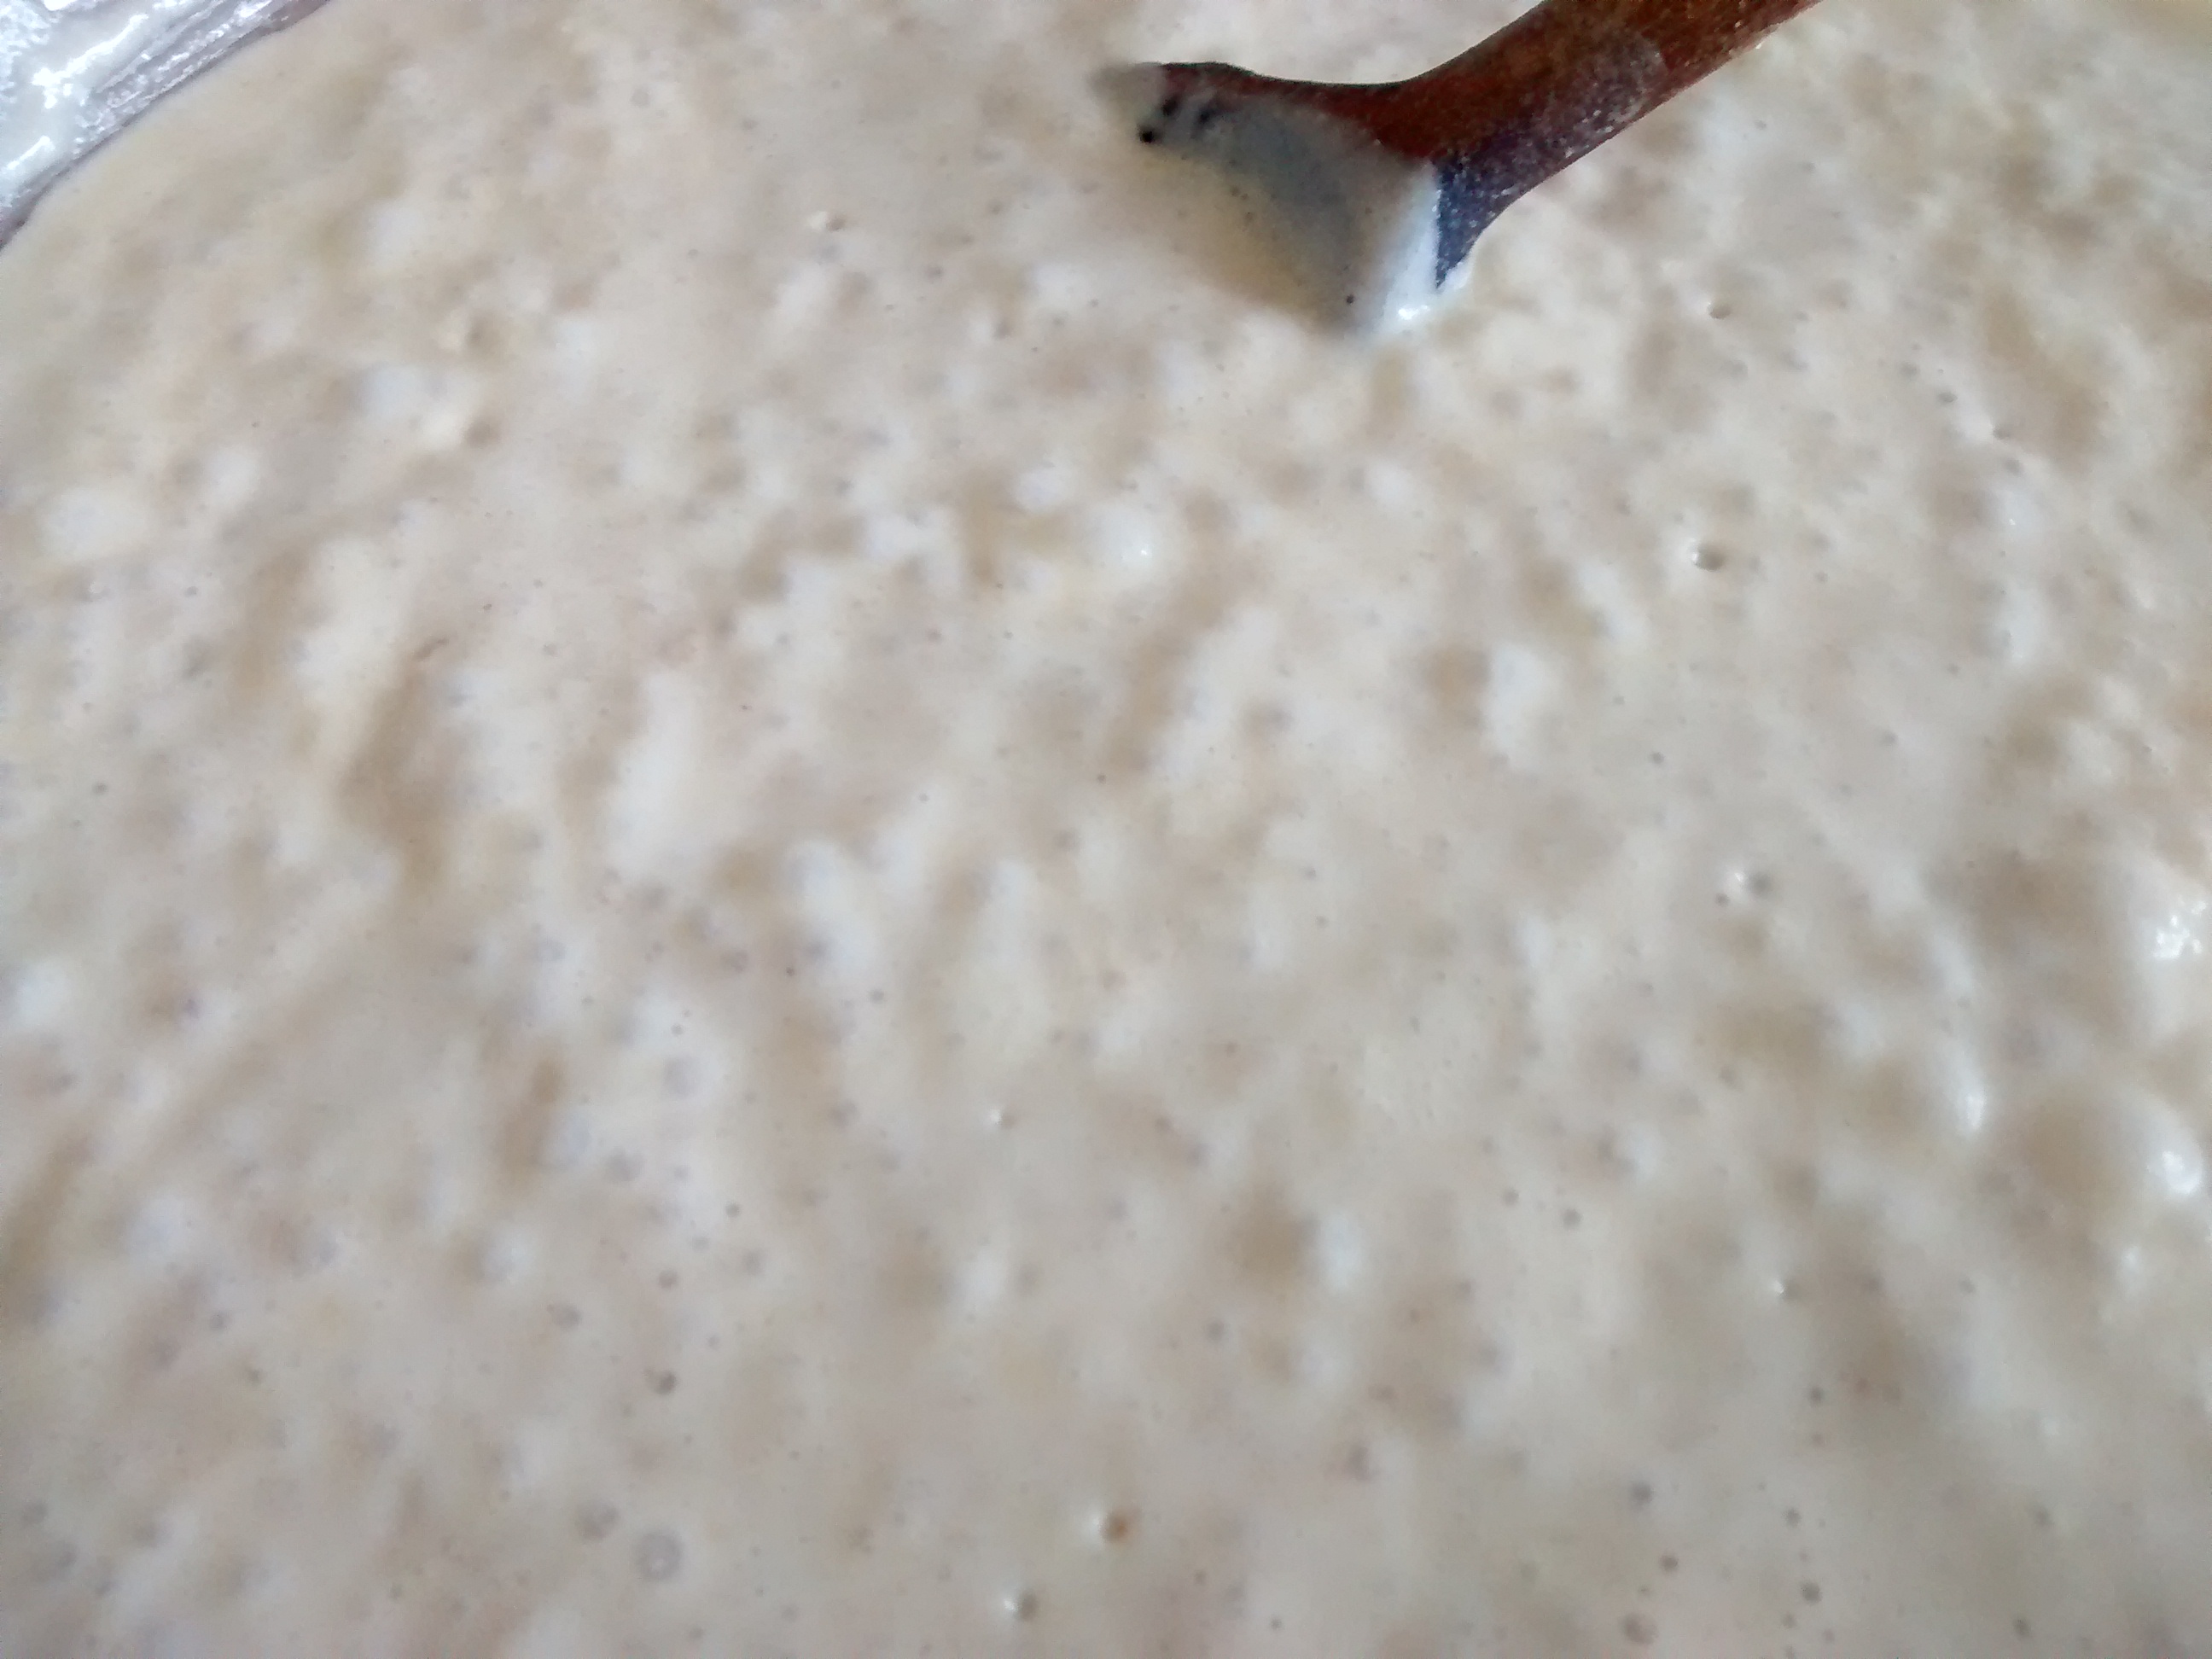
In a large bowl mix the flours together and add yeast mixture and then the beaten egg.
Add the water bit by bit until the mixture is like pouring cream, you might not need it all.
Add the pinch of salt and the melted butter then cover with a cloth and leave to rise.
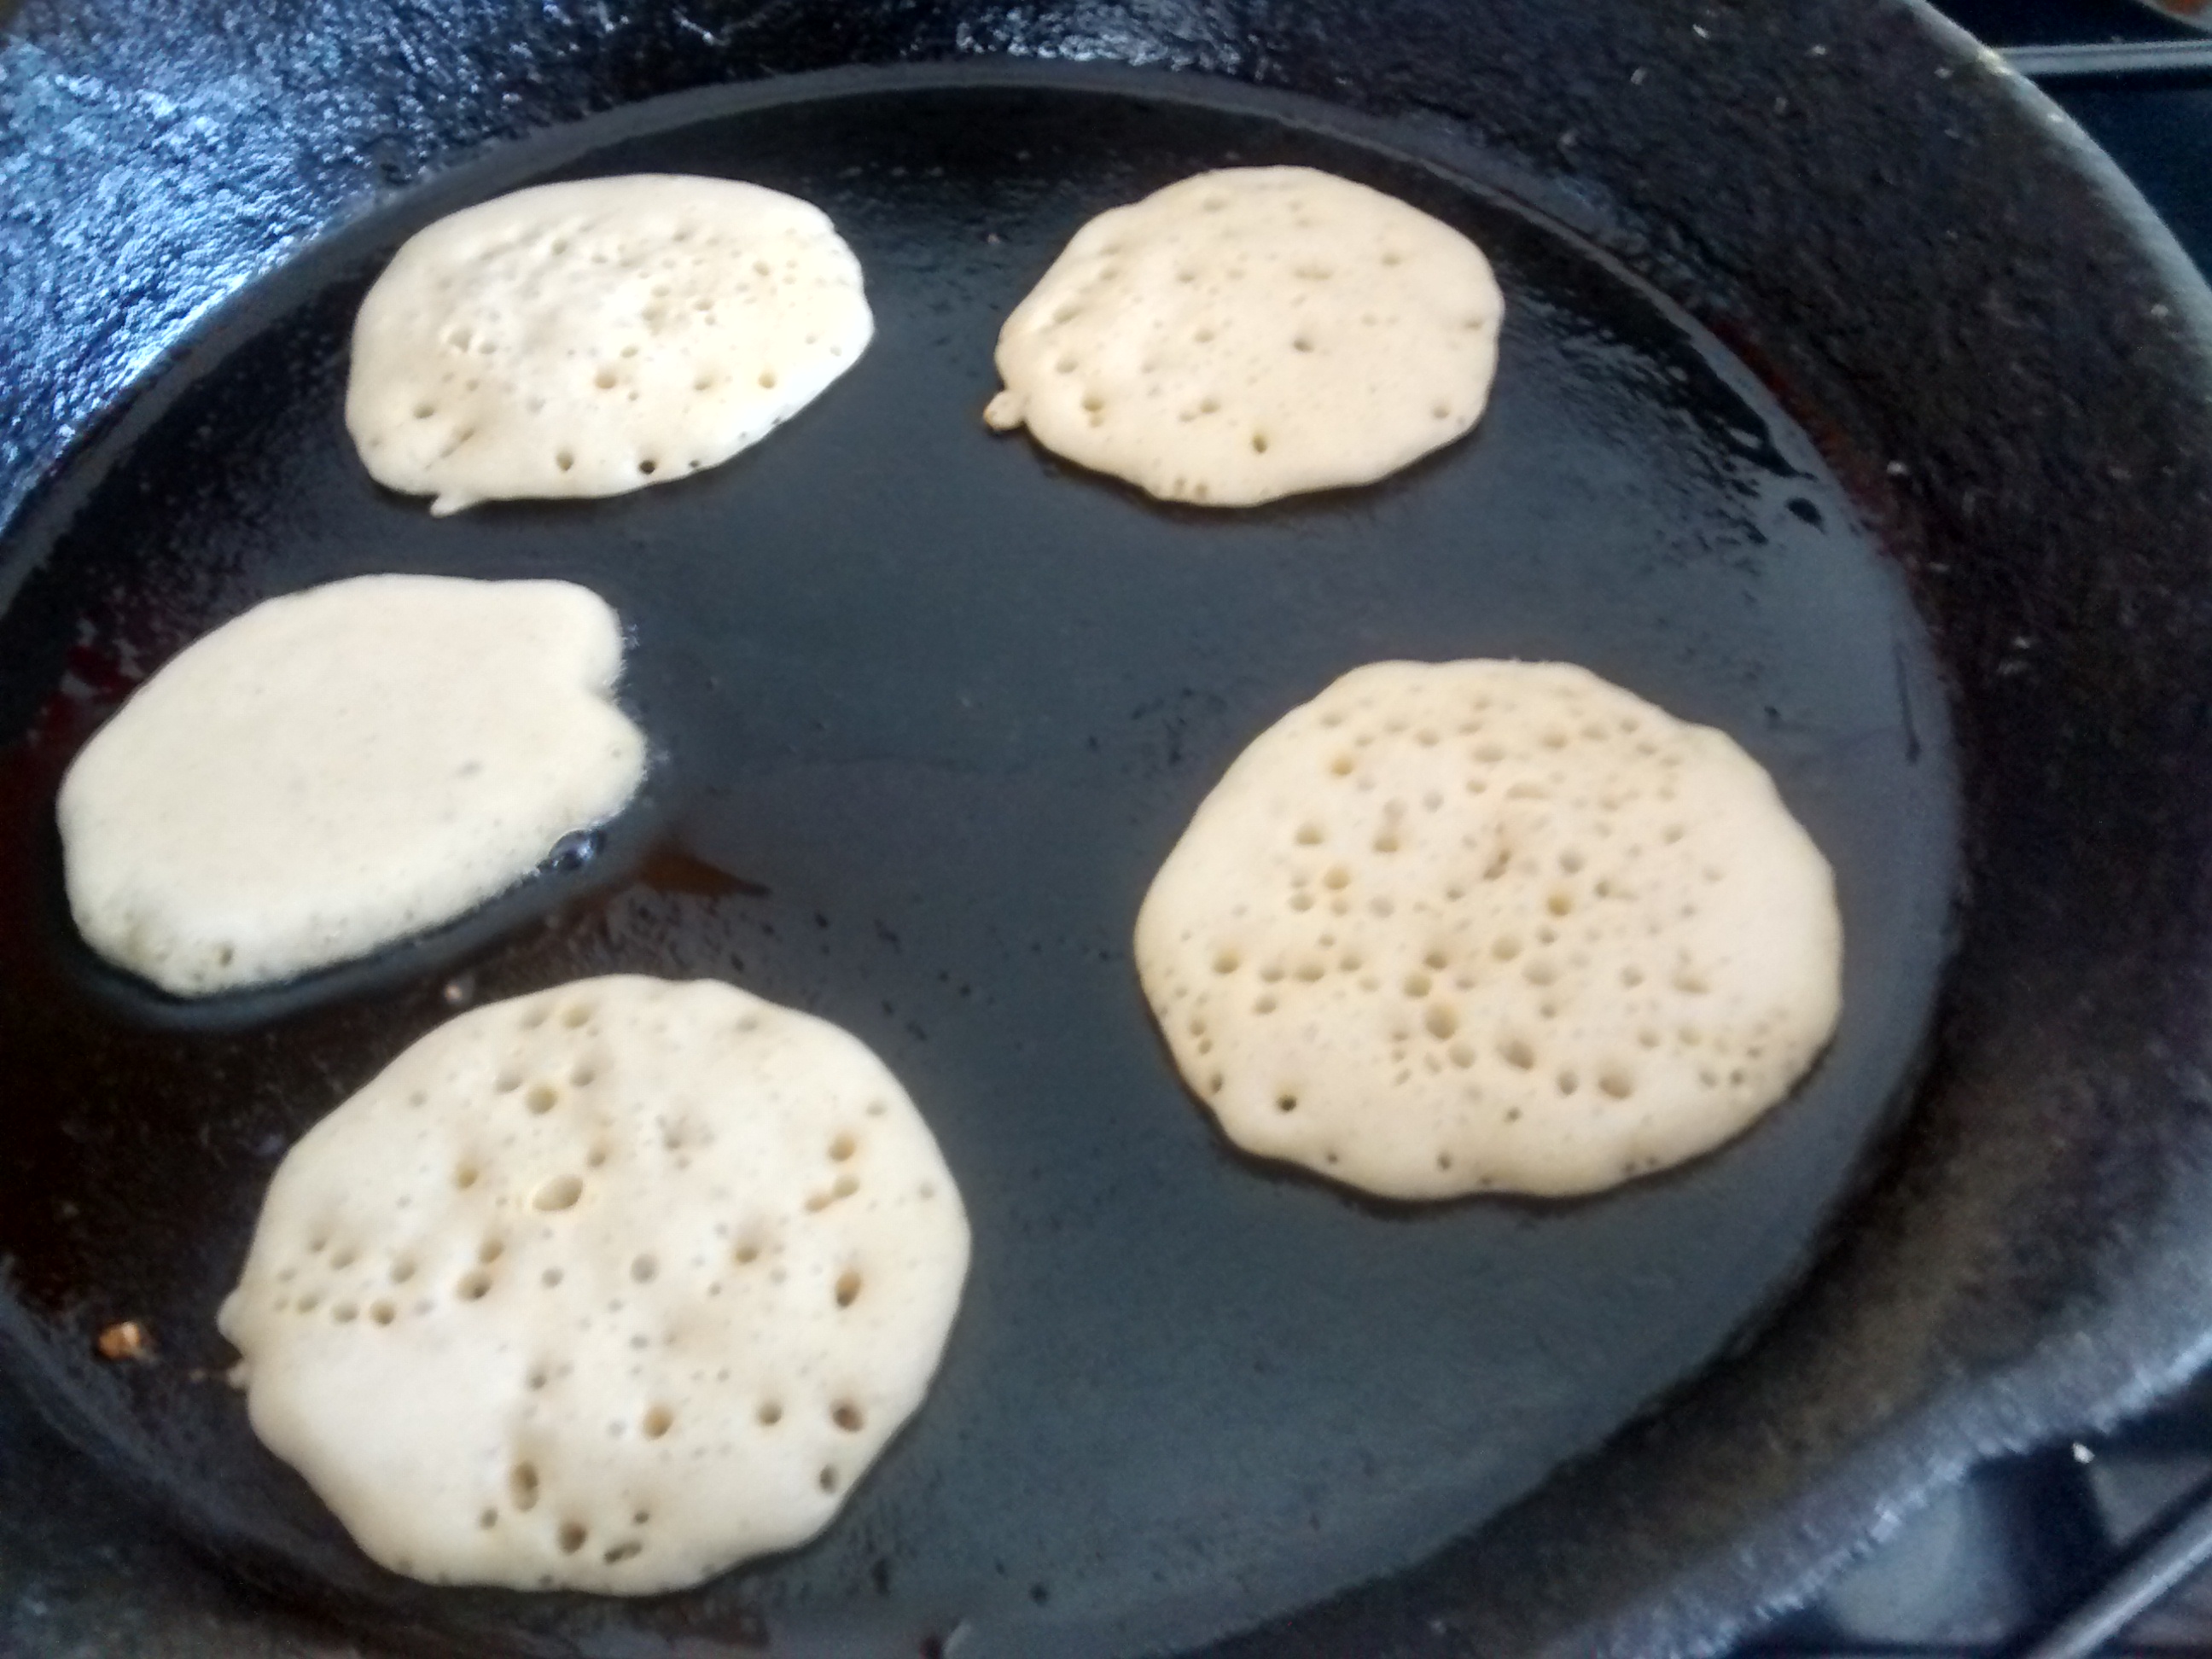
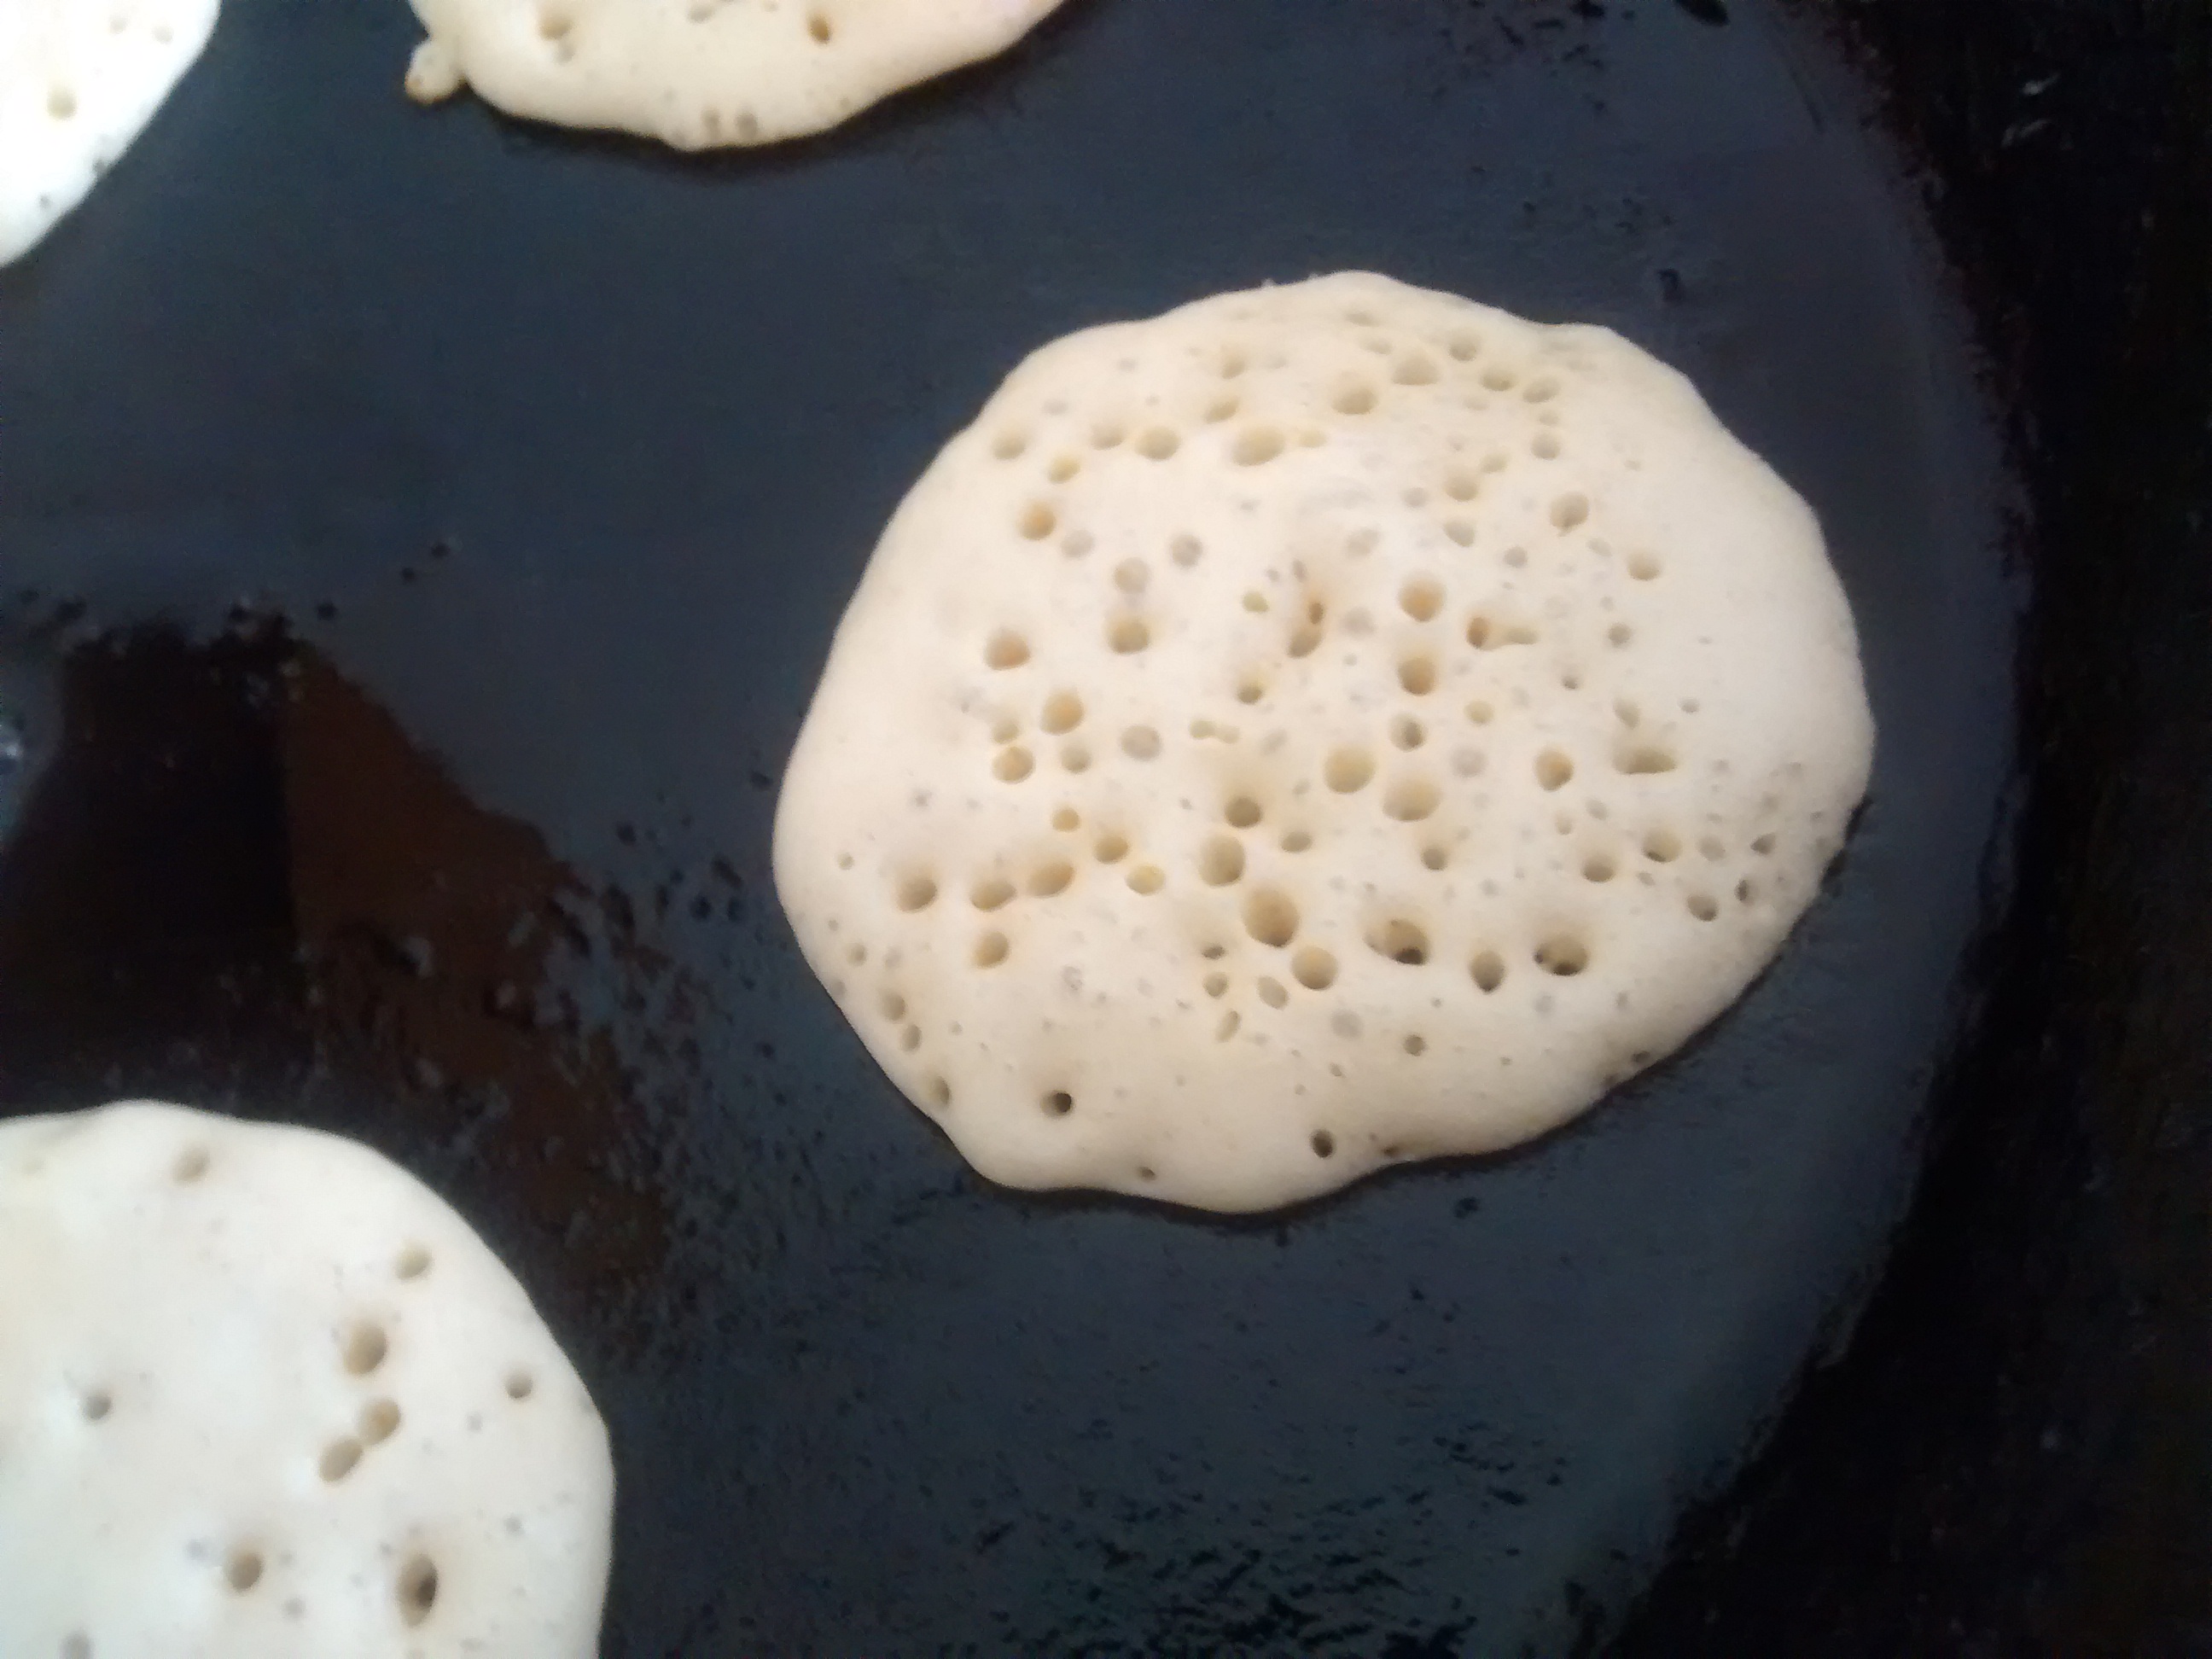
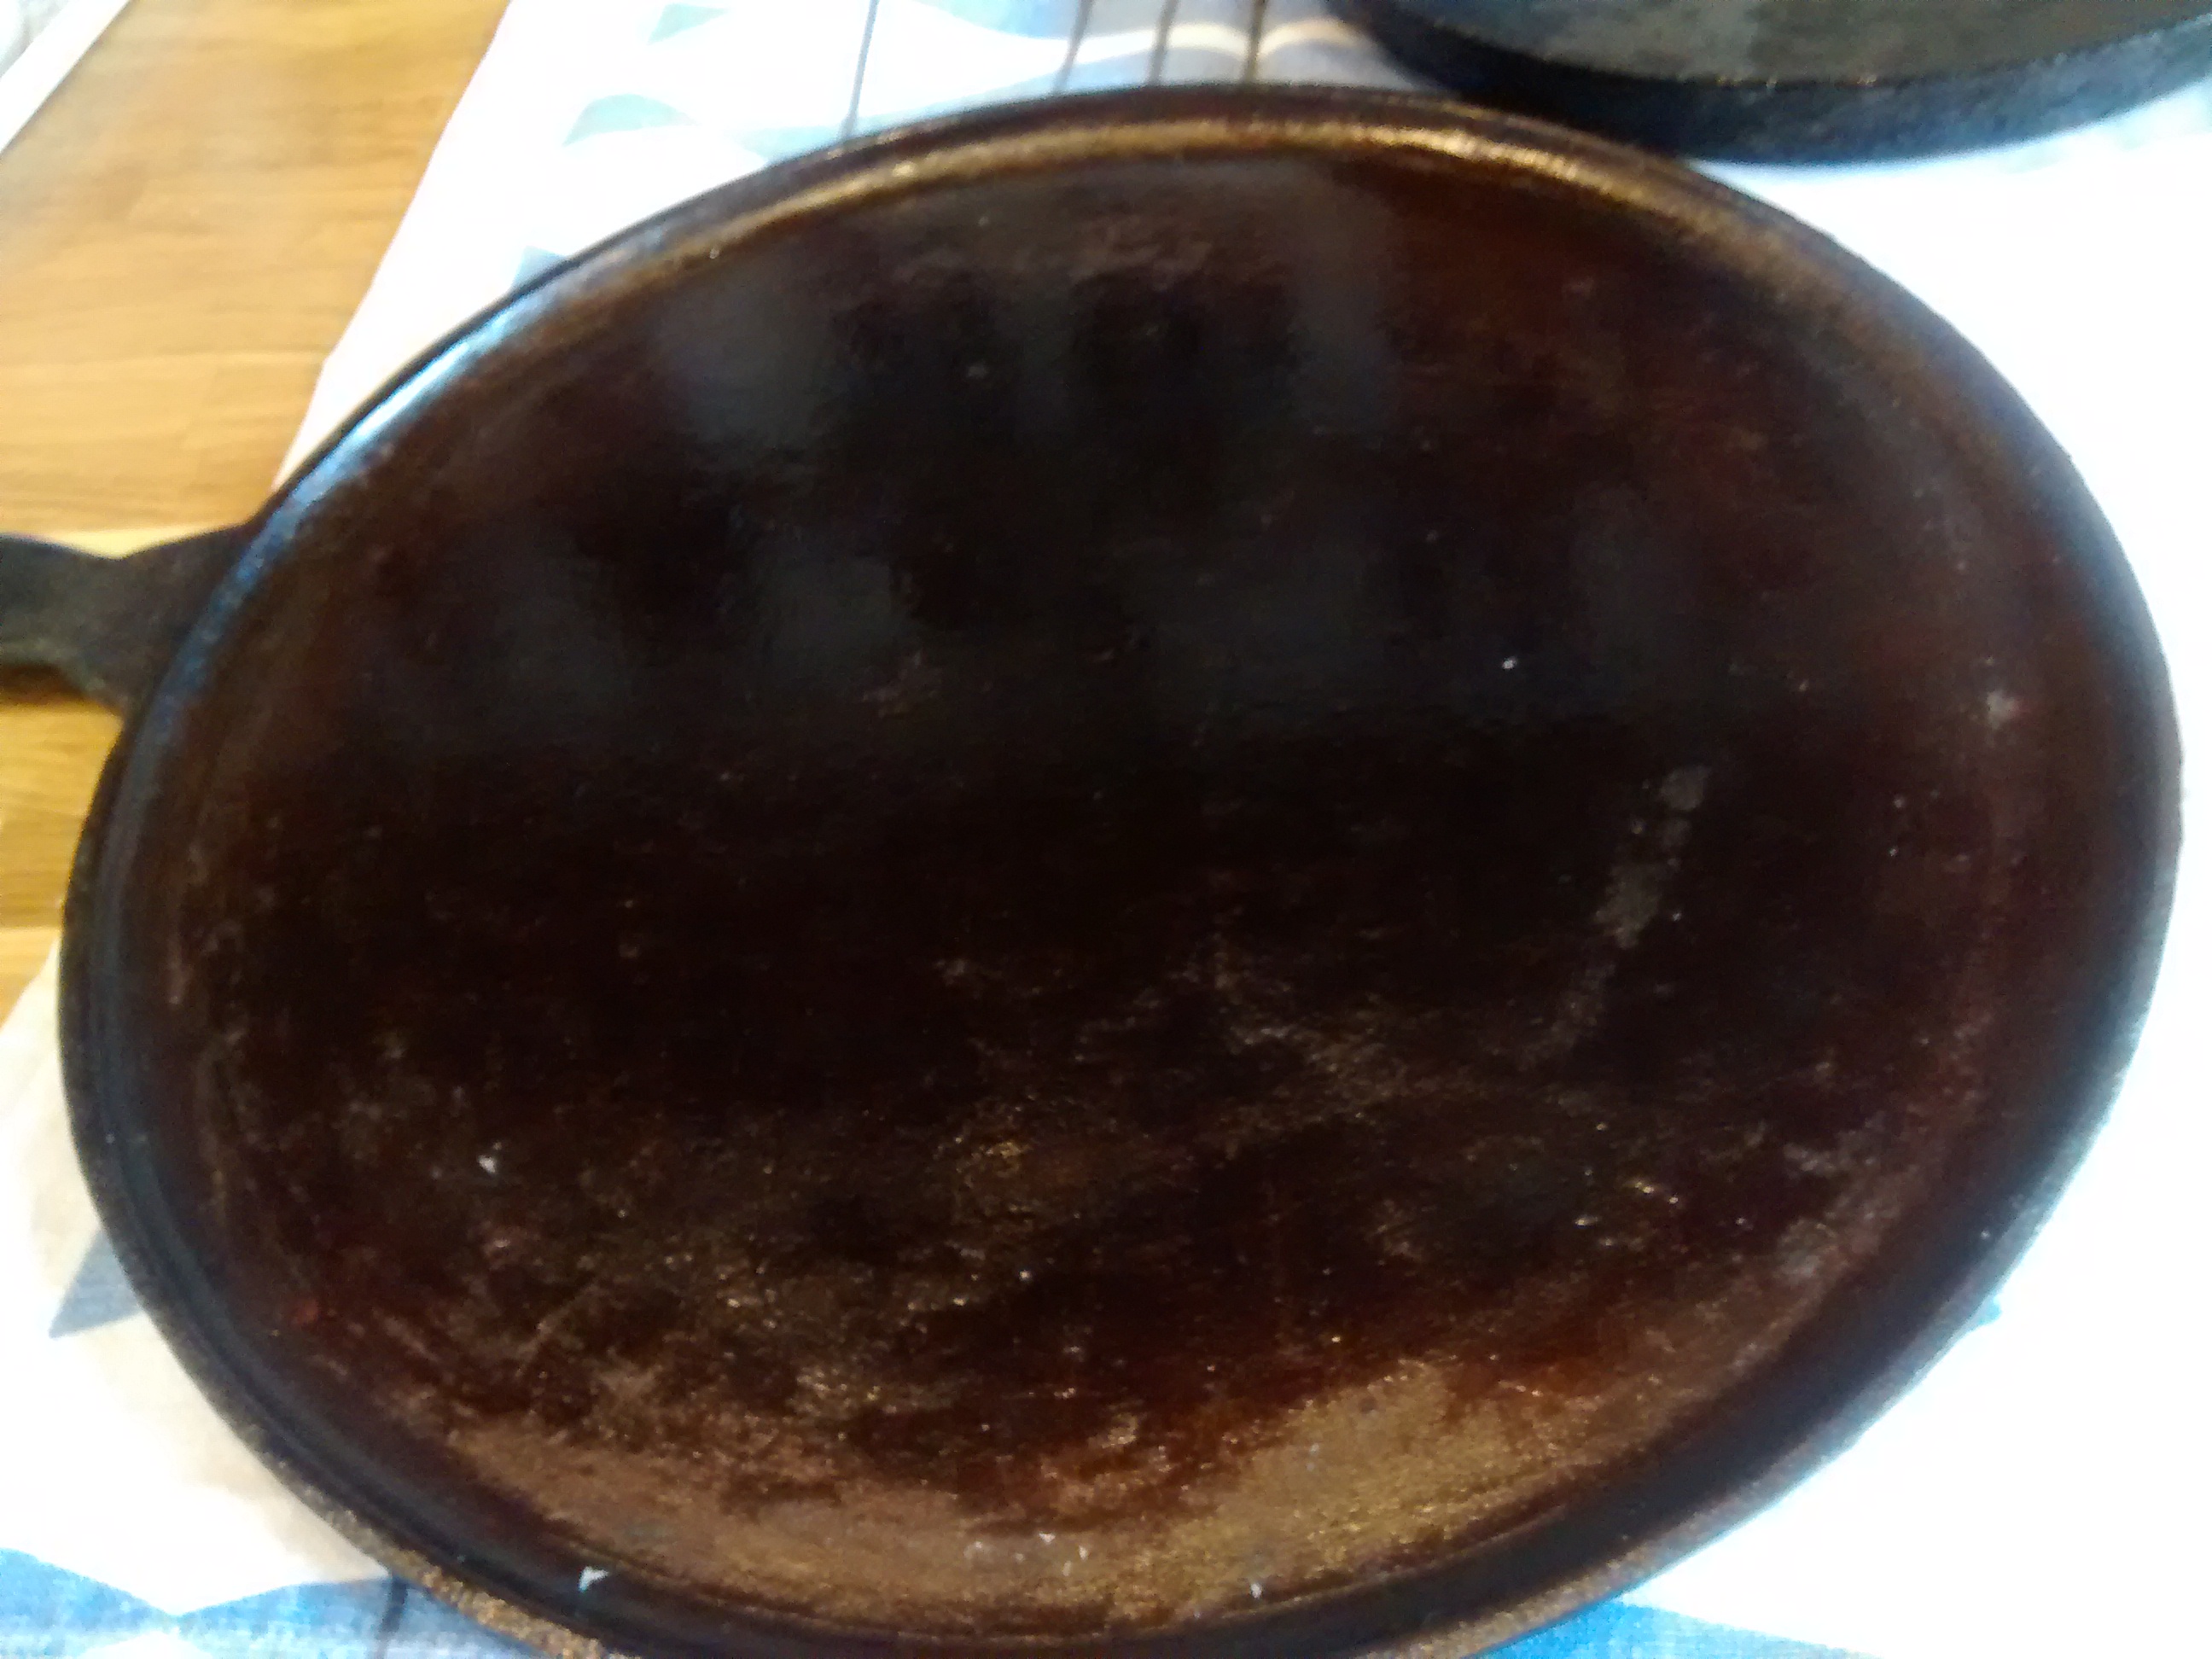
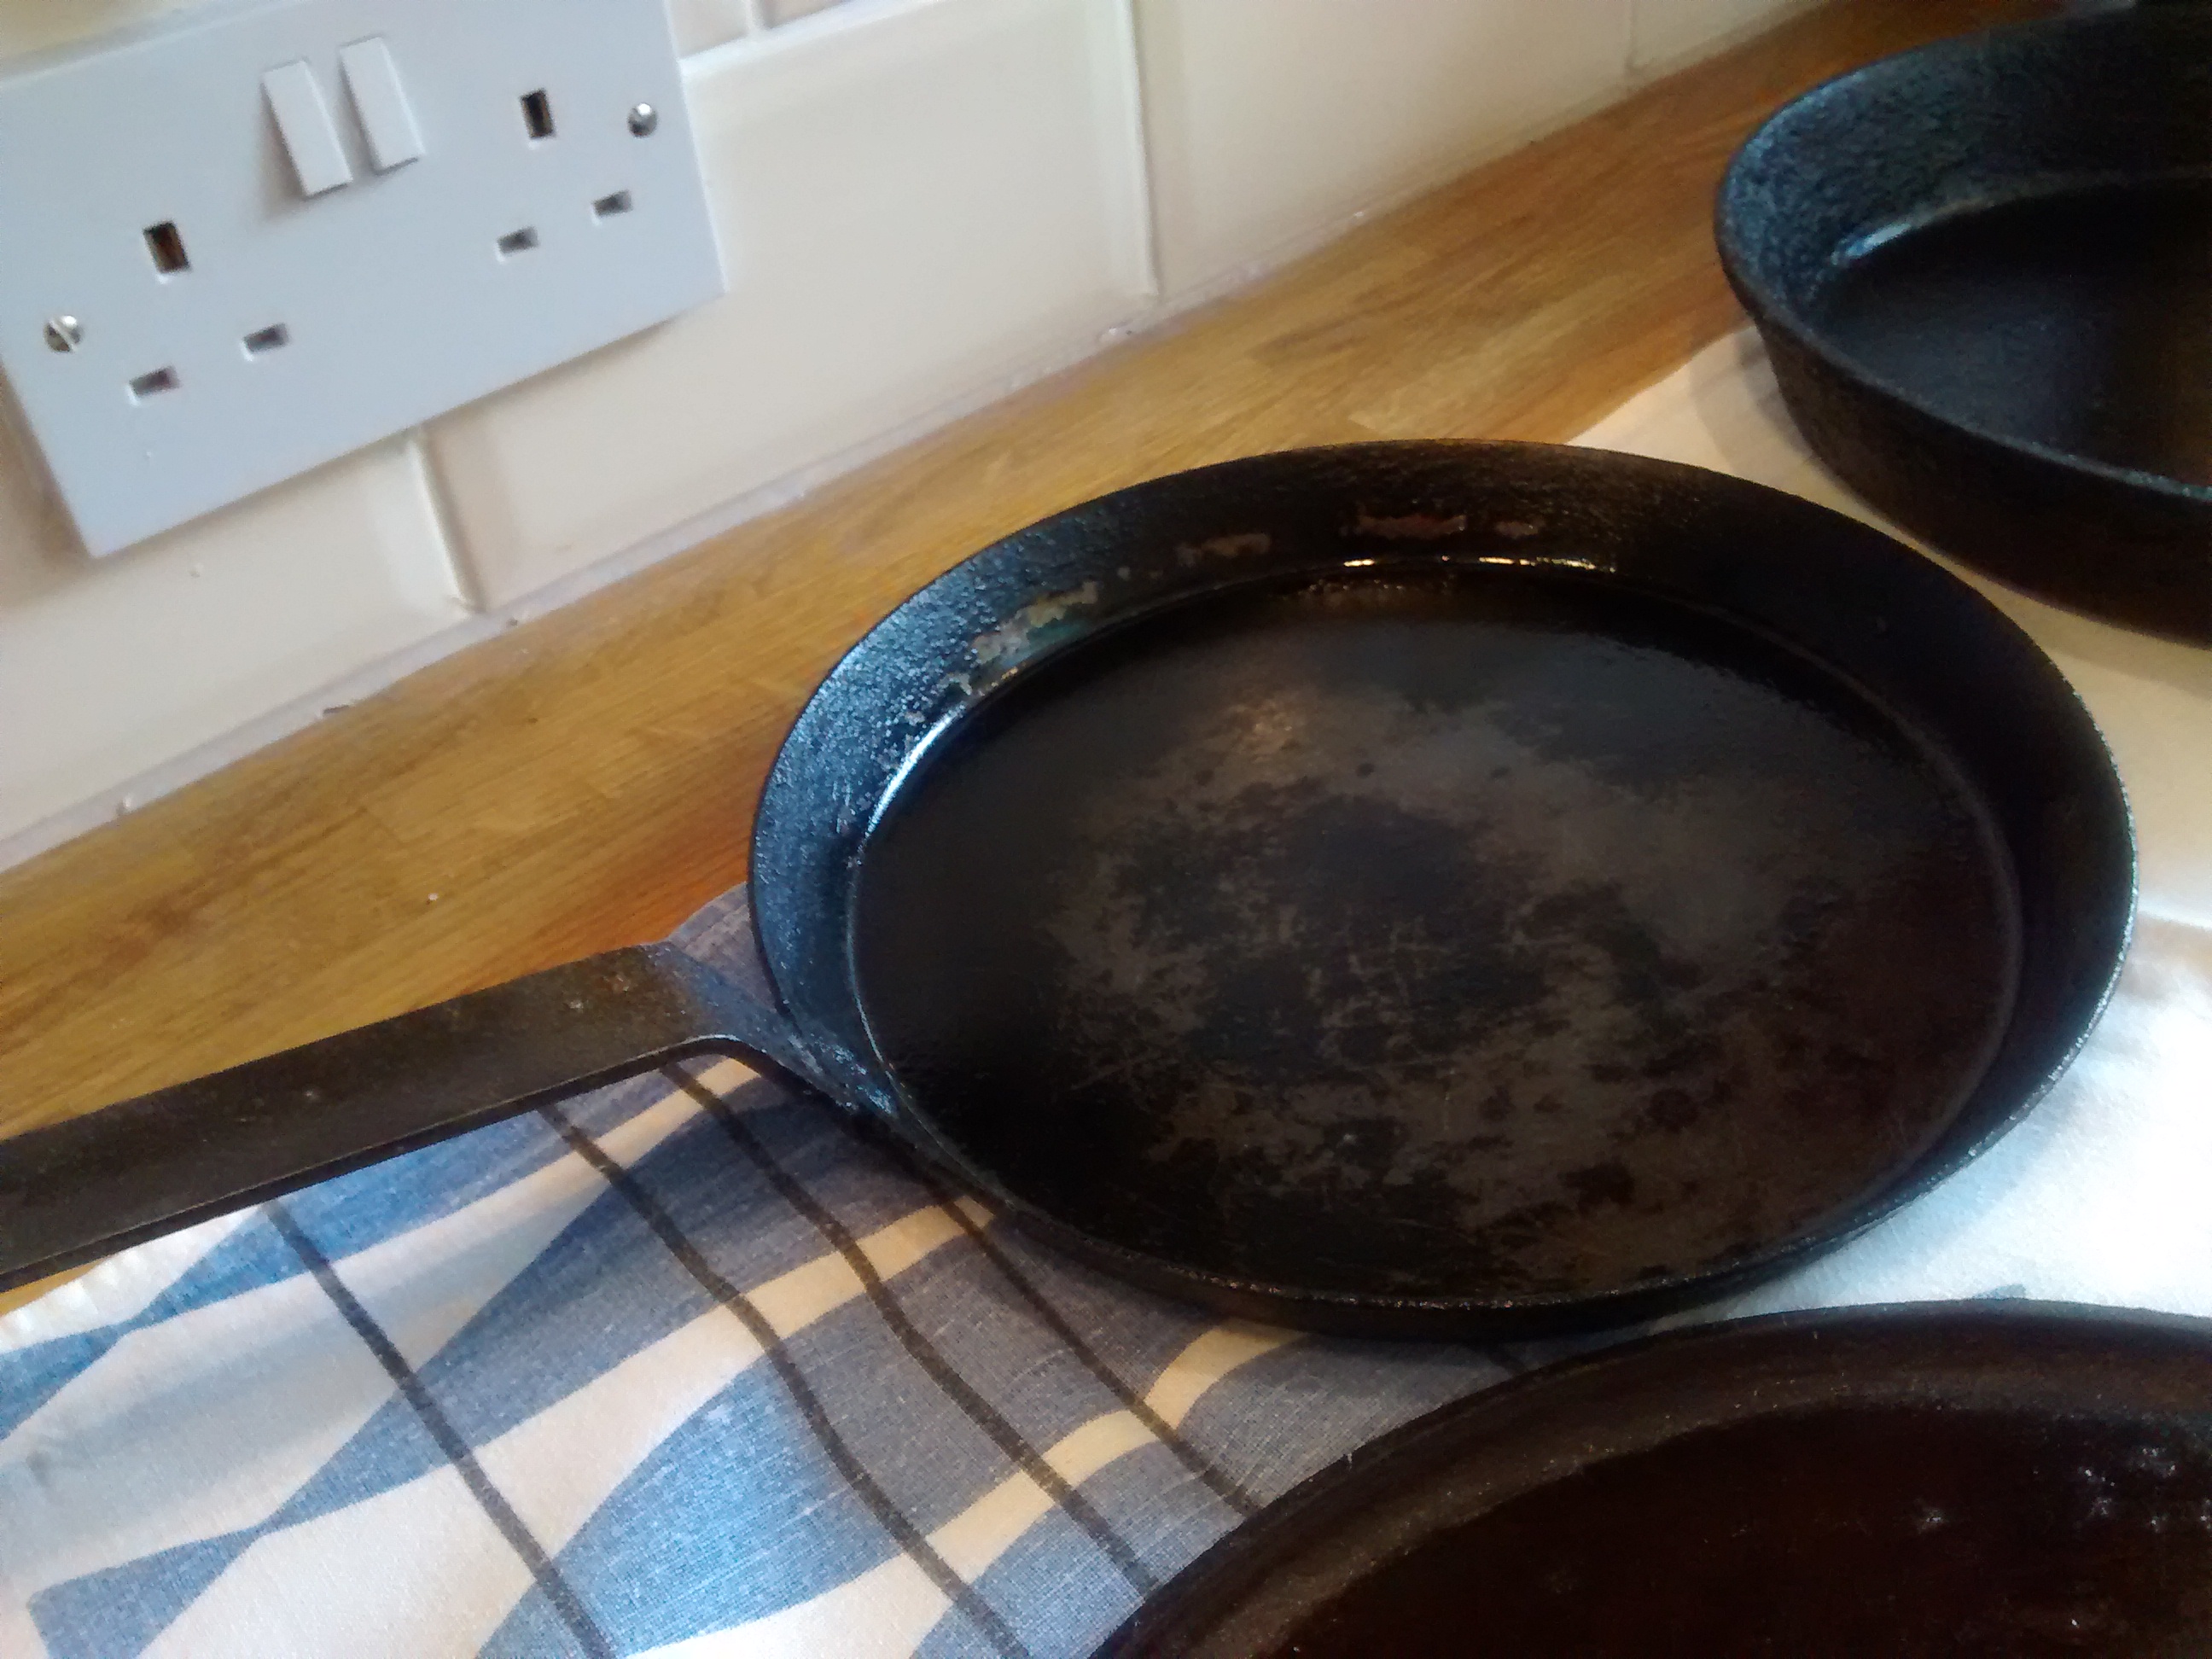
Use the risen batter to make small pancakes by using 1 large tablespoon per pancake – I make 3 or 4 at a time in my lightly greased cast iron pan.
Once you get the pan hot, lower the heat to a steady low so as not to burn the bliny.
Once they are cooked on one side, turn then over using a spatula and cook for a few minutes more.
Serving suggestions
Serve the bliny with any of the following: melted butter, soured cream, twaróg, yoghurt cheese or cream cheese, smoked salmon, pickled herrings or even caviar, gherkins, fried onions, skwarki (crispy bacon bits) fried mushrooms and one of my favourites a fried egg.
Served With Yoghurt Cheese and Chopped Parsley
Served with Melted Butter
Buckwheat Pancakes
These are thin pancakes and are also very popular in Northern France where they are called gallettes de sarrasin.
The French for buckwheat is sarrasin or blé noir.
Many years ago whilst on holiday in France I bought and brought home a very large French pancake pan.
However on my gas stove it is too large for a good distribution of heat – you get a hot spot in the centre which tends to burn that part – so I use my smaller pancake pan.
Last week whilst in a department store in Leeds I saw the following – An Electric Crêpe Pan – It might be good.
Ingredients
75g buckwheat flour
25g plain flour
2 eggs
120ml of milk (full or semi-skimmed)
120ml of water
25g of melted butter
pinch of salt
Some extra milk might be needed.
Method
Make these in the same way as standard pancakes adding the melted butter after the batter has been standing for about an hour.
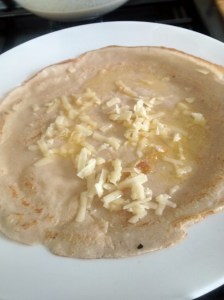
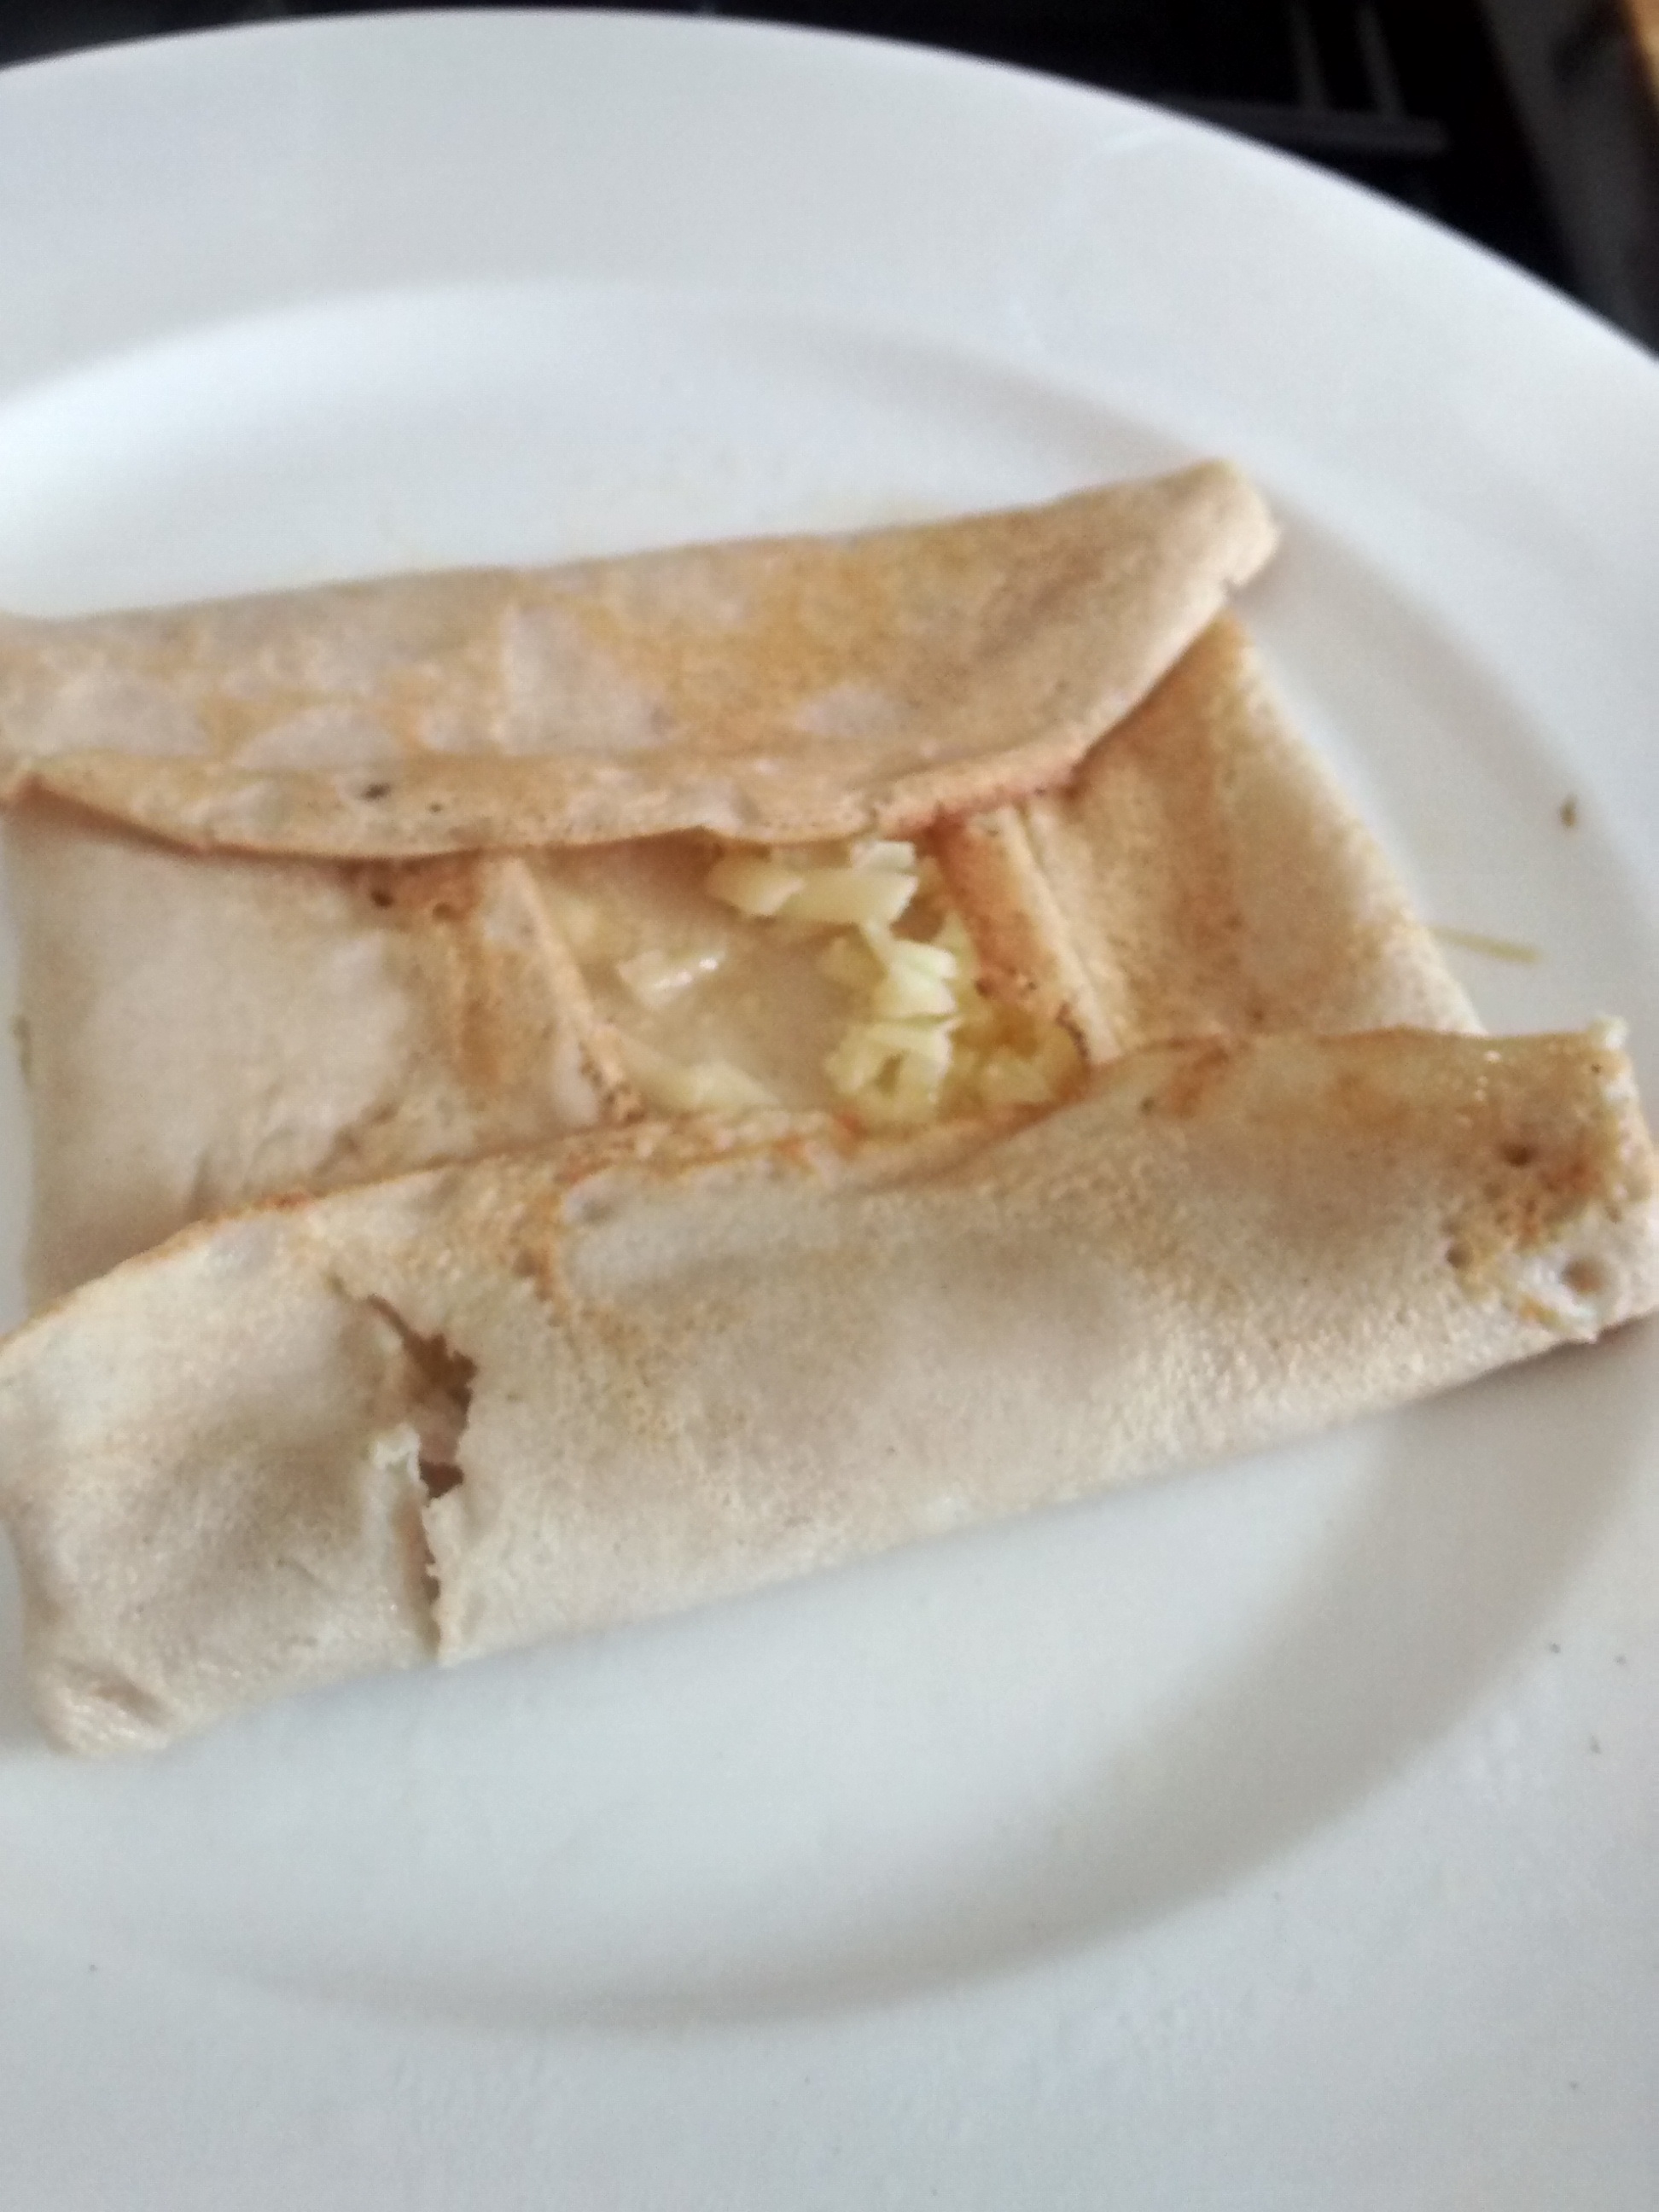
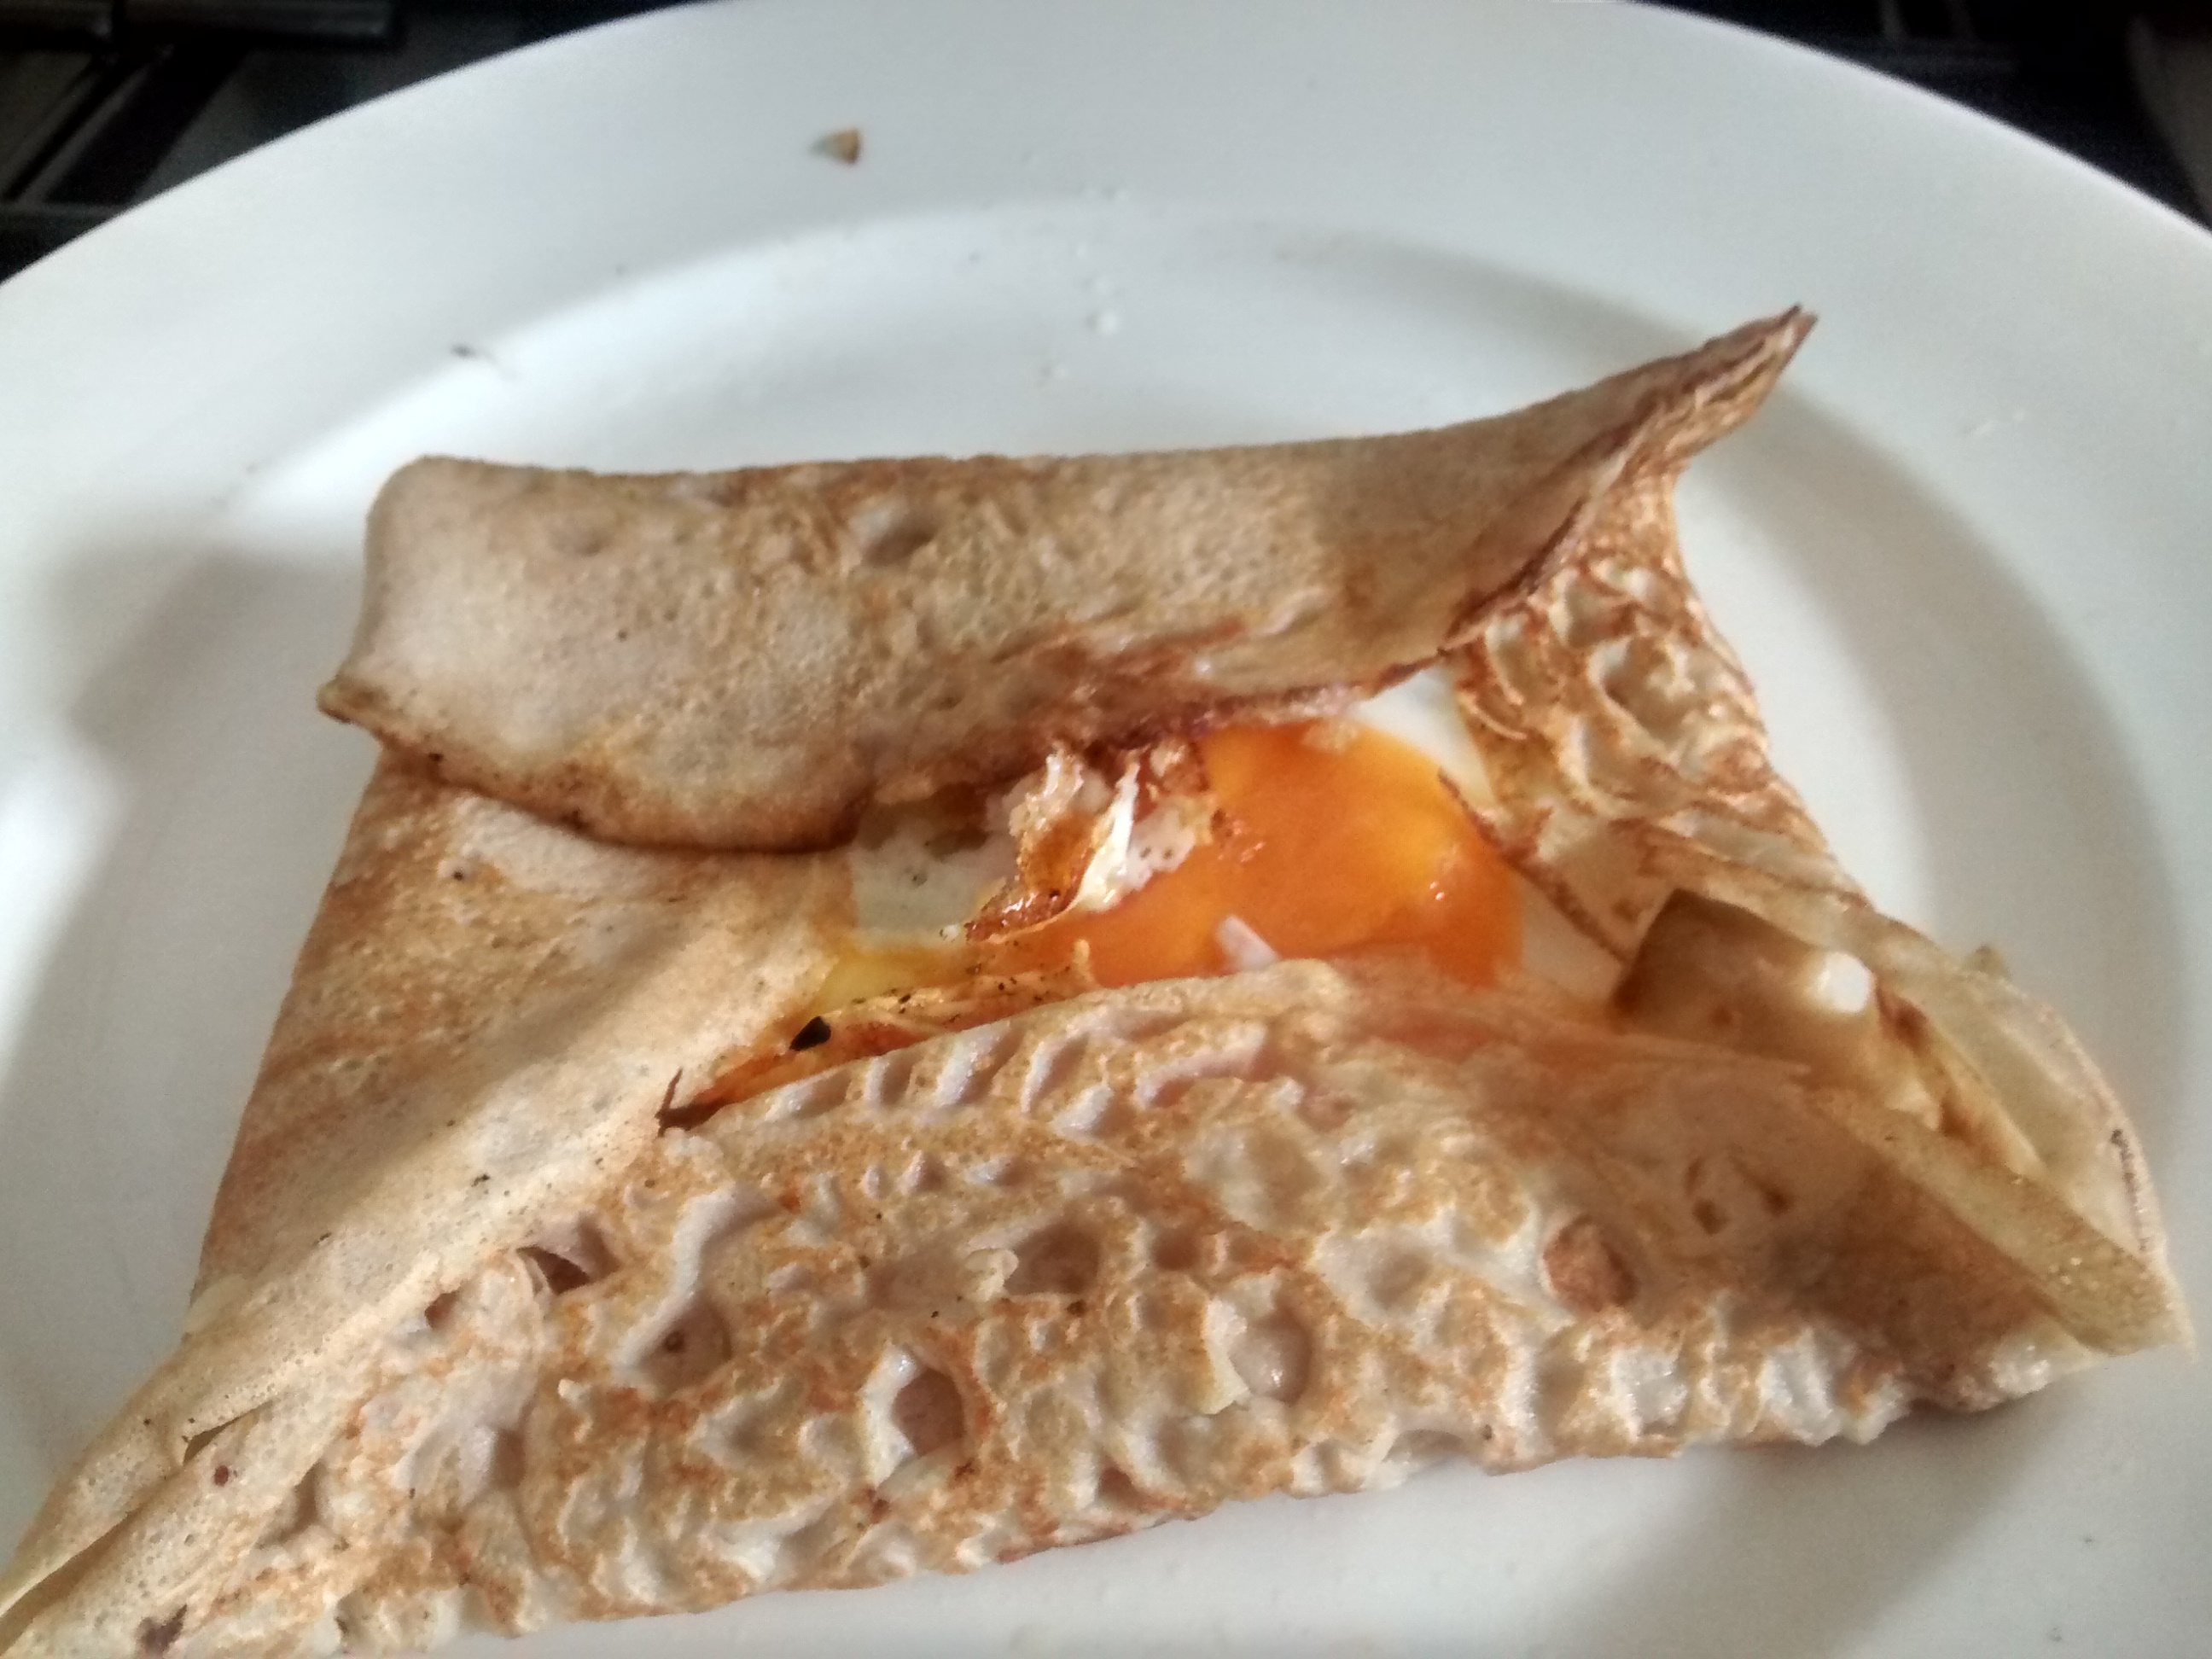
I think these pancakes are best with savoury fillings and my favourite is in fact French in origin, Breton style with a slice of good ham, grated Gruyère cheese and a soft fried egg.
The fillings are put on the cooked pancake and the sides are folded over but with the filling still showing in the centre. (You can put this back on the pan to heat it a little more.)
Melted Butter & Grated Cheese
Melted Butter, Grated Cheese & Fried Egg
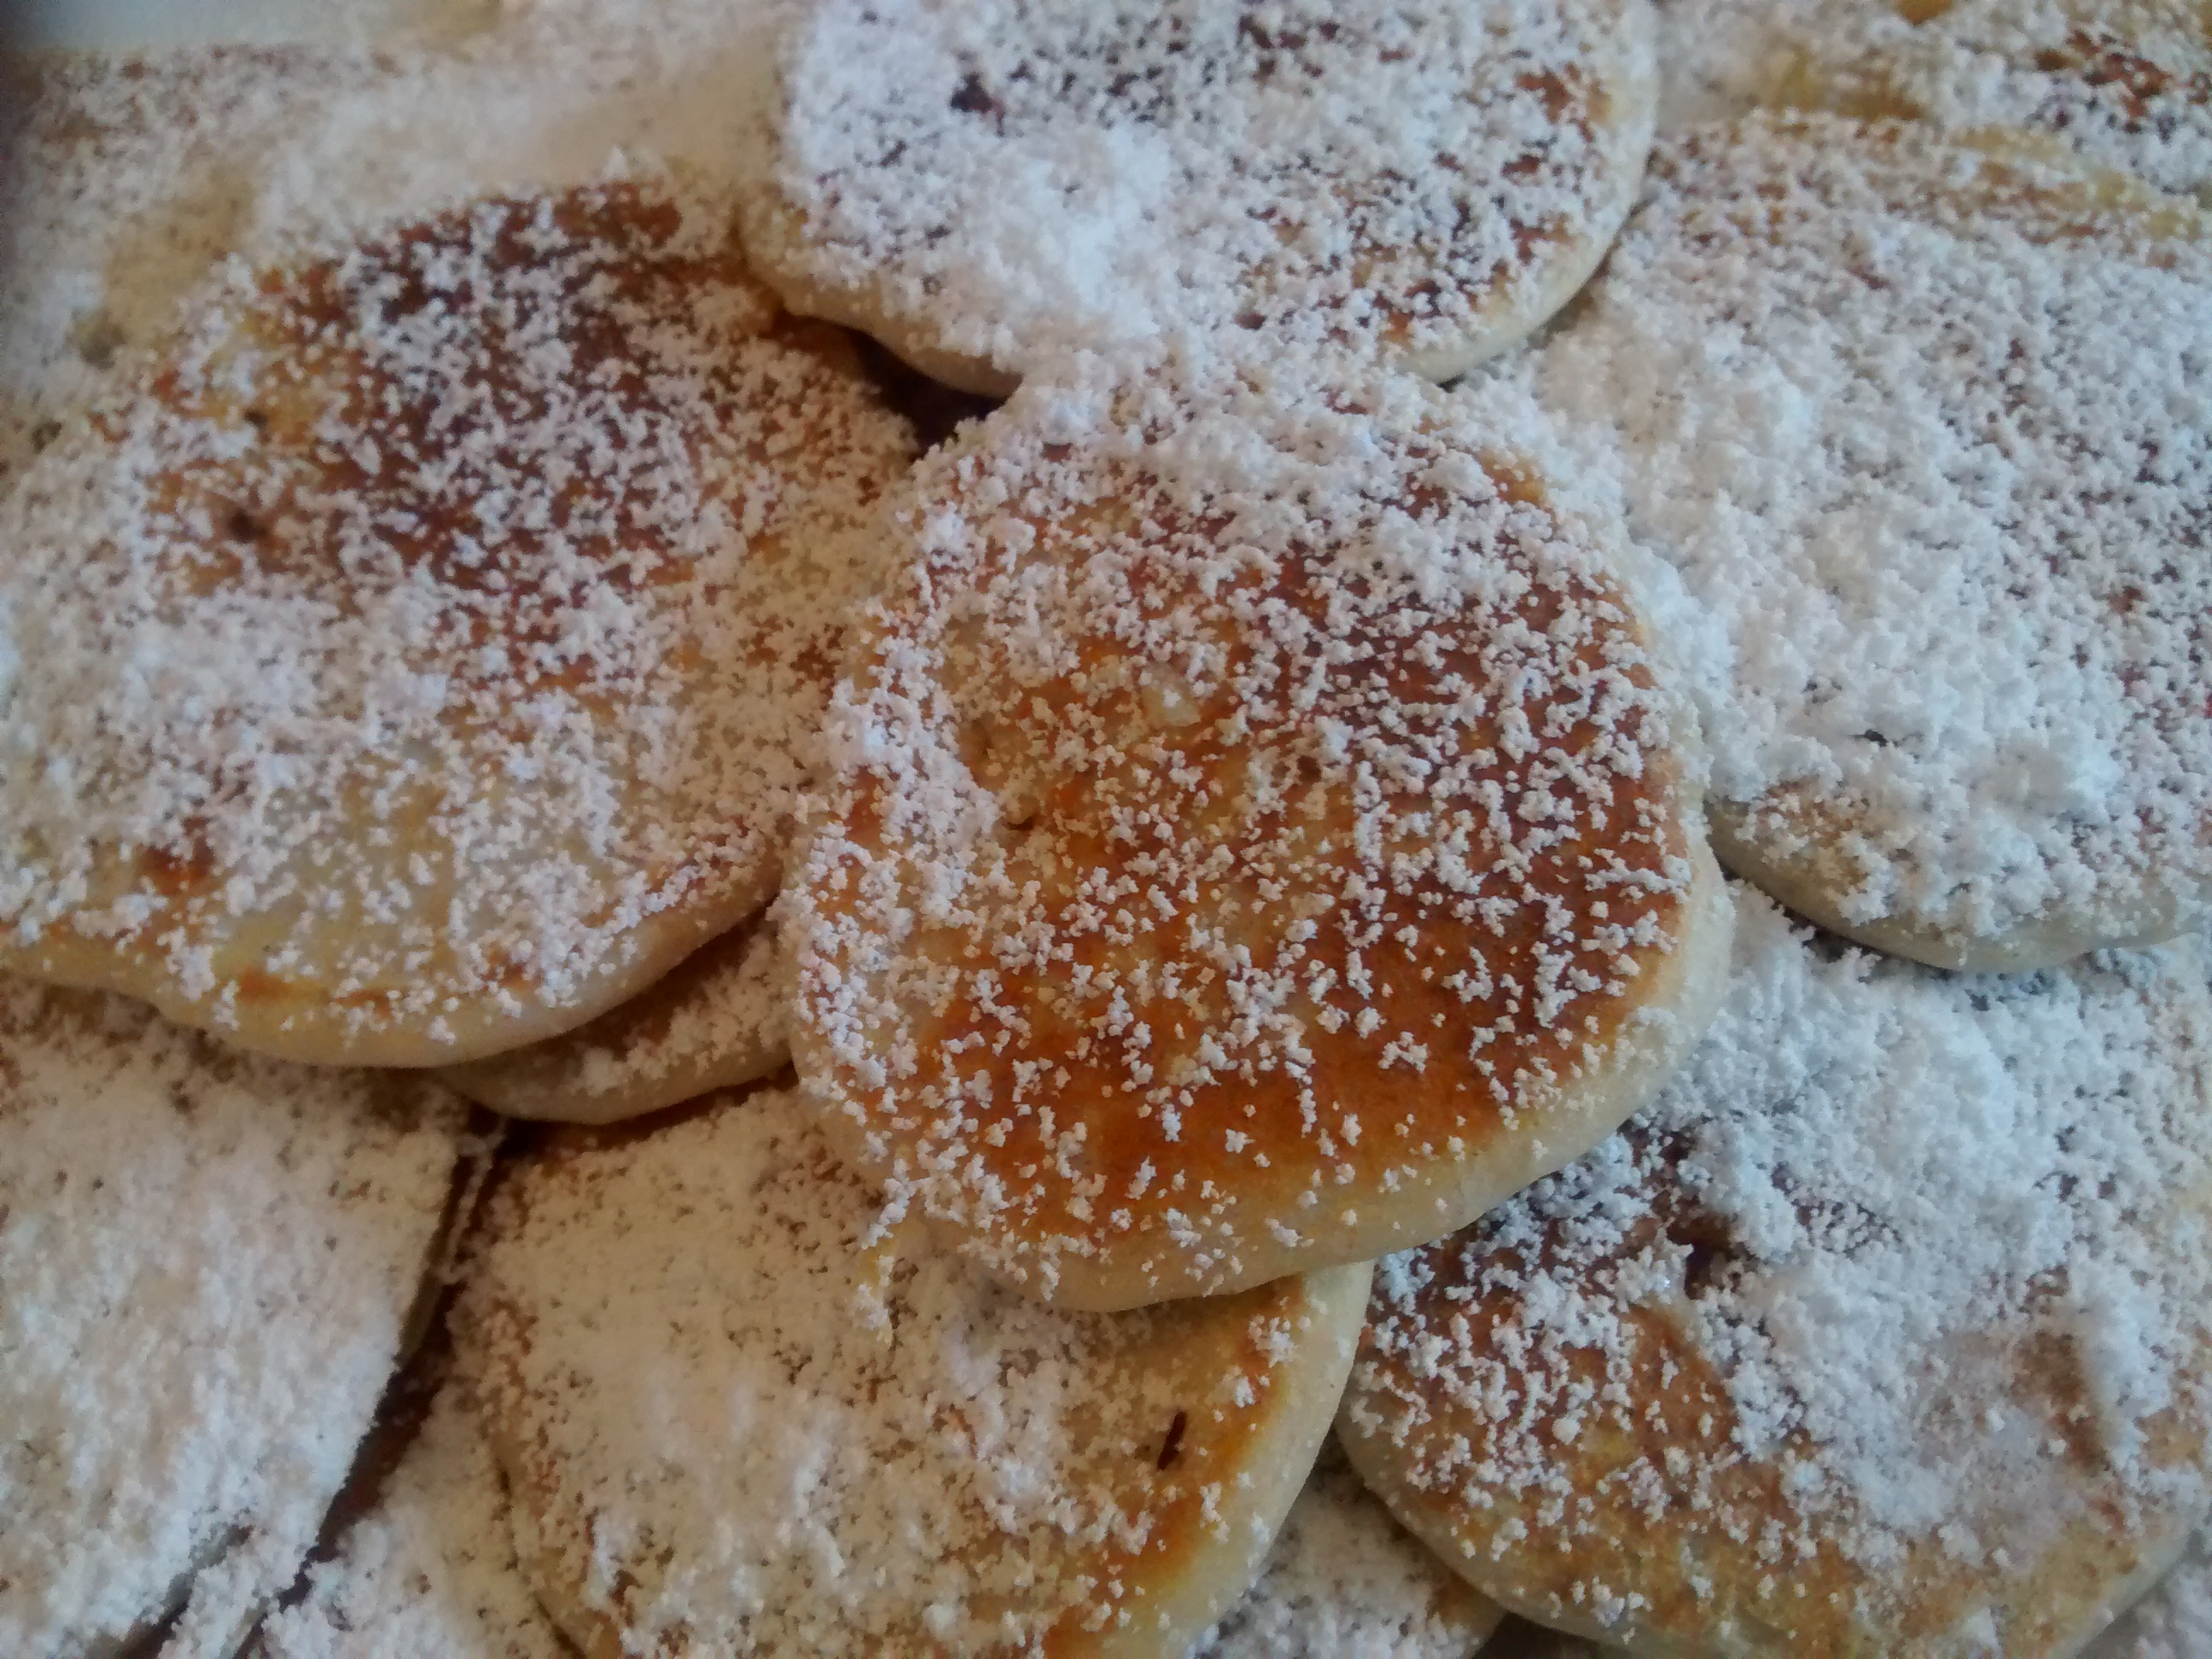
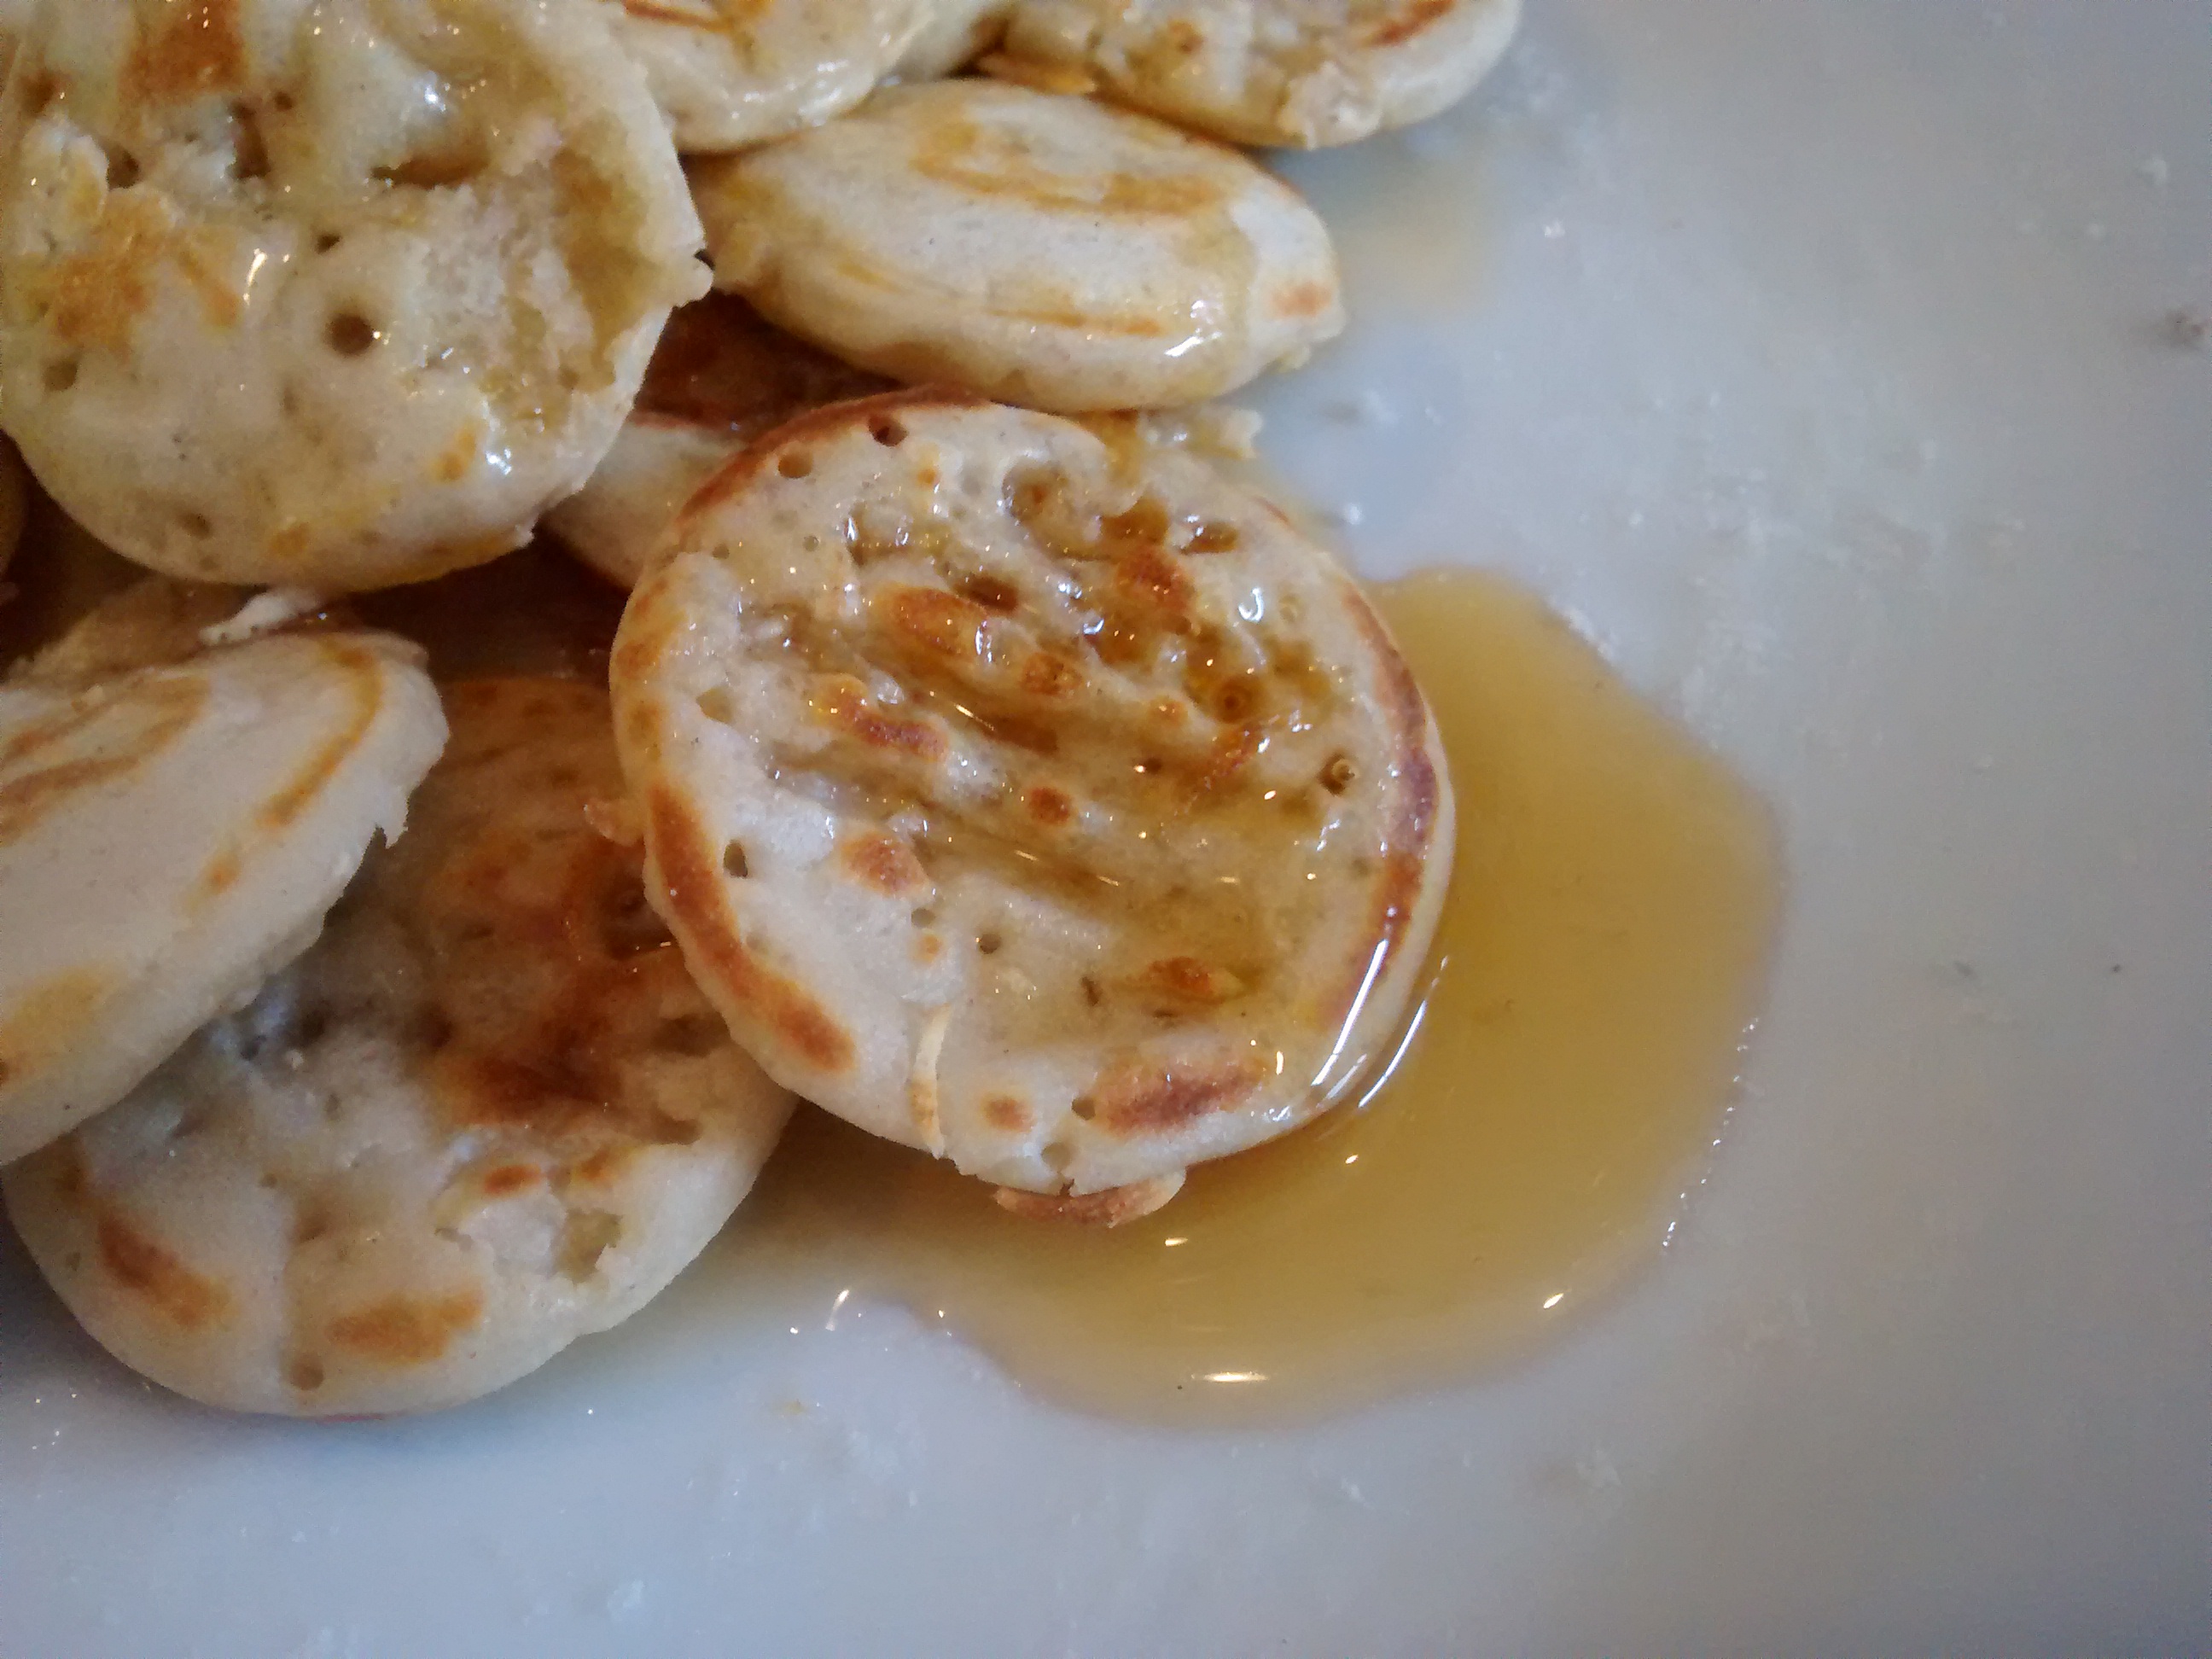
Poffertjes
These mini buckwheat pancakes are Dutch in origin and it was only as I was trying out the recipes again that I realised how similar they are to bliny – but these are not served with savoury toppings but with icing sugar.
(The Dutch for buckwheat is boekweit)
Several decades ago when on a visit to The Netherlands I bought a special cast iron pan which is used for making poffertjes .
It was in the days before cheap flights & just hand luggage and I had travelled there by car – not as easy to bring home without.
If you do not have access to the authentic pan you can make them on a frying pan – my cast iron pan works very well.
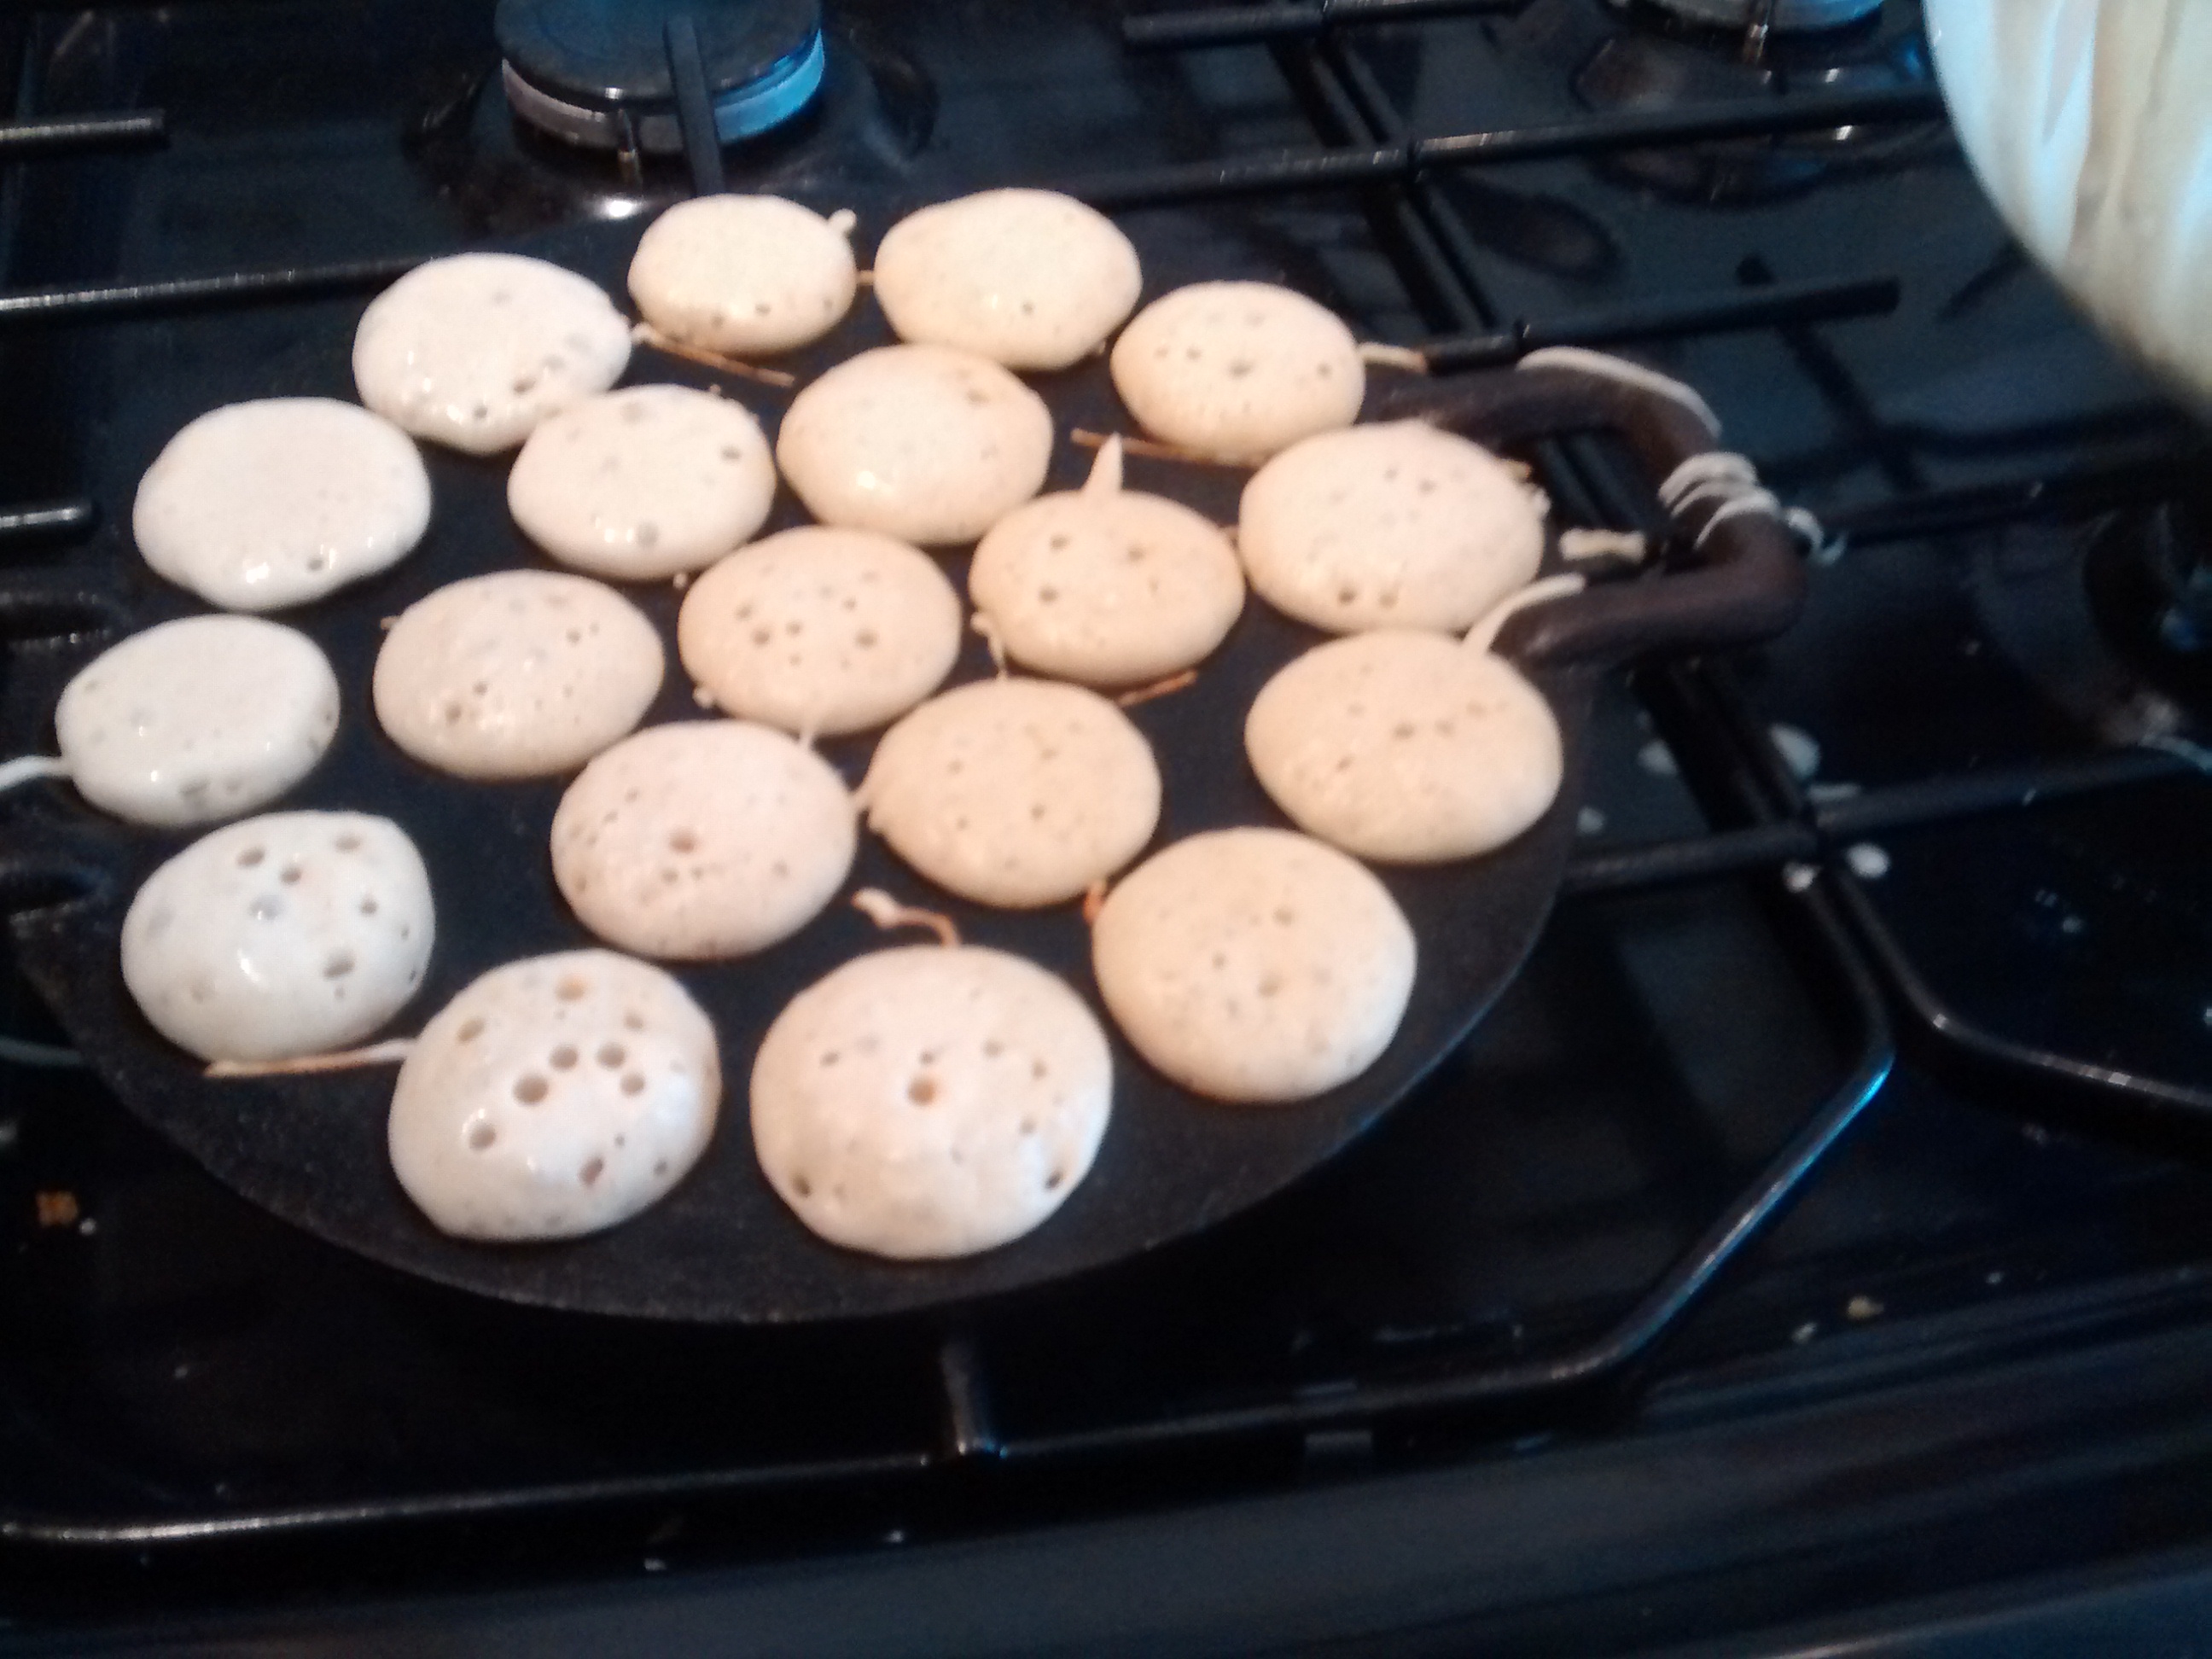
Cast Iron Proffertje Pan with 19 Indentations
Poffertjes
Ingredients
10g dried yeast
1 teaspoon sugar
125g buckwheat flour
125 plain flour
Pinch of salt
1 egg
350ml of full fat or semi-skimmed milk – warmed slightly
1 tablespoon of butter – melted
Icing sugar to serve.
Method
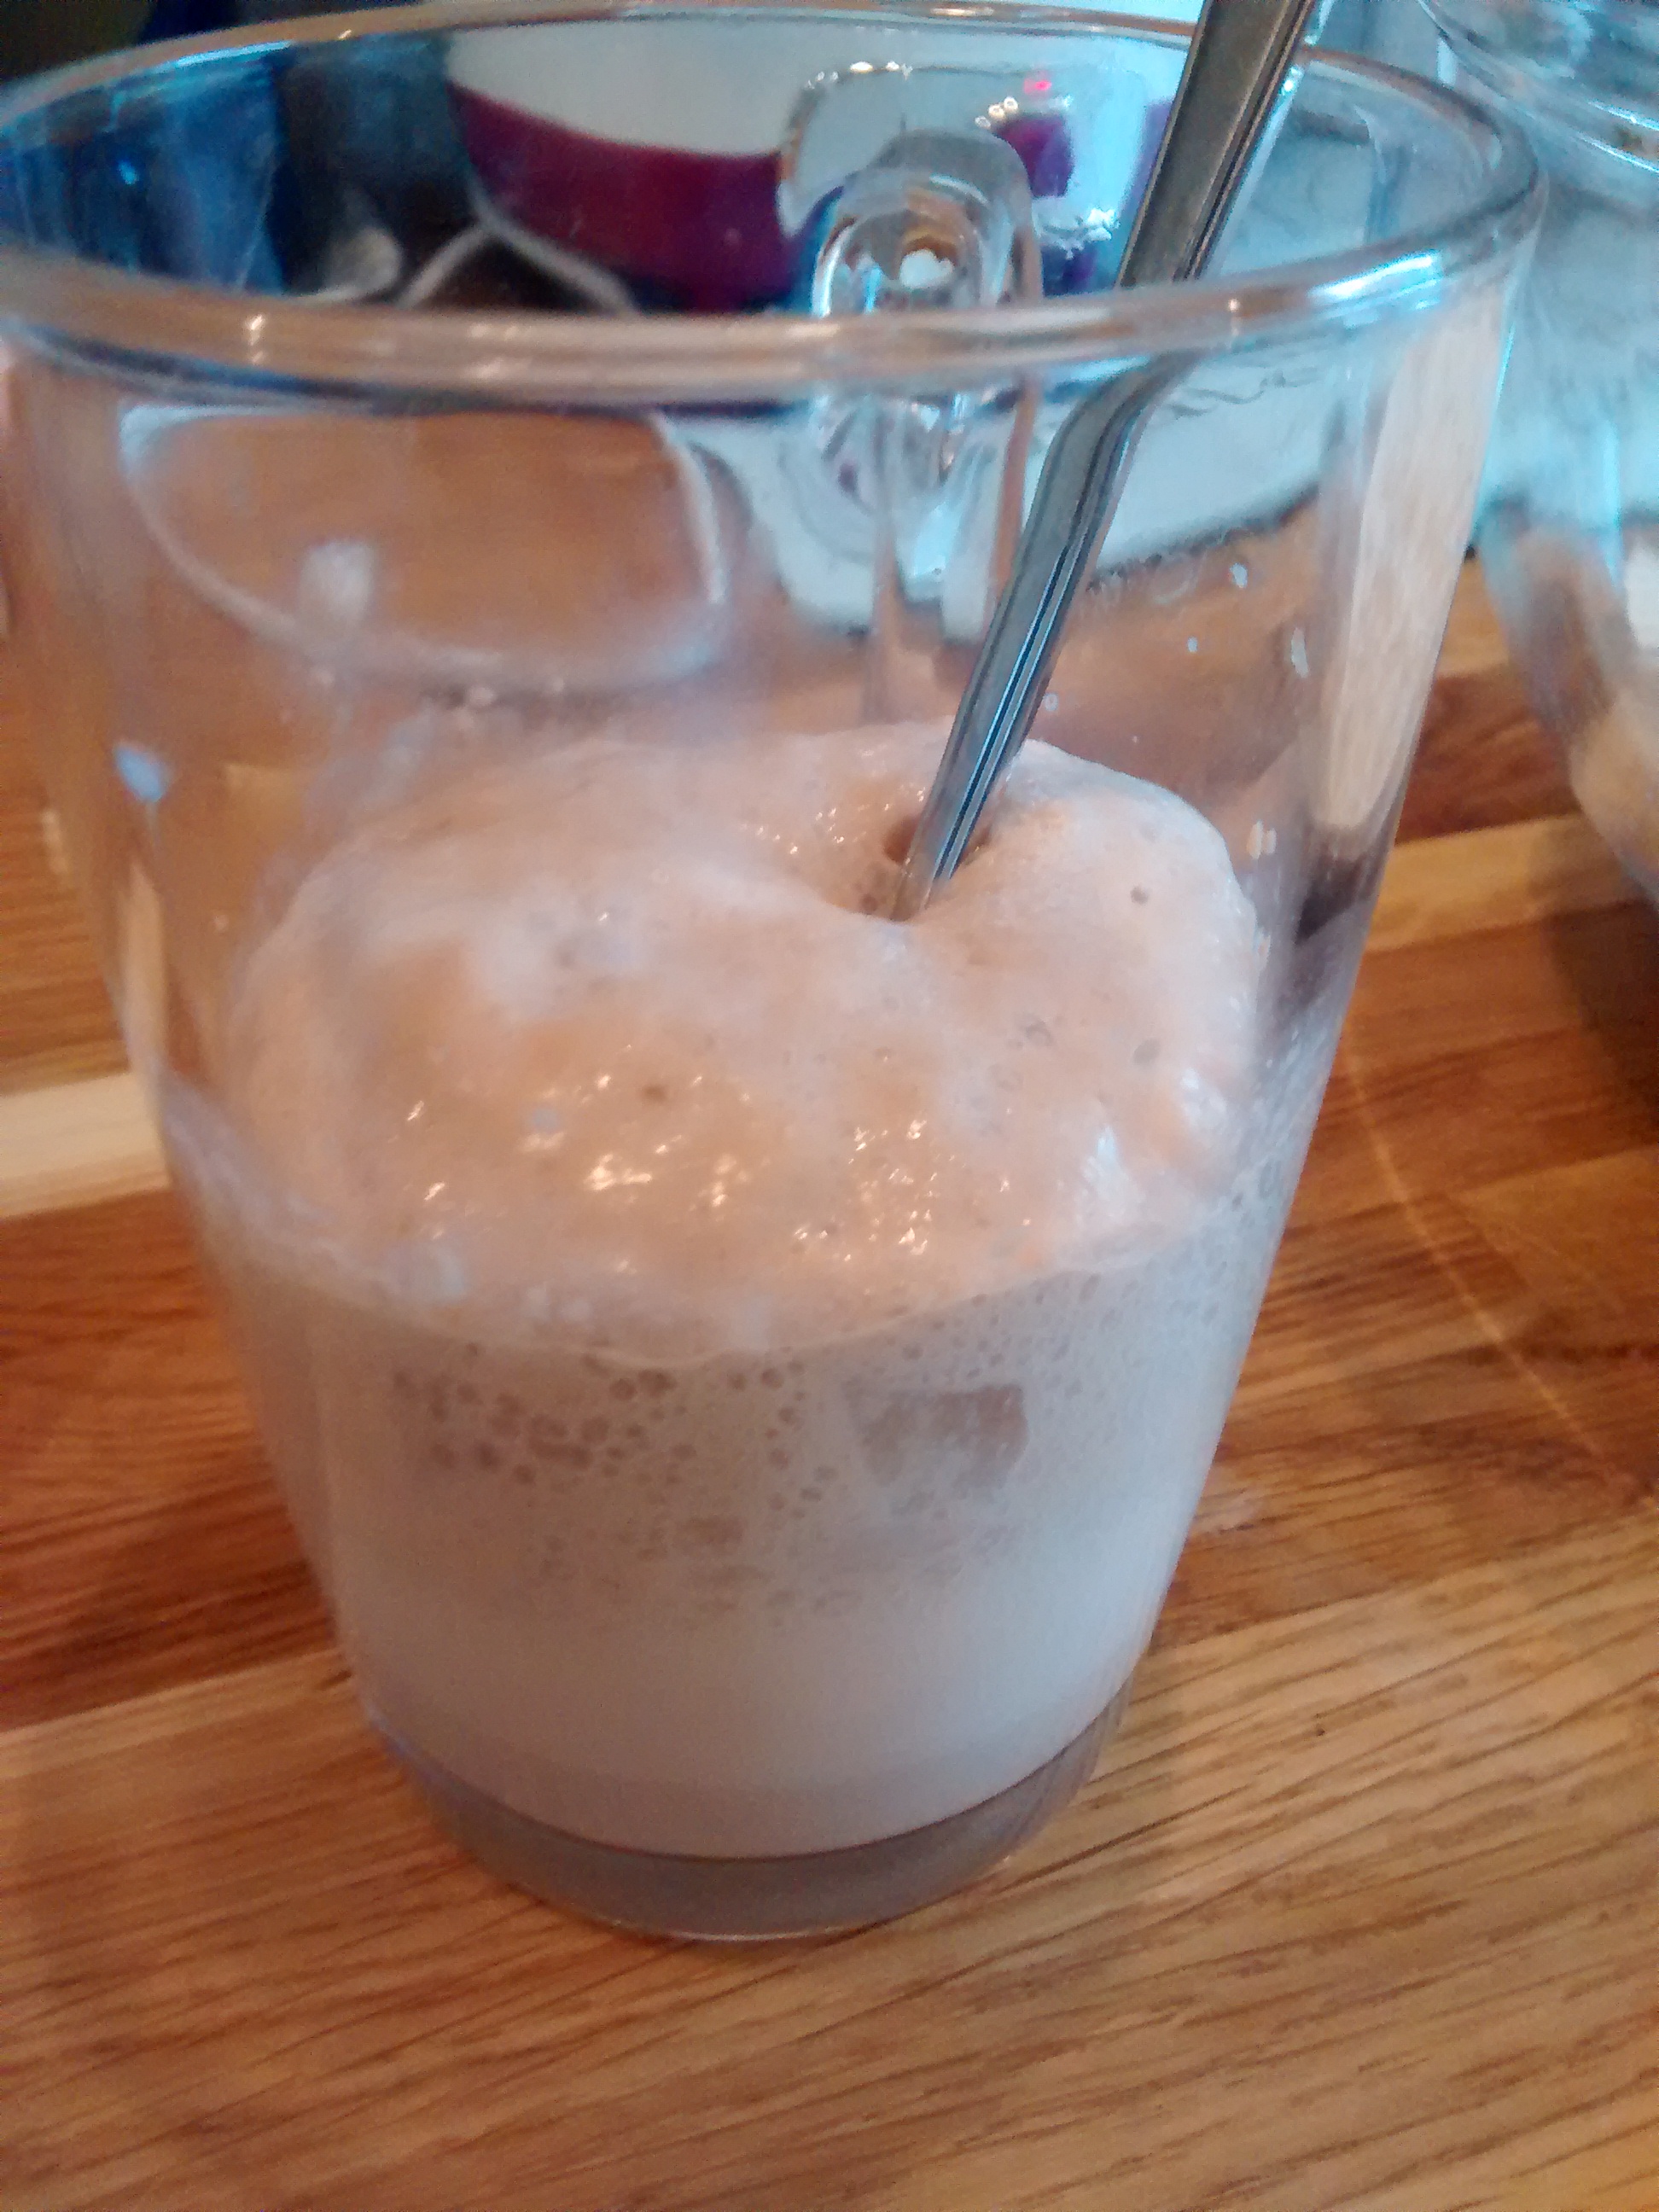
In a small bowl or jug dissolve the sugar, the yeast and around 50 ml of the milk.
Leave for around 10 minutes or so as it froths up.
In a separate bowl, combine the buckwheat and wheat flours, salt, egg, yeast mixture and half the remaining milk and mix well.
Now add the remaining milk until the mixture is like double cream – you might not need all the milk.
Add the melted butter.
Cover the bowl and leave for around 1 hour until the mixture has bubbled and risen.
Lightly grease the pan and heat the pan – keep it the pan warm but not too hot or you will burn the poffertjes.
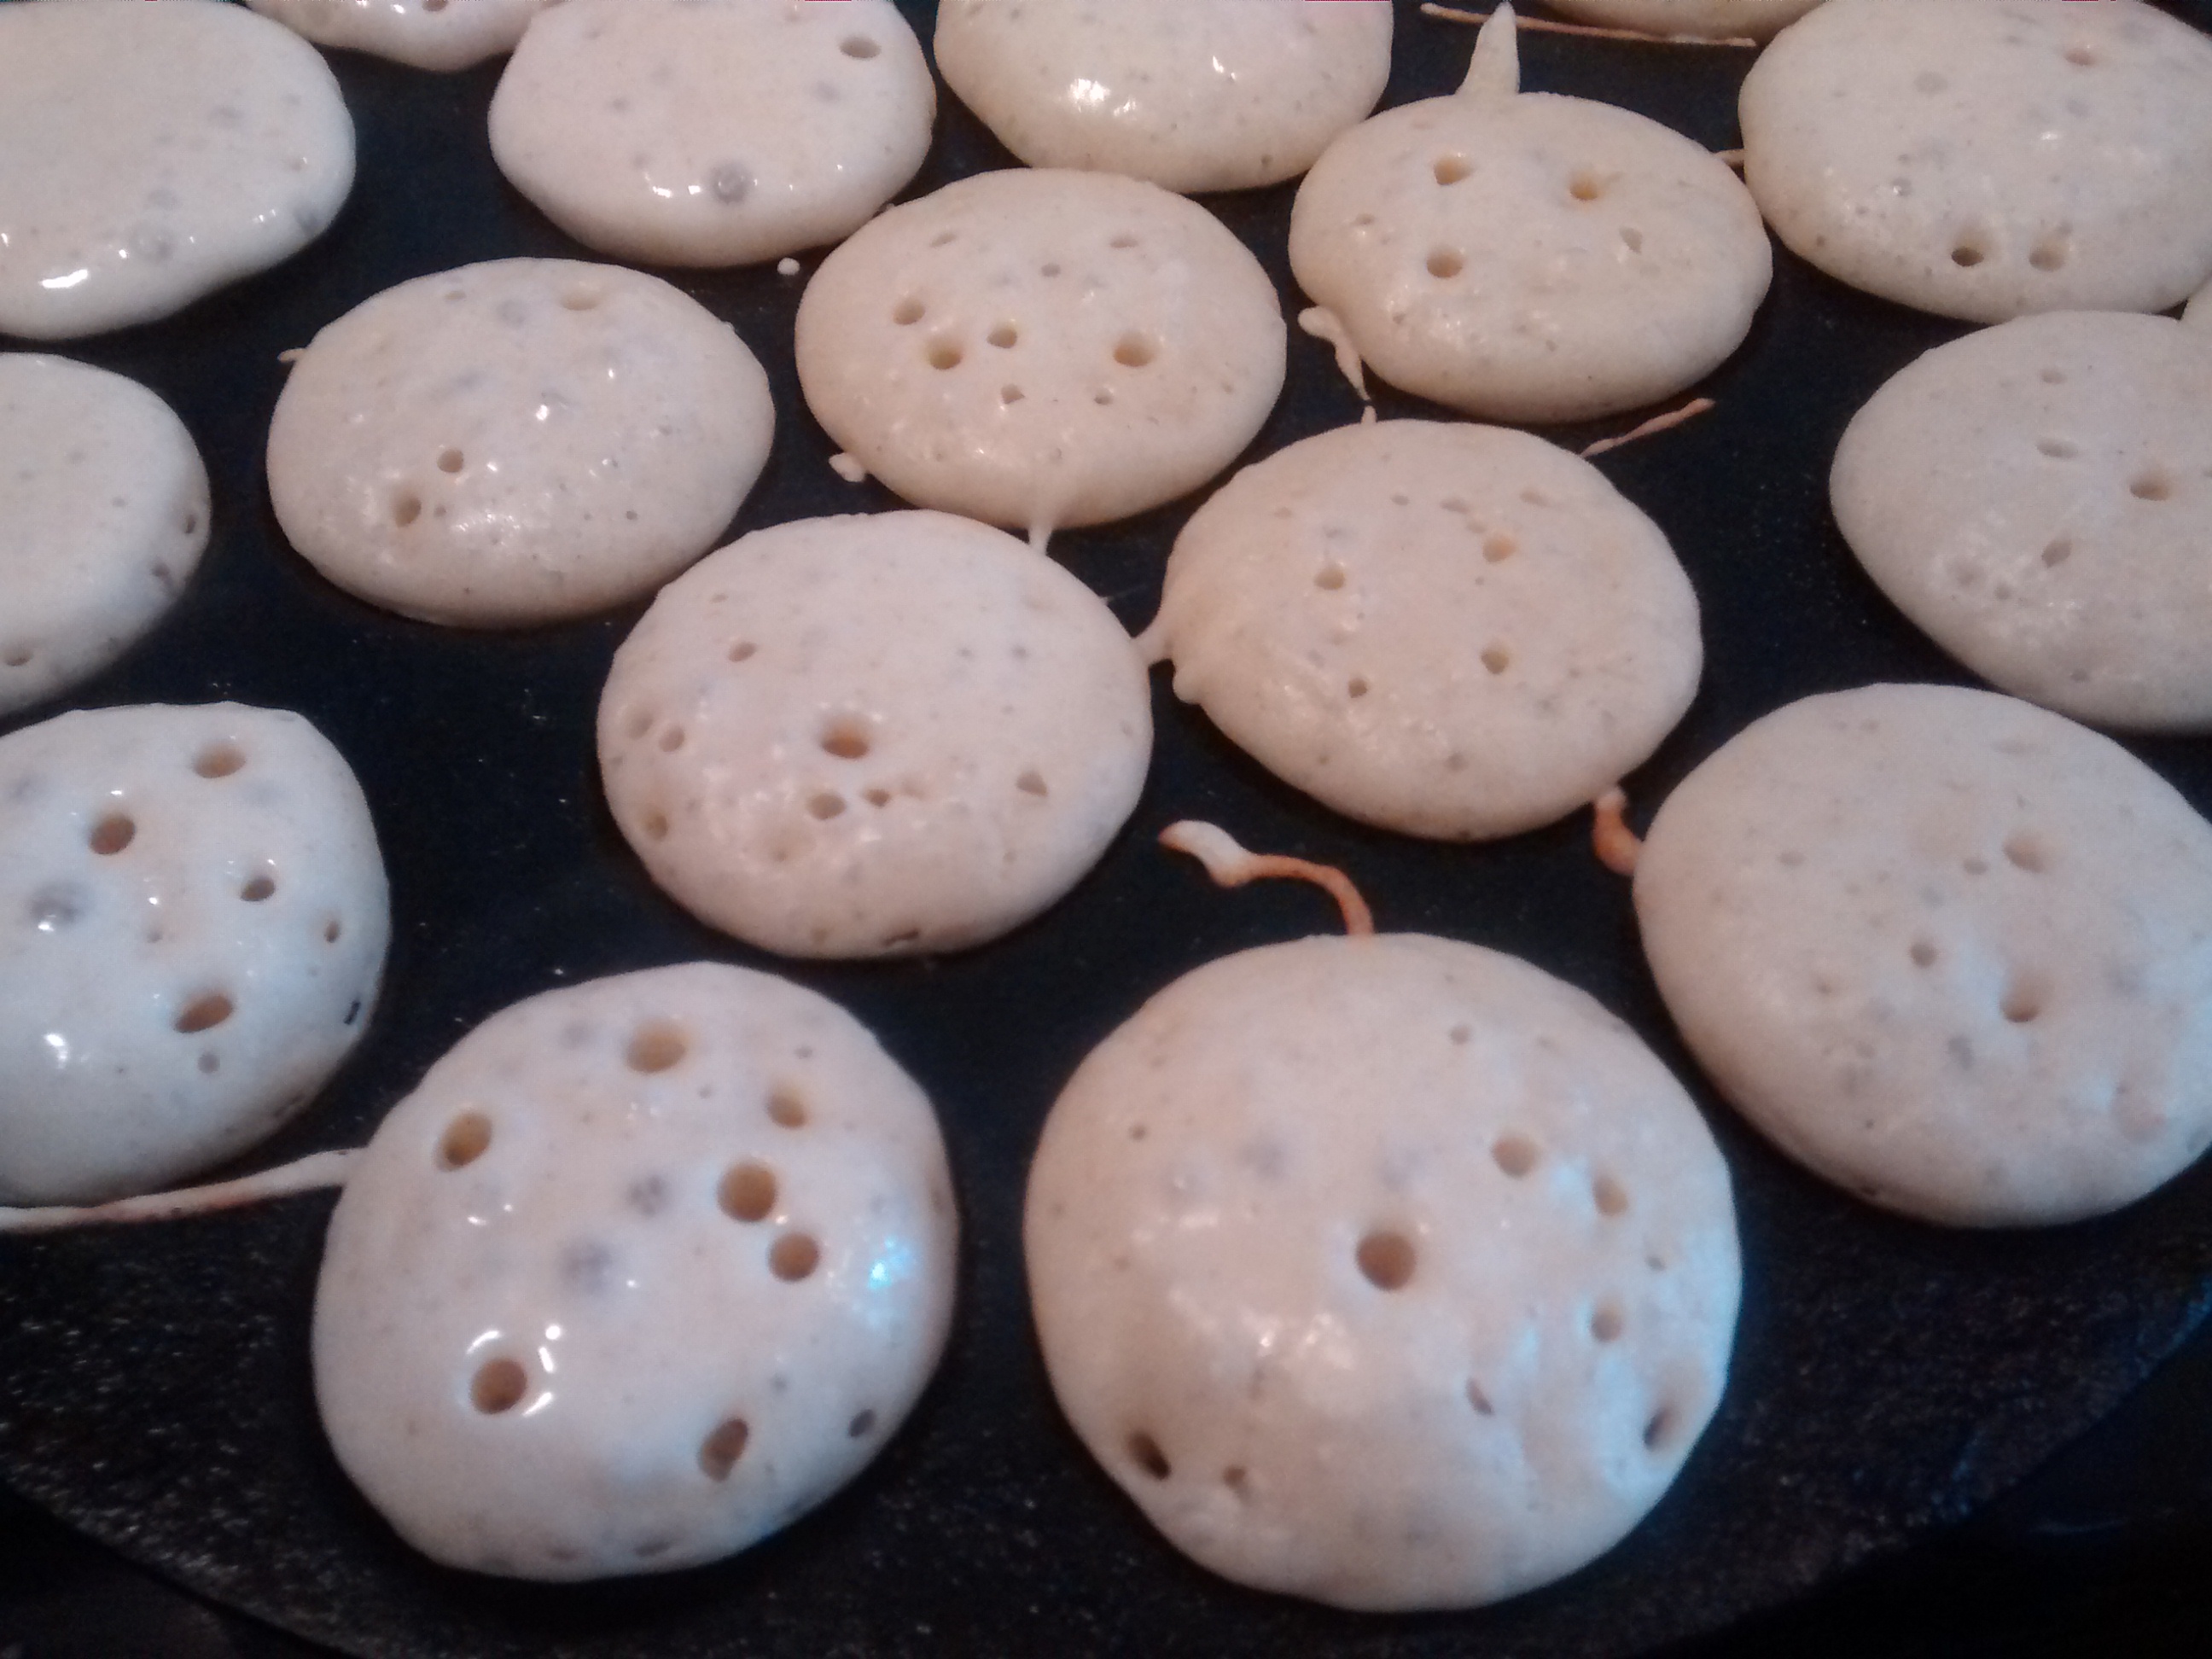
Using a teaspoon fill each indentation in the pan – you need around 2 teaspoons for each.
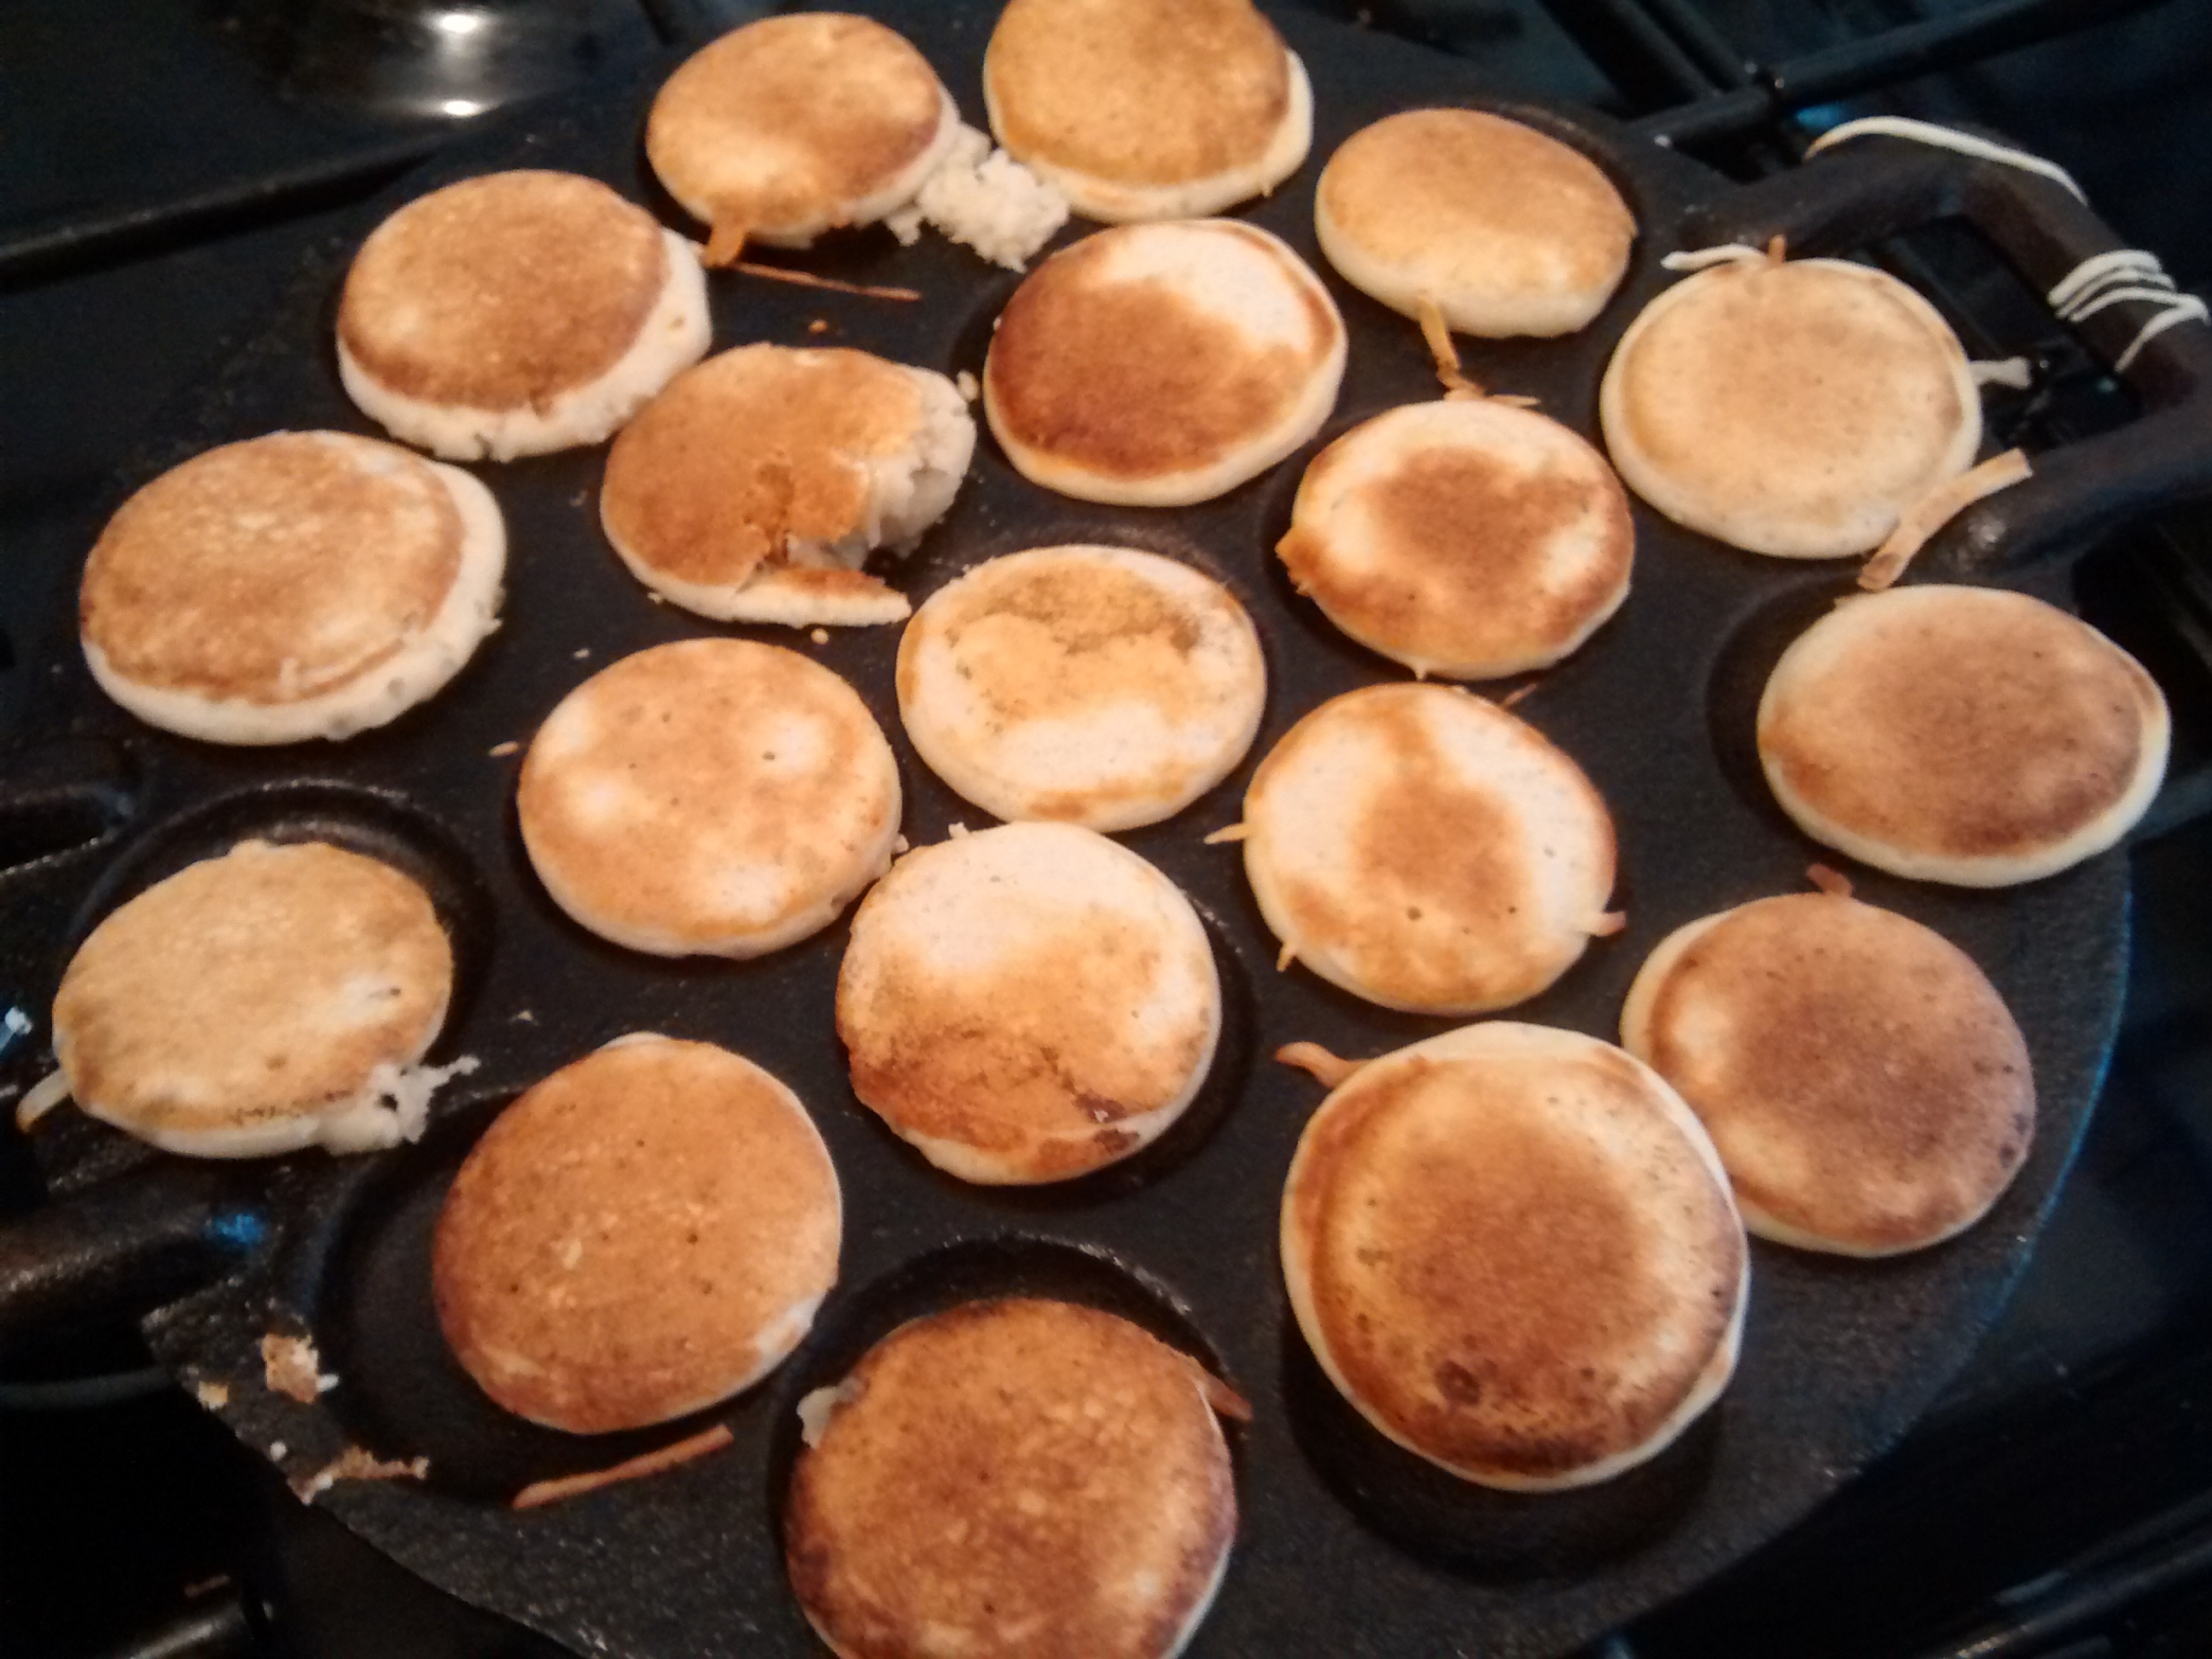
Turn the poffertjes around as soon as the bottom has set, using two forks.
Dredge the poffertjes with lots of icing sugar.
Using a Cast Iron Frying pan
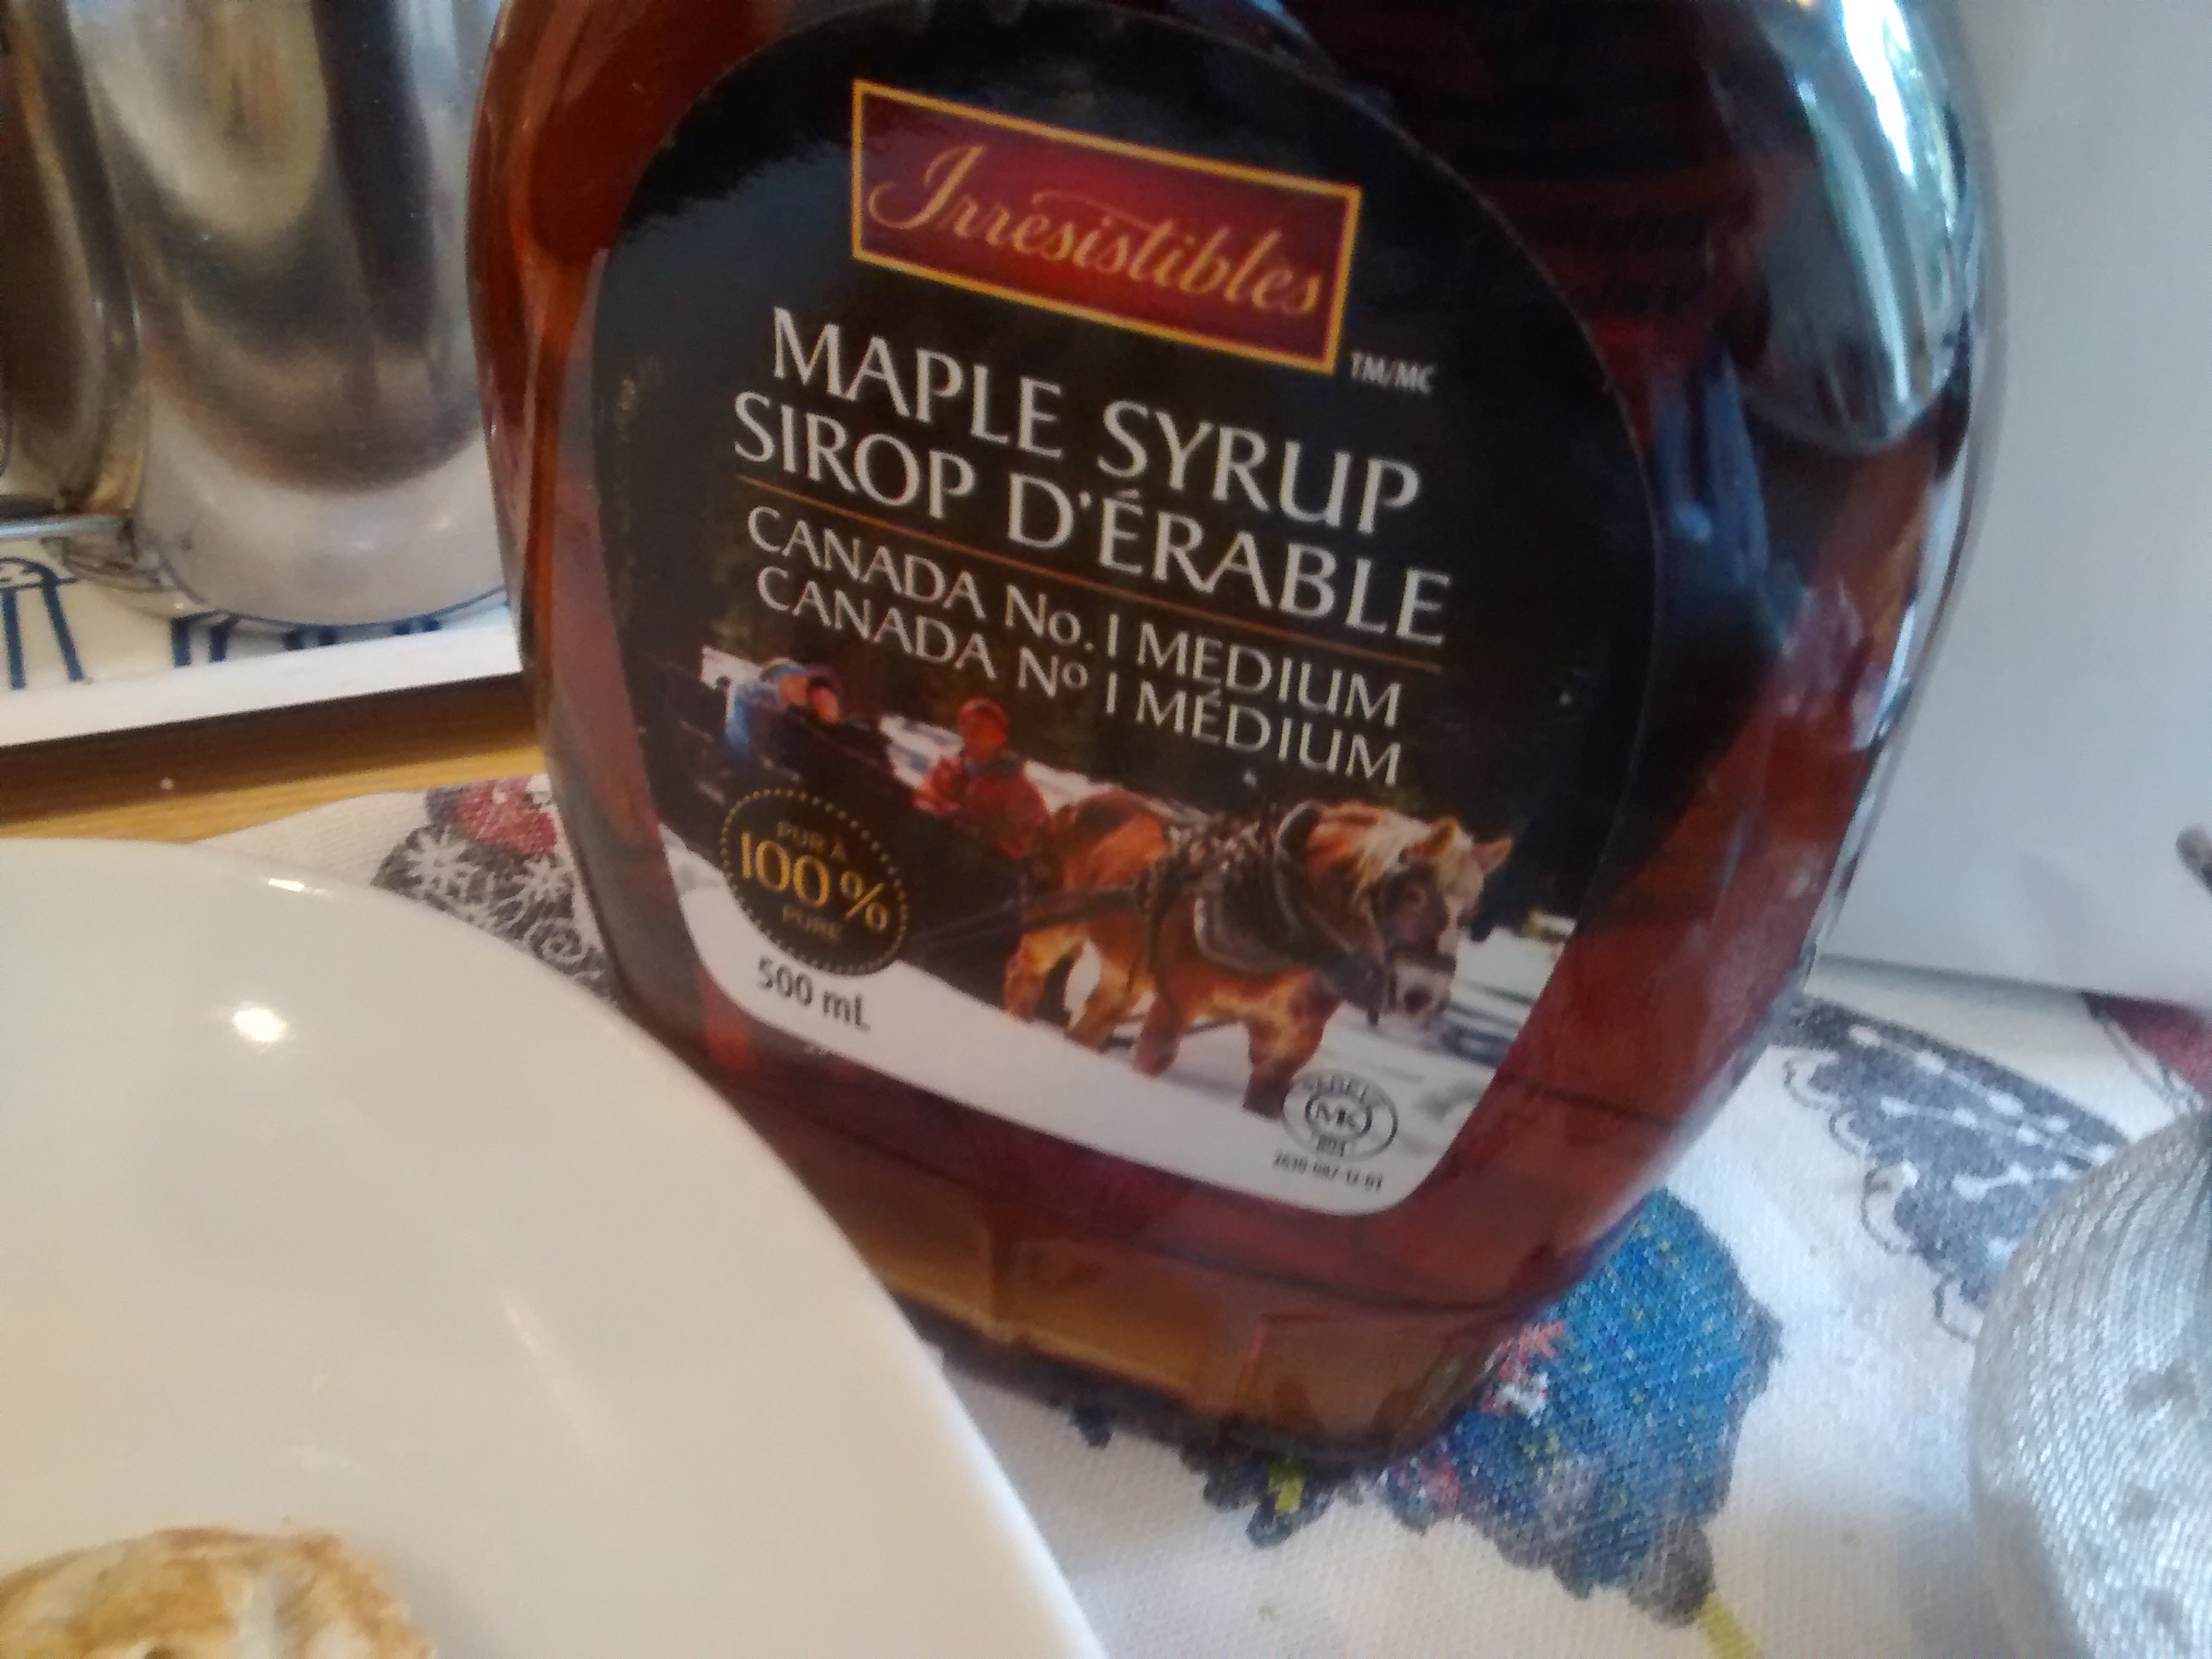
Canadian Alternative!
One of my friends who now lives in Canada brought me a large bottle of maple syrup on her last visit and I tried this over the poffertjes instead of the icing sugar – they were delicious.
I have tried this out as a just vegetable variation.
In my Polish cookbooks there are many variations without meat and they use mushrooms or other vegetables and grains, but these tend to use just dried mushrooms and often rather than rice use buckwheat or pearl barley. Whilst these grains are maybe more traditionally Polish in style I wanted to do a recipe which would initially be more appealing to the English taste. Also I wanted to use mainly fresh mushrooms.
Ingredients for the filling
150 to 200g of rice
400g of mushroom caps – white and/or chestnut
Some butter to fry the mushrooms
5g of dried mushrooms (more if you desire)
A few tablespoons of boiling water
Salt & pepper to taste
Method
In a small bowl add the boiling water to the dried mushrooms , just enough to cover them, and leave overnight.
Stepped Dried Mushrooms and Chopped Fresh Mushrooms
Parboil the rice and leave to go cold. (You can use any already cooked rice you might have cooked already – it is not that critical – it will just have a softer texture).
Finely Slice up the mushroom caps (You can chop them into smaller pieces) and fry them in the butter until they are soft.
Making a Pulp of Dried Mushrooms
Using a knife make a pulp of the dried mushrooms or chop them into small pieces if they have not softened enough.
Add the mushroom pulp and the liquor in which they were steeped to the frying mushrooms and continue cooking the mixture evaporating of most of the liquid or about 10 minutes.
Leave the mushrooms to cool.
In a large bowl mix the parboiled rice and mushroom mix, add salt and pepper to taste.
Mushroom & Rice Mixture
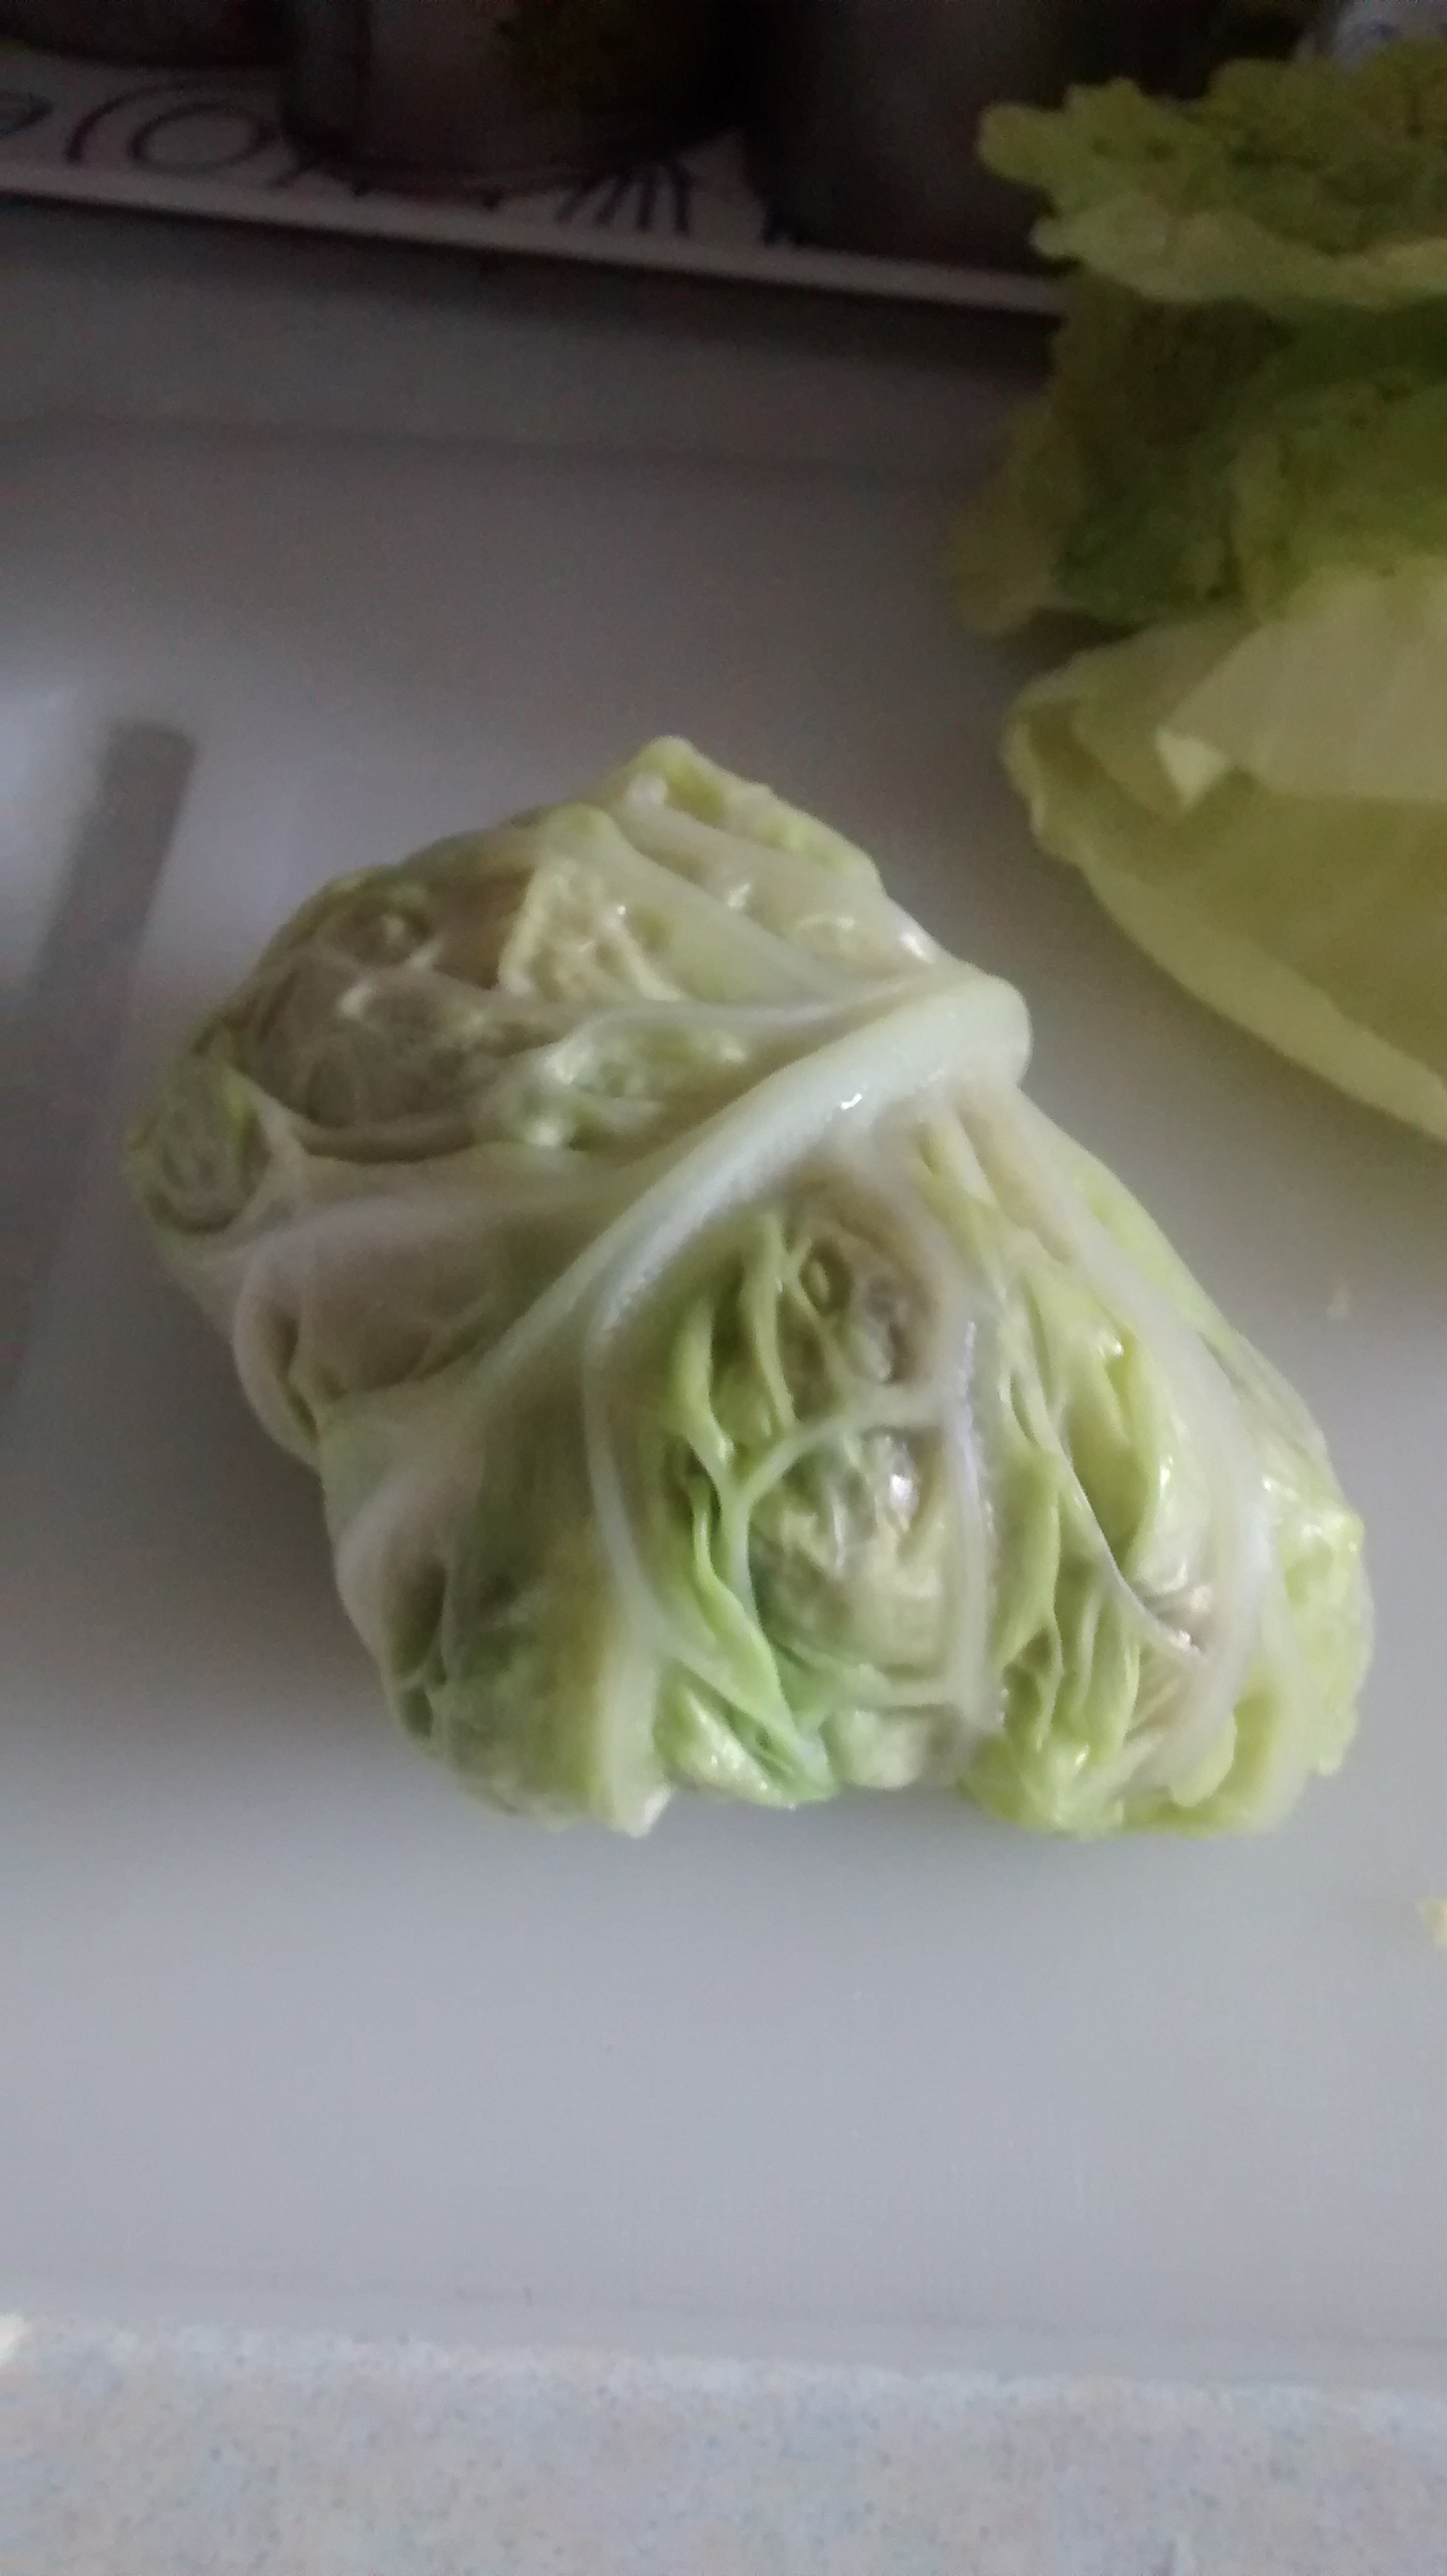
Prepare the cabbage leaves
You need a large white cabbage or a savoy cabbage or I have now started using sweetheart cabbage – you might need 2 of these as they are not usually so large.
Patience is called for here to avoid getting scalded fingers. You have to heat or steam the cabbage to make the leaves pliable so you can remove them one by one and use them to encase the filling.
You need the largest pan you have into which you place the cabbage head.
I boil some water in a kettle and pour this over the cabbage in the pan. With some heat under the pan I let the cabbage cook a little. The temptation is to boil too quickly so making some of the leave too soft and runs the risk of getting scalded as you try to remove the leaves.
Another method is to place the cabbage into a metal colander and set this over the pan of water so that it is steamed rather than boiled – I think this method is the one I like best.
As the leaves become soft, you have to cut them off from the stalk and stack them up for to use later, you can cut out the thickest part of the stalk from the first few larger leaves. Pre heat the oven to GM3 – 160oC
Fill the leaves with the rice & mushroom mix and roll them up from the stalk end, tuck in the sides and secure with the outer edge of the leaf to make a small parcel.
Place the rolls into a large casserole dish, packing as many rolls as possible in rows in the dish. Depending on the depth of the dish repeat this for another layer.
If you have any extra cabbage leaves place these on the base of the dish and then to put extra leaves on the top of the rolls.
The rolls sometimes have a habit of getting slightly burnt on the top as they come out of the liquid and sometimes at the base if they have been in the oven a long time, these extra layers protect the rolls and can be discarded at the end.
Make a vegetable stock and pour this over the cabbage rolls.
Ingredients for Vegetable Stock
Vegetable stock – I like to use the Swiss Marigold Bouillon vegetable stock powder which is in a tub mixed with boiling water
1 tube of tomato purée
2 bay leaves
3 or 4 peppercorns or allspice or both.
salt & pepper ( note there might be enough salt in the stock cube)
Mix up the stock powder in a jug with boiling water, add the tomato purée and then the rest of the ingredients. You need a large amount to cover the cabbage rolls.
Pre heat the oven to GM3 – 160oC
Cover the rolls with this liquid. It is a good idea to have extra which you can use to top up as they are cooking.
Cover with a lid and place in the oven and cook for several hours. Check them occasionally and keep them covered with liquid as much as possible.
As mentioned earlier I make these a day beforehand and then put them back in the oven for an hour or so before serving.
They are a complete meal in themselves but you can give serve them with some bread to mop up all the liquid sauce.
Note
Wigilia – Christmas Eve
I will be writing a post all about the special meal on this day later when all the dishes are meatless.
Gołąbki are made using fresh cabbage and the name means little pigeon or dove. This name comes about from its size and shape and also from to the idea of this being a little delicacy.
The cabbage leaves are used to make a little parcel with a meat and rice filling and these are then cooked in a liquid stock or sauce.
I have read that this is a very old dish which originally came from the Byzantine Empire and was made with vine leaves, as it came north; cabbage leaves replaced the vine leaves.
The main 3 ingredients are: cabbage, rice and minced meat, and you also need a liquid to cook them in, which in my mother’s case was always a stock with tomatoes.
You can use white or Savoy cabbage. White cabbage has softer more pliable leaves and I think make the best gołąbki . Savoy cabbage has firmer leaves that are easier to work with but take longer to cook; these can be easier for a novice to use.
You need a large head of cabbage to get large leaves.
You can use any type of rice but the stickier types are the best.
The traditional Polish version uses pork. My mother used beef as this was more readily available in England. Now that minced pork is more available and you do not have to hand mince it, I use either or even mix the two.
There are many variations using, fresh or dried mushrooms, buckwheat instead of rice, and a stock without tomatoes. In fact buckwheat is a more older version as it grows in Poland and rice would have to be imported.
This recipe is my mother’s and for me this is just right!
Mama’s Classic Recipe
Ingredients
1 large head of white cabbage or Savoy cabbage
400g rice
500g of minced beef or pork
chicken stock – a cube or concentrate will do
1 tube of tomato purée
salt & pepper
2 bay leaves
3 or 4 peppercorns or allspice or both
Although the gołąbki take a while to put together, you then leave them to cook in a slow oven for hours which is easy.
You can reheat them on the next day and in fact I think they taste better the longer they have been steeped in the cooking liquid and I always make them a day in advance.
They also freeze very well, so I pack any left in portions of 2 or 4 for a later date. Because of this I like to make as big a batch as I can in one go.
I use a very large enamelled oval dish with a lid which is ideal for this.
As you need whole largish cabbage leaves I sometimes use 2 cabbages to get the bigger leaves.
You need to parboil the rice in salted water so that it is about half way to being cooked and then strain the rice and let it go cold, but if you have some plain boiled rice left from another day you could use this as this is not critical.
In a large bowl mix the rice and minced meat and add salt and pepper. The exact amounts do not matter. I like it to look about 50/50 white and pink but these can be made with much more rice to eke out the meat available.
Next comes the hardest part and patience is called for here to avoid getting scalded fingers. You have to heat or steam the cabbage to make the leaves pliable so you can remove them one by one and use them to encase the filling.
You need the largest pan you have into which you place the cabbage head. I boil some water in a kettle and pour this over the cabbage in the pan with some heat under the pan I let the cabbage cook a little. The temptation is to boil to quickly so making some of the leave too soft and runs the risk of getting scalded as you try to remove the leaves. Another method is to place the cabbage into a metal colander and set this over the pan of water so that it is steamed rather than boiled.
As the leaves become soft, you have to cut them off from the stalk and stack them up for to use later, you can cut out the thickest part of the stalk from the first few larger leaves.
Instructions from my Polish cookbook “bible”
Pre heat the oven to GM2 – 150oC
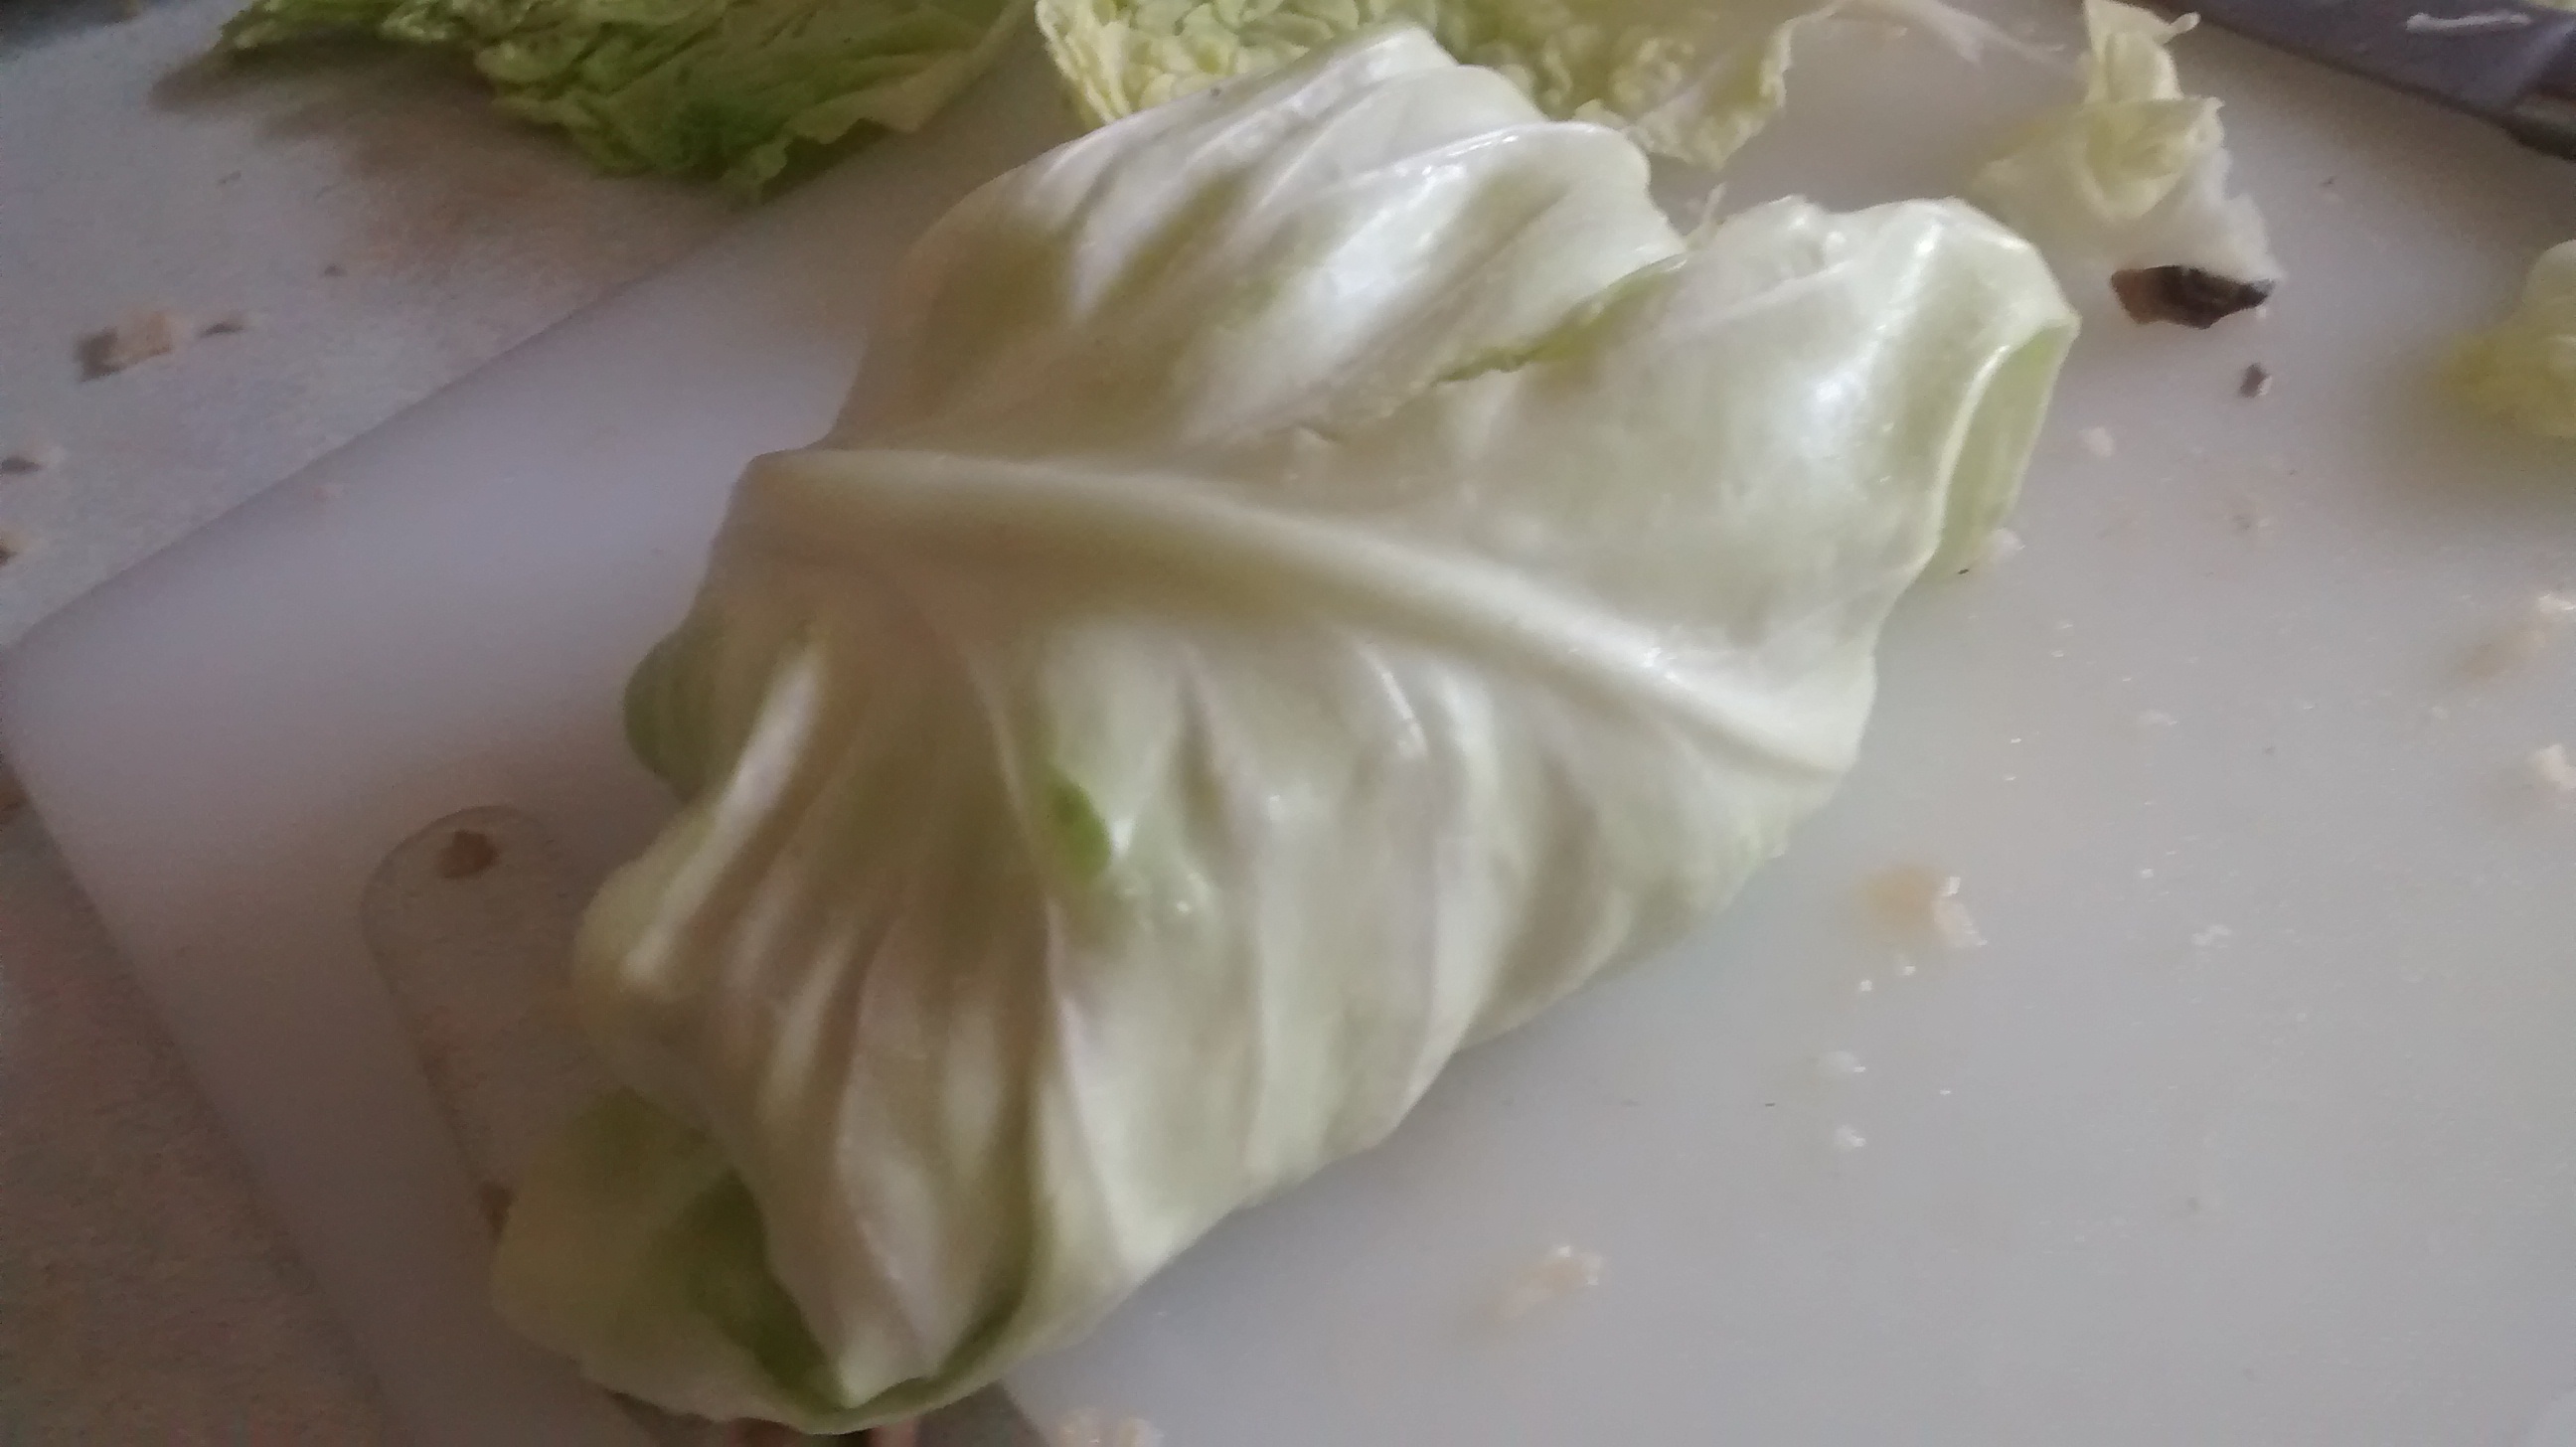
Place a small handful of the rice & meat mixture onto a cabbage leaf and roll up from the stalk end, tuck in the sides and secure with the outer edge of the leaf to make a small parcel.
Place the rolls into a large casserole dish, packing as many rolls as possible in rows in the dish. Depending on the depth of the dish repeat this for another layer.
A tip I got from my late cousin, Krystyna, is to use extra cabbage leaves on the base of the dish and then to put extra leaves on the top of the rolls.
The rolls sometimes have a habit of getting slightly burnt on the top as they come out of the liquid and sometimes at the base if they have been in the oven a long time, these extra layers protect the rolls and can be discarded at the end.
Make a large amount of liquid stock with hot water and tomato purée and add bay leaves, peppercorns and allspice.
Cover the rolls with this liquid. It is a good idea to have extra which you can use to top up as they are cooking.
Cover with the lid and place in the oven and cook for several hours. Check them occasionally and keep them covered with liquid as much as possible.
As mentioned earlier I make these a day beforehand and then put them back in the oven for an hour or so before serving.
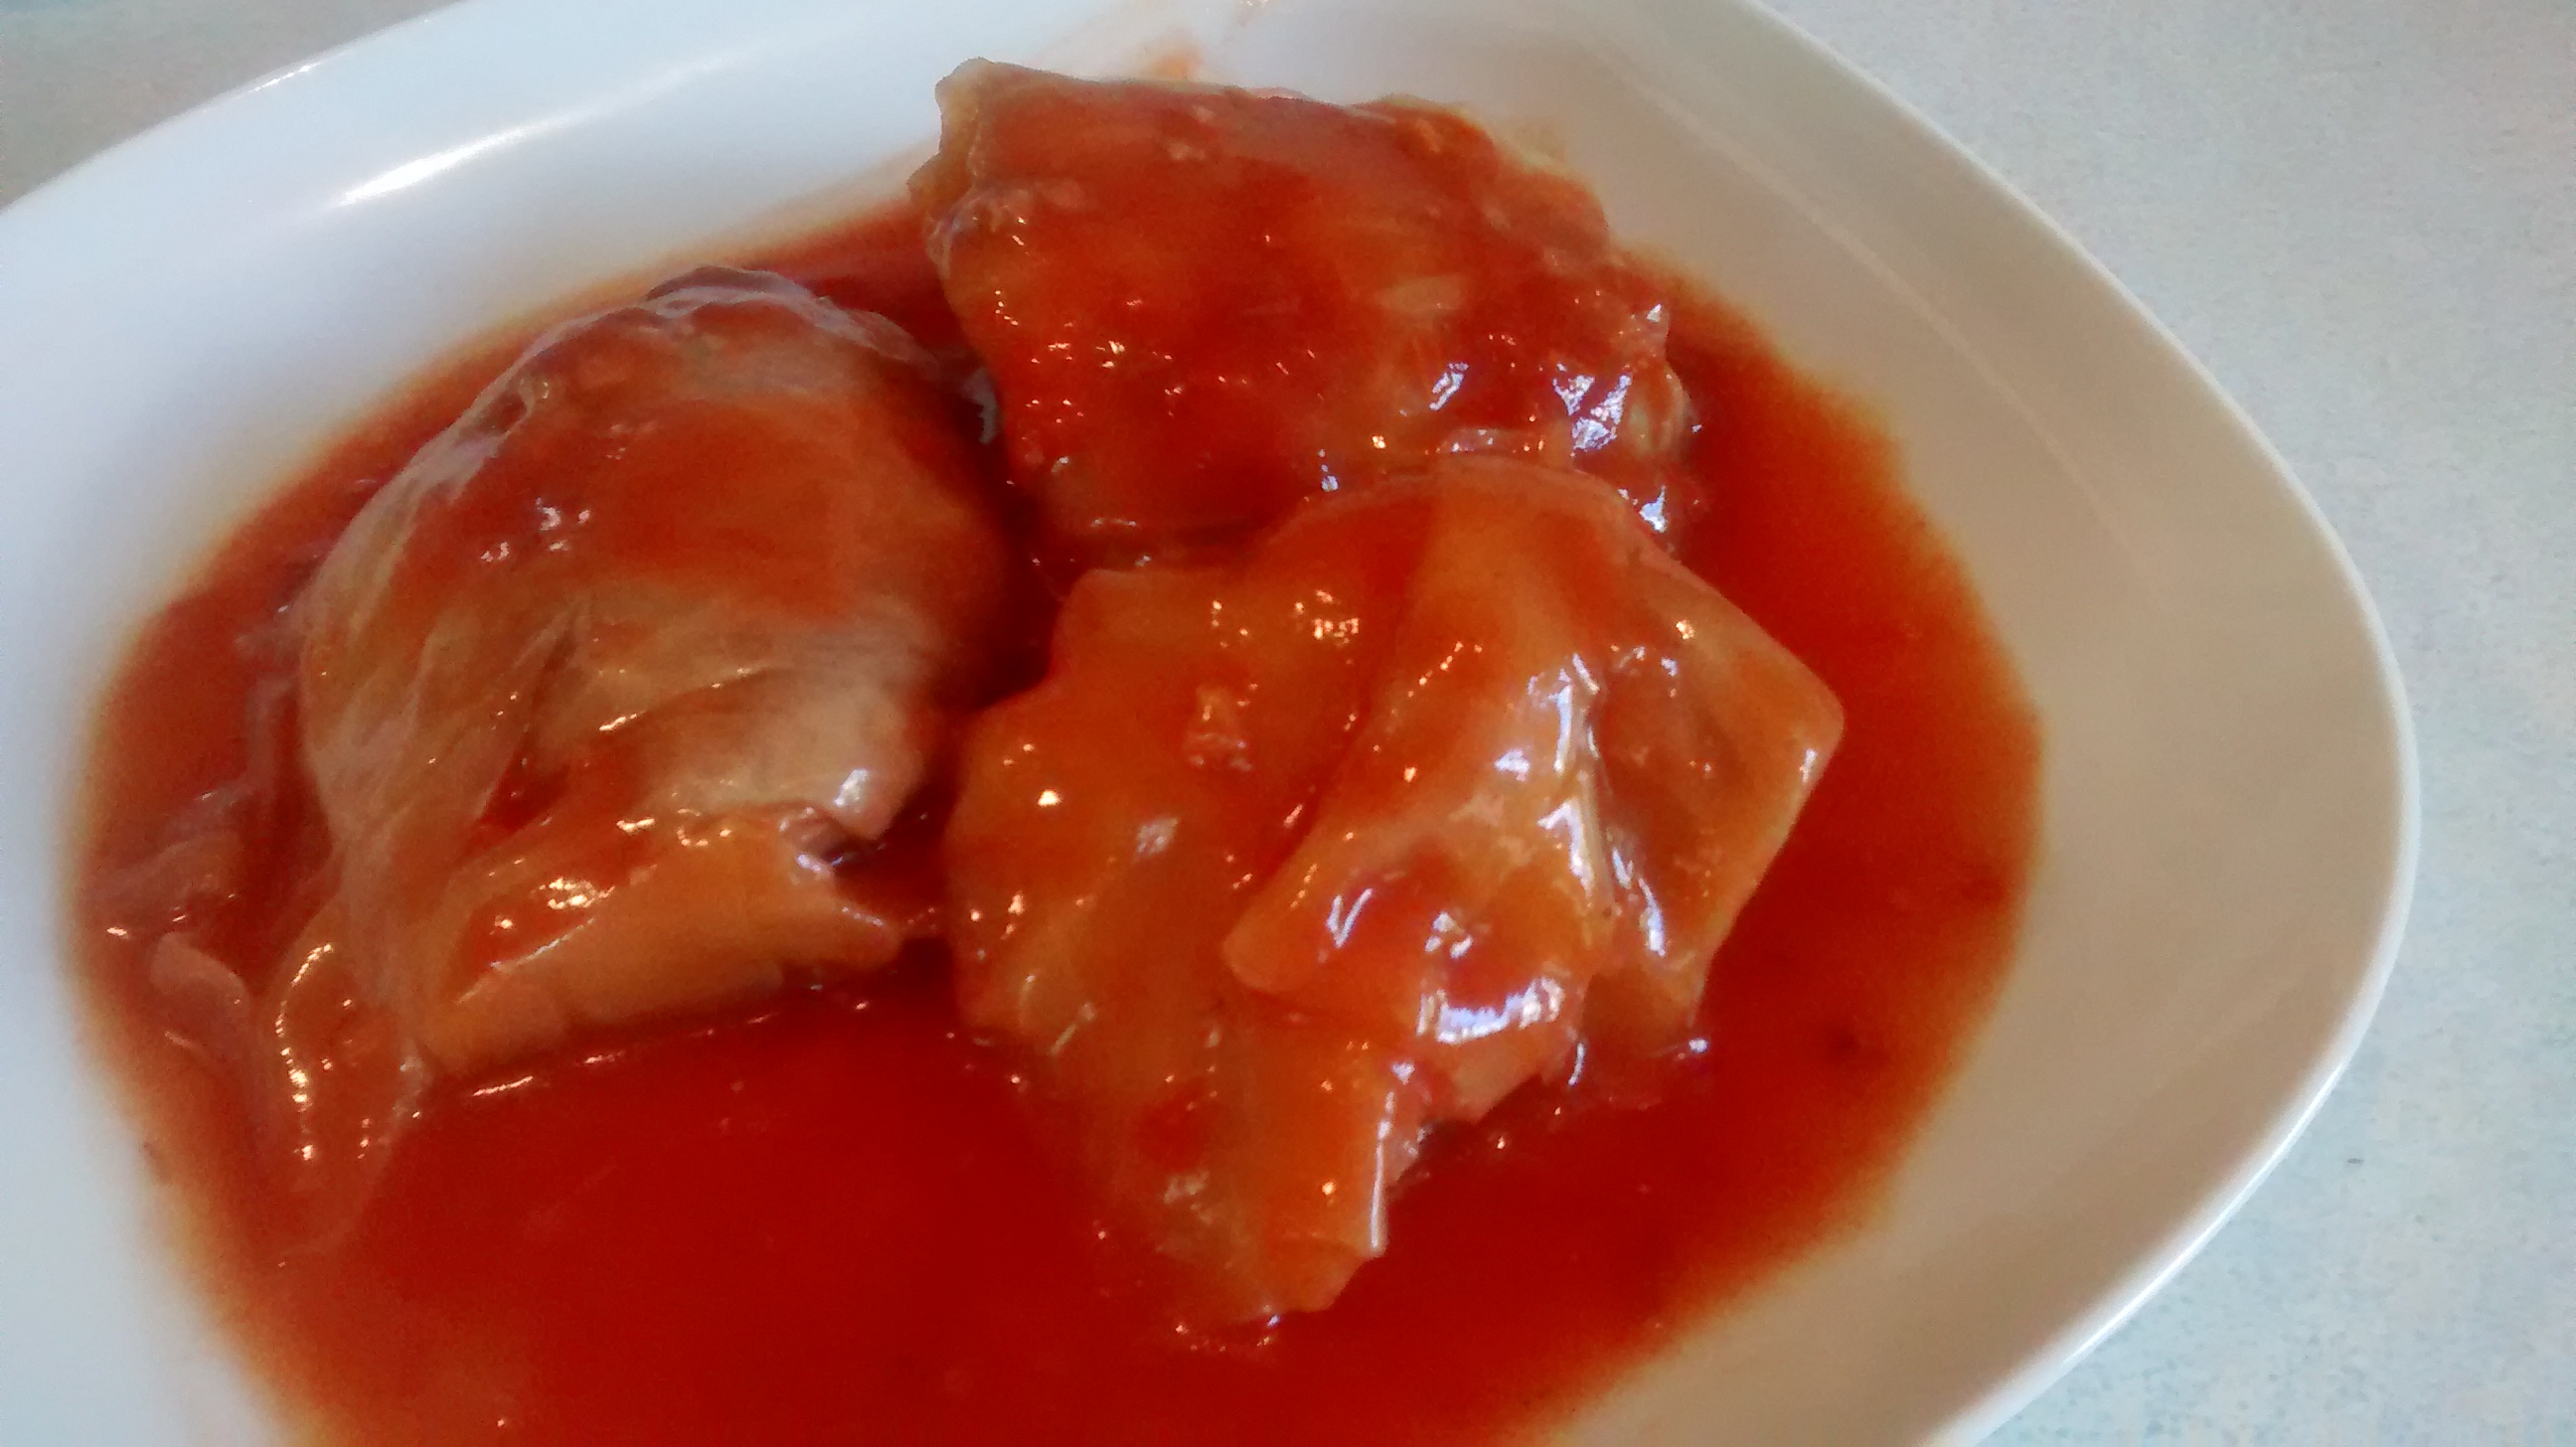
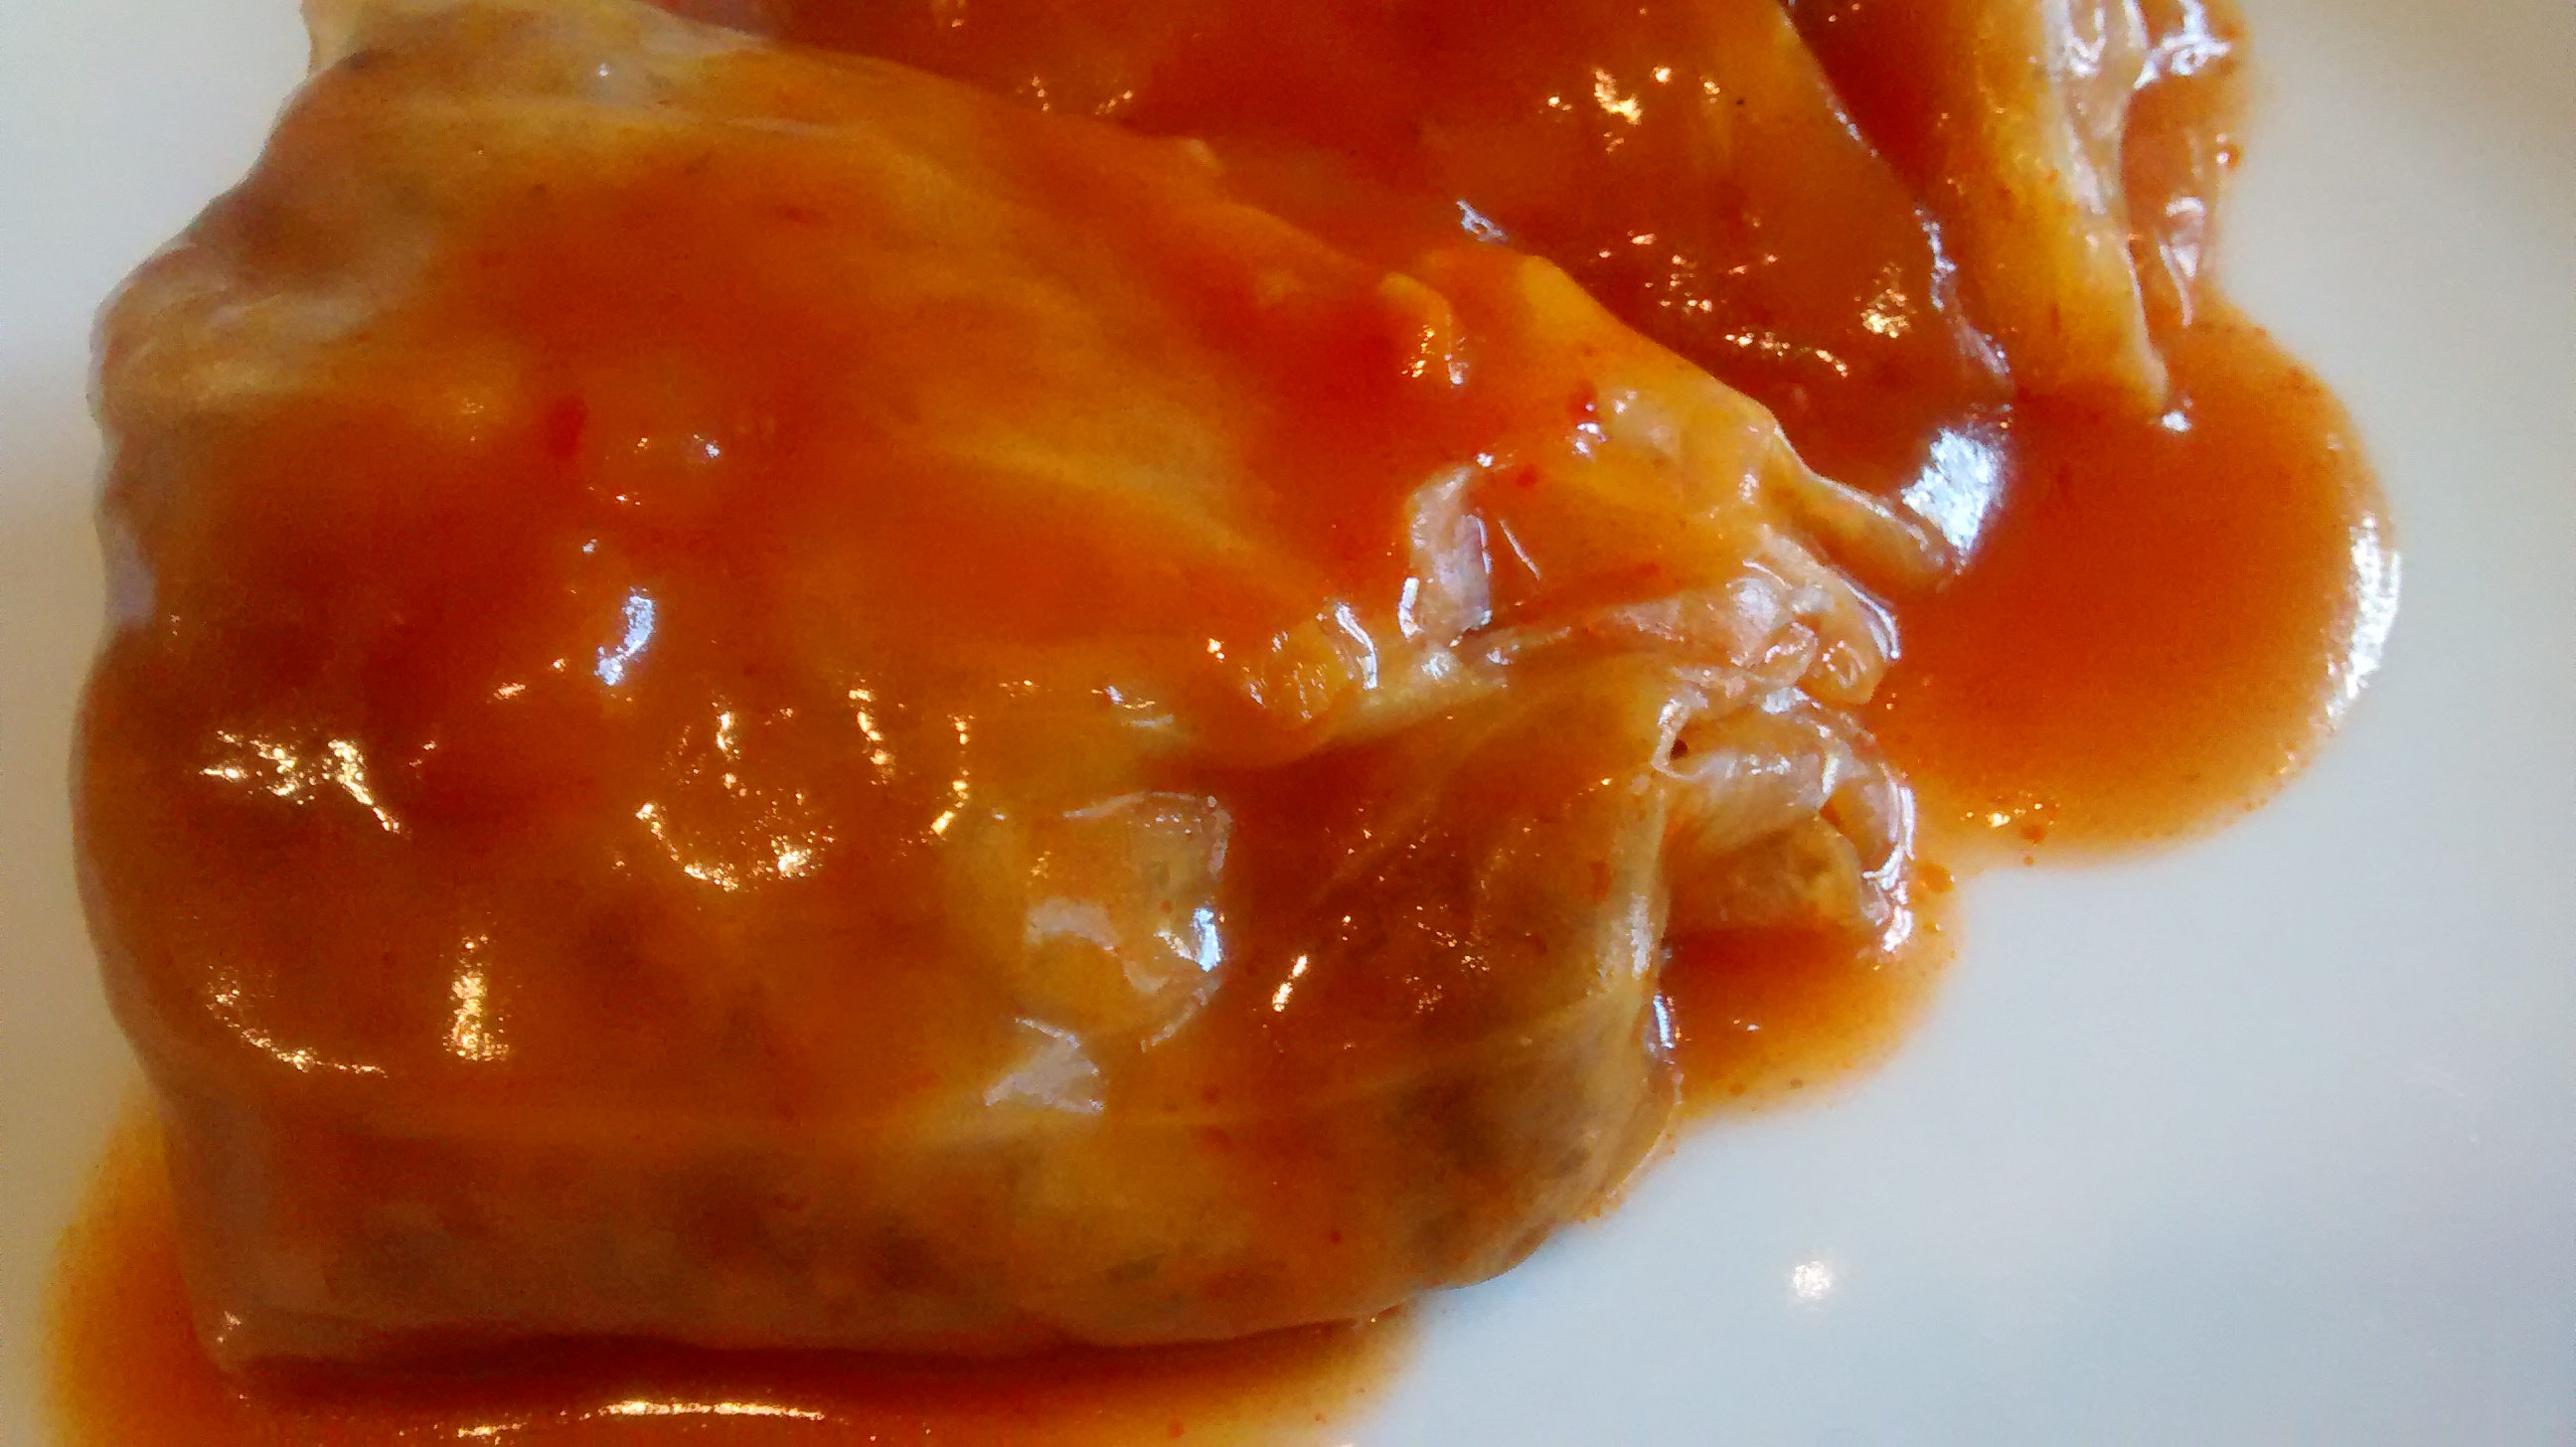
They are a complete meal in themselves but you can give serve them with some bread to mop up all the liquid sauce.


")

")


")
")

")


")

")

")