Daucus carota – the carrot – was cultivated from wild carrots in the countries we now know as Afghanistan & Iran and are mentioned there in the 10th century and by the 12th century they were mentioned in Europe.
These tap roots were originally white, yellow or purple in colour.
The orange colour that we recognise today was breed by growers in Europe in the 17th century especially in the Netherlands. It is thought that this was in honour of Prince William of Orange-Nassau (Willem van Oranje) who had an orange stripe on his flag. Nowadays orange is thought of as the national colour for the Netherlands.
These pancakes made with carrots in Polish are called racuszki z marchwi.
They are small round pancakes like American pancakes or dropped scones and are served with sugar or sweetened soured cream.
Ingredients
450g carrots, peeled and finely grated
140g twaróg/cream cheese or yoghurt cheese
2 eggs separated
3 tablespoons of plain flour
1/2 teaspoon of baking powder
Sunflower oil for frying
To Serve
Caster sugar or soured cream sweetened with icing sugar.
Method
Whisk the whites until they are stiff.
In a small dish mix the baking powder with the flour.
In a large bowl mix together well the finely grated carrots, the cream (or yoghurt) cheese and the egg yolks.
Add the flour mixture.
Fold in the stiff egg whites.
Heat some sunflower oil in a cast iron frying pan or griddle.
Use 2 tablespoonfuls of the mixture for each pancake, cook on one side and then turn them over and cook on the other side.
Sprinkle with caster sugar or with a dollop of sweetened soured cream.
Served here on Wedgwood – Hathaway Rose – 1959 -1987.
Note
I have also tried them with maple syrup poured on them & these too were delicious.
If served on top of a large, breakfast plate sized potato pancake this is known as a
węgierski placek – Hungarian pancake.
Tip
Make this a day ahead of when you need it, cook the dish for at least 3 hours and leave it to cool.
The next day cook it again for at least 1 hour, you might have to add a little water or stock but not too much, the sauce should be thick not watery.
Using a slow cooker
Nowadays I often make gulasz using a slow cooker instead of the oven.
I made a gulasz using pork shoulder and cooked it in the slow cooker for 8 hours.
Pork gulasz served in a dish by J & G Meakin Studio Pottery
Unknown Design Name
Luxury Style Gulasz
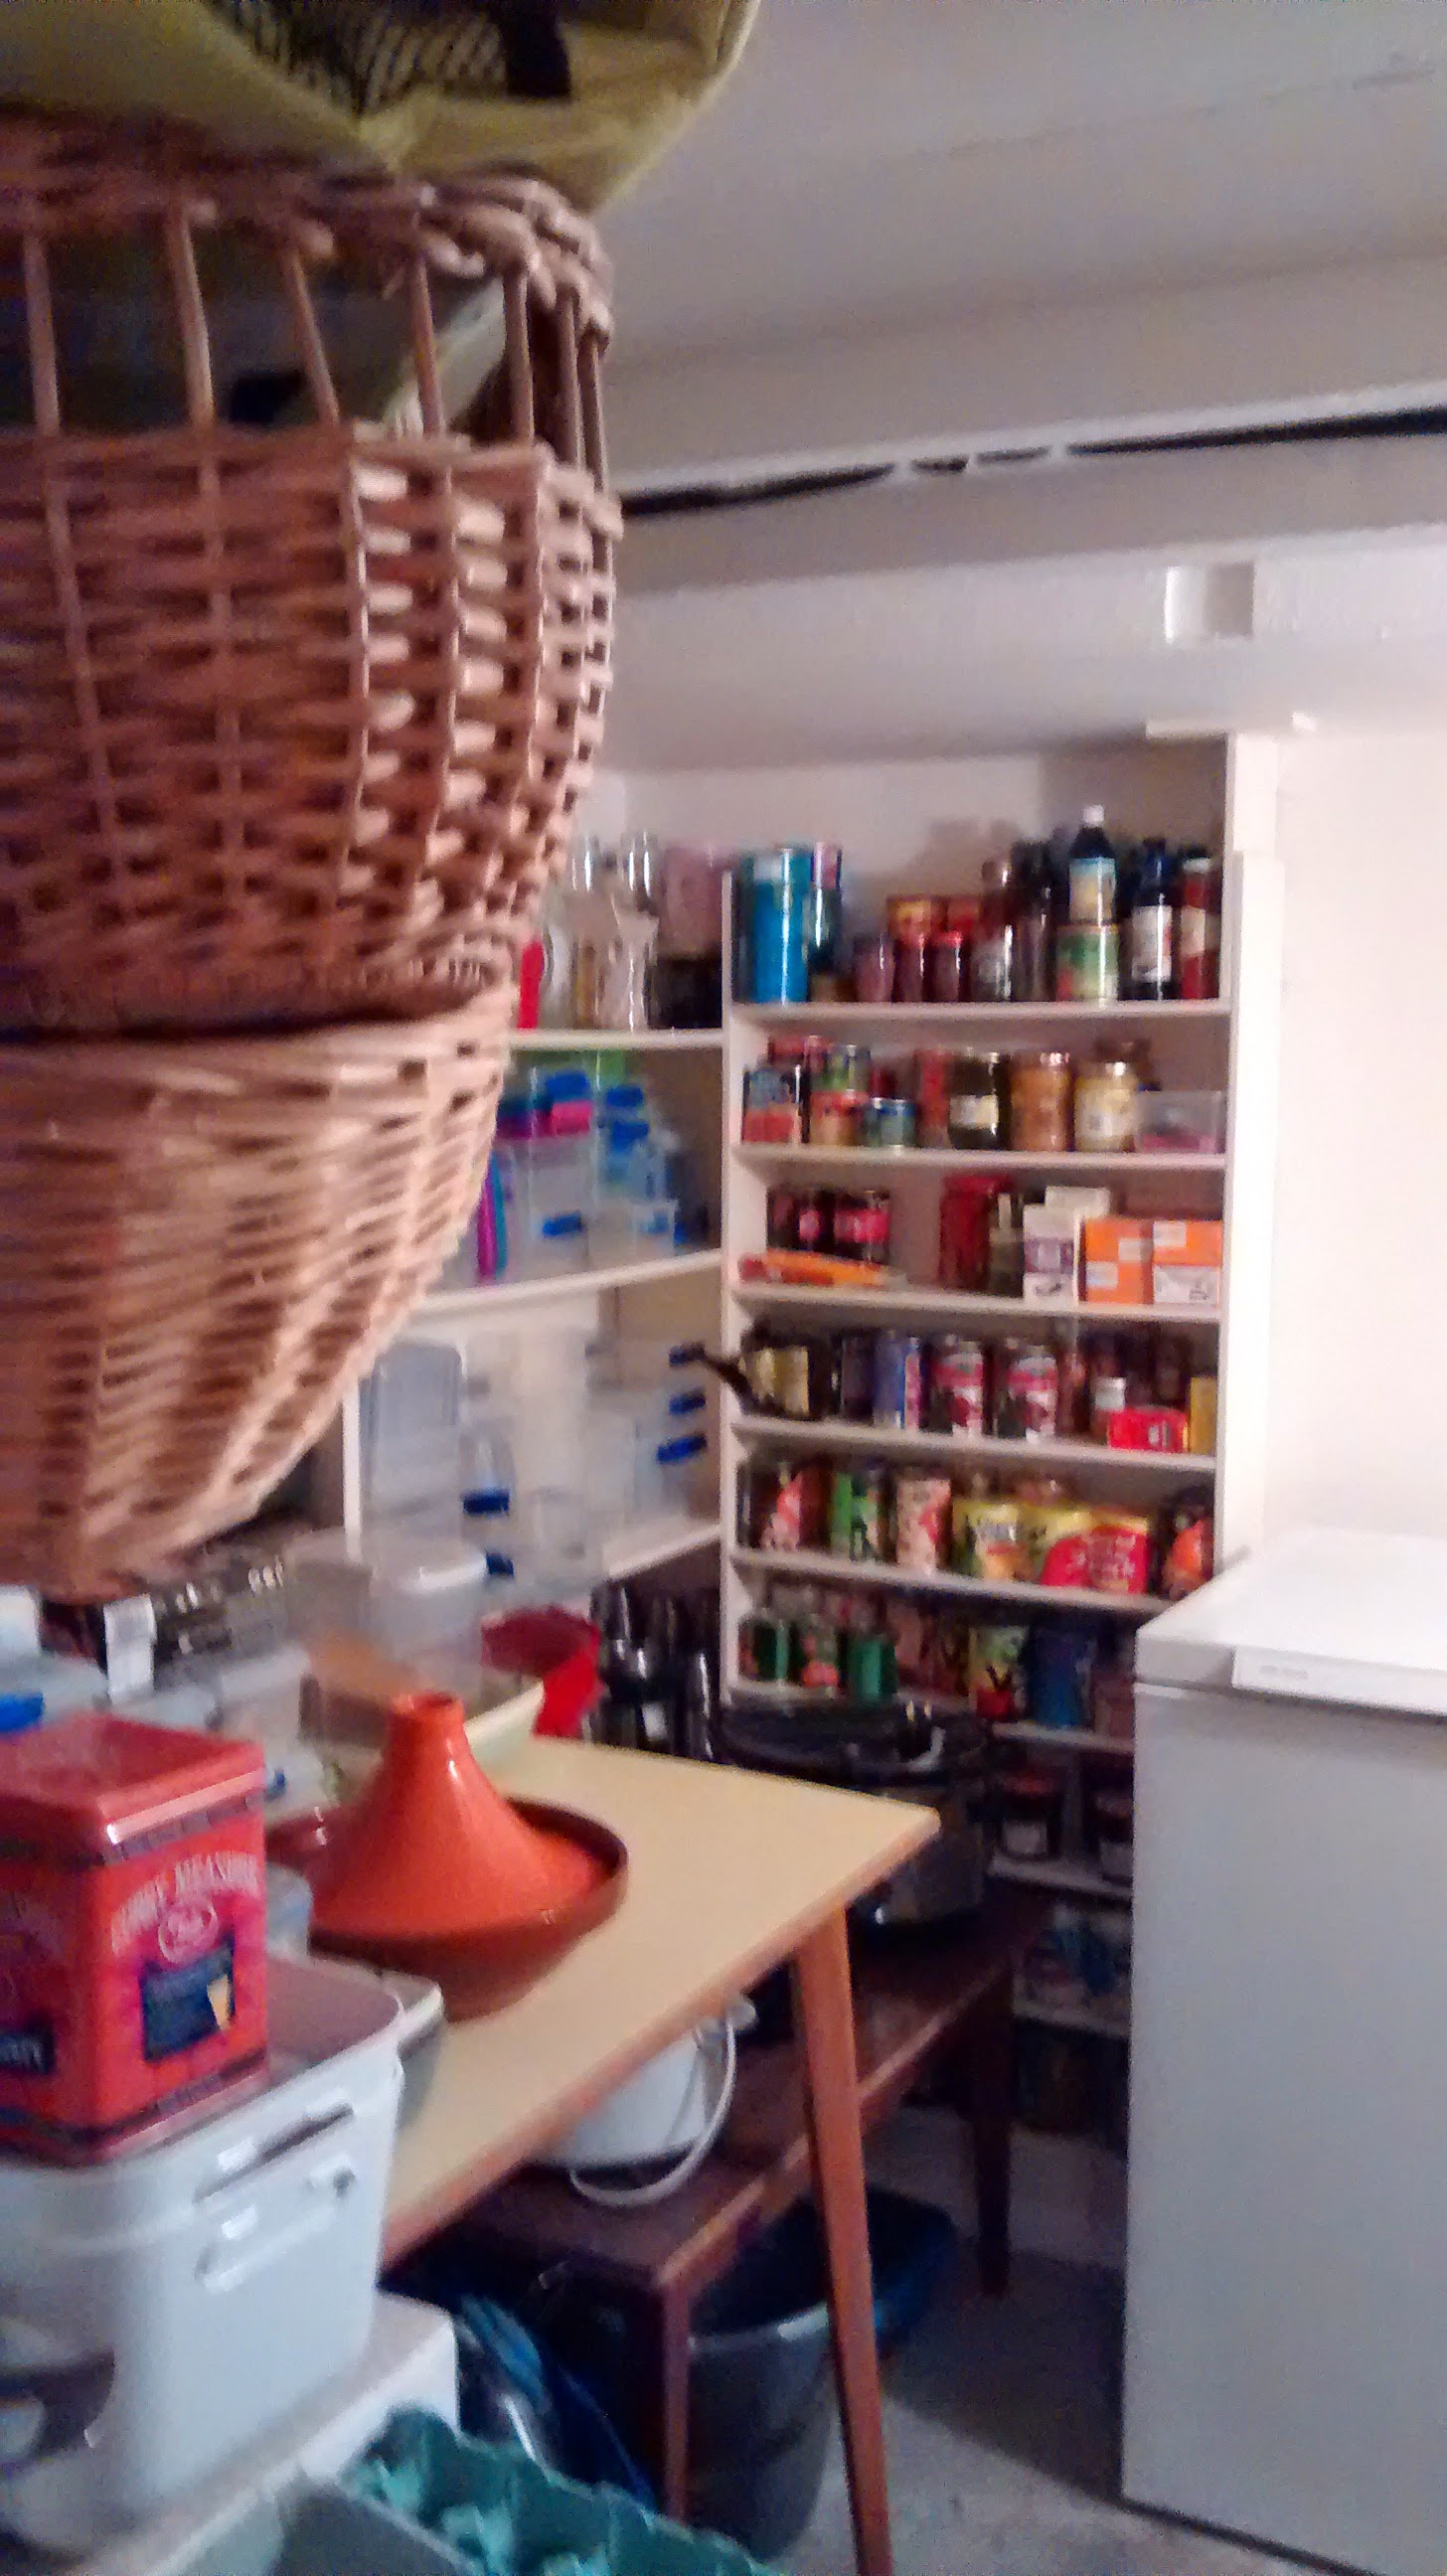
All houses in Poland have cellars and even people living in block of flats have a cellar area of their own; if you ever get the chance to look in these you will find that they are filled with: jams, preserves, bottled fruit and vegetables, sauerkraut and salted gherkins.
Bottled sweet red peppers in brine are often found amongst these jars. The addition of the peppers from one of these jars to the gulasz makes it even better.
Of course if like me you do not have the home-made variety you can buy these from most delicatessens or supermarkets now.
One Of My Two Cellars
You can use fresh red peppers and I use these when they are plentiful, either will make a delicious gulasz but I think I like ones with the bottled peppers best.
The recipe is a variation on the classic gulasz but you have to use less stock or you will end up with it being too watery due the water content of the peppers – especially the fresh ones.
Ingredients
500g stewing beef or shoulder or spare rib pork
2 onions
2 cloves of garlic
3 tablespoons of tomato purée
150ml chicken stock – can be made from stock cubes
2 teaspoons of (sweet) paprika (not smoked)
1 bay leaf
Jar of bottled red peppers or 3 to 4 fresh red peppers
2 -3 tablespoons of soured cream
2 tablespoons of plain flour
Salt & ground black pepper
Oil for frying
Paprika to dust on the top
Method
Pre heat the oven to Gas Mark 3 – 1600C
Roughly chop the onions and crush the garlic
Mix the tomato purée and the paprika in the stock
If using the bottled peppers cut them into long strips and then cut these into halves
If using the fresh peppers, cut them into long strips, de-seed them and cut these into halves
Cut the meat into cubes and coat the pieces in a mixture of flour, salt and ground pepper
In a frying pan heat the oil until it is hot and fry the meat until all the sides are sealed
Place the meat into a casserole dish
Fry the garlic and onions in the frying pan, adding some oil if necessary but trying not to use too much or the dish will be greasy
Add the onions to the meat then add the bay leaf and some more ground pepper
Add the peppers to the dish and mix the contents together
Pour the stock mixture into the casserole dish and put on the lid
Cook in the oven until the meat is tender, this could be about 3 ½ to 4 hours but often I find it needs longer.
When you are ready to serve the gulasz, mix in one to two tablespoons of soured cream and then put the other tablespoon of soured cream on top in the centre and dust some extra paprika on this.
Serve as for the classic style gulasz.
Here served in a dish by J & G Meakin – Topic from 1967
Today, 4 July 2016, is the first Anniversary of my blog!
What an interesting year it has been for me with all the reading & research, cooking & photographing and the writing.
I do hope you are all enjoying reading my posts & God willing this is the start of another interesting year.
This will be my 58th post & I am going to write about a very popular vegetable in Poland.
Seler – Celeriac – Celery
The word seler in Polish is used for both celeriac and celery and in fact celeriac is a just a variety of celery (Apium graveolens).
Celeriac is mentioned in Homer’s Odyssey where it is called selinon.
Now for a little plant biology – in English the stems of the plant are known as celery and they are long with leaves at the top.
Whereas in the variety known as celeriac – it is the hypocotyl – the swollen enlarged stem above the root and below the leaves – which is eaten. The leaves come off the top of this swollen stem. (Celeriac is often classed as a root vegetable but it is not the root.)
Celeriac has not been around in the shops in England for that long and last week I bought one in Marks & Spencer’s and it had a label on it saying “NEW“.
Years ago when I looked at my Polish cookery book and it talked about grating seler – celery I used to think “oh, how very odd – I wonder how that comes out“ – I now realise that they were referring to grating celeriac.
In Poland you are much more likely to be served celeriac than celery and it is a very popular vegetable which can be eaten both raw and cooked and is used in a variety of salads.
I have been trying out some salads both with raw & cooked celeriac including some old favourites. Celeriac has a delicate flavour and easily picks up the flavours of the other ingredients.
Dressings for the salads include mayonnaise, soured cream, natural thick yoghurt & my favourite grated horseradish (I use a bought sauce.)
I have given details of the dressing I have used in the following recipes but they are easily interchangeable.
Salads Using Raw Celeriac
For the following recipes you will need to peel the celeriac – use a peeler if you can as using a knife can take too much off. You then need to grate the celeriac.
Lemon juice is needed to prevent the grated celeriac discolouring.
Simple Celeriac Salad
Ingredients
Grated celeriac – around half of one
Juice of 1 lemon
2 small tart apples such as Granny Smith – grated
Mayonnaise
Soured cream
Method
Make the dressing by mixing mayonnaise and soured cream together, I tend to use equal amounts.
Mix the grated celeriac & grated apple together.
Pour the lemon juice over them.
Add the dressing bit by bit – you want to coat the ingredients but not have lots of excess dressing.
Celeriac with Raisins & Walnuts Salad
Grated celeriac – around half of one
Juice of 1 lemon
2 small tart apples such as Granny Smith – grated
Raisins – approx 1/2 a cup
Chopped walnuts – approx 1/2 a cup
Mayonnaise
Soured cream
Horseradish sauce
Method
Make the dressing by mixing mayonnaise and soured cream together – equal amounts – and then add 1 to 2 large tablespoonfuls of horseradish sauce.
Mix the grated celeriac & grated apple together.
Pour the lemon juice over them.
Add the raisins & the chopped walnuts
Add the dressing bit by bit – you want to coat the ingredients but not have lots of excess dressing.
Celeriac & Orange Salad
Ingredients
Grated celeriac – around half of one
Juice of 1 lemon
2 small tart apples such as Granny Smith – grated
Raisins – approx 1/3 of a cup
2 oranges
Thick yoghurt
Soured cream
Horseradish sauce
Method
Squeeze the juice from 1 orange & pour this over the raisins.
Leave this for a couple of hours so that the raisins plump up.
Make the dressing by mixing equal amounts of yoghurt and soured cream together and then add 1 or 2 large tablespoons of horseradish sauce.
Mix the grated celeriac & grated apple together.
Pour the lemon juice over them.
Peel & then chop the other orange and mix this with the soaked raisins.
Add the dressing bit by bit – you want to coat the ingredients but not have lots of excess dressing.
Salads Using Cooked Celeriac
You can cook the celeriac by boiling it in water but I have found that it is much easier to steam it.
If there is still any soil on the celeriac then wash this away with water first.
If your celeriac is large you might want to cut it in half and just use half & use the other half for something else.
Steam the celeriac – it will need at least 20 minutes.
You can use a cake tester to see if it is cooked.
Leave it to cool – I leave mine in the steaming pan with the lid on.
When it is cold peel away the outer “skin”
Chop the celeriac into rough cubes or chunks.
These cooked cubes are then the basis of many different salads.
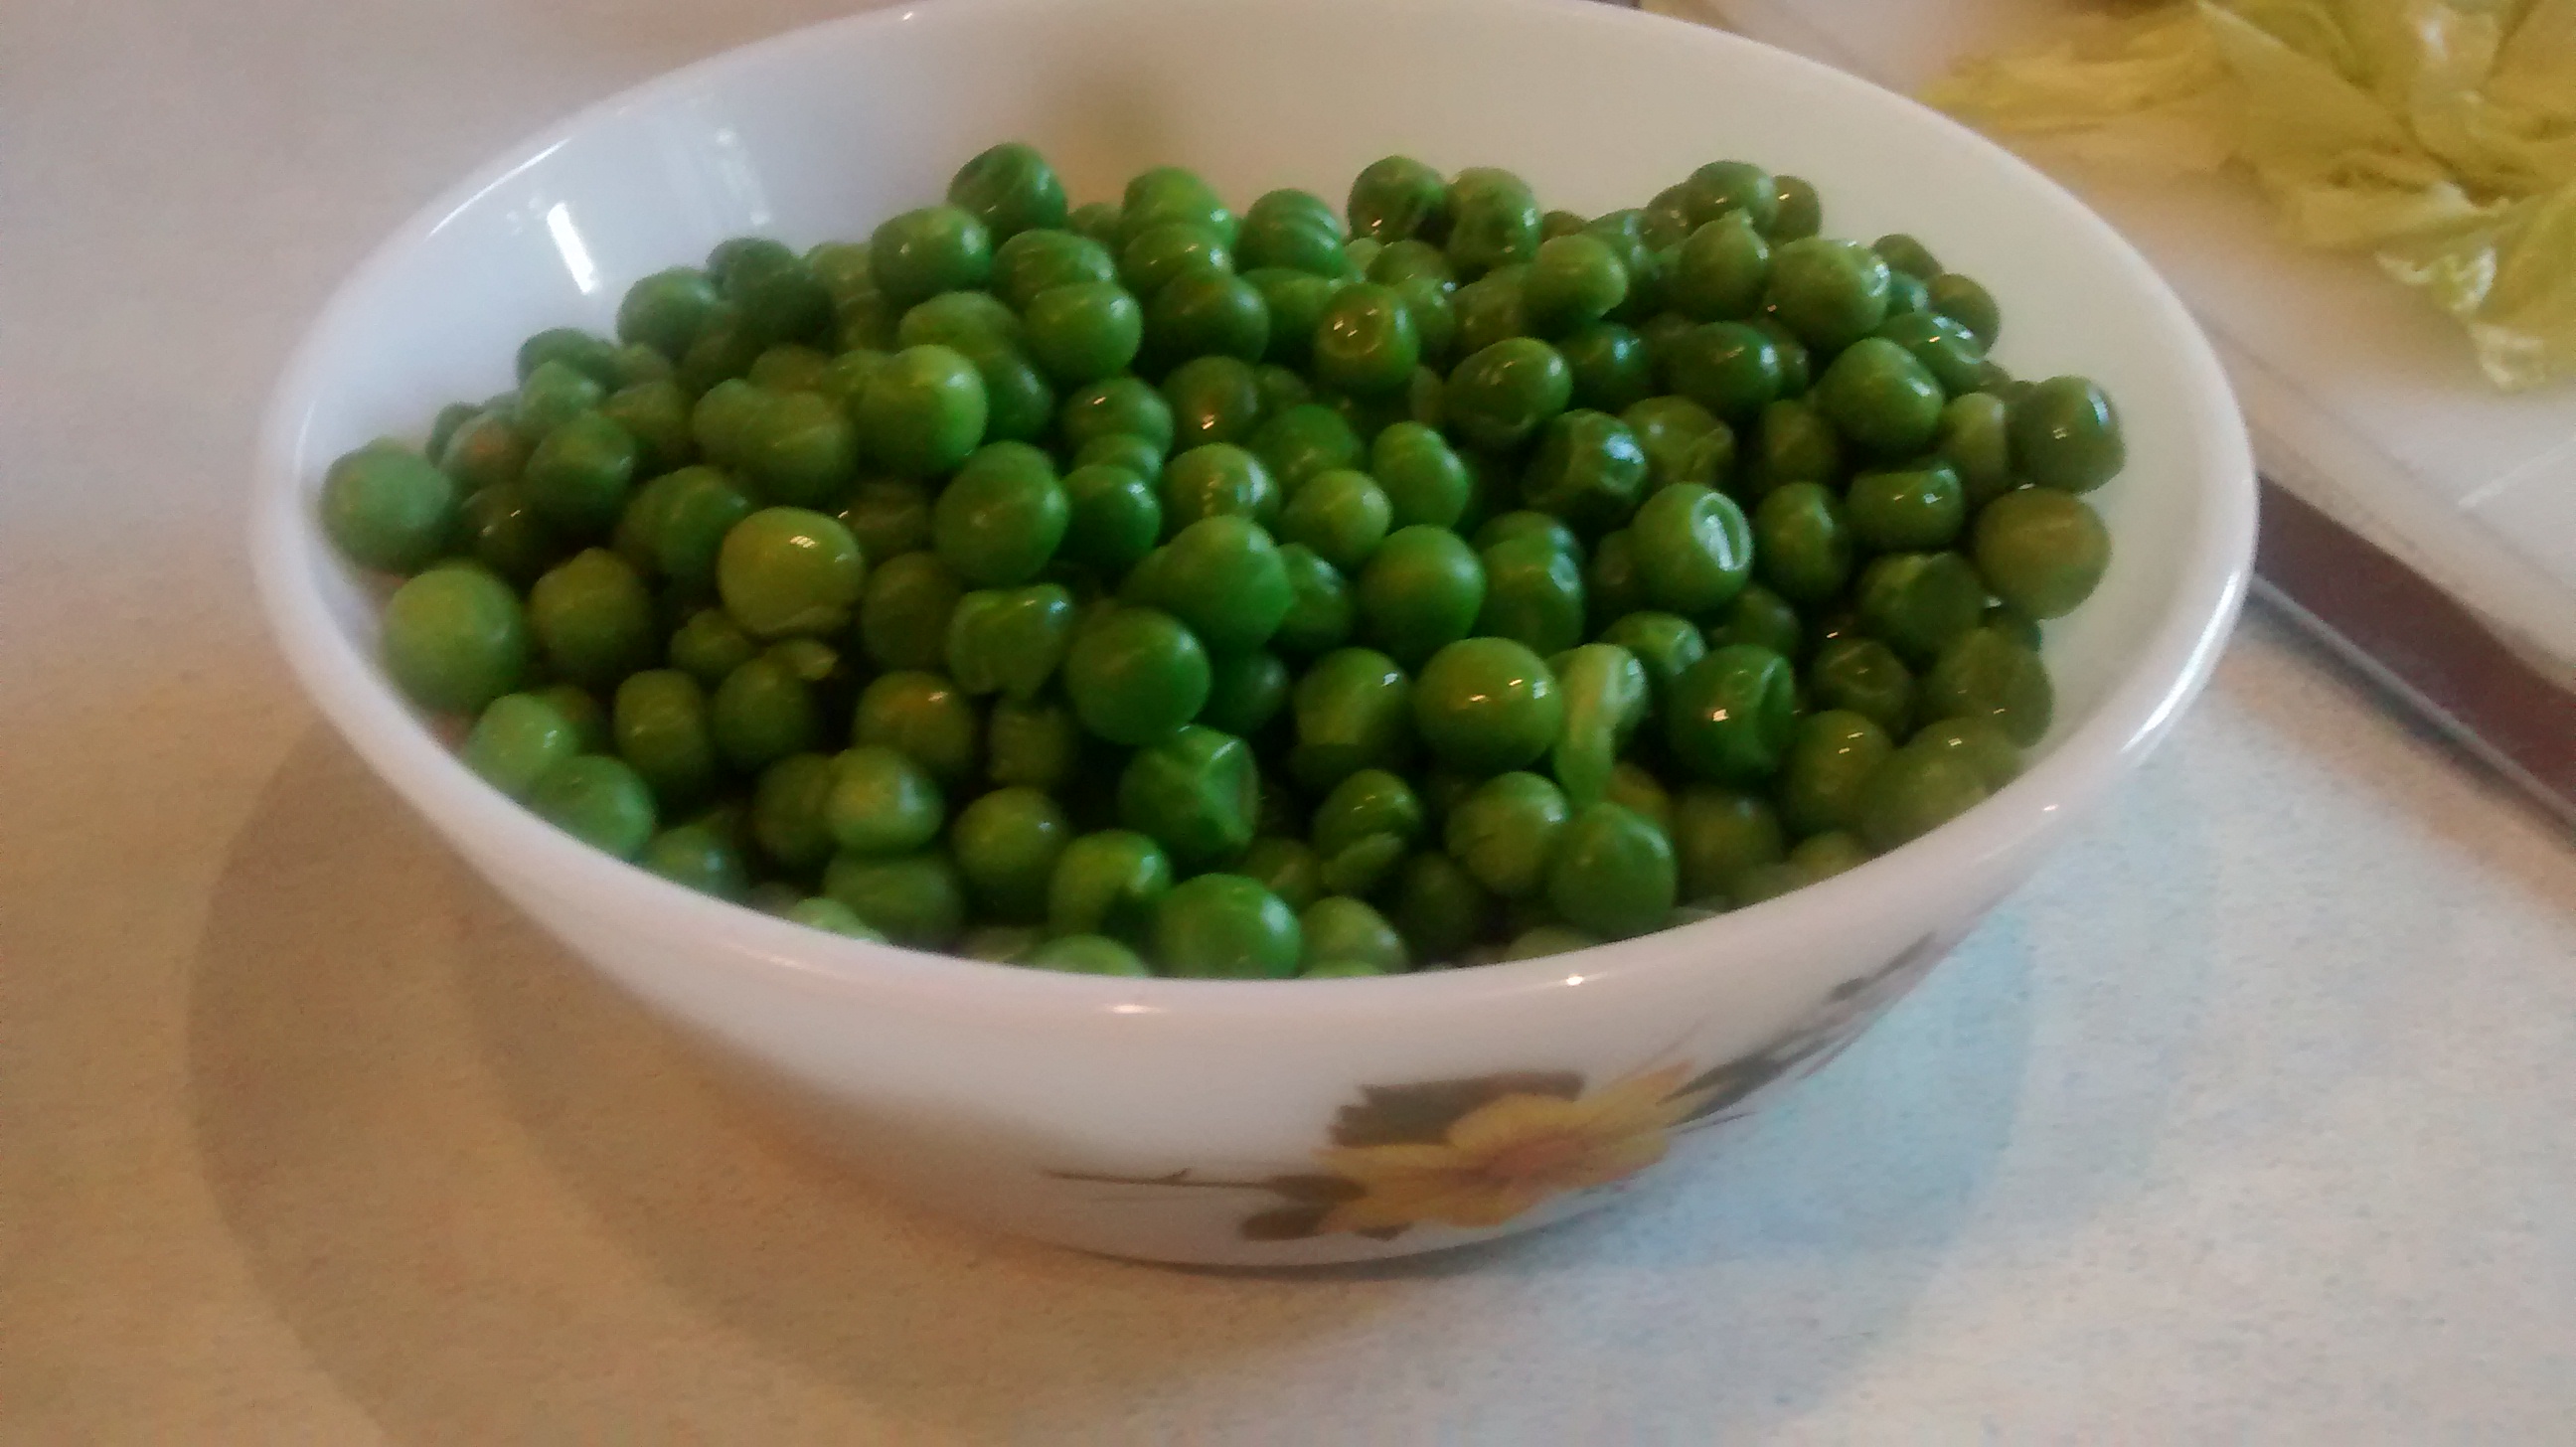
You can use the cooked celeriac in many salads instead of boiled potatoes as in the classic Polish Potato Salad with peas & carrots in mayonnaise.
The potatoes in the above salad can be replaced with celeriac.
Celeriac & Gherkin Salad
Ingredients
Chopped cooked celeriac – around half of one
1 tart apple such as Granny Smith – grated
Lemon juice
1 chopped gherkin
1 chopped onion – red looks good.
Mayonnaise
Method
Mix the chopped cooked celeriac and the grated apple together and some lemon juice.
Add the chopped gherkin and onion.
Add a couple of large tablespoons of mayonnaise and mix it all together.
Celeriac Salad with Hard Boiled Eggs
Ingredients
Chopped cooked celeriac – around half of one
1 tart apple such as Granny Smith – grated
Lemon juice
2 or 3 hard-boiled eggs chopped
Large handful of raisins or sultanas
1 chopped onion – red looks good
Thick yoghurt
Horseradish sauce.
Method
Mix the chopped cooked celeriac and the grated apple together and some lemon juice.
Add the chopped onion.
Add the raisins (or sultanas)
Add the chopped hard boiled eggs.
Mix a dressing using 2 to 3 tablespoons of thick plain yoghurt and 1 or 2 tablespoons of horseradish sauces and mix the other ingredients.
Leave this for around half and hour so that the flavours can mingle.
NOTE
If you hard boil very fresh eggs they are very difficult to peel -it is easier to use older eggs.
Celery, Peanut & Sultana Salad
This recipe is one I got for one of my sisters many years ago and although this is not a traditional Polish salad it has become one of my trusty recipes as it is so easy and as it is best to make it sometime ahead there is no last minute stress when making it.
Ingredients
4 long celery stalks
Around 1/3 cup of salted peanuts
Around 1/3 cup of sultanas
Mayonnaise
Method
Chop the celery into fine slices.
Mix with the peanut and sultanas.
Add 2 or 3 tablespoons of mayonnaise.
Leave for at least half an hour before serving – I usually make this several hours beforehand.
Now for a little science to explain why the dressing taste so sweet and is more runny than when it started.
Osmosis is the movement of water across a semi-permeable membrane from an area of high water concentration to an area of low water concentration to try to equalise the concentrations on both sides.
Cells in the plant ingredients have semi-permeable membrane.
The salt on the peanuts causes water to leave the celery and go into the mayonnaise, this water then enters the sultanas causing them to plump up.
The above is true when you mix many salads but especially here with the salt on the peanuts and the dried fruit.
Beetroot is a very popular vegetable in Poland and is served both hot and cold and is the main ingredients of barszcz (The classic Polish beetroot soup).
Now this may just my imagination but the beetroot in Poland just tastes so much better than the ones I have had in England, maybe it is the variety that is grown there or the soil. I think you have to use home-grown or organic beetroot to get as good a taste.
In the following recipes I have used vacuum packed boiled beetroots – boiling or roasting raw beetroot should give a better flavour but when you only want to make a small amount or you have little time this will work as well especially if you adjust the flavour with lemon juice or a little sugar.
A popular variant is something called botwinka – this is very young beetroot – sold in bunches (rather like radishes) and consists of the small “bulb” and the young green leaves, which are all used. As I have not seen this for sale in England I will not be including any recipes – but if you are ever in a position to try this (often in the form of a soup) you will taste something very delicious.
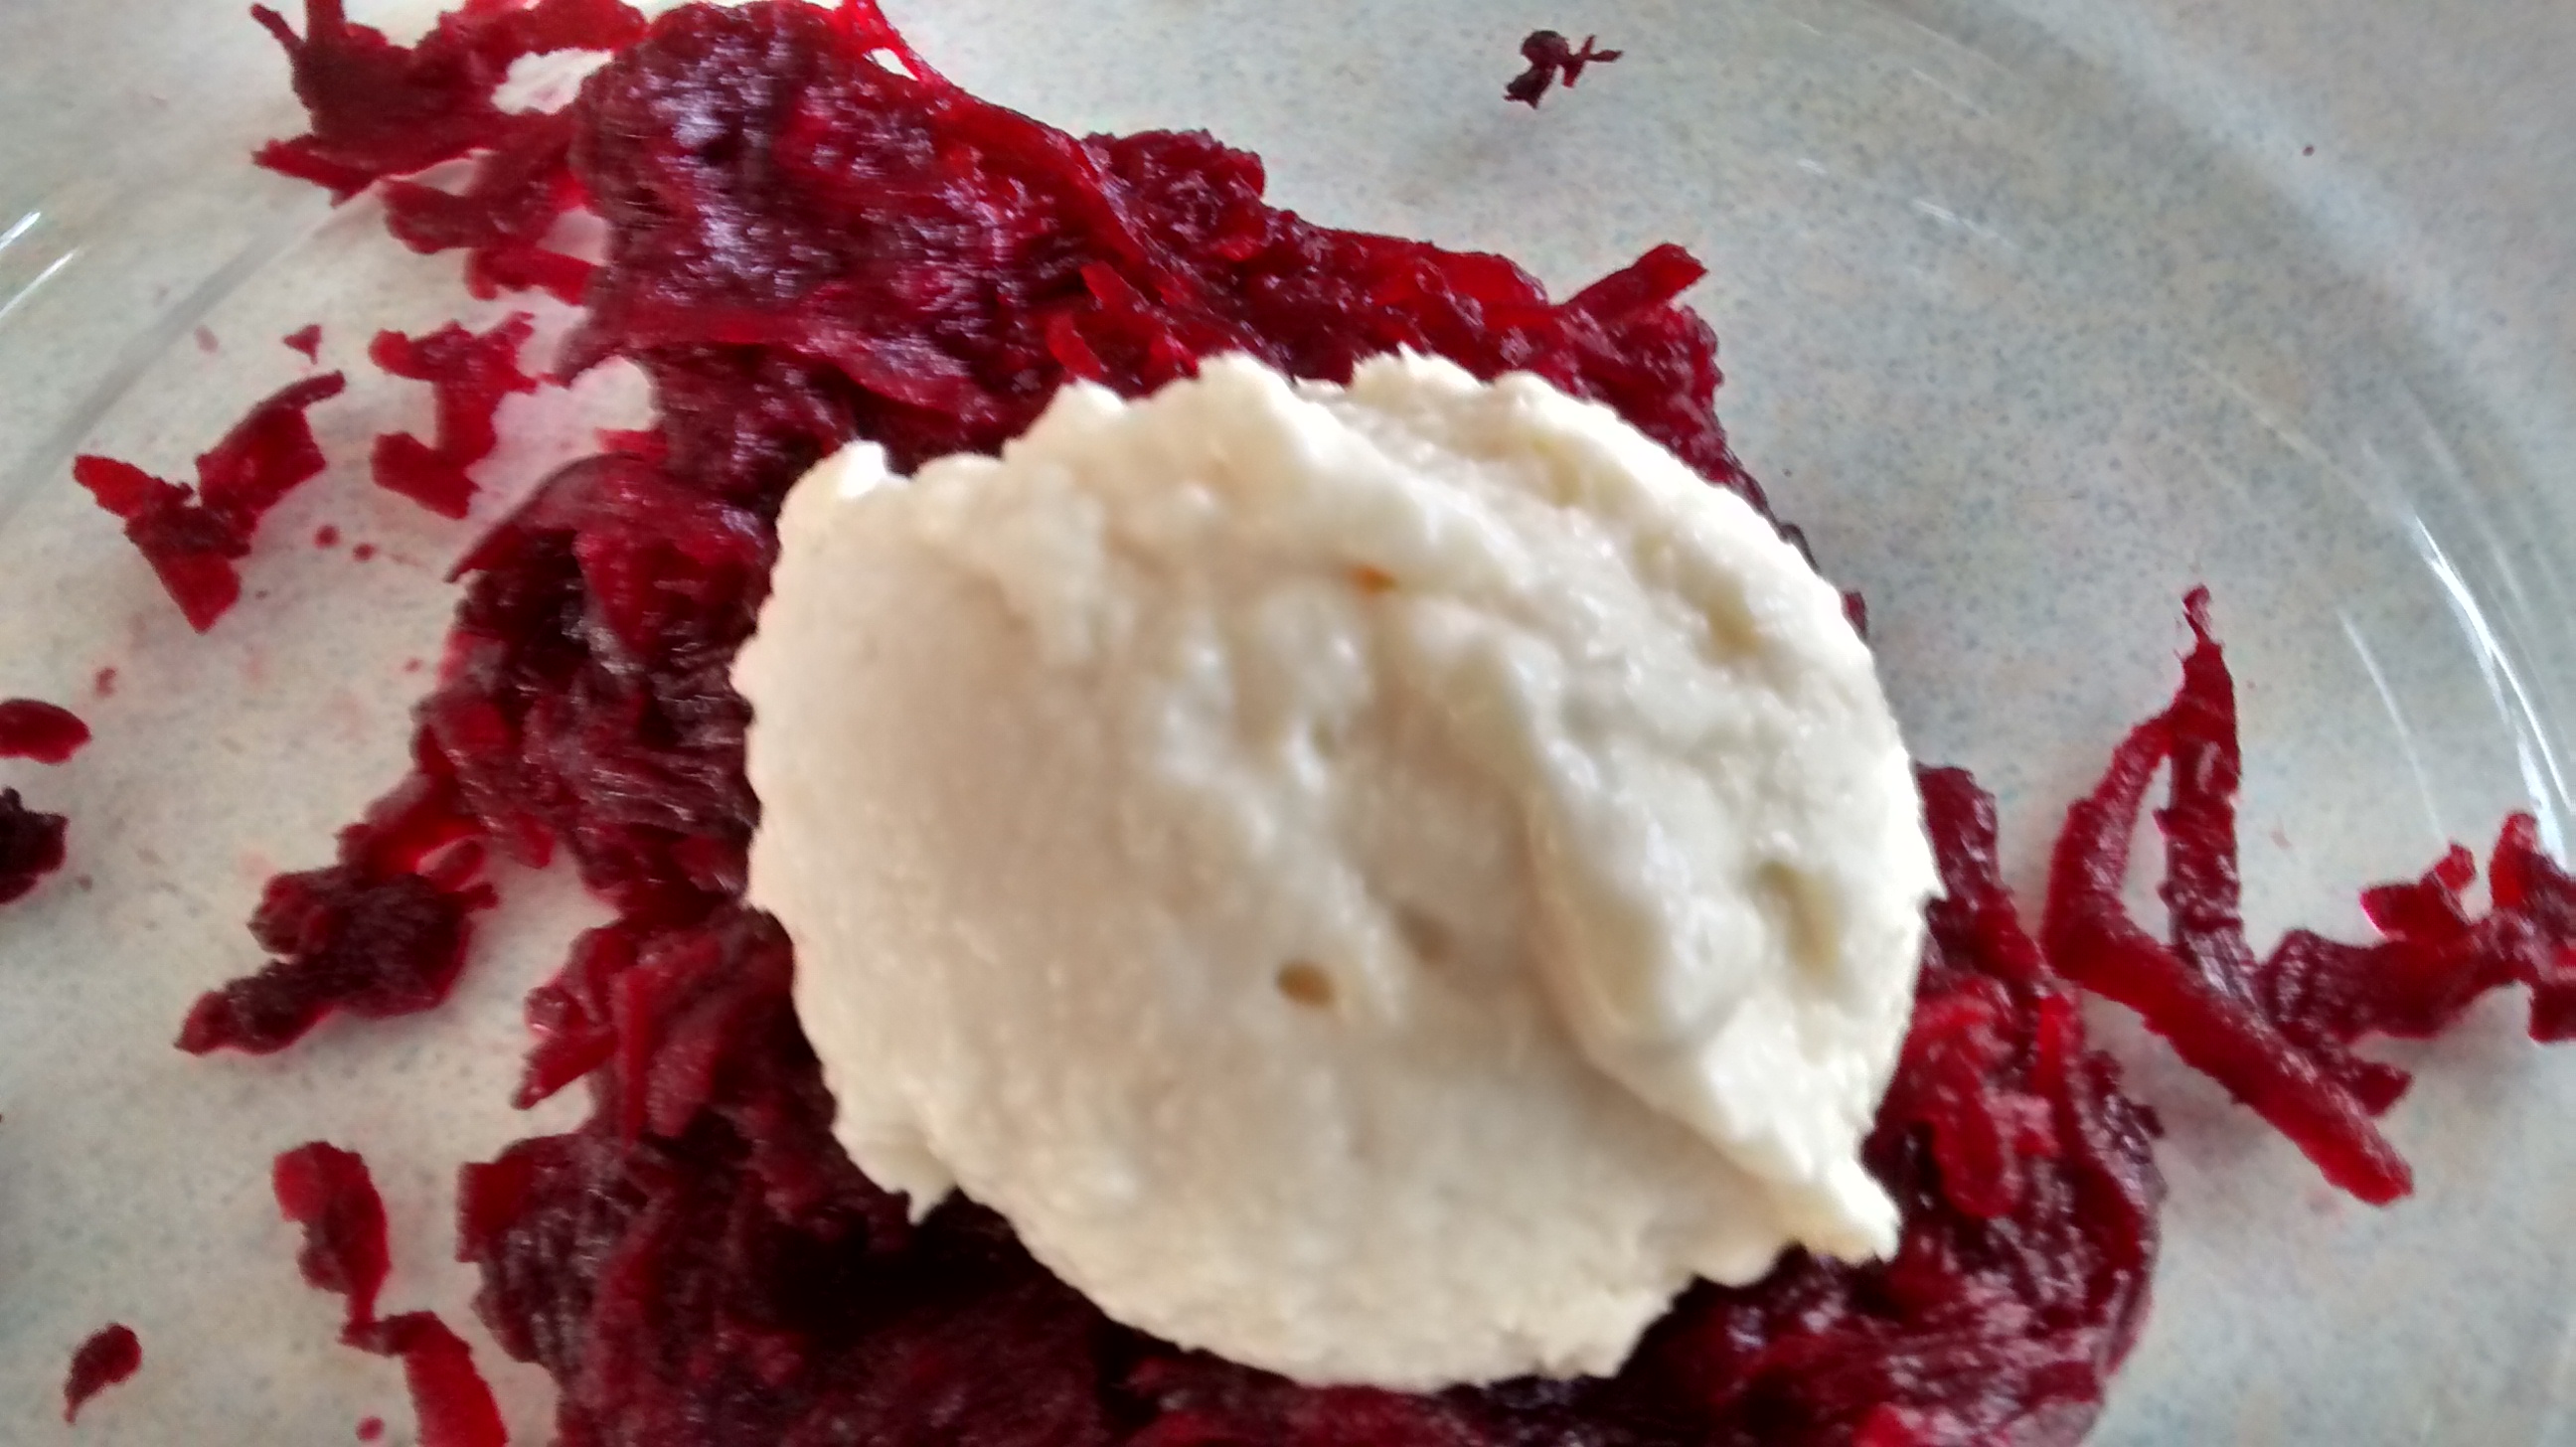
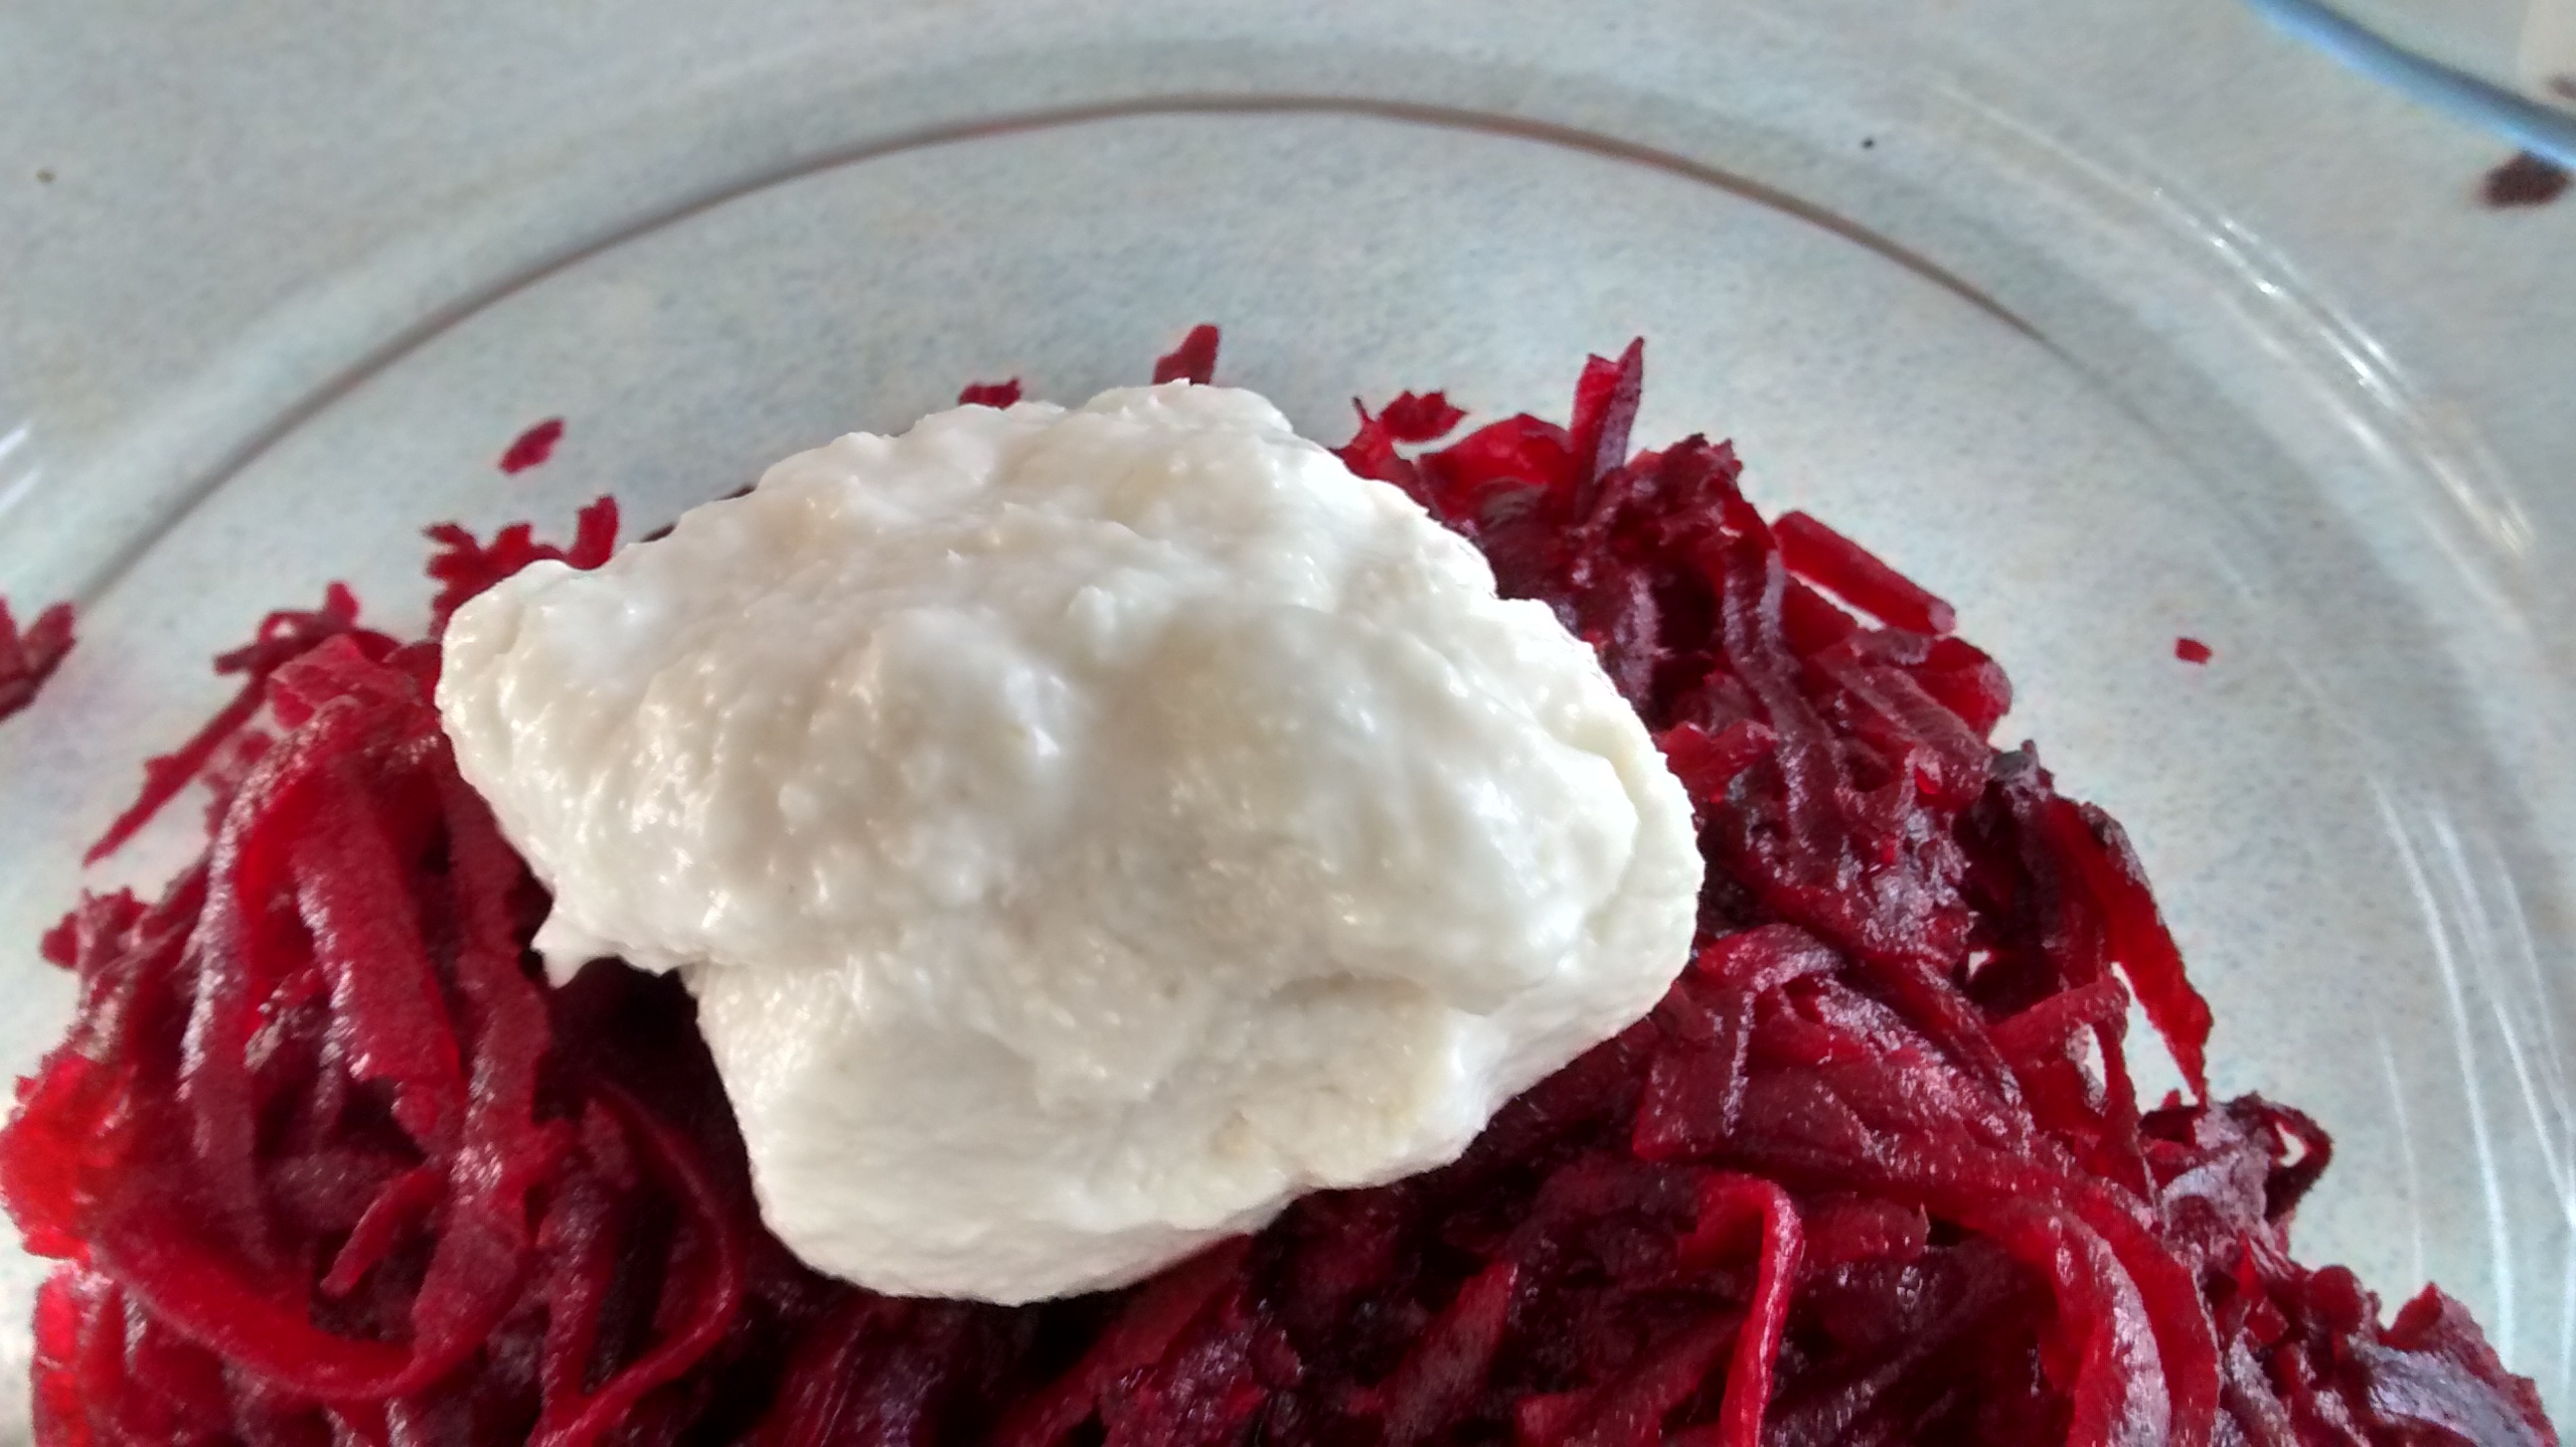
Ćwikła is the most typical Polish accompaniment to roasted and smoked meats and sausage. This salad or relish is made from grated cooked beetroot which is mixed with grated horseradish – chrzan.
The first recorded recipe for ćwikła comes from the writings of Mikołaj Rej (1505 – 1569) who is known as the “Father of Polish Literature”. He was the first person to write exclusively in Polish.
He was born 59 years before Shakespeare (1564 – 1616).
Ćwikła
Ingredients
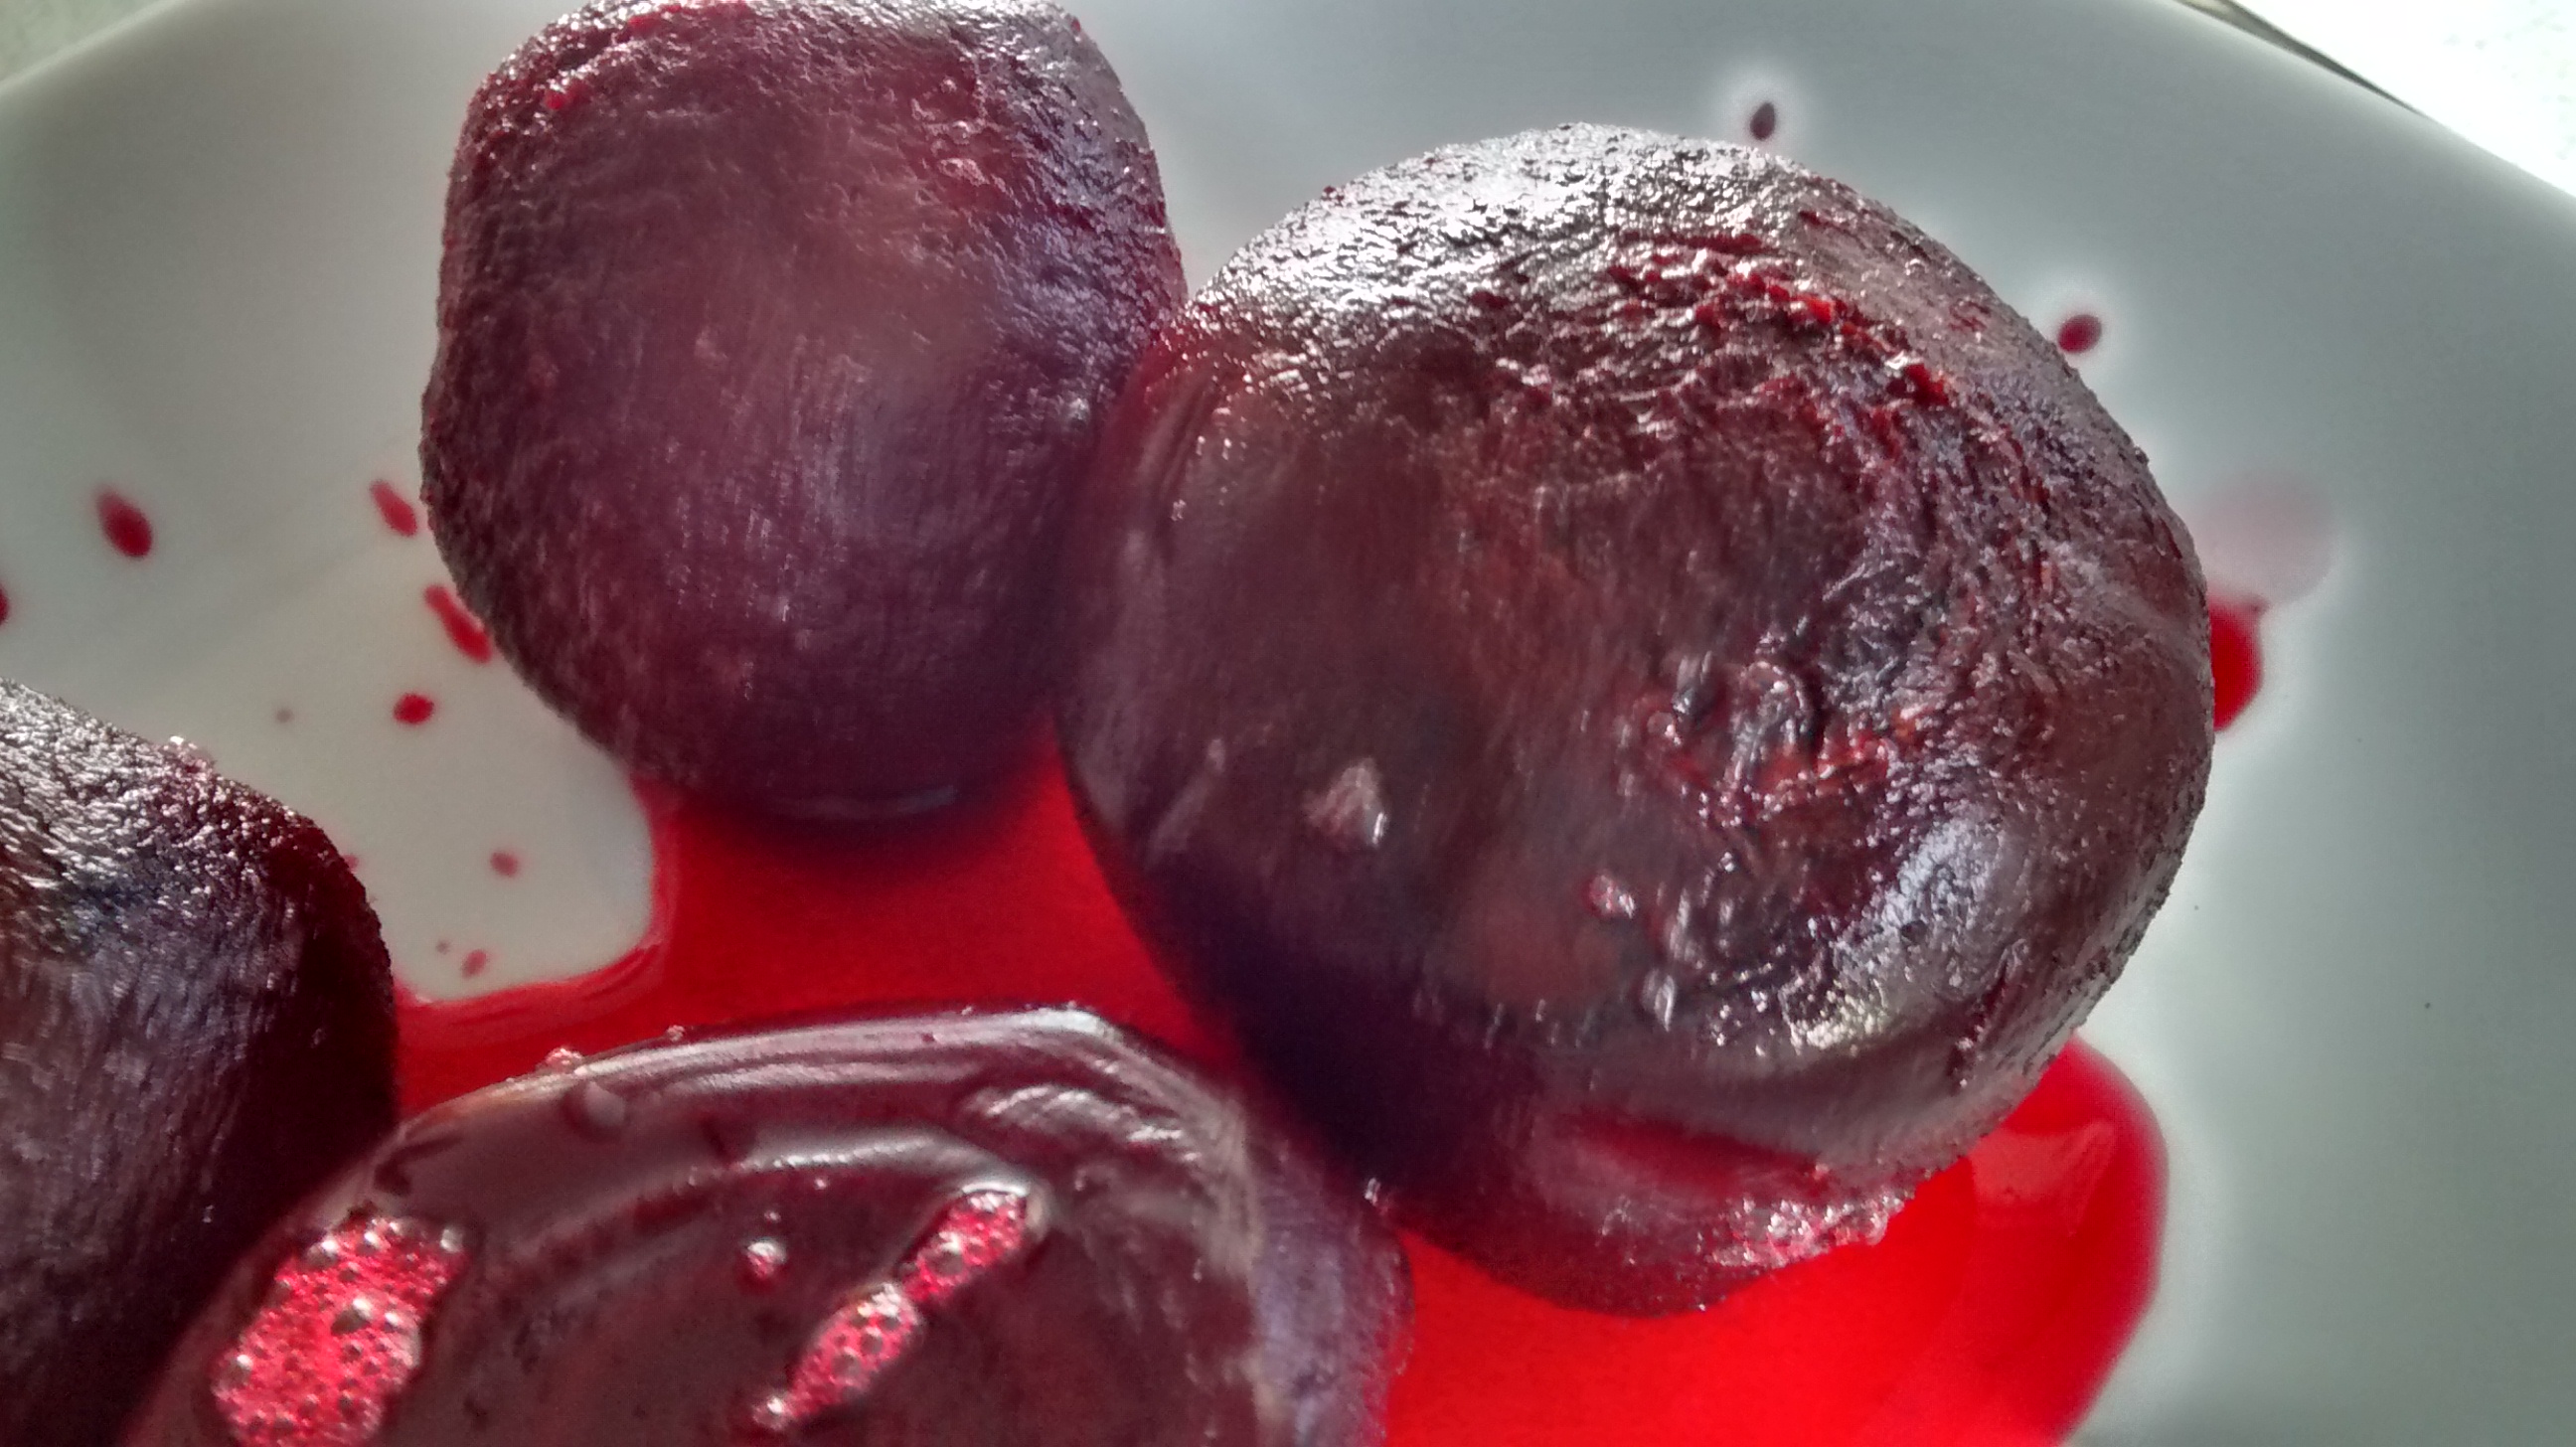
2 or 3 boiled beetroots
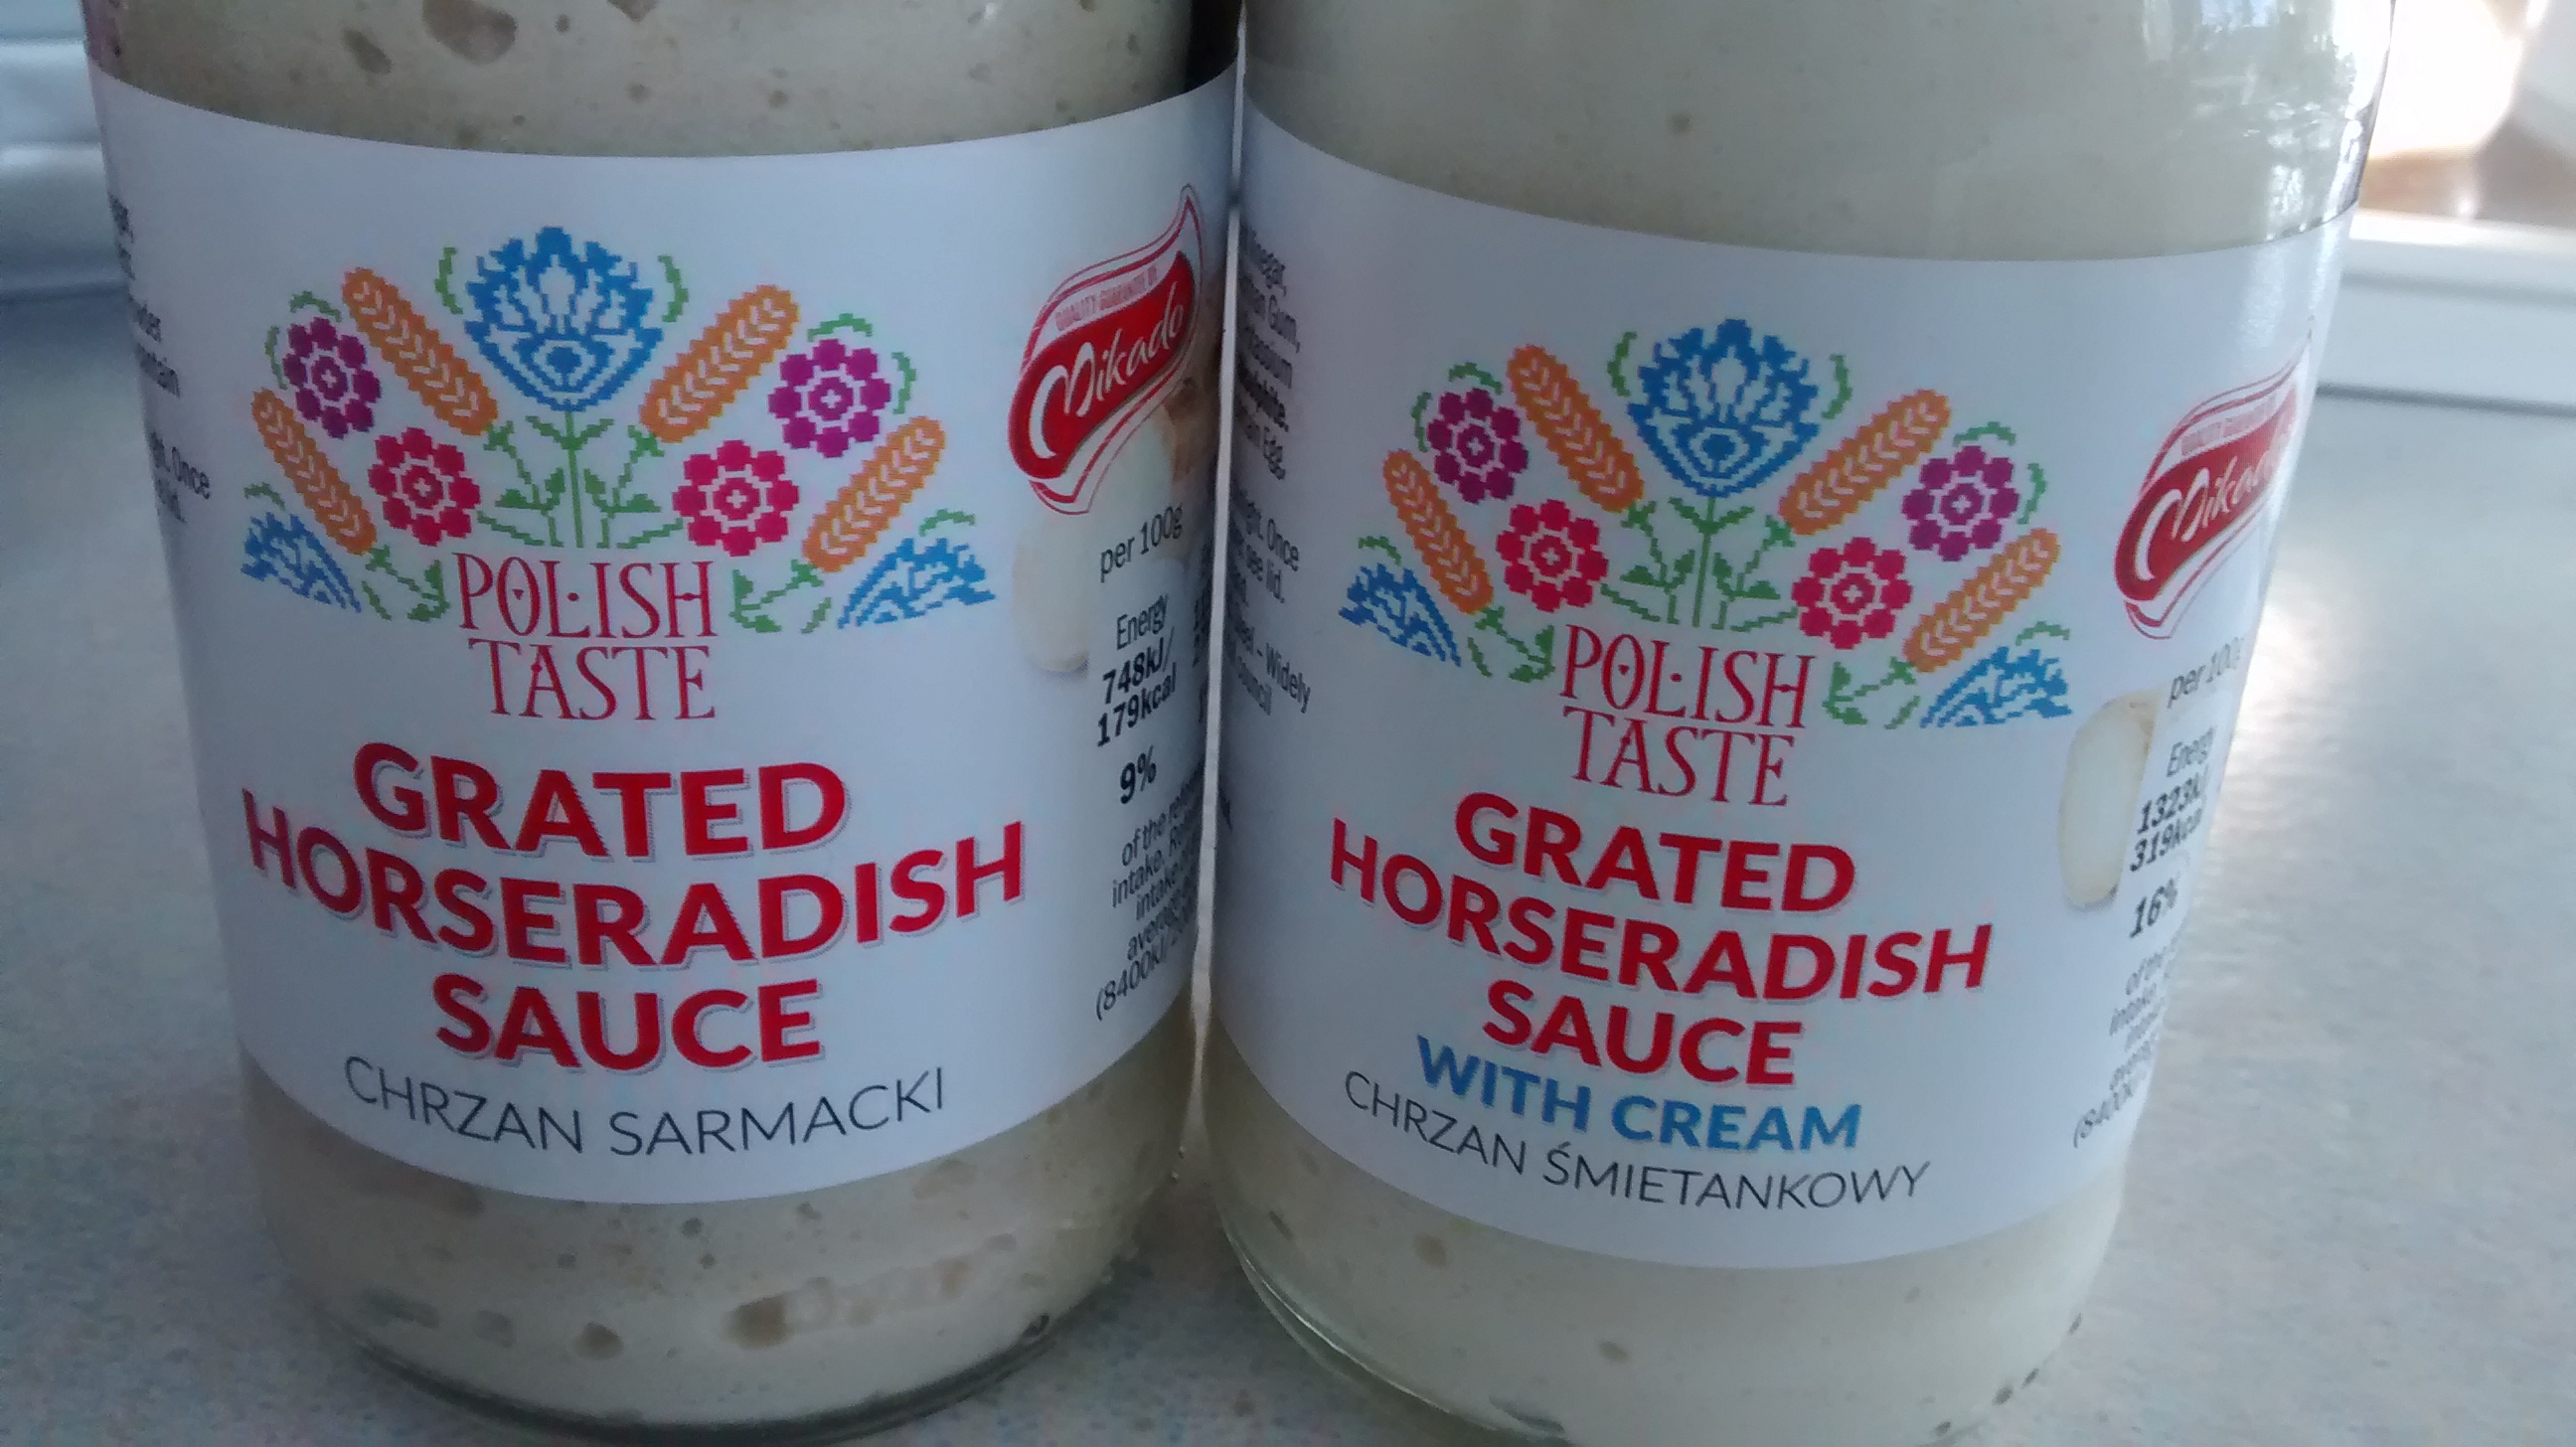
Horseradish sauce
Soured Cream
Extra lemon juice – optional
Method
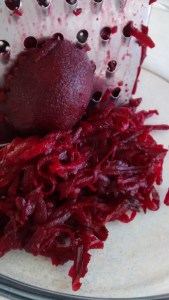
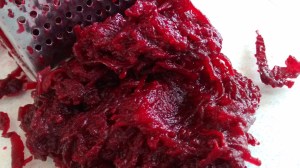
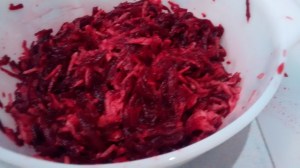
Grate the beetroots using a fine or medium grater and put this into a bowl.
In the past I always used a fine grater but now I prefer to use my medium grater.
Medium Grated
Fine Grated
Add a large dollop or two of horseradish sauce.
Below are two kinds, one with soured cream and one without.
I like the one with soured cream more.
A few years ago I thought it would be a good idea to grow my own horseradish – that was a mistake! It starts to take over with the roots spreading underground. However the dark leaves are very attractive and the air does smell of horseradish when you walk up to it. You just need to be able to contain it.
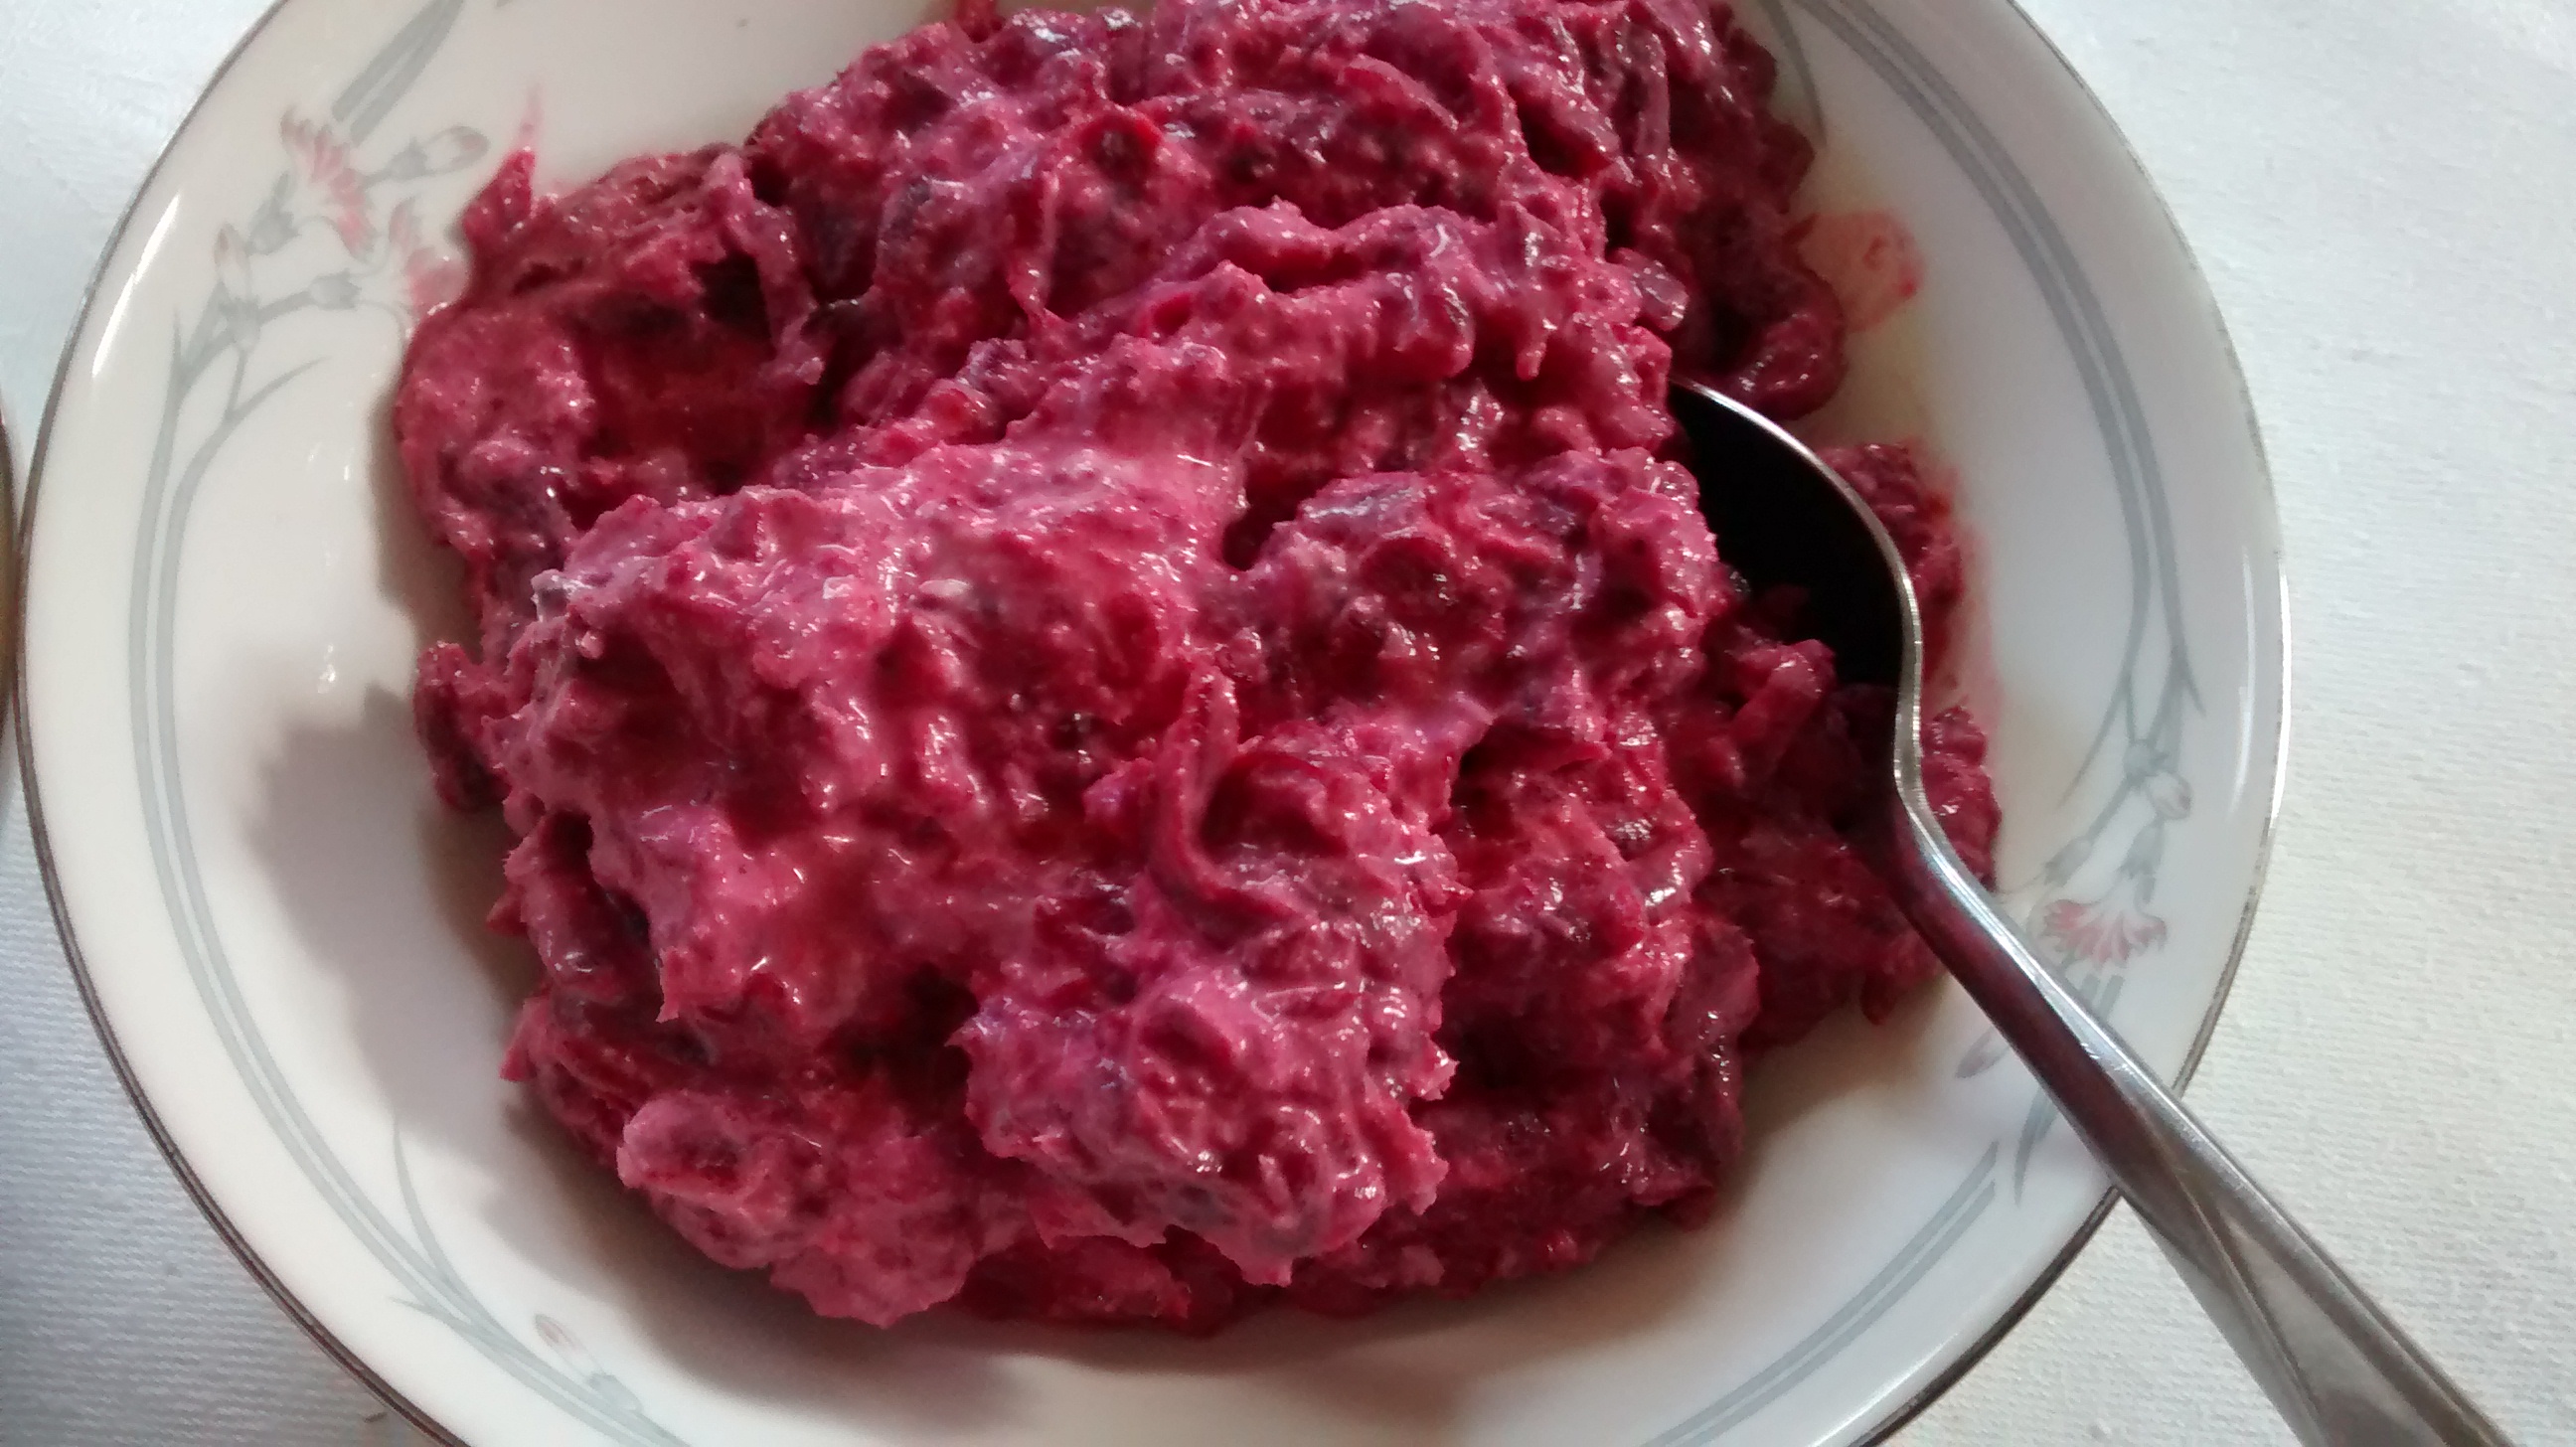
Mix the grated beetroot and horseradish sauce together.
Add soured cream – if using the sauce with this in already you might not need as much.
You can add lemon juice as well.
Carnation Serving Dish by Royal Doulton
Beetroot & Apple Salad
Ingredients
2 or 3 boiled beetroots
1 eating apple with a good flavour such as Jazz, Braeburn or Pink Lady.
Juice of half or a whole lemon
Sugar – optional
Method
Grate the beetroots using a medium grater.
Peel and core the apple and grate this using a medium grater.
Mix the two together.
Add lemon juice to taste.
You can add some extra sugar to taste.
NOTE
This tastes much better if it is left so all the ingredients mingle together for a few hours.
I make this in the morning if I want it for the evening or I make it the night before for lunch time the next day.
Creamed Beetroot
This is a delicious way of serving beetroot warm with a roast dinner.
Ingredients
3 or 4 boiled beetroots
Large tablespoon of butter
1 or 2 tablespoons of flour
Juice of a lemon & some extra water
3- 4 tablespoons of soured cream
Salt & pepper to taste
A little sugar to taste – optional
Method
Grate the beetroots using a medium grater and put them into a saucepan with the lemon juice and a little water.
Put a lid on the saucepan and gently simmer the beetroot – taking care not to let it dry out or burn.
Melt the butter in a small frying pan and add the flour – let it colour slightly.
Add 2 tablespoons of soured cream and a little water and combine this well.
Add this mixture to the simmering beetroots, once again combining well.
Let this simmer for 5 to 10 minutes – keep checking, and stirring and adding more soured cream, lemon juice or water if it looks like it is going to dry out.
Add salt & pepper and a little sugar to taste.
Serving dish is Topic designed by Alan Rogers in 1967 for J & G Meakin.
Potato flour is used in many Polish recipes for a variety of cakes.
This recipe is for ababka (click here for earlier post) using a mixture of wheatflour and potato flour and is adapted from a recipe in my old Polish cookery book.
Kuchnia Polska – Polish Kitchen – Polish Cookery
In the past potato flour was hard to find in England but now you should be able to find it in most Polish shops.
Potato Flour
One of my Polish friends in England said she had tried using cornflour in baking when she could not get potato flour but she did not think it gave as good results.
Recently in a repeated radio programme on BBC Radio 4 Extra I heard the late Marguerite Patten say that cooks in Victorian England used potato flour in cake baking on a regular basis.
Mix the flours together with the baking powder and leave to one side.
In a large bowl, cream the butter and the icing sugar until the mixture is pale and fluffy.
Beat in the egg yolks – one by one.
Then beat in the lemon zest and juice.
In a separate bowl beat the eggs white until they are stiff.
Fold the egg whites into the creamed mixture.
Gently fold the whites in the flour mixture.
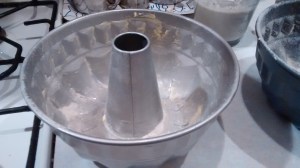
Place the mixture into the prepared babka tin.
Place the tin in the centre of the oven and bake for around 30 – 40 minutes.
Check with a cake tester.
Remove from the oven and let the cake cool a little.
When cooled – remove carefully from the tin – this is easiest when the cake is nearly cold.
Dust the cake with icing sugar or pour over it a runny icing glaze.
Silver Rose – Duchess 1950s & 1960s
Instructions for those who do not have a babka tin
At the moment (February 2016) Marks & Spencer are selling babka tins at a reasonable price – I bought one to add to my collection!
Tin from Marks & Spencer
However if you do not want to go to the expensive but want to try out the cake I have made the cake using 2 types of loaf tins with good results
First using a long narrow tin
and secondly a 2lb loaf tin.
You need to grease and line the tins or use loaf tin liners – I discovered these recently and think they are a boon. You can get them in 2 loaf sizes. They are available in many stores but also you should also be able to find them in the cheaper discount stores.
The cake takes 40 -45 minutes in a pre-heated oven at GM4 – 180°C
Śmietana – Soured Cream – must be one of the most used salad dressings in Poland.
Soured cream is used just on its own and sometimes if it is thick or because they like it that way people will add lemon juice to make it more runny.
I am going to write about the three classic salads which will have soured cream on them.
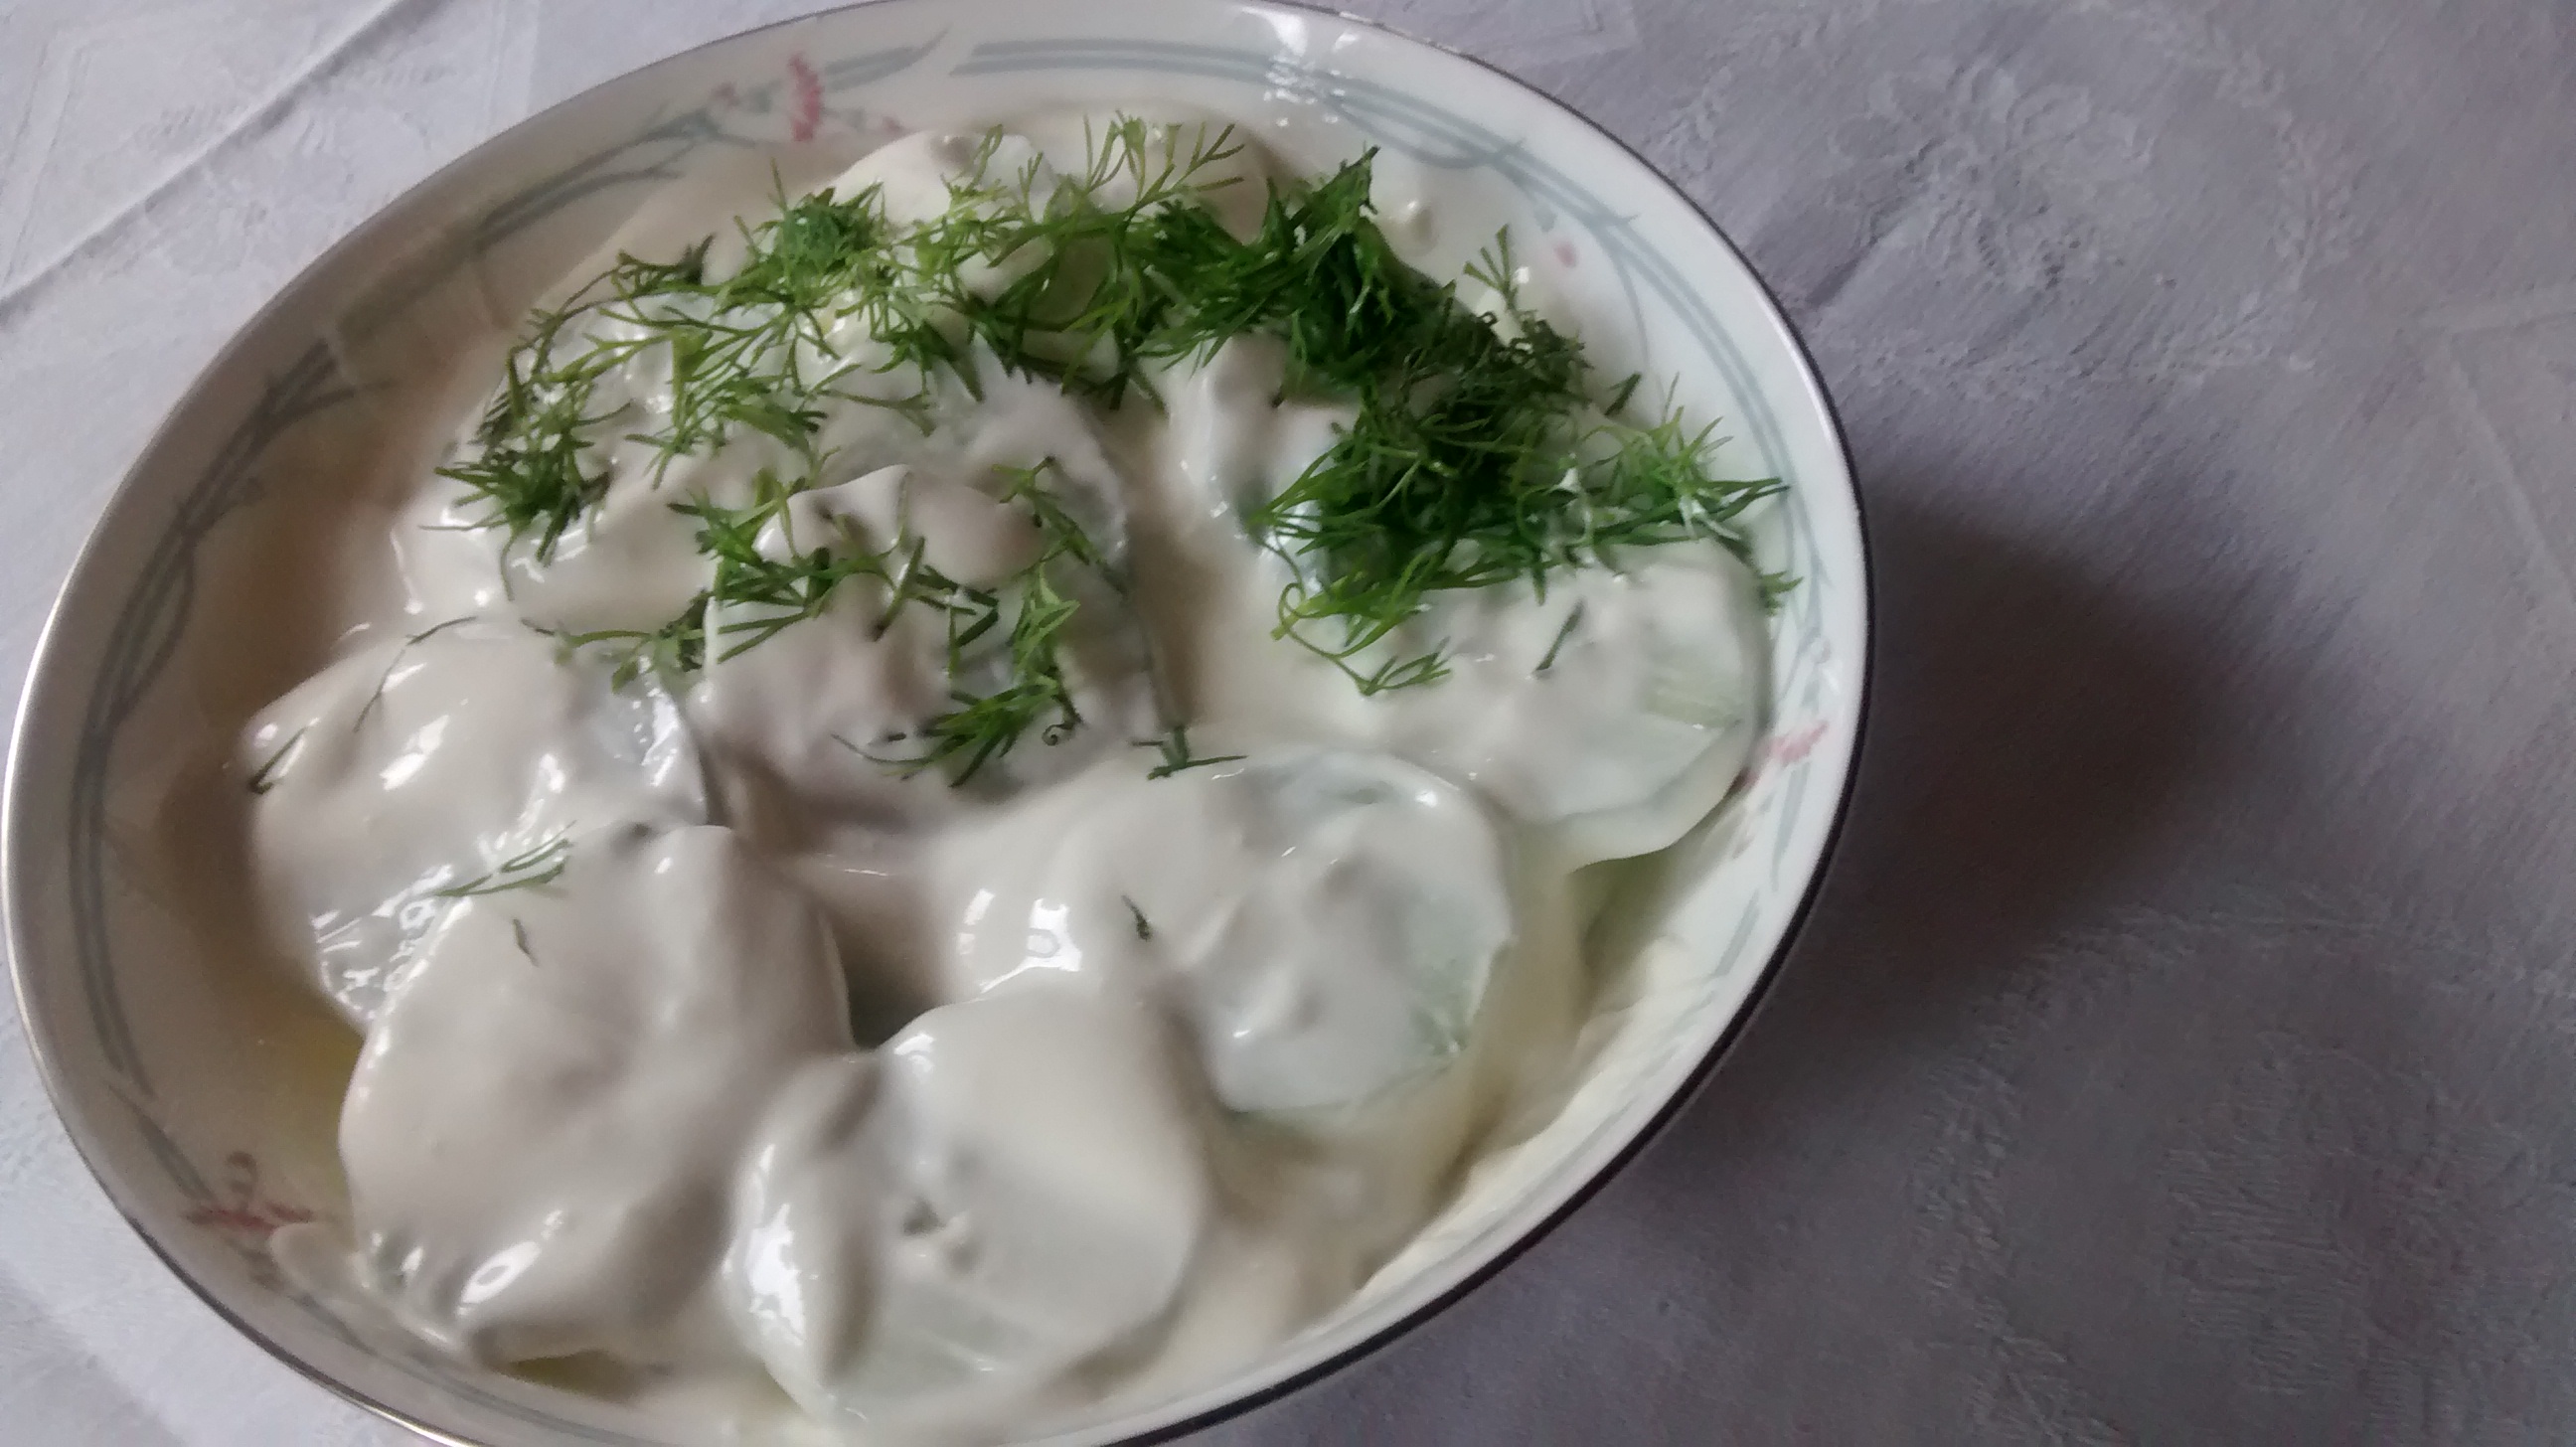
Mizeria
Legend has it that this salad was beloved by Queen Bona, the Italian princess, who married King Zygmunt 1 in the early part of the 16th Century.
She is famous for bringing her chefs and a variety of vegetables to Poland and many vegetables names in Polish have Italian roots.
The word mizeria comes from the Latin meaning misery.It is said that this salad made the Queen homesick for Italy. I can understand the cucumber – not sure about the soured cream – but that is the story.
It certainly is a delicious cooling salad for a hot day.
I was talking with one of my Polish friends earlier last week and I said that I was going to write about mizeria and she said “Oh there were 20 people for dinner yesterday and I made a huge bowl of mizeria – it was delicious and it was all eaten!”
It is the salad that everyone loves to make in the summer and it is so easy.
Ingredients
Just – Cucumber, Soured Cream and a little salt.
Option extras
Lemon juice added to the soured cream.
Some people add little bit of icing sugar.
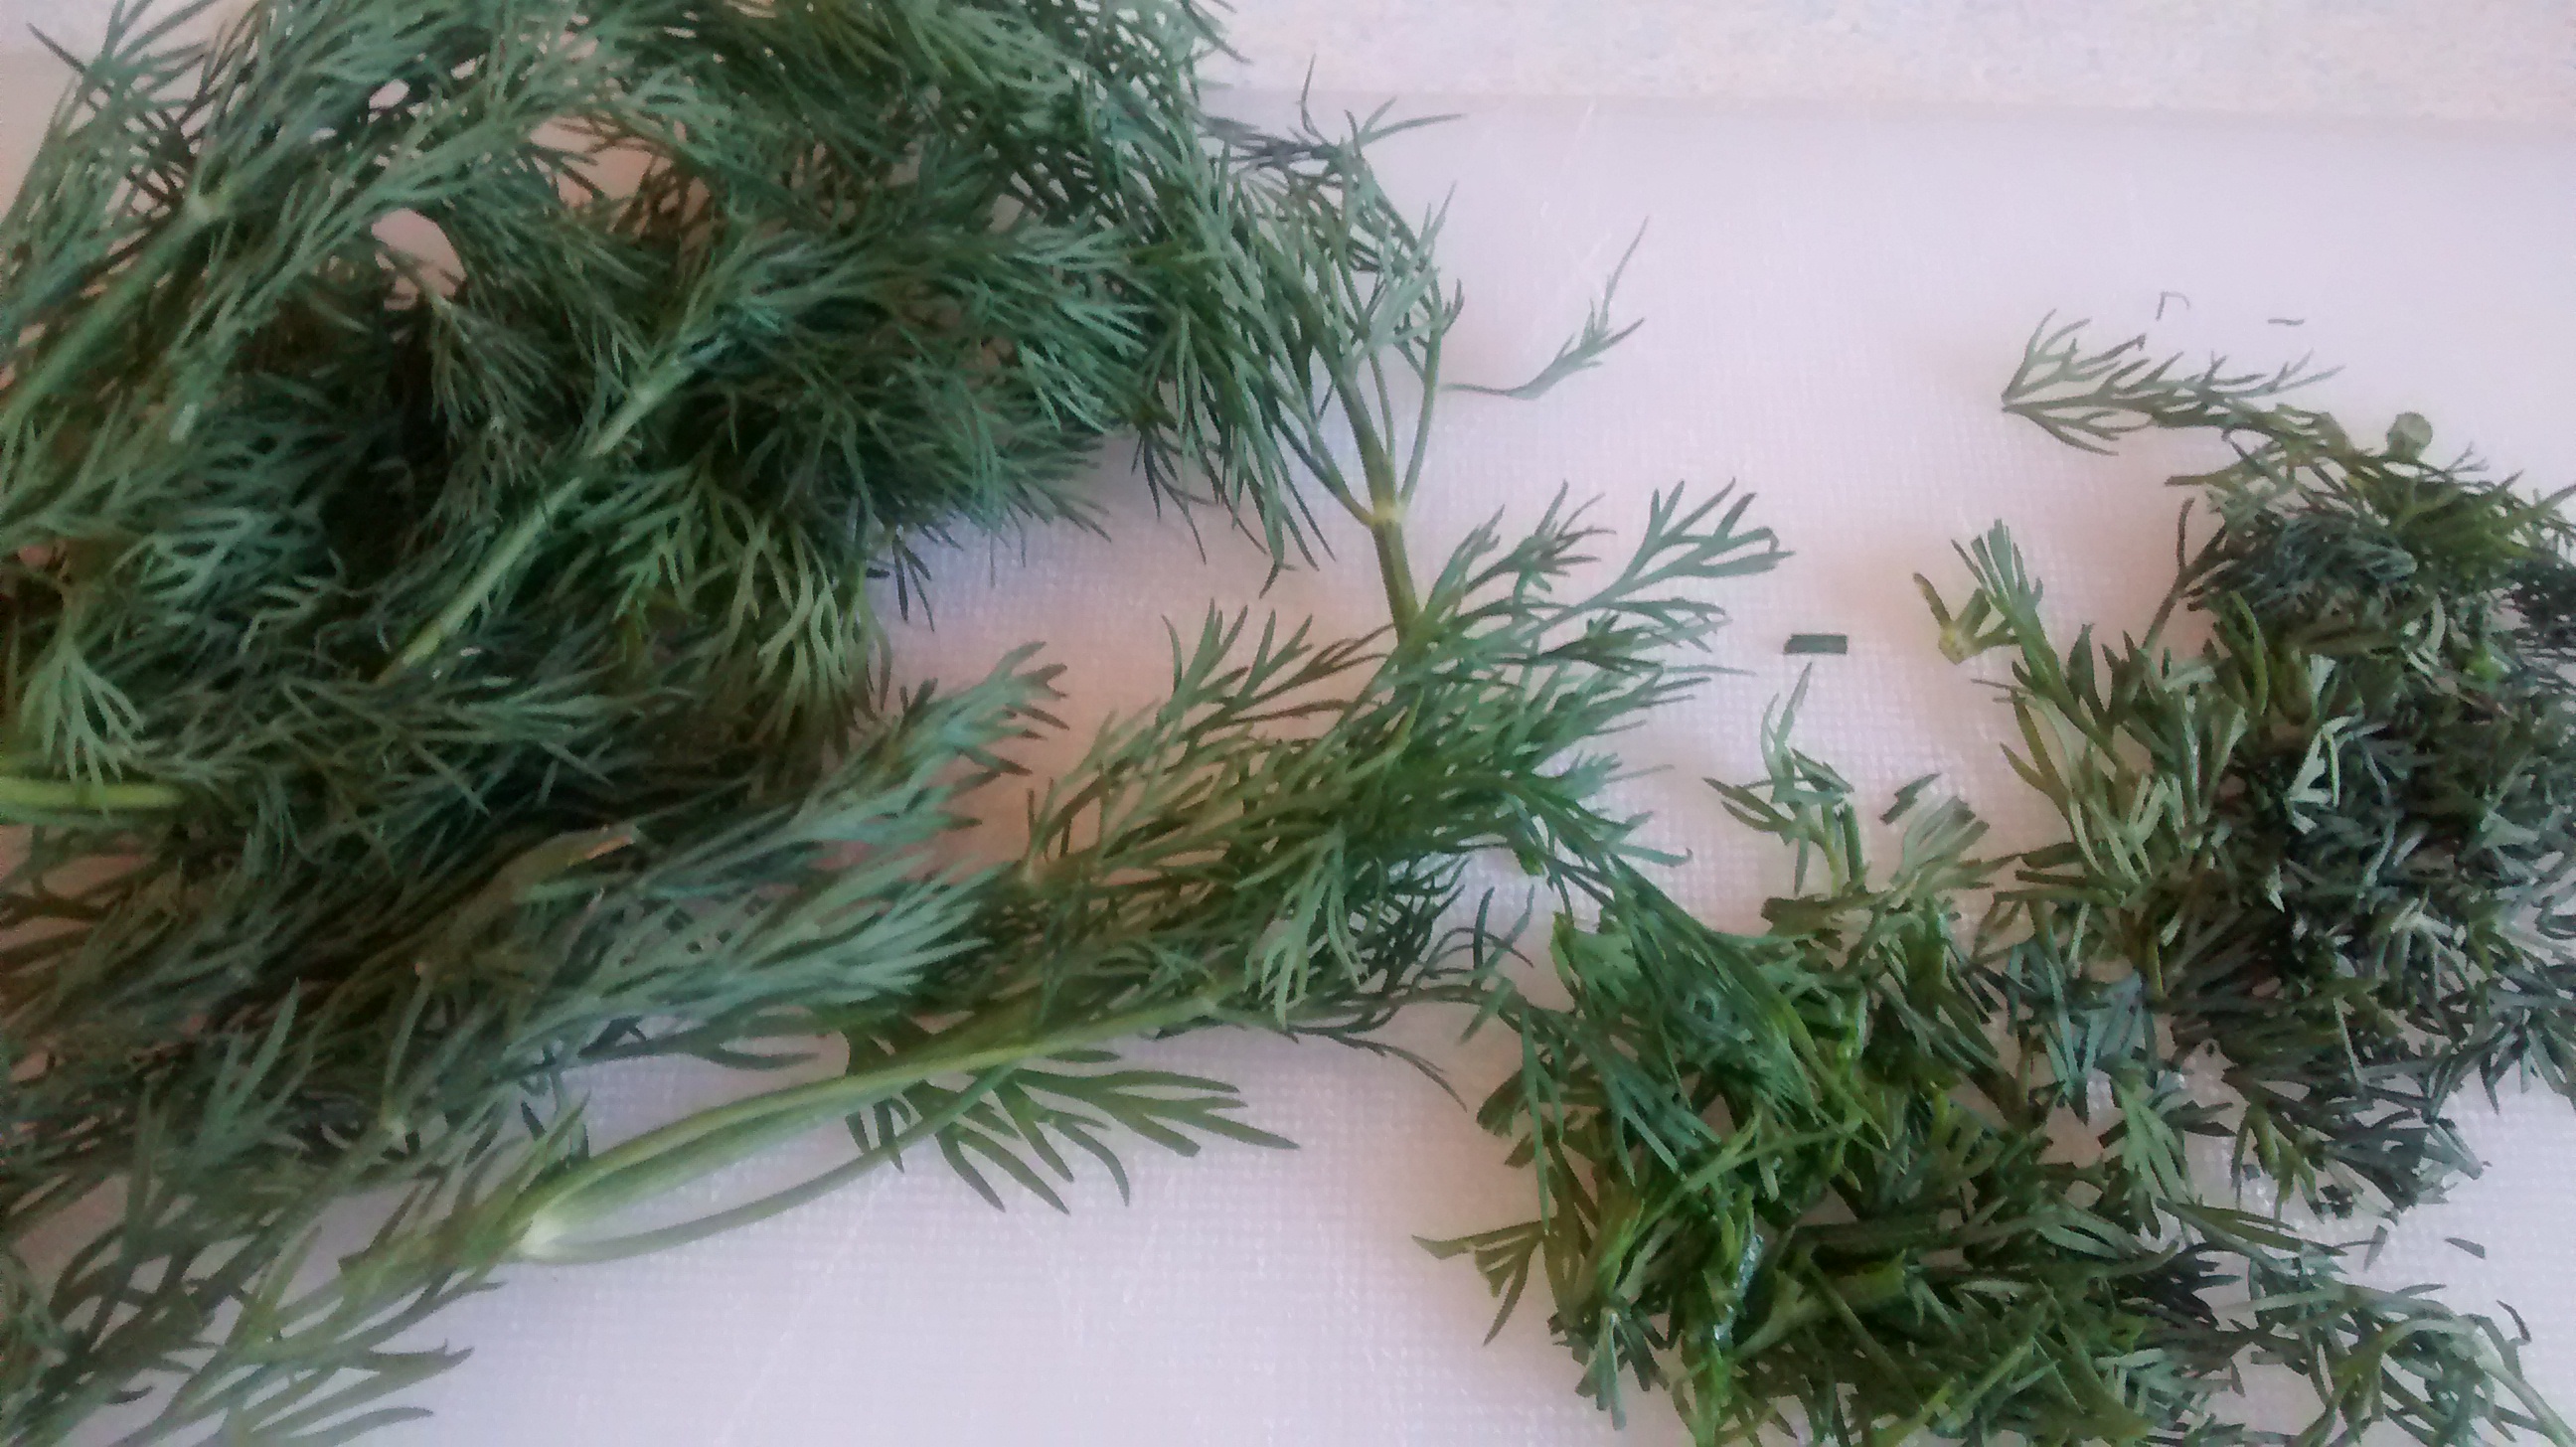
Dill or chives as a garnish.
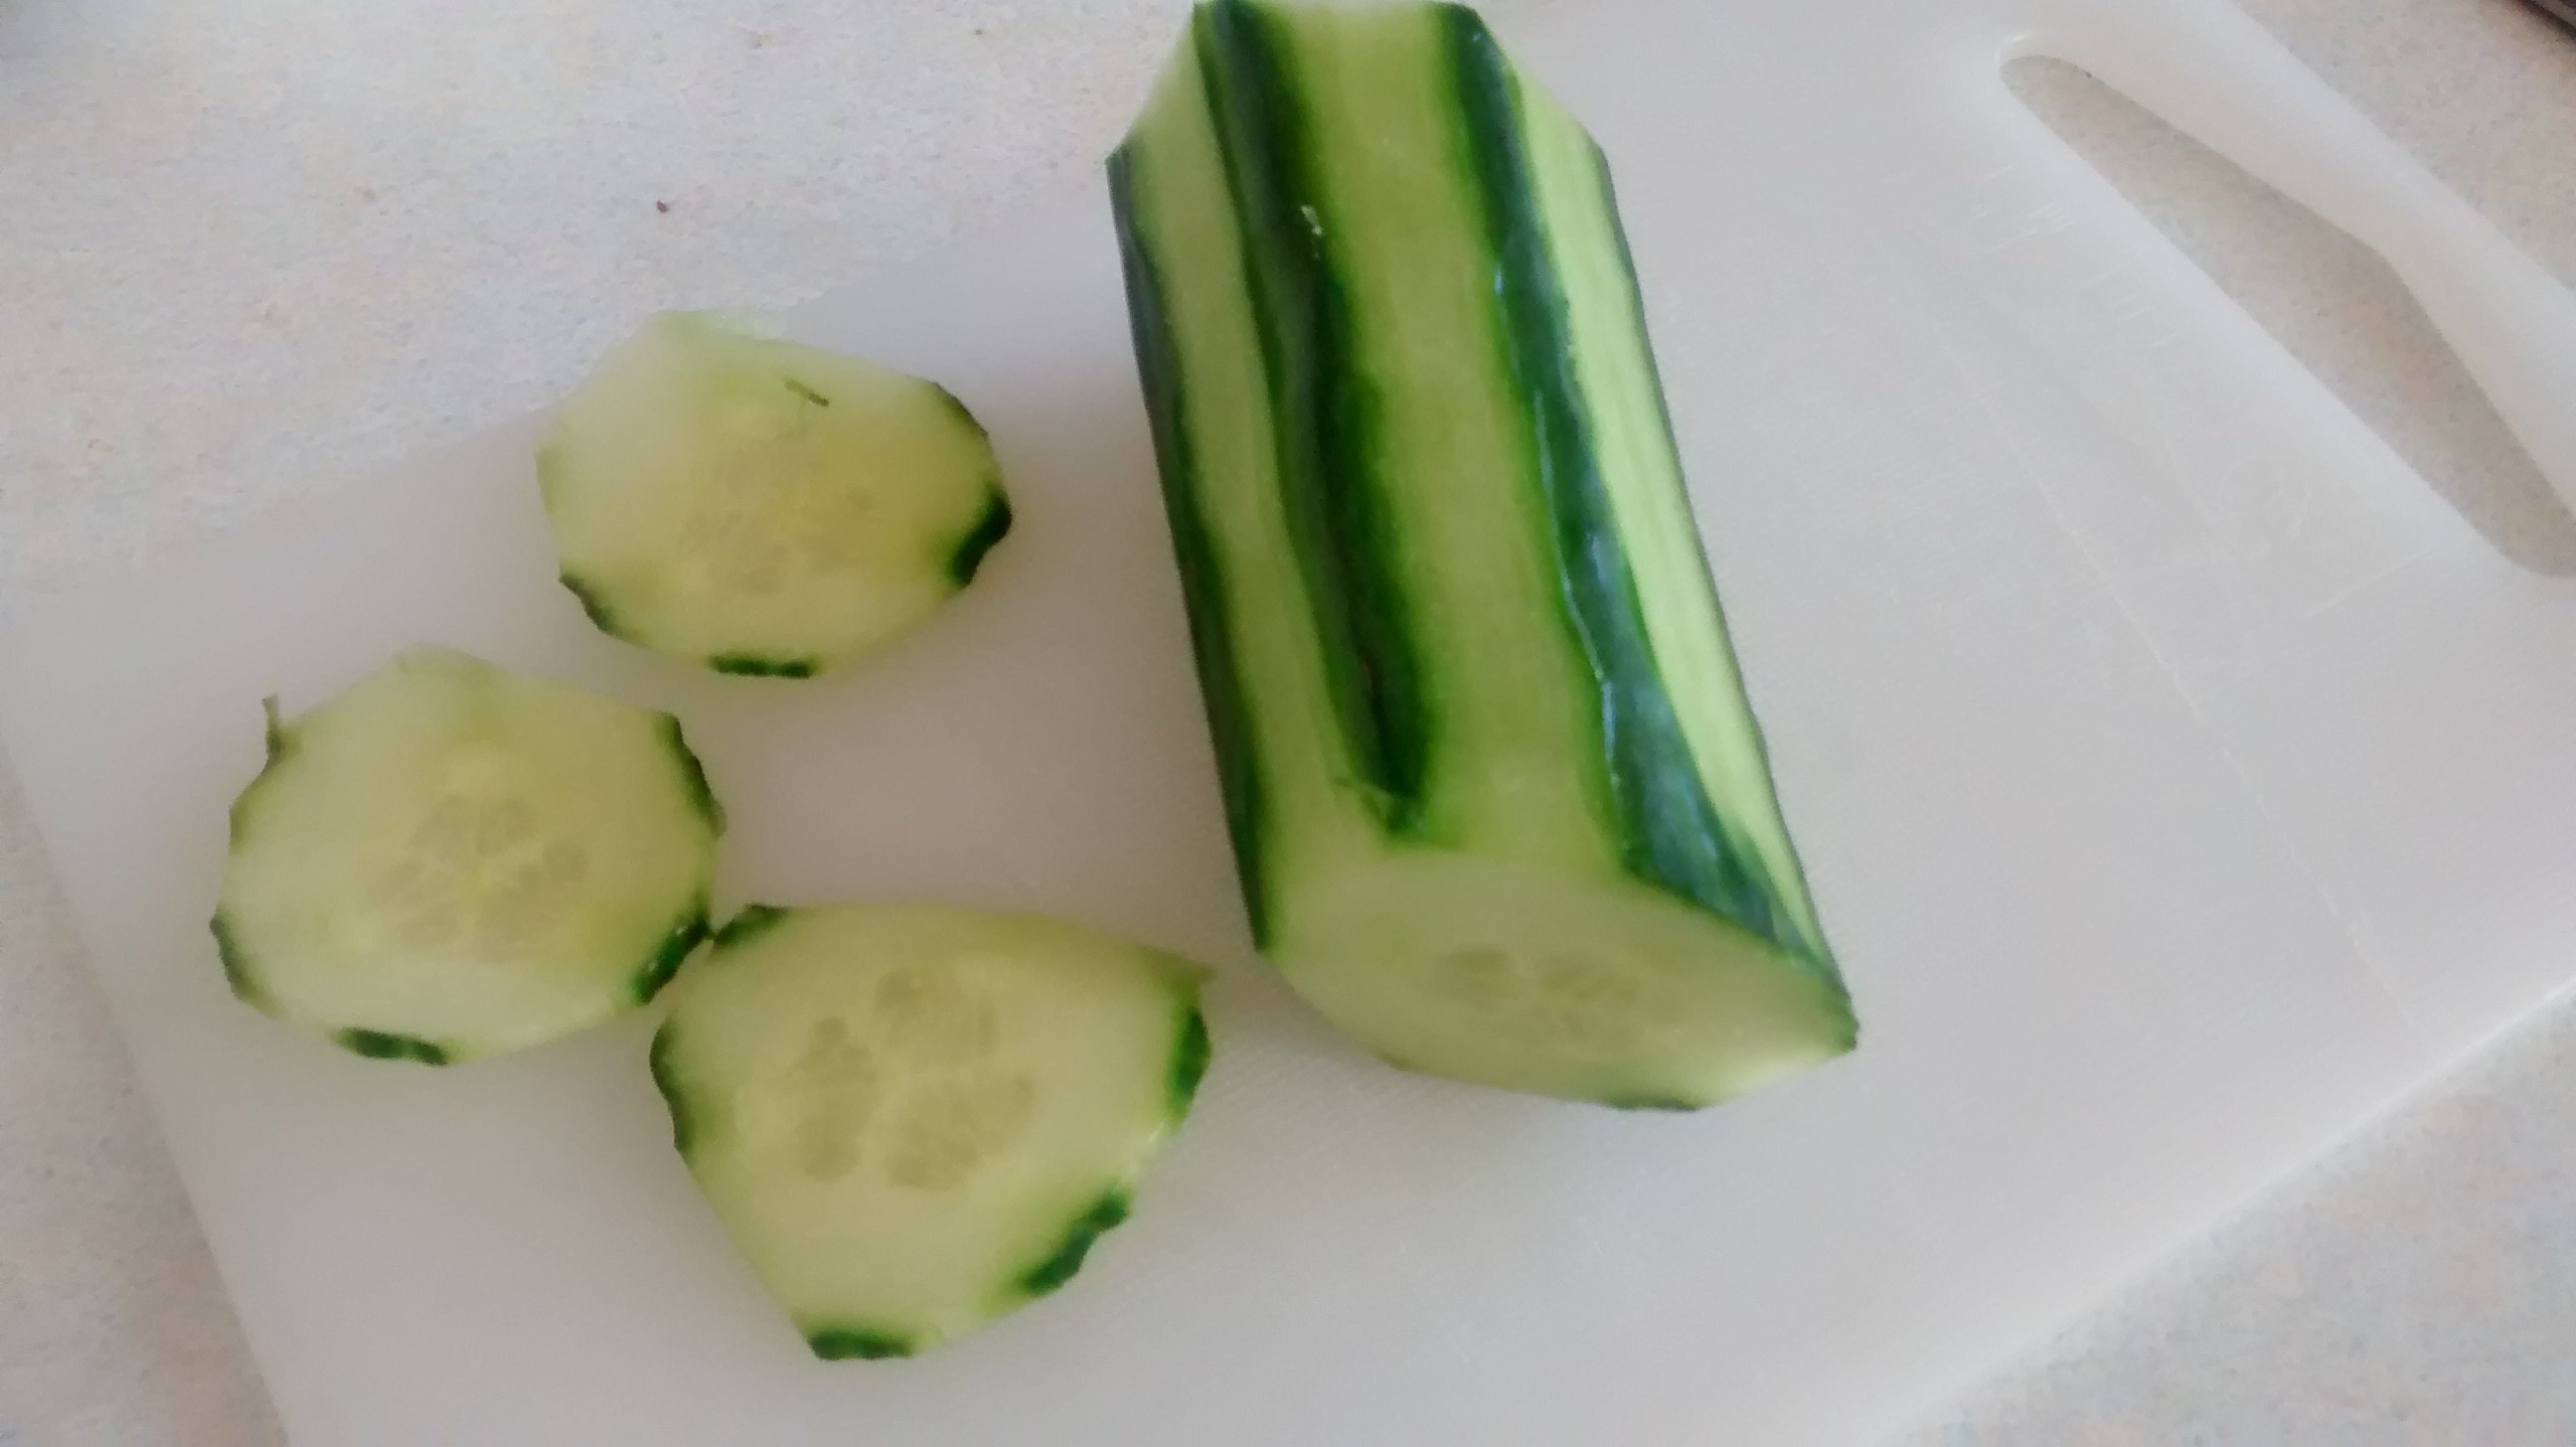
Take a cucumber and peel off the skin. If the skin is thin then sometimes I do not peel it all off, just stripes so that you have a nice pattern later of dark and pale green.
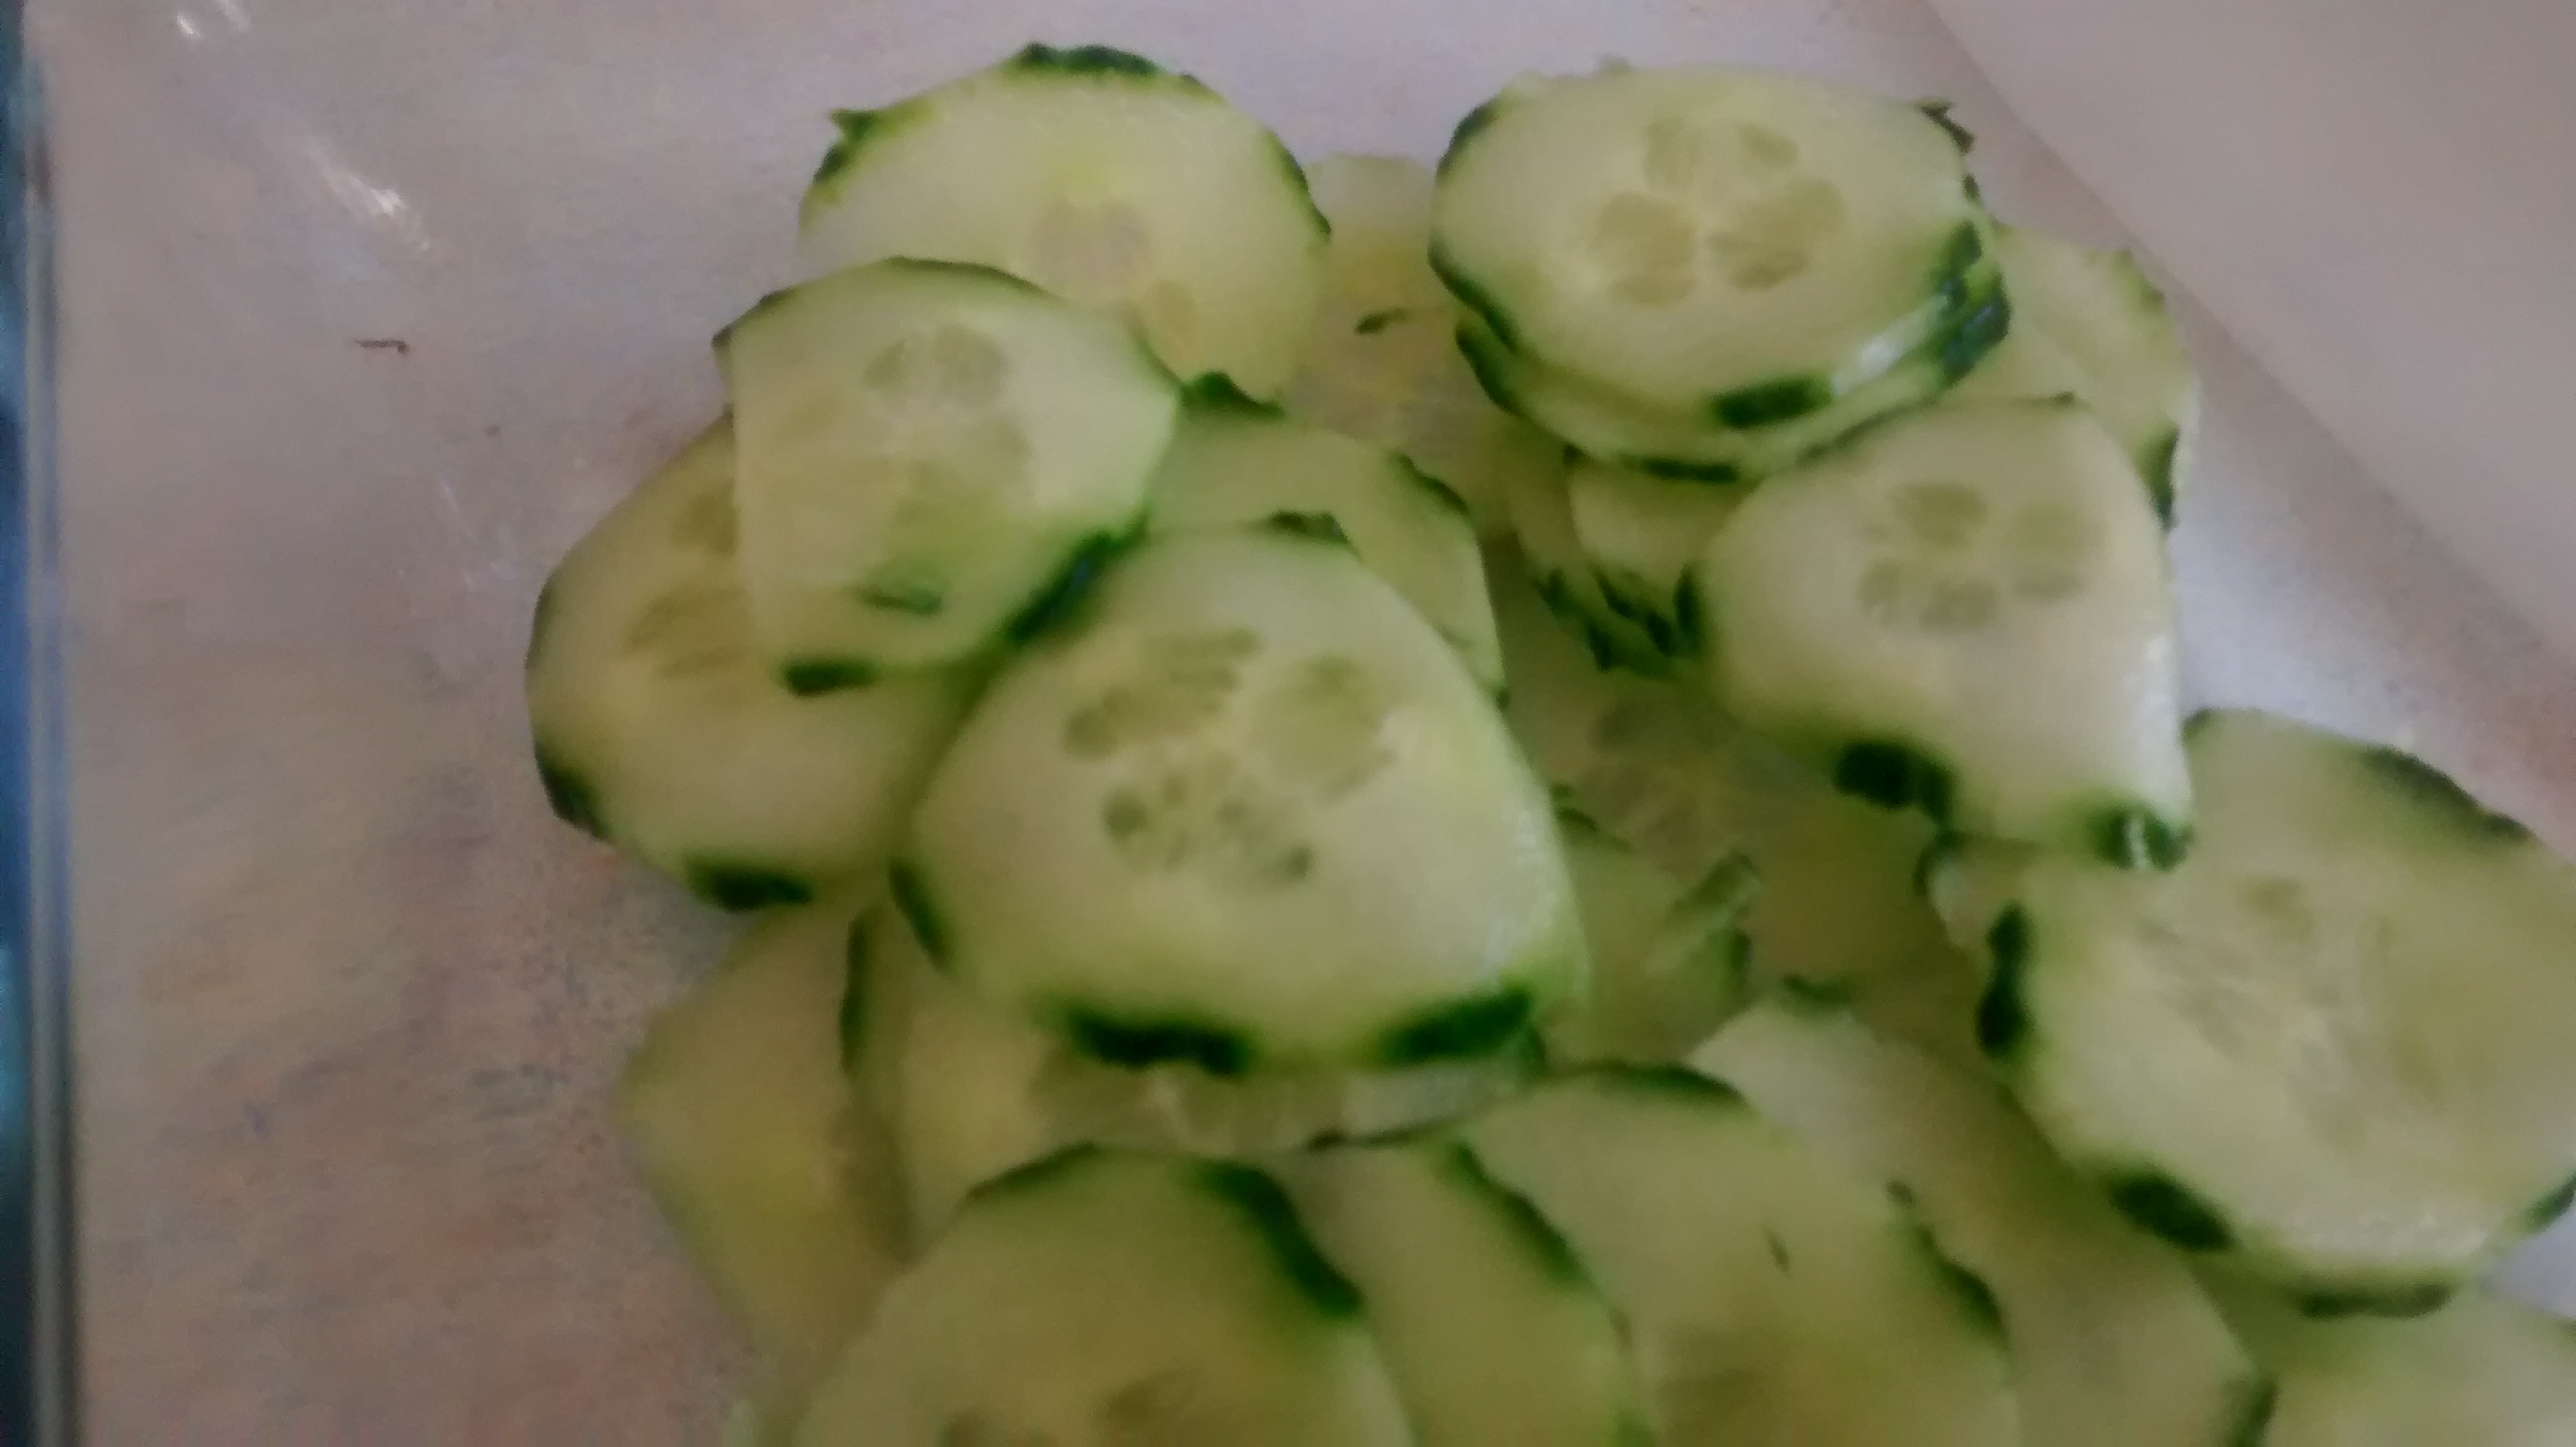
Cut the cucumber into thin slices and put them into a bowl
Lightly salt the cucumber.
Add several spoonfuls of soured cream to the cucumber and mix them together, you want to coat most of the slices.
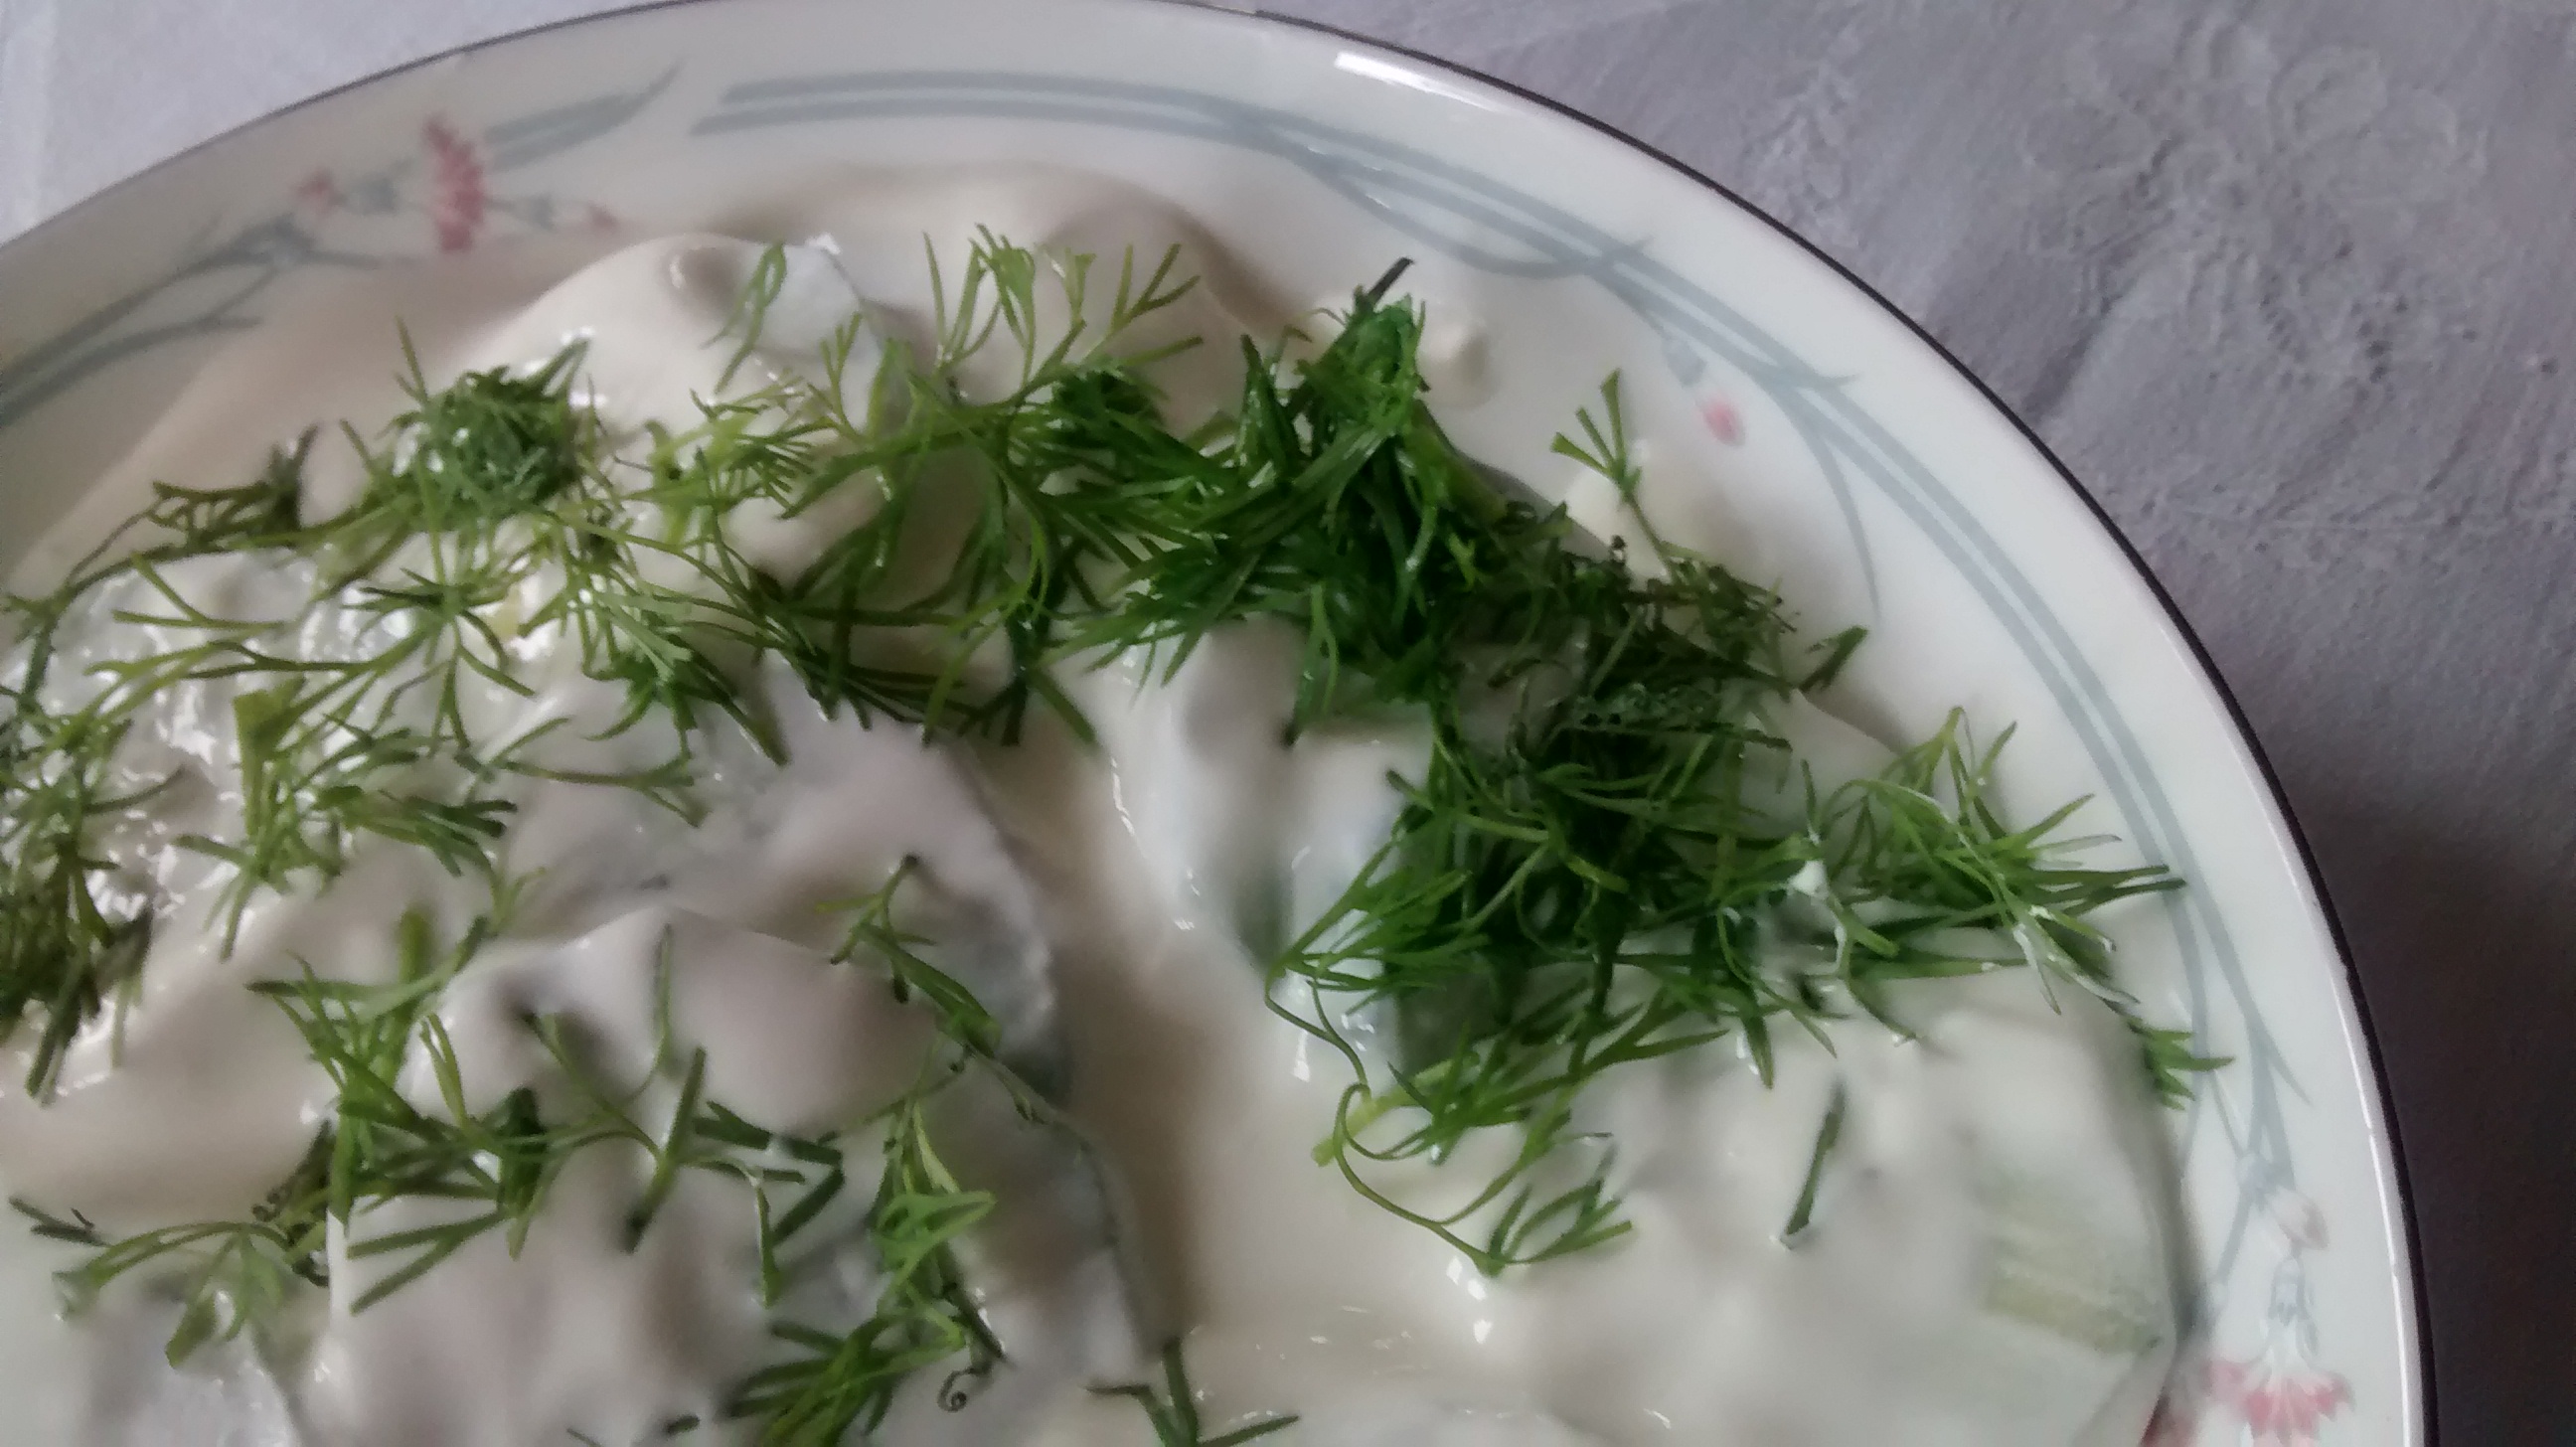
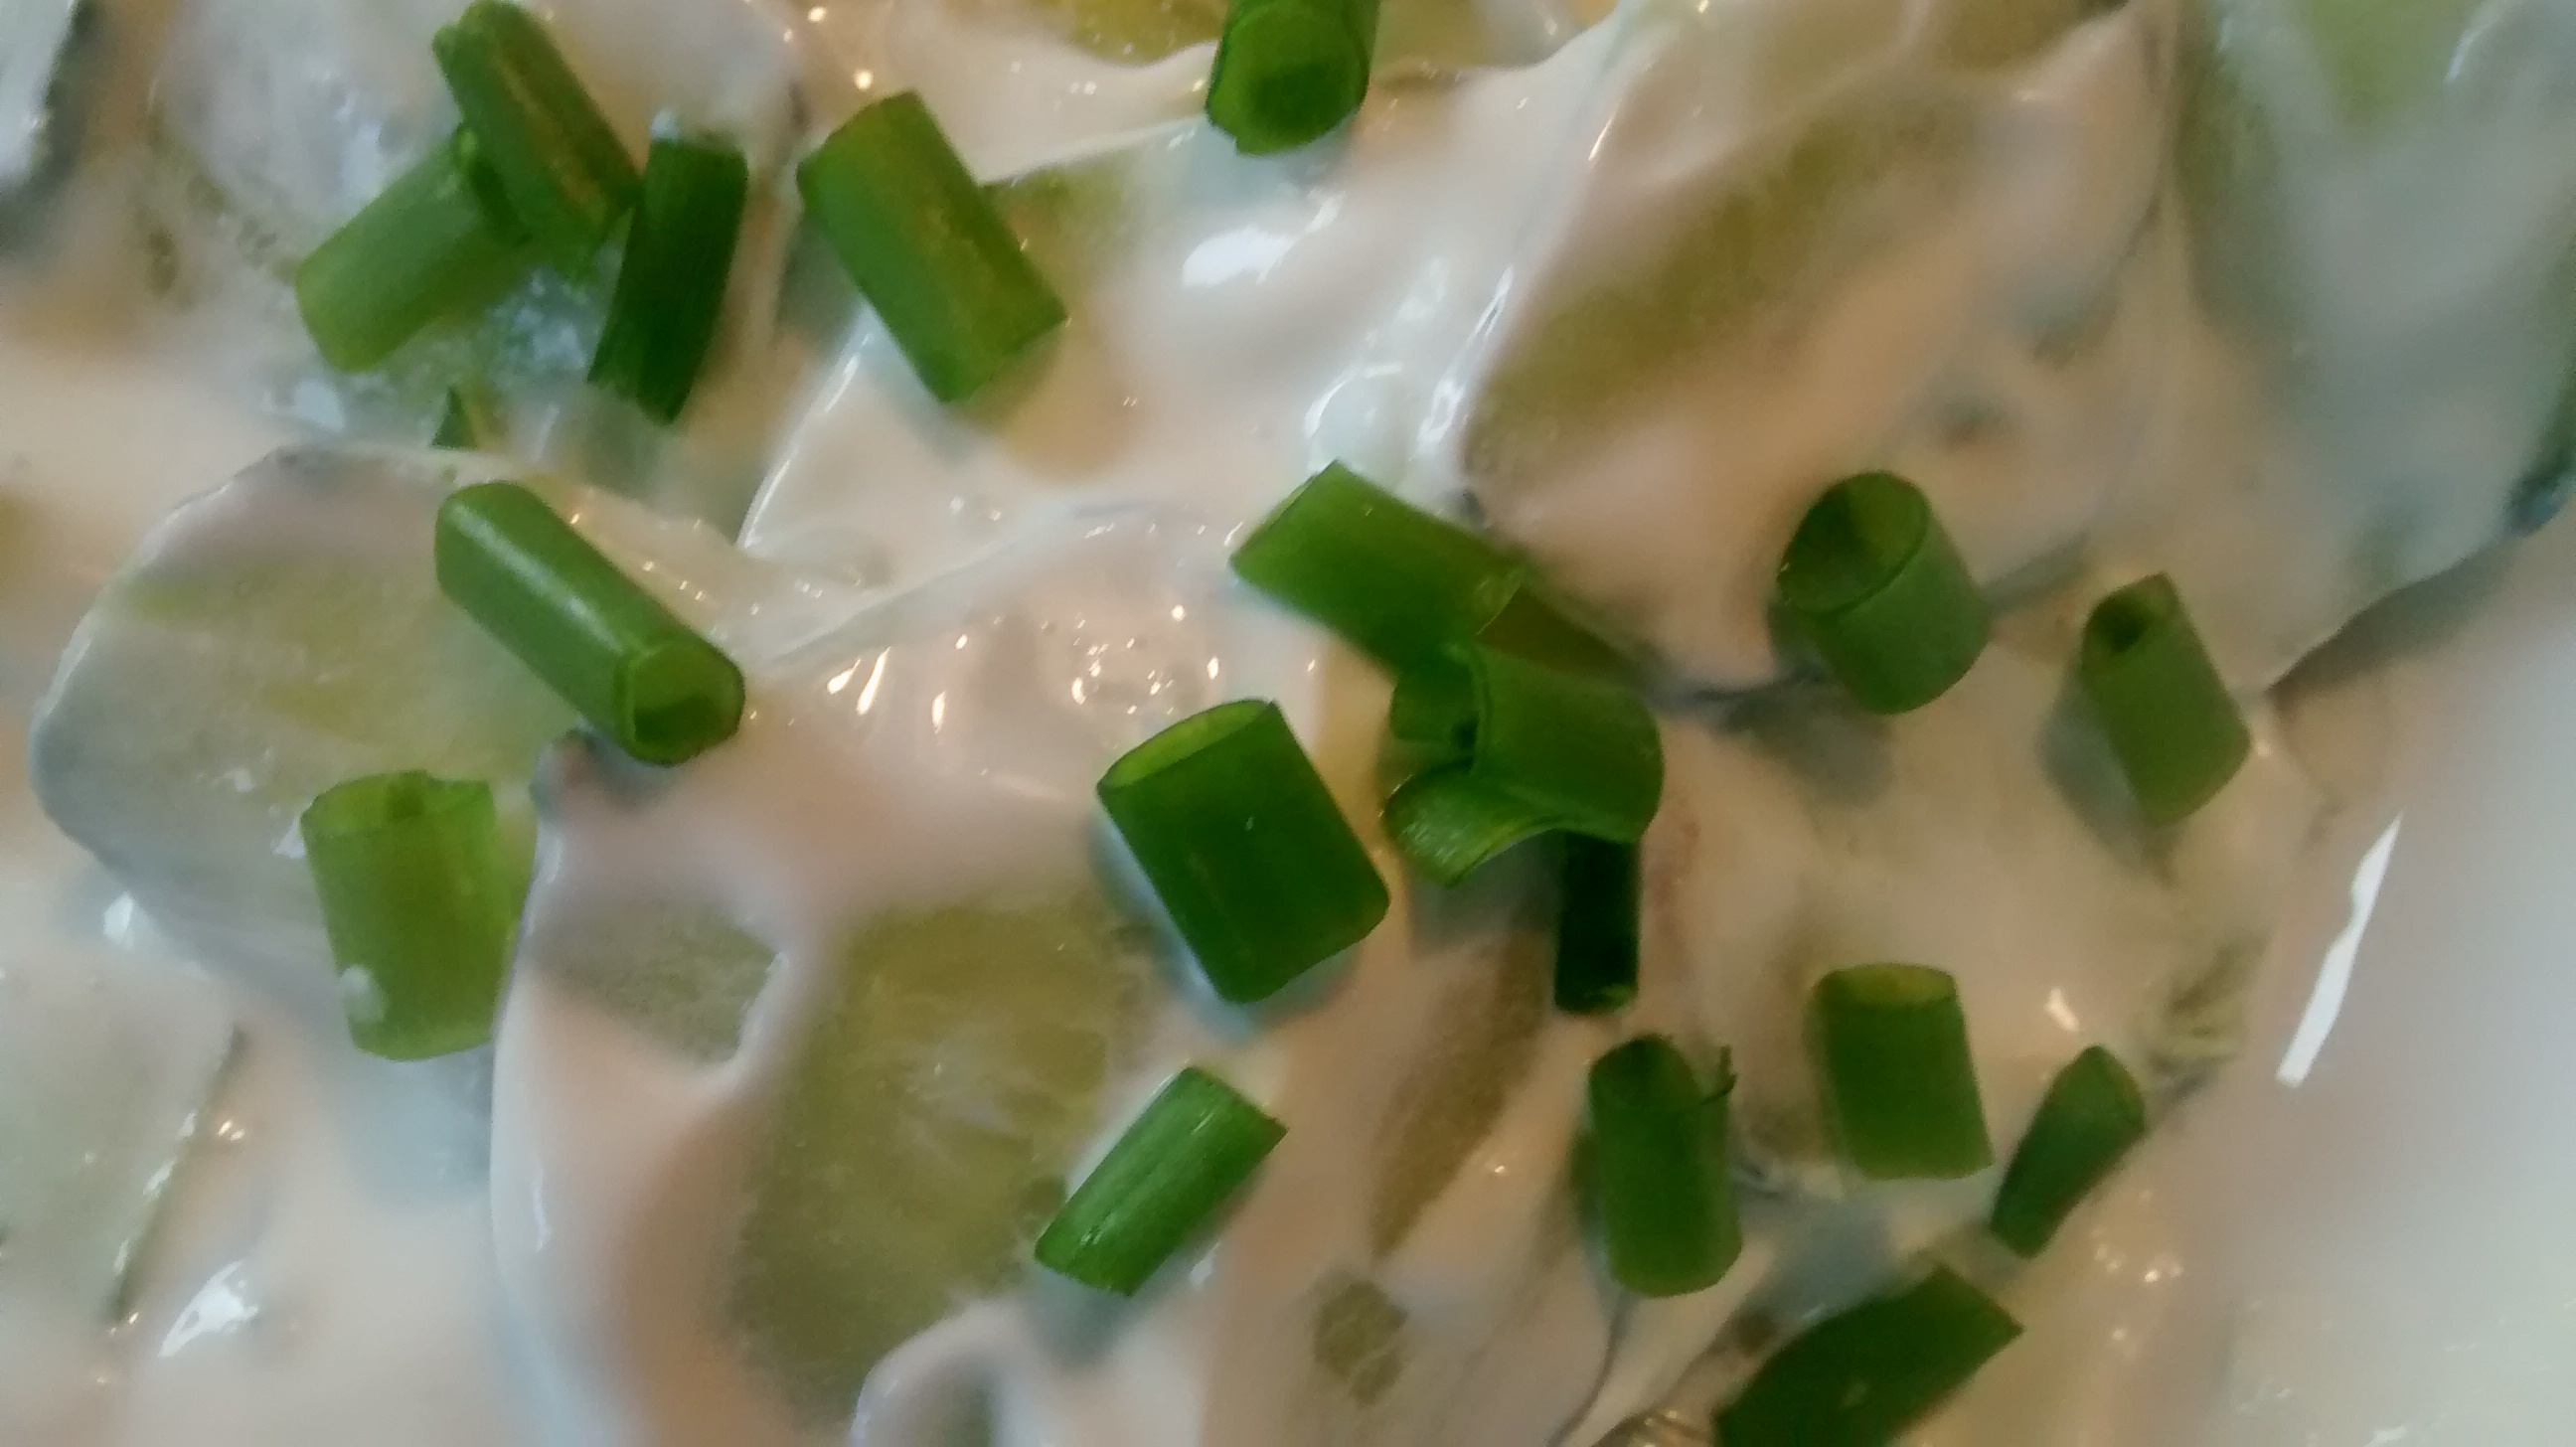
Sprinkle with a garnish of chopped dill or chives if desired and serve.
This is delicious with Polish style smoked meats and sausage and also with hot roast meats as a lovely contrast.
Mizeria Garnished with Dill
Dill
Mizeria Garnished with Chives
note
This is best made with young fresh cucumbers in summer. However now that you can get greenhouse grown cucumbers all year round I sometimes find that they are a bit old and woody, if this is the case I would remove the seed area – this is best done by cutting the cucumber lengthwise in two and removing the seeds by pulling a teaspoon down the seedy middle. Then you can slice the cucumber as before.
Some cooks salt the sliced cucumber and leave this for about half an hour and then discard the liquid before adding the soured cream. I do not usually do this unless I am making it for serving at a much later time.
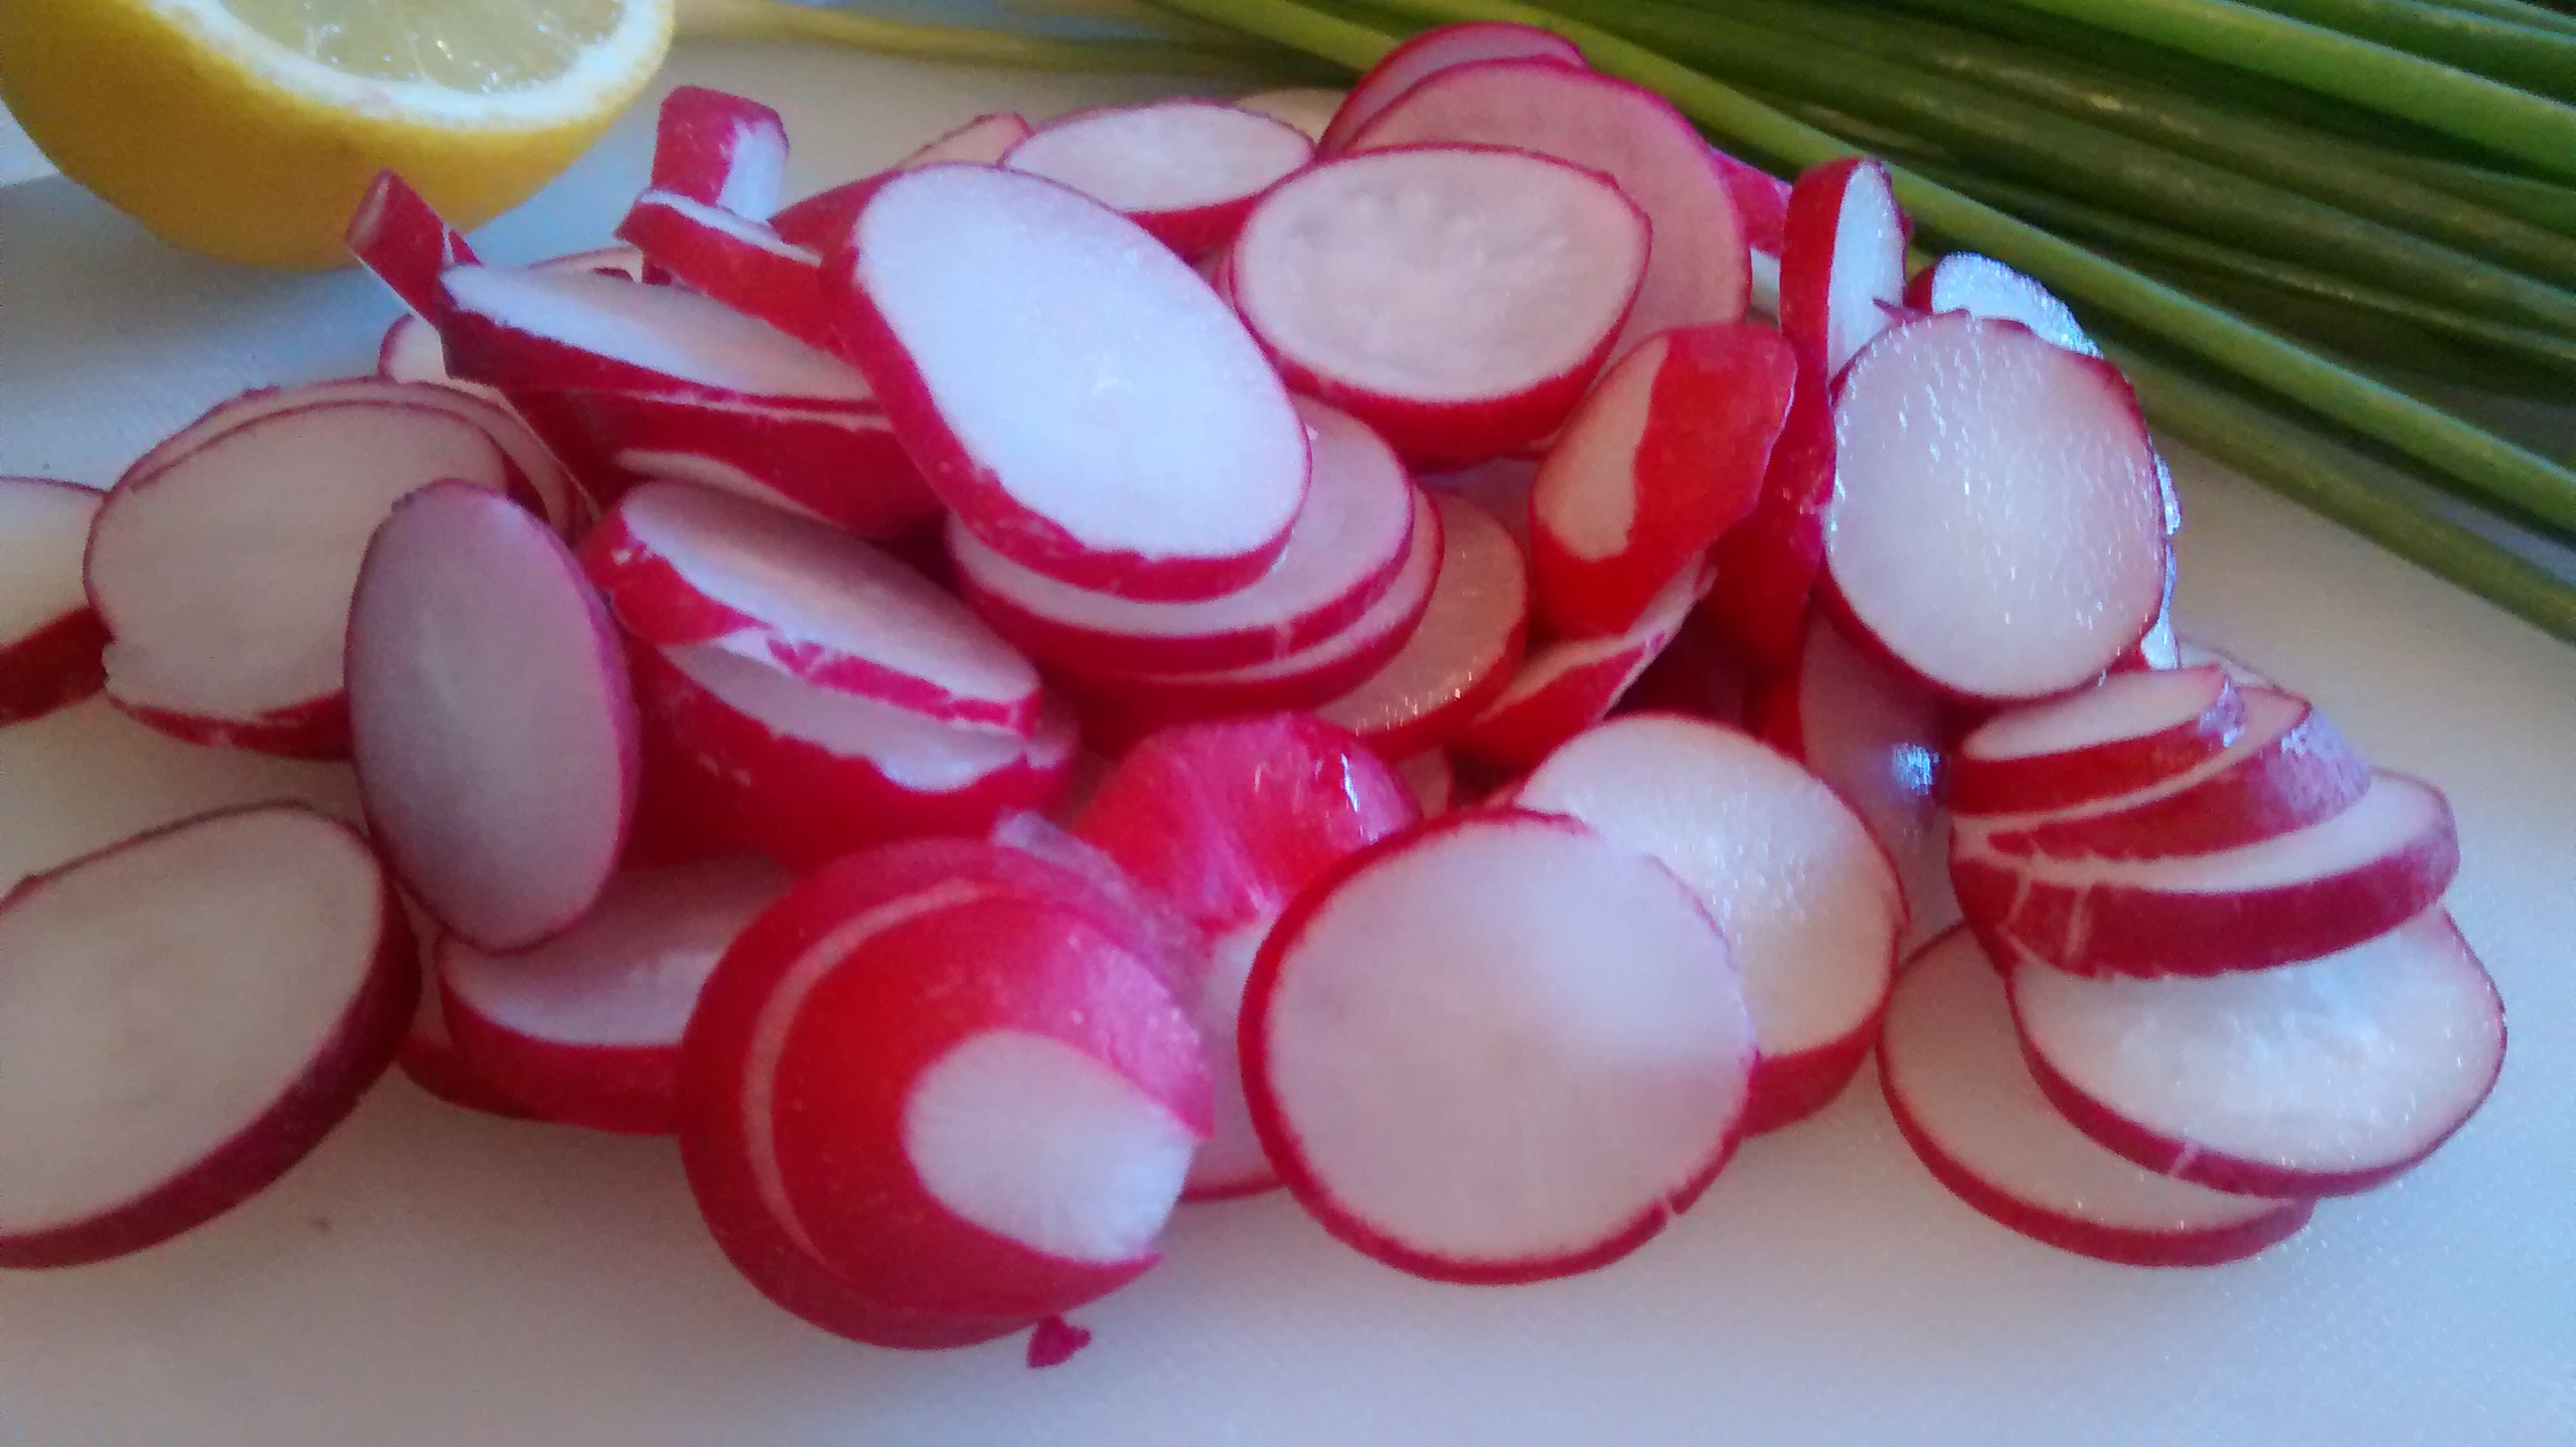
Radish Salad
Ingredients
Radish and Soured Cream.
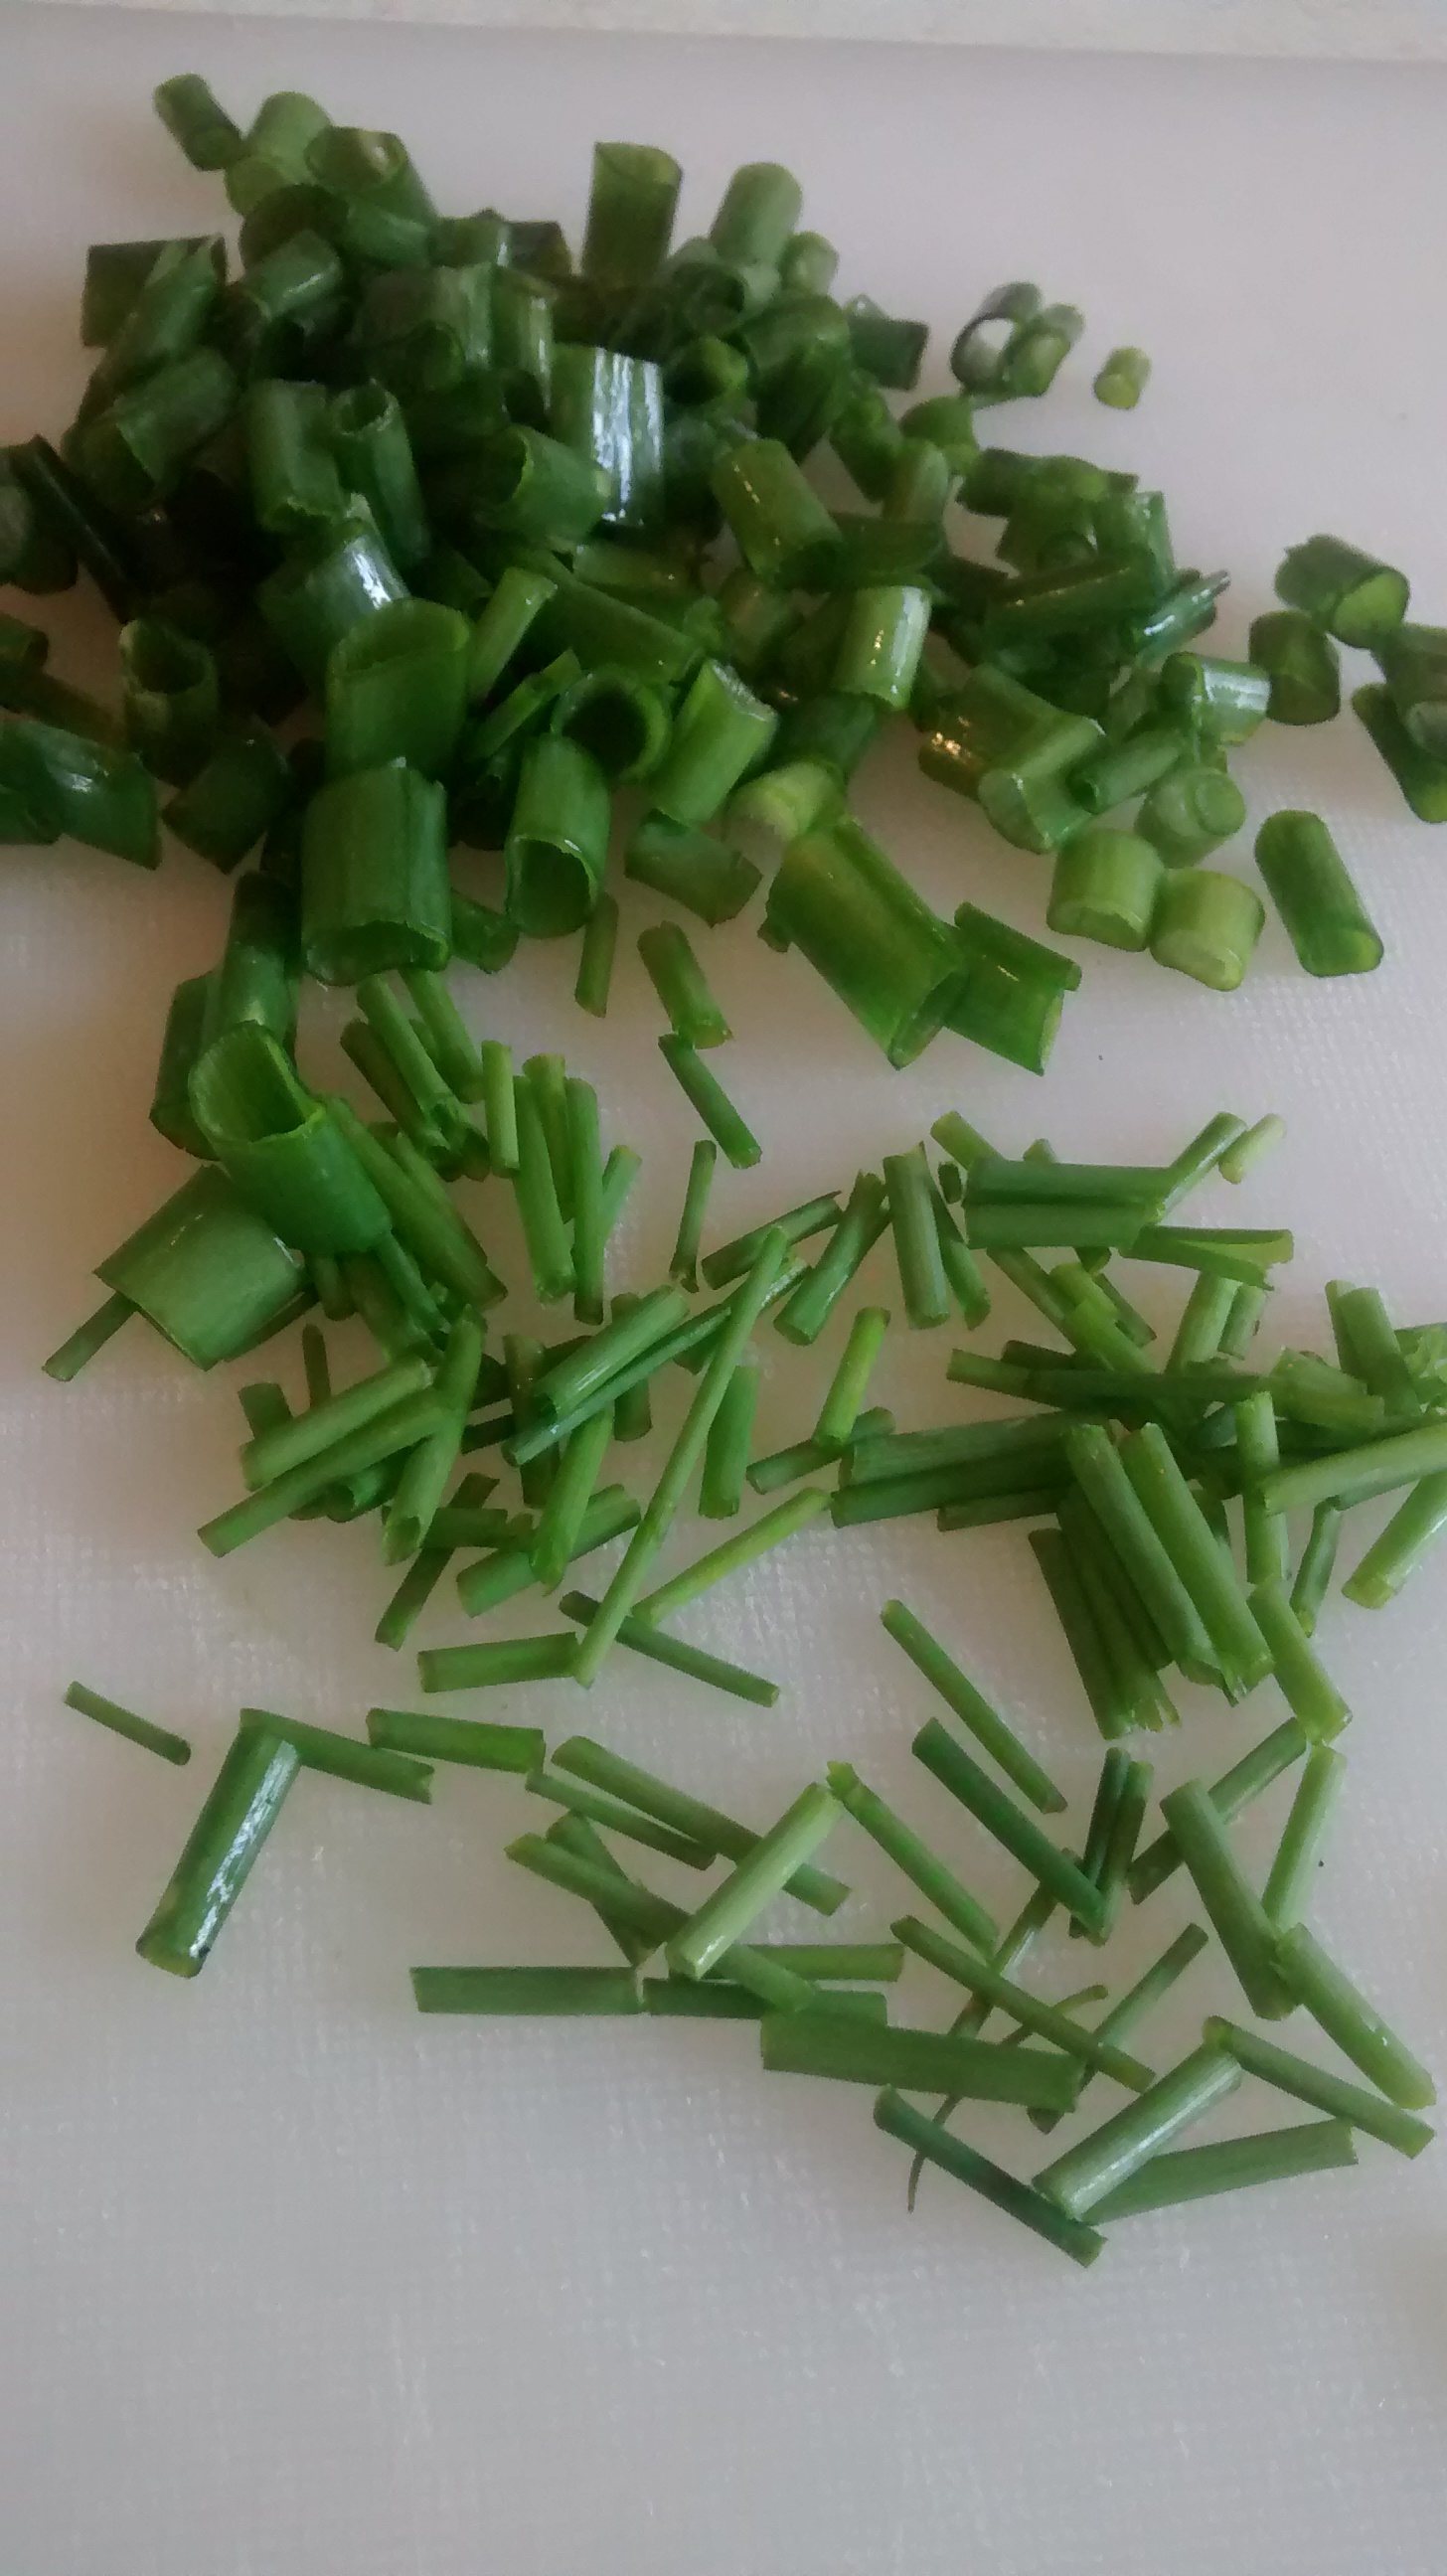
Chives or Spring onions to garnish.
Prepare the radishes by removing the hairy roots and stalks.
Thinly slice the radishes.
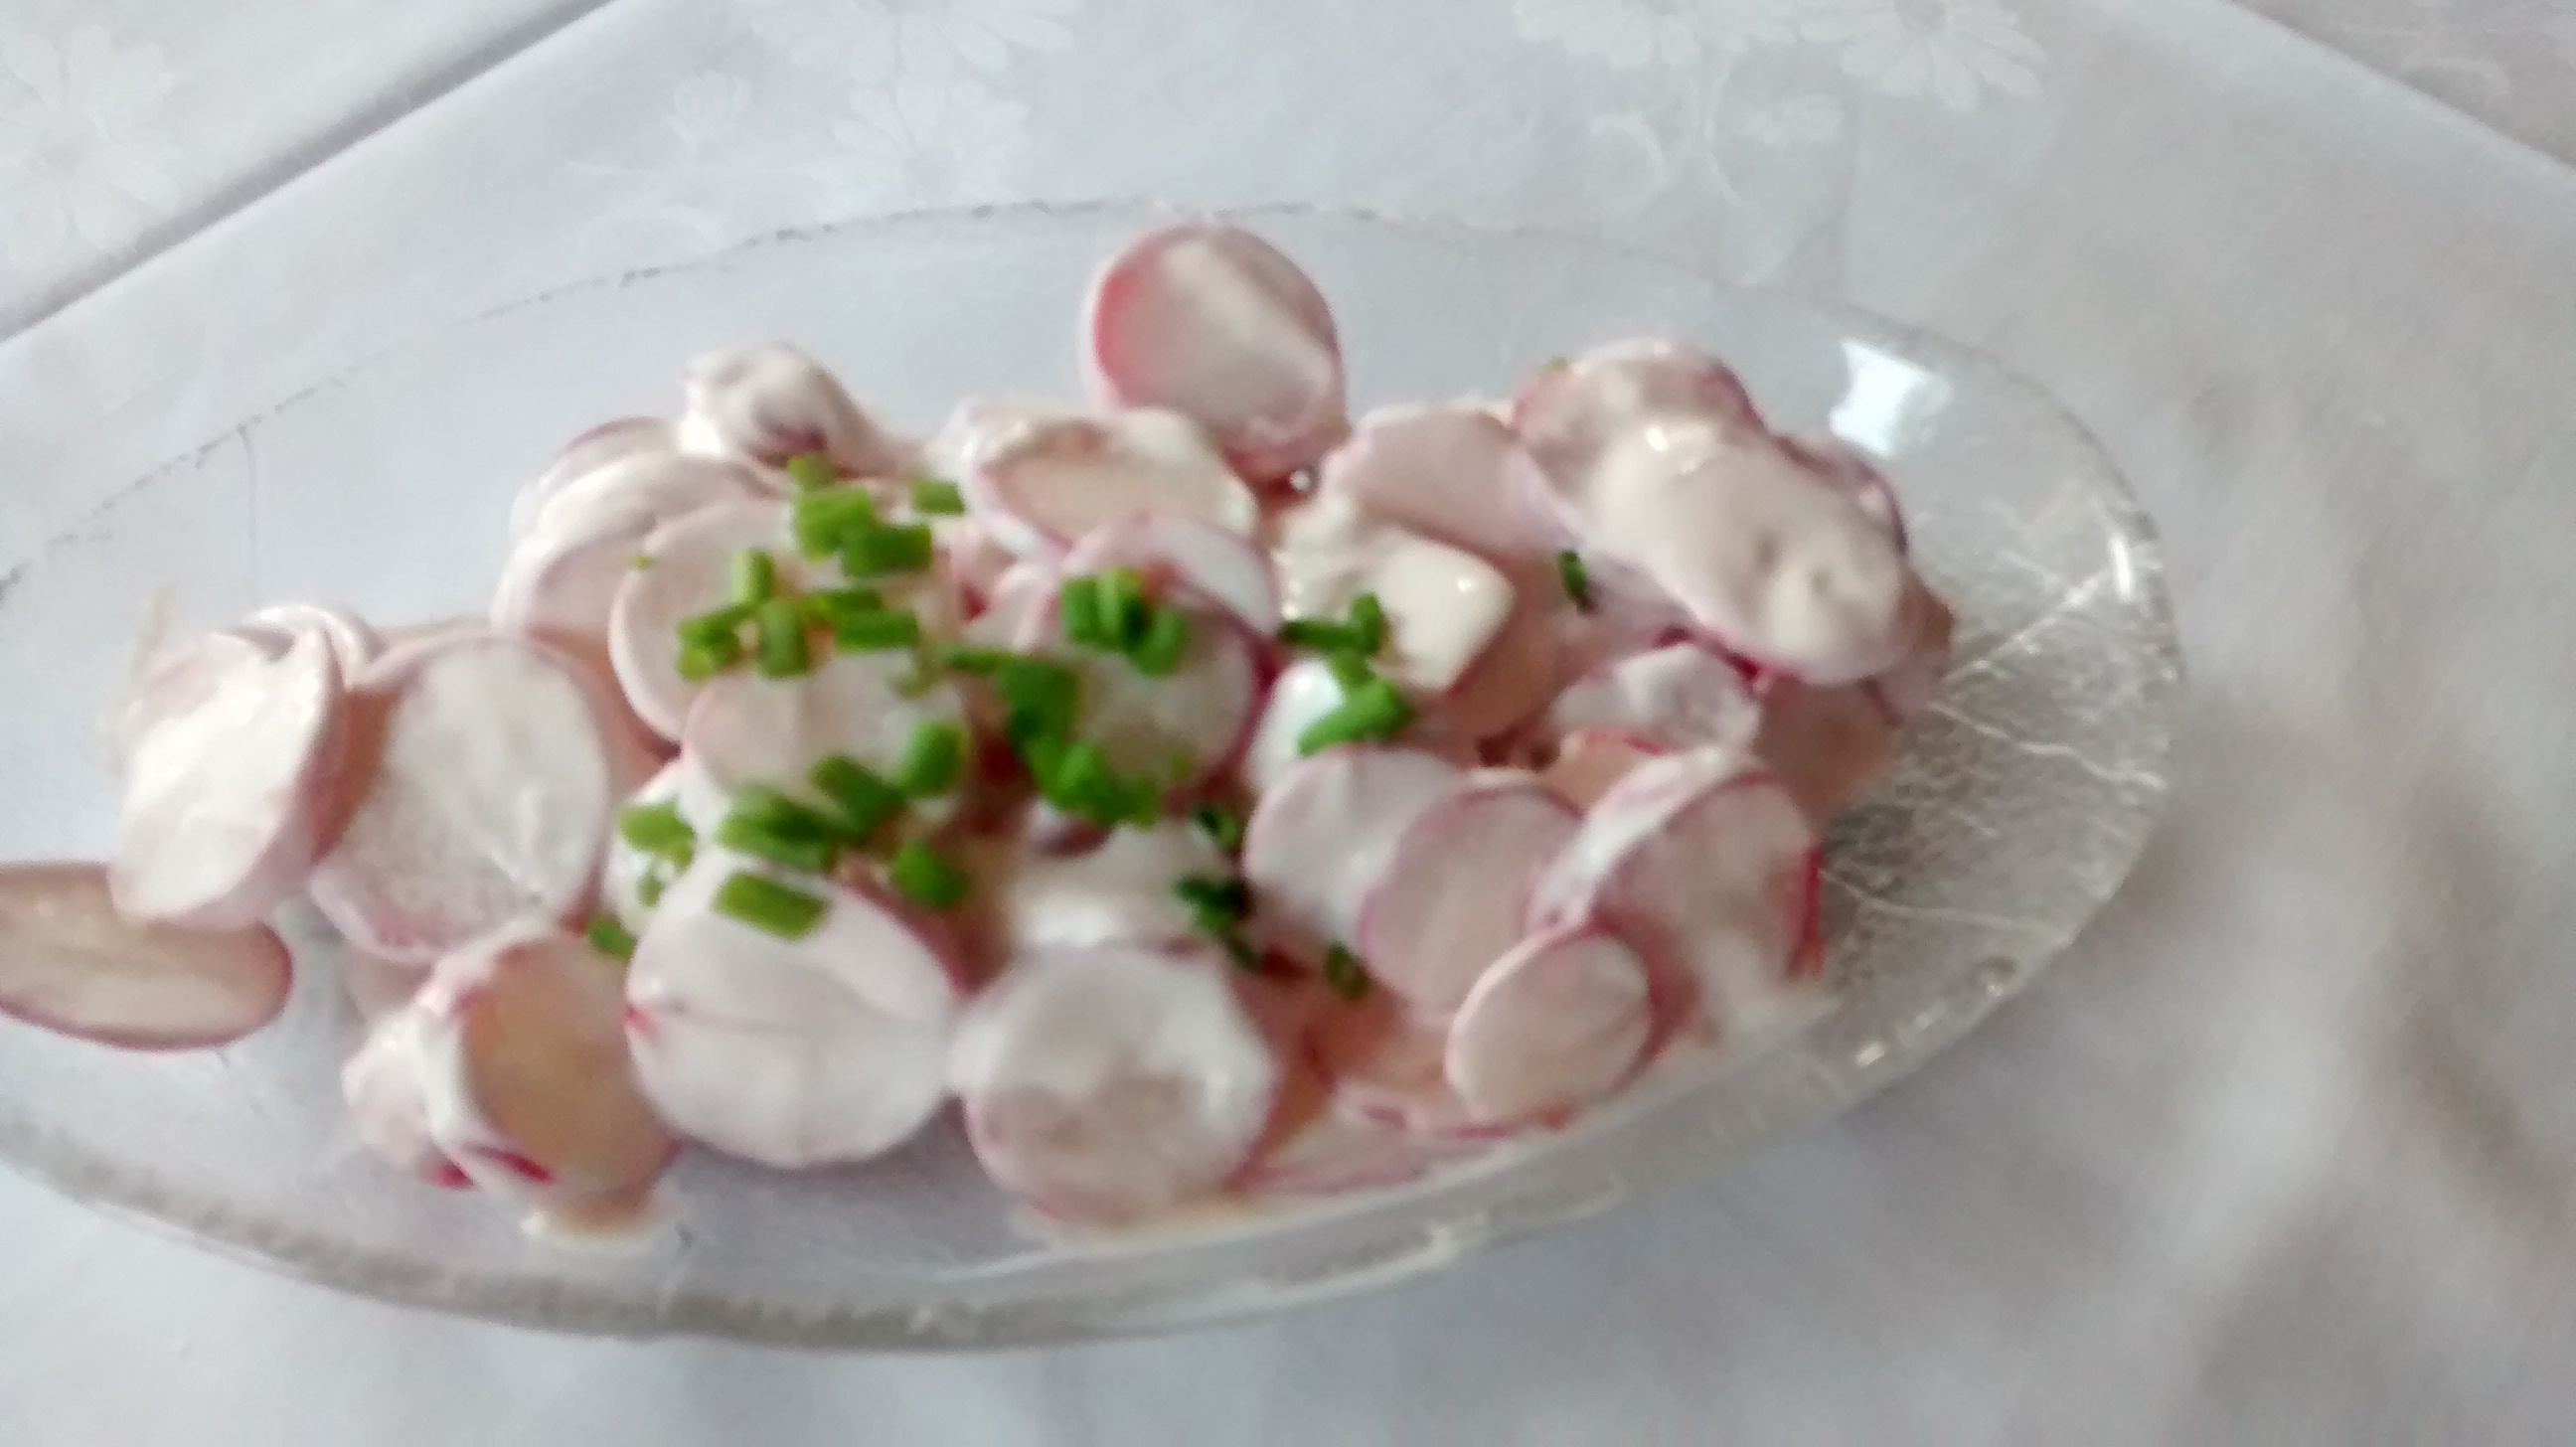
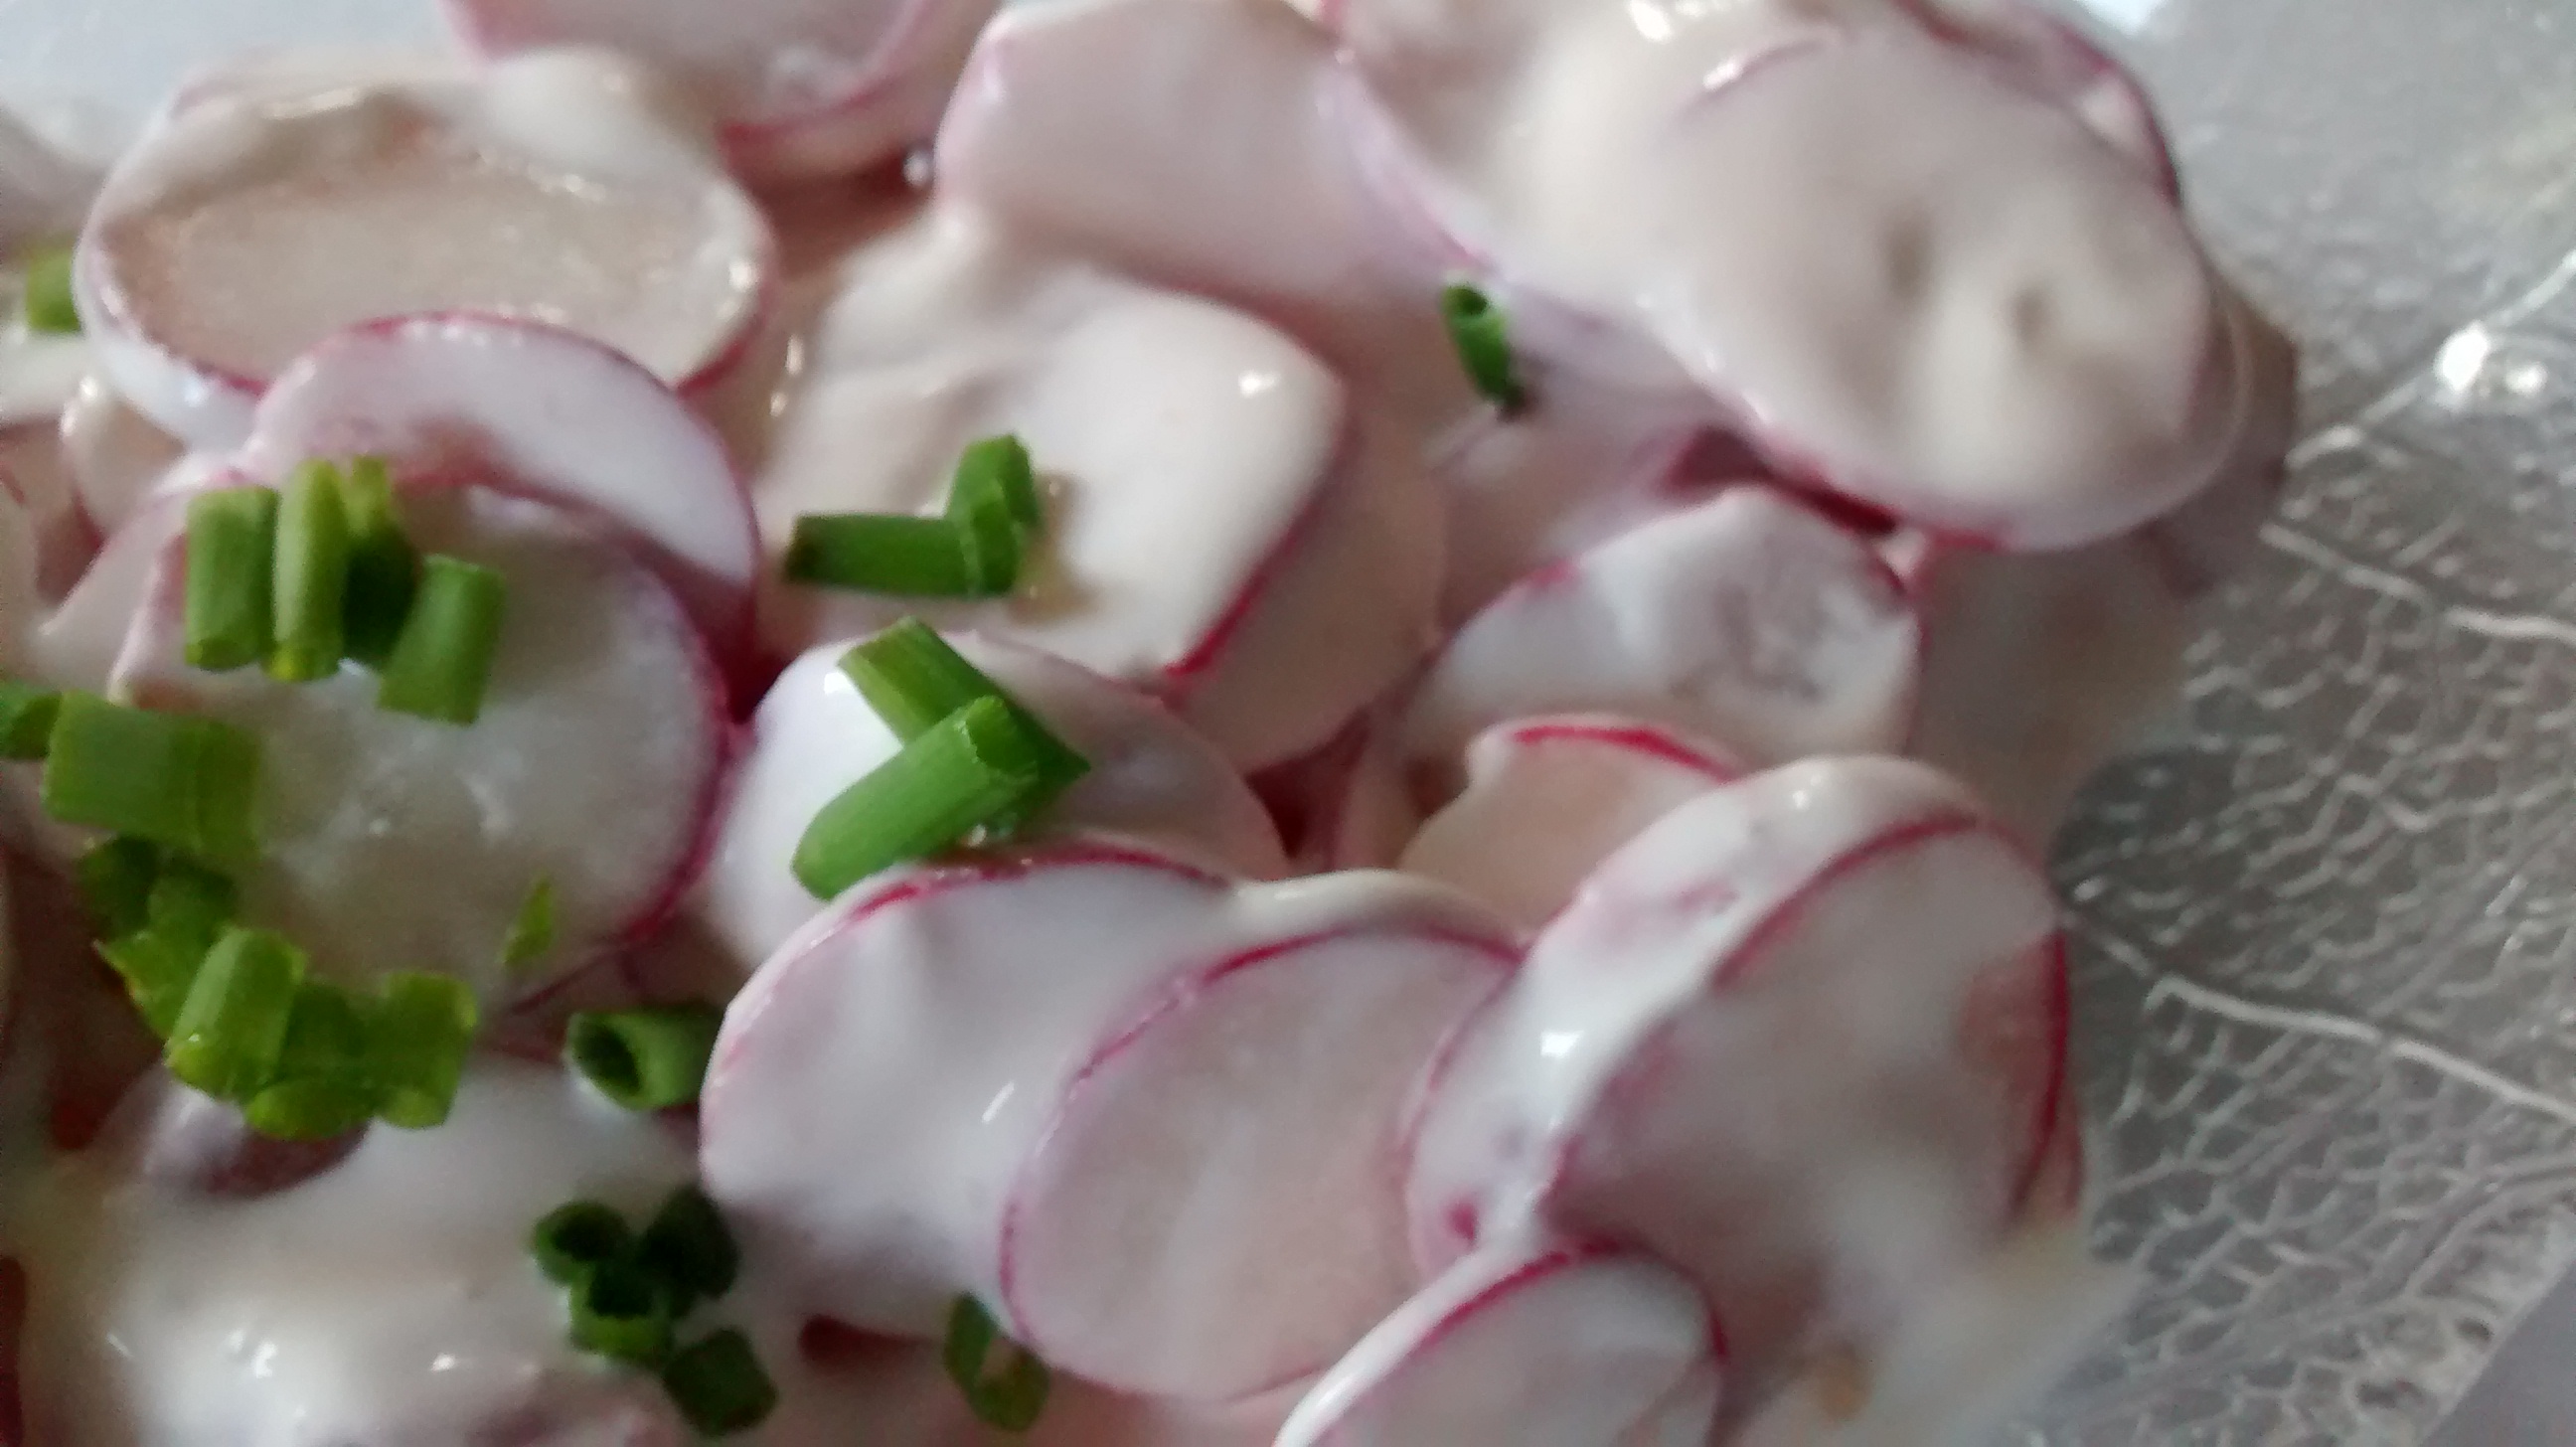
Put the radish slices in a bowl and add several tablespoons of soured cream (thinned with lemon juice it desired).
Garnish with chives or the green part of spring onions, finely chopped.
I love the way the radish skin colour seeps into the soured cream after a while and makes it pale pink.
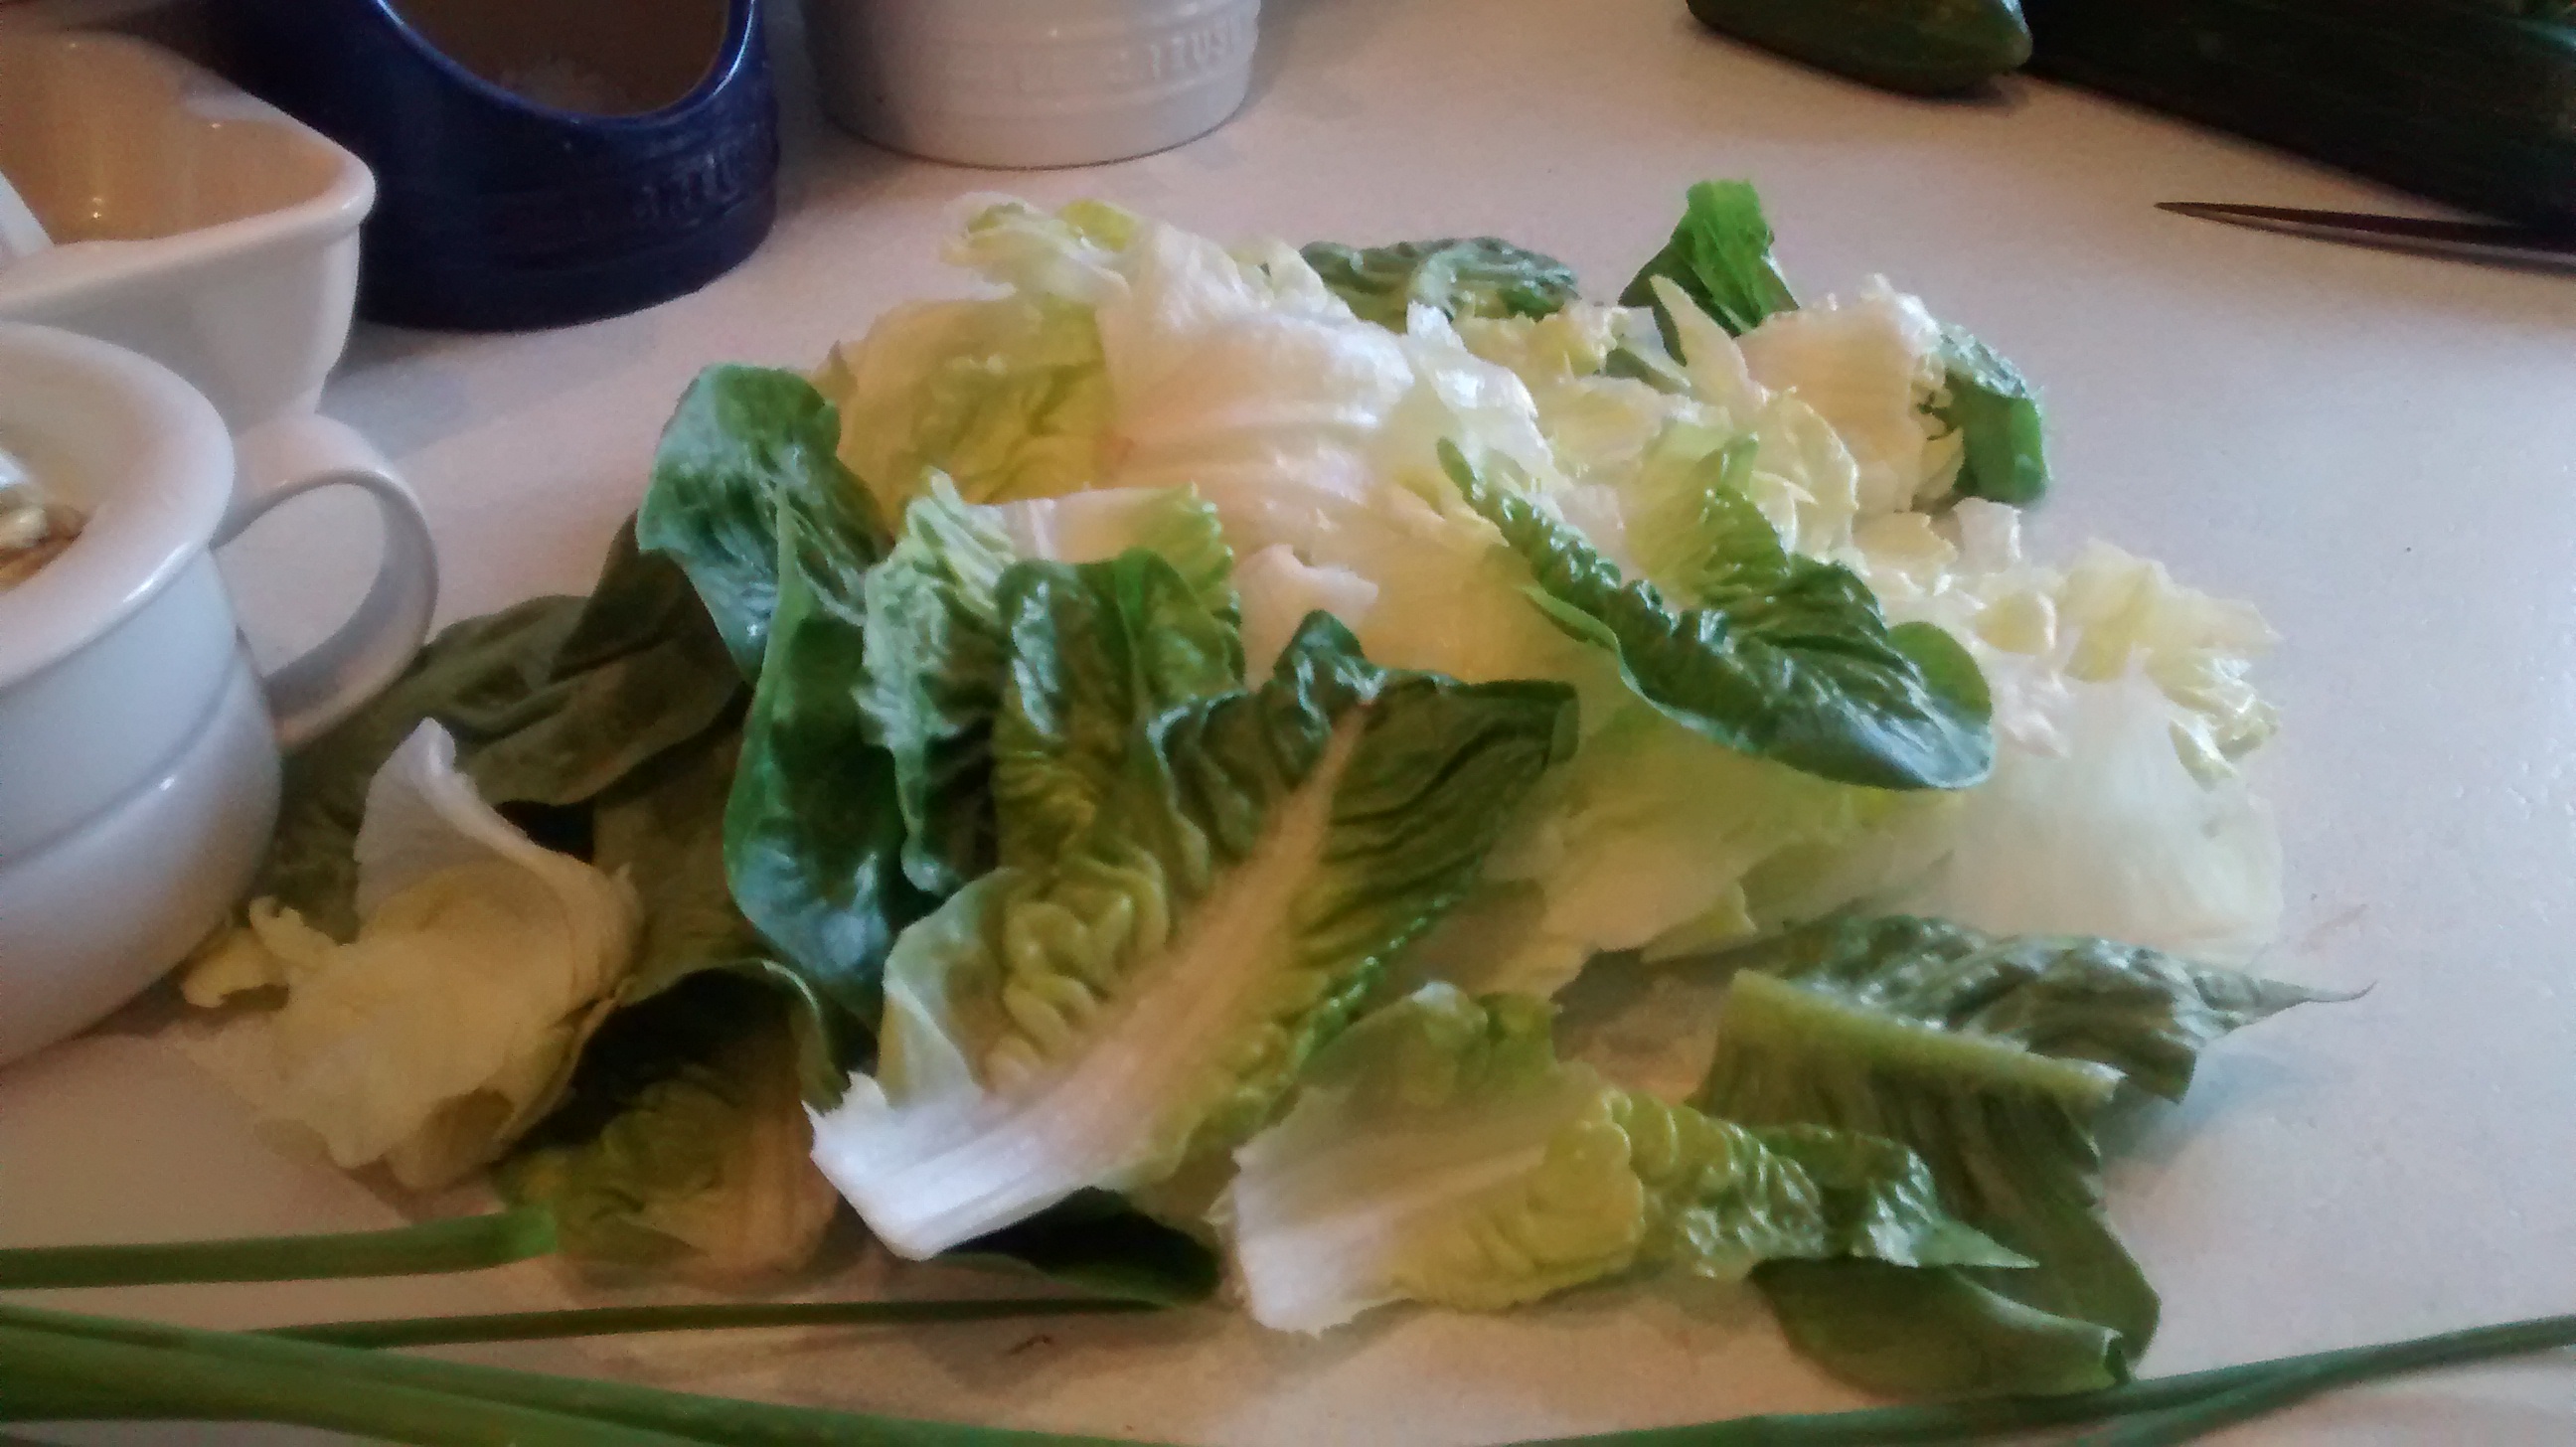
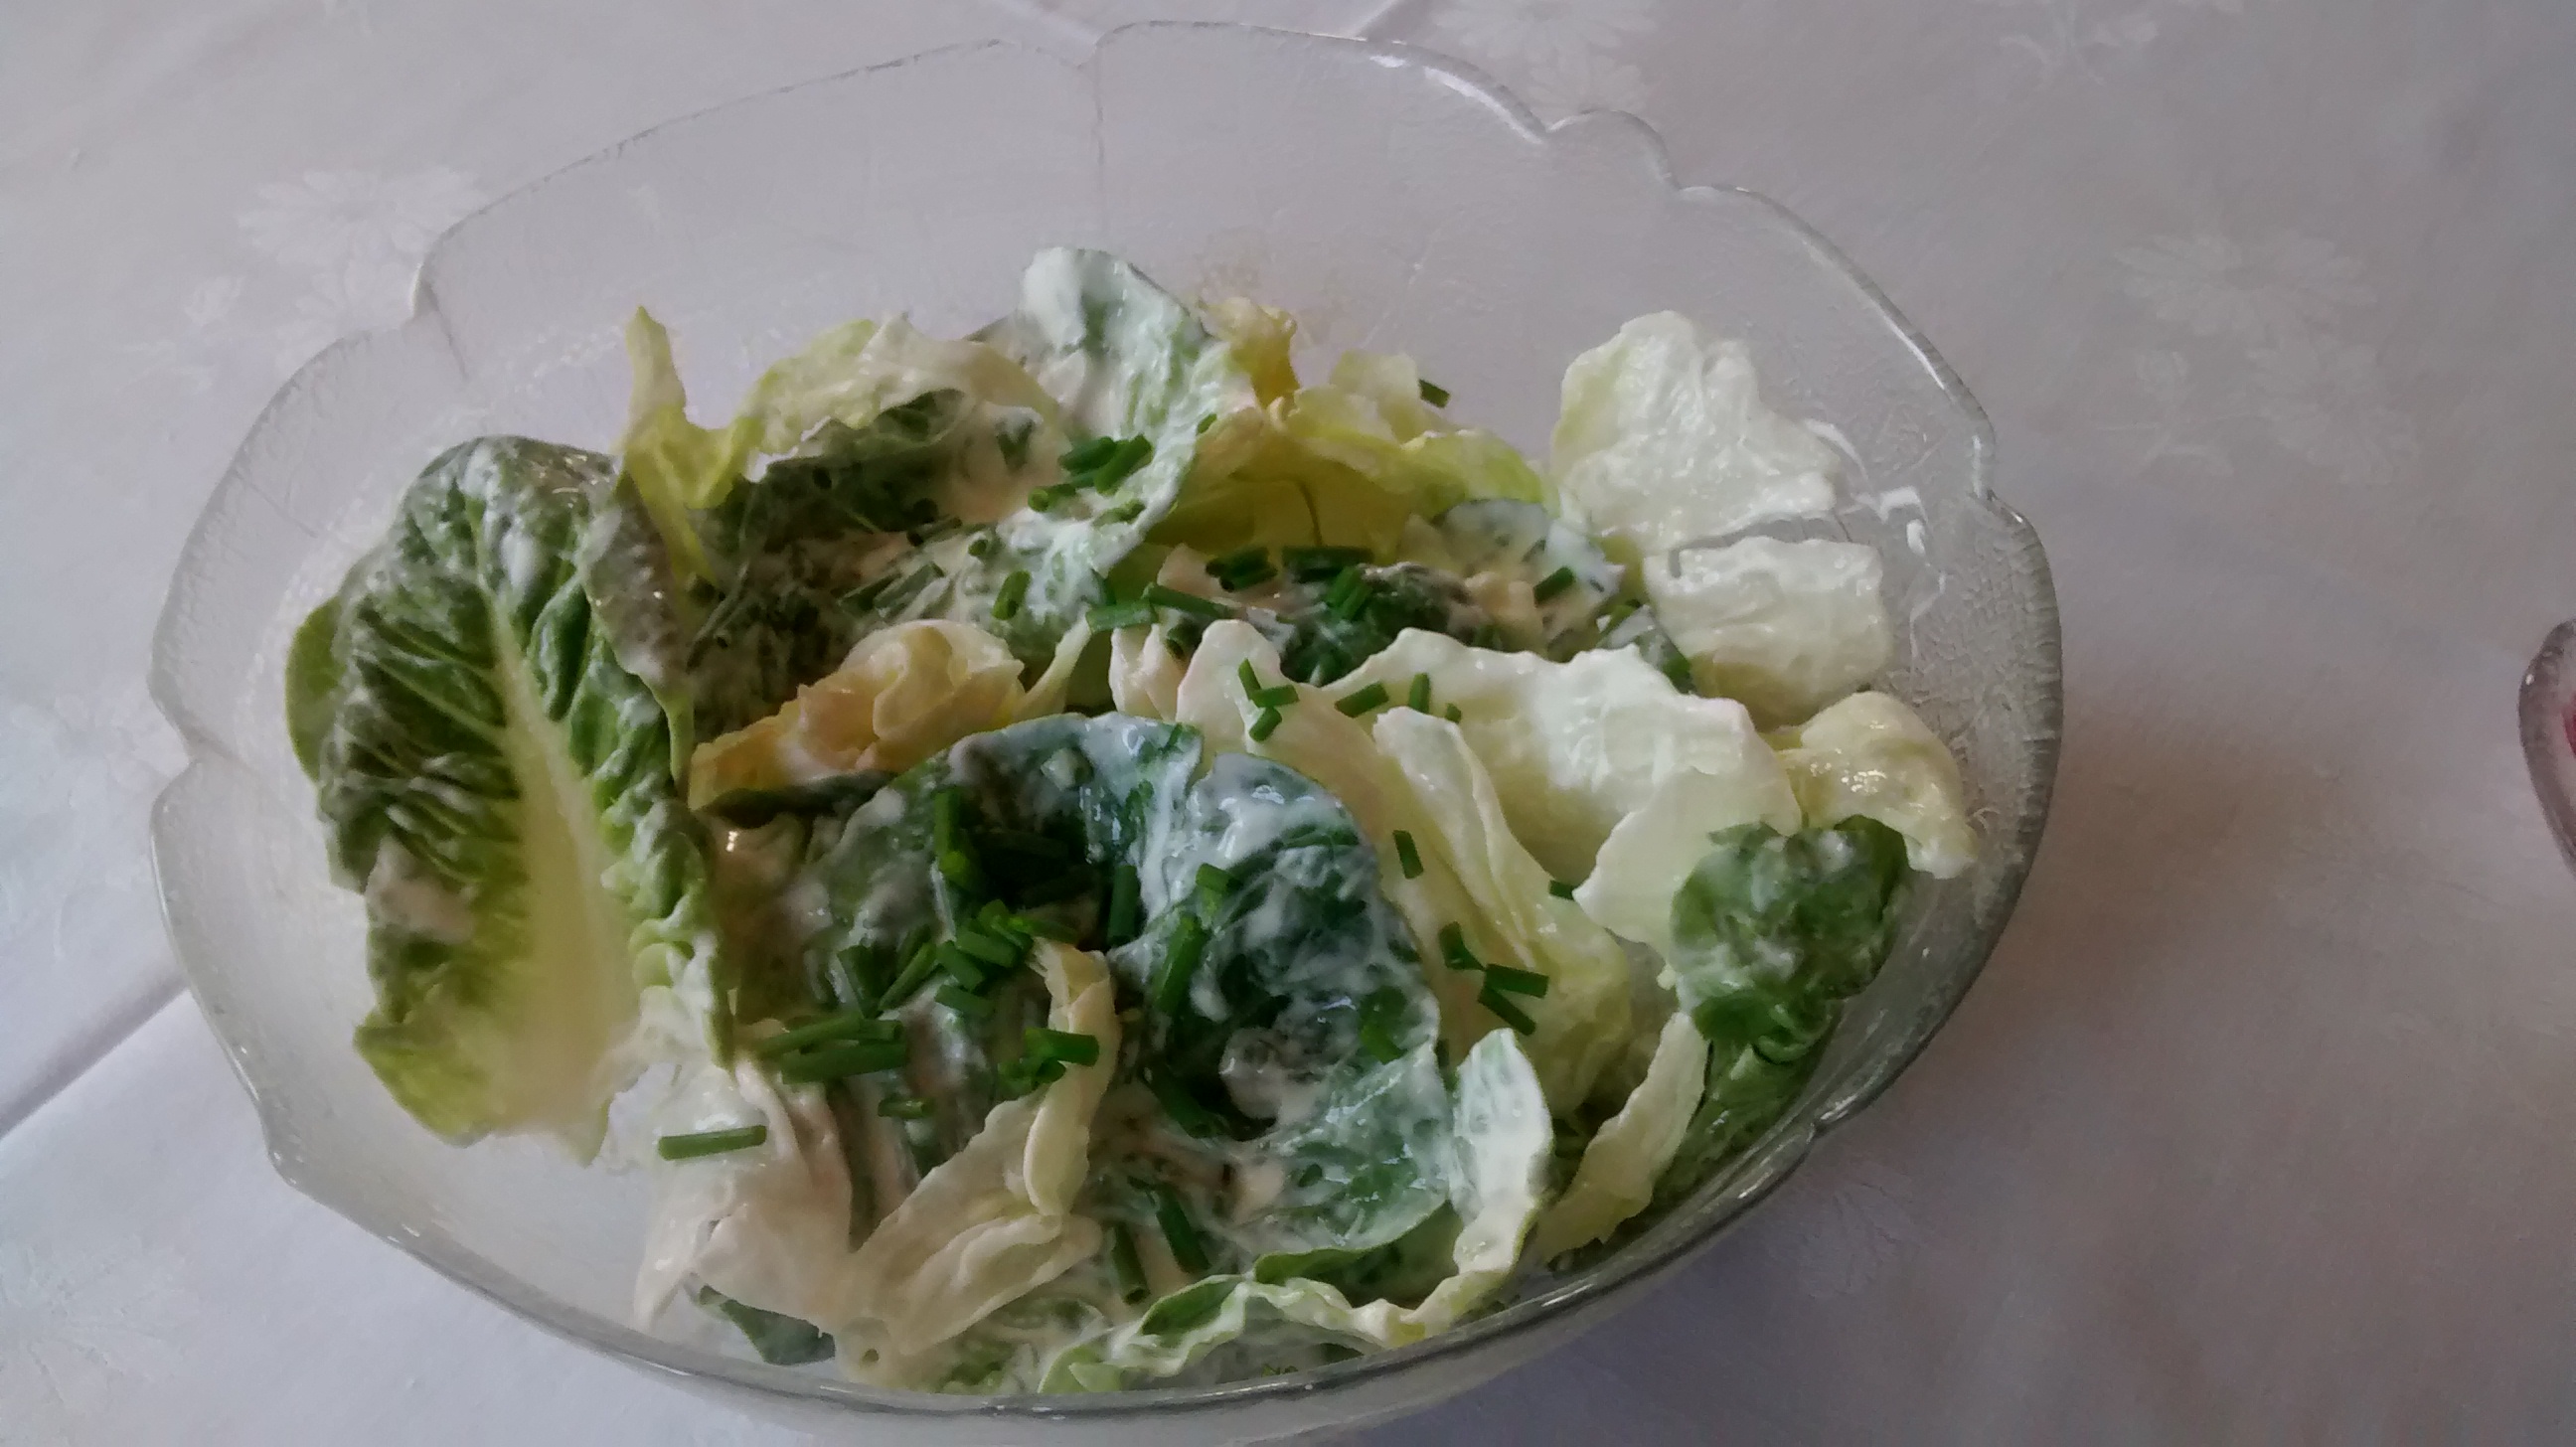
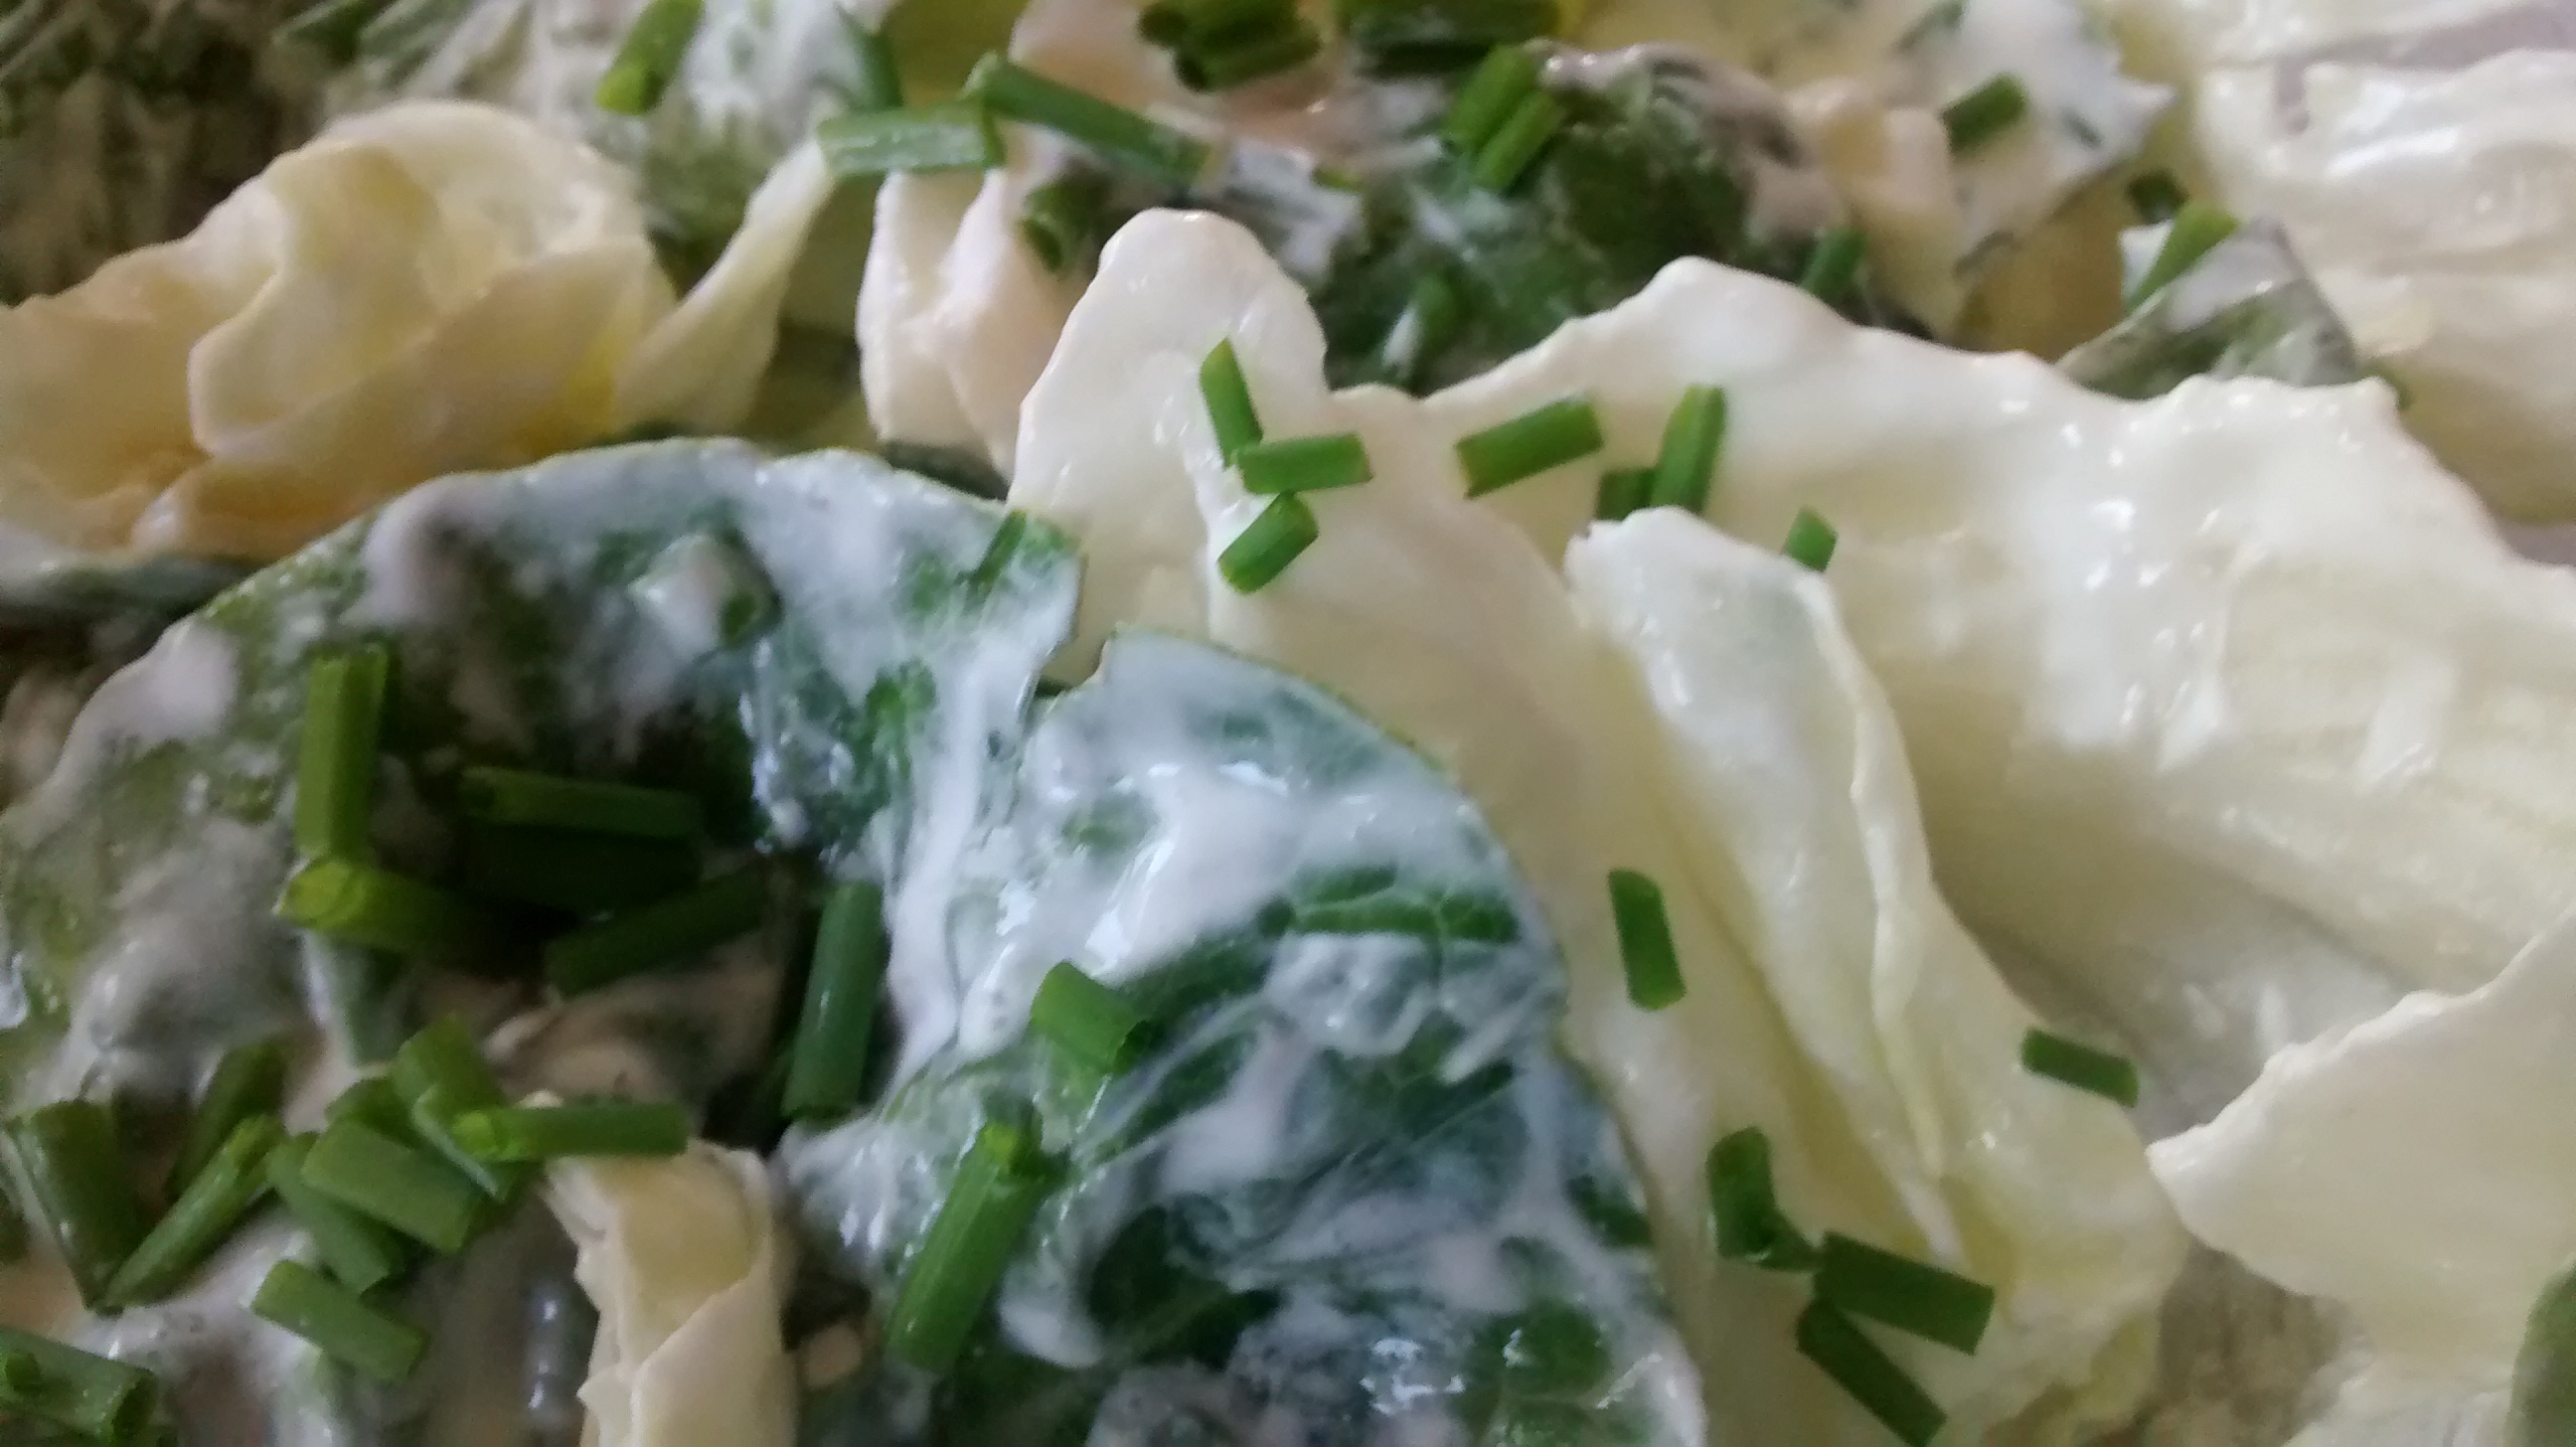
Lettuce Salad
This is the most simple salad you can make – just use lettuce leaves pulled off from the head of lettuce, wash and dry them using a tea towel or a salad spinner and add several tablespoons of soured cream (thinned with lemon juice it desired) and mix them together.
Garnish with a few chives if you have them and serve.
Sałatka is the Polish word my parents used for salad.
However when I visited Poland for the first time I realised that there is another word for salad and that is – Surówka.
Surówka – this come from a Polish word meaning raw.
There is a distinction between the two in that a sałatka is a dish served cold of mainly cooked vegetables and a surówka is a dish served cold of mainly raw, pickled or fermented vegetables.
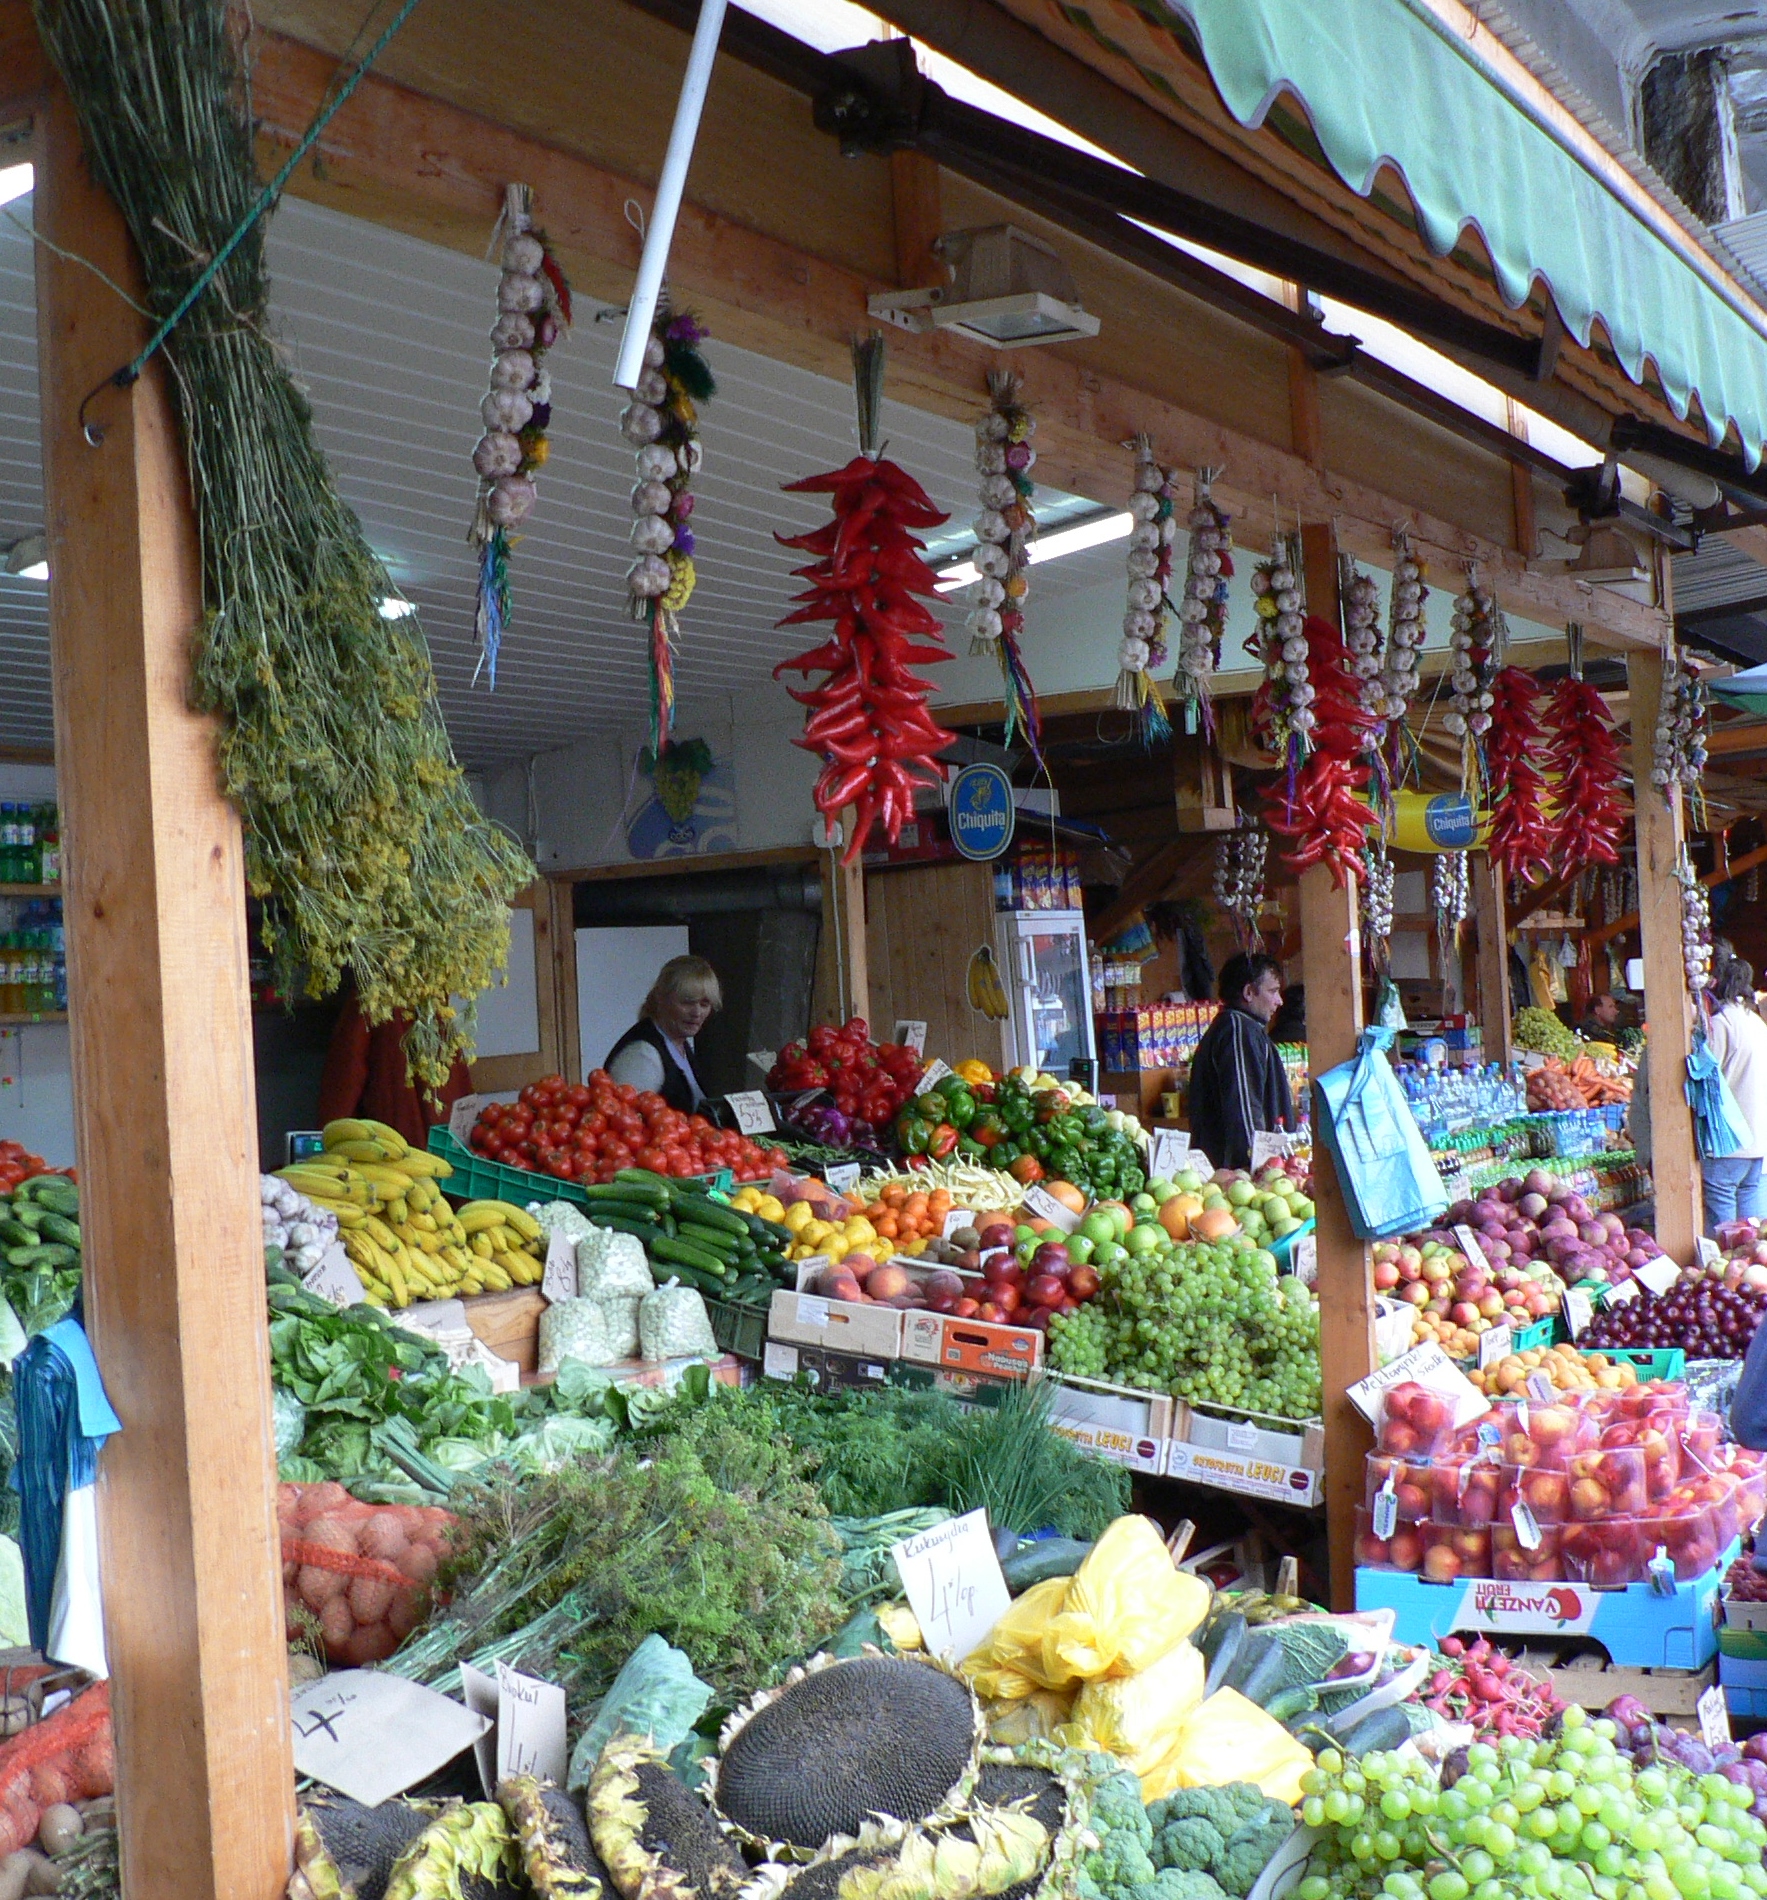
Some ingredients for salads for sale
As it is hard in English to differentiate between the two – I will be writing about many classic cold Polish vegetable dishes and will be calling them all salads.
Fruit, cold meats, fish, either cooked or pickled, and hard boiled eggs also feature in these salads.
A salad accompaniment with a meal is often more usual than hot cooked vegetables and a tomato or gherkin salad is normal fare for breakfast.
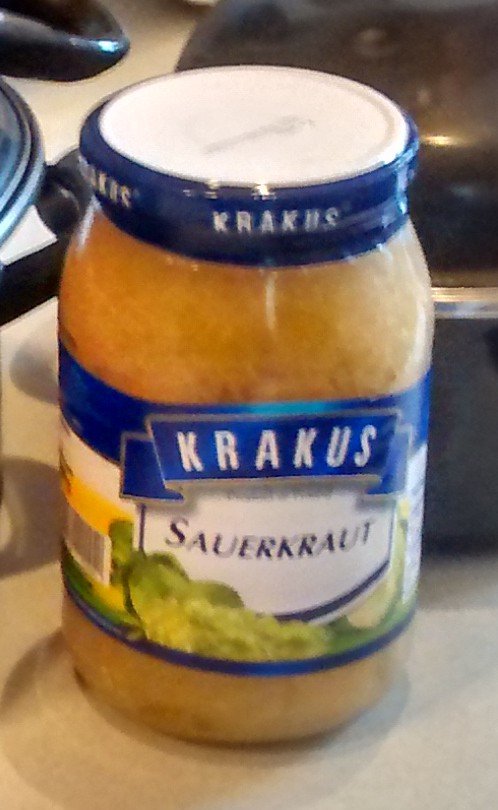
Vegetables that have been pickled, fermented, bottled or canned will feature throughout the year at least once a day in Polish meals. Before widespread refrigeration this is how people preserved food for use throughout the winter.
Old Polish houses always had cellars, the Polish word is piwnica, from the word piwo which means beer so it means the place where beer is kept. The ones I have seen in Poland were filled with bottled fruit and vegetables as well as jams, ready to make meals and salads throughout the year. In blocks of flats there is still in the basement level, cellar space for each flat.
My aunties said they could not imagine life without a cellar. Their cellars were filled with many jars of bottled paprika that they had prepared – what in England we call peppers or capsicums, various mixed vegetables, cranberries and lingonberries.
Paprika – Capsicum – Pepper
I am very lucky in having two cellars in my house and spent a week in spring this year organising them – including an area for tinned and bought bottled vegetables ready for making salads amongst other things.
Cellar – Mainly for Food
Cellar – Mainly for Drinks
Salad dressings
Three of the most popular salad dressings used are:
Lemon Juice
One of my cousins came to visit me a couple of weeks ago and brought me this lovely, large, glass lemon squeezer.
If lemons are scarce or expensive or for convenience in Poland you can buy packets of citric acid which you can mix up with water.
Smetana – Soured Cream
Nowadays you can find soured cream in many English stores but if there is none then lemon juice added to fresh single cream will give nearly the same result.
Mayonnaise
Although I have made mayonnaise, I tend to buy it now and my favourite is Hellmann’s – original or light (the very low fat version I think is horrid as it has a strange taste and texture). Sometimes if making the salad ahead of time I think the original is a bit better as it does not get as watery from the vegetables but mostly I use the light version.
Vegetables waiting to be made into salads
Salad Garnishes
Garnishes are chopped fine and sprinkled on the top of the dish of salad, these are often: flat leafed parsley, dill, chives, the green part of spring onions and hard boiled eggs. If none of these are available ground paprika might sometimes be sprinkled on the salad.
This sweet fresh curd cheese mixture is one that is used as a filling for pancakes in Poland.
You can make this mixture with twaróg – curd cheese, cream cheese or yoghurt cheese.
Use 1 packet of cheese, usually 200g – 300g , to this add 2 to 3 tablespoons of soured cream and 2 to 3 tablespoons of icing sugar and mix this together till you get a smooth mixture. You can add 2 to 3 drops of vanilla essence. Do not add too much sugar – you want the contrast of sweetness & sour.
Sweet Curd Cheese Mixture
Pancake Spread With Sweet Curd Cheese Mixture
Pancakes Folded Polish Style with Sweet Curd Mixture Dusted with Icing Sugar
Twaróg – Polish Curd Cheese is used extensively in cooking and finds its way in many guises onto the Polish menu, especially at home, both in sweet and savoury dishes.
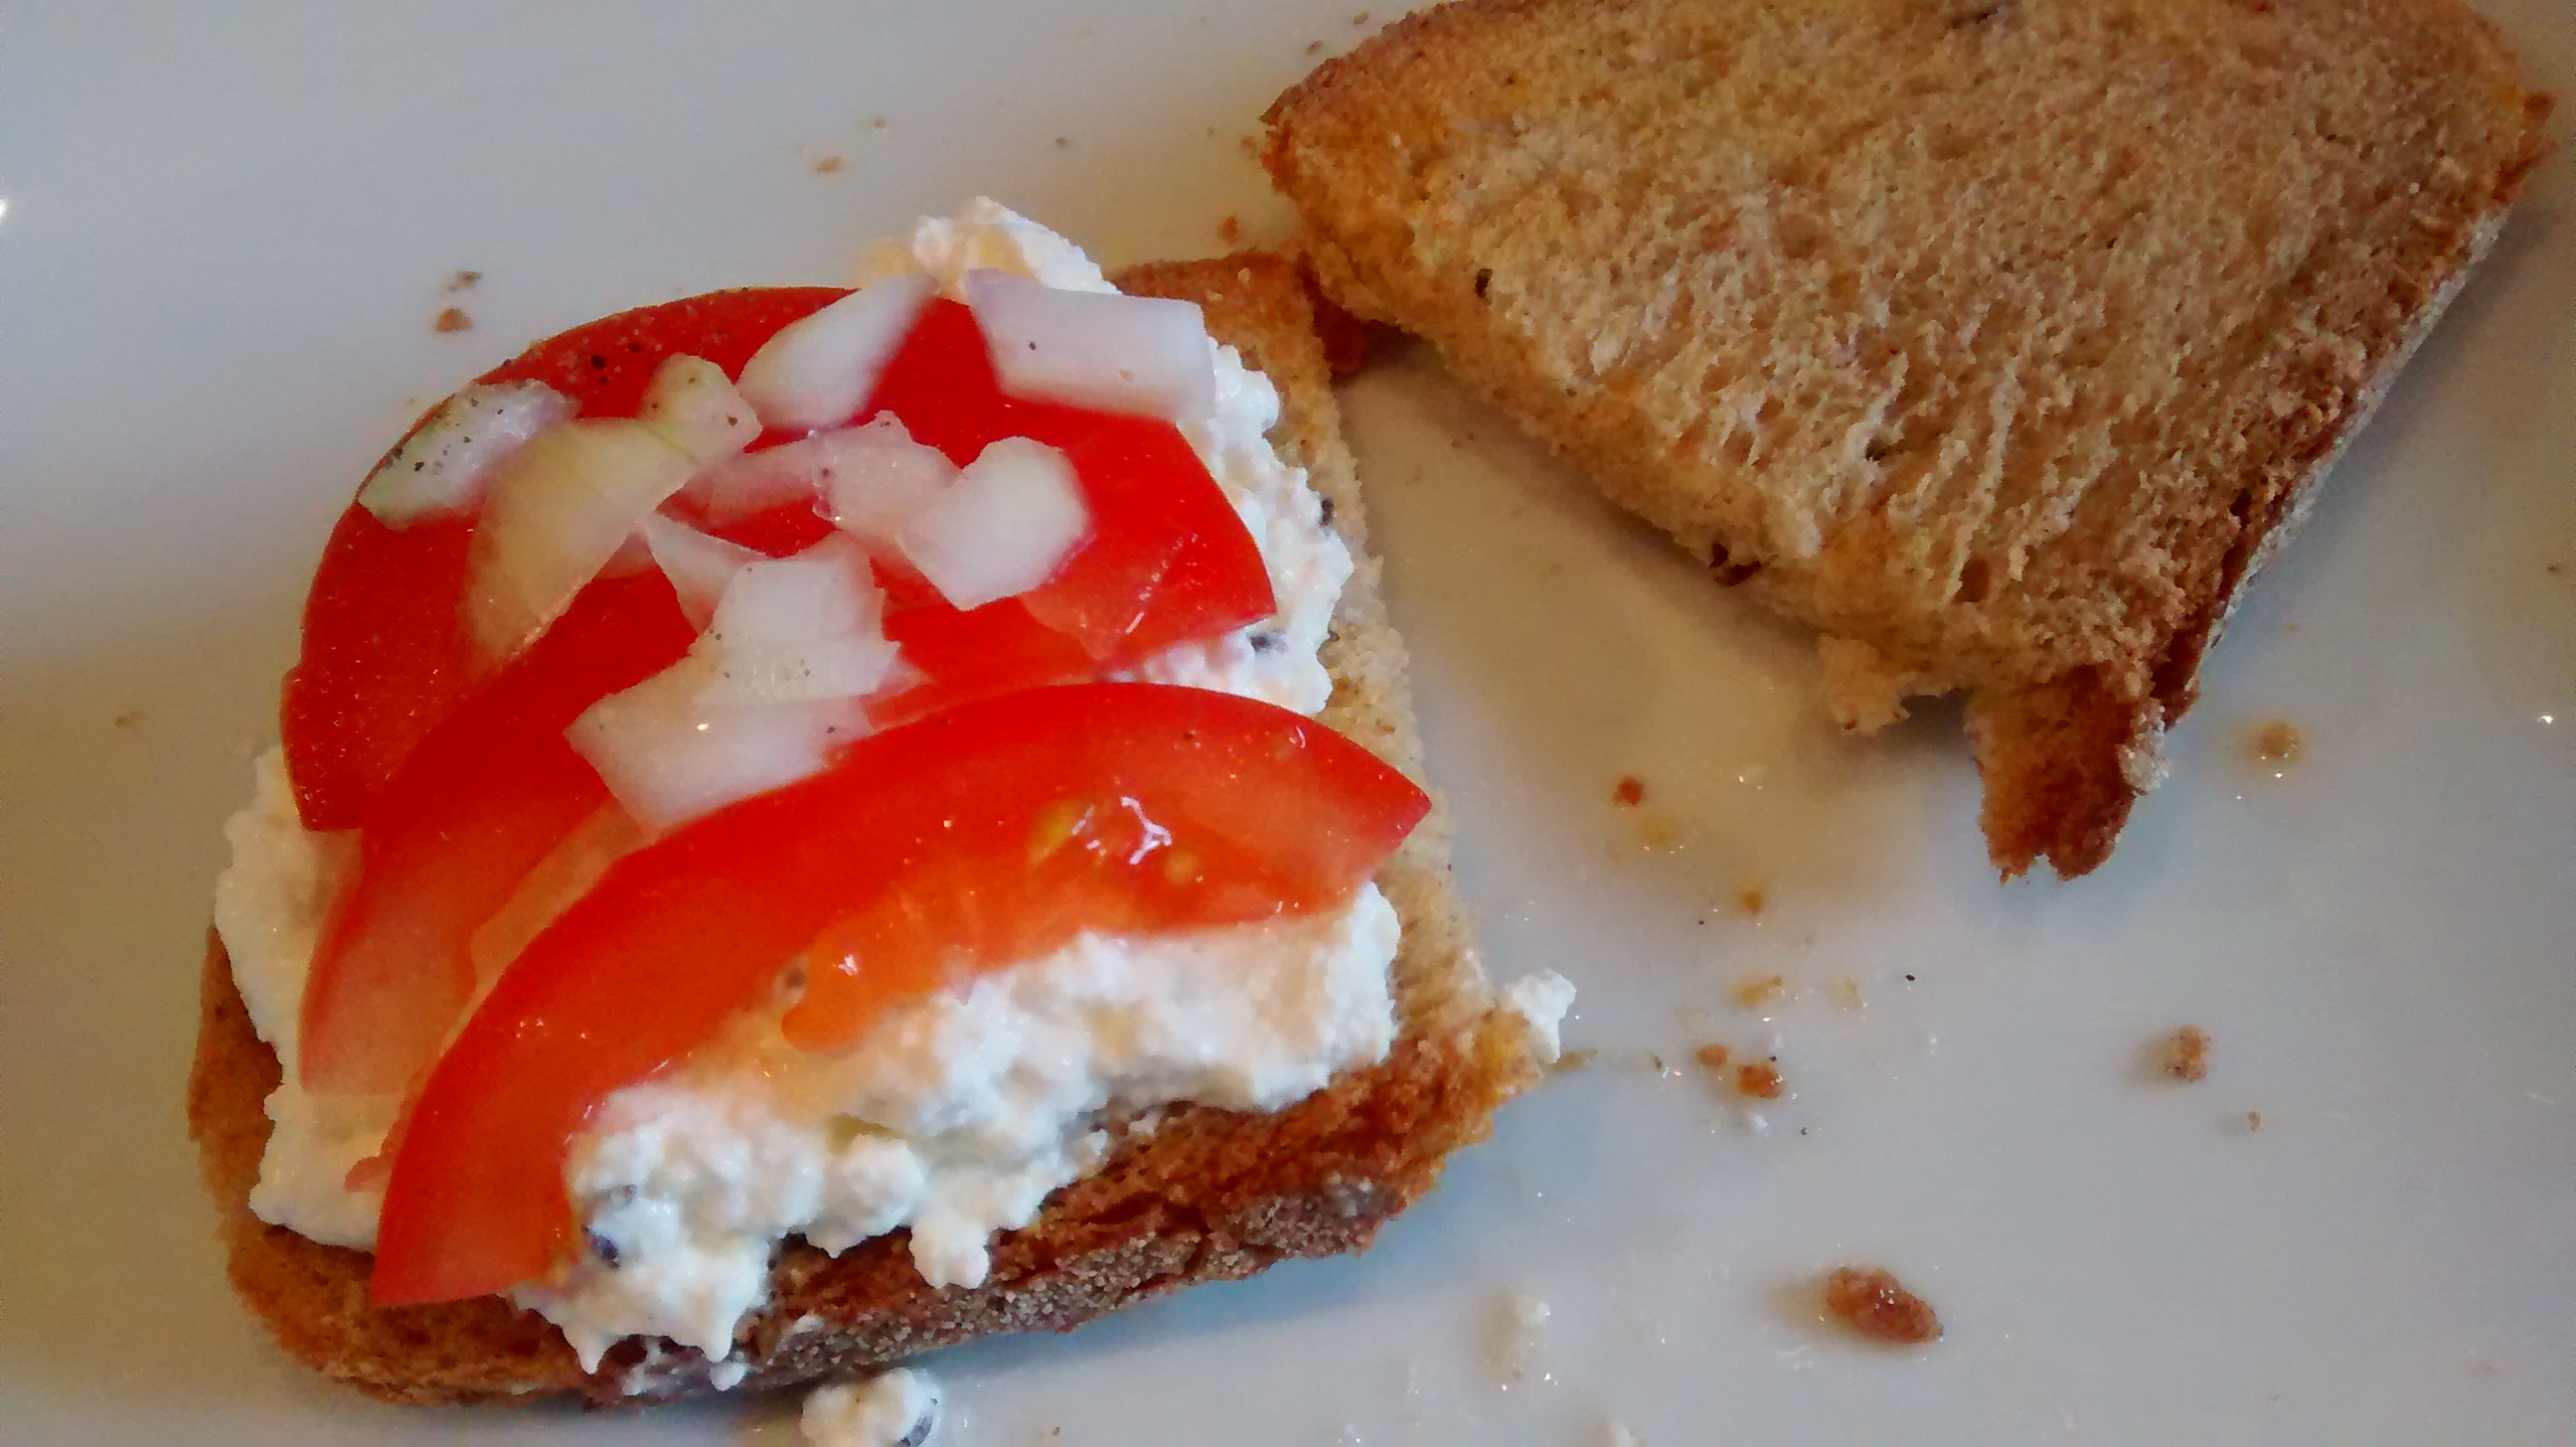
The following are what I consider to be popular classic savoury fresh cheese mixtures and are often served for breakfast with bread and salad.
Here in England I think they could be served at lunchtime. As well as with bread and rolls they can be served with crisp-breads, oatcakes or crackers.
3 Classic Curd Cheese Mixtures
You can make these with Twaróg – Curd Cheese or with Cream Cheese.
You can also use yoghurt cheese – (Look out for a post on how to make this later).
The amounts used are just approximate, using one packet of cheese, which is normally around 200g – 300g, for each mixture and can be varied to taste.
If using curd cheese, add a pinch or two of salt and a couple of spoonfuls of soured cream, mix together until smooth.
If using cream cheese just take it out of the packet and mix it in a bowl – you can add a spoonful or two of soured cream to make it a softer consistency if you wish.
Mixture 1
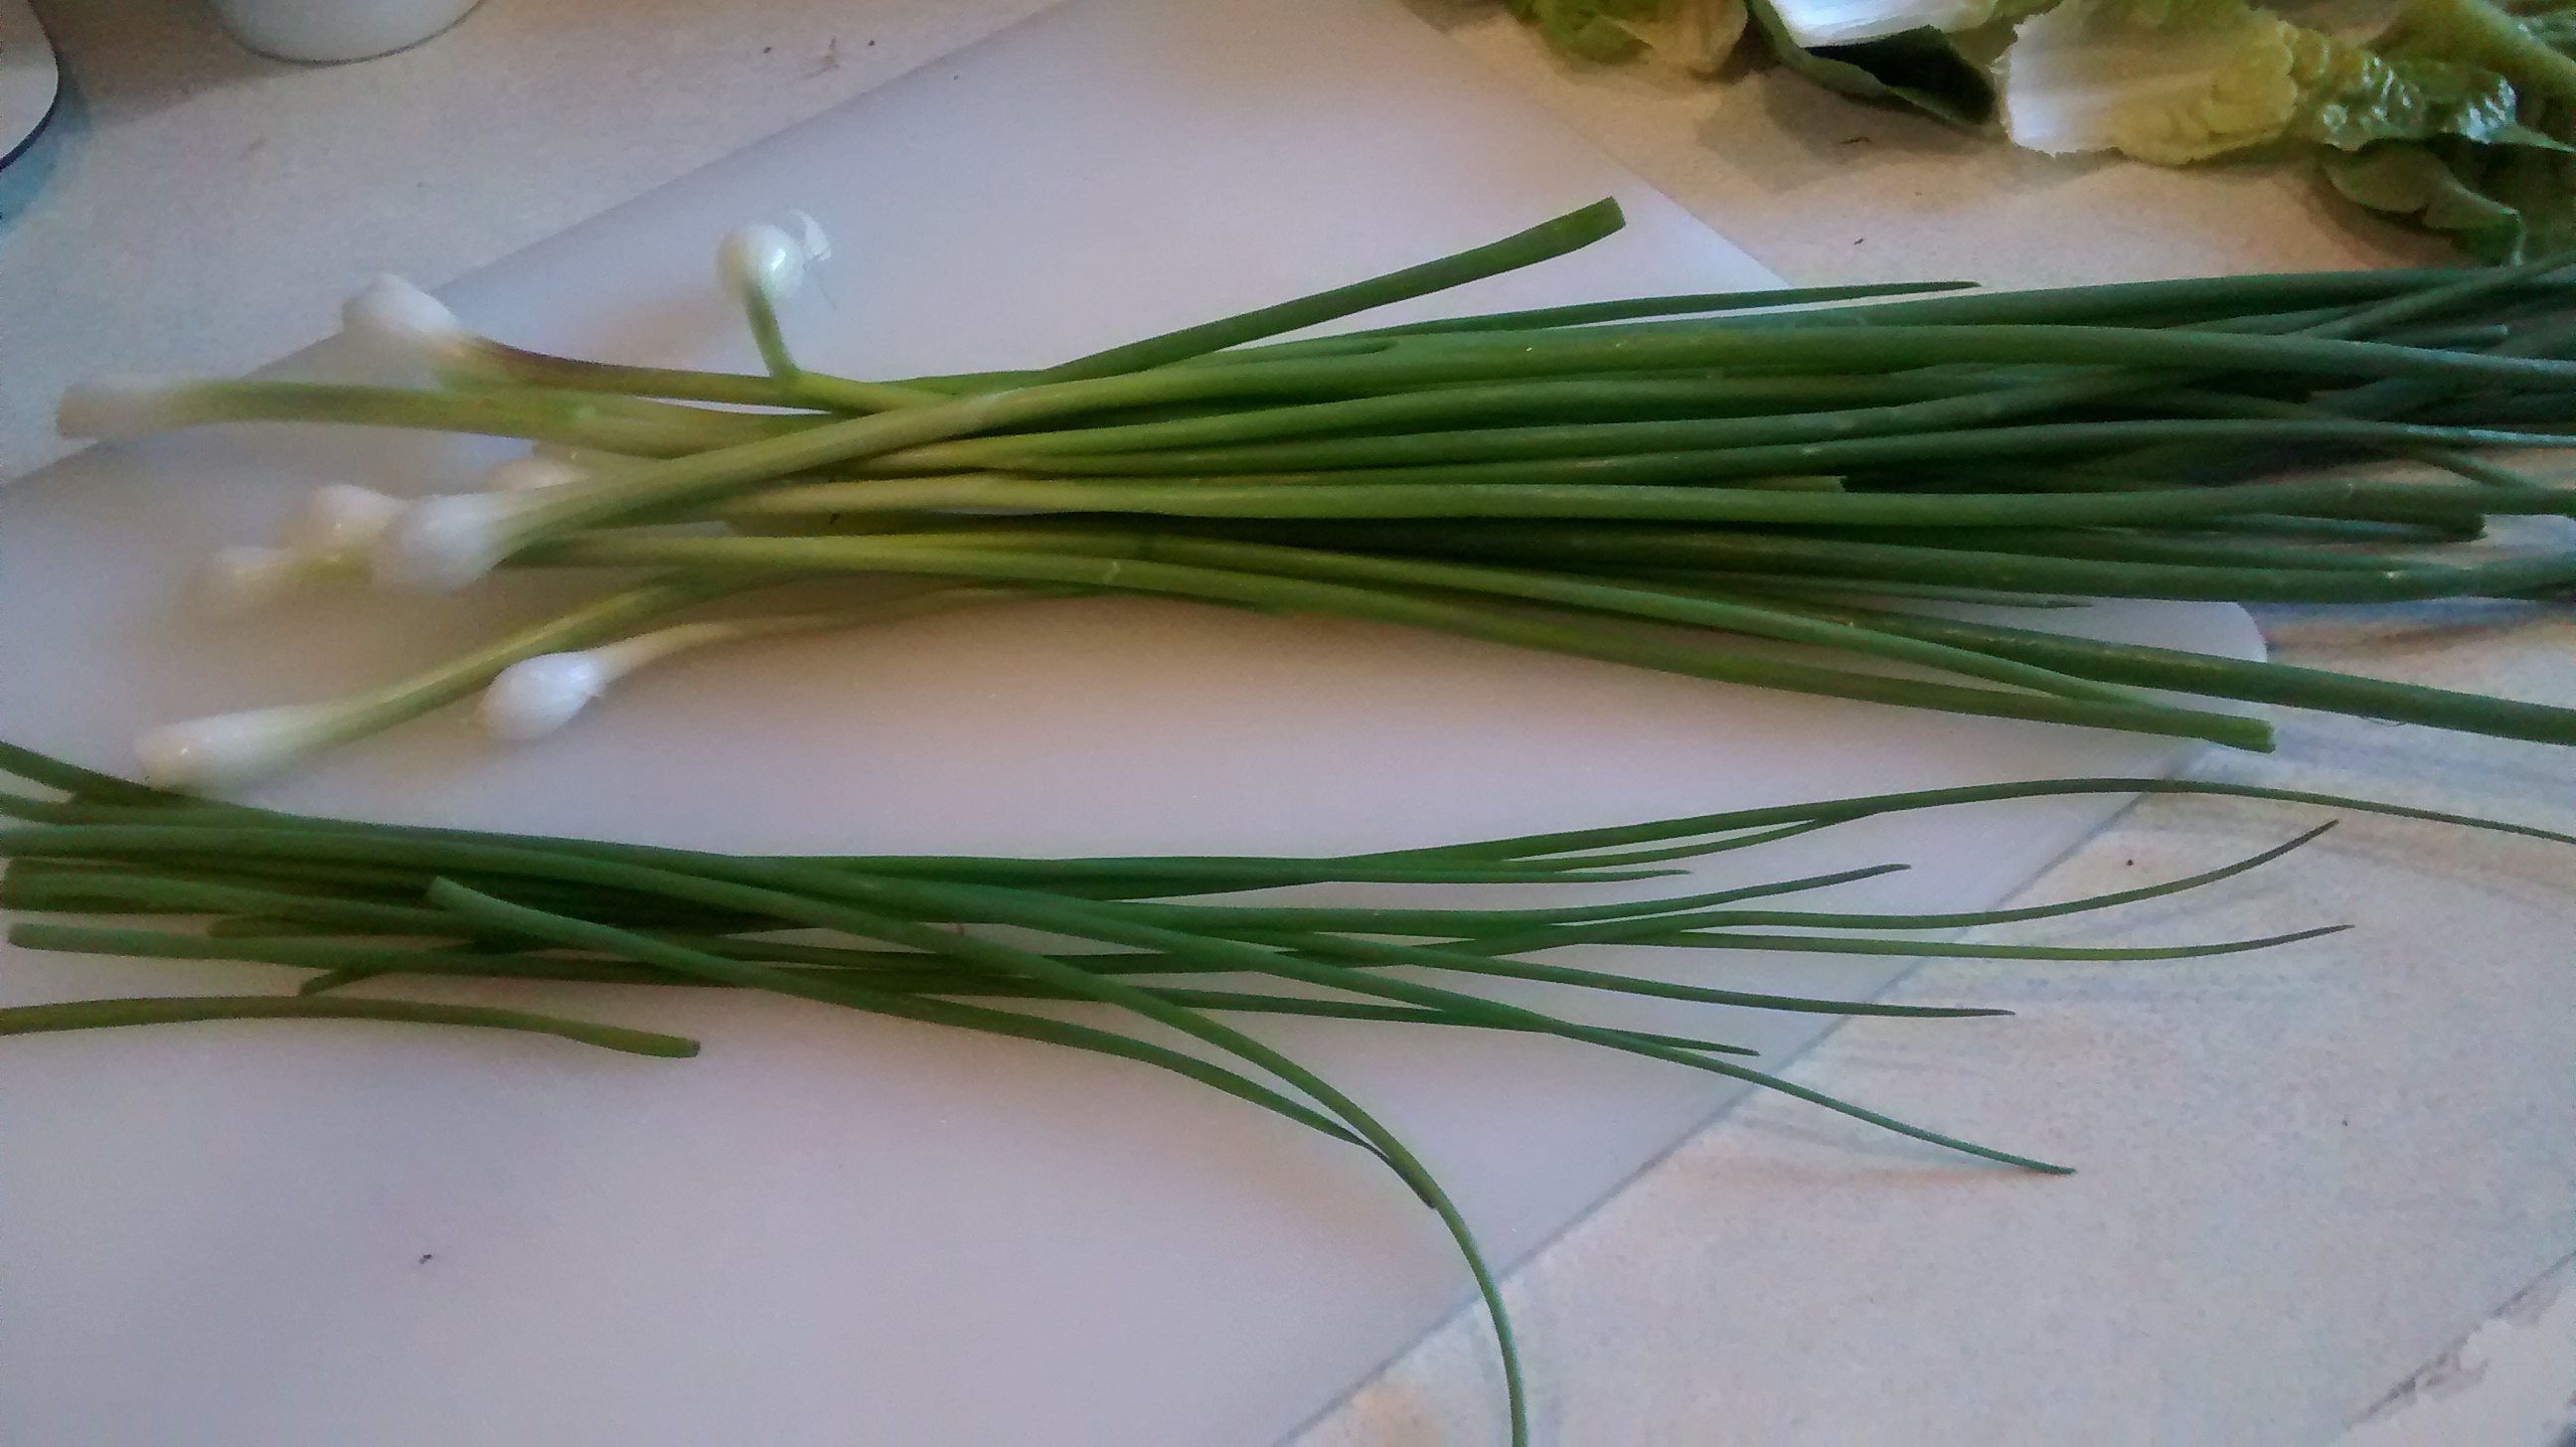
To the cheese add a few tablespoons of finely chopped chives or the green parts of spring onions.
In Poland szczypiorek (which in dictionaries is given as chives) would be used – however I think it is slightly different and is much larger than the chives I grow here in England.
Chives Growing in a Pot
Spring Onions and Chives
Curd Cheese and Chives
Mixture 2
To the cheese add a couple of teaspoons of caraway seeds
Curd Cheese and Caraway Seeds
Mixture 3
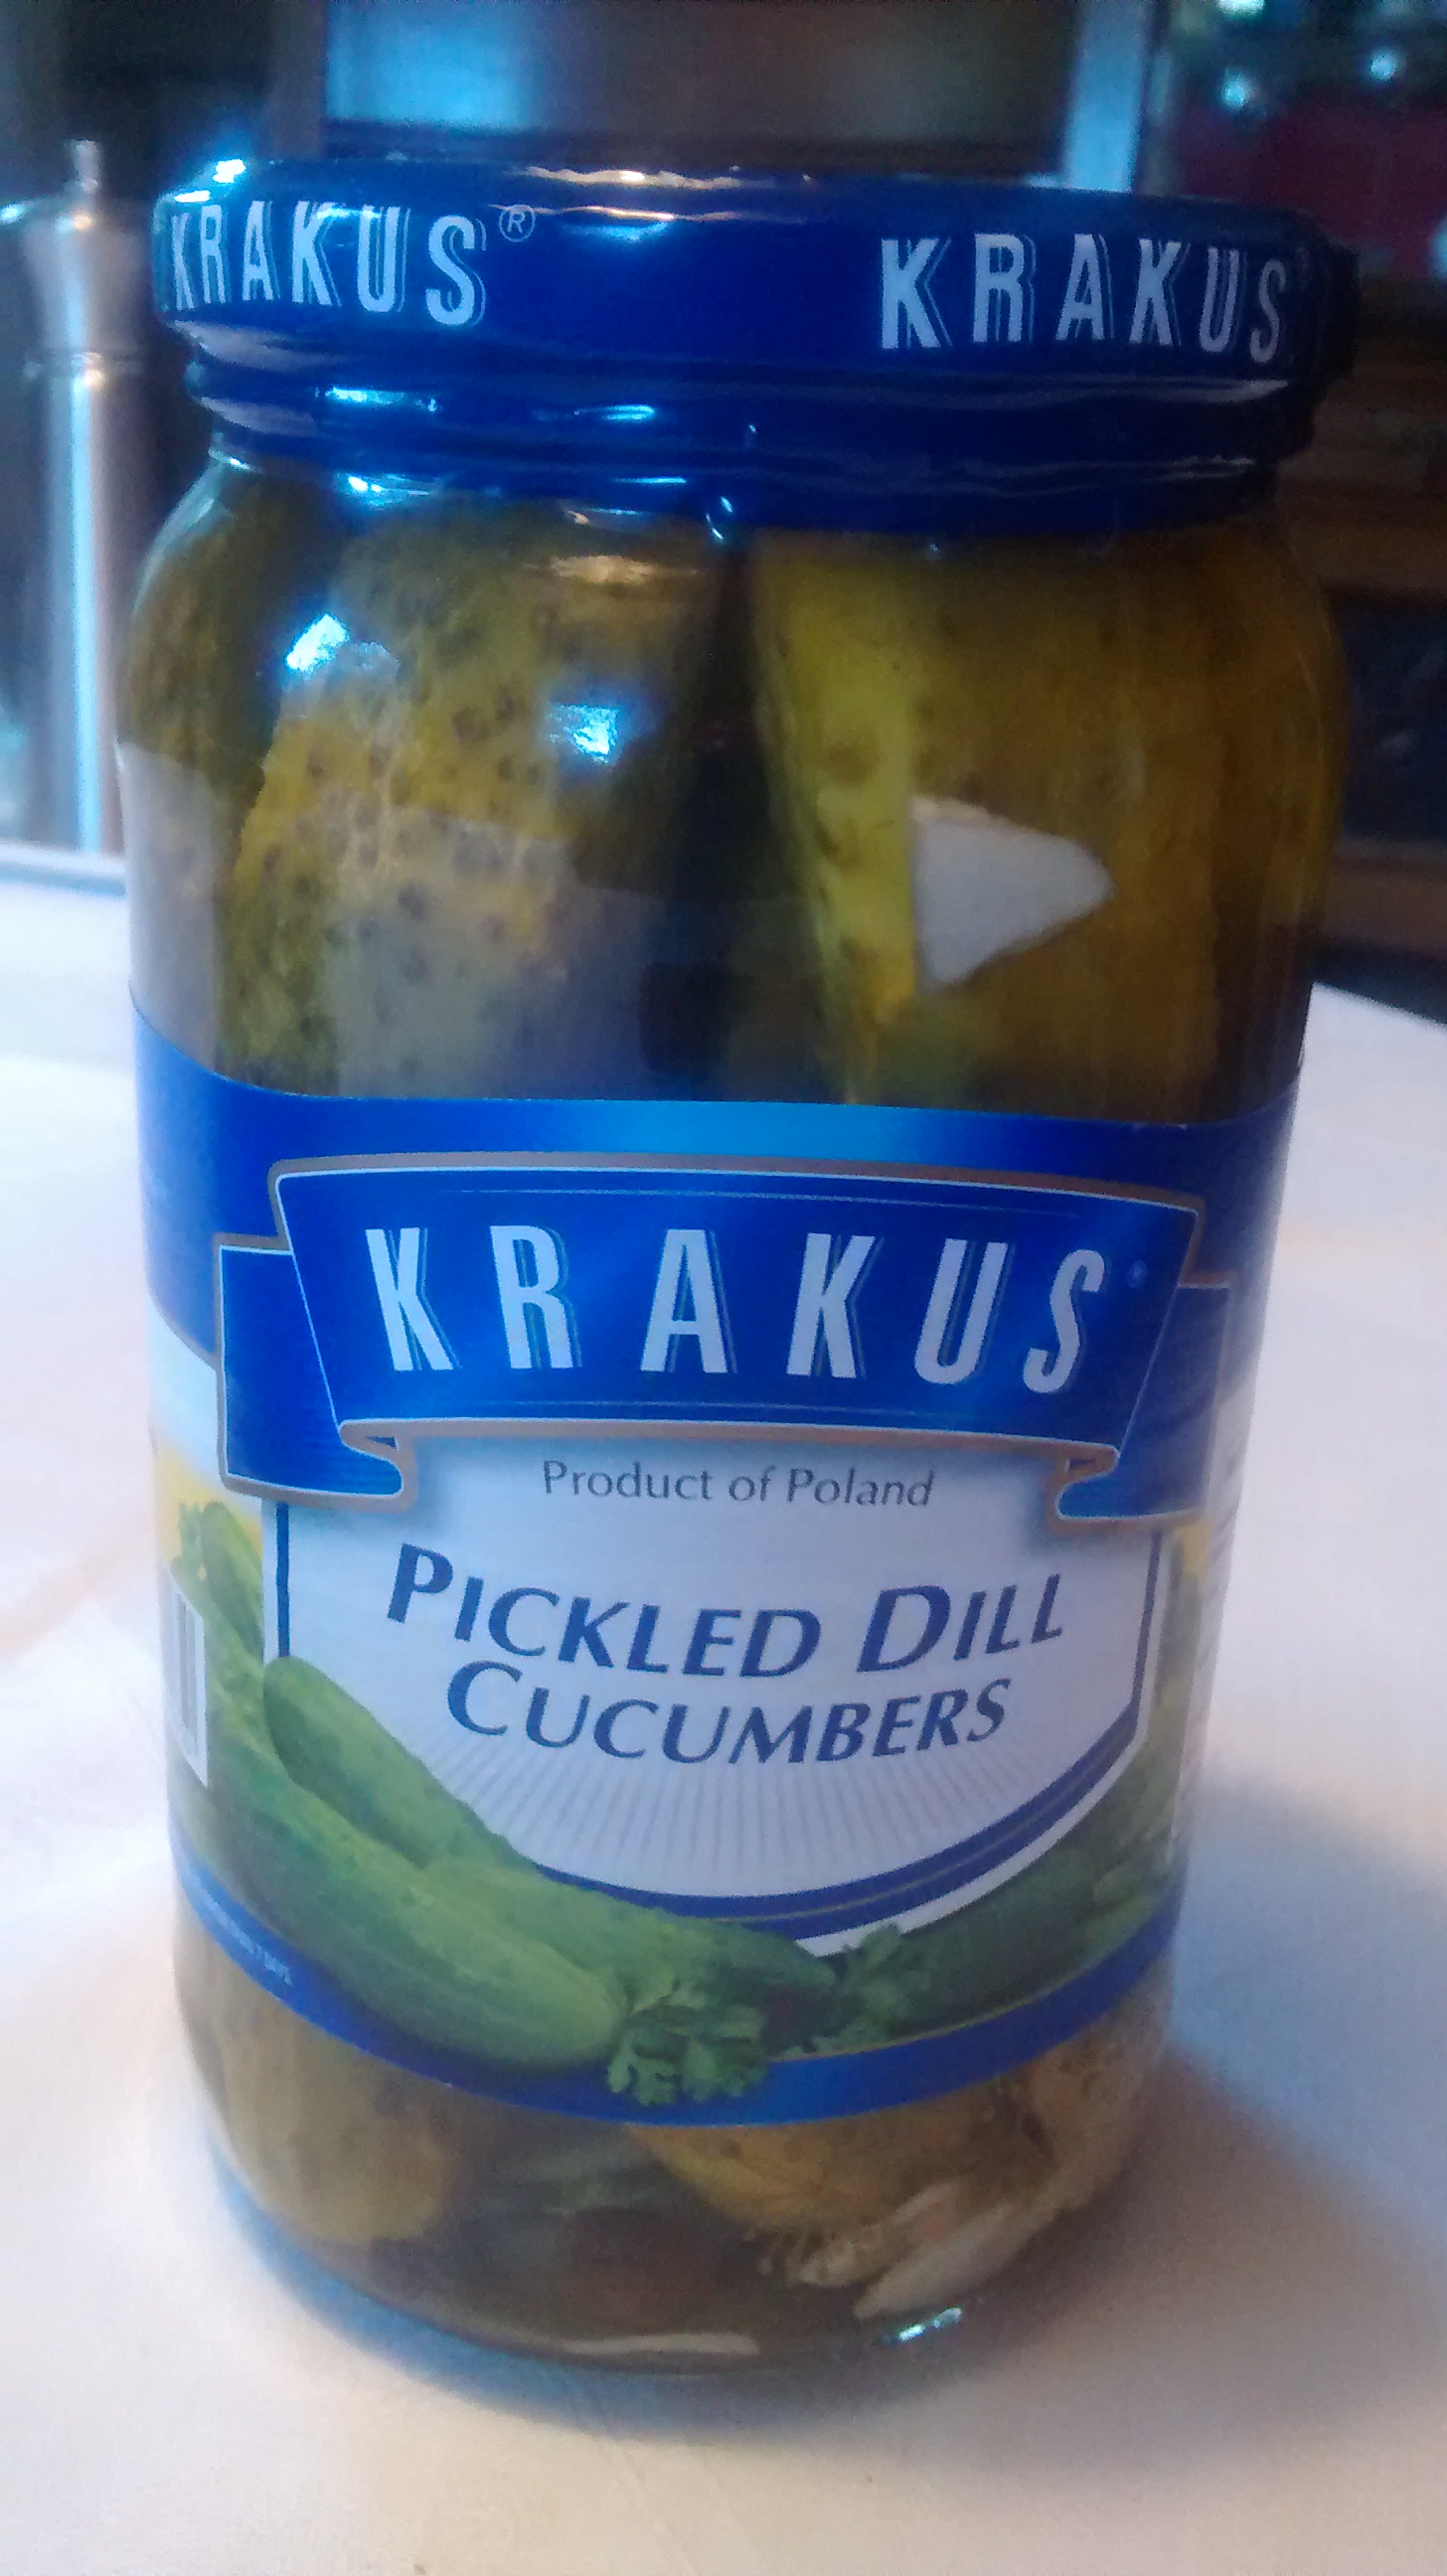
To the cheese add some chopped gherkins
I find these are the best gherkins to use as they are not vinegary.
Chopped Gherkins
Curd Cheese and Gherkins
Typical Polish Breakfast Fare
These cheese mixtures can also be served with bliny -little buckwheat pancakes. (Look out for a a post on how to make these later).
Cabbage Rolls in the style of Dom Polonii in Kraków.
Kraków
Kraków
Kraków
Kraków
Kraków
In Kraków, just off the main square (Rynek Główny), there is a building called Dom Polonii (The House of the Poles). It is a medieval tenement building and hosts Chopin concerts in a lovely room with a grand piano on the first floor. I have enjoyed listening to many concerts there. On the ground floor there is a small restaurant. On my trips to Kraków I have found that I eat there the most as it is very reasonably priced and the food is very much like home cooking.
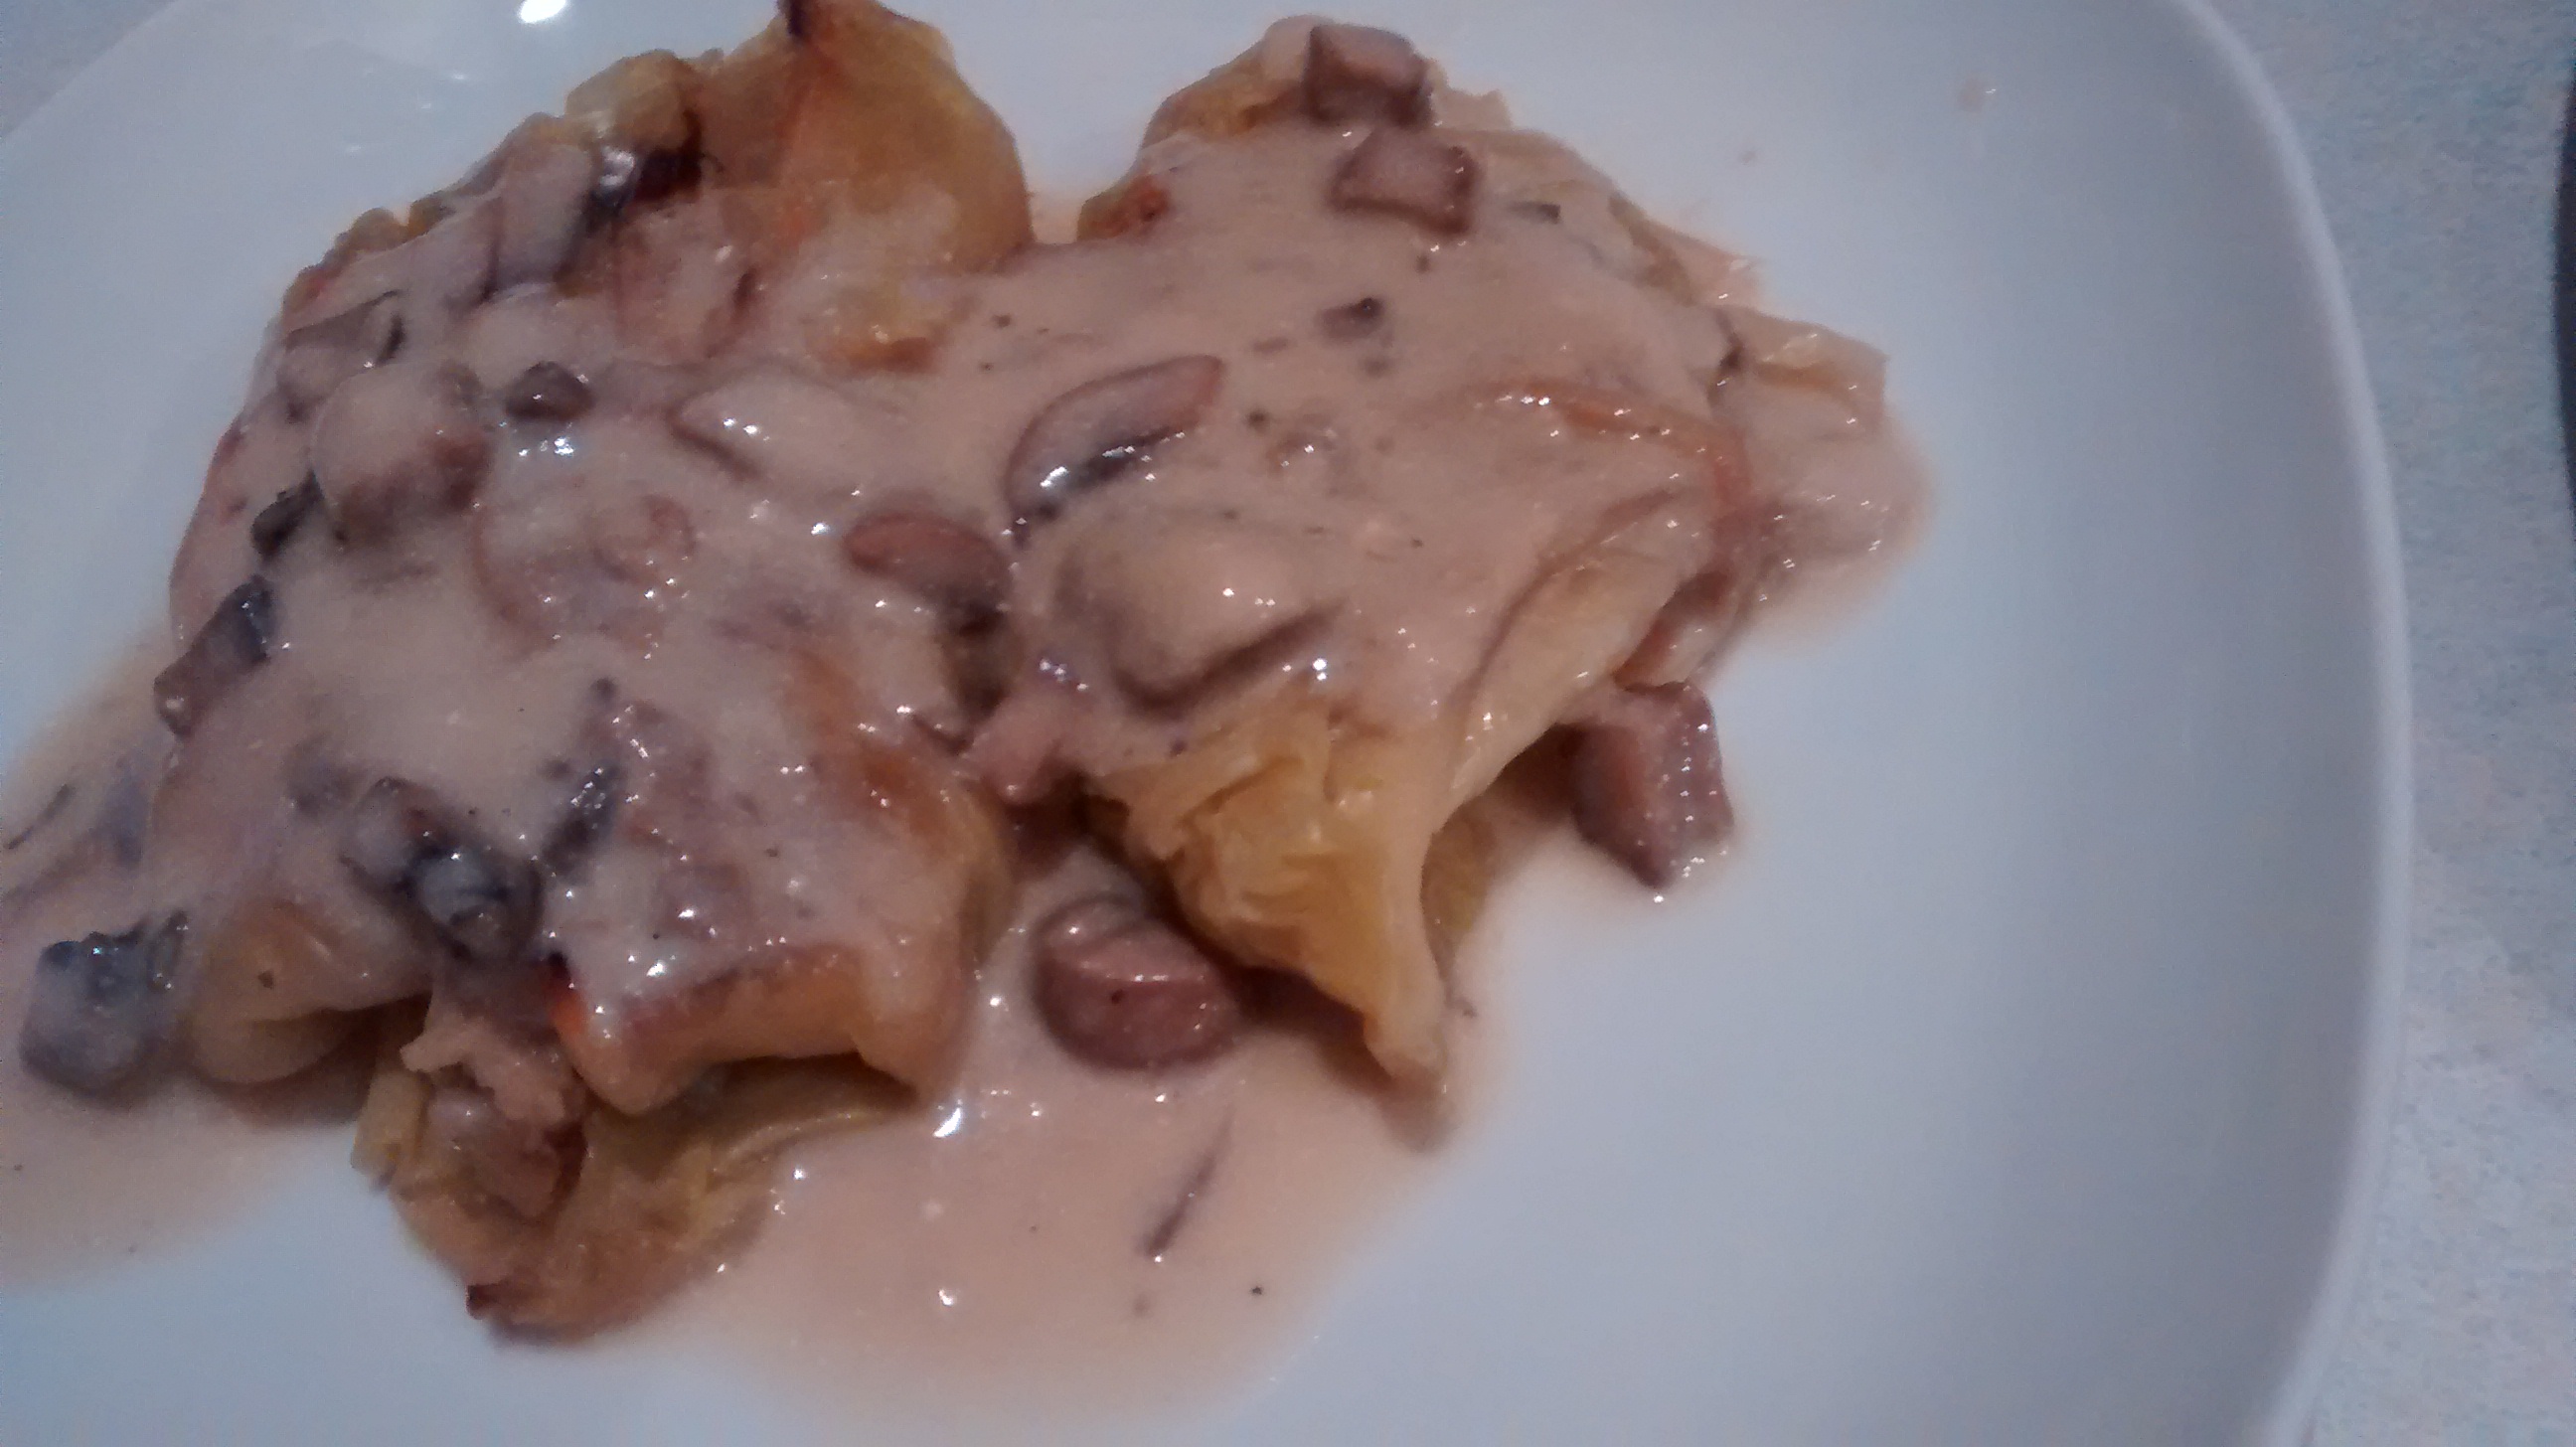
They serve gołąbki there which are cooked without tomatoes and then served with a creamy mushroom sauce.
The following is my recreation of this recipe.
First I made the gołąbki as in my previous post but without tomato purée in the cooking stock but adding some lemon juice as this prevents the leaves from falling apart too quickly.
I will give a quick re-cap of this recipe at the end of this post.
Then I made a mushroom sauce and served the gołąbki with this poured on the top.
Mushroom Sauce
I looked through my Polish cookbooks and many of the mushroom sauces are made with just dried mushrooms. These are delicious and have a strong flavour however it works out very expensive and are not available everywhere.
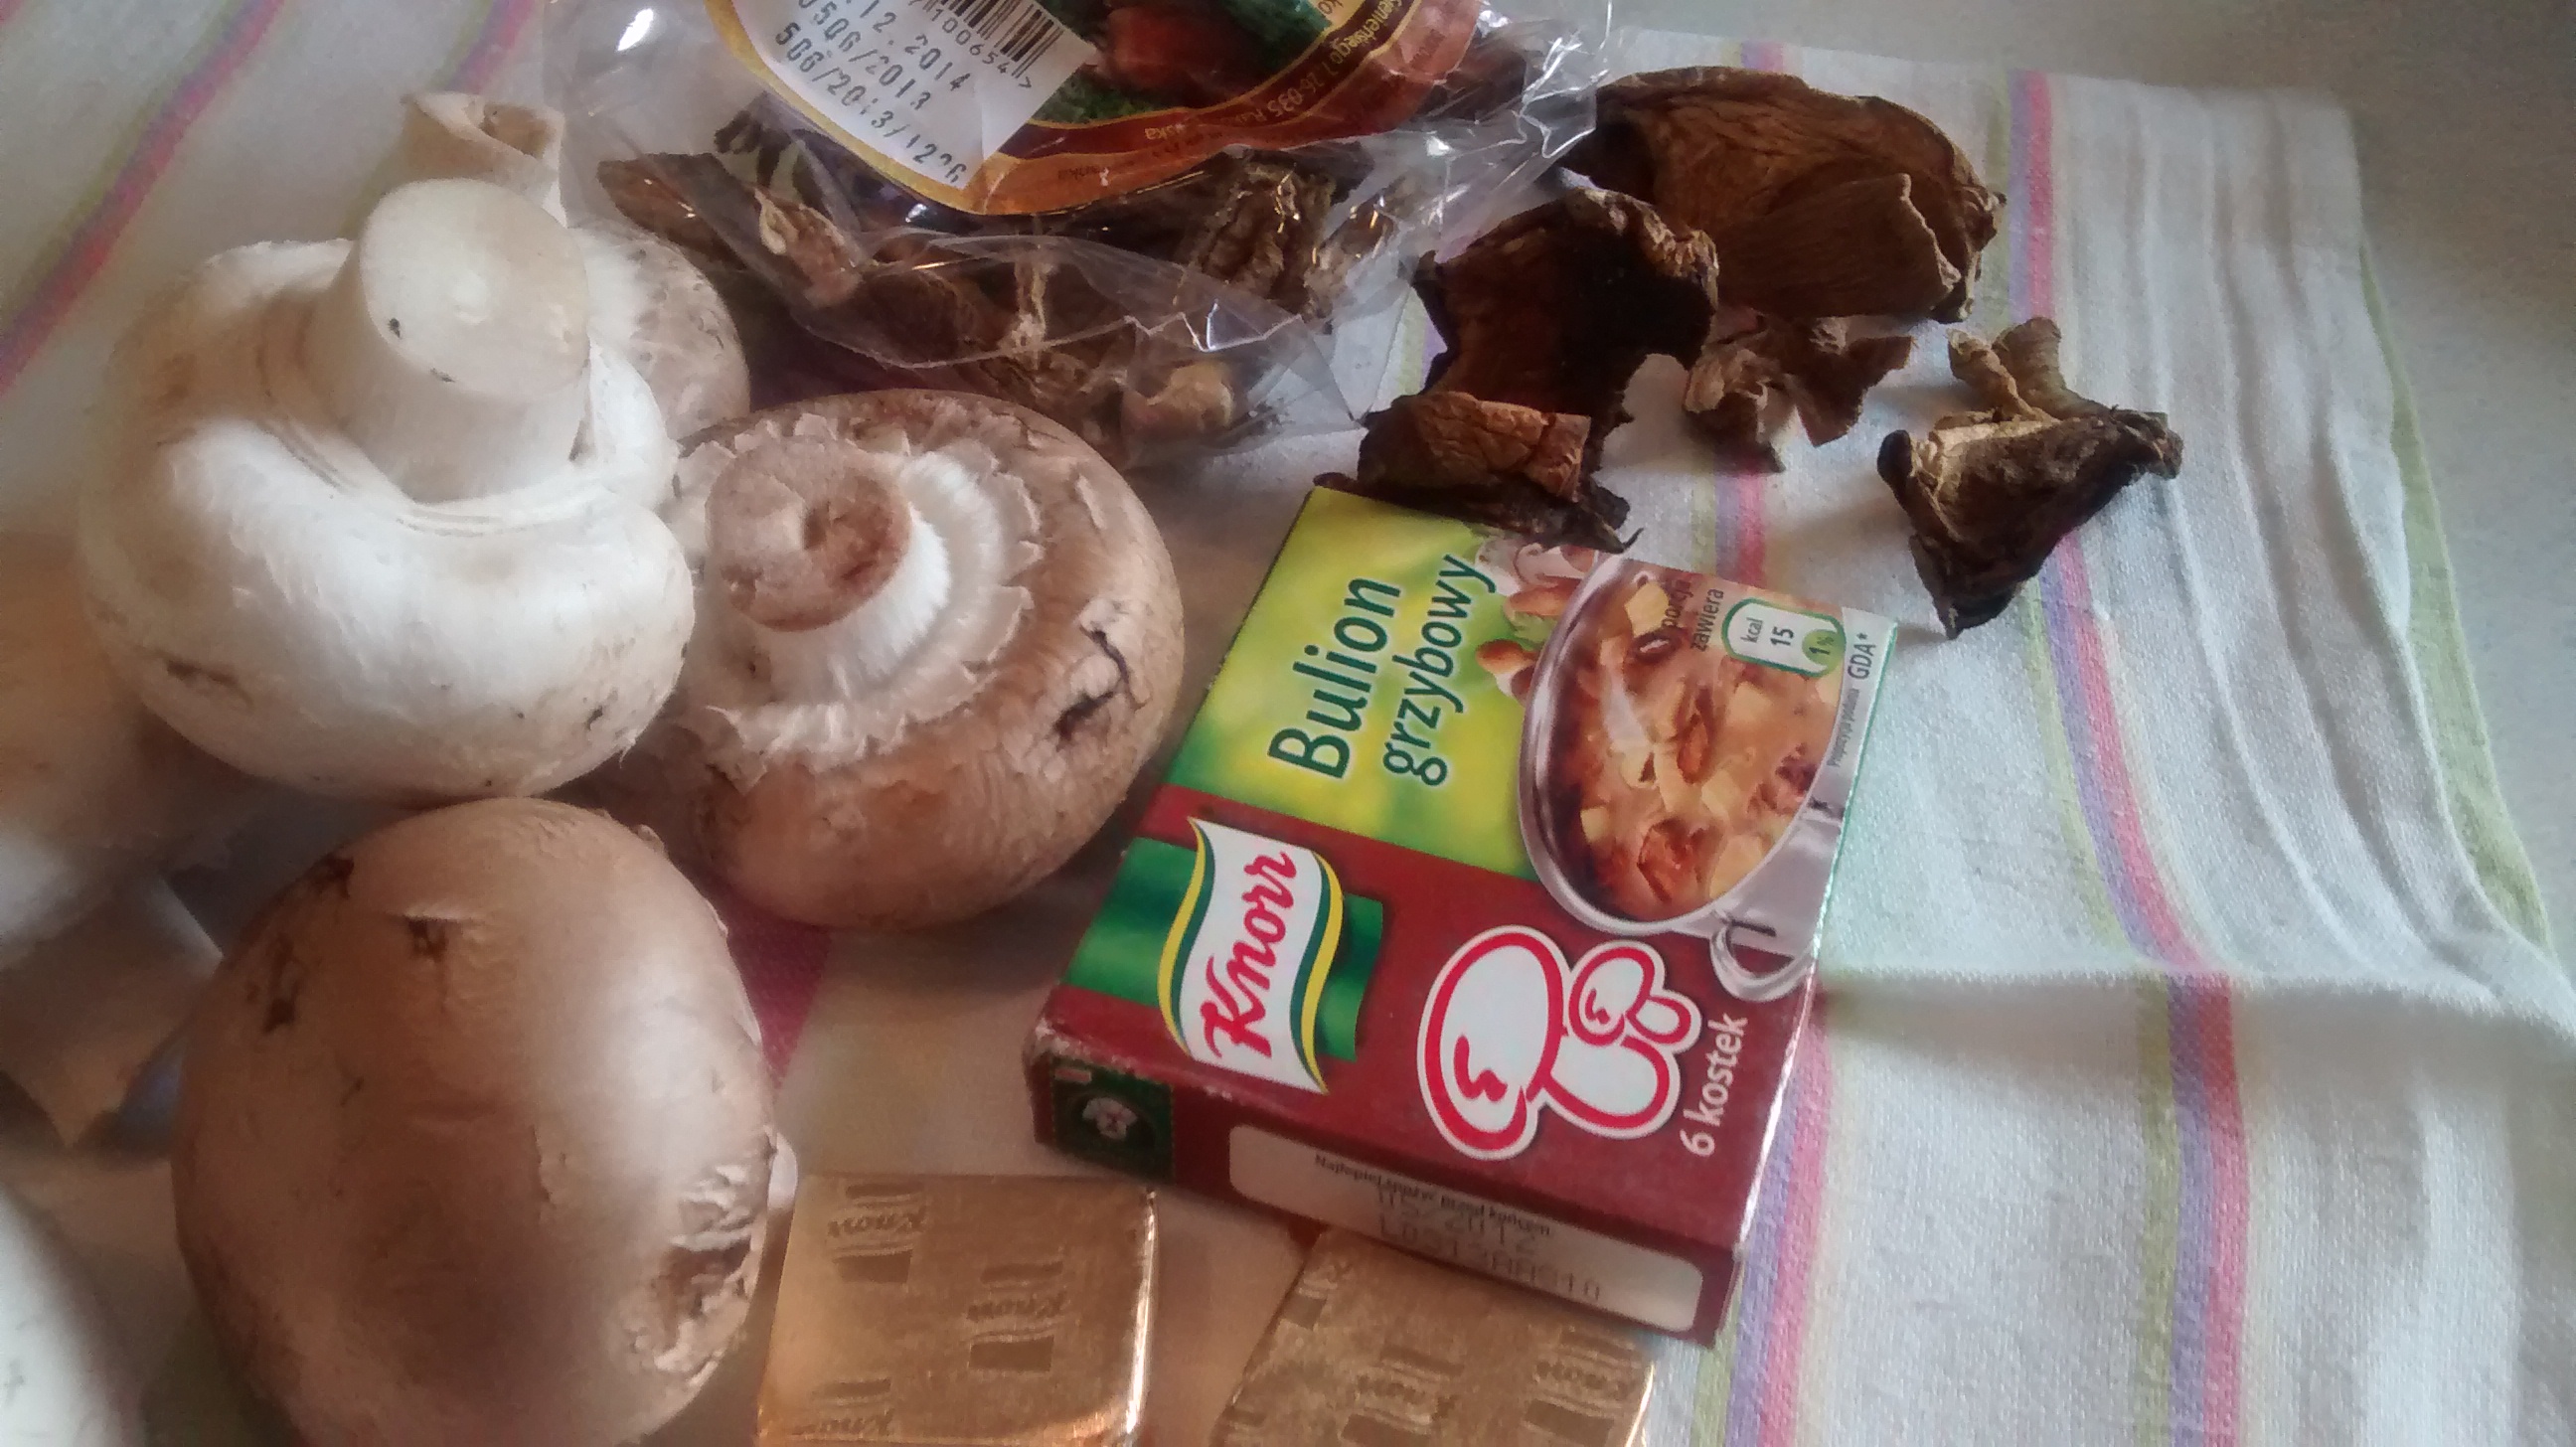
I am going to give instructions for a sauce using fresh mushroom and just a small amount of dried mushroom.
I will give 2 versions of this mushroom sauce, the first using dried mushrooms, the second a mushroom stock cube.
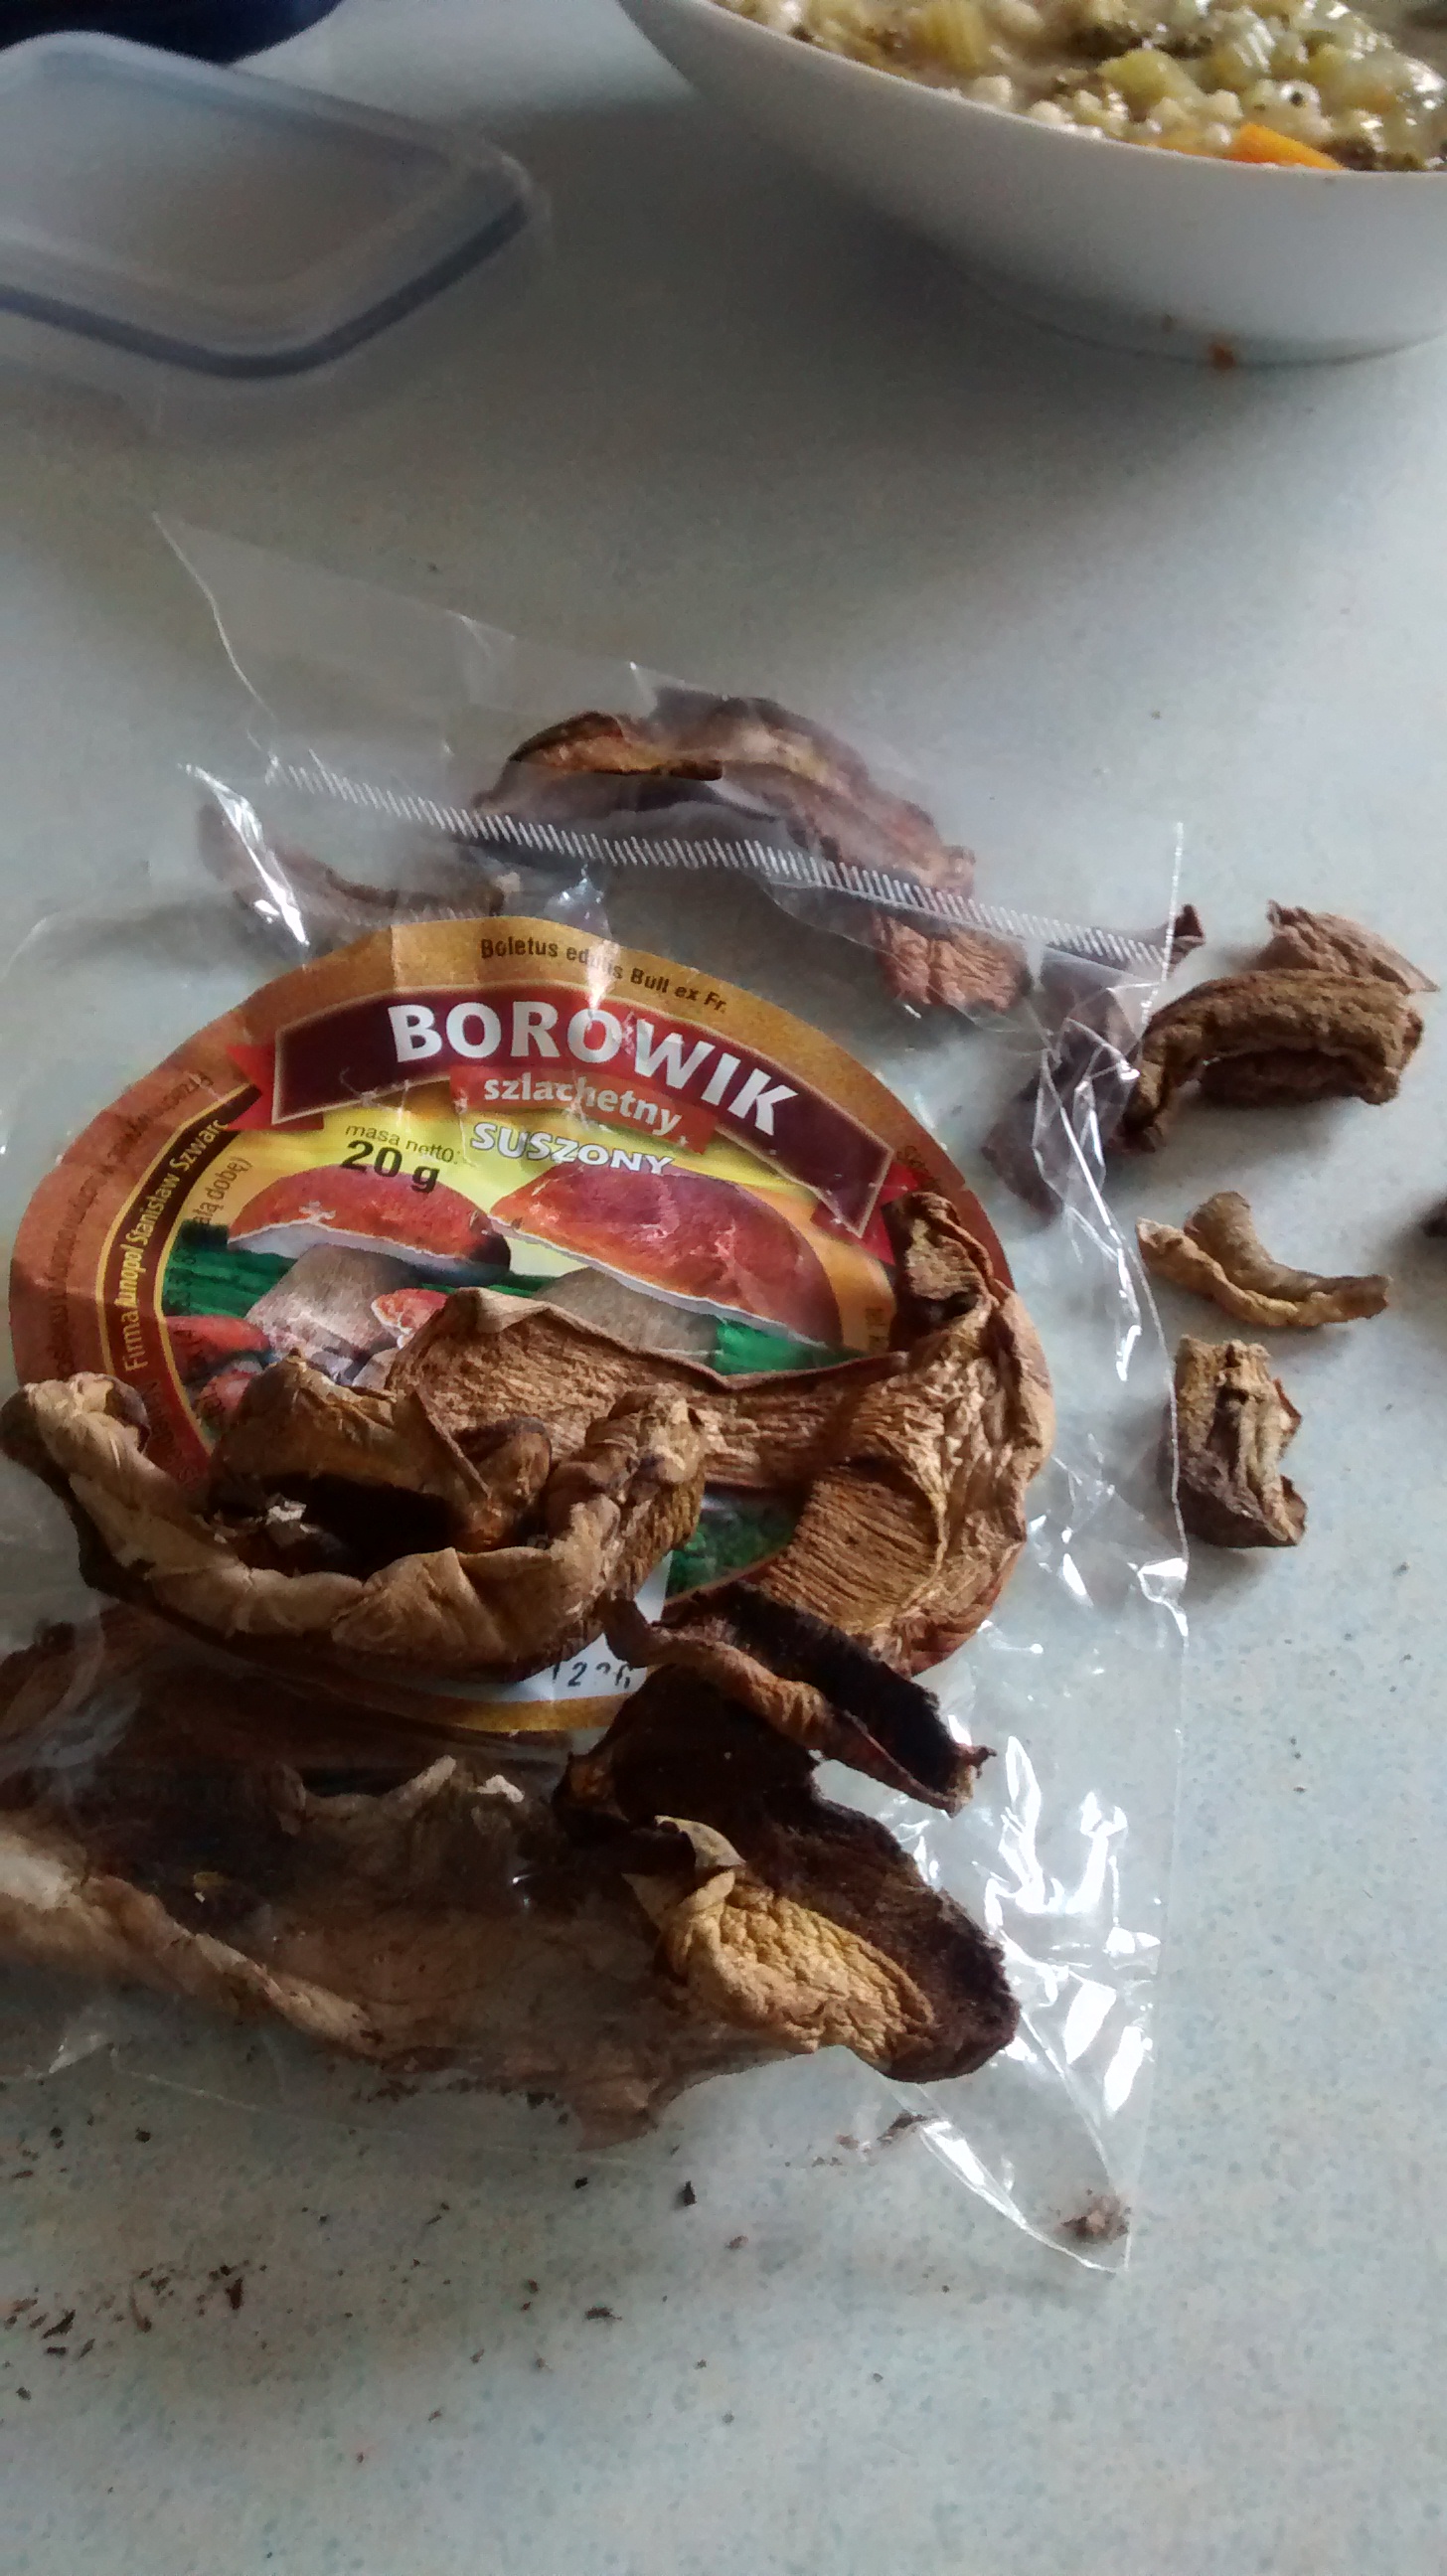
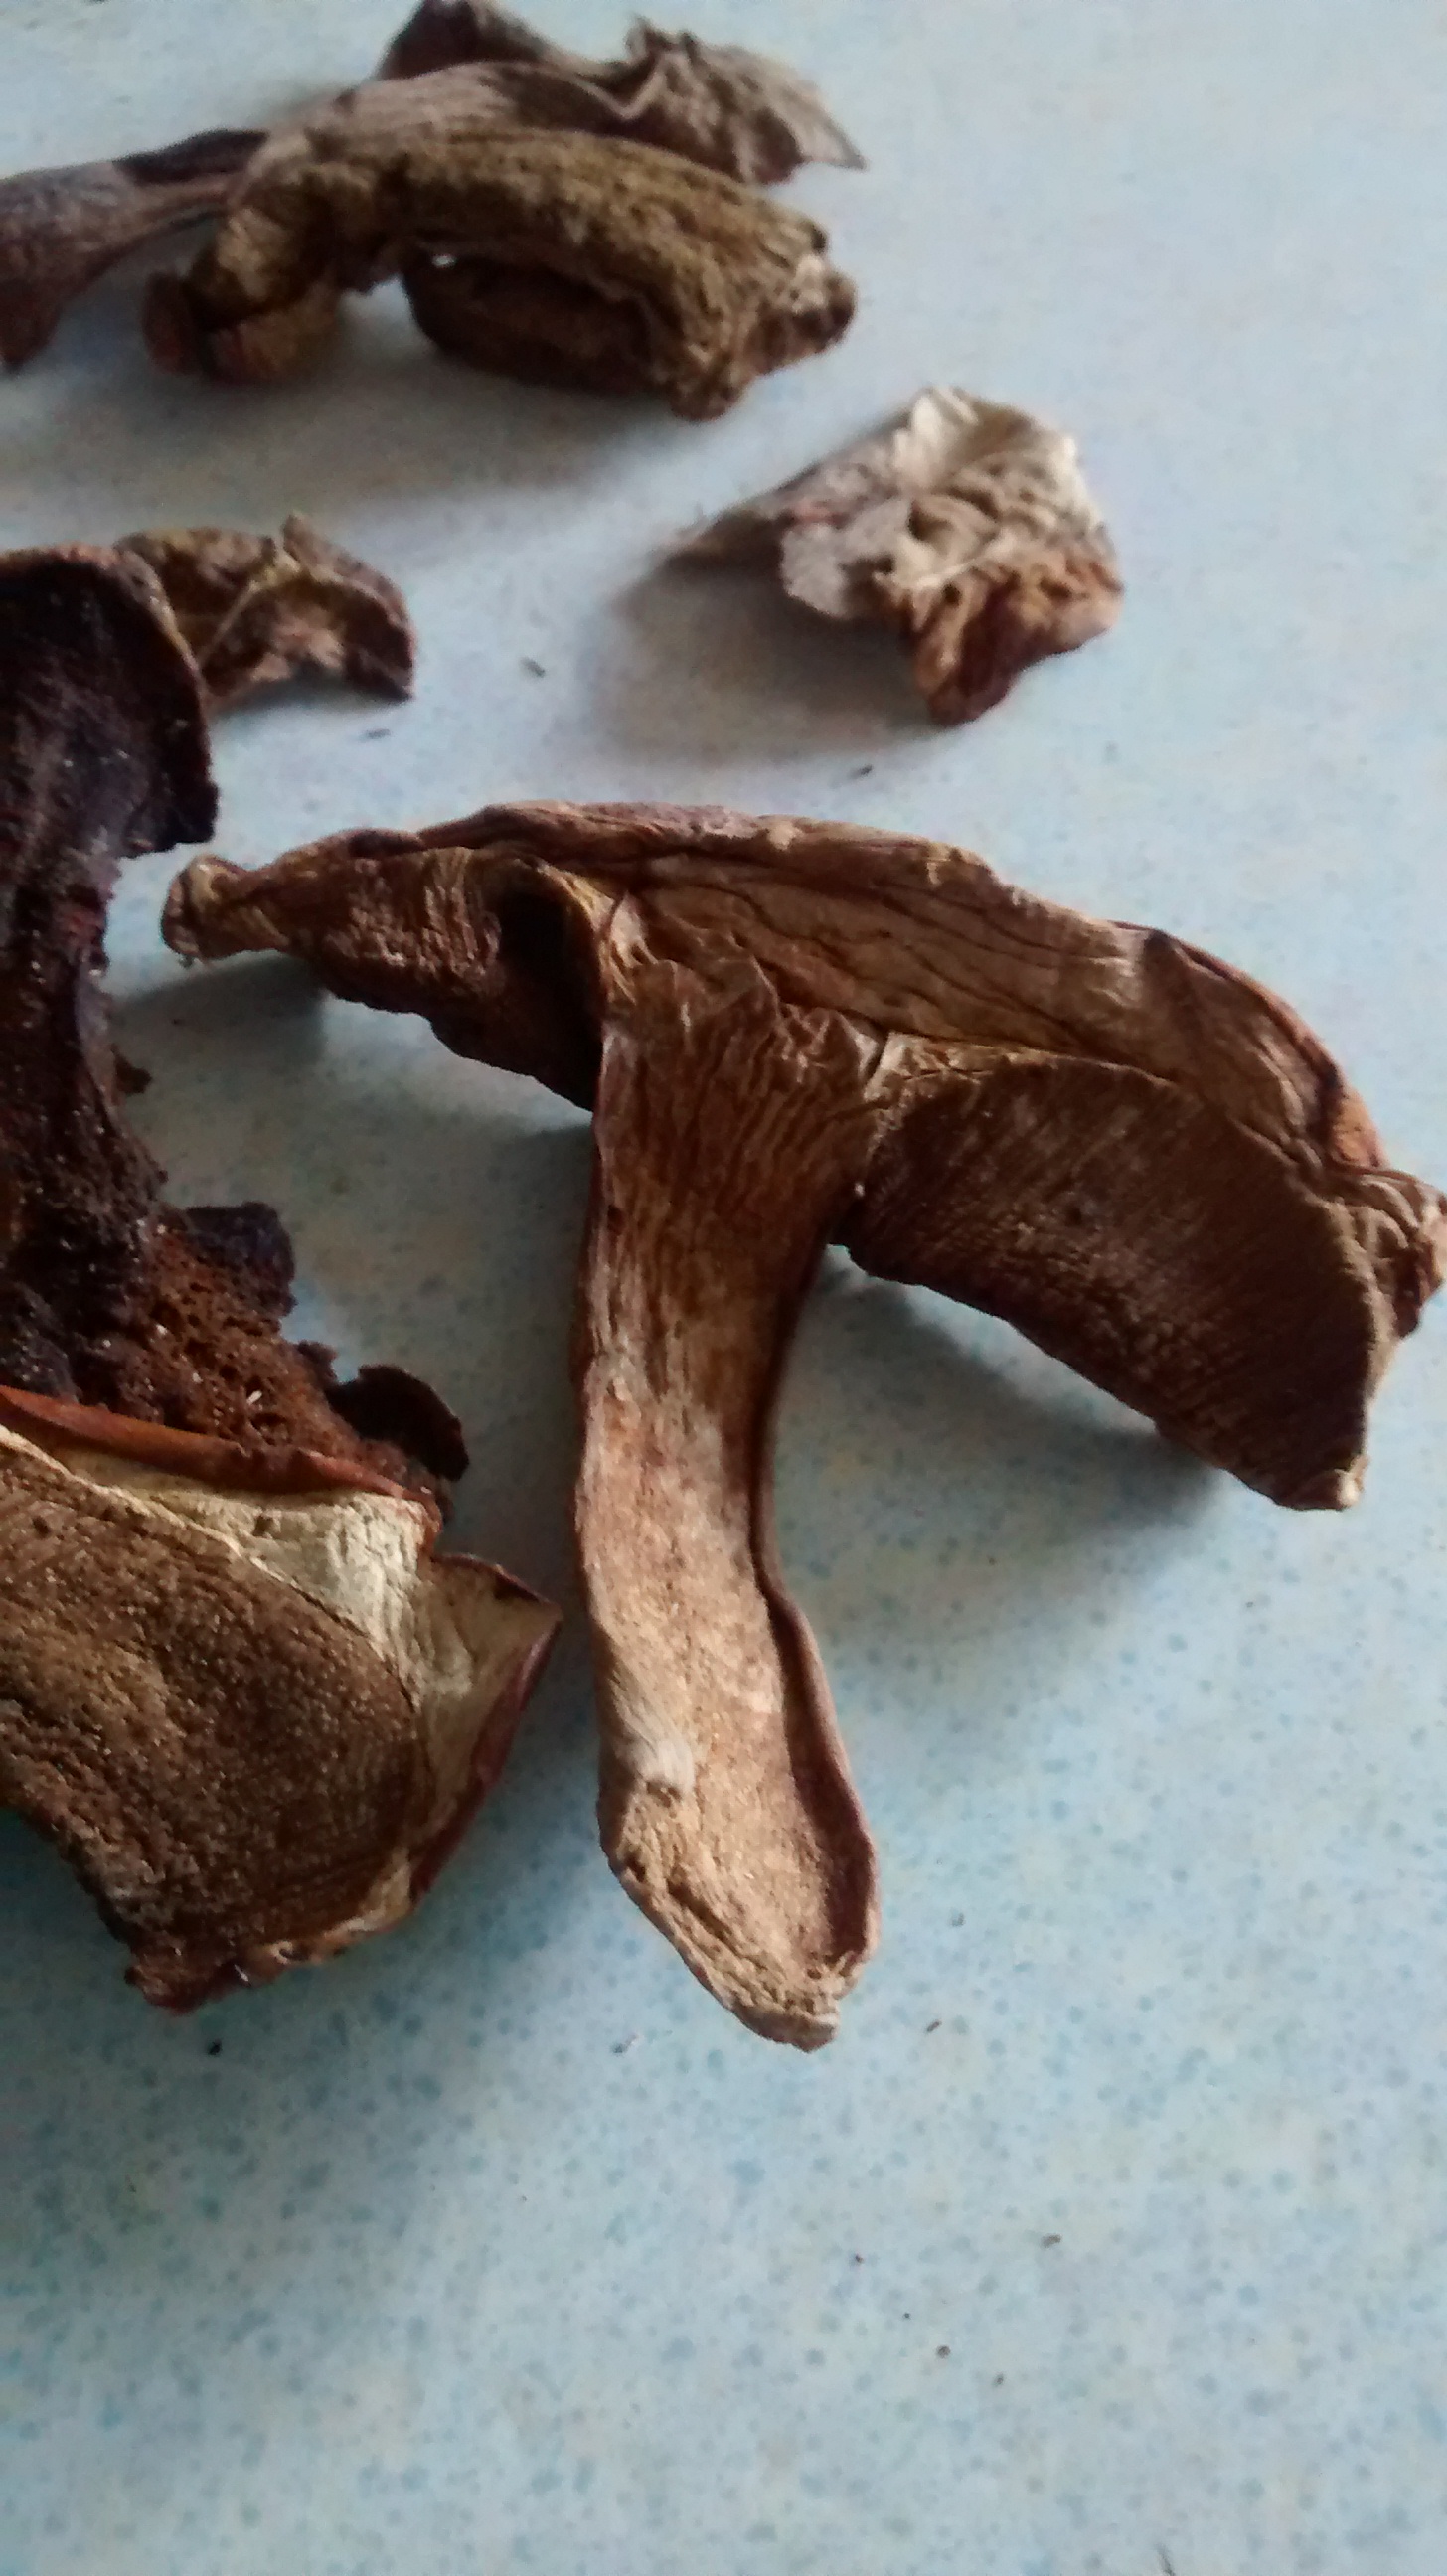
The best dried mushrooms are Boletus edulis, in Poland they are called borowik or prawdzik, in Italy porcini.
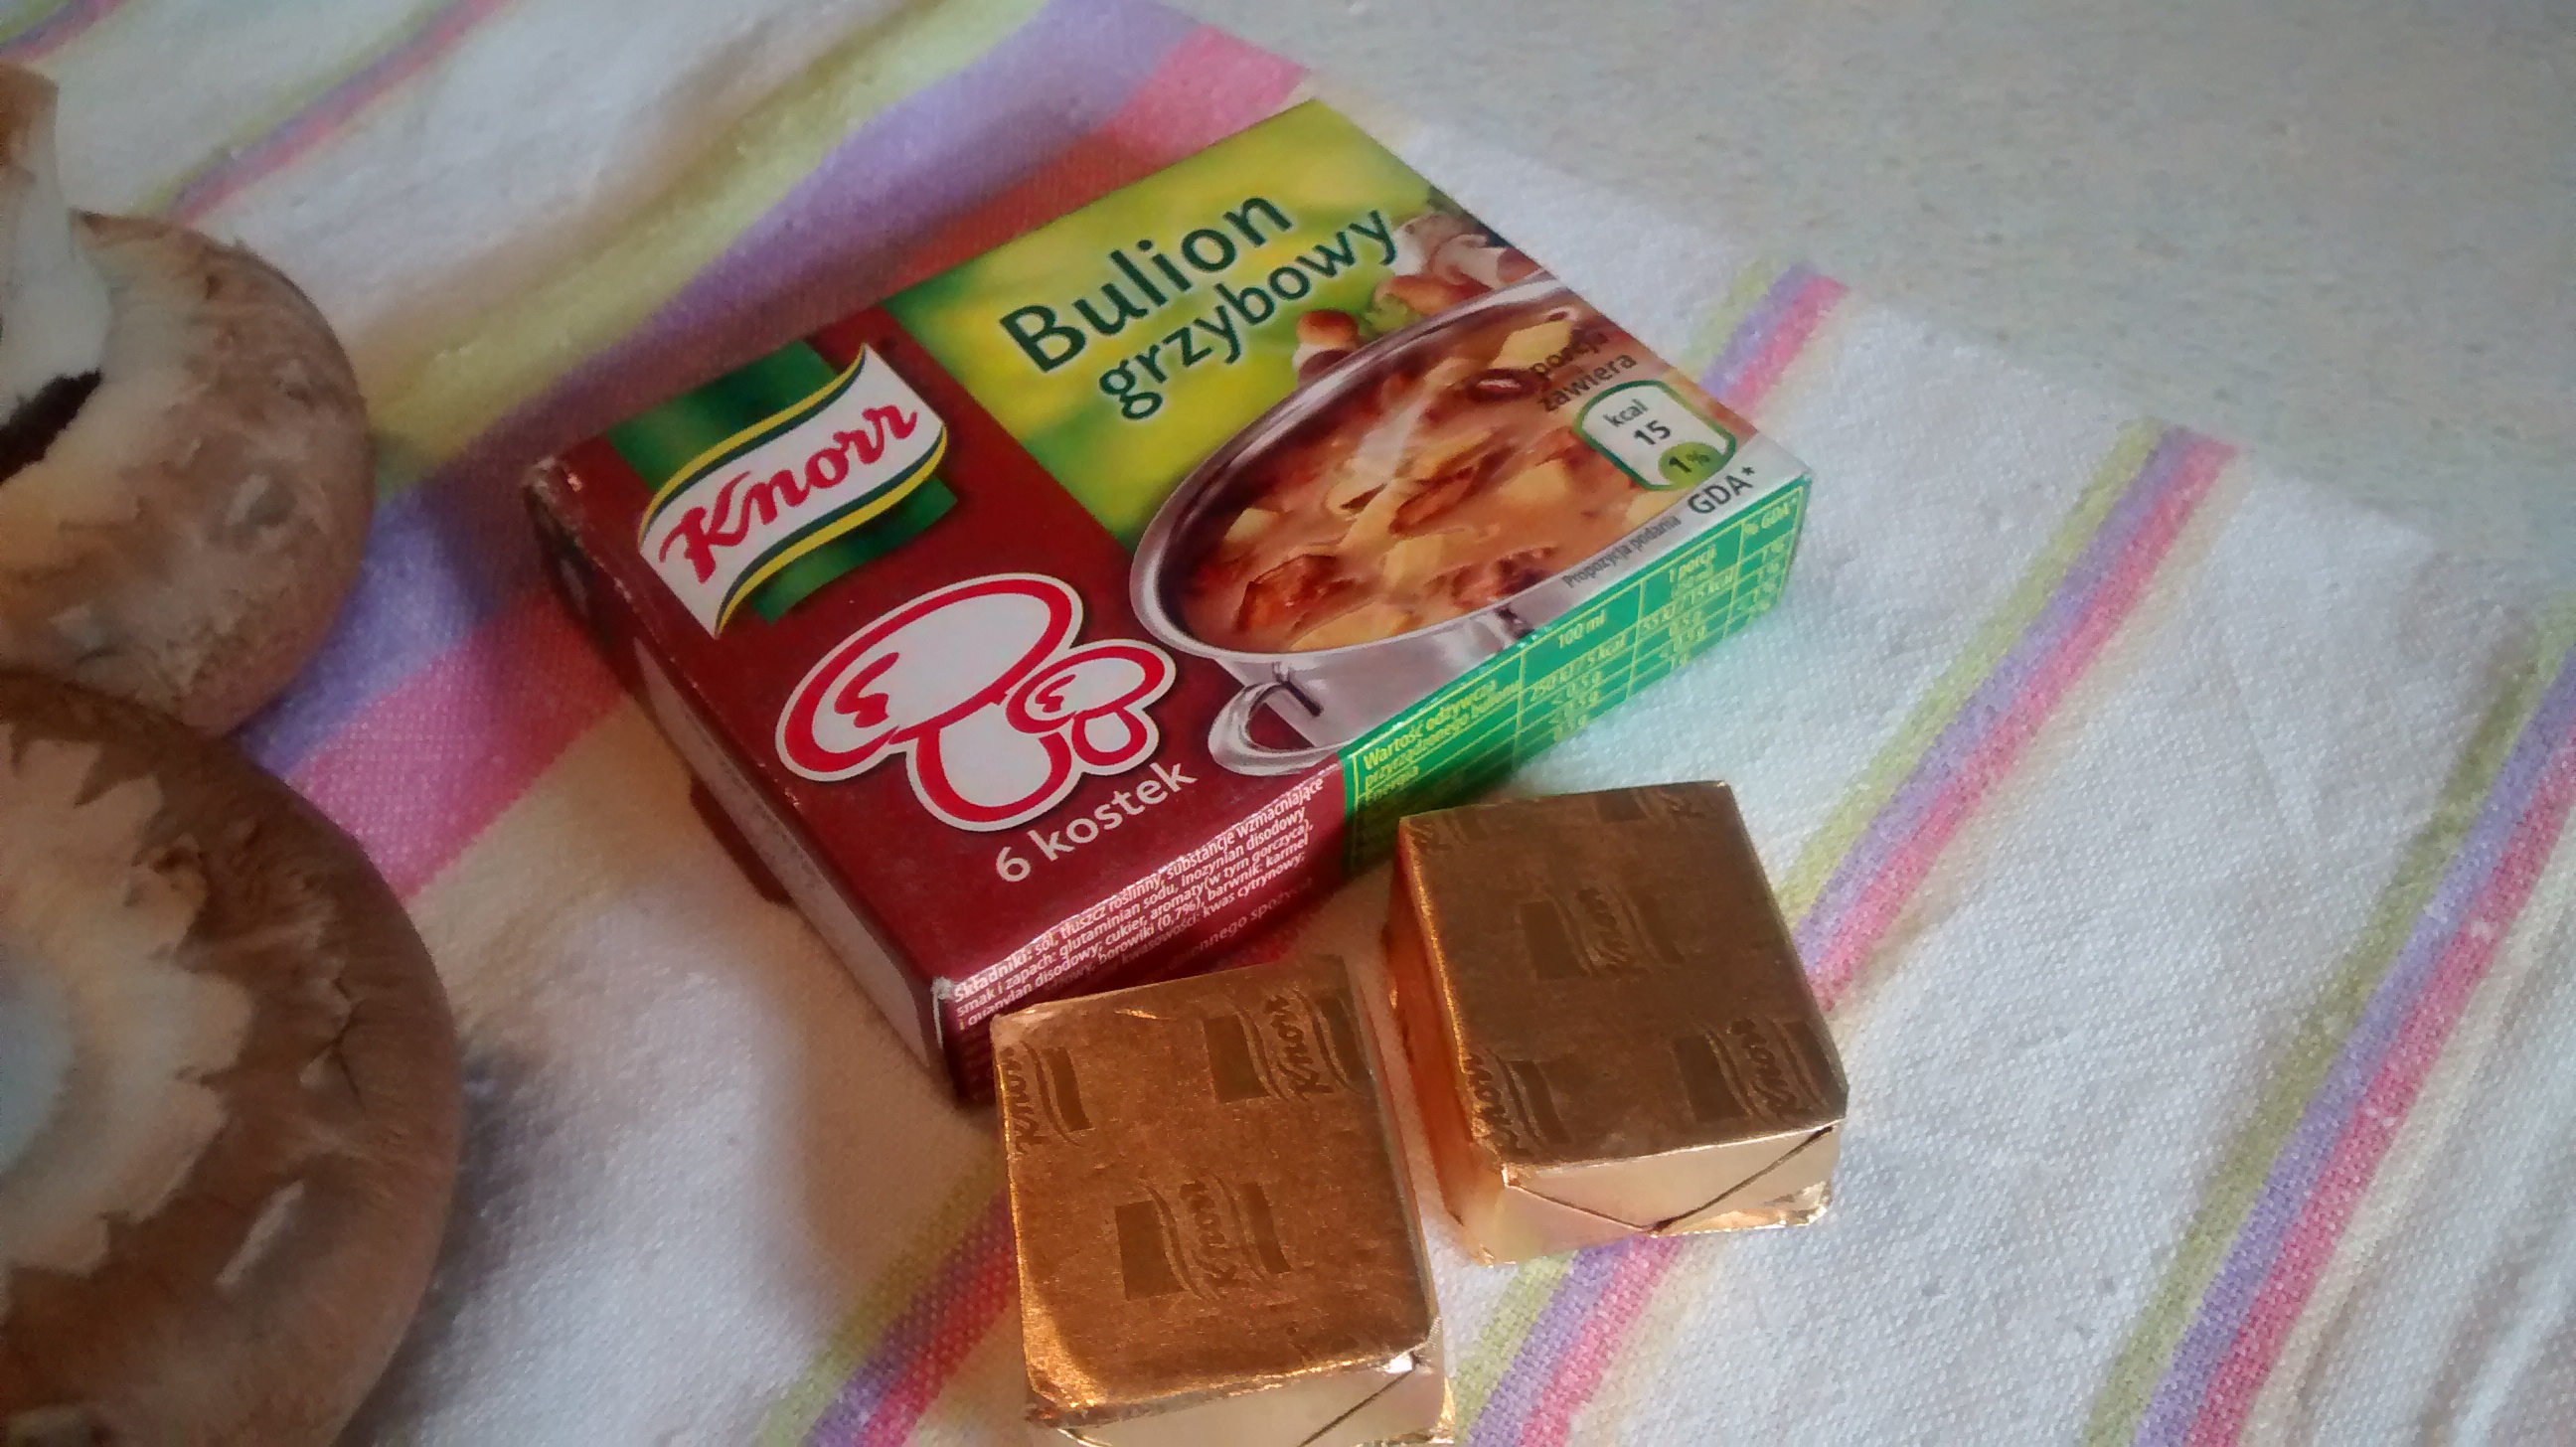
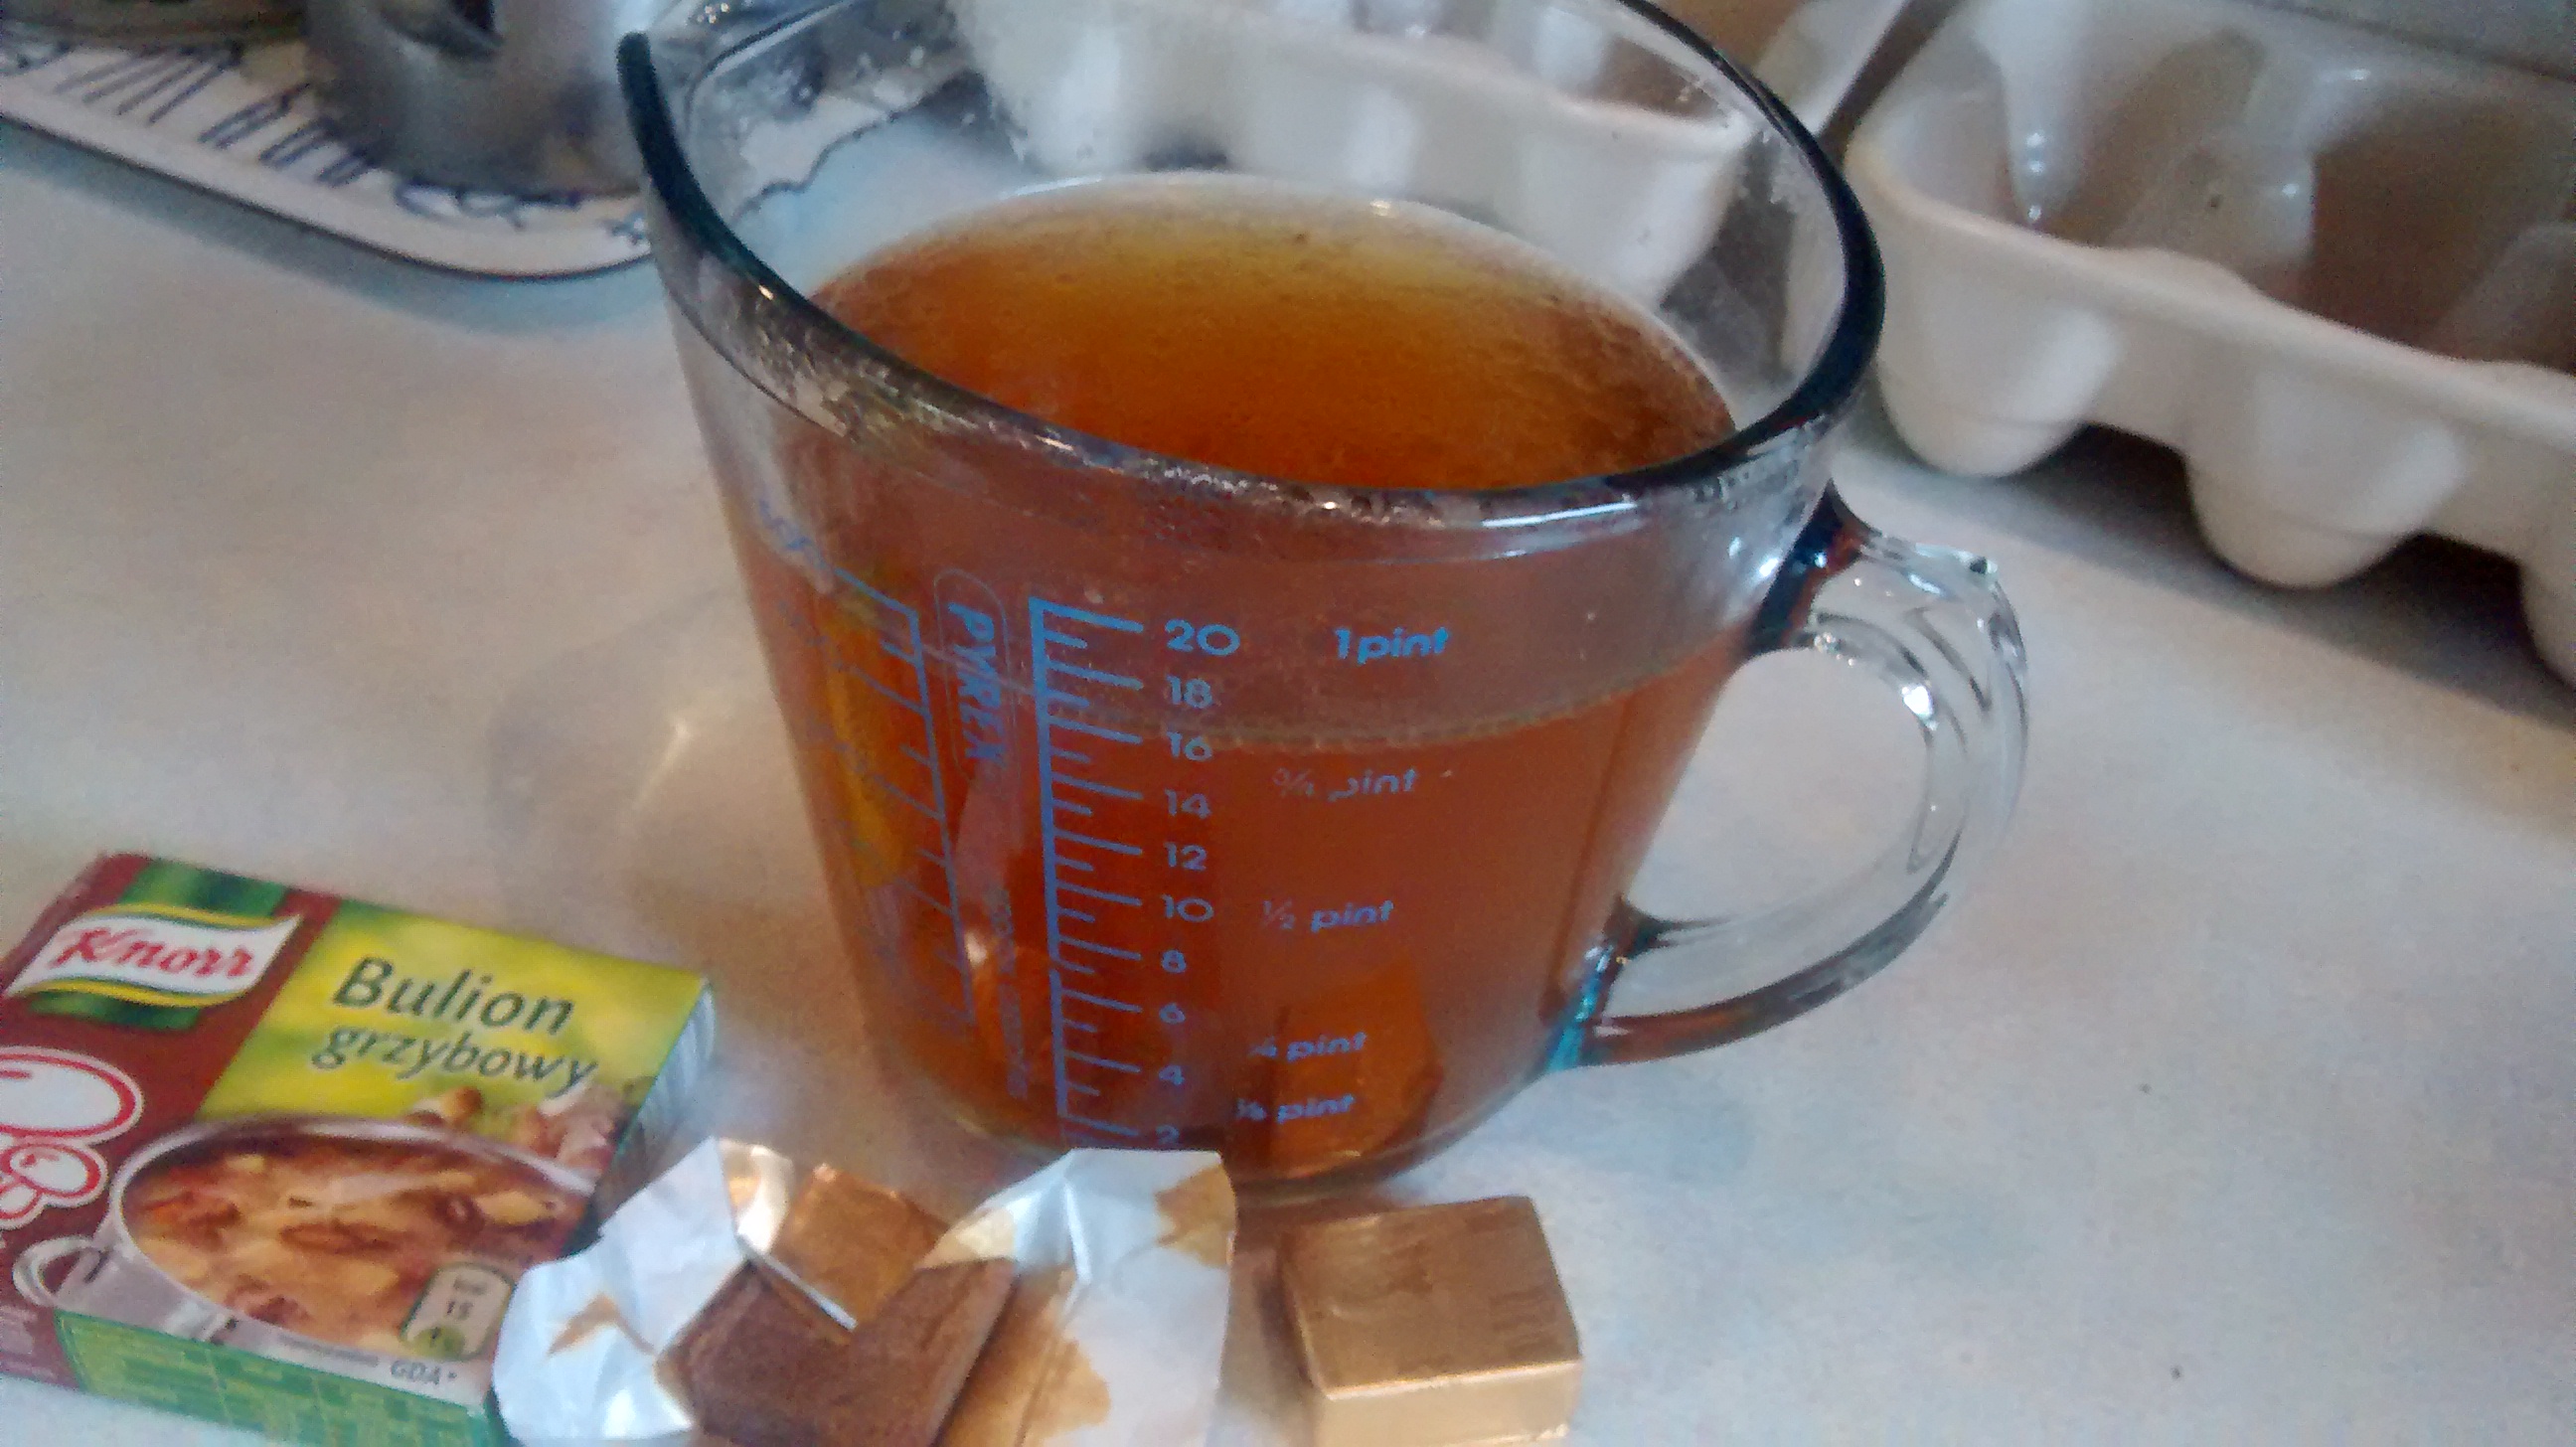
Knorr – mushroom stock cubes
In Poland there are now mushroom stock cubes which are very useful especially for making sauces. Years ago I brought loads back to England, now you can find these in the many Polish food shops. The ones I use are made by Knorr and are shown on the photographs in this post. These stock cubes contain a small amount of dried mushroom extract.
The 2 sauces have the same starting points it is the addition of reconstituted mushrooms or stock cubes for the extra taste which is the difference.
Mushroom sauce 1 – using dried mushrooms
Ingredients
150g fresh button mushroom caps – white and/or chestnut
5g of dried mushroom (around 3 slices)
500ml hot boiling water
1 heaped tablespoon of cornflour
3 tablespoons of milk
2 large tablespoons of soured cream.
butter to cook the mushrooms in
salt & pepper to taste
Method
You have to start this sauce the night before or in the morning for use in the evening.
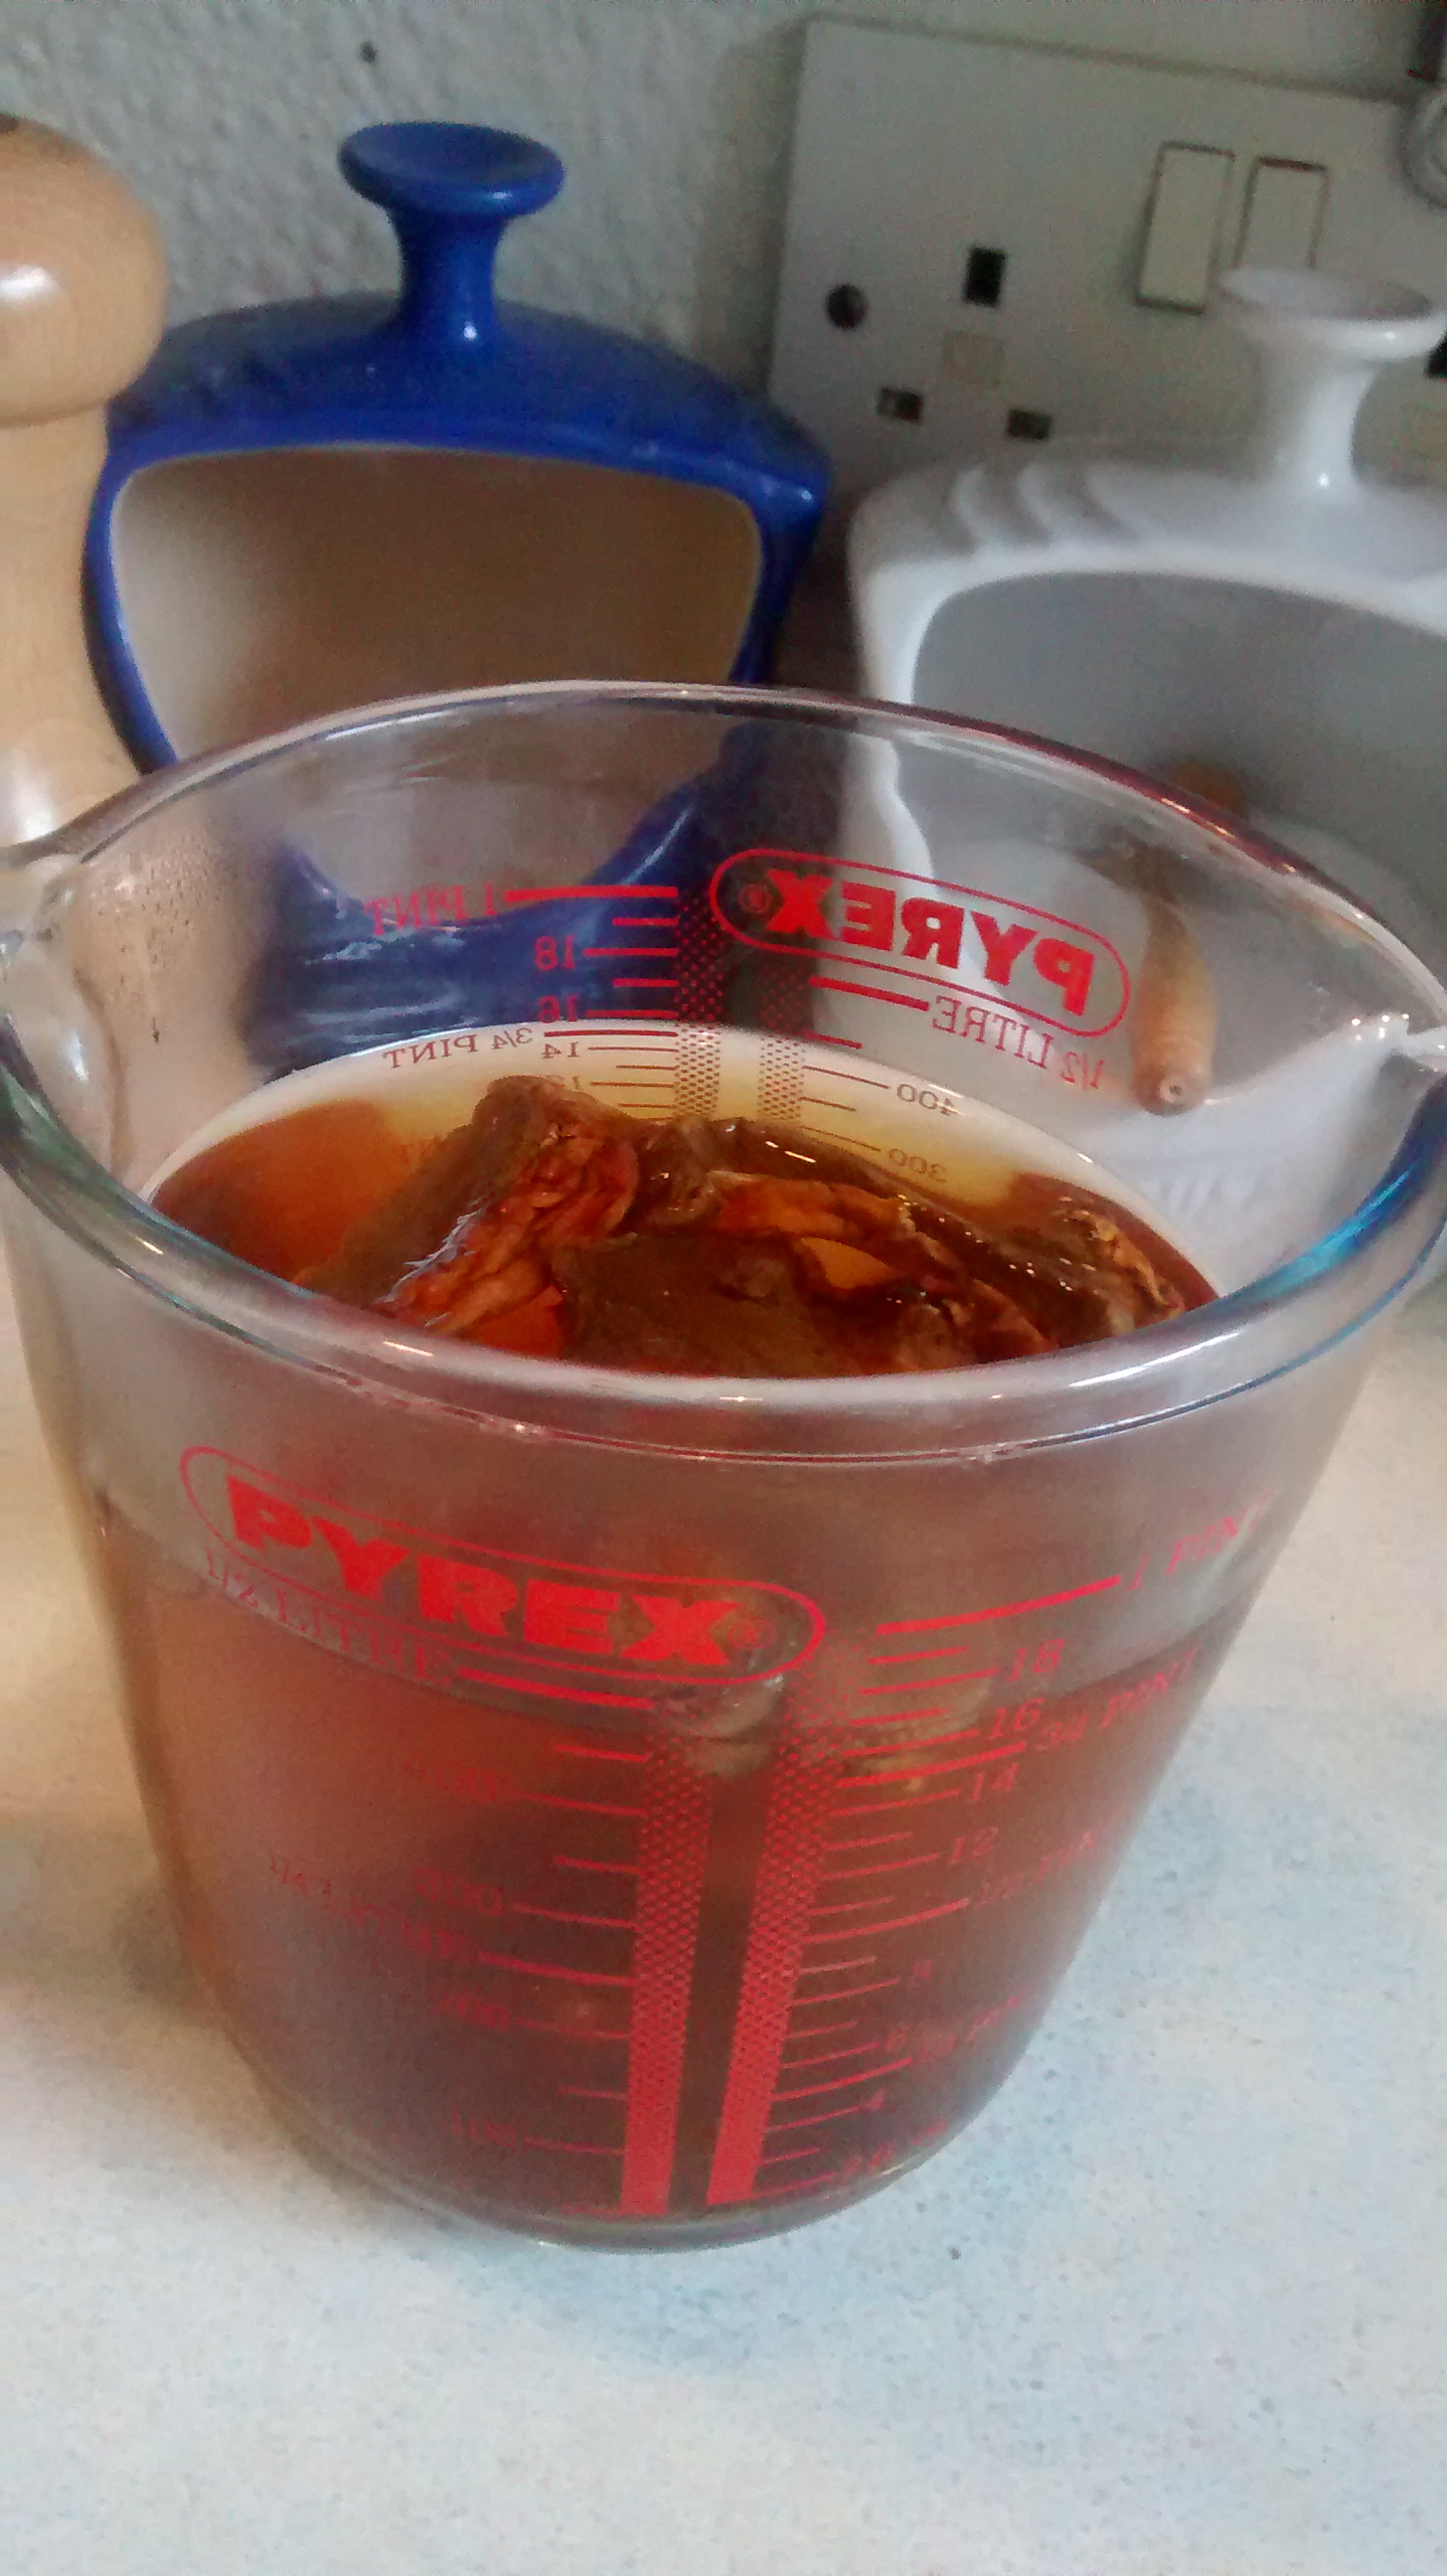
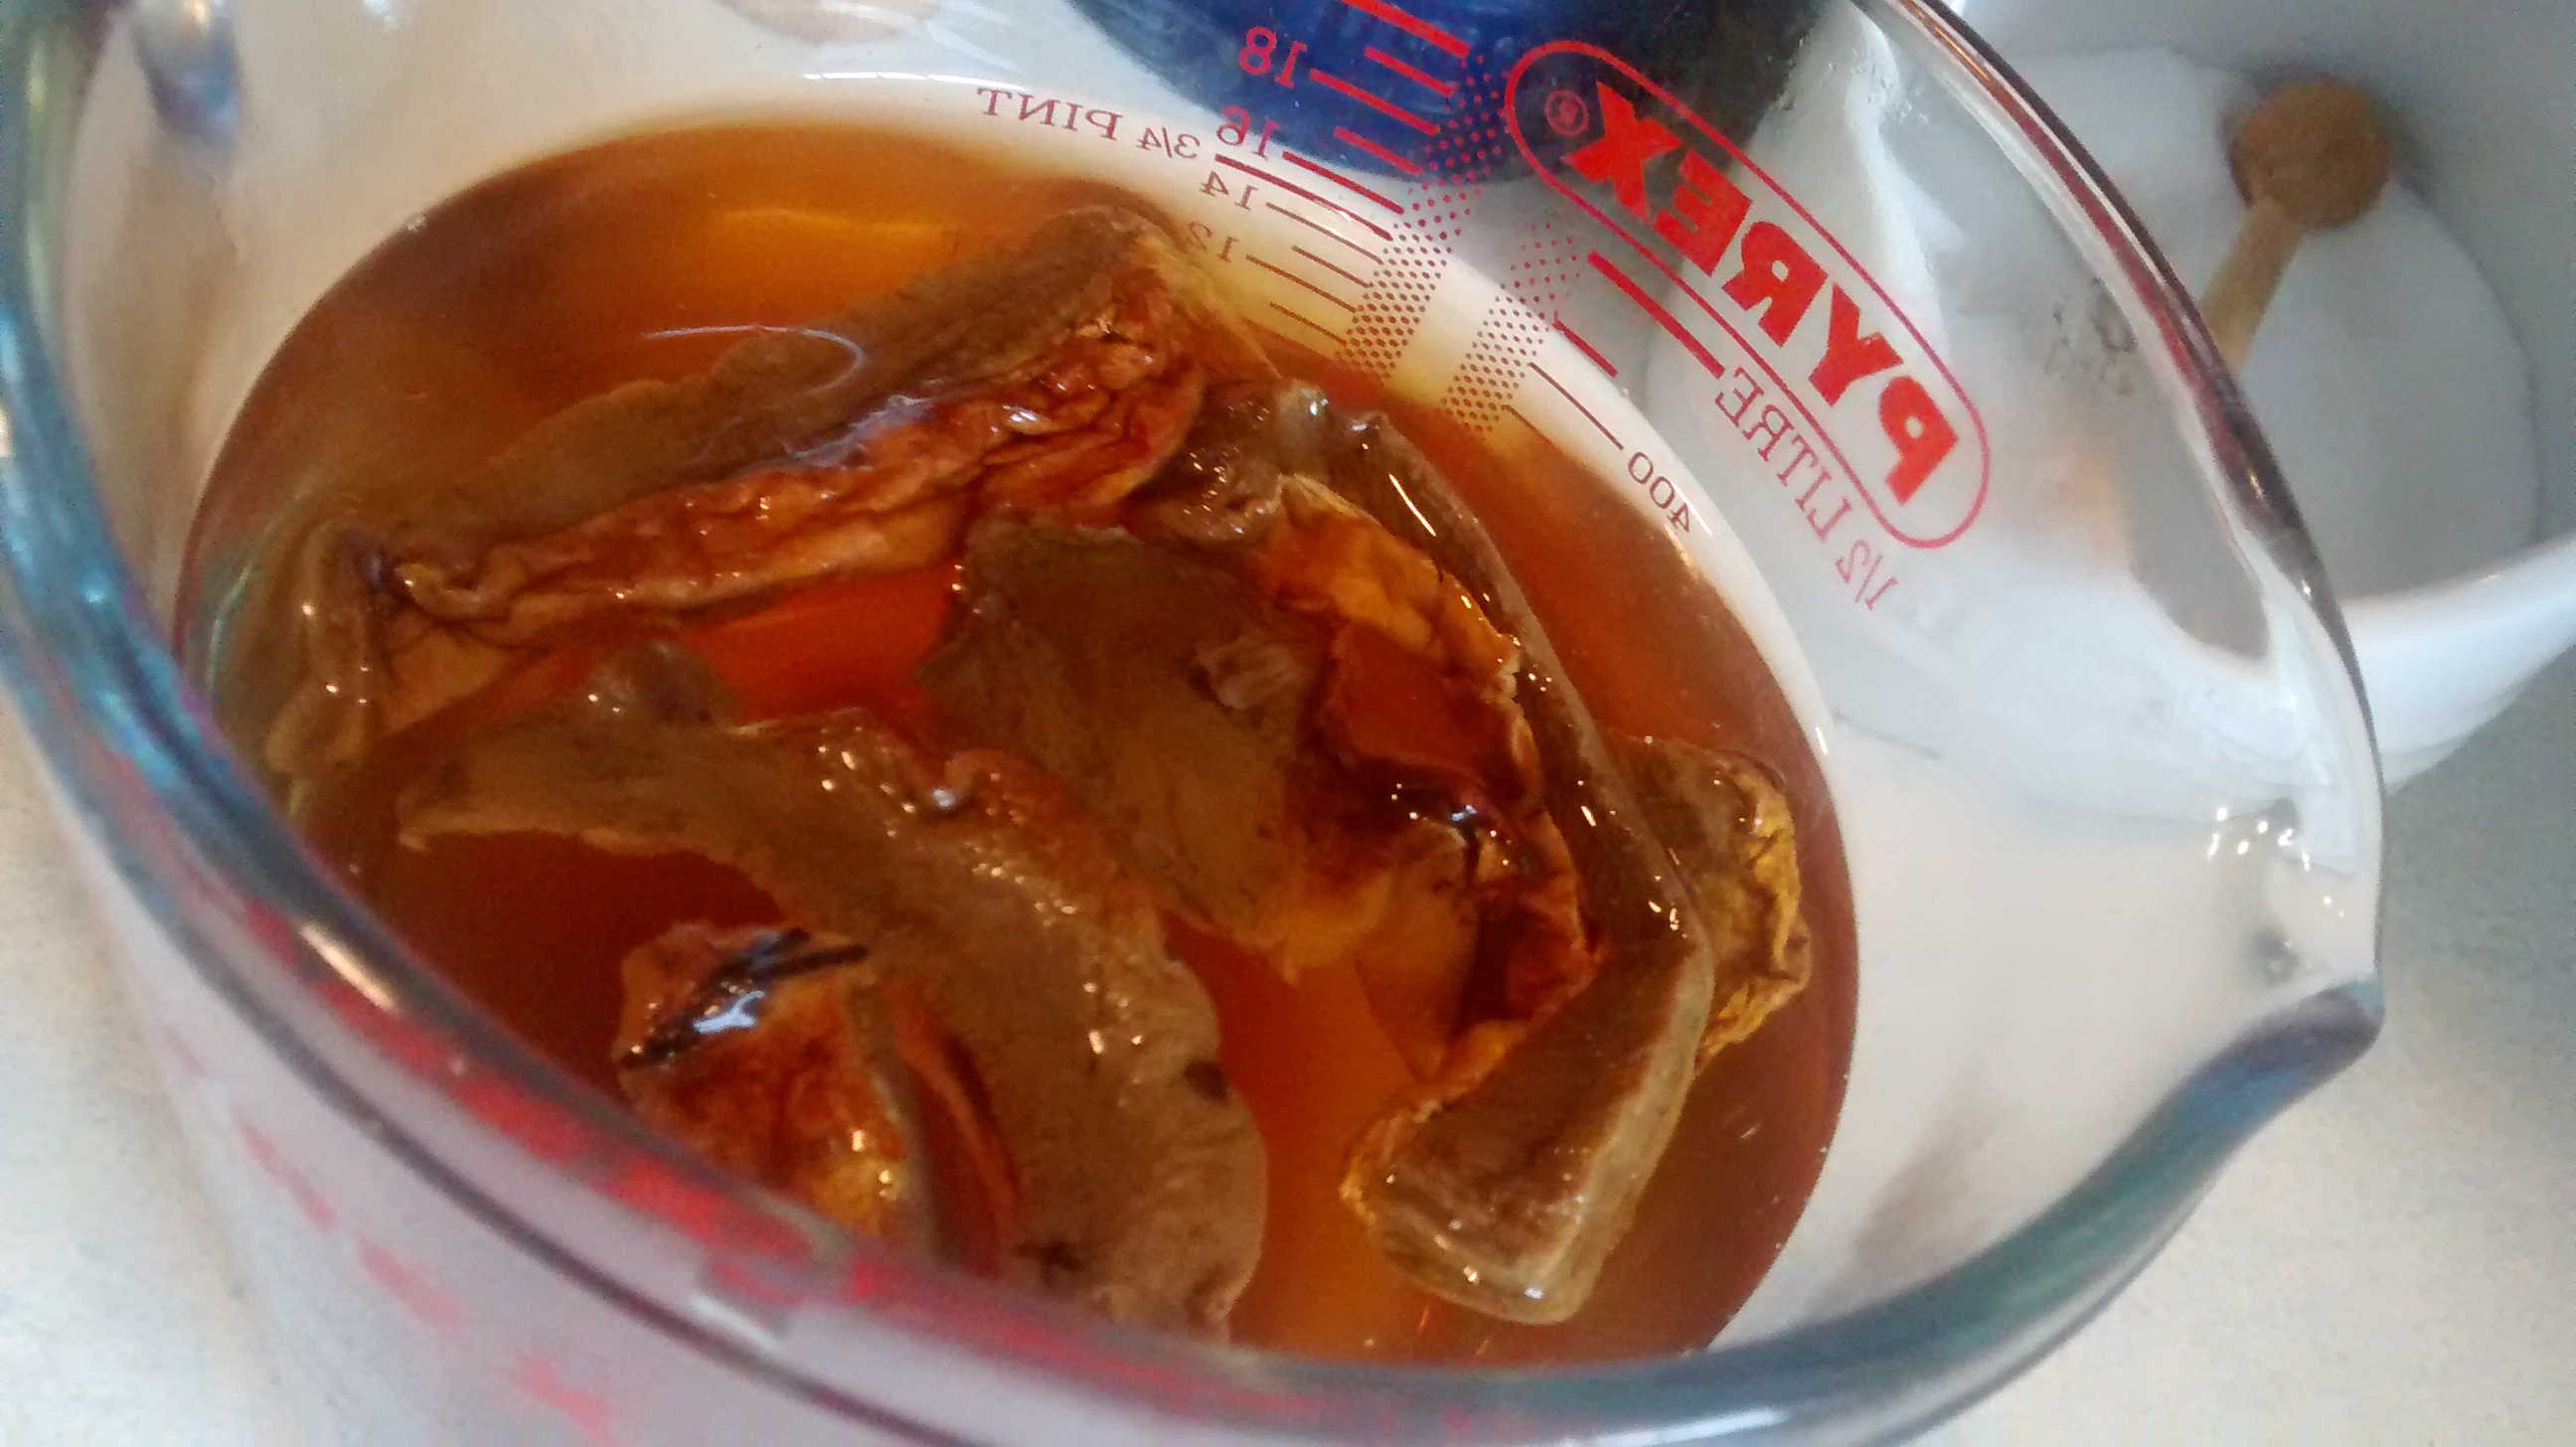
Cover the dried mushrooms with 500ml of boiling water and leave to soak.
Preparing Dried Mushrooms
Dried Mushroom in Hot Water
The following day take out the reconstituted mushrooms and using a knife you can chop then up into tiny pieces or if the are soft enough you can spread out the pulp on a chopping board.
Reconstituted Mushrooms
Making a Pulp of Mushrooms
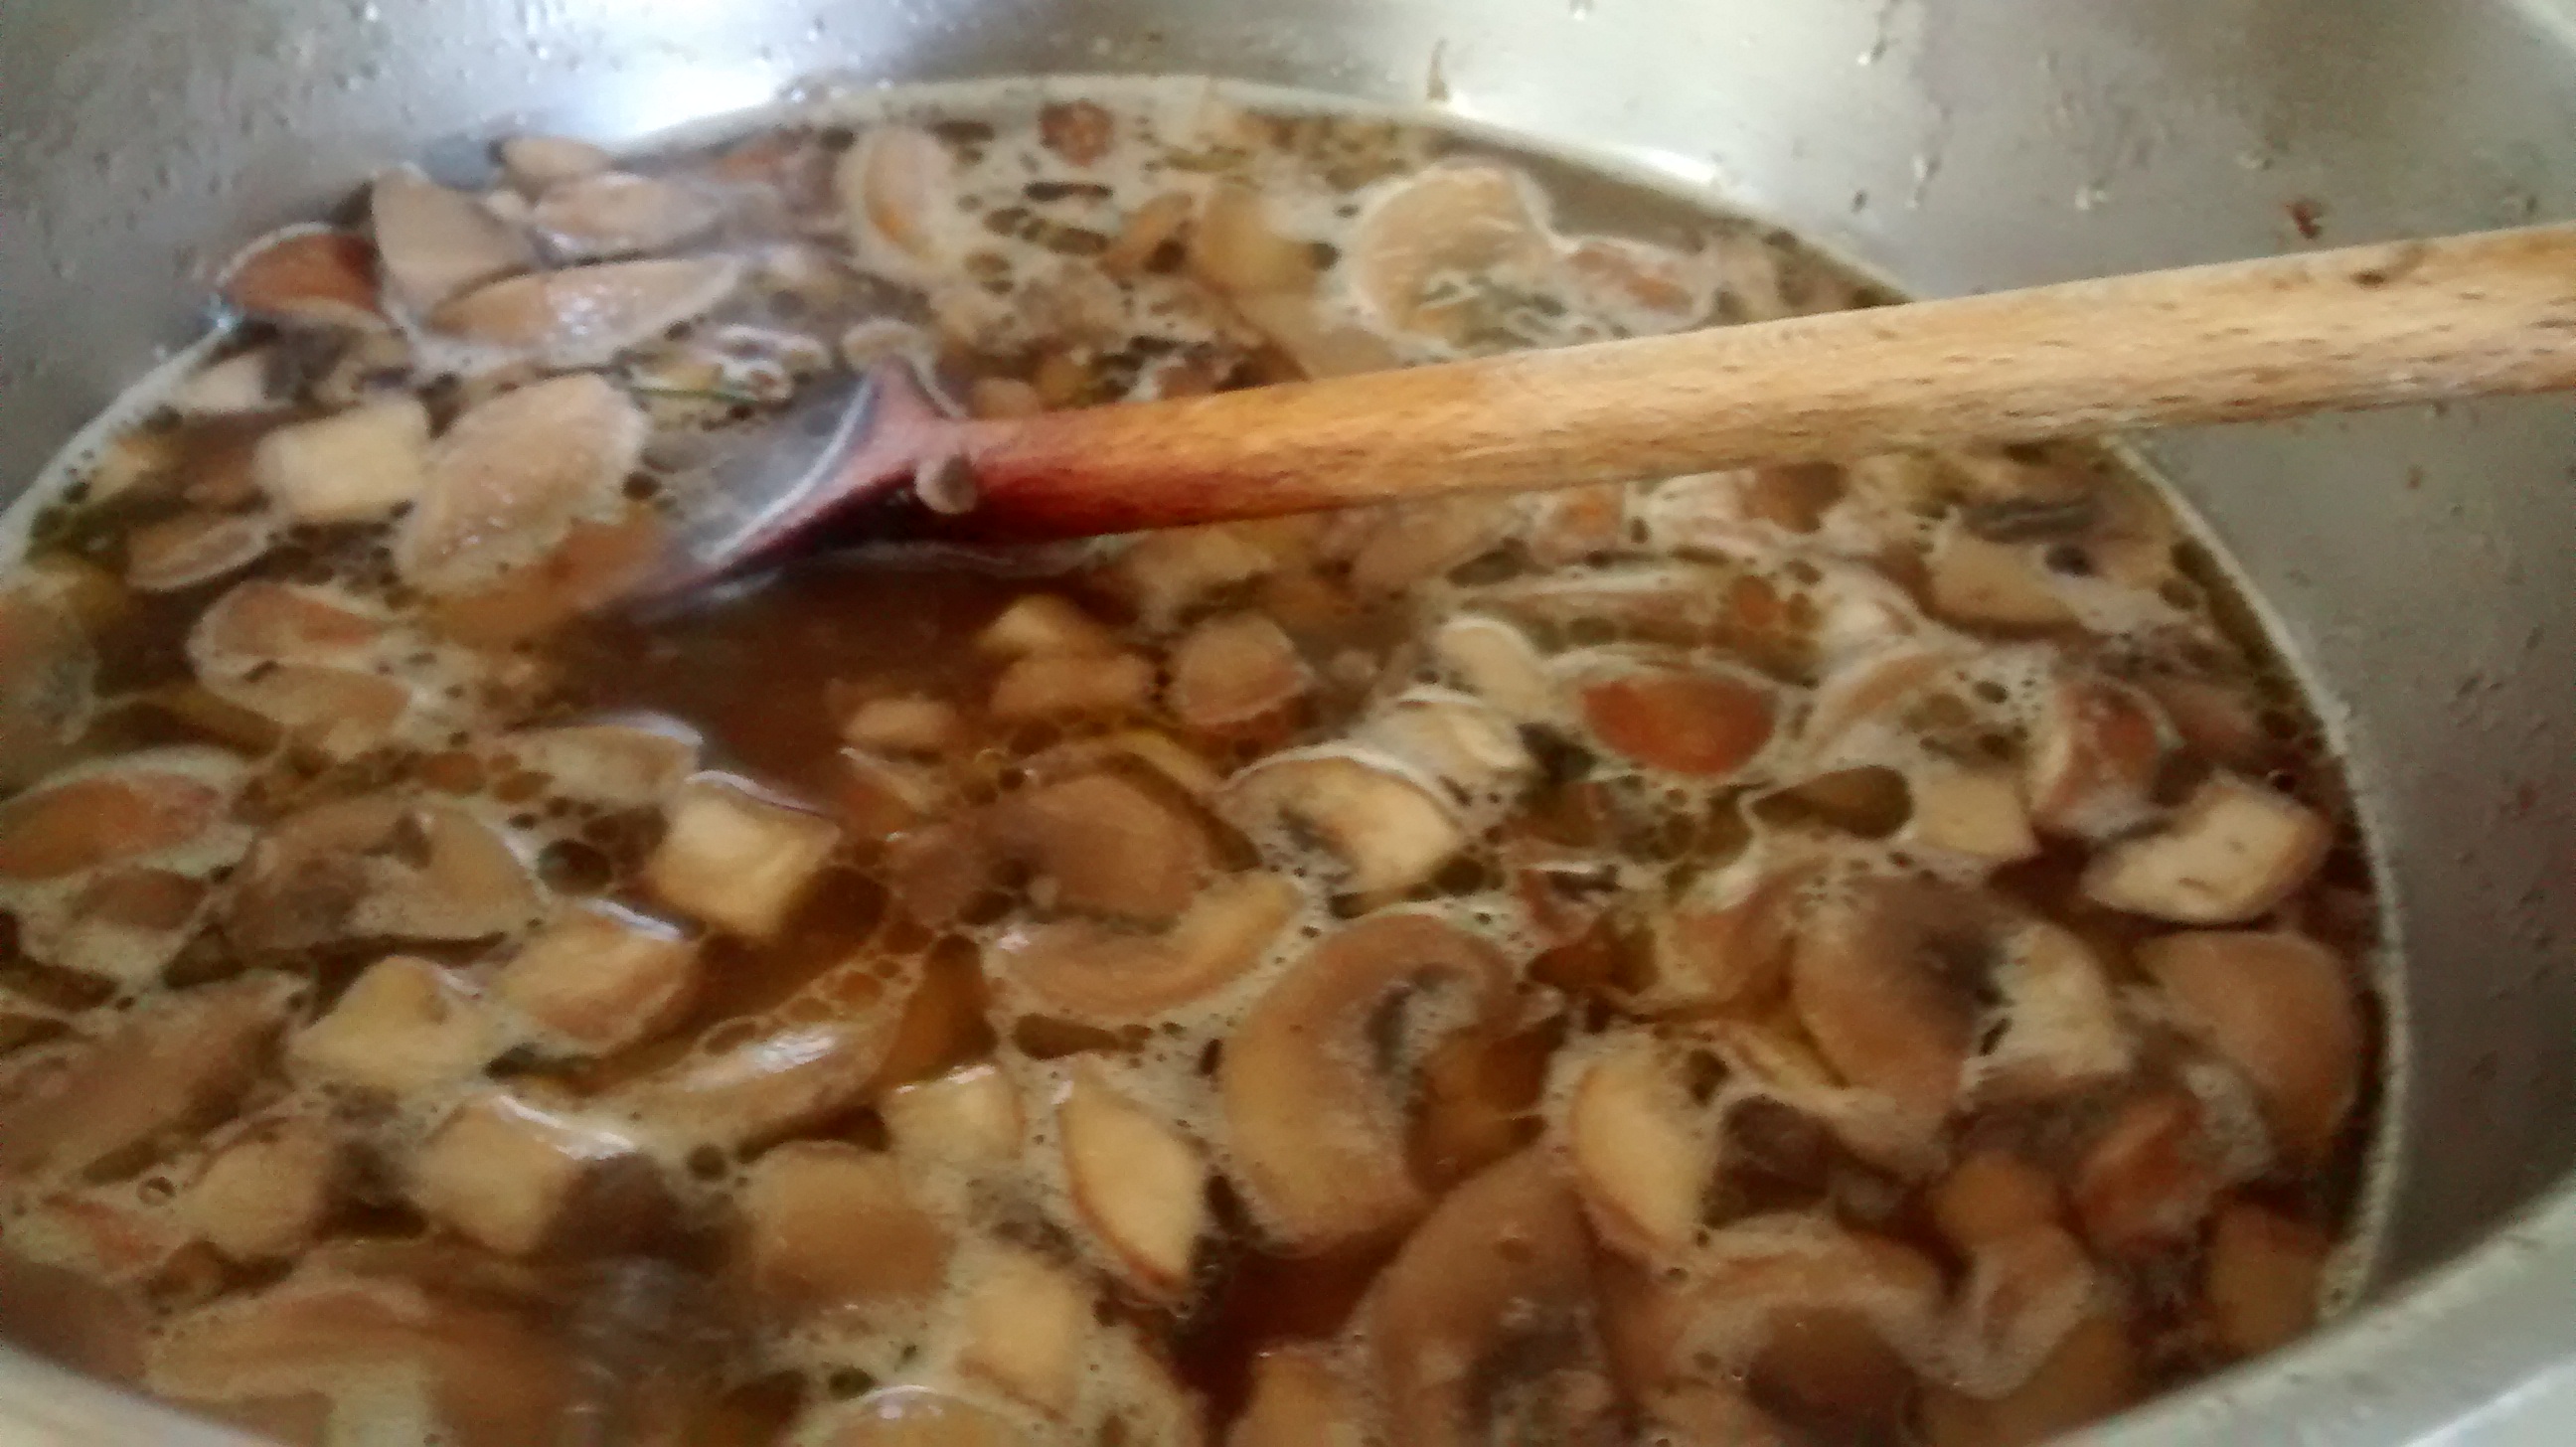
Slice the mushroom caps into fine slices and fry them gently in some butter till they are soft.
Add the dried mushroom pulp and the liquor in which they were seeped.
Simmer gently for about 5 to 10 minutes.
In a little dish mix the cornflour with the milk.
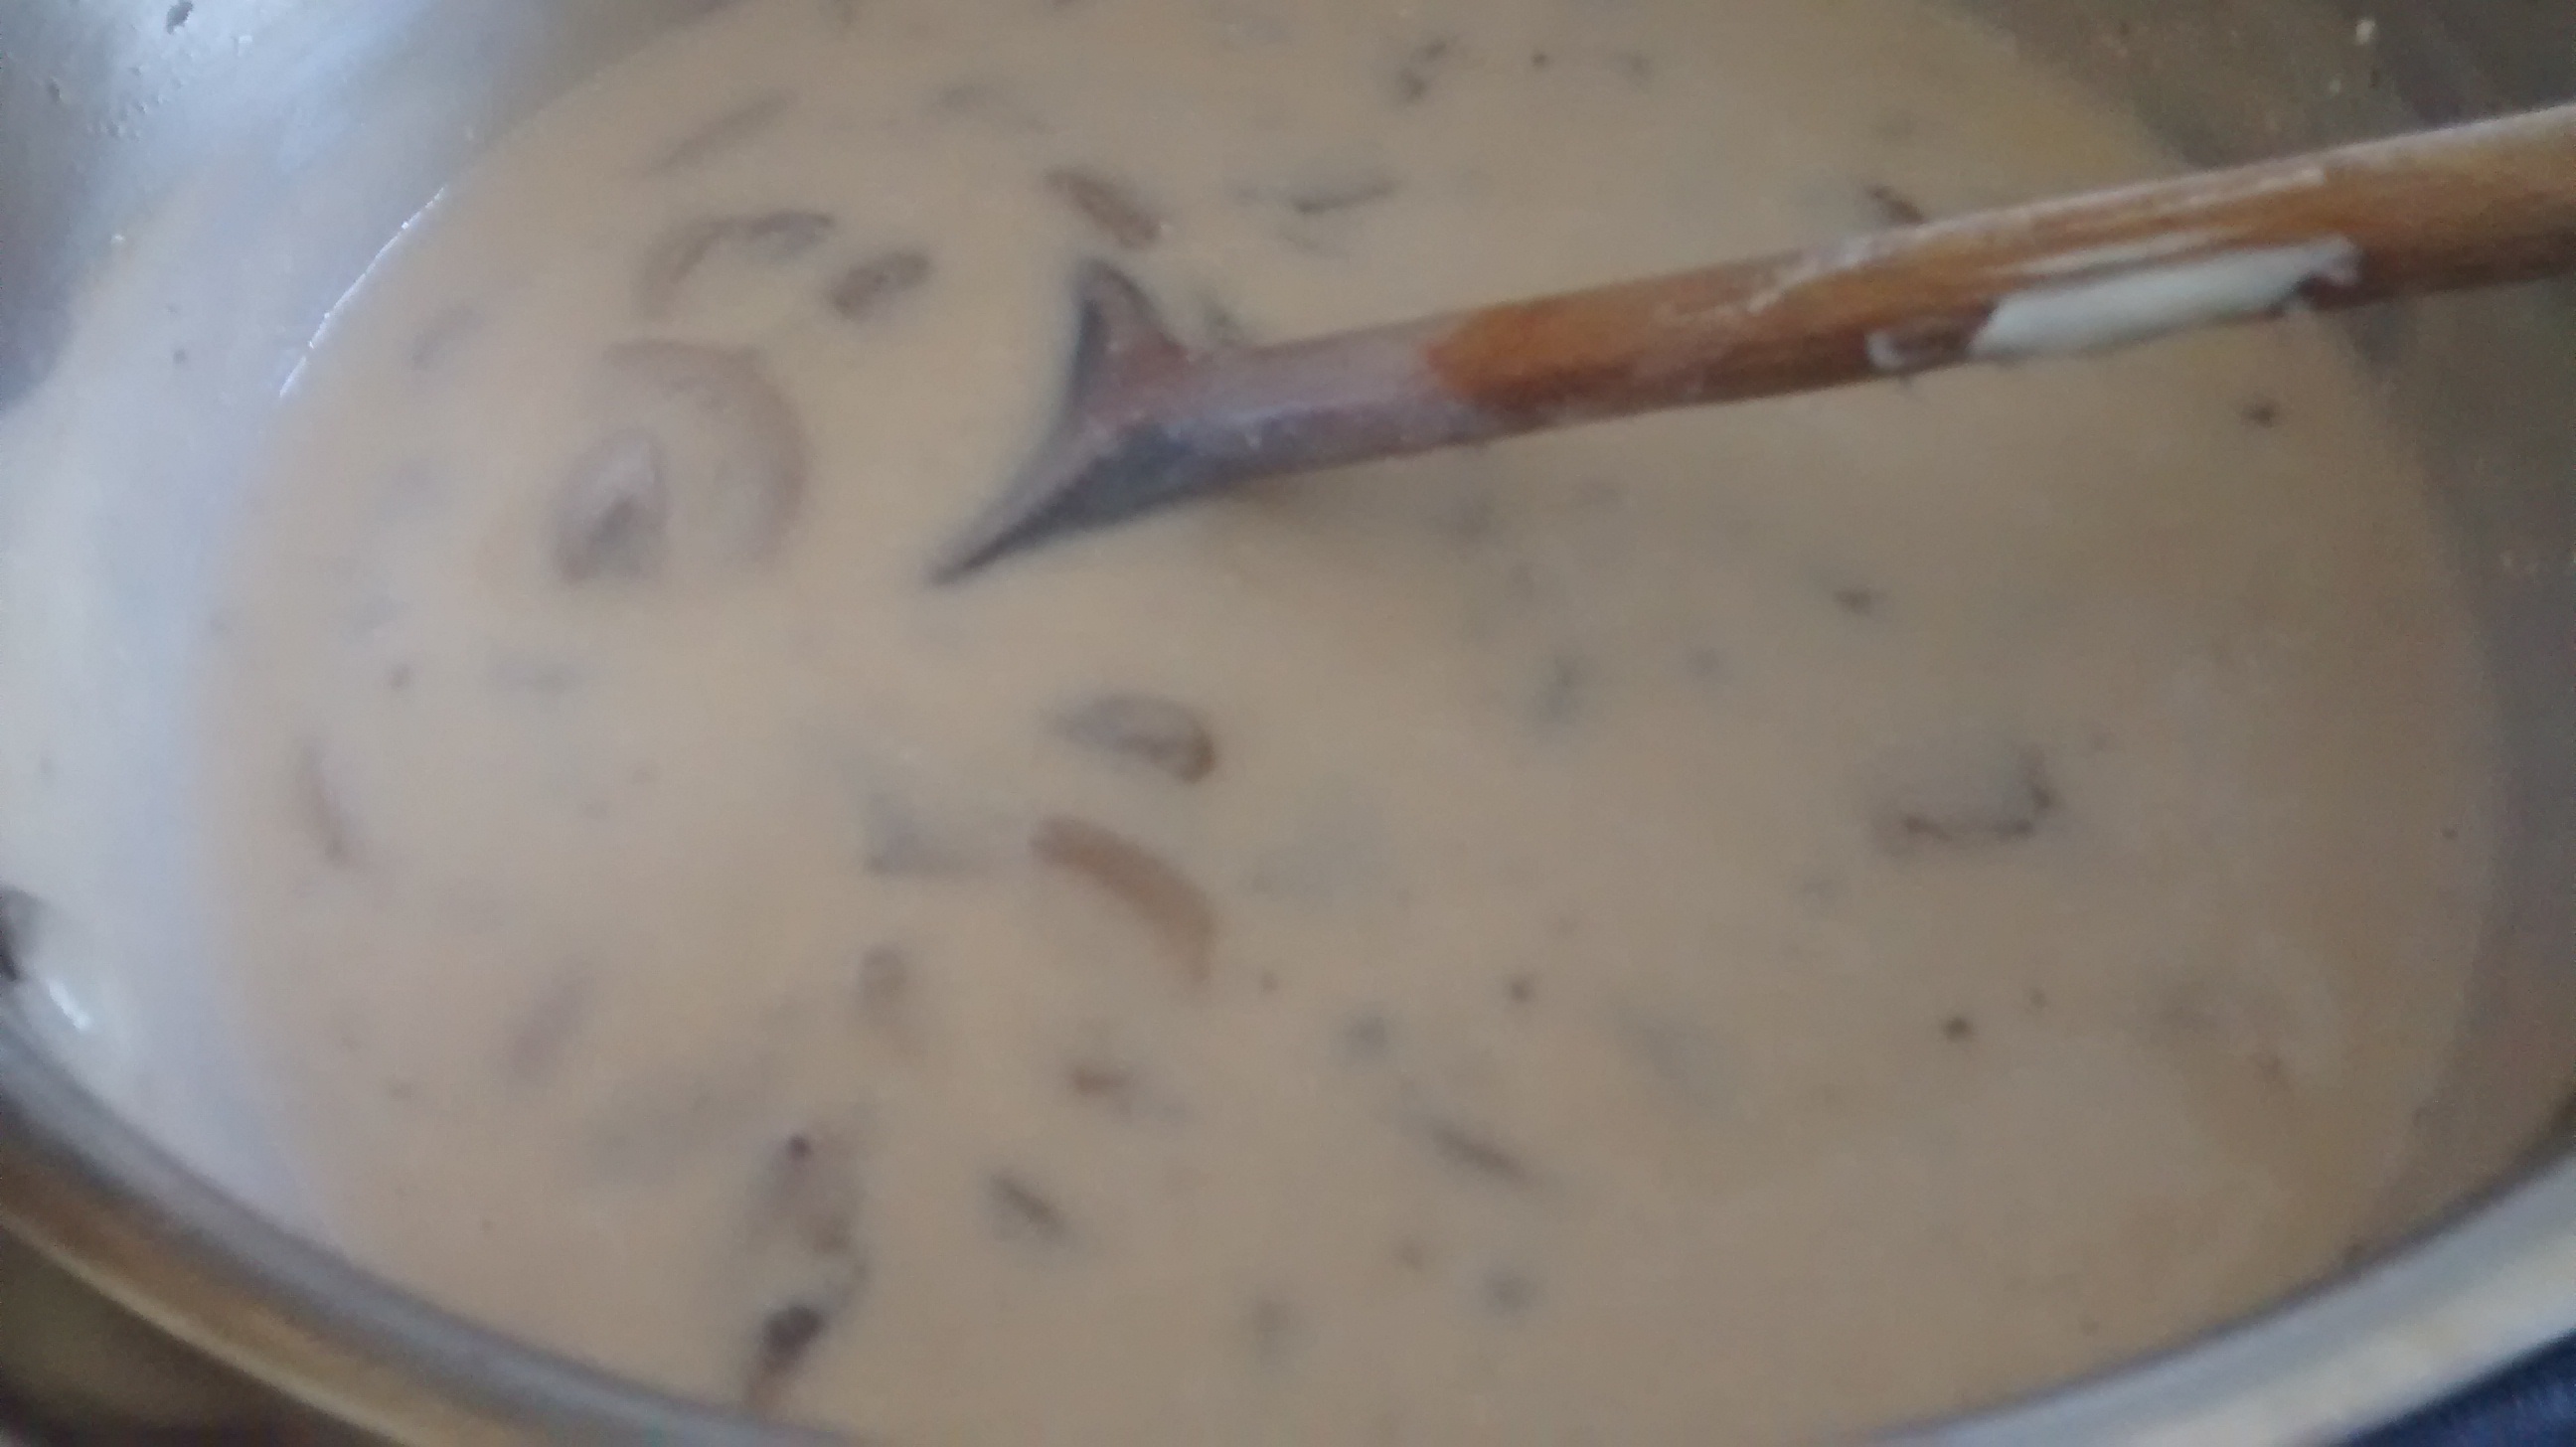
Add the cornflour mixture to the cooked mushrooms and stir gently over the heat until the sauce thickens.
Add salt & pepper to taste.
Remove from the heat and add the 2 large spoonfuls of soured cream and mix well in.
Note
None of these amounts are exact – they are a rough guide depending on what you have – you can use more water, milk or soured cream and so on.
Mushroom sauce 2 – using a mushroom stock cube
Ingredients
150g fresh button mushroom caps – white and/or chestnut
500ml hot boiling water
1 heaped tablespoon of cornflour
3 tablespoons of milk
2 large tablespoons of soured cream.
butter to cook the mushrooms in.
note
I rarely have to add any more salt or pepper as the stock cube has enough seasoning in it.
Method
Dissolve the stock cube in the hot water.
Preparing a Mushroom Stock Cube
Slice the mushroom caps into fine slices and fry them gently in some butter till they are soft.
Simmer gently for about 5 to 10 minutes.
In a little dish mix the cornflour with the milk.
Add the cornflour mixture to the cooked mushrooms and stir gently over the heat until the sauce thickens.
Remove from the heat and add the 2 large spoonfuls of soured cream and mix well in.
If you can get the stock cubes then version 2 is the quickest.
Basic gołąbki recipe without tomatoes
Ingredients
1 large head of white cabbage or Savoy cabbage*
400g rice
500g of minced beef or pork
Chicken stock – a cube or concentrate will do
salt & pepper
2 bay leaves
3 or 4 peppercorns or allspice or both
juice of 1 or 2 lemons.
*As you need whole largish cabbage leaves I sometimes use 2 cabbages to get the bigger leaves. Recently I have started to use Sweetheart cabbage which has large leaves on the outside but you will most likely need 2 of these.
Instructions from my Polish cookbook “bible”
You need to parboil the rice in salted water so that it is about half way to being cooked and then strain the rice and let it go cold, but if you have some plain boiled rice left from another day you could use this, as this is not critical.
In a large bowl mix the rice and minced meat and add salt and pepper. The exact amounts do not matter. I like it to look about 50/50 white and pink but these can be made with much more rice to eke out the meat available.
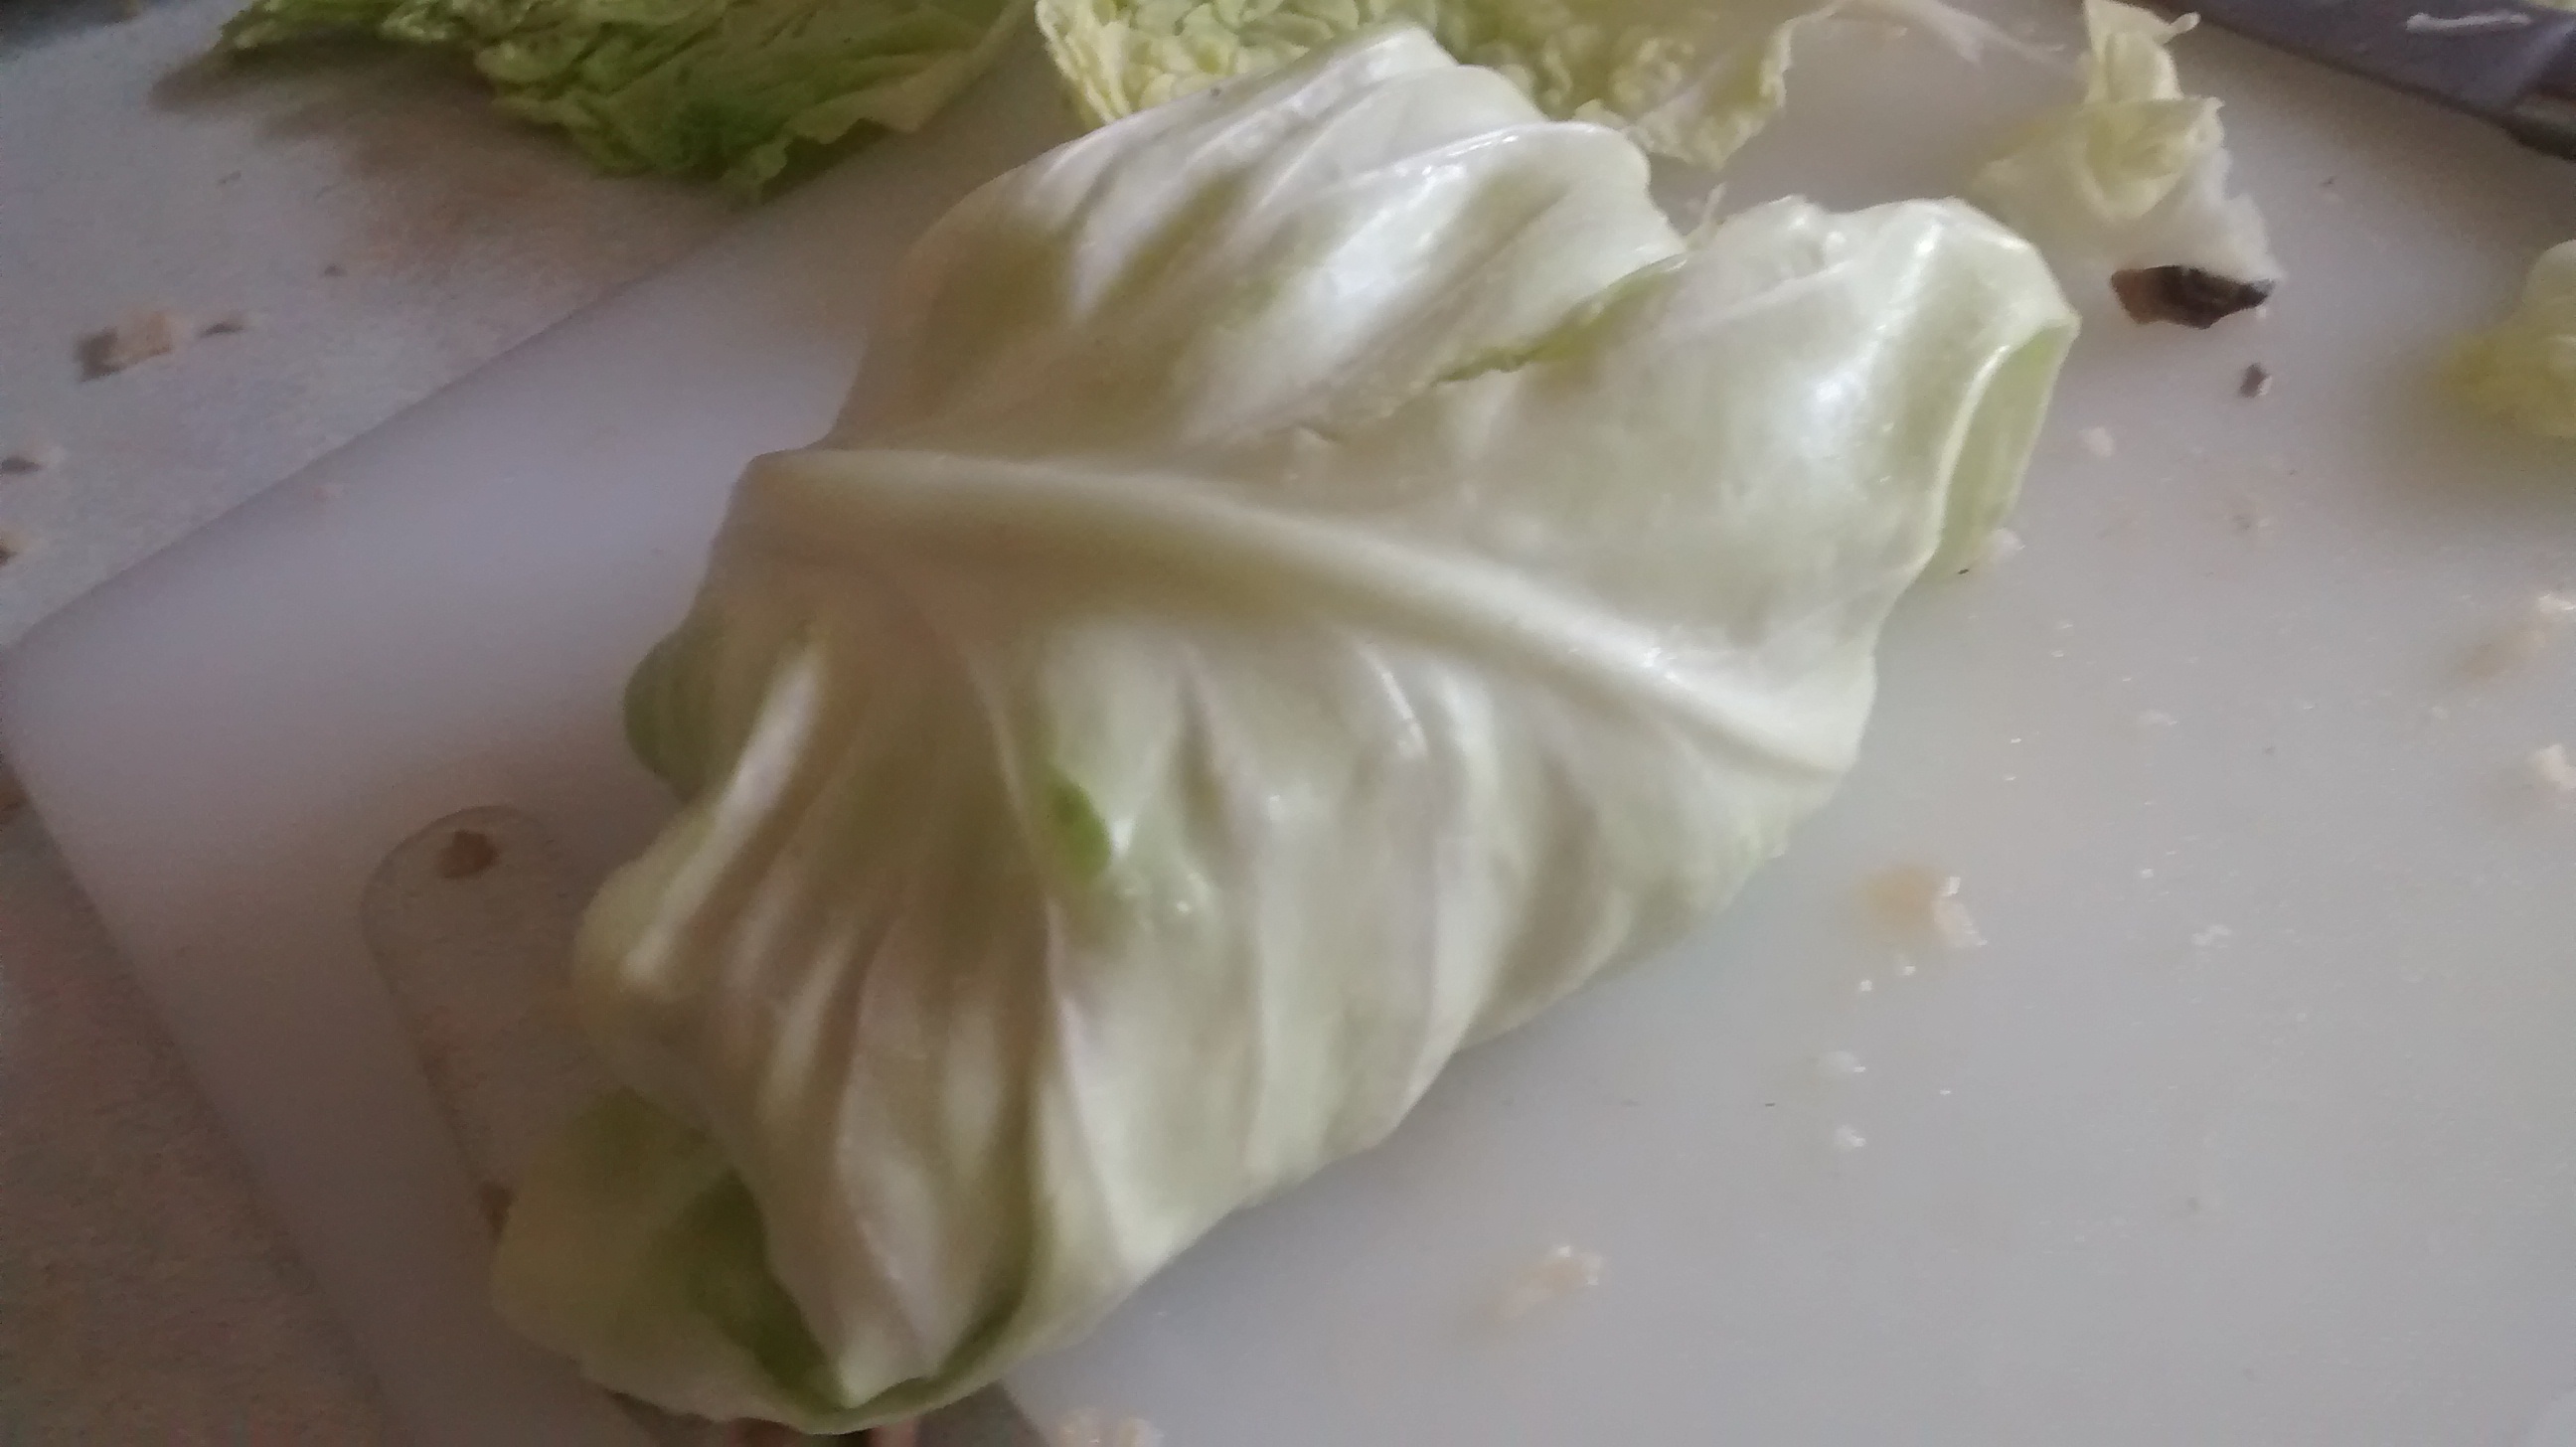
Next comes the hardest part and patience is called for here to avoid getting scalded fingers. You have to heat or steam the cabbage to make the leaves pliable so you can remove them one by one and use them to encase the filling.
You need the largest pan you have into which you place the cabbage head. I boil some water in a kettle and pour this over the cabbage in the pan with some heat under the pan I let the cabbage cook a little. The temptation is to boil to quickly so making some of the leave too soft and runs the risk of getting scalded as you try to remove the leaves.
Another method is to place the cabbage into a metal colander and set this over the pan of water so that it is steamed rather than boiled.
As the leaves become soft, you have to cut them off from the stalk and stack them up for to use later, you can cut out the thickest part of the stalk from the first few larger leaves.
Pre heat the oven to GM3 – 160oC
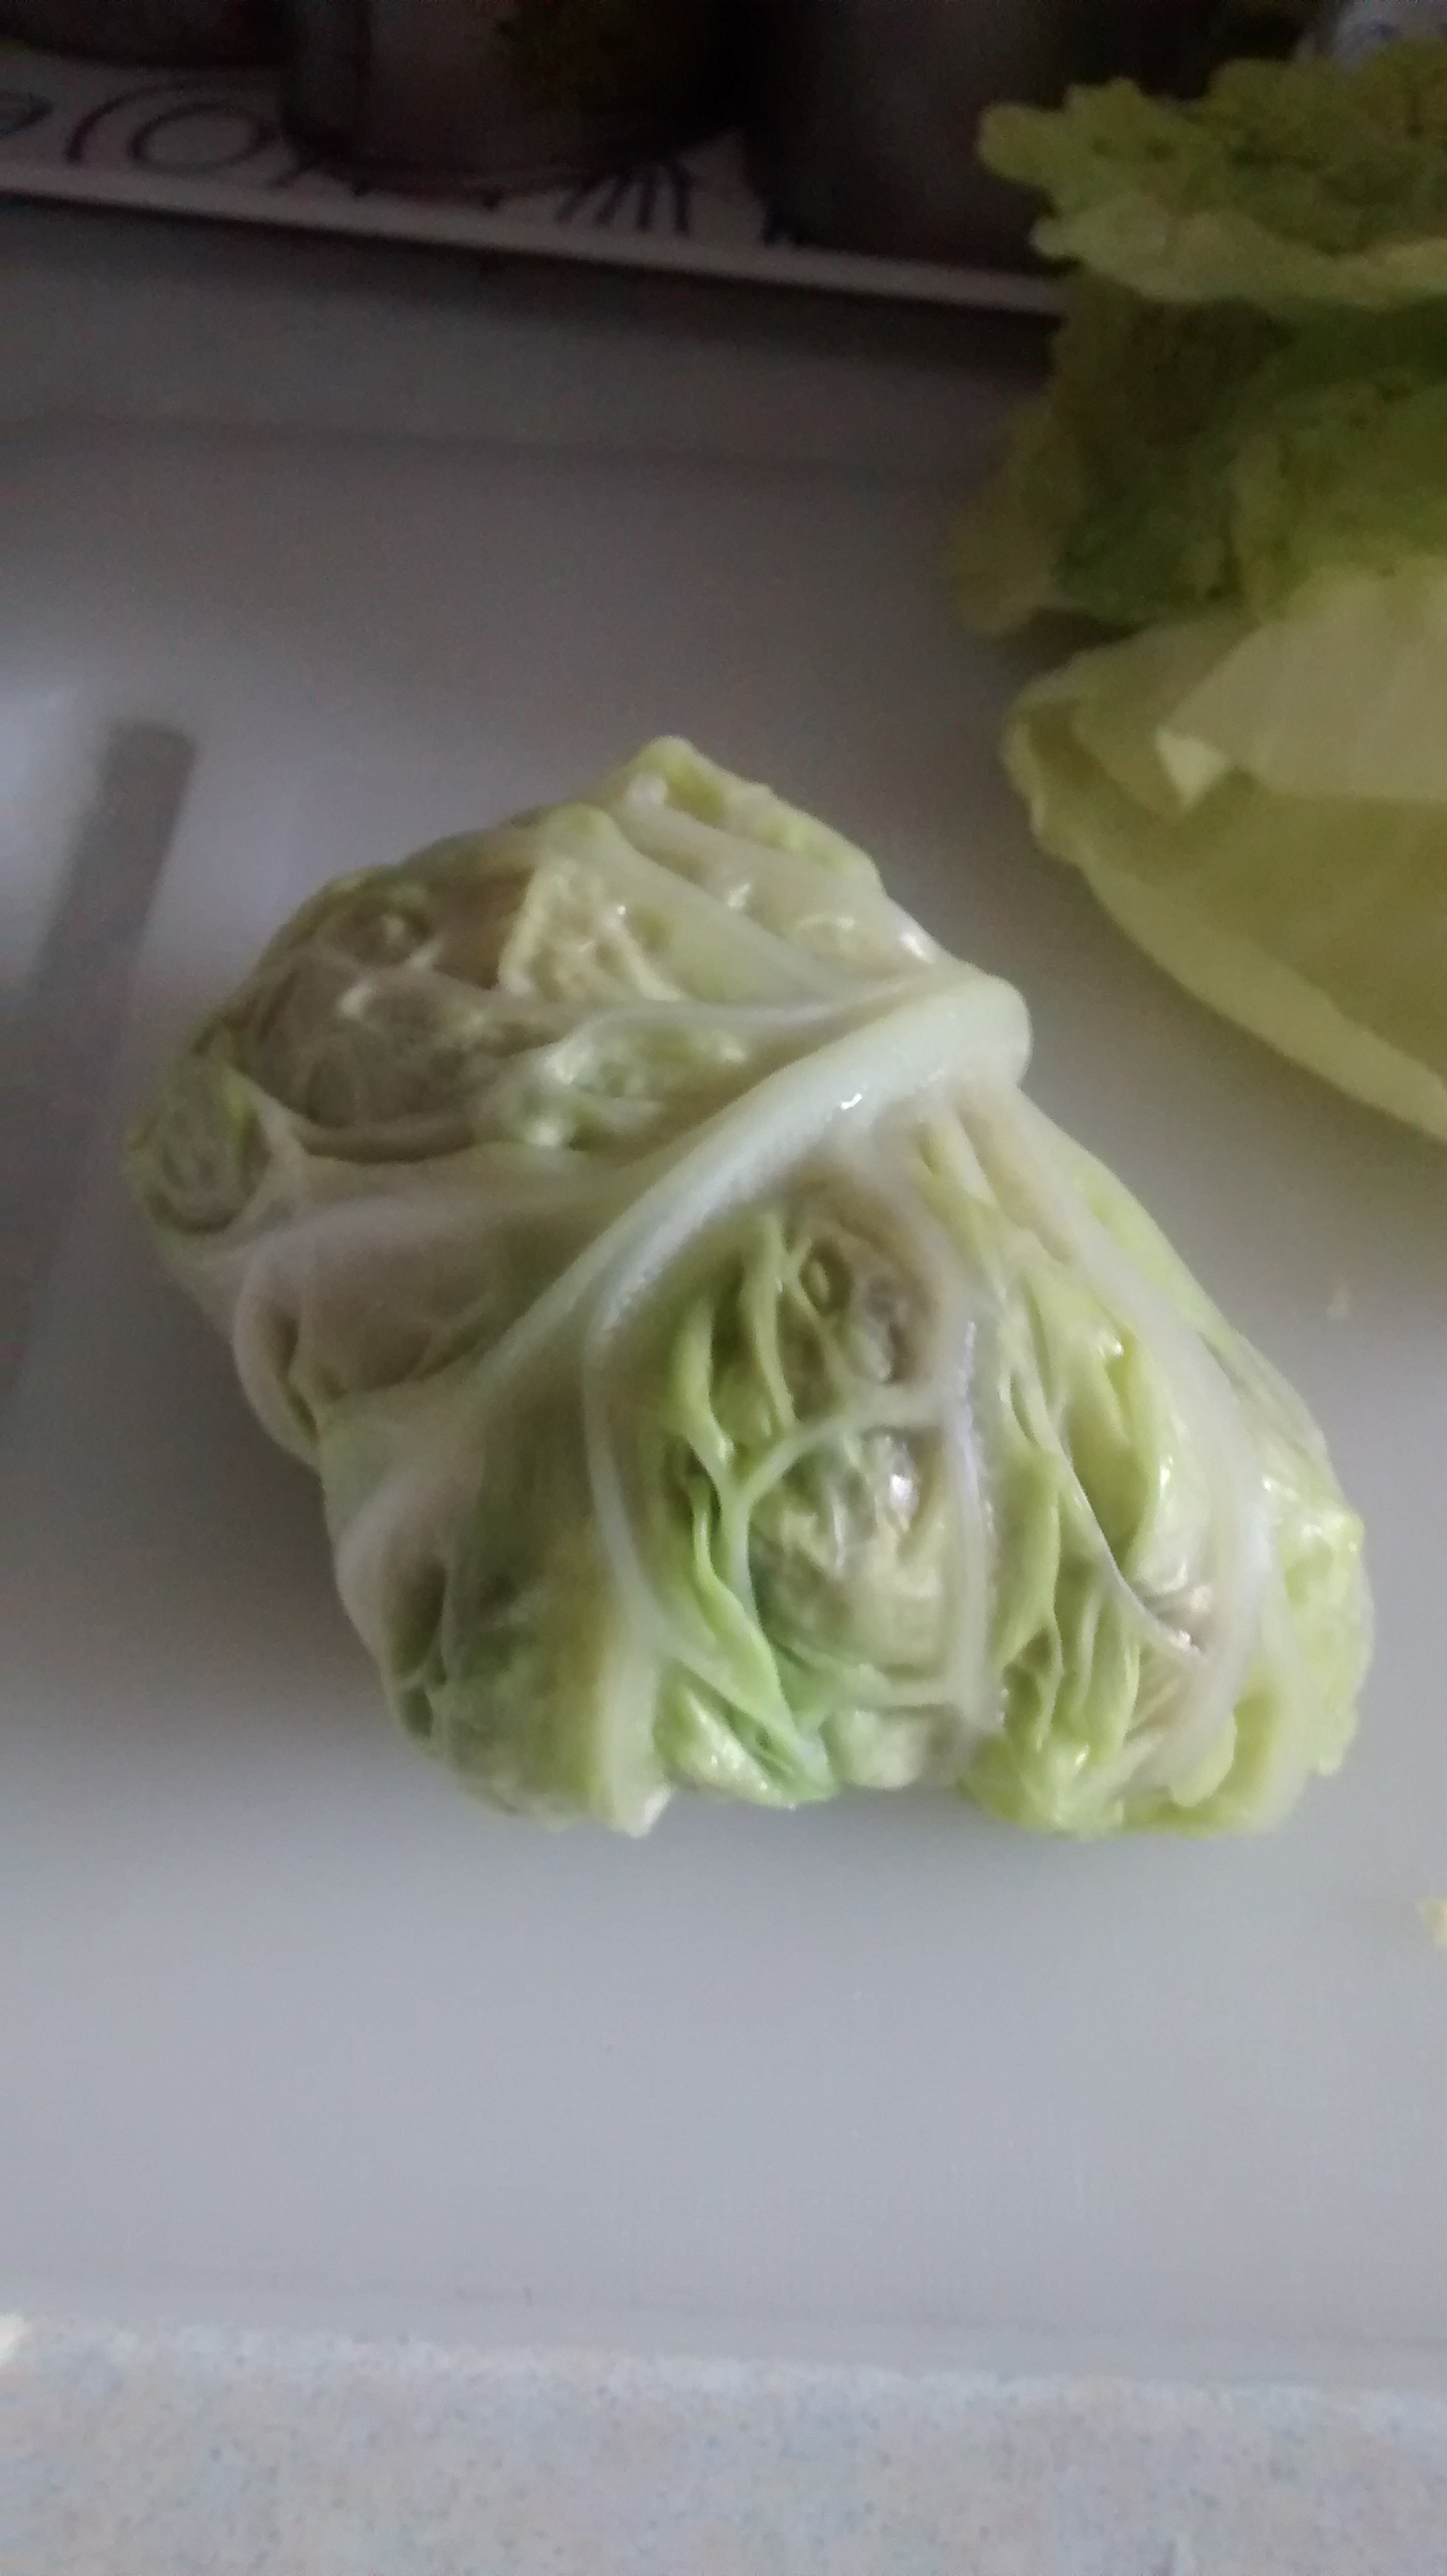
Place a small handful of the rice & meat mixture onto a cabbage leaf and roll up from the stalk end, tuck in the sides and secure with the outer edge of the leaf to make a small parcel.
Place the rolls into a large casserole dish, packing as many rolls as possible in rows in the dish. Depending on the depth of the dish repeat this for another layer.
A tip I got from my late cousin, Krystyna, is to use extra cabbage leaves on the base of the dish and then to put extra leaves on the top of the rolls.
The rolls sometimes have a habit of getting slightly burnt on the top as they come out of the liquid and sometimes at the base if they have been in the oven a long time, these extra layers protect the rolls and can be discarded at the end.
Make a large amount of stock with hot water and lemon juice and add bay leaves, peppercorns and allspice.
Cover the rolls with this liquid. It is a good idea to have extra which you can use to top up as they are cooking.
Cover with the lid and place in the oven and cook for several hours. Check them occasionally and keep them covered with liquid as much as possible.
I always think these taste better when made a day before hand and left for the liquid to seep in more and then reheated in the oven as required.
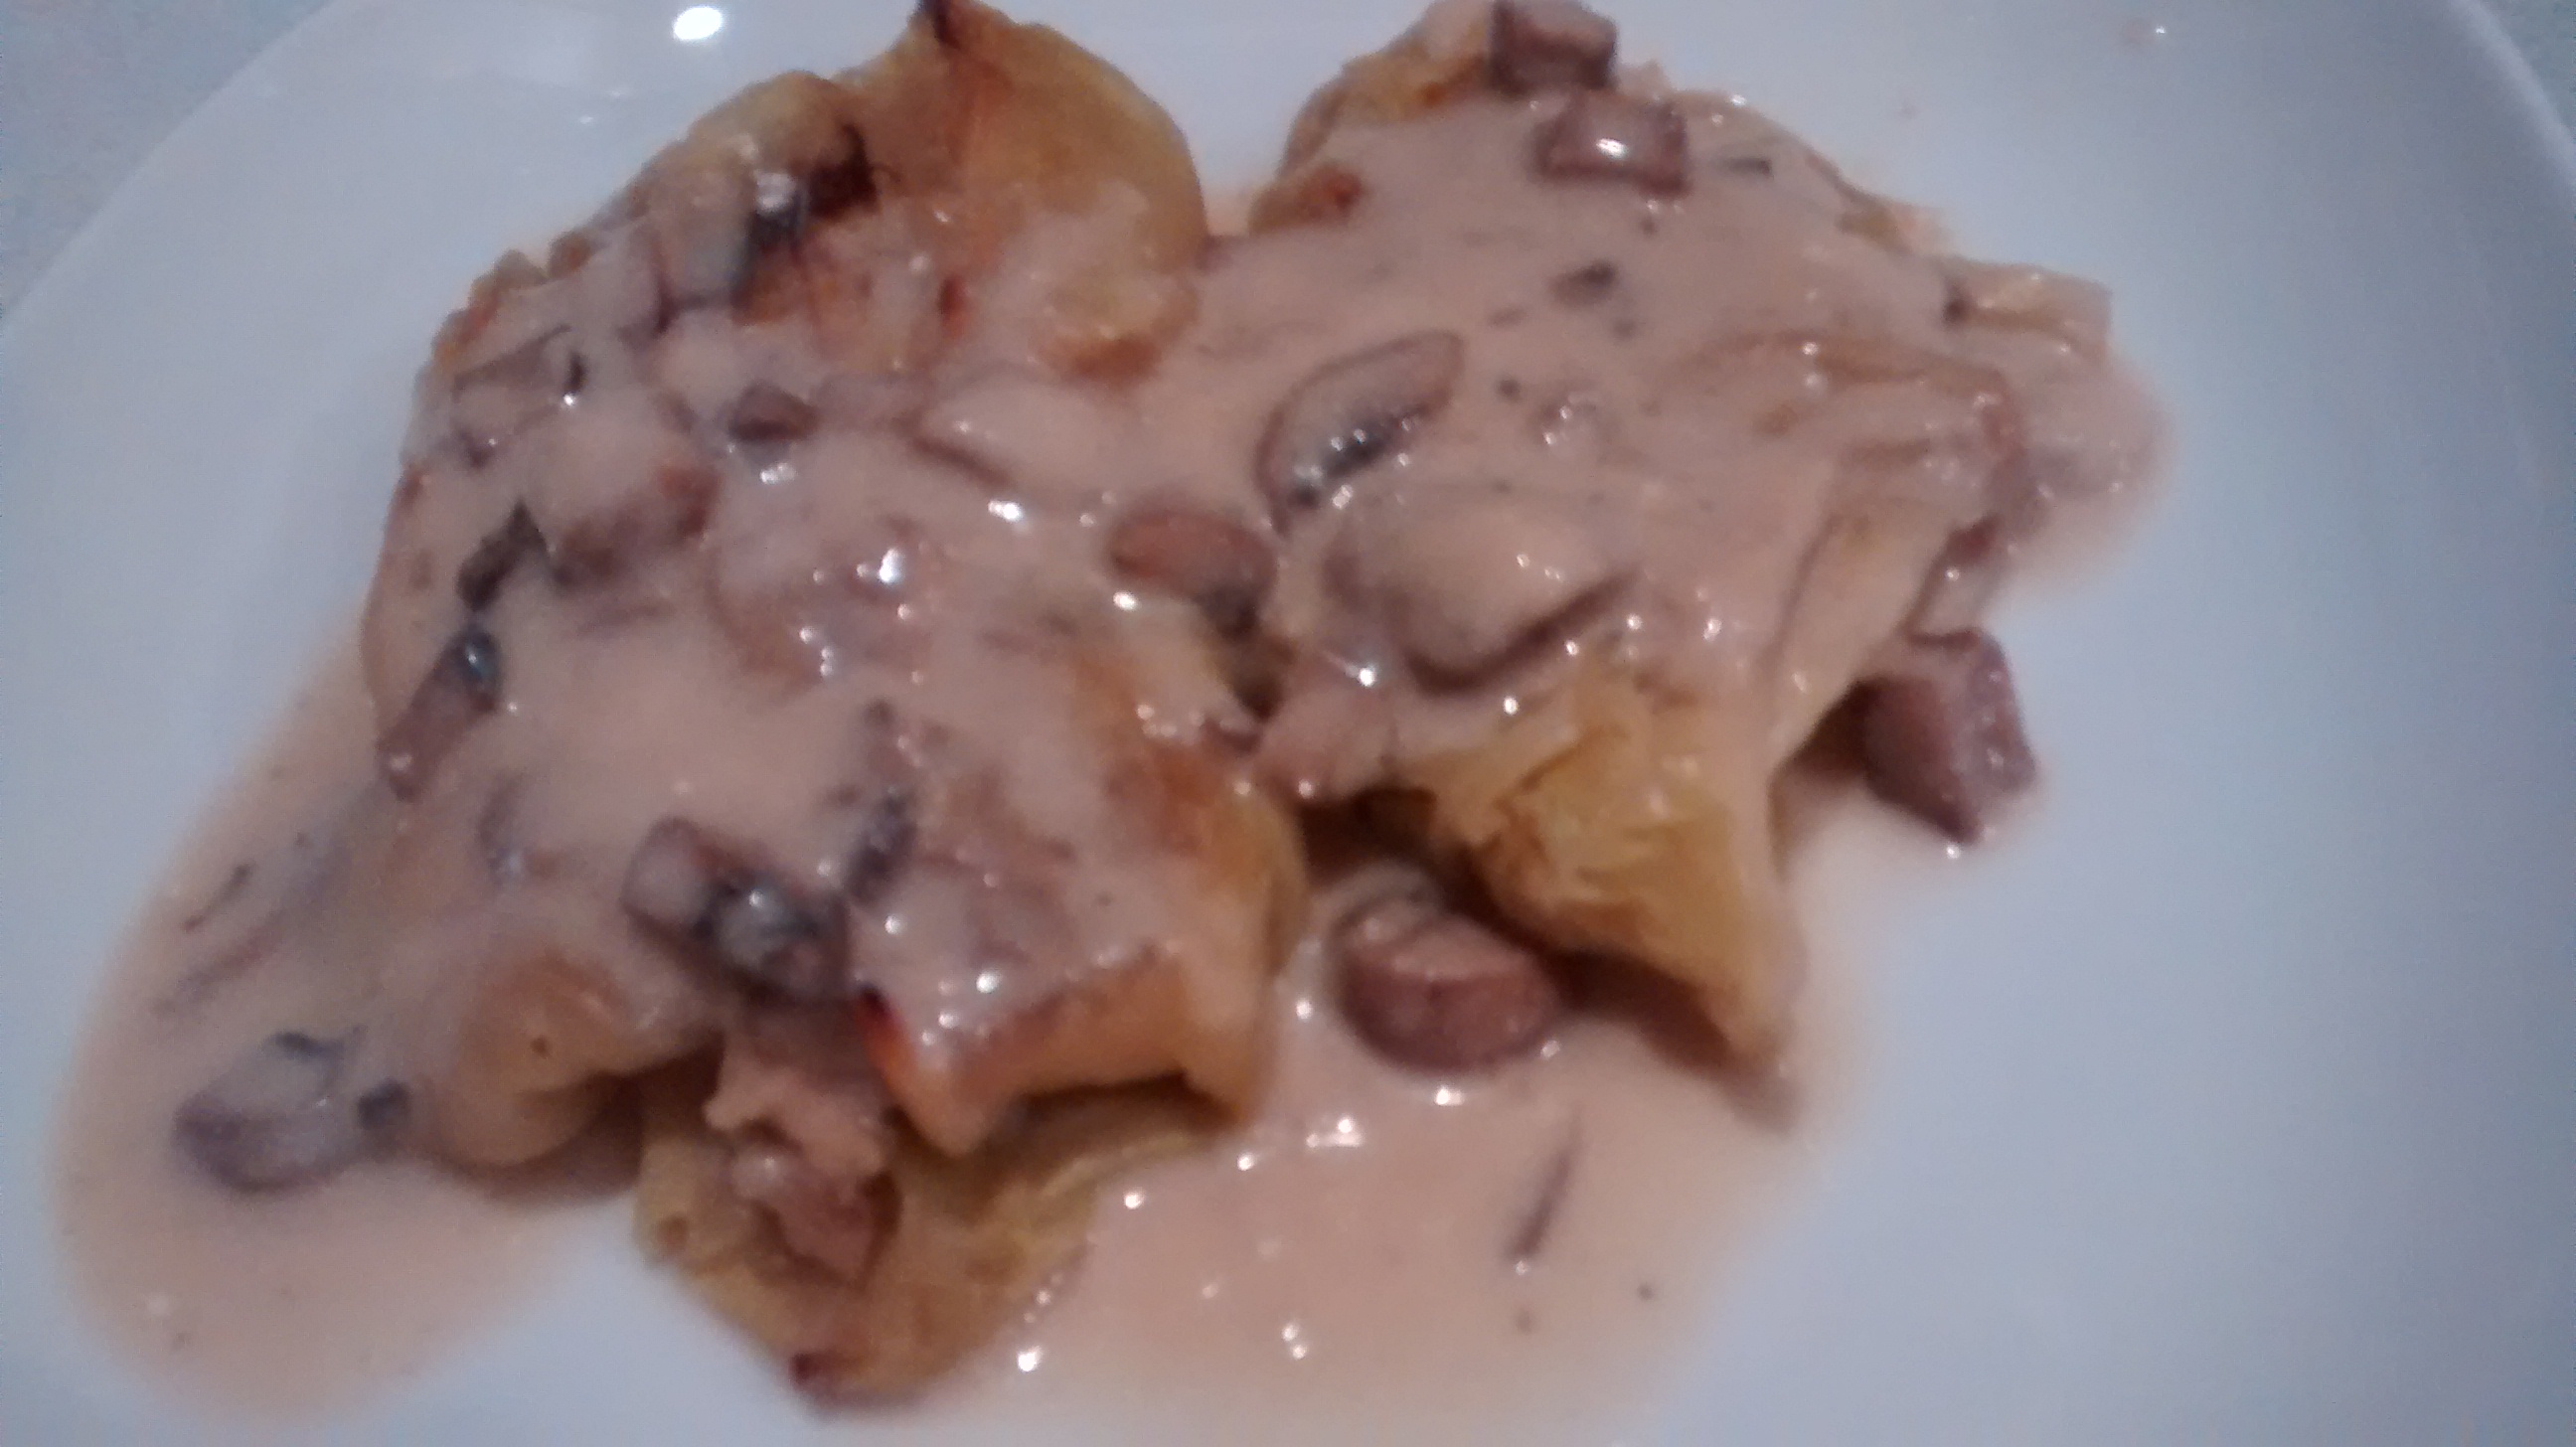
In the style of Dom Polonii
Sprinkling some chopped dill or flat leaf parsley on the top will be even better (Sadly I did not have any on the day of this photograph).


")

")