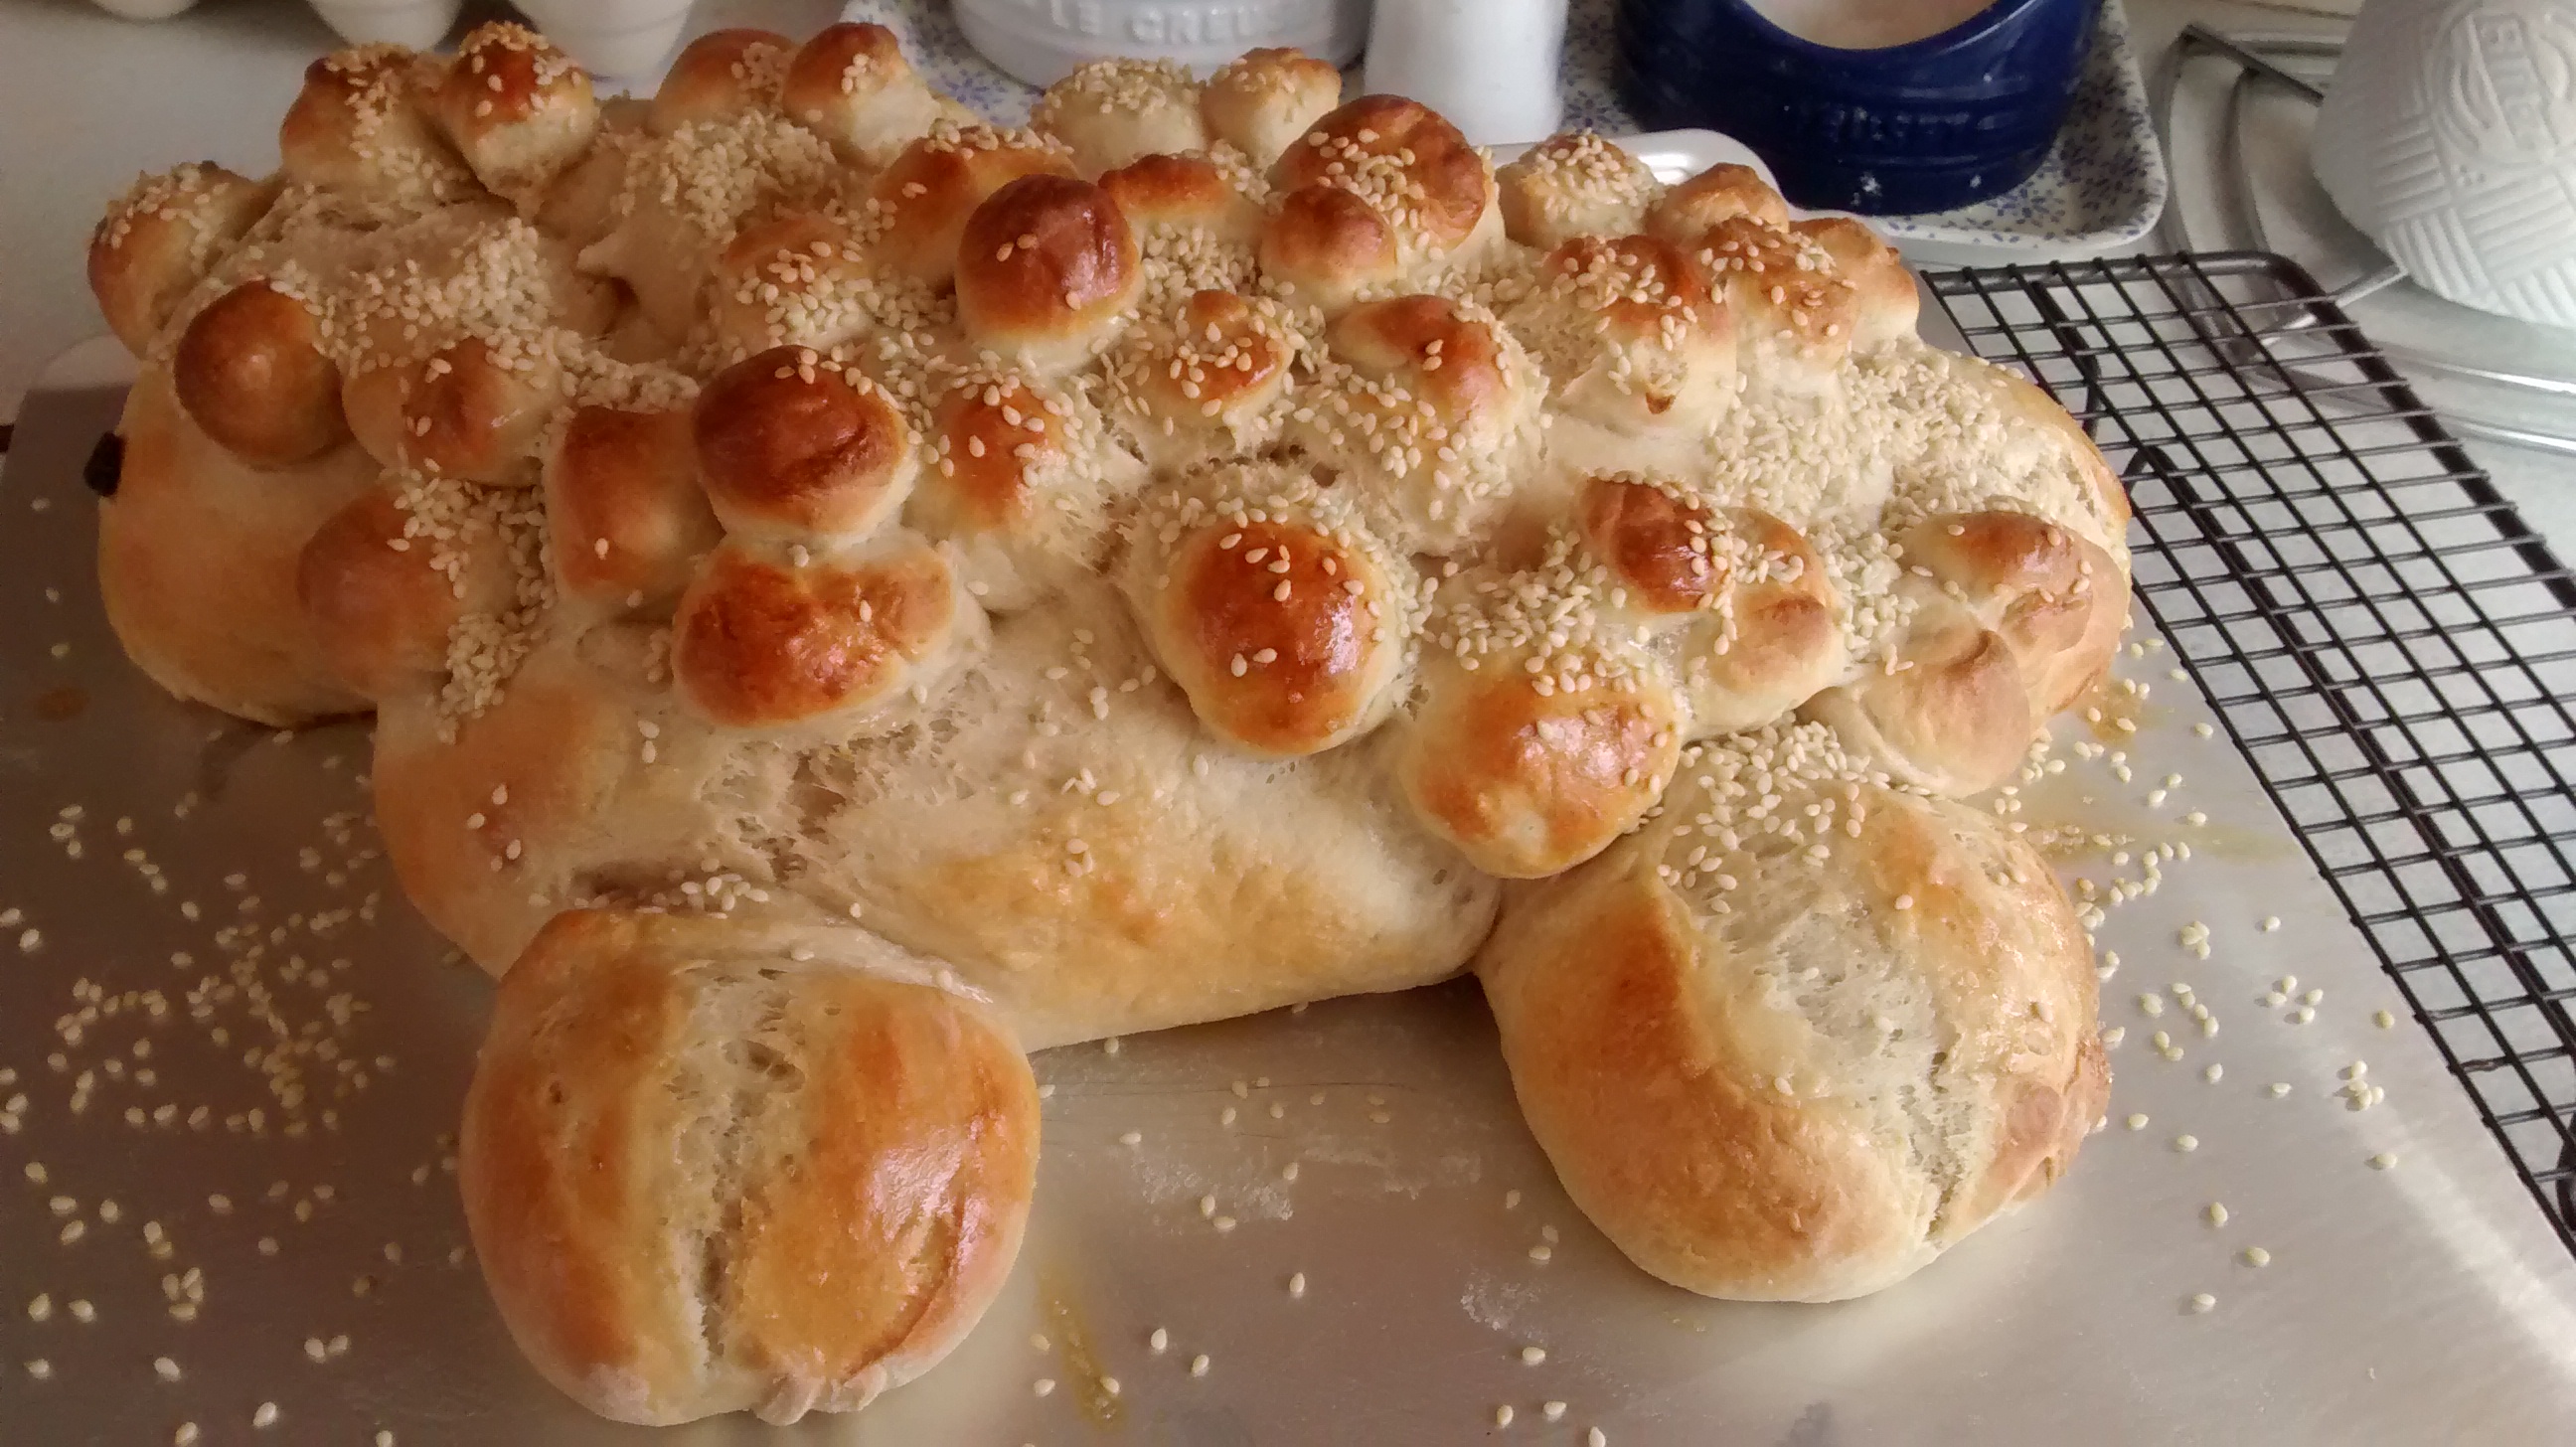
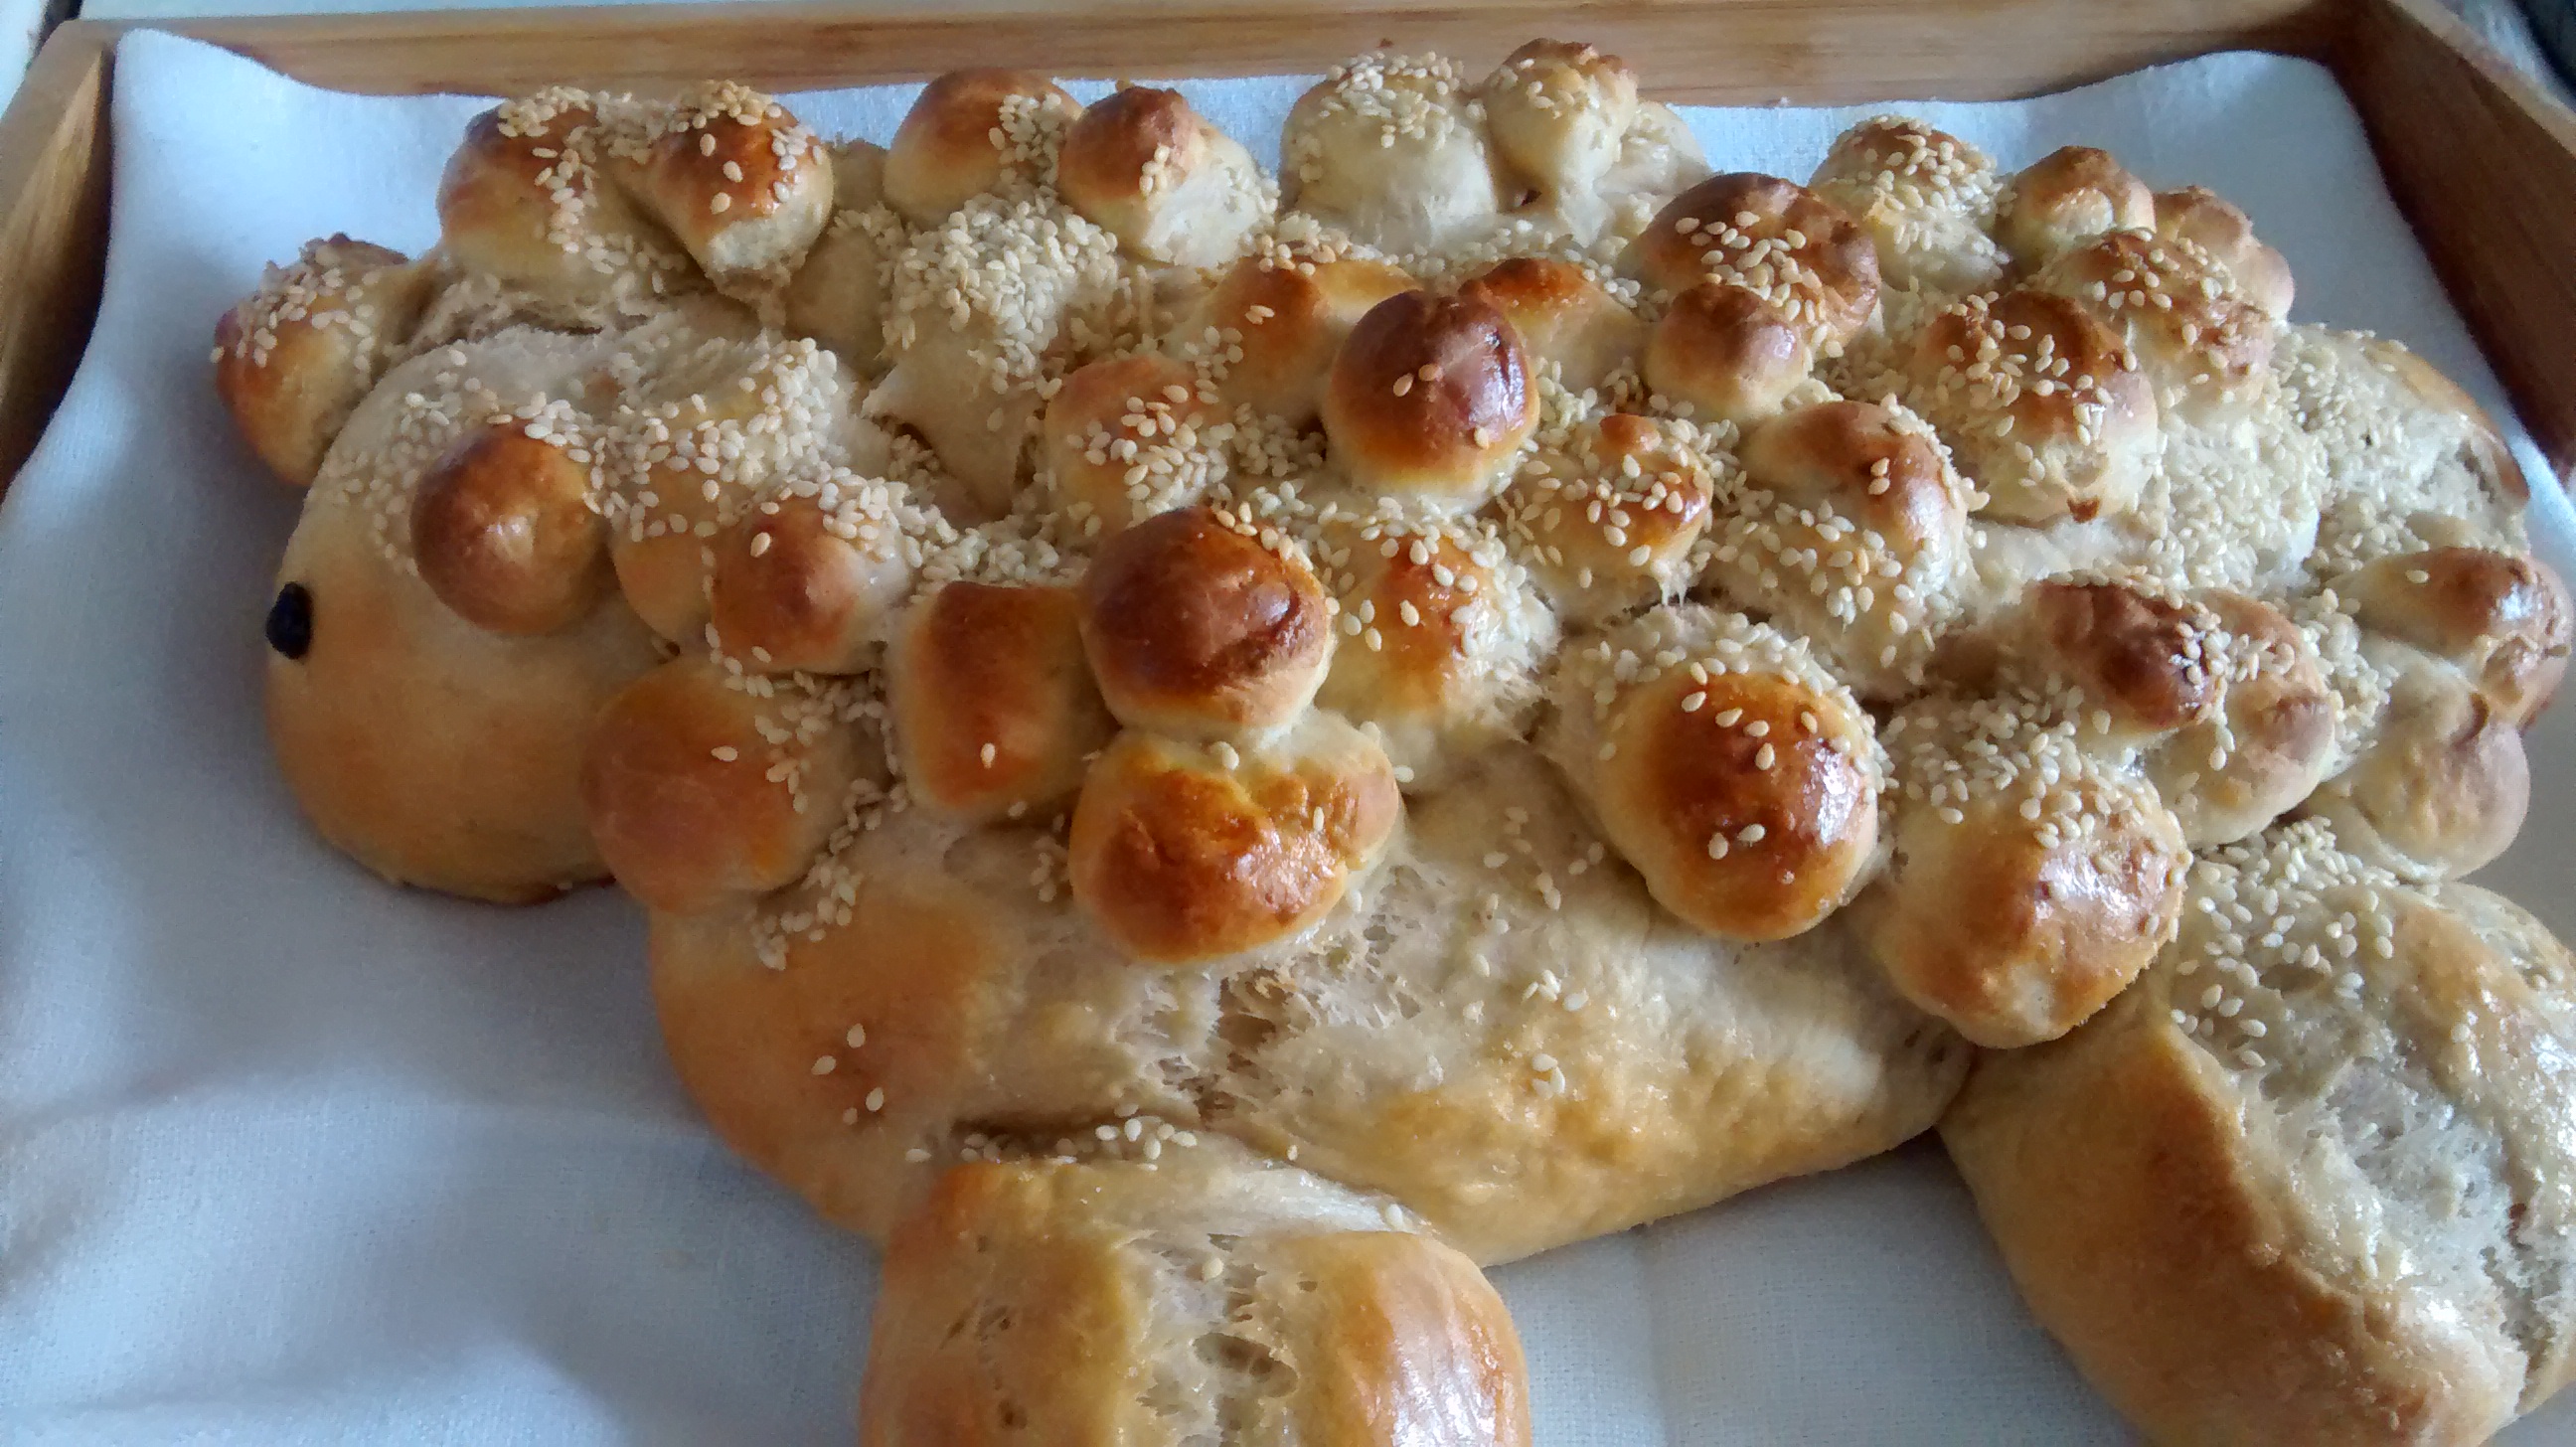
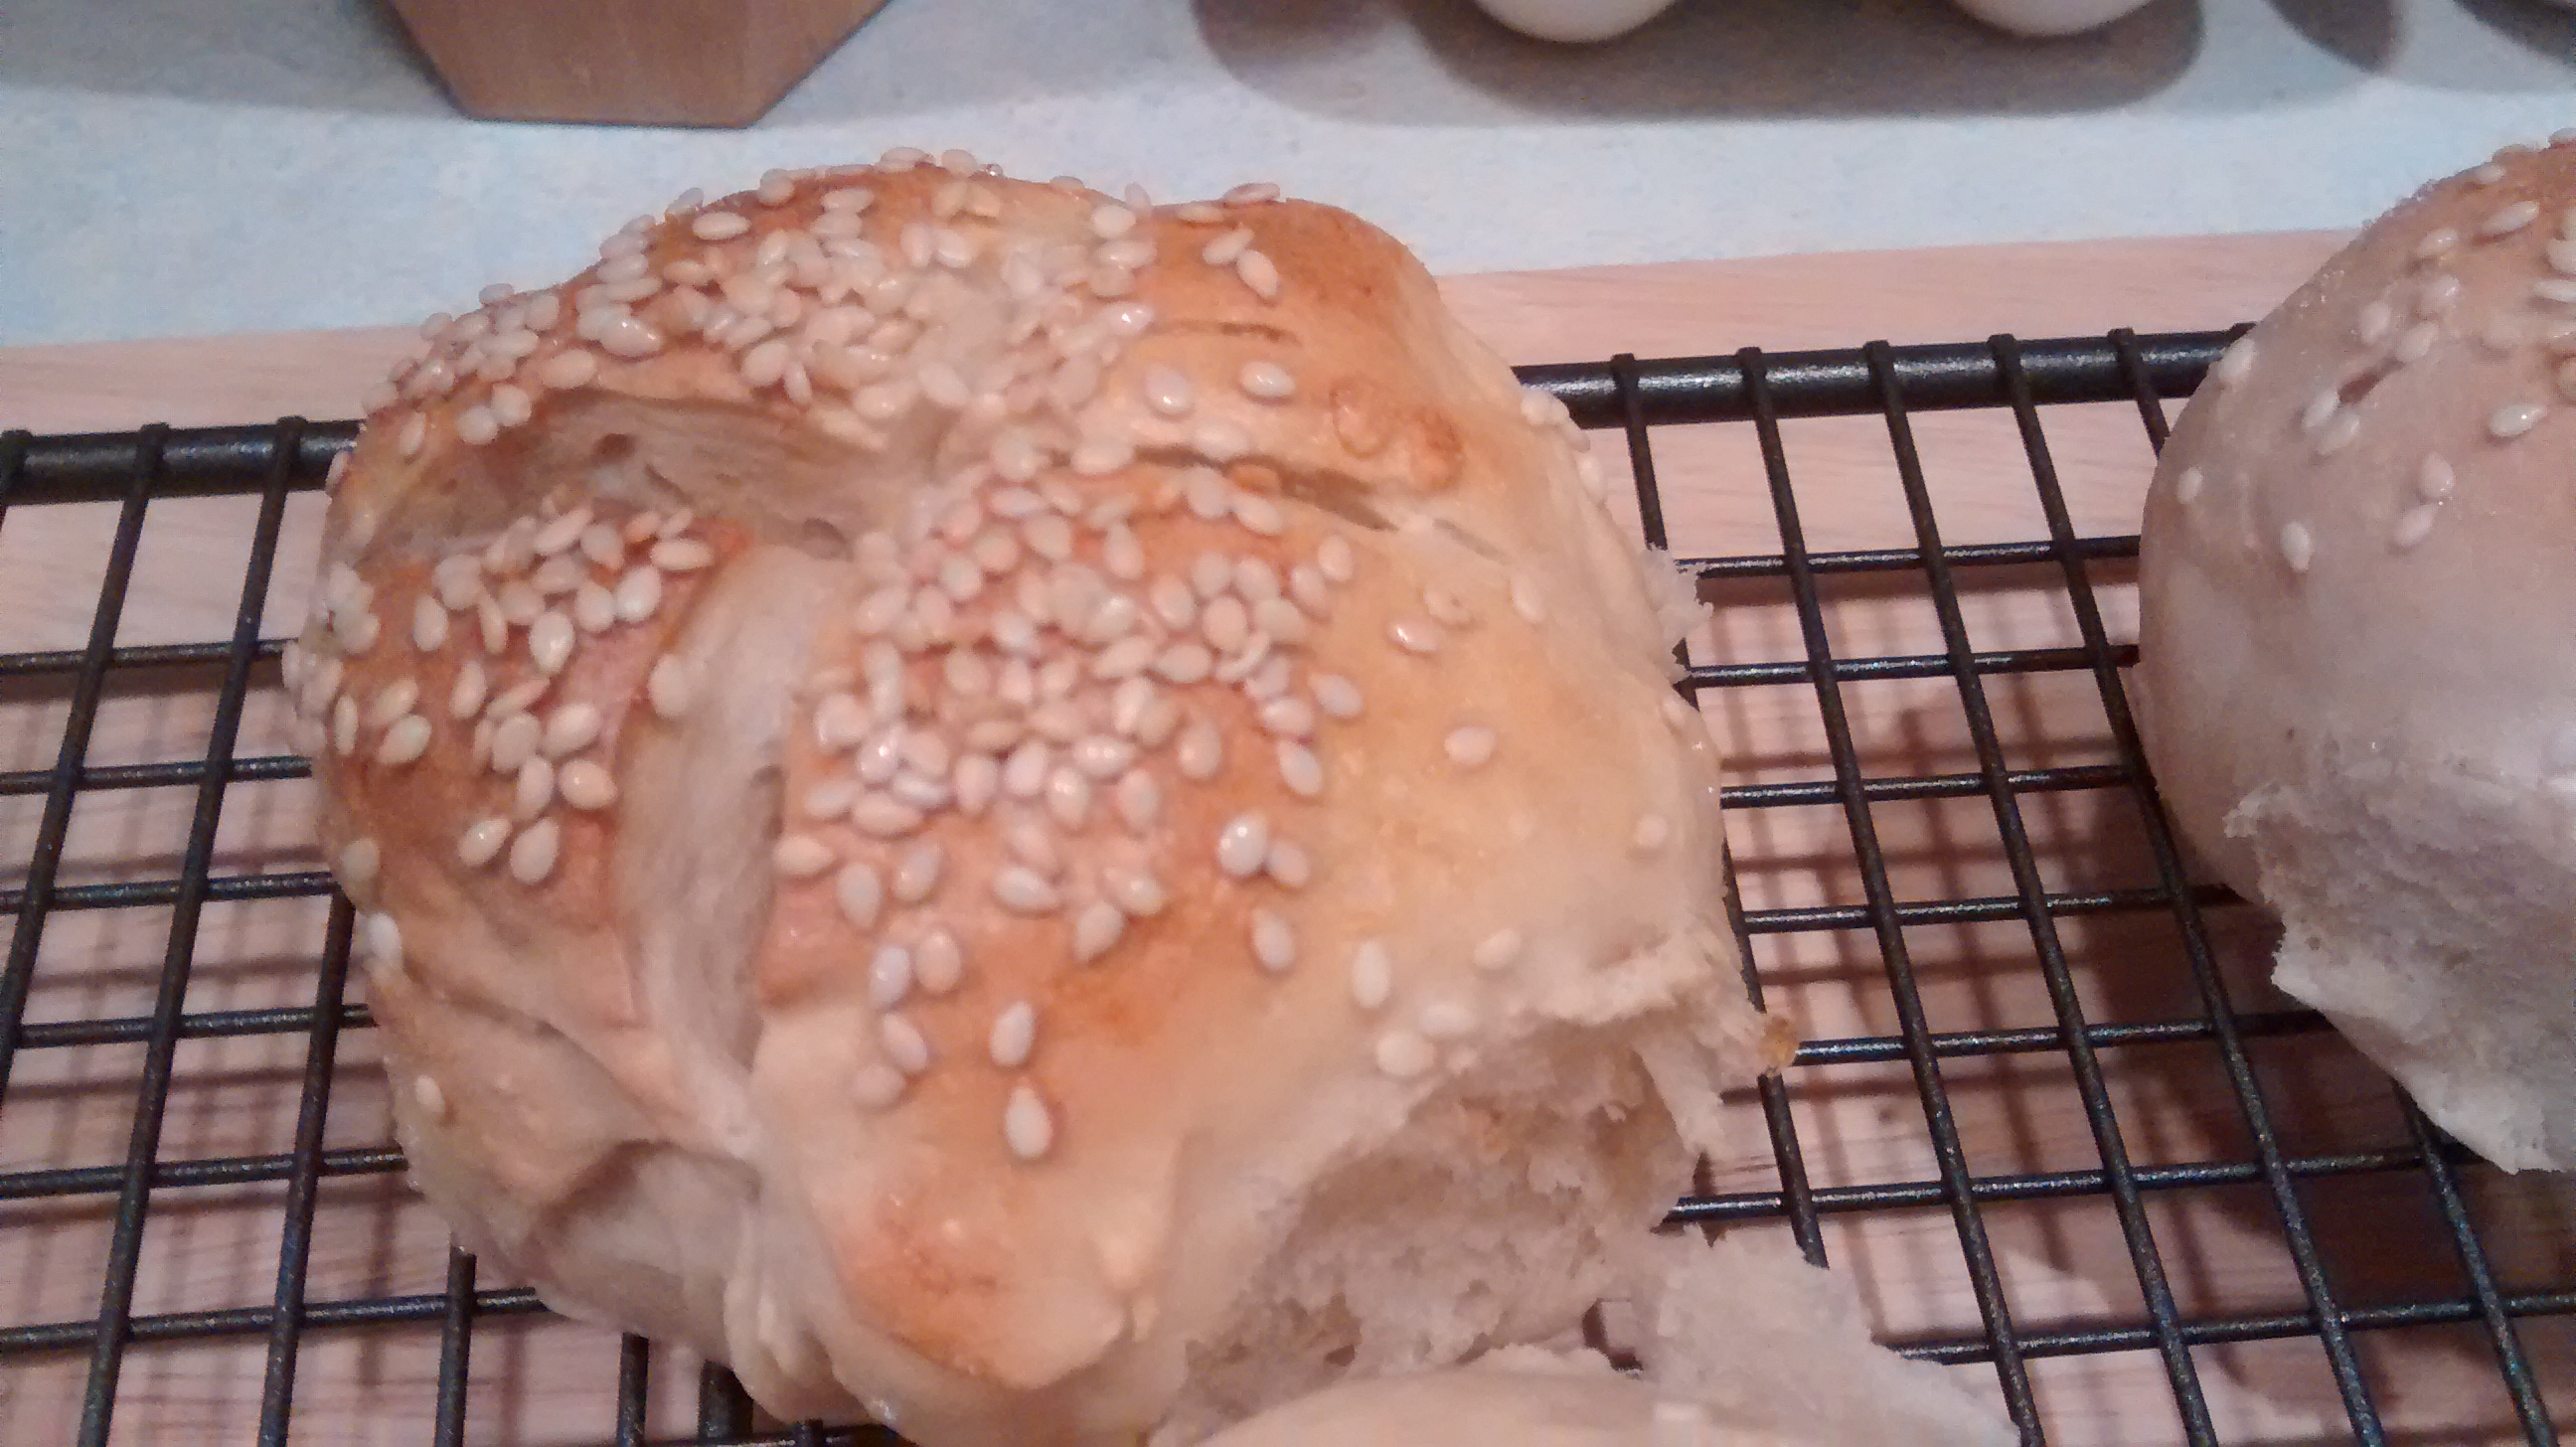
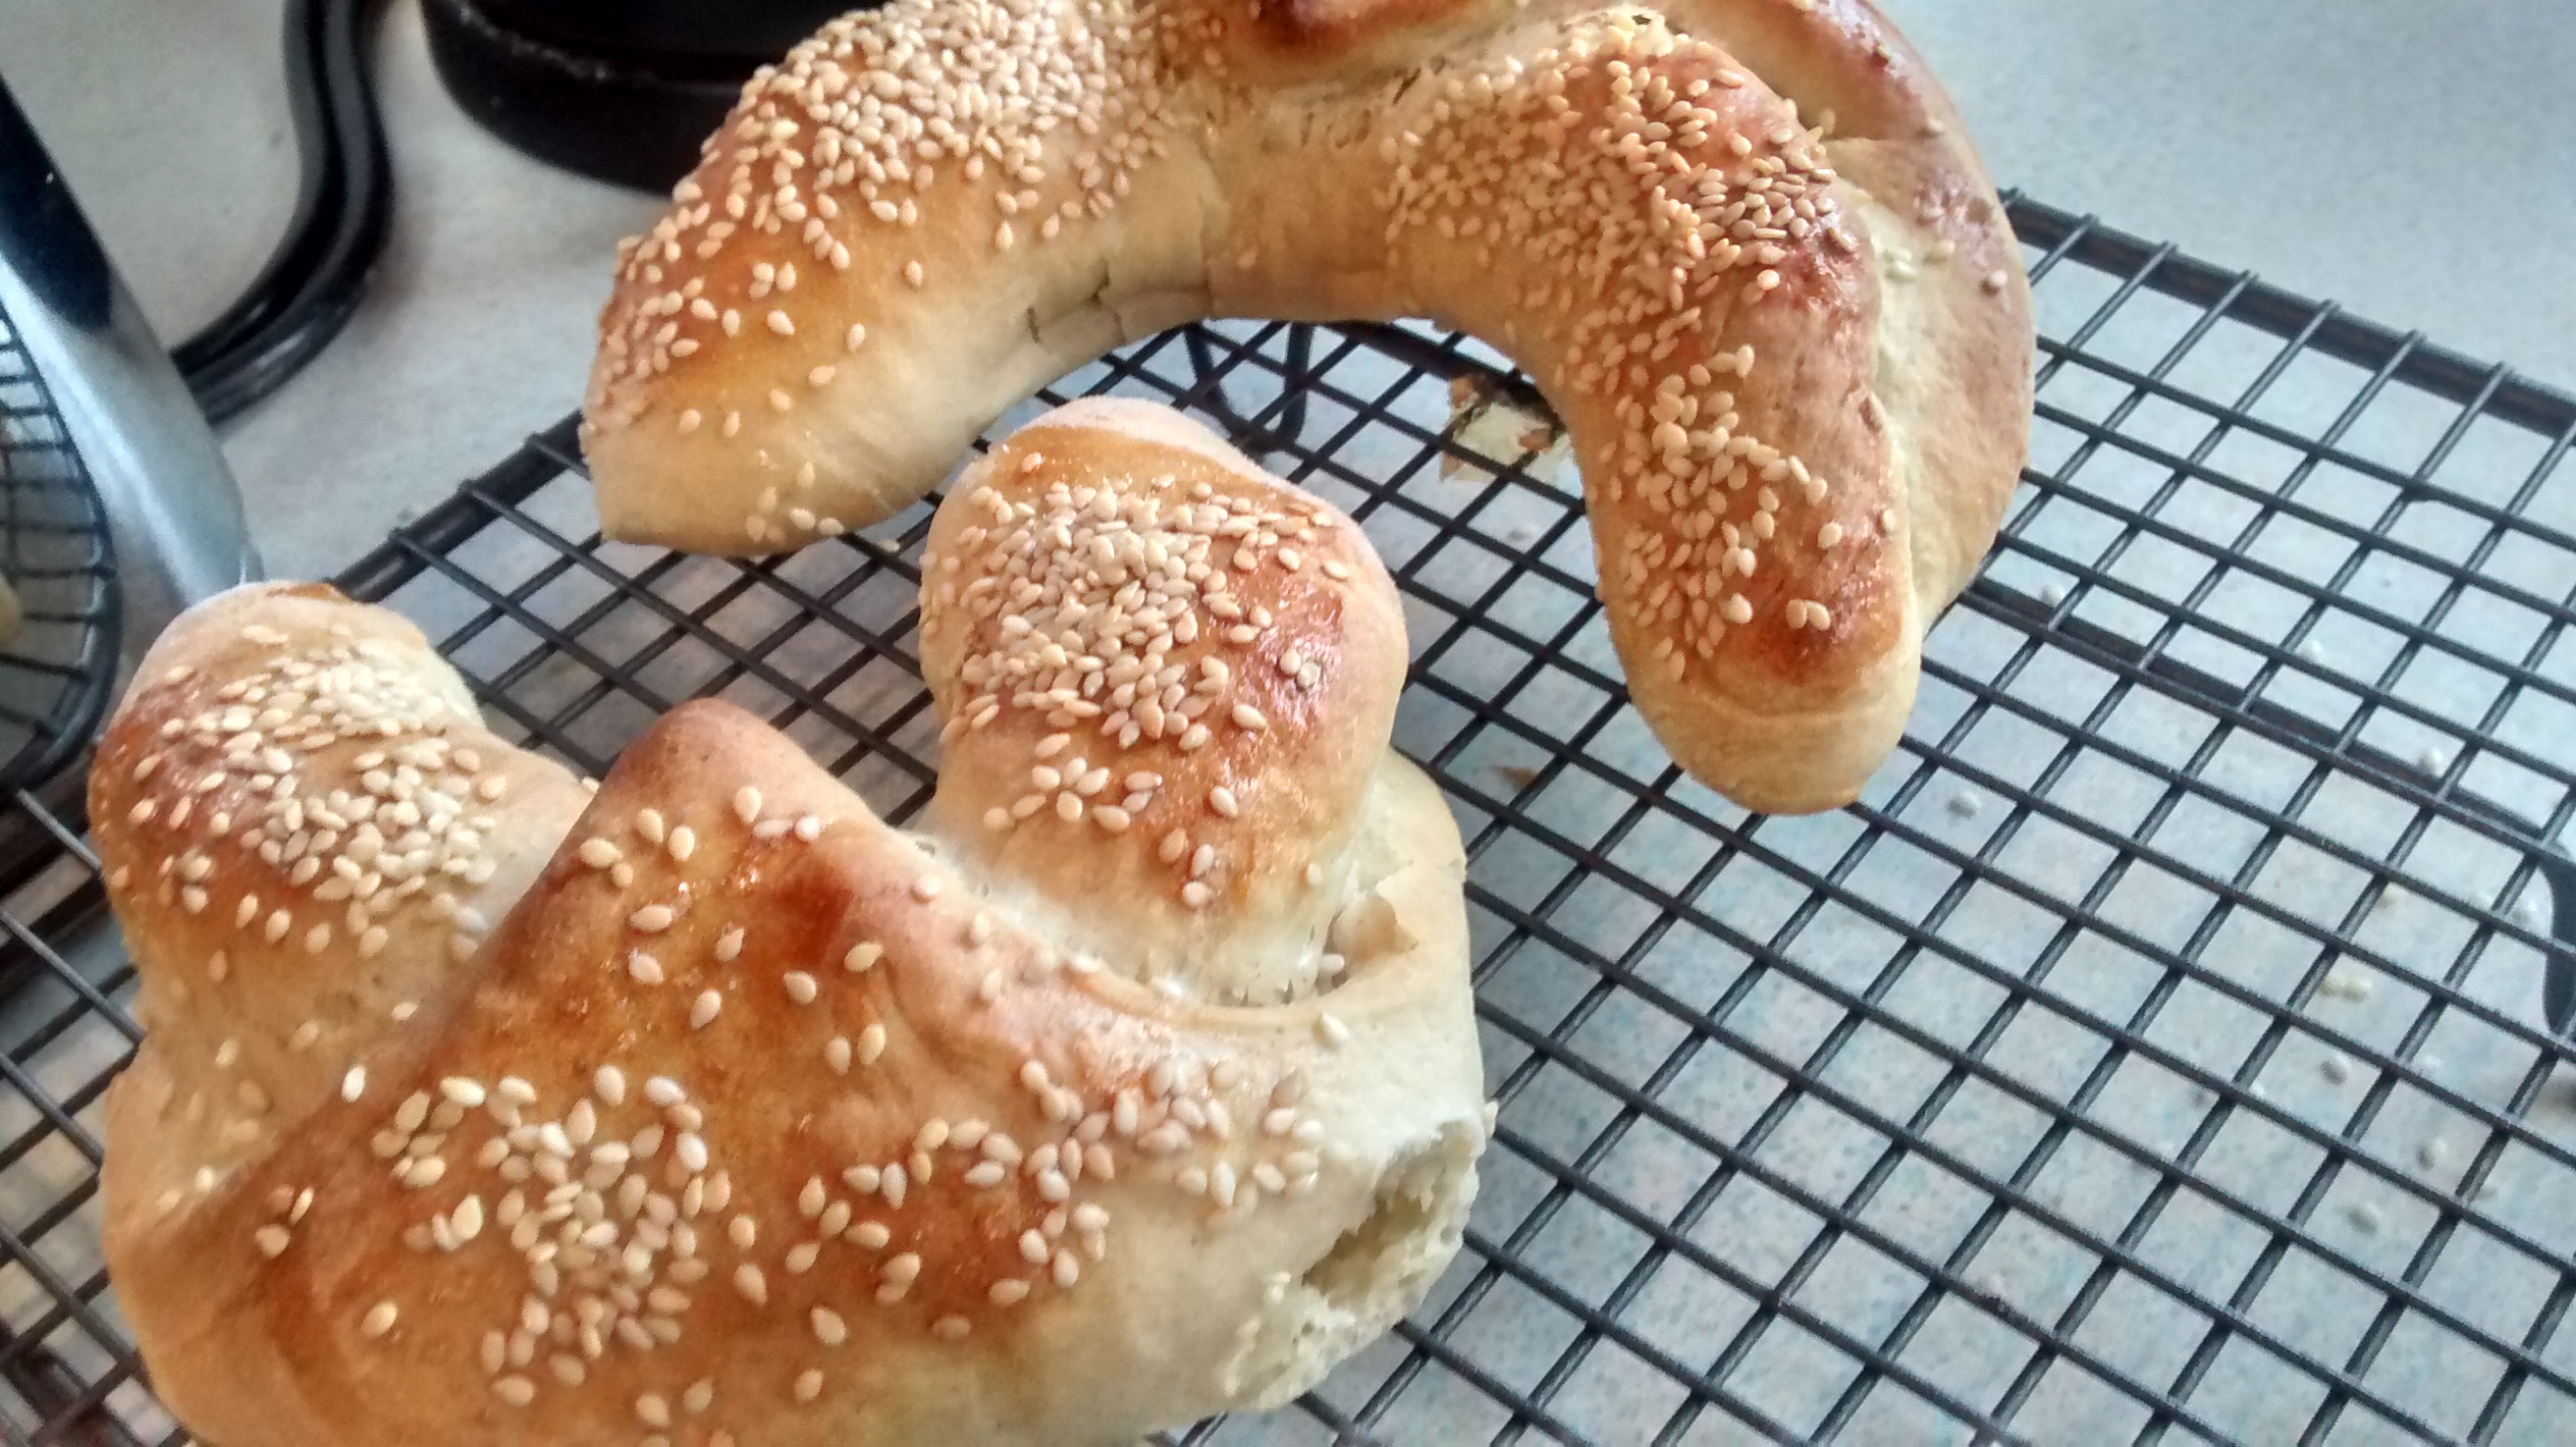
Sweet Yeast Buns
Kołaczyki means little wheels from the word koła which means wheels.
In a previous post – Bułeczki – Sweet Yeast Buns– I gave a recipe for basic sweet yeast dough – since then I have tried out a slightly different recipe – nearly the same ingredients but a slightly different method – and I think these turned out to be the best yeast buns I have ever made – so this is – Basic sweet yeast dough version two.
A few reminders when using yeast in baking
- Learn to be patient – you cannot control the timings exactly with yeast, it depends on the temperature of the room and the flour used and other variables.
- Do yeast baking on a day you are planning to be in & have other things to do, but ones you can break off from when needed.
- Heat the milk so it is at body temperature – use the finger test – too hot and you will kill the yeast – too cold is okay – it will just take longer.
- An egg glaze often burns too quickly – I have found an egg white or egg white & water glaze gives a better result.
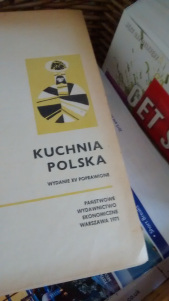
Older Polish recipes use fresh yeast. I have used dried yeast and have had very good results. (I have not tried using easy bake yeast for this recipe).
Basic Sweet Yeast Dough Version 2
Ingredients
Leaven – Starter
- 100g plain flour
- 30g fresh yeast or 15-20g dried yeast
- 125ml milk
Rest of ingredients
- 3 egg yolks
- 60g sugar
- 50g melted butter or block margarine
- 400g plain flour
- 1/4 tsp salt
- Zest of 1 lemon
- 2-3 drops of vanilla essence
- 125ml milk
and
Save 1 egg white for use as a wash on the buns.
Method
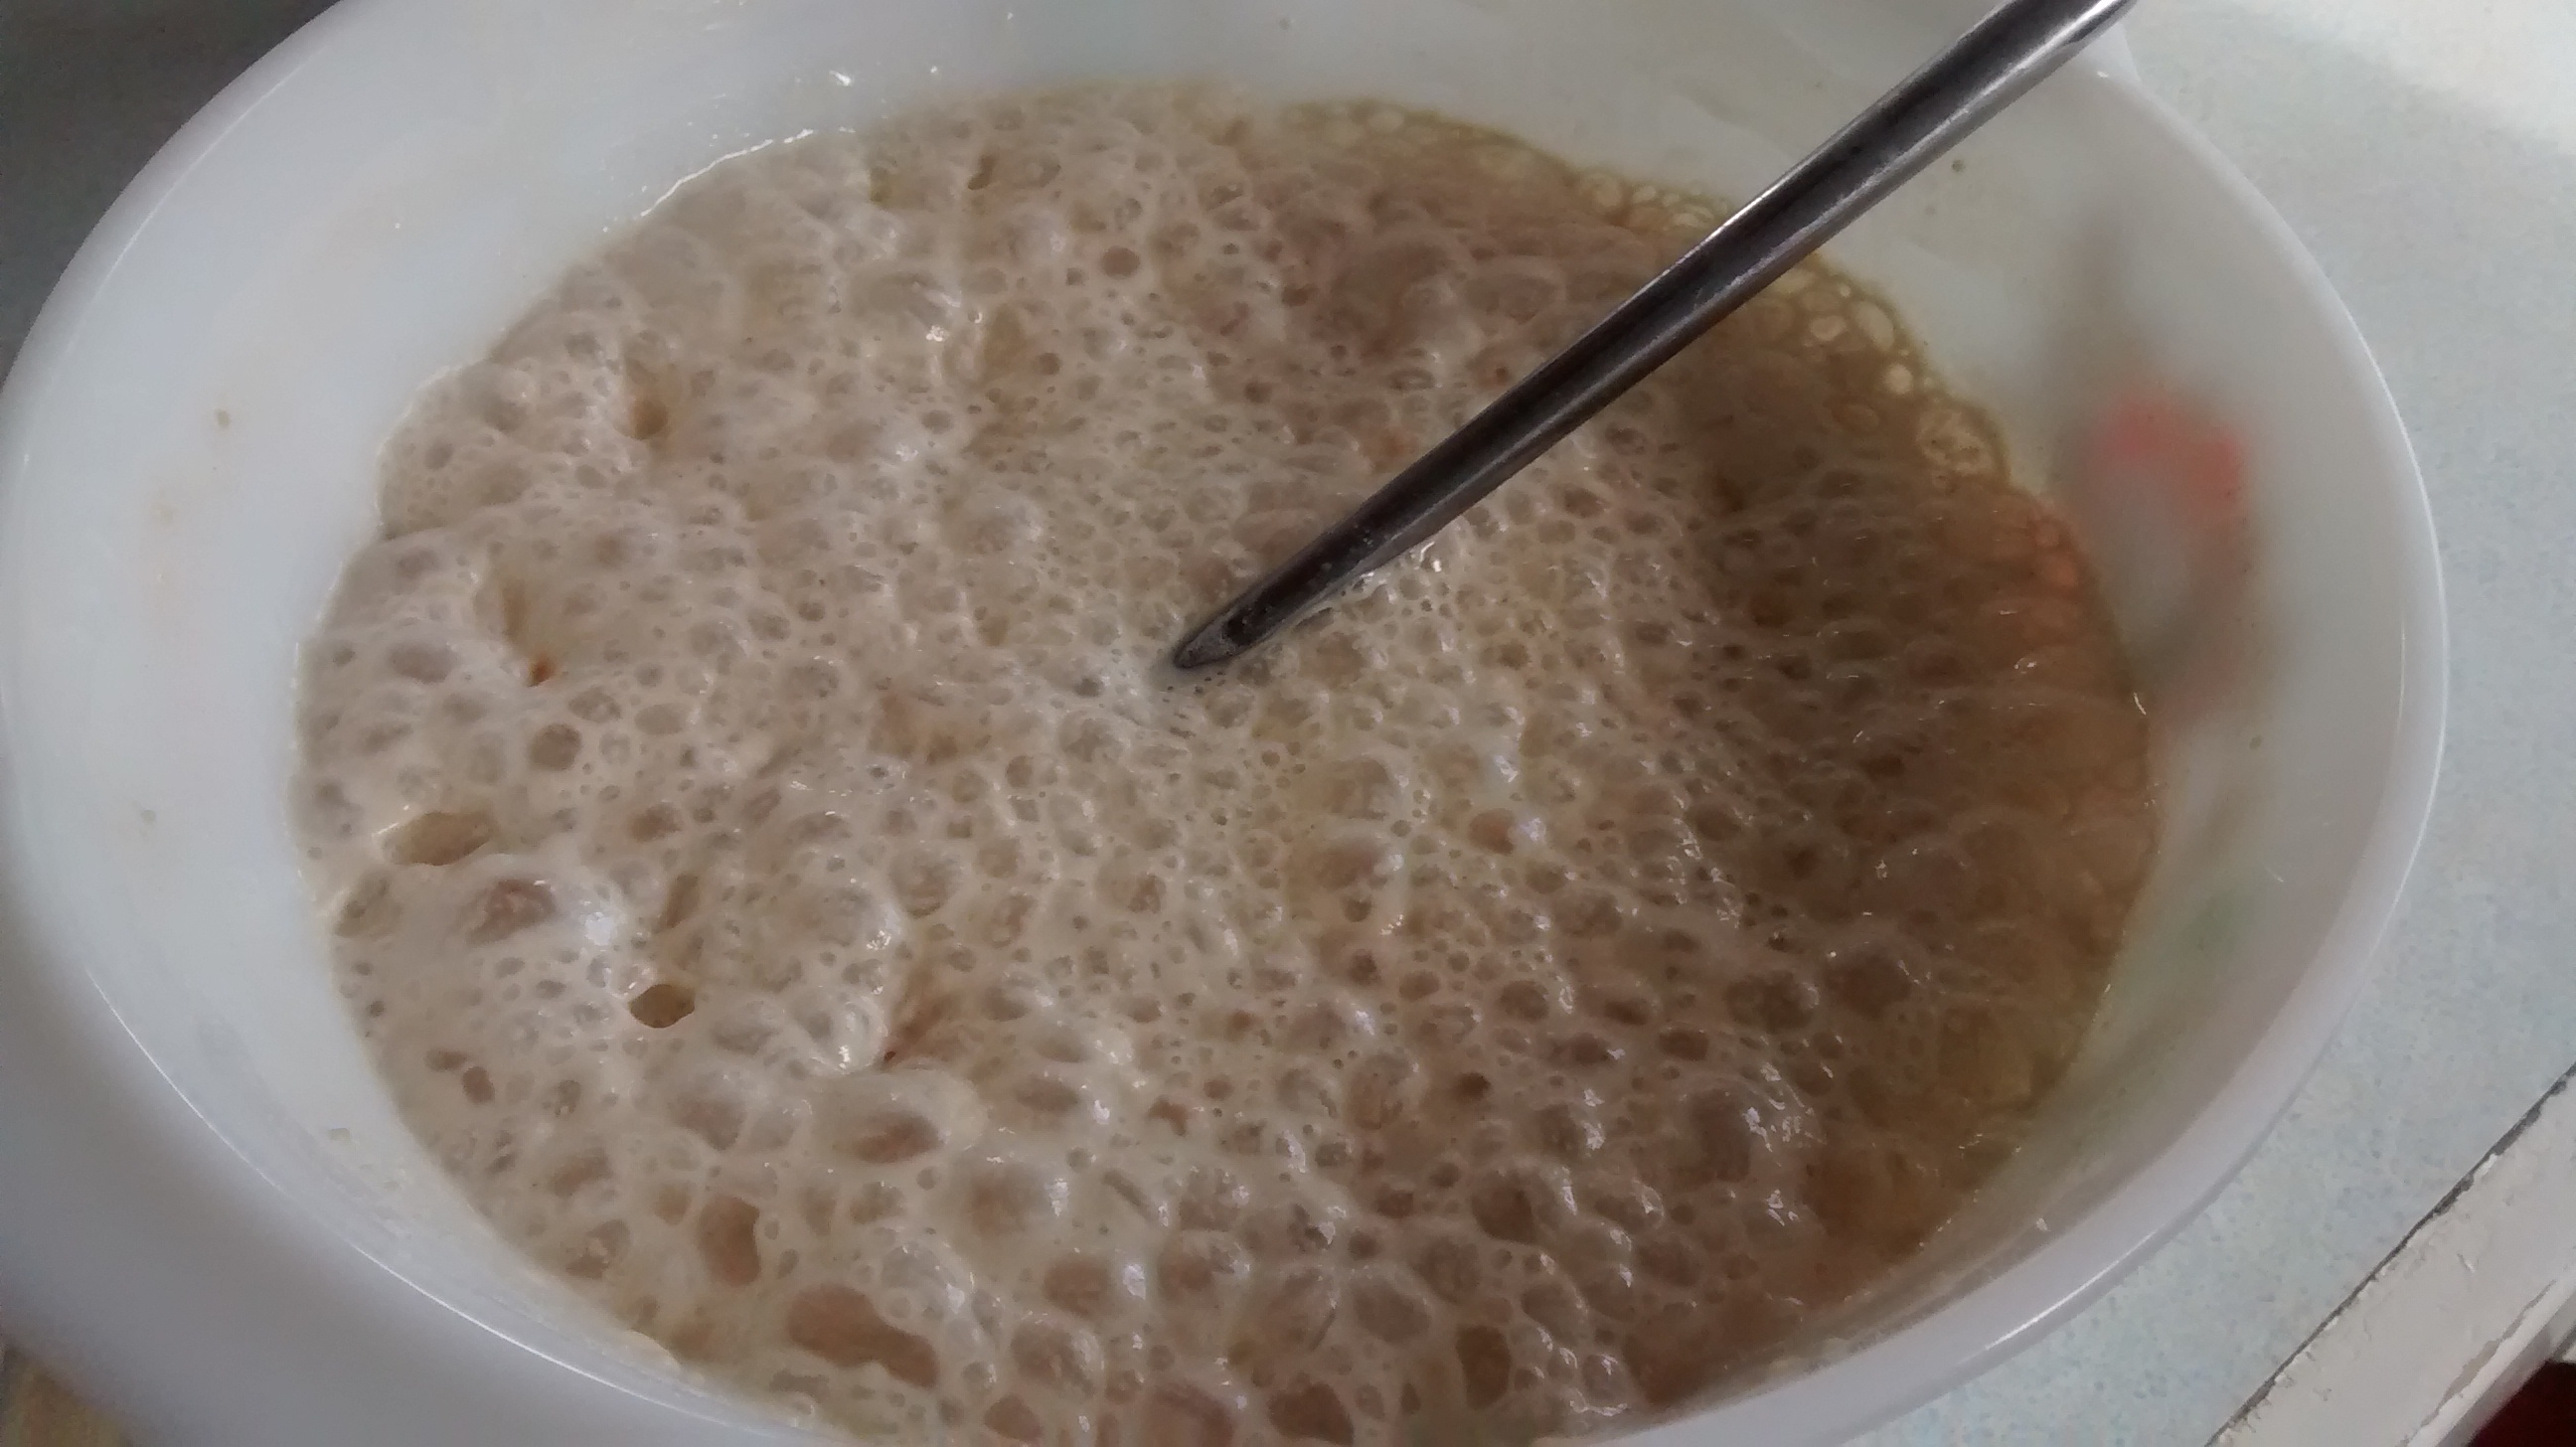
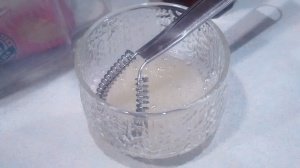
- Warm the milk slightly – so it is just warm to the touch – and add the yeast and mix together.
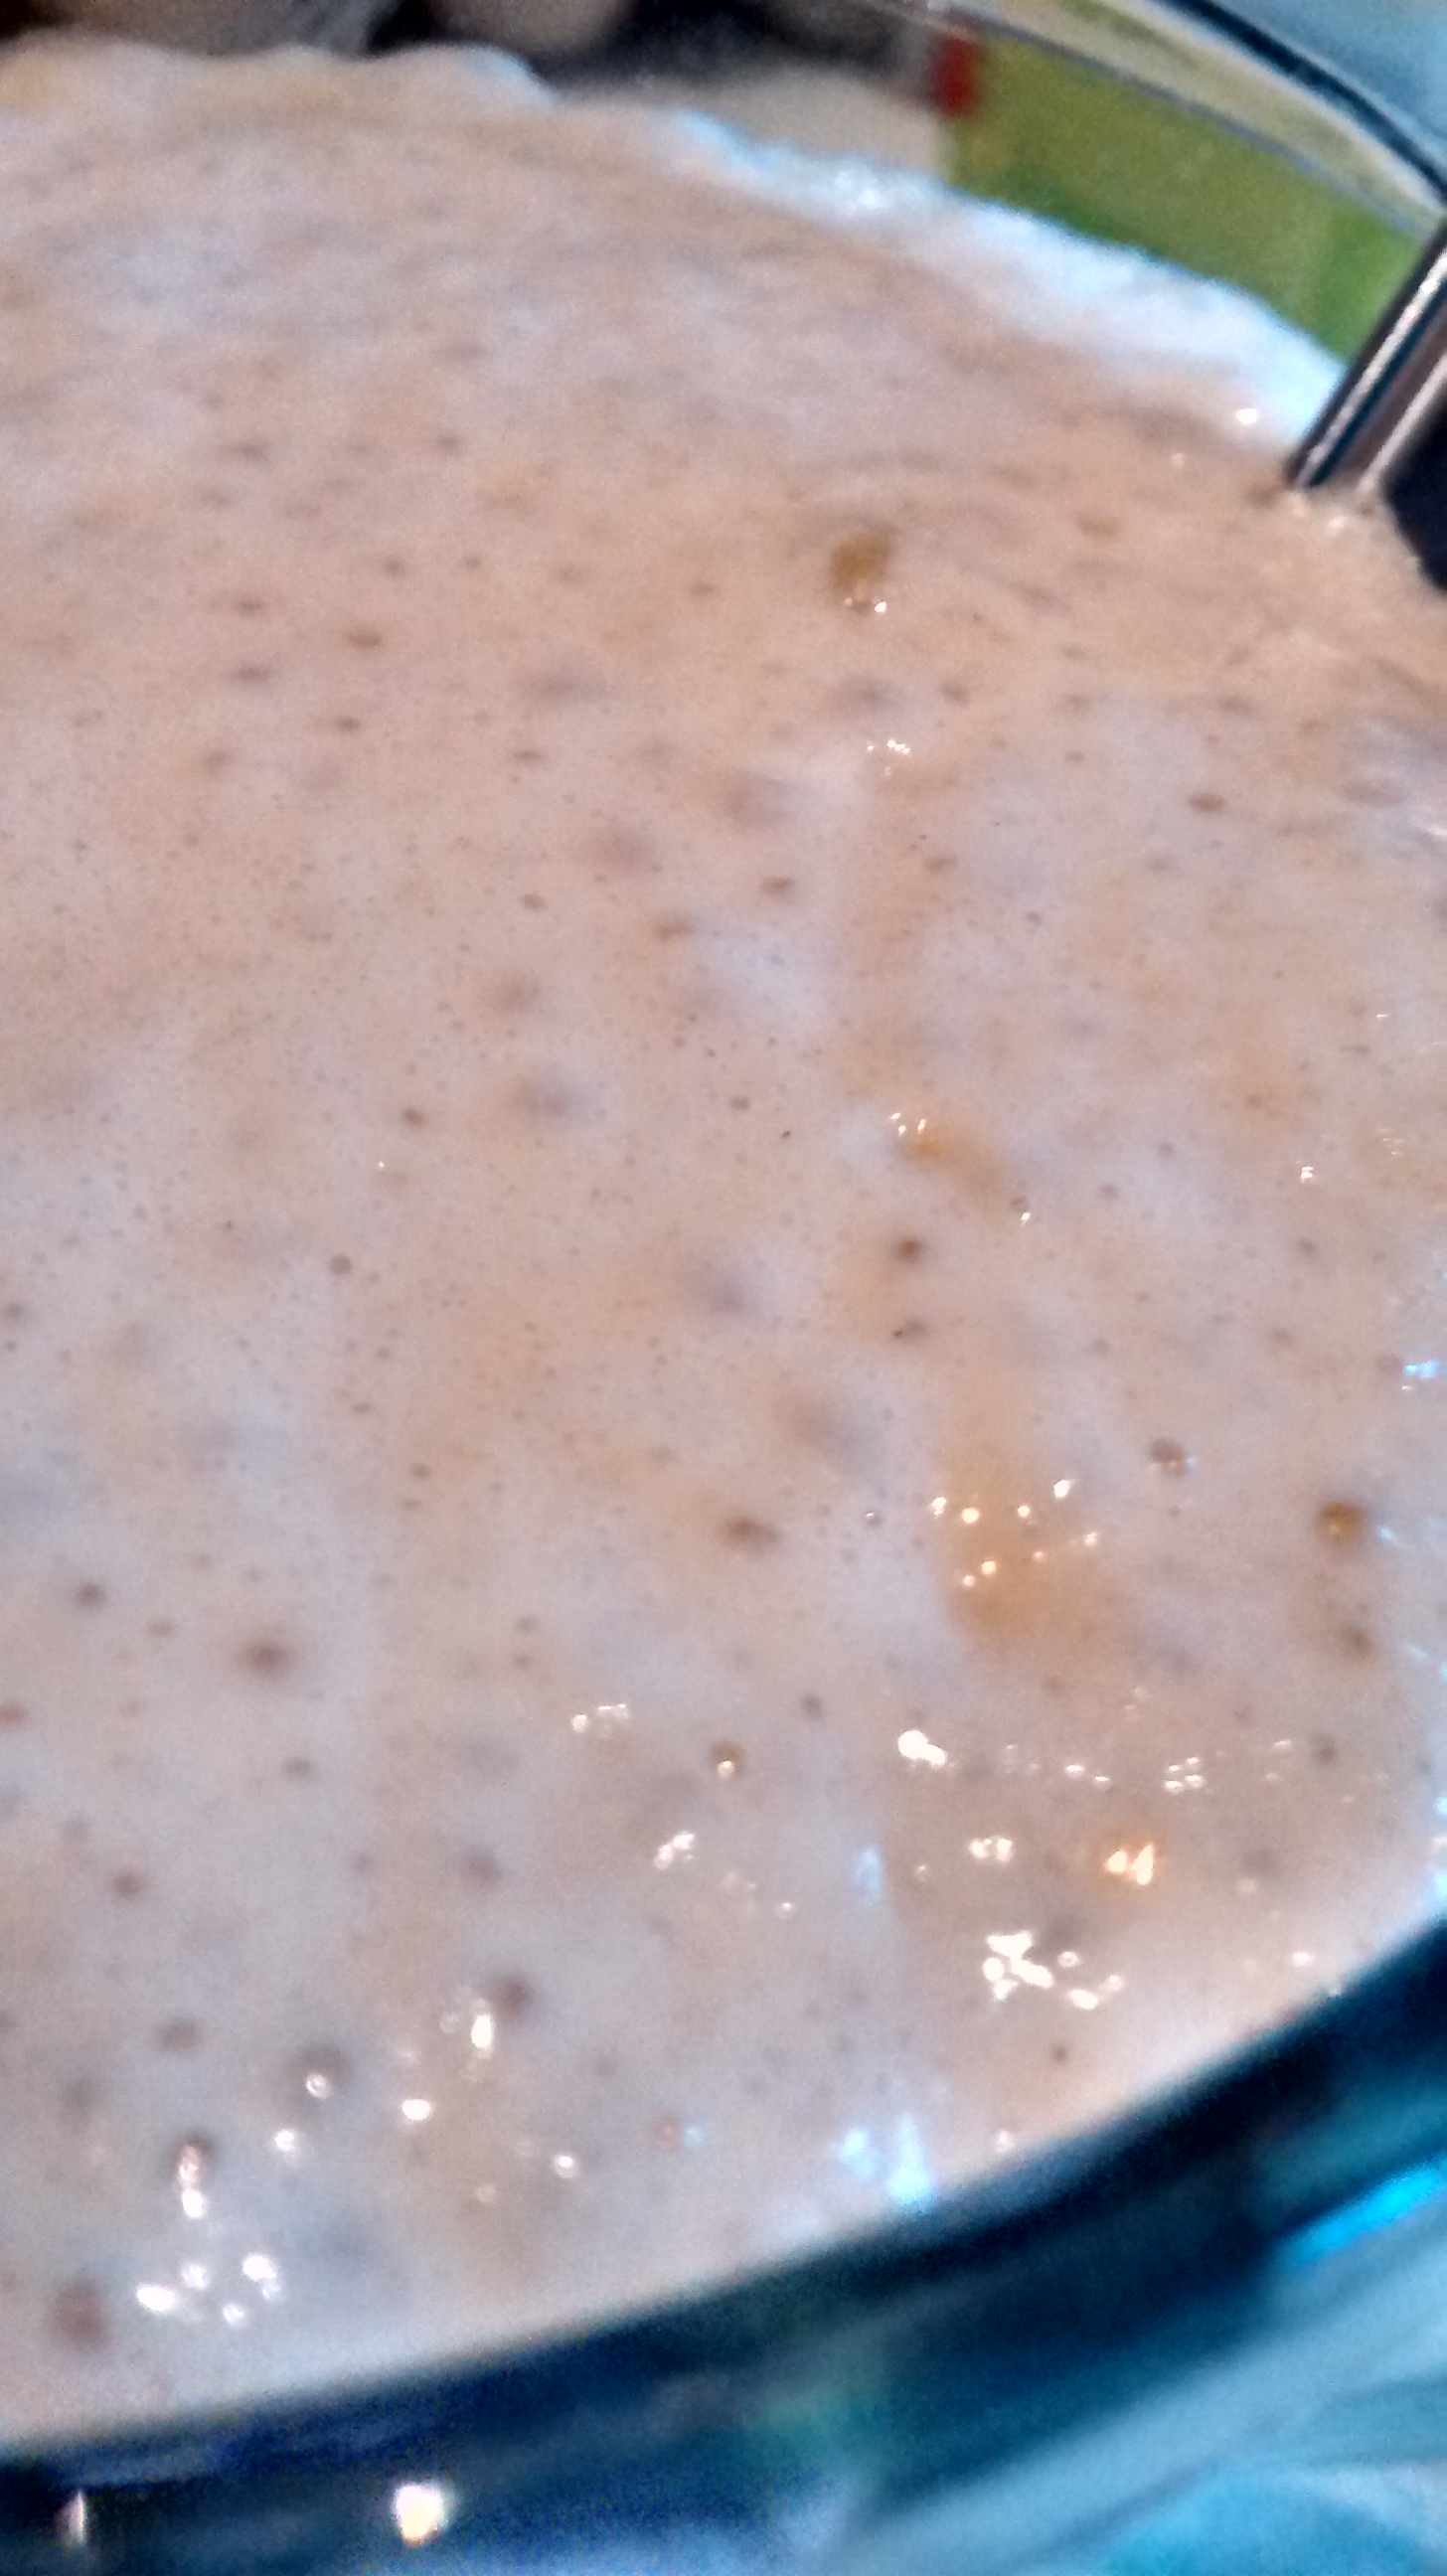
- Put the flour in to a bowl and add the milk and yeast mix it all together and leave it covered until it is double in size.
- *
- Melt the butter and leave it to cool.
- *
- Whisk the yolks and sugar until they are pale and fluffy.
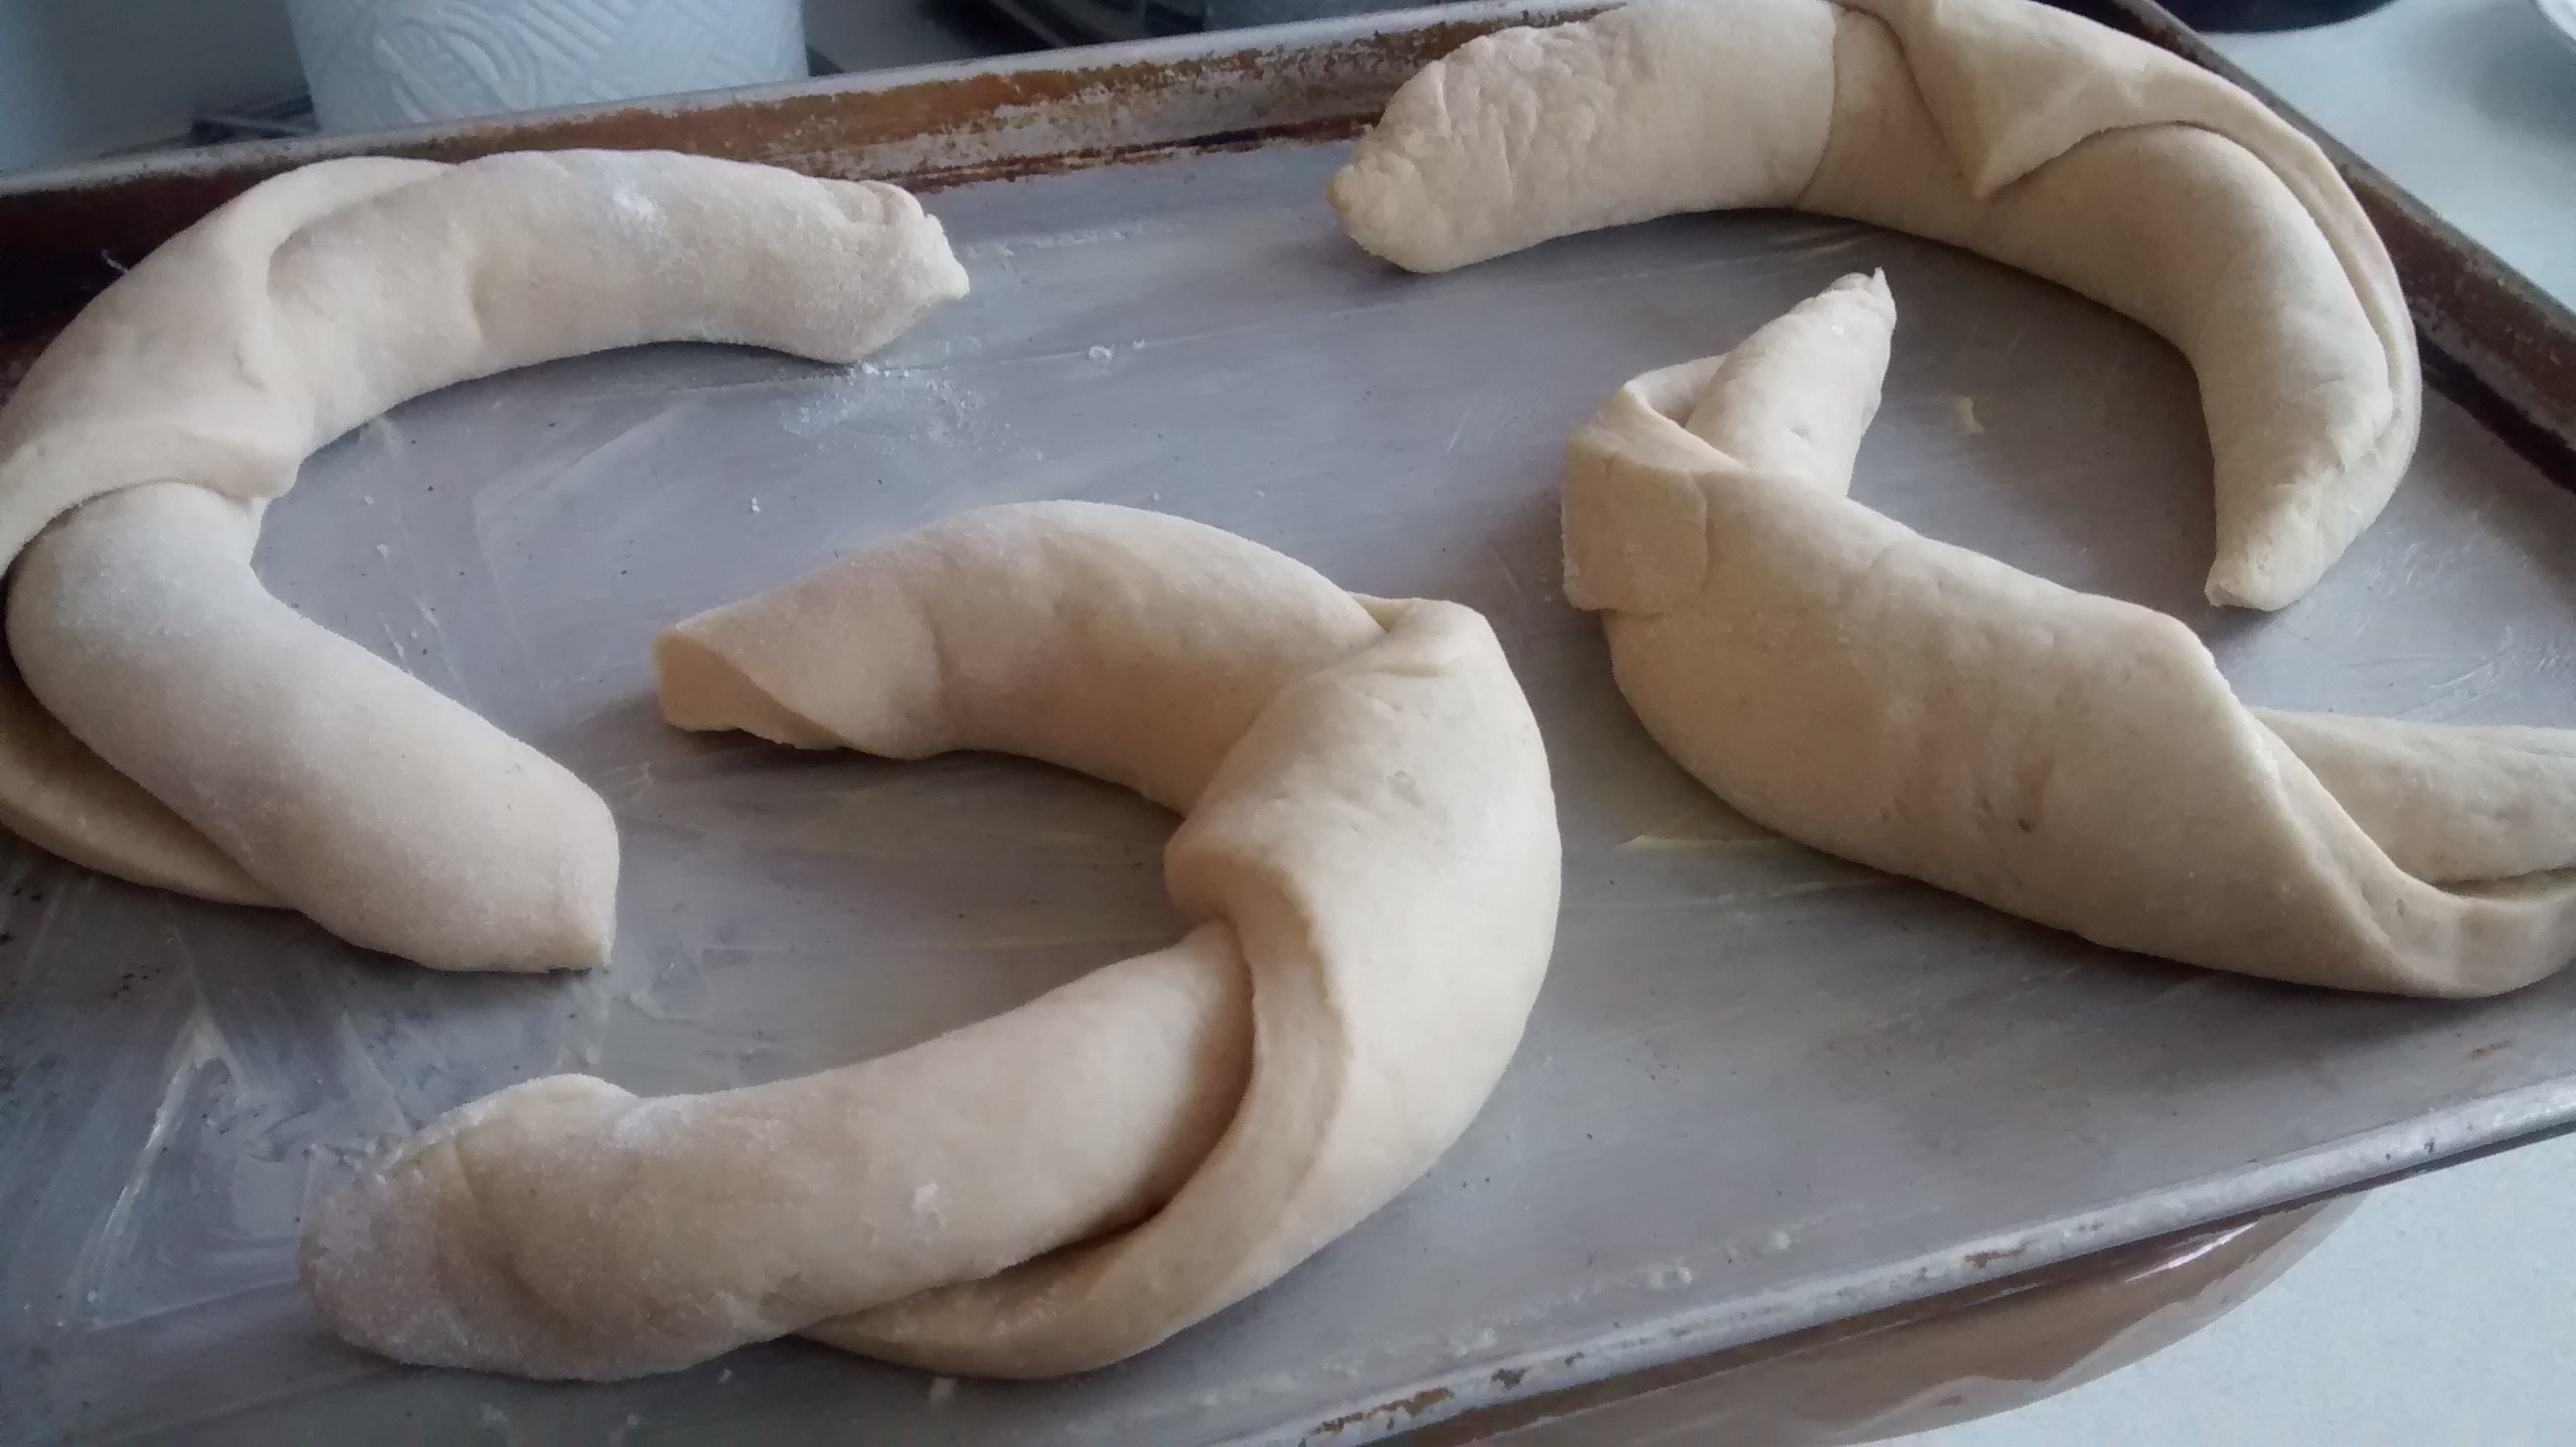
- Grease 2 baking sheets – You should get around 15 buns. – invite people round!
- Into a large bowl put: the flour and the salt, the yeast starter, the yolk mixture, the zest of a lemon, the vanilla essence and the milk.
- Mix it all together so that you get a soft dough that comes away from the side of the bowl – you do not have to knead it.
- Then work in the melted butter (this is the hardest part) until it is all incorporated and you have a uniform shiny dough.
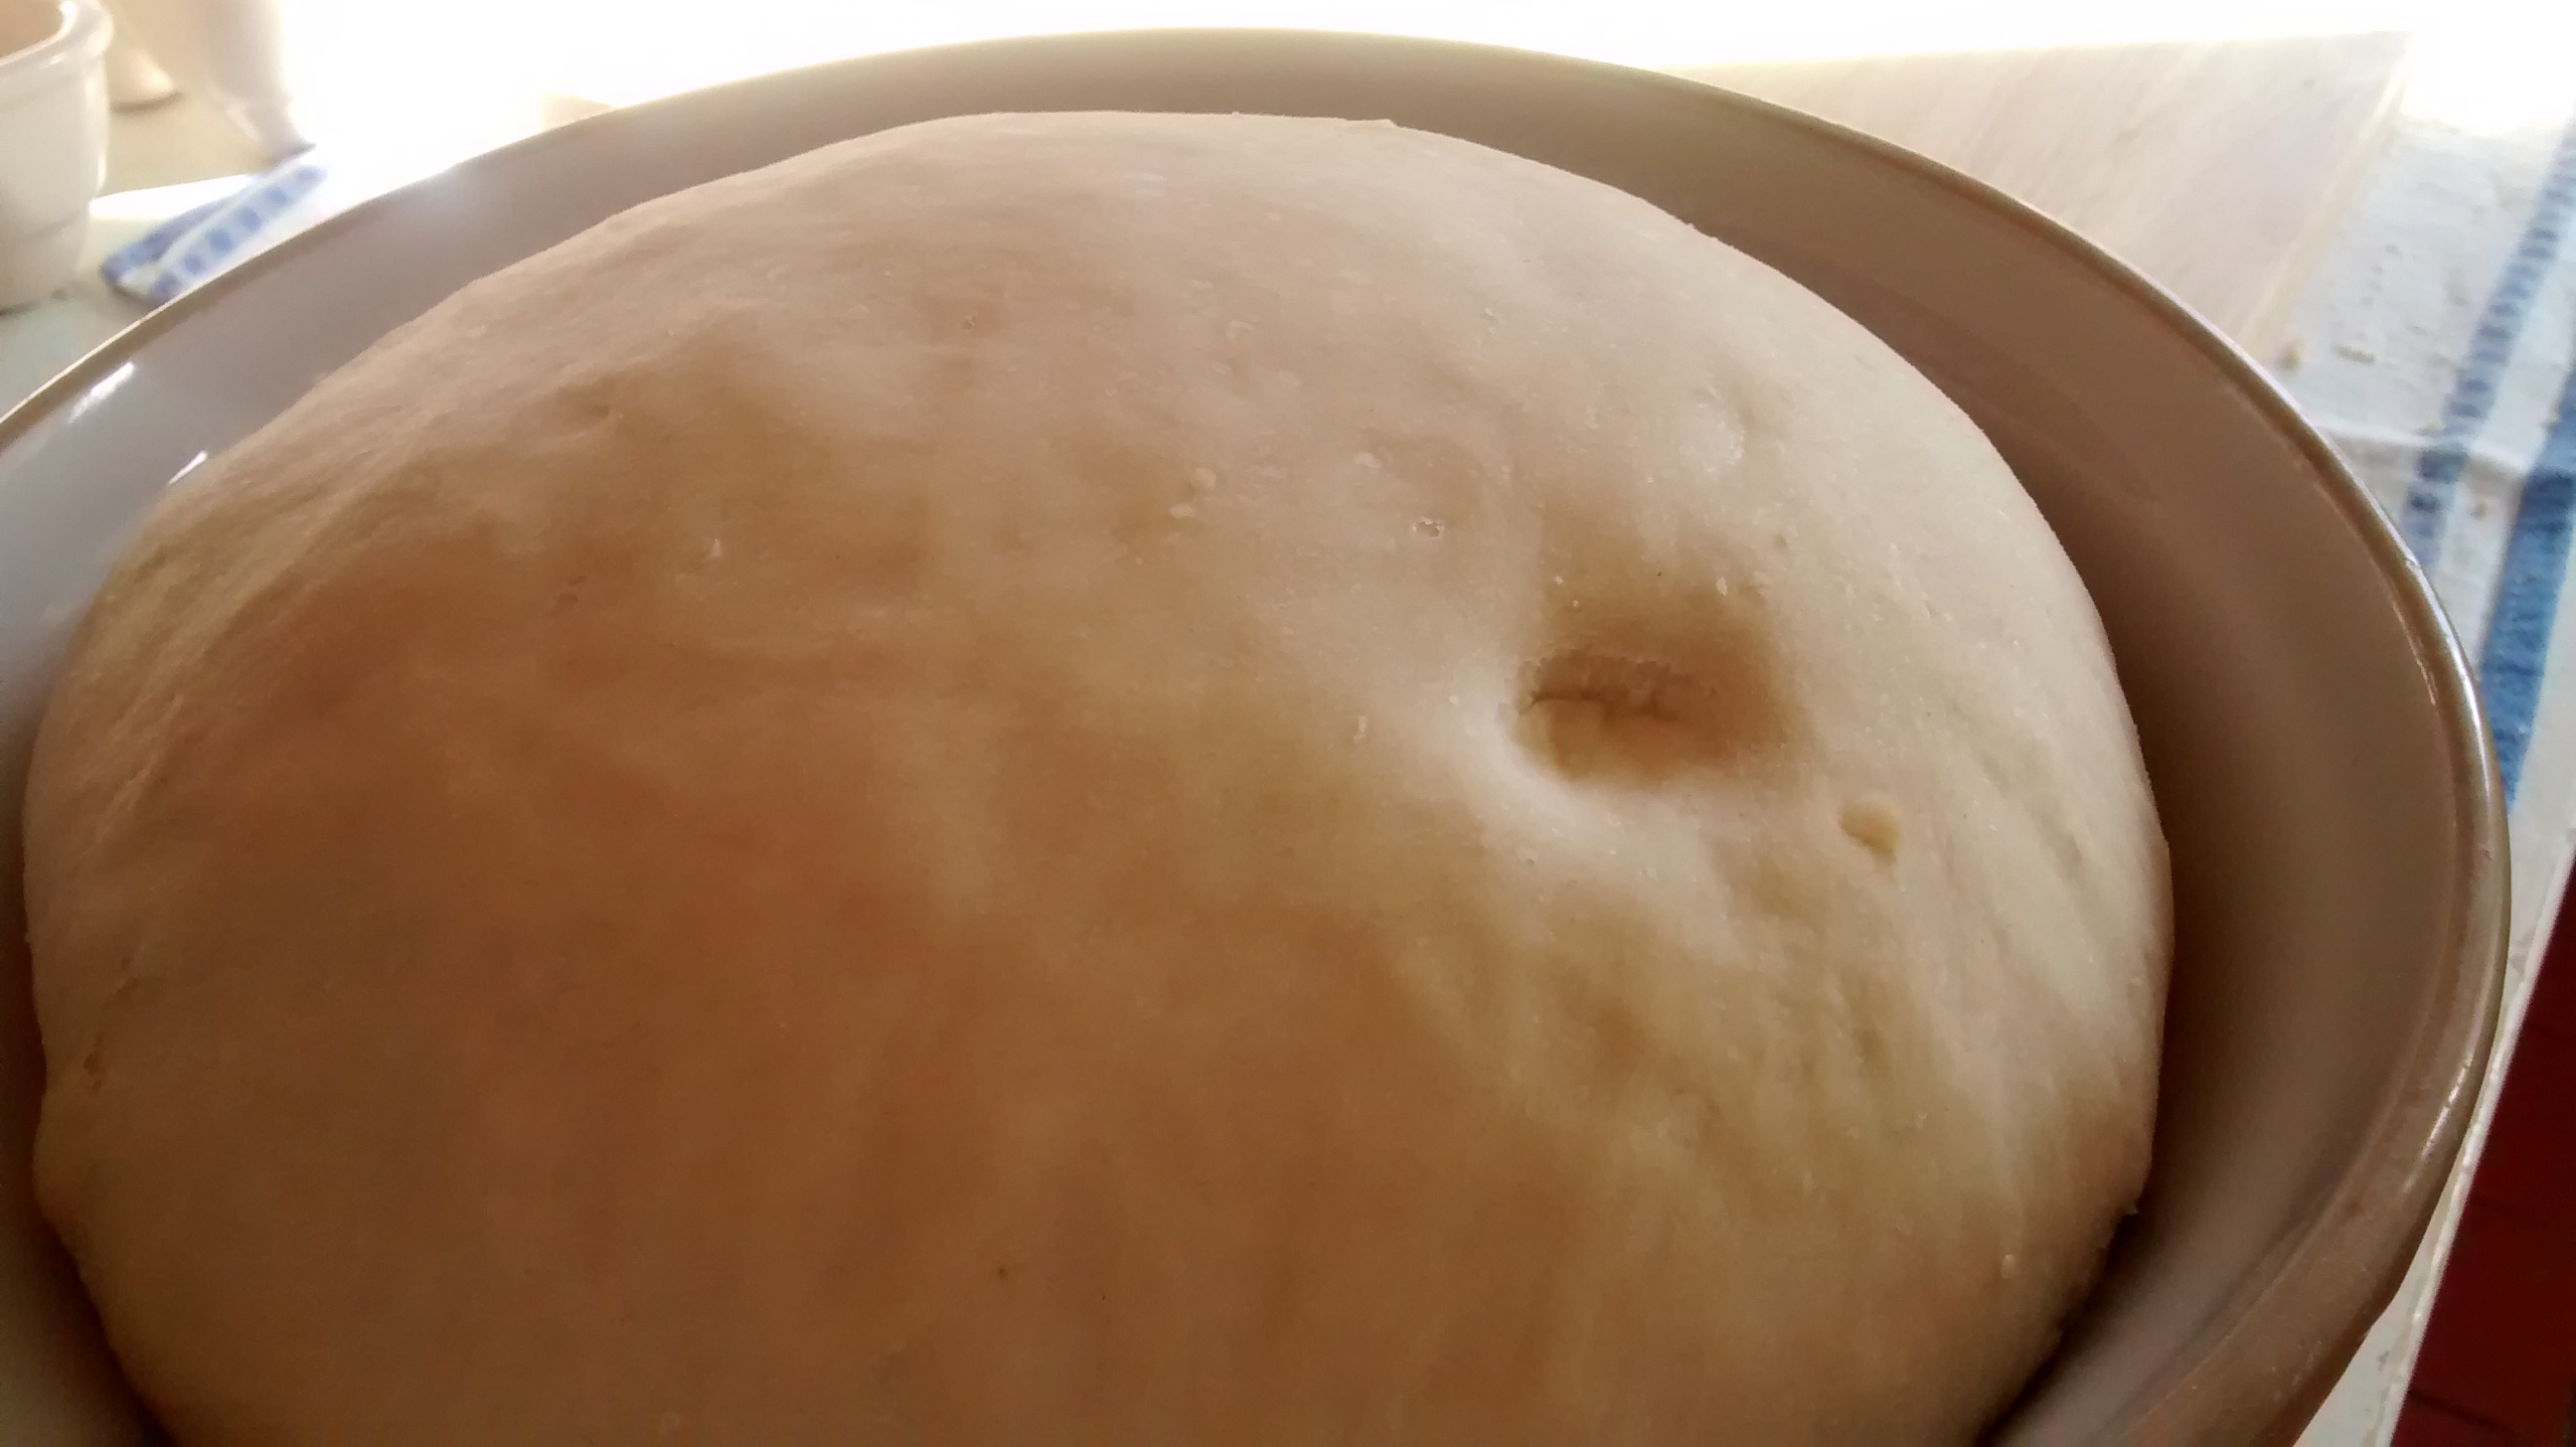
- Cover the dough with a cloth and leave this to rise until it is double in size.


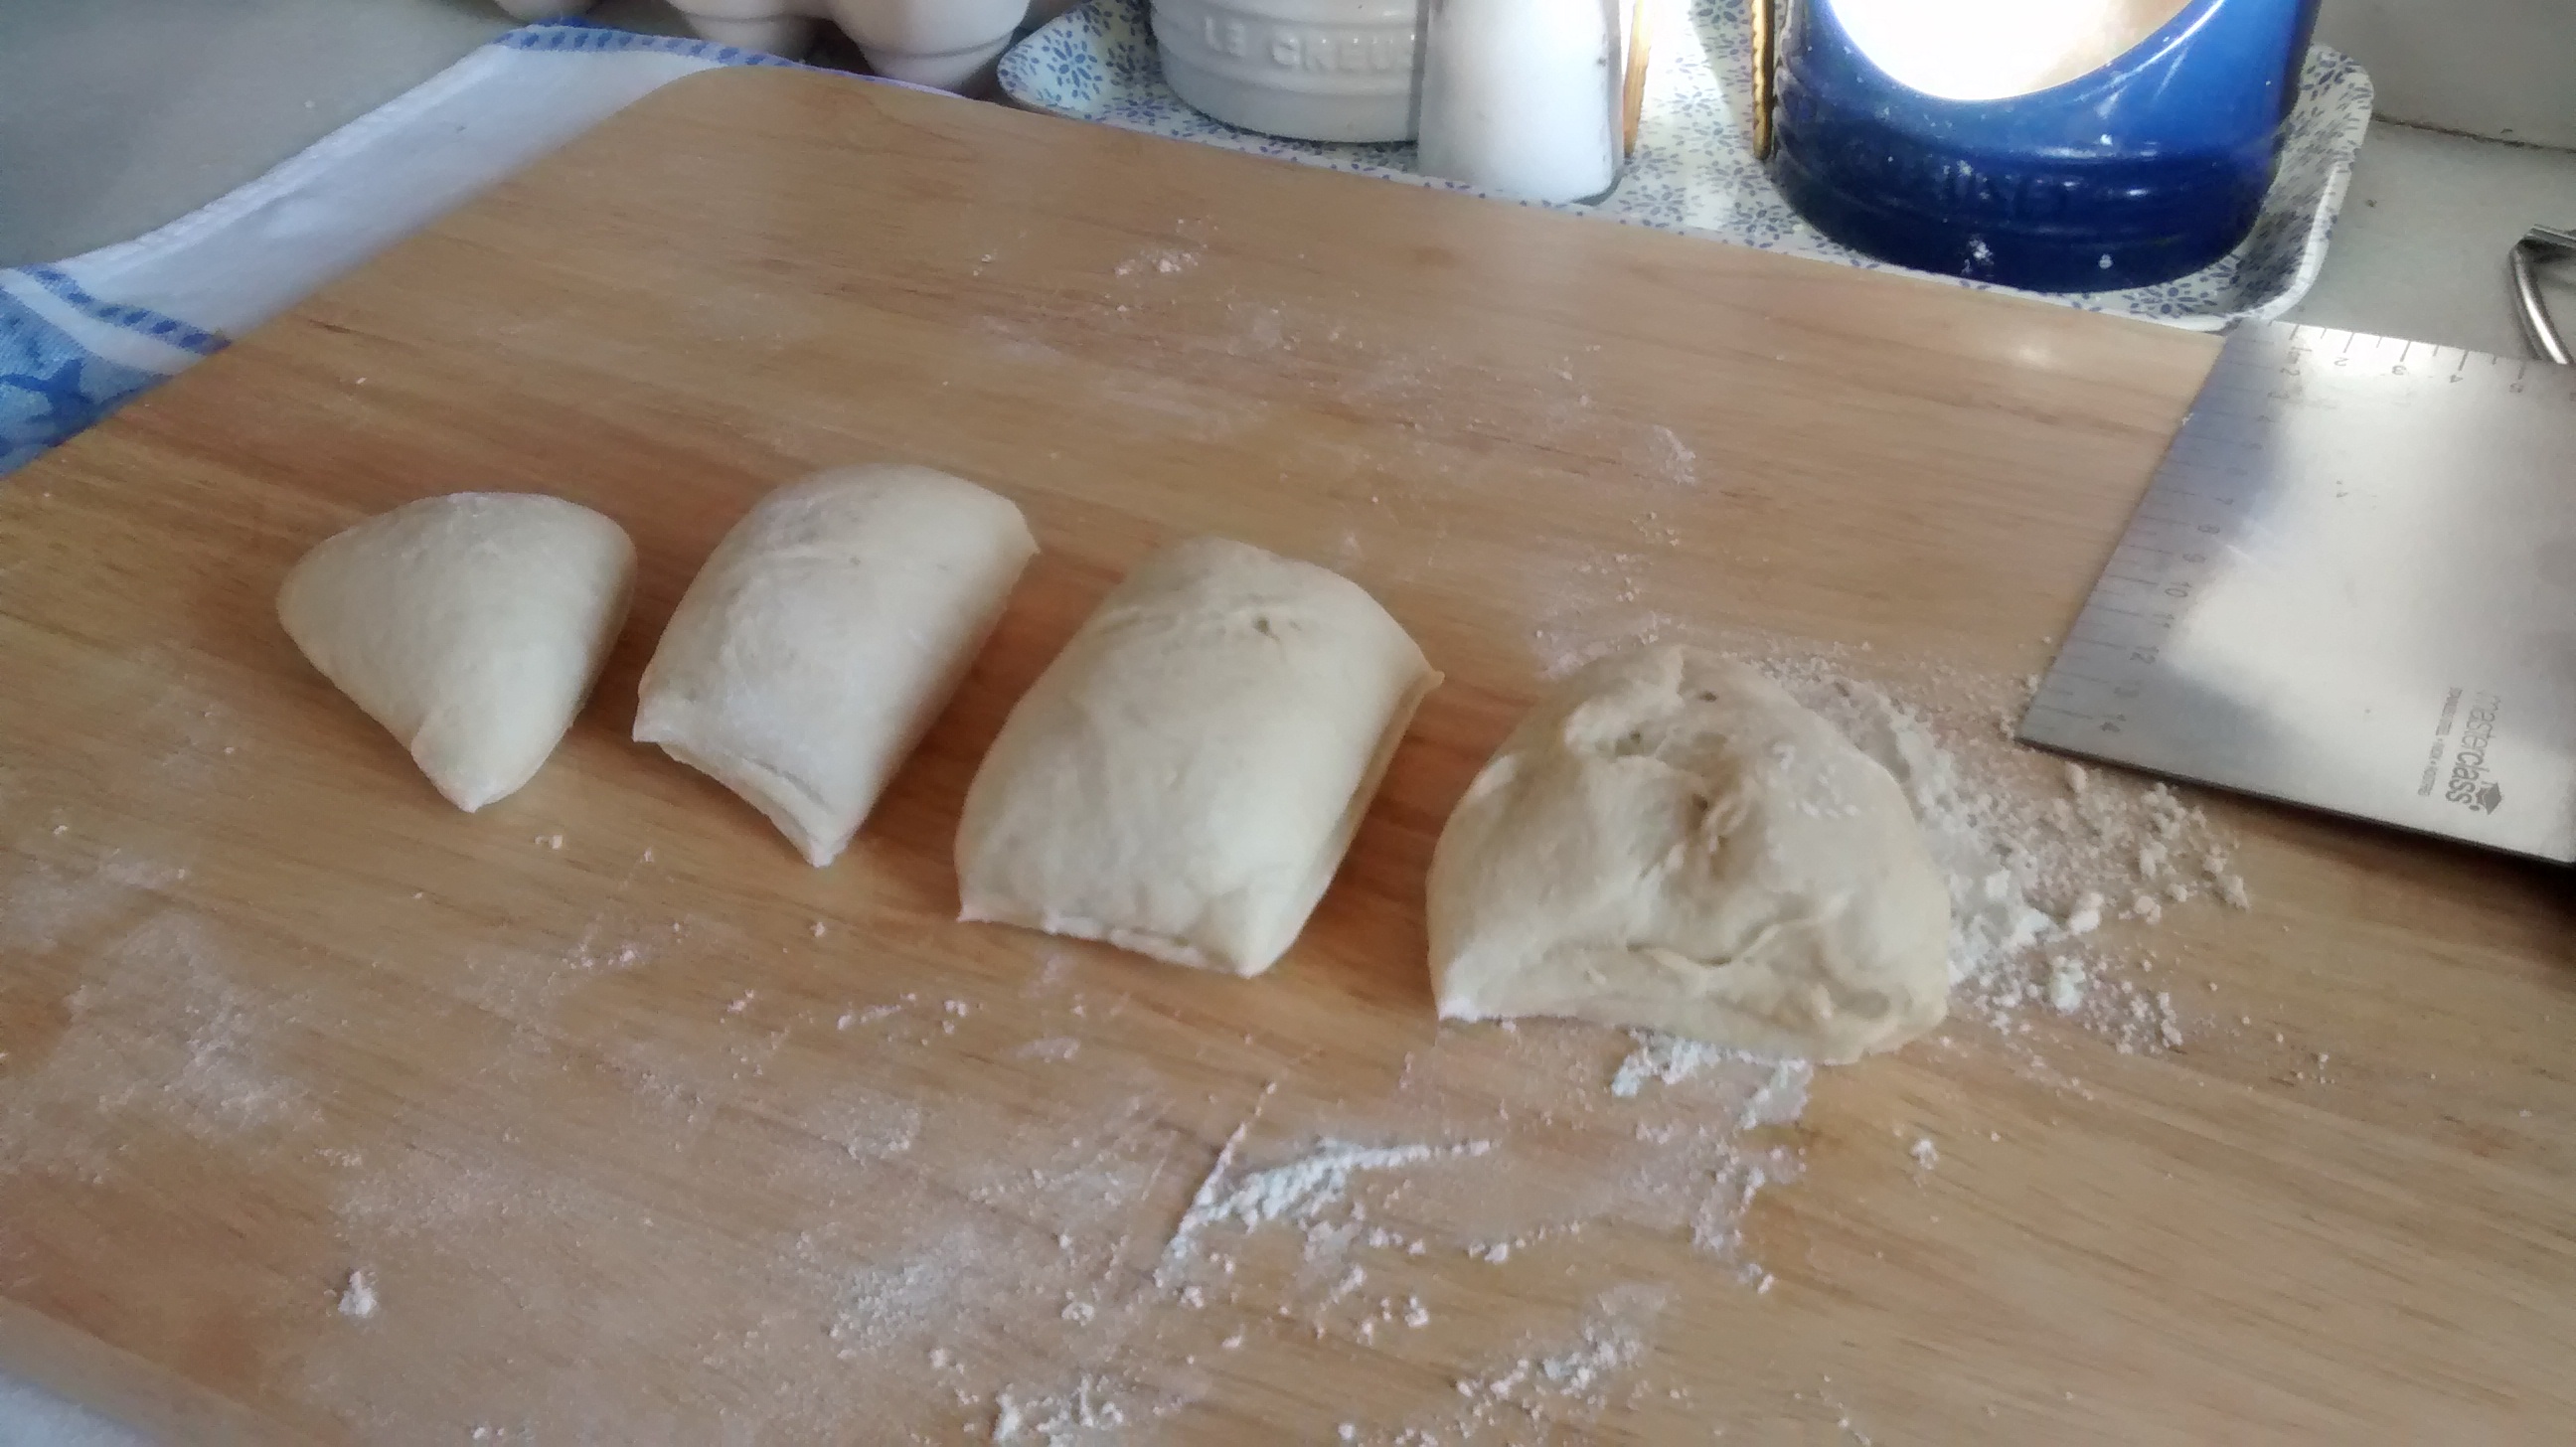
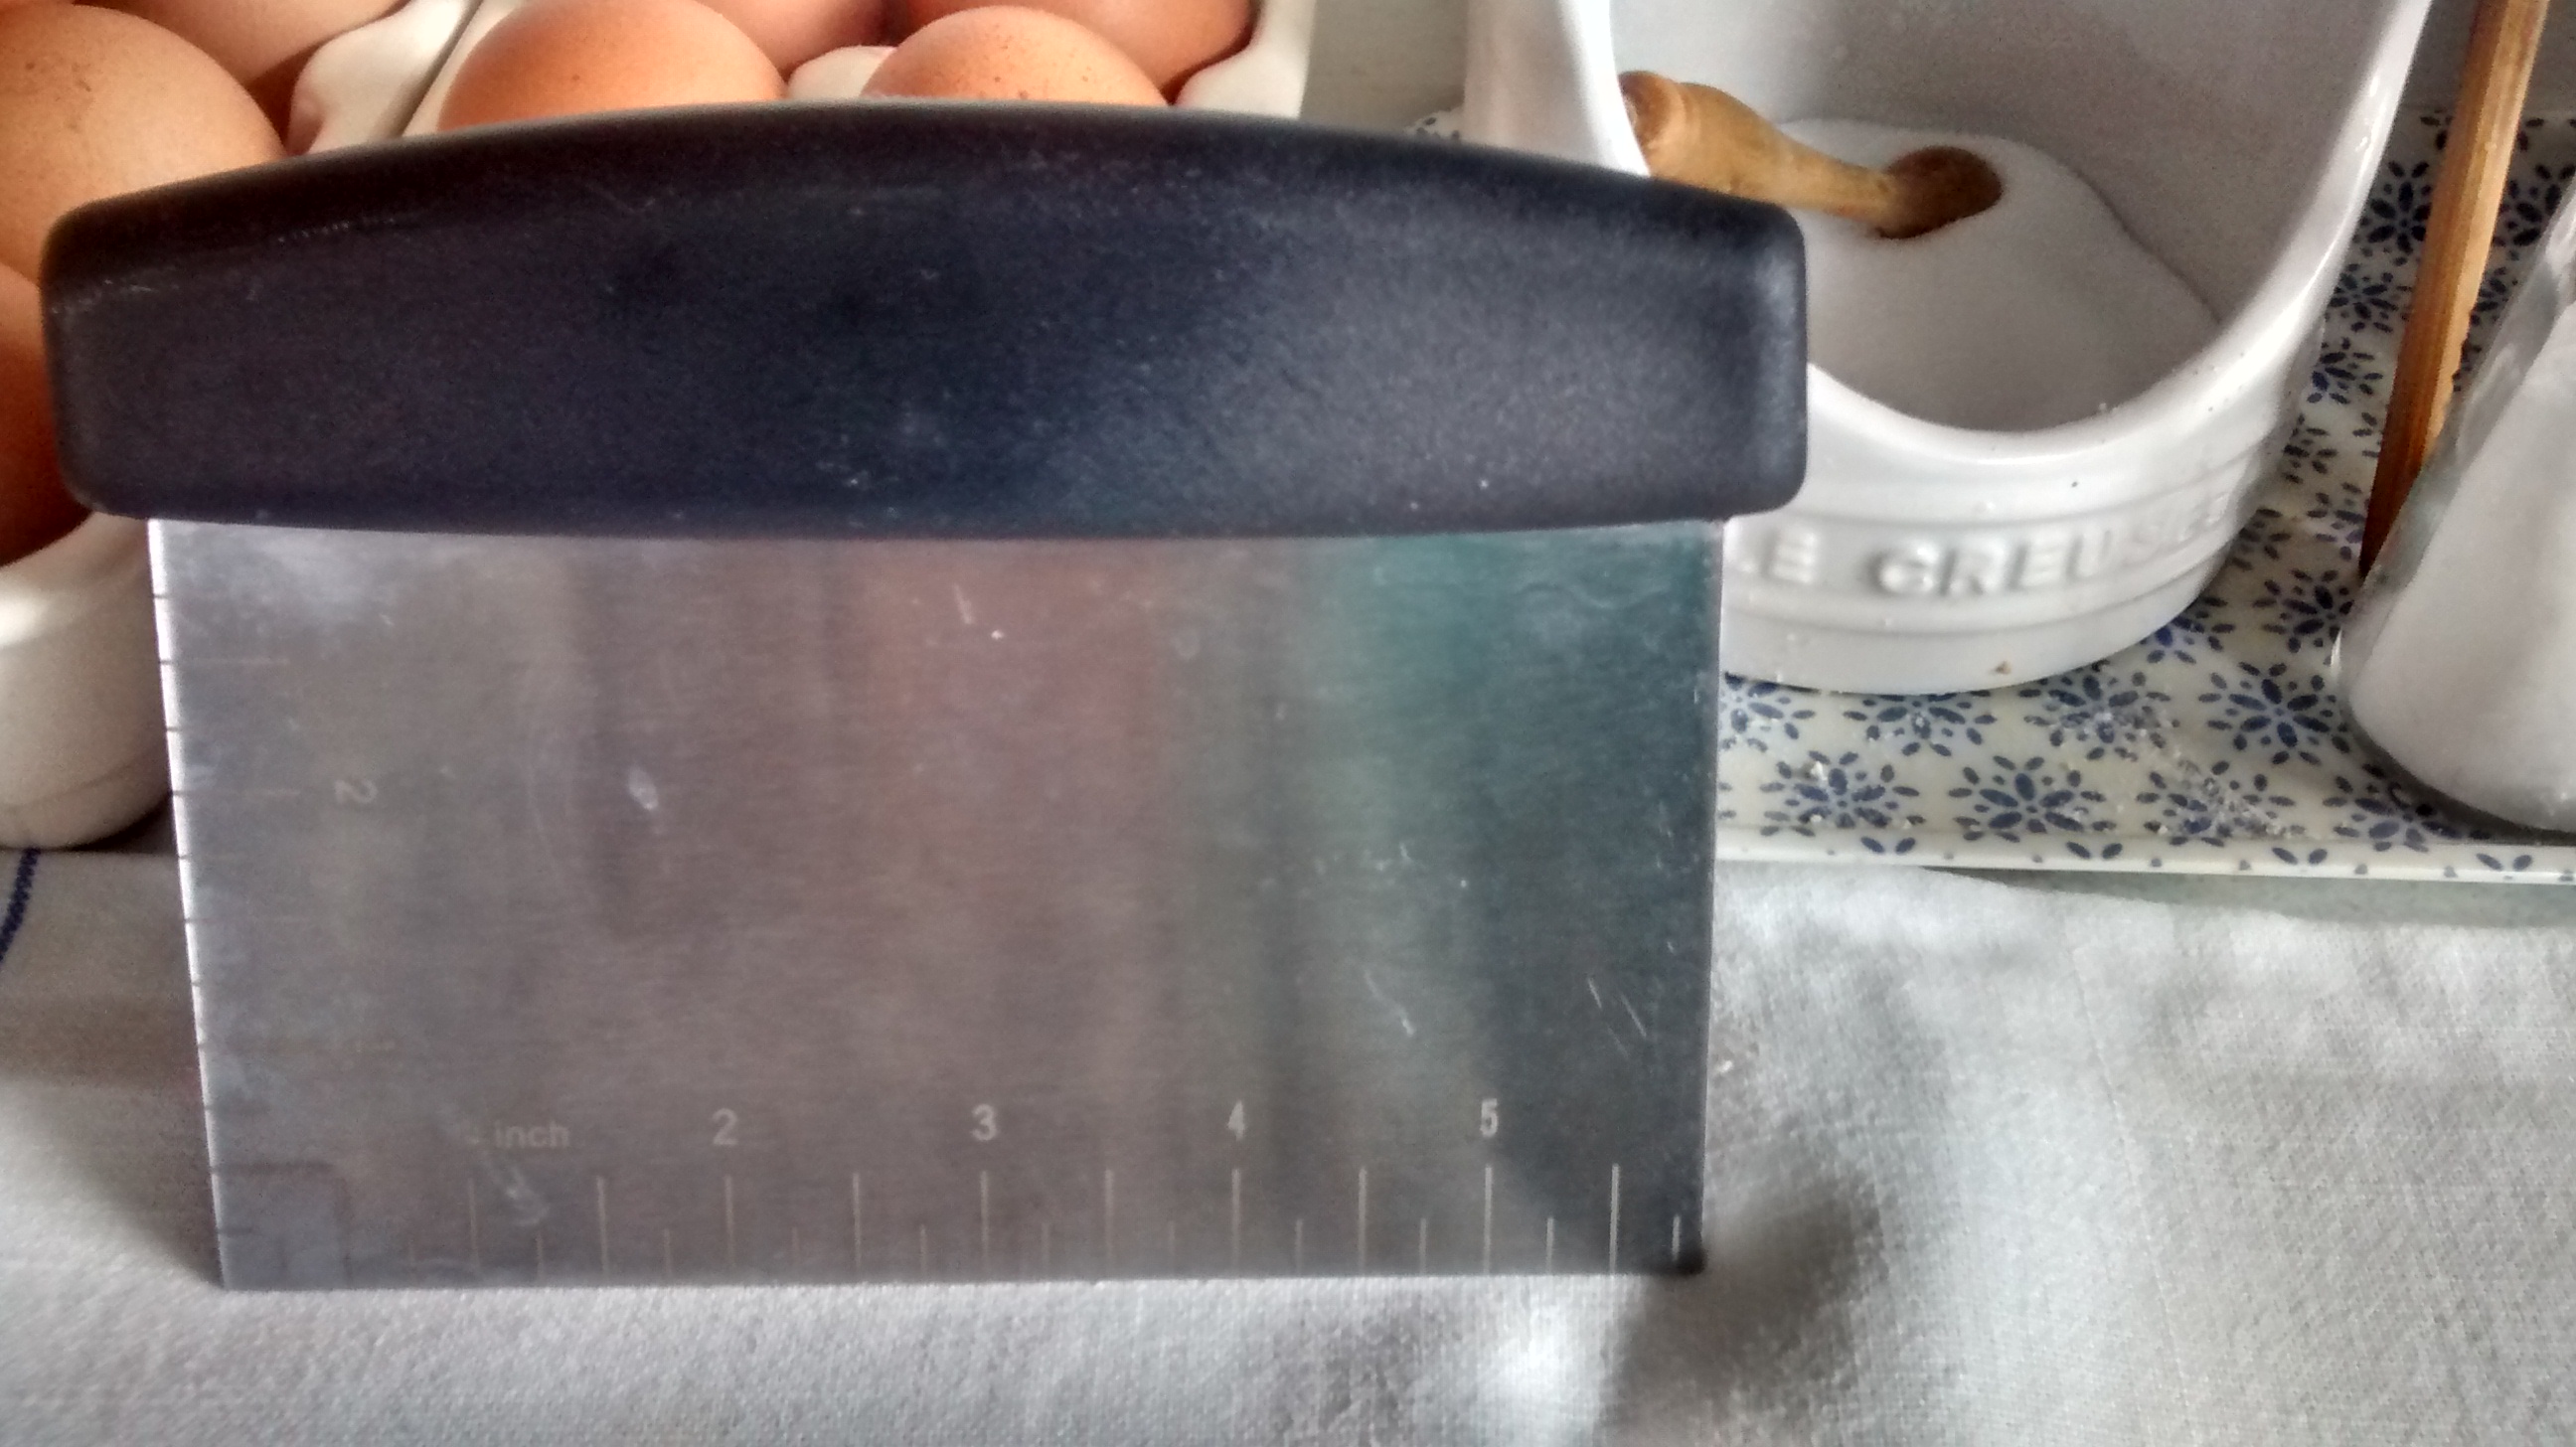
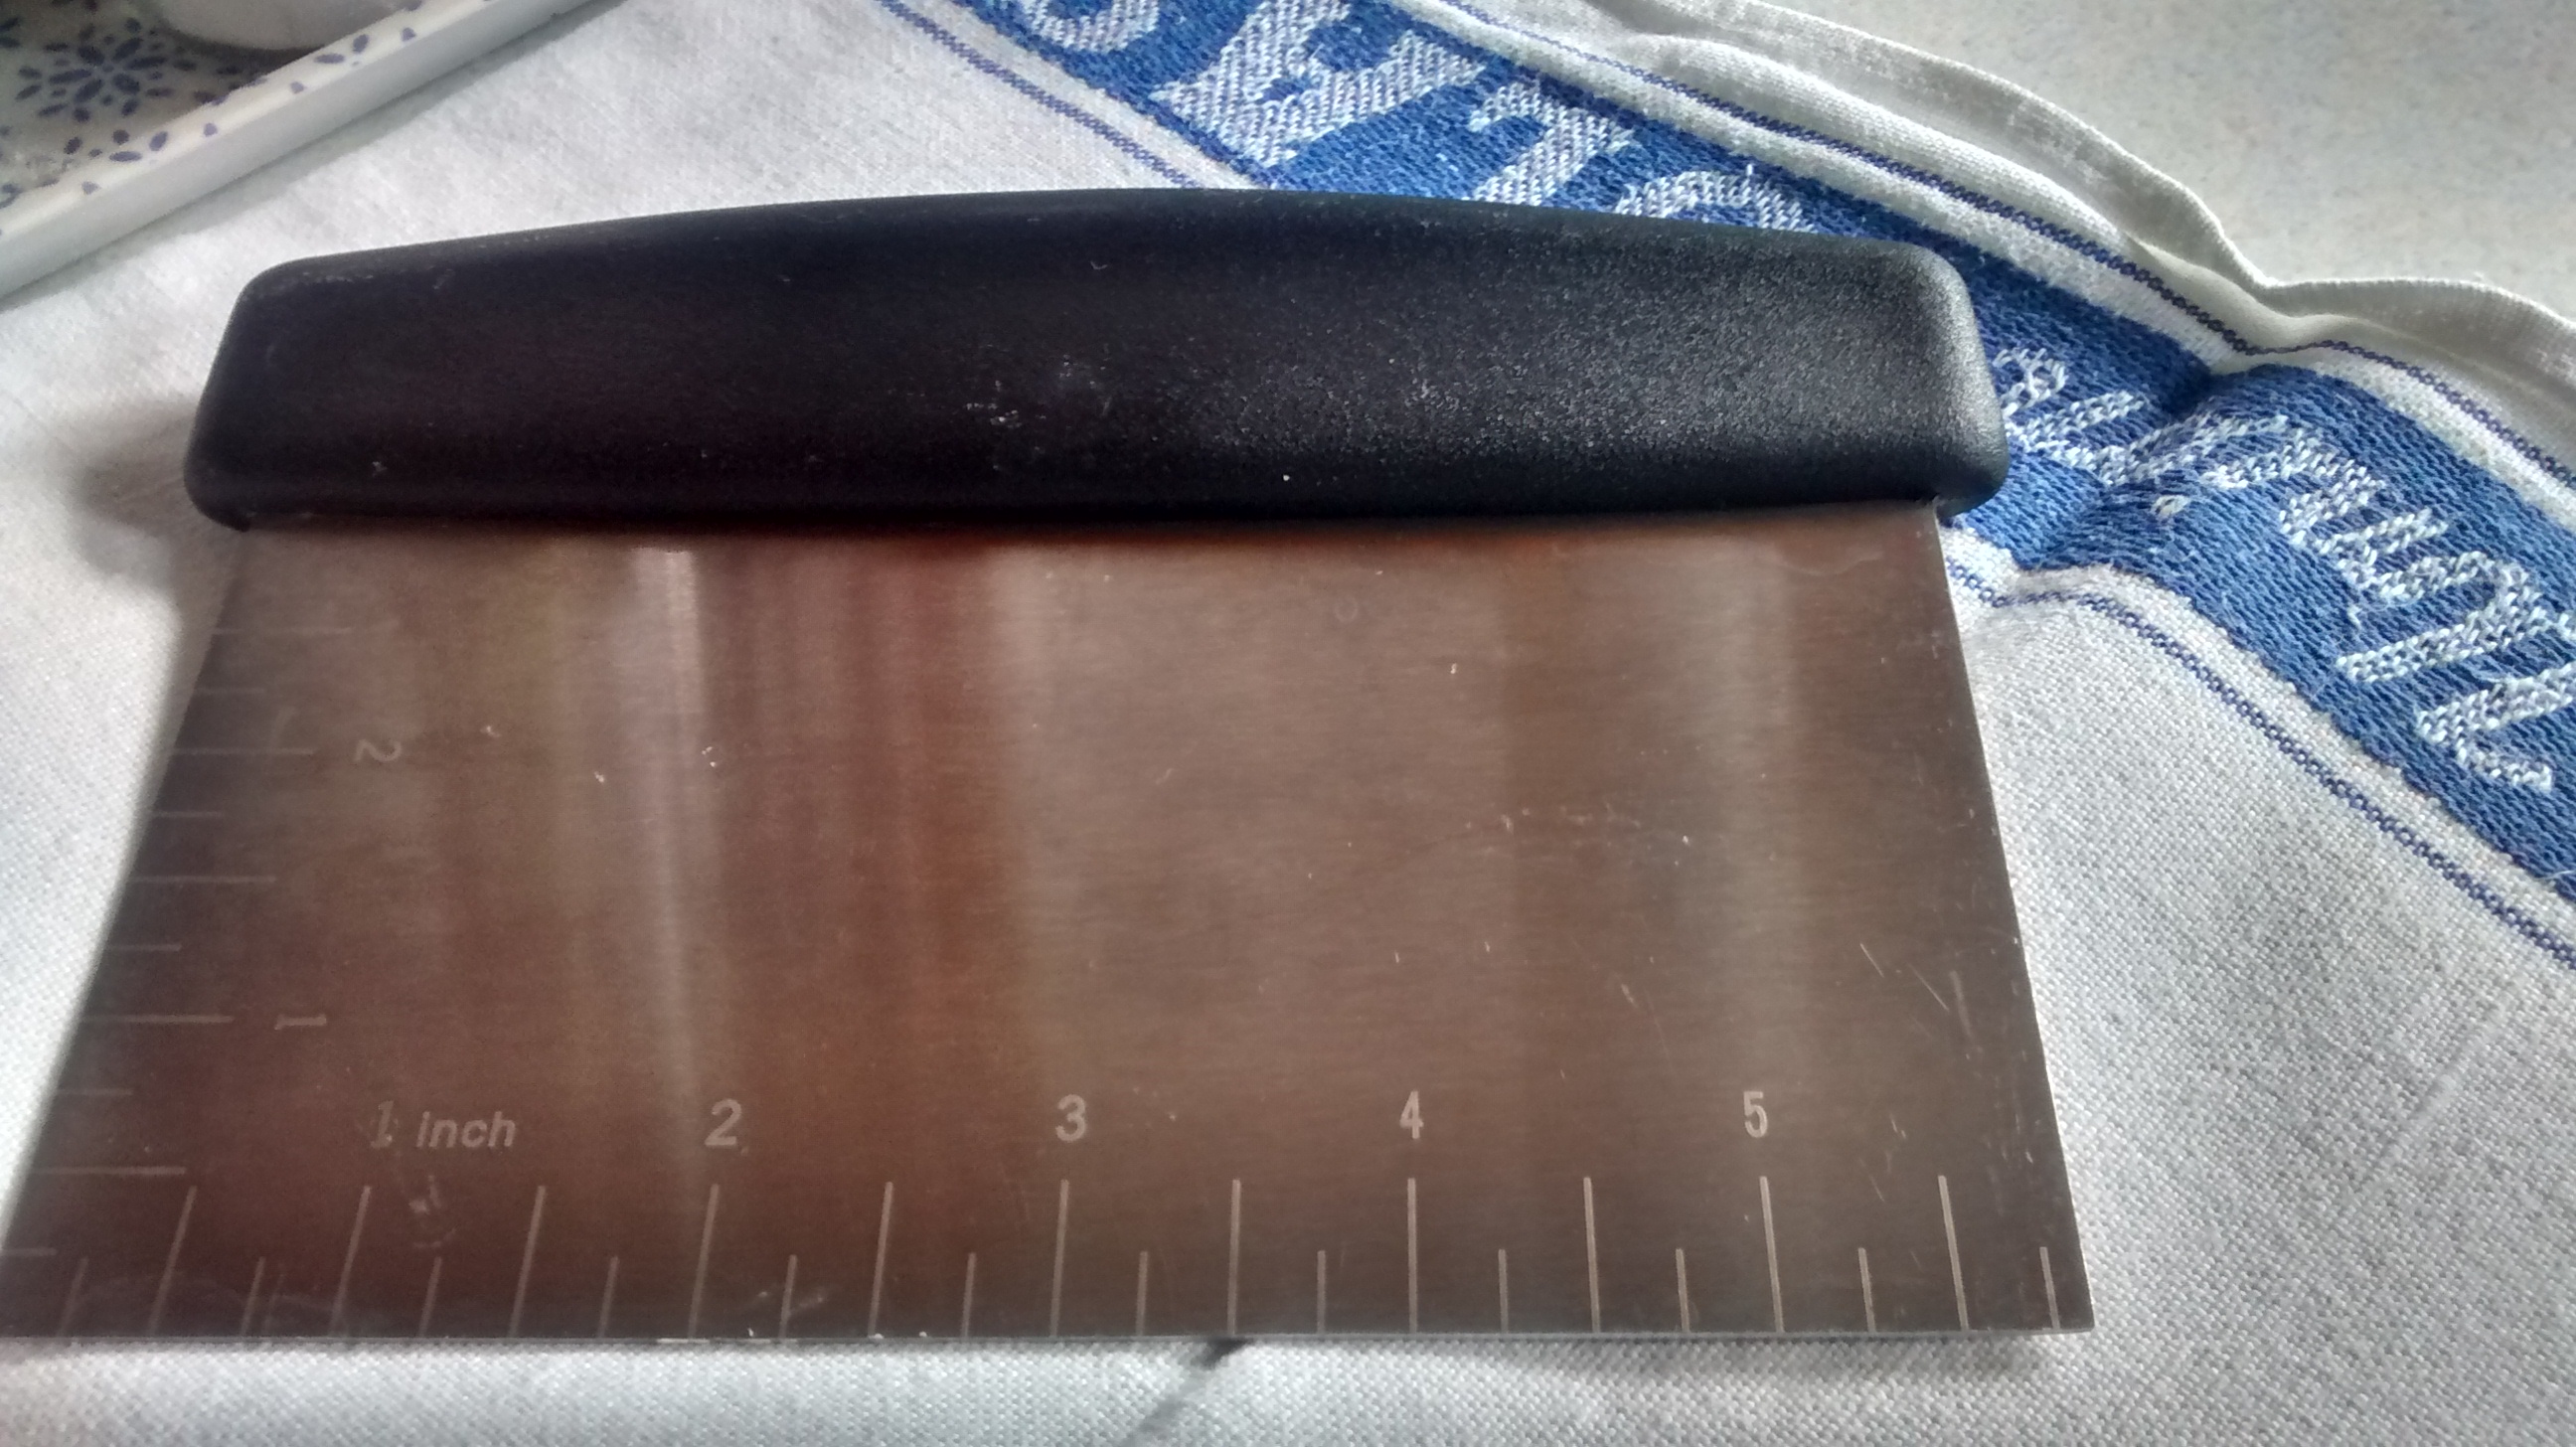
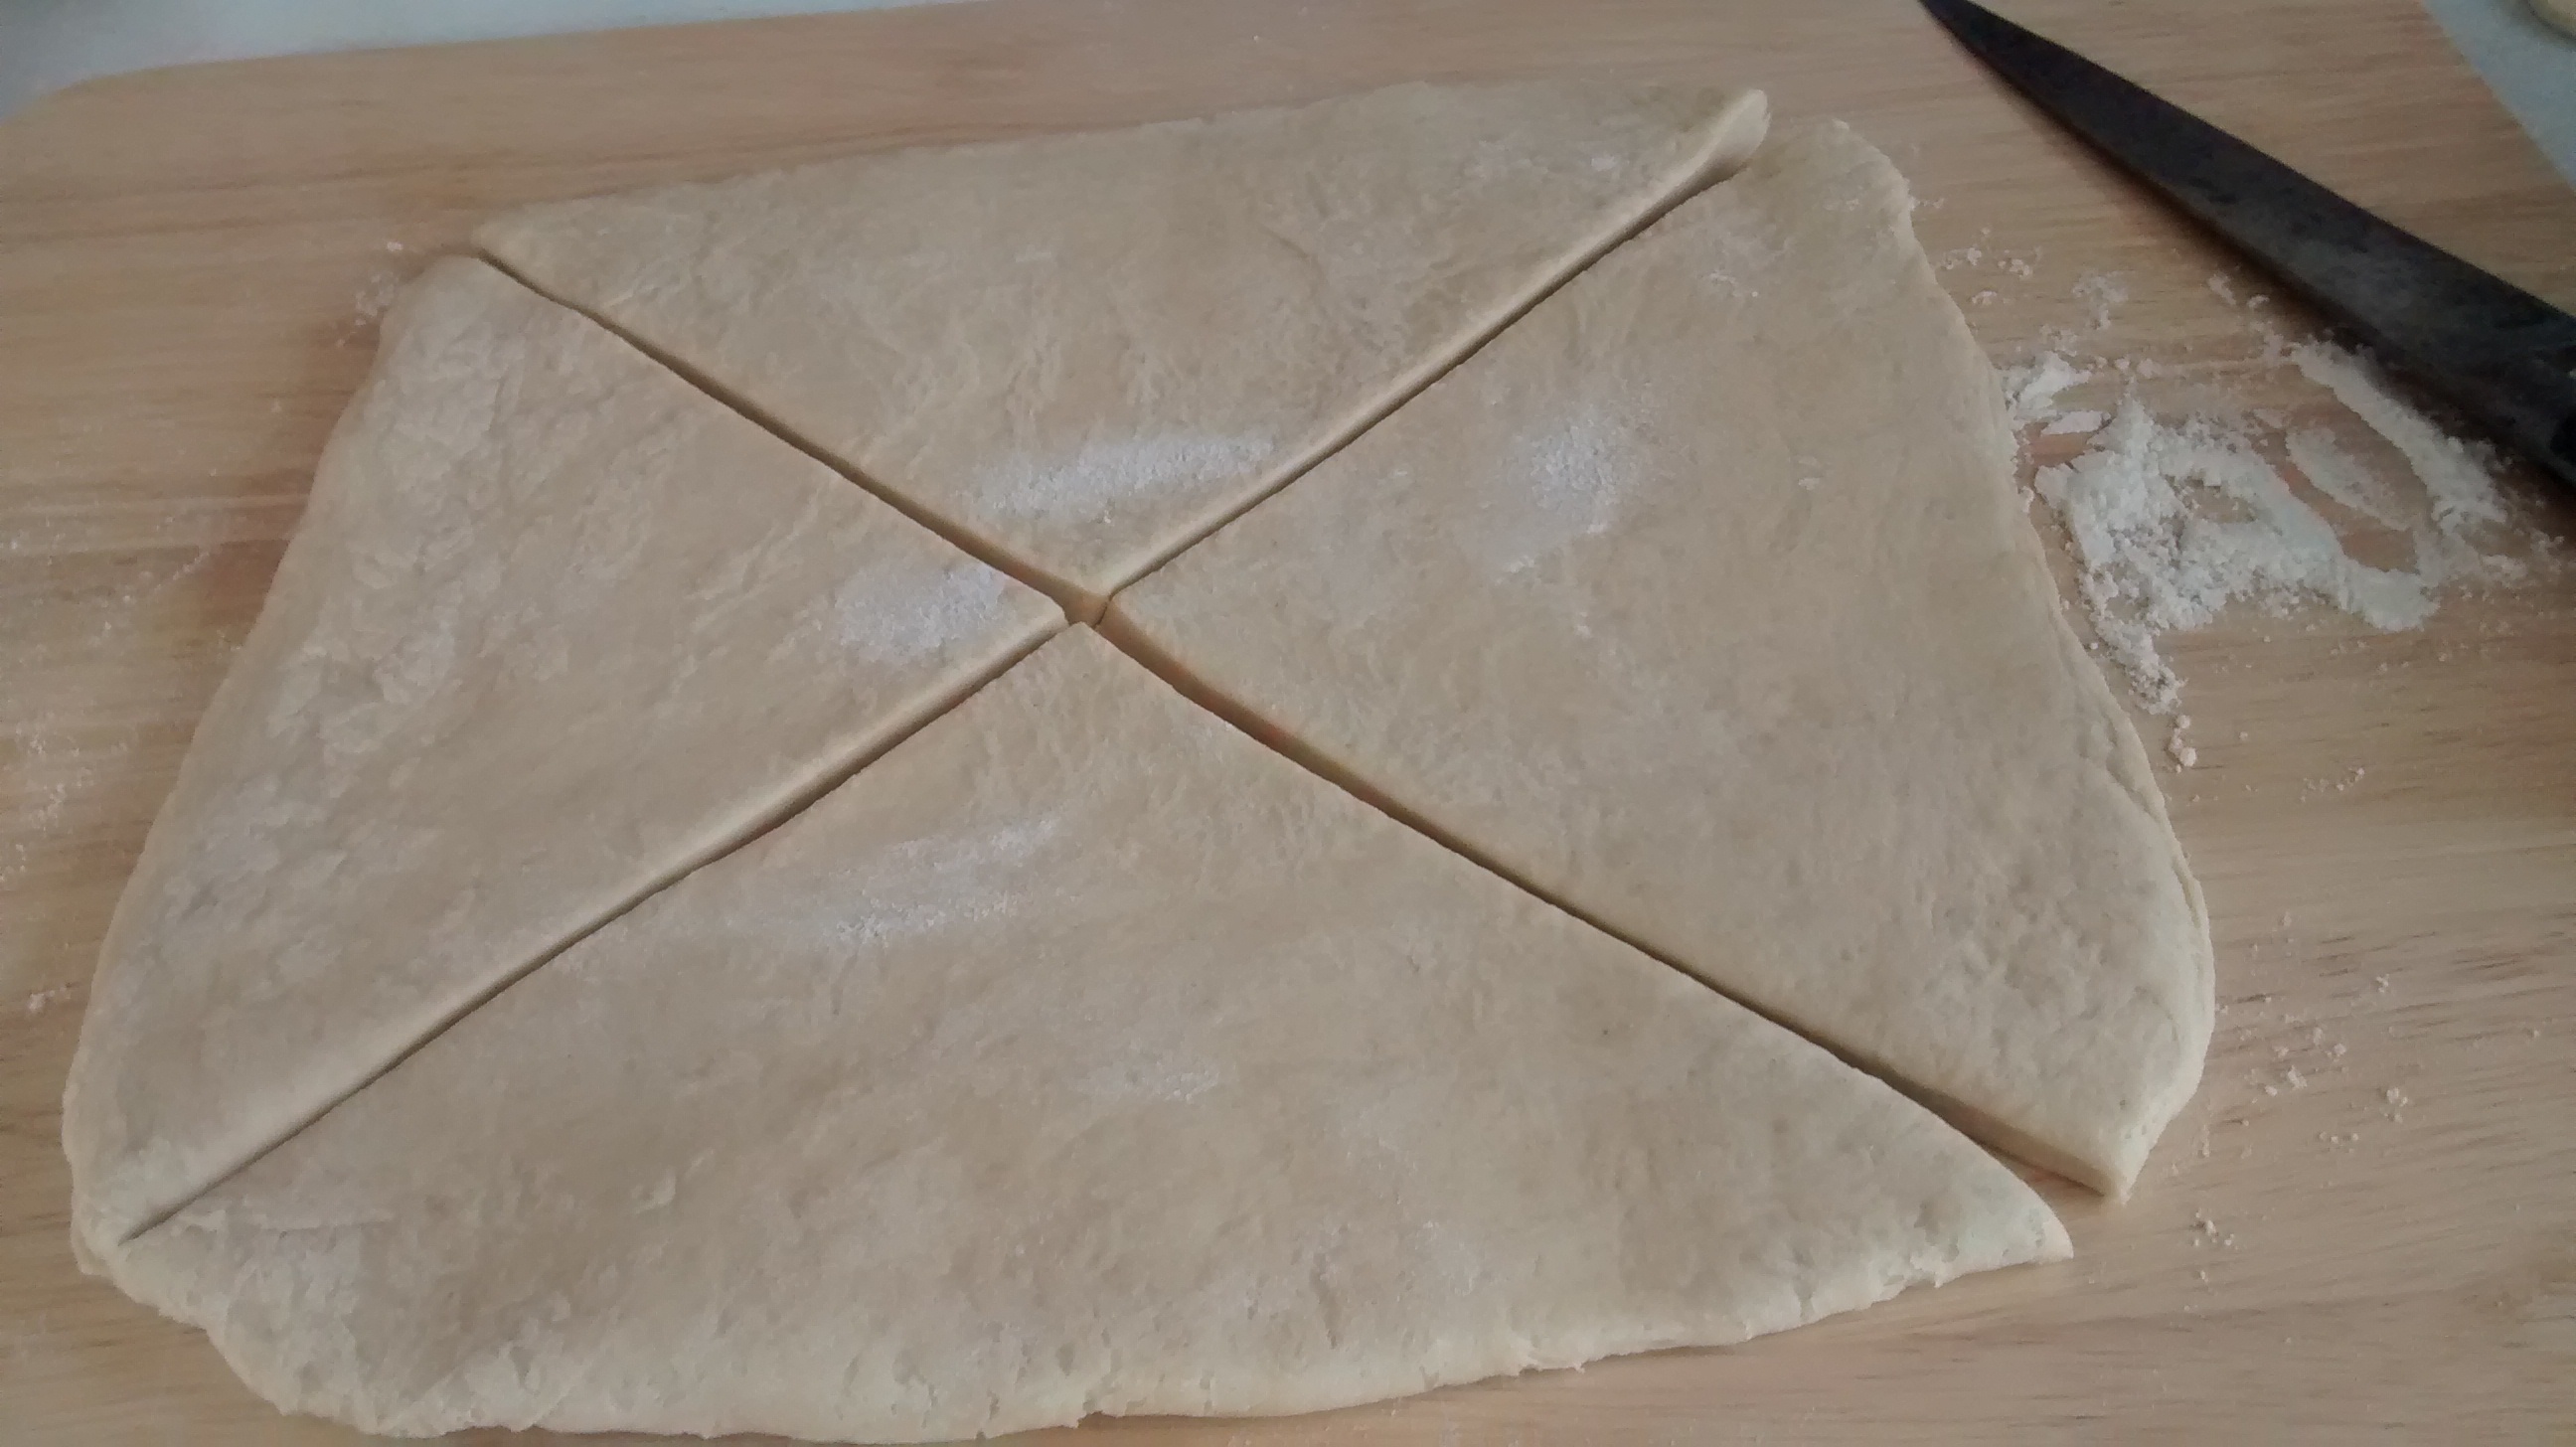
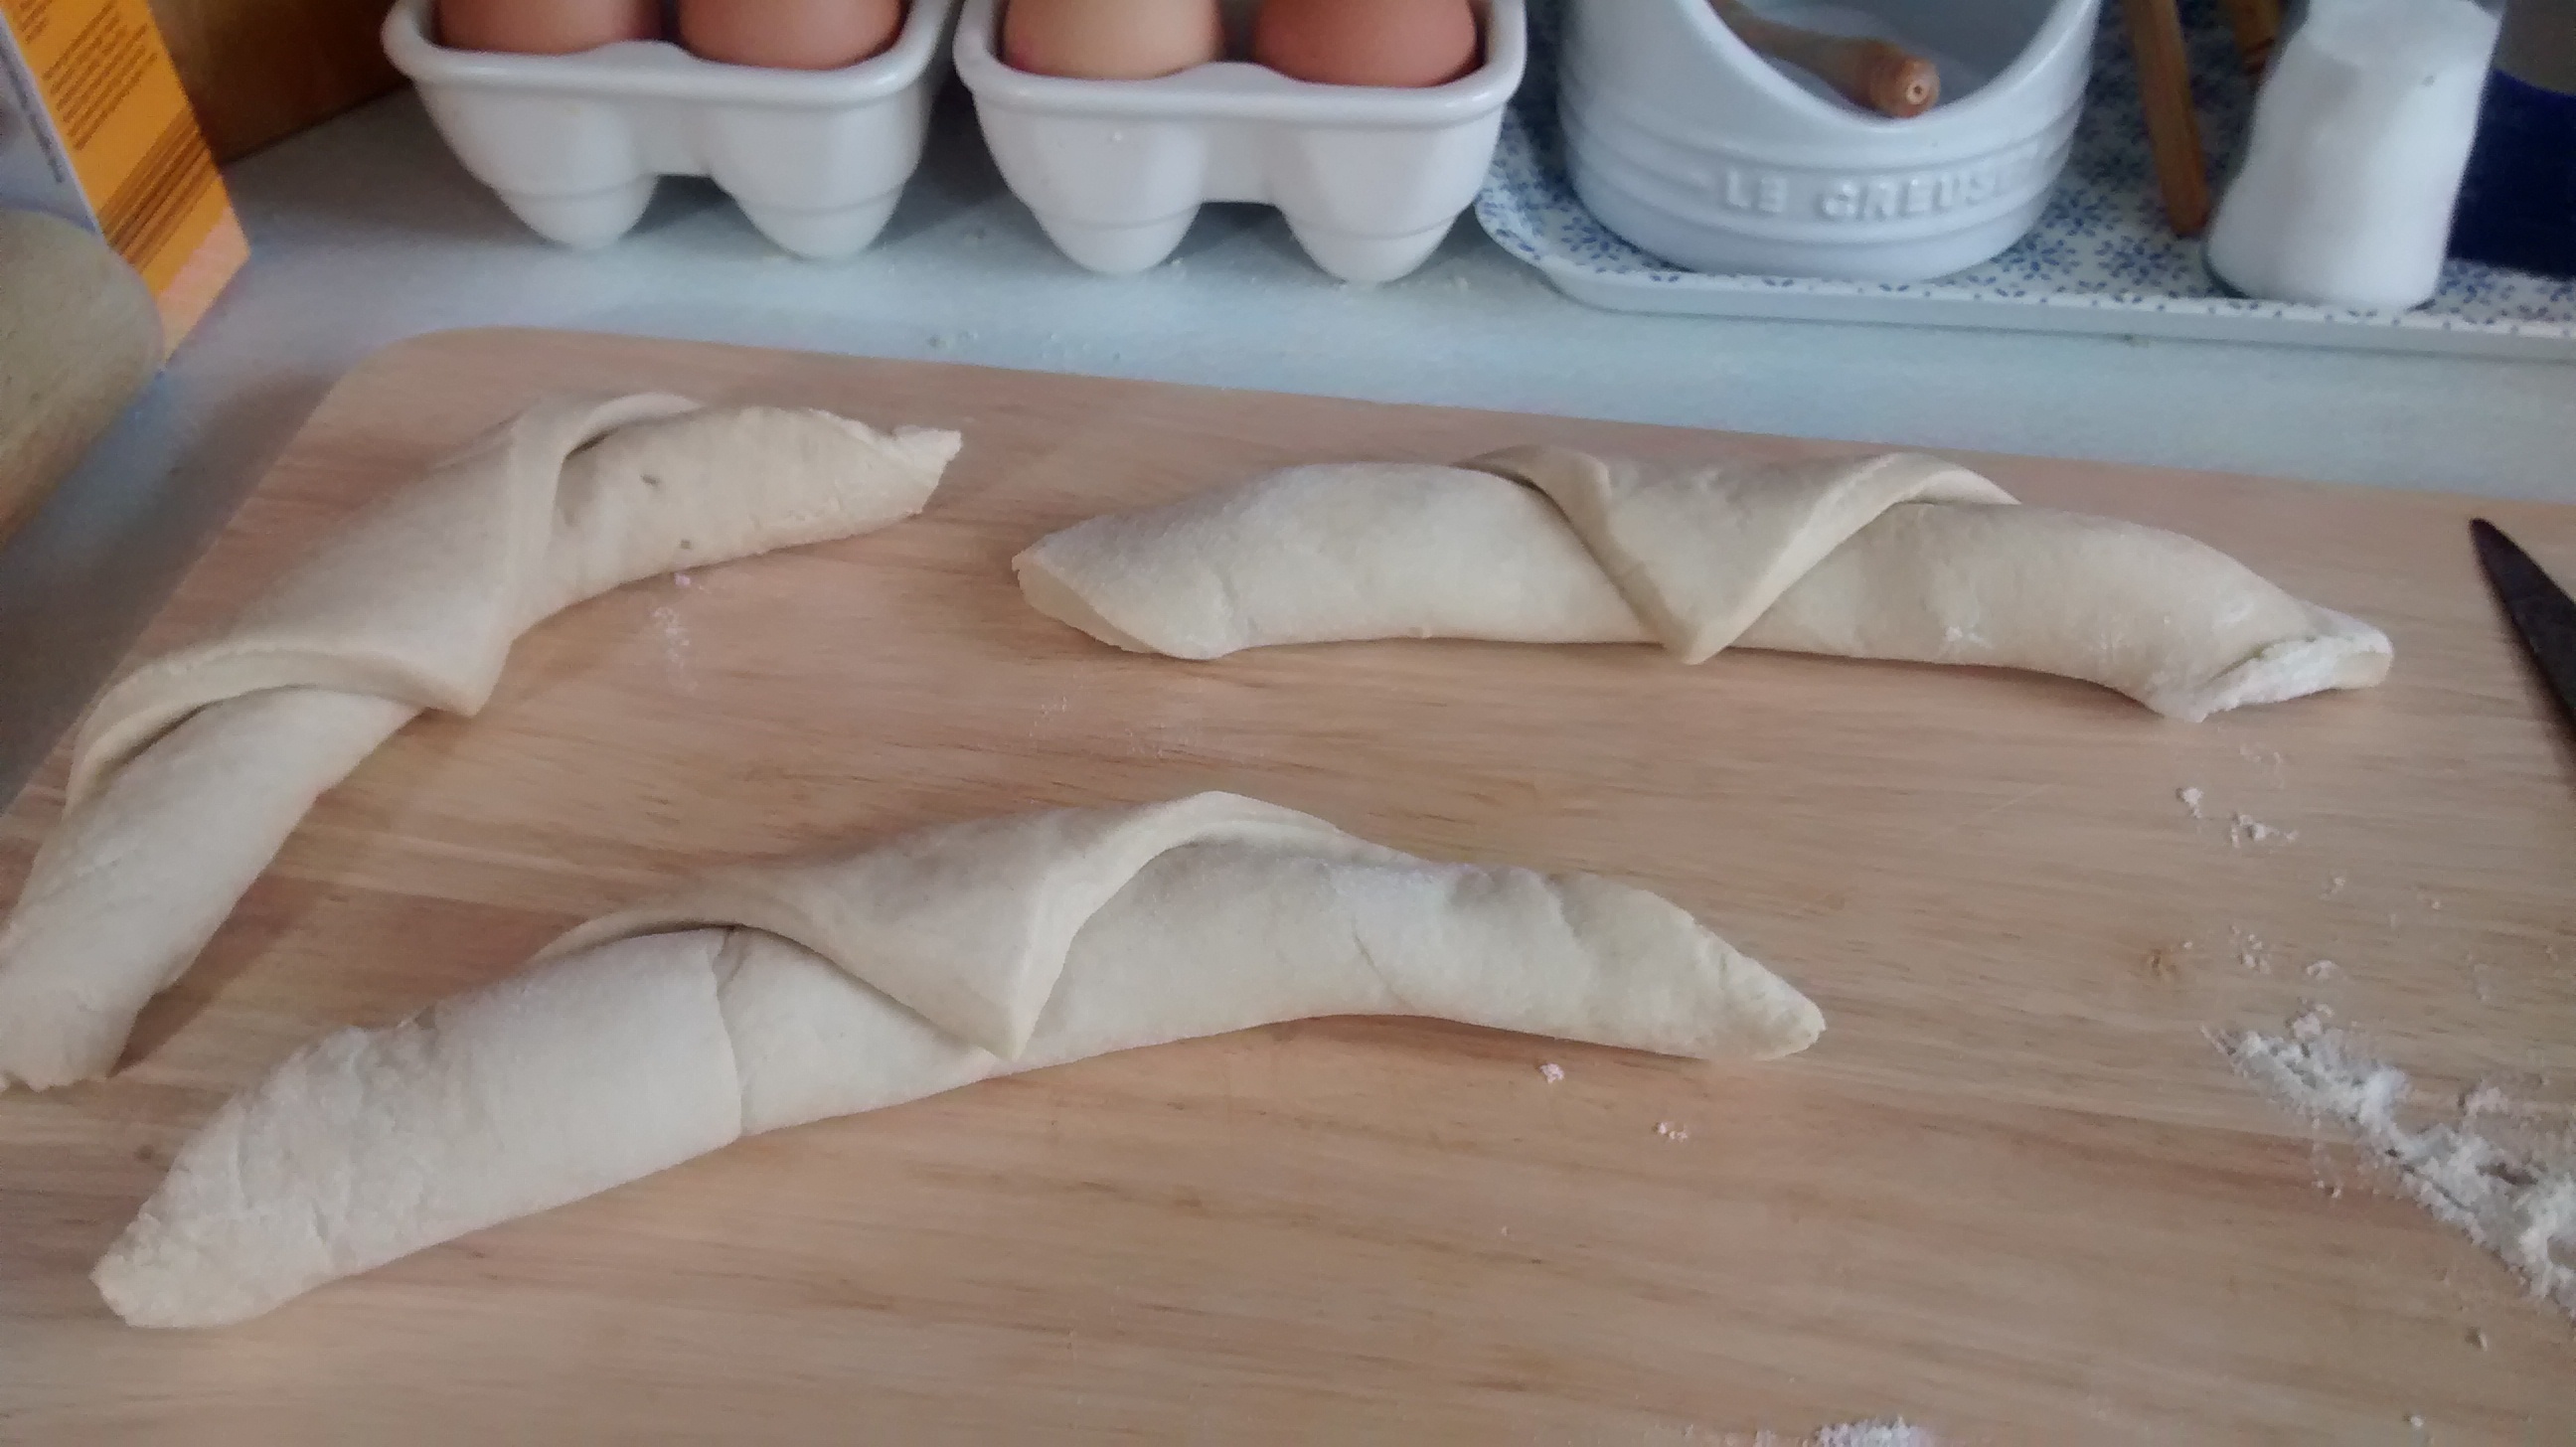
- Onto a floured surface place the dough and form it into a rectangle and then roll this out until it is around 2cm thick.
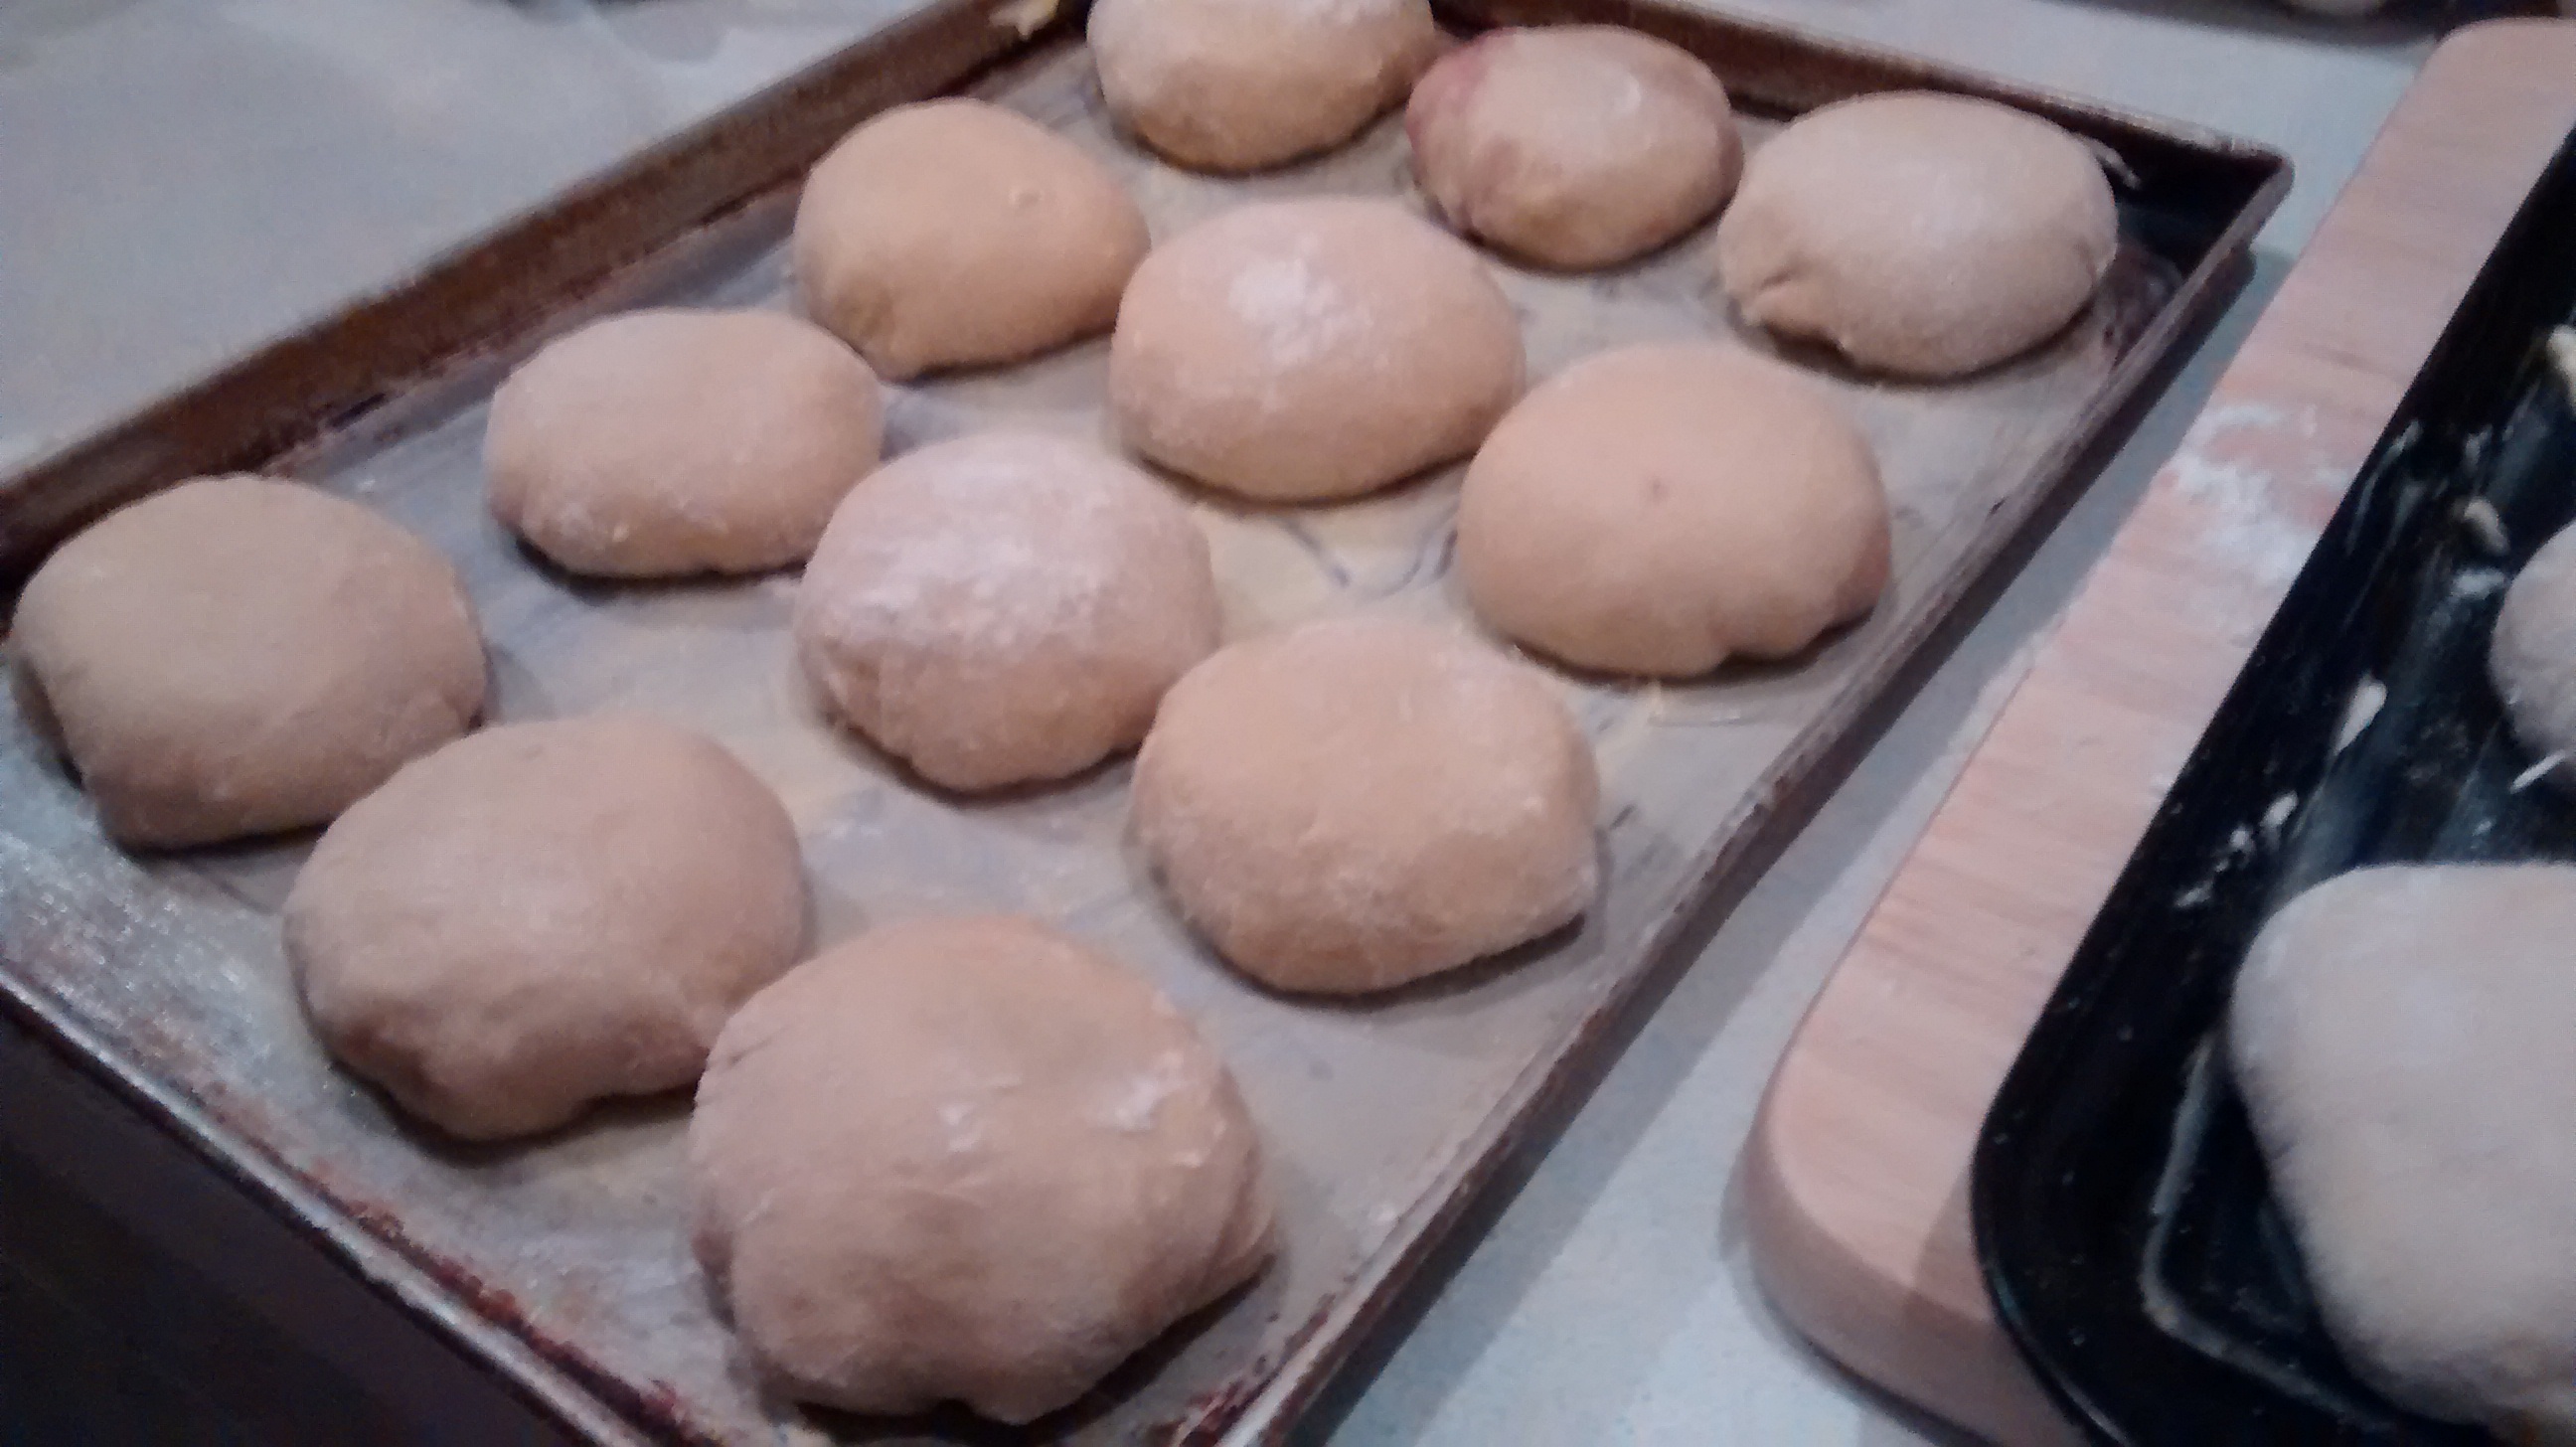
- Using a 8cm diameter cutter cut out circles of dough and place them on the greased baking sheets, leaving room for the dough to rise.
- Gather together the left over dough and repeat the process.


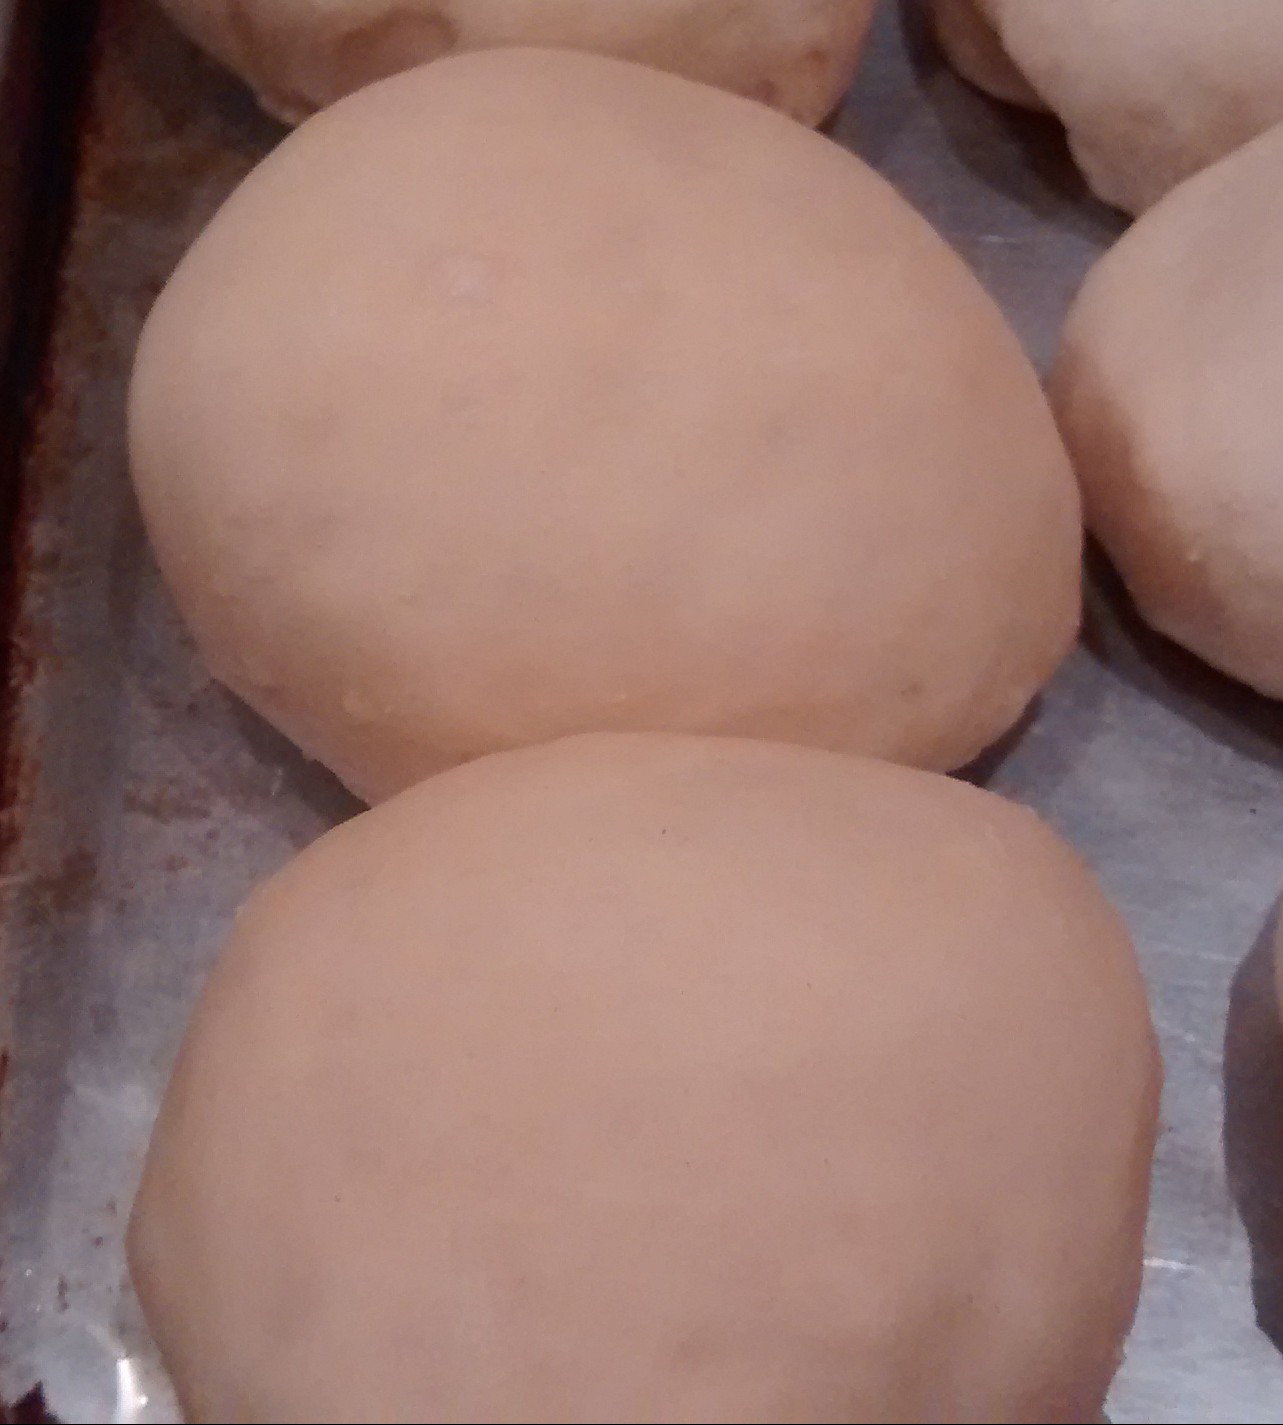
- Cover the trays and leave the circles to rise and double in size.
- Pre heat the oven to GM5 – 190ºC
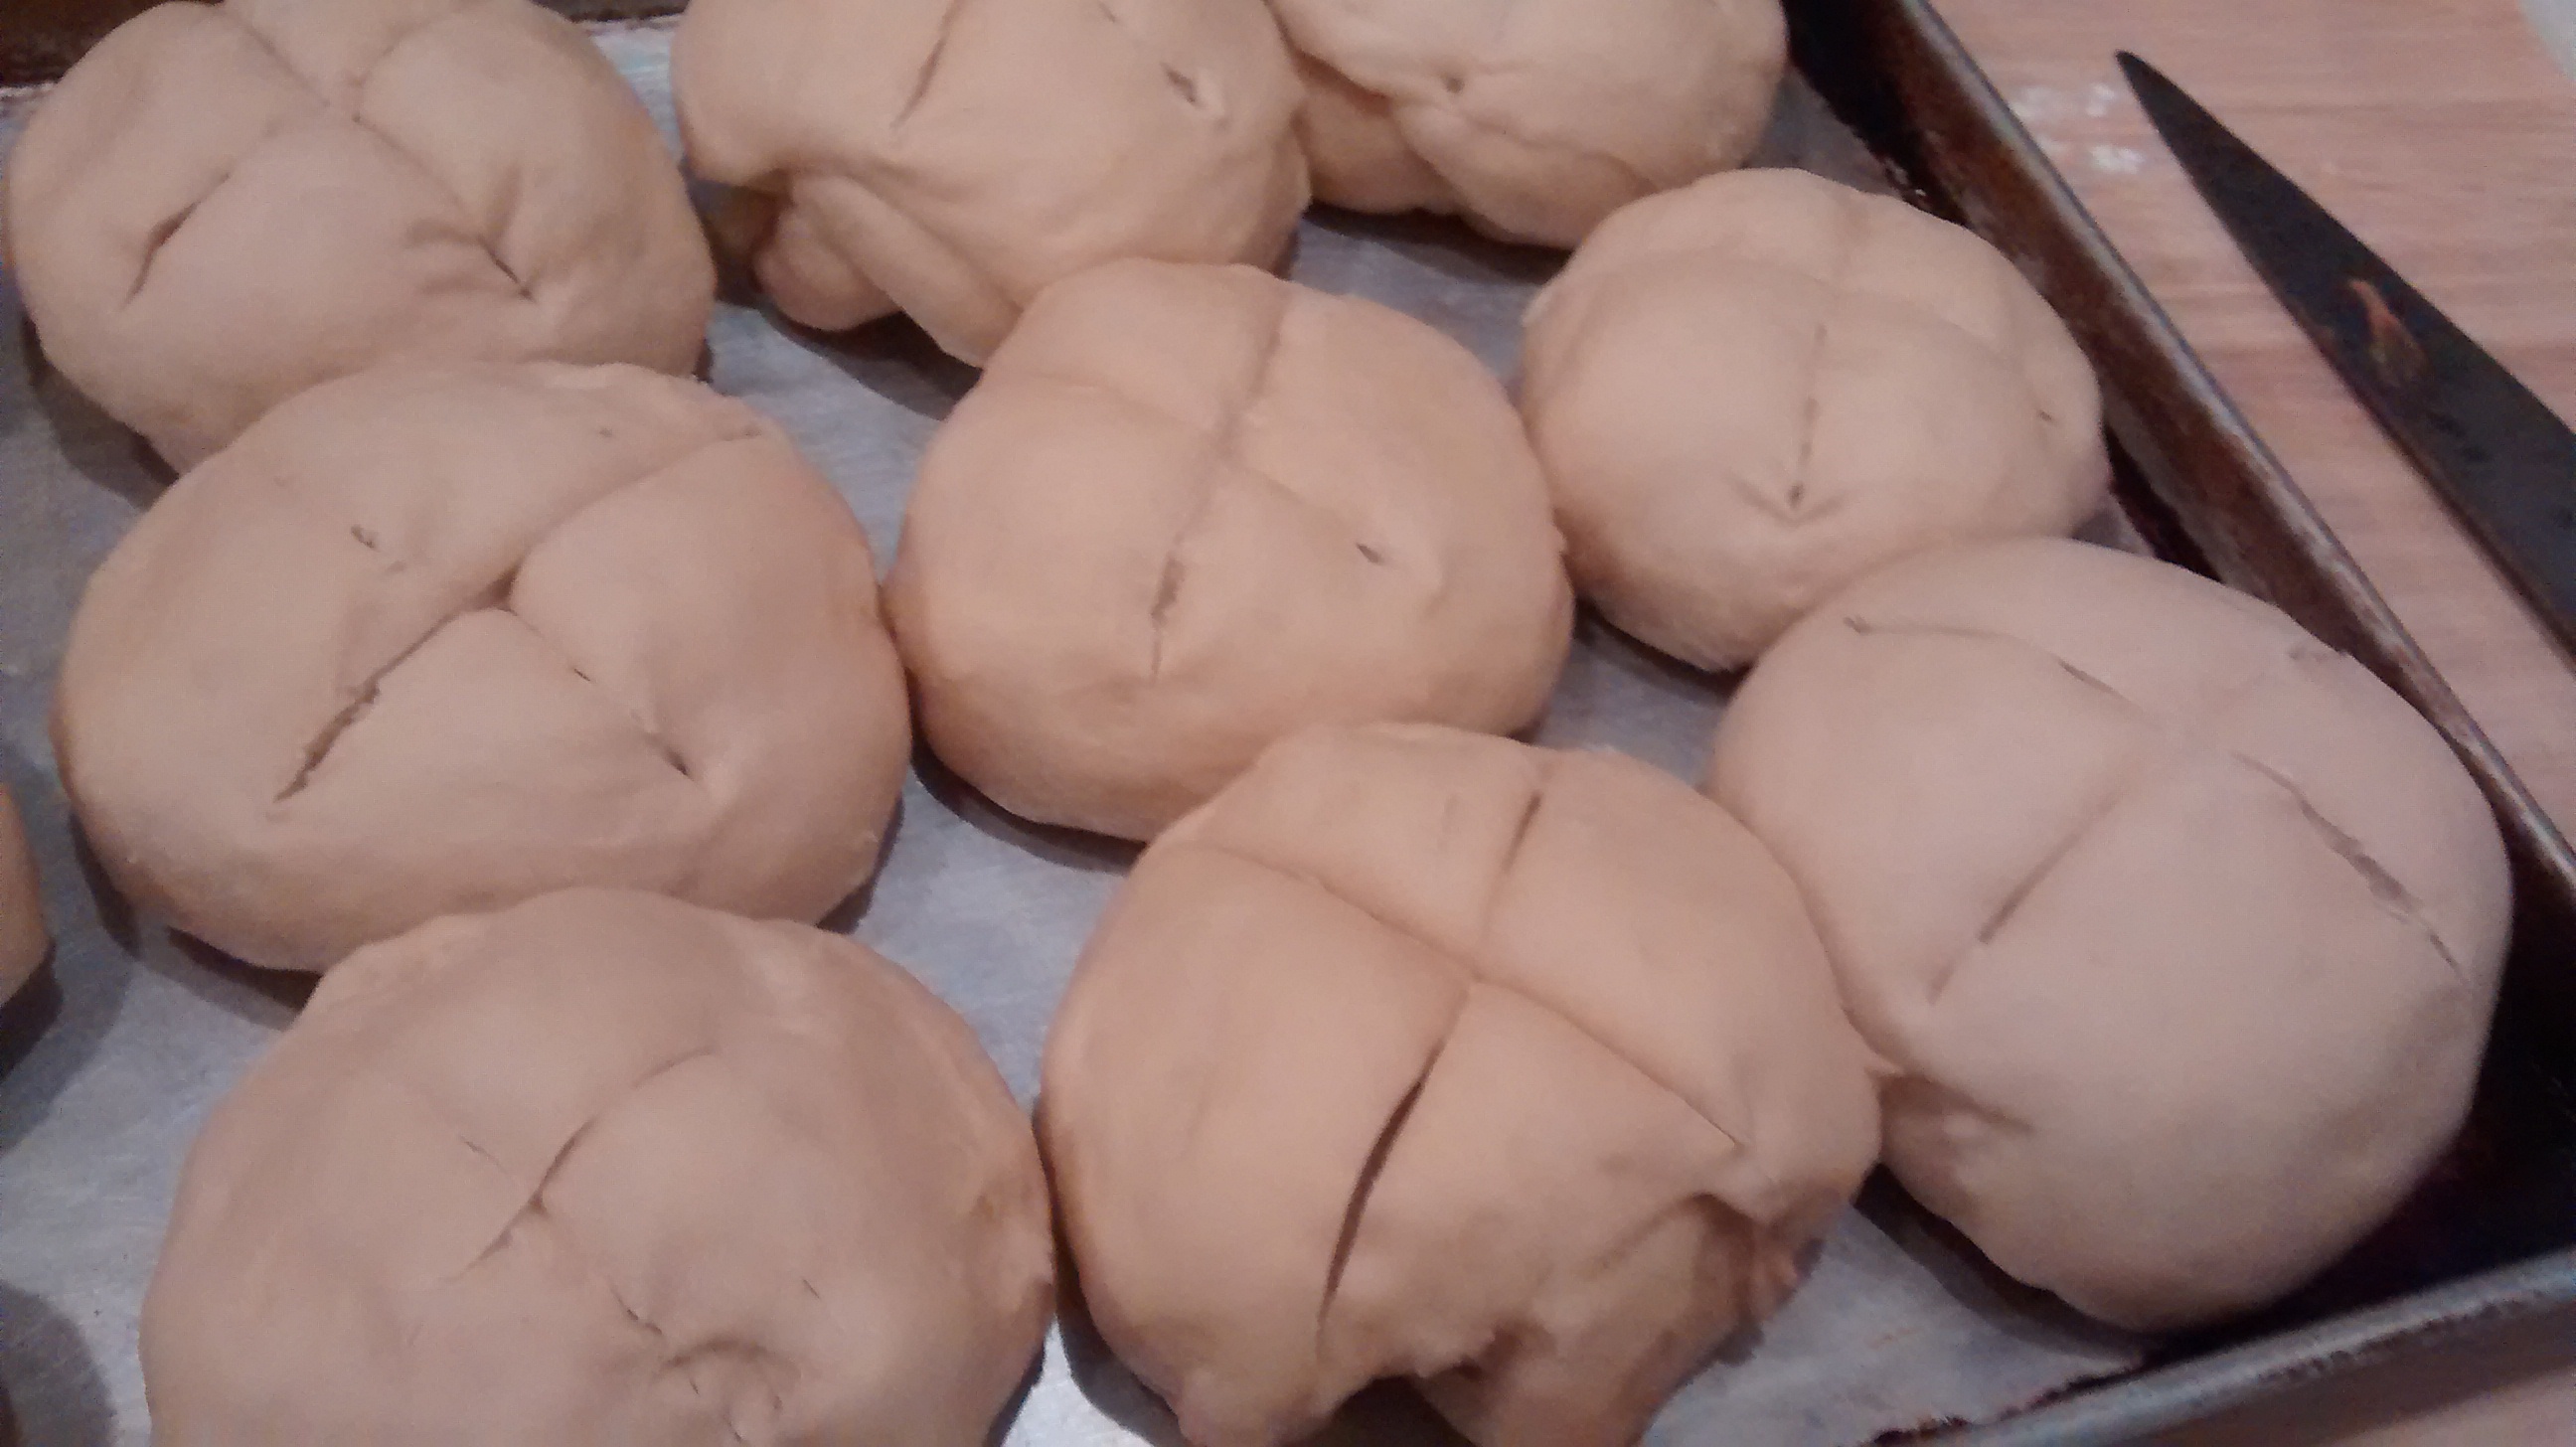
- Use a clean napkin or tea towel and cover the base of a tumbler.
- Use the covered tumbler and press down on the centre of each circle to form an indentation into which you will put a filling.


Fillings
- These are the ones I tried –
- Cheese mixture – similar to ones for baked cheesecake.
- Mix together around 250g of cream cheese/twaróg/curd or yoghurt cheese, 70g icing sugar, 1 egg yolk and 2-3 drops of vanilla essence.
- Blackcurrant jam (you could use any tart jam such as cherry or gooseberry )
- English style sweet mincemeat – I use Delia Smith’s recipe (without the nuts)
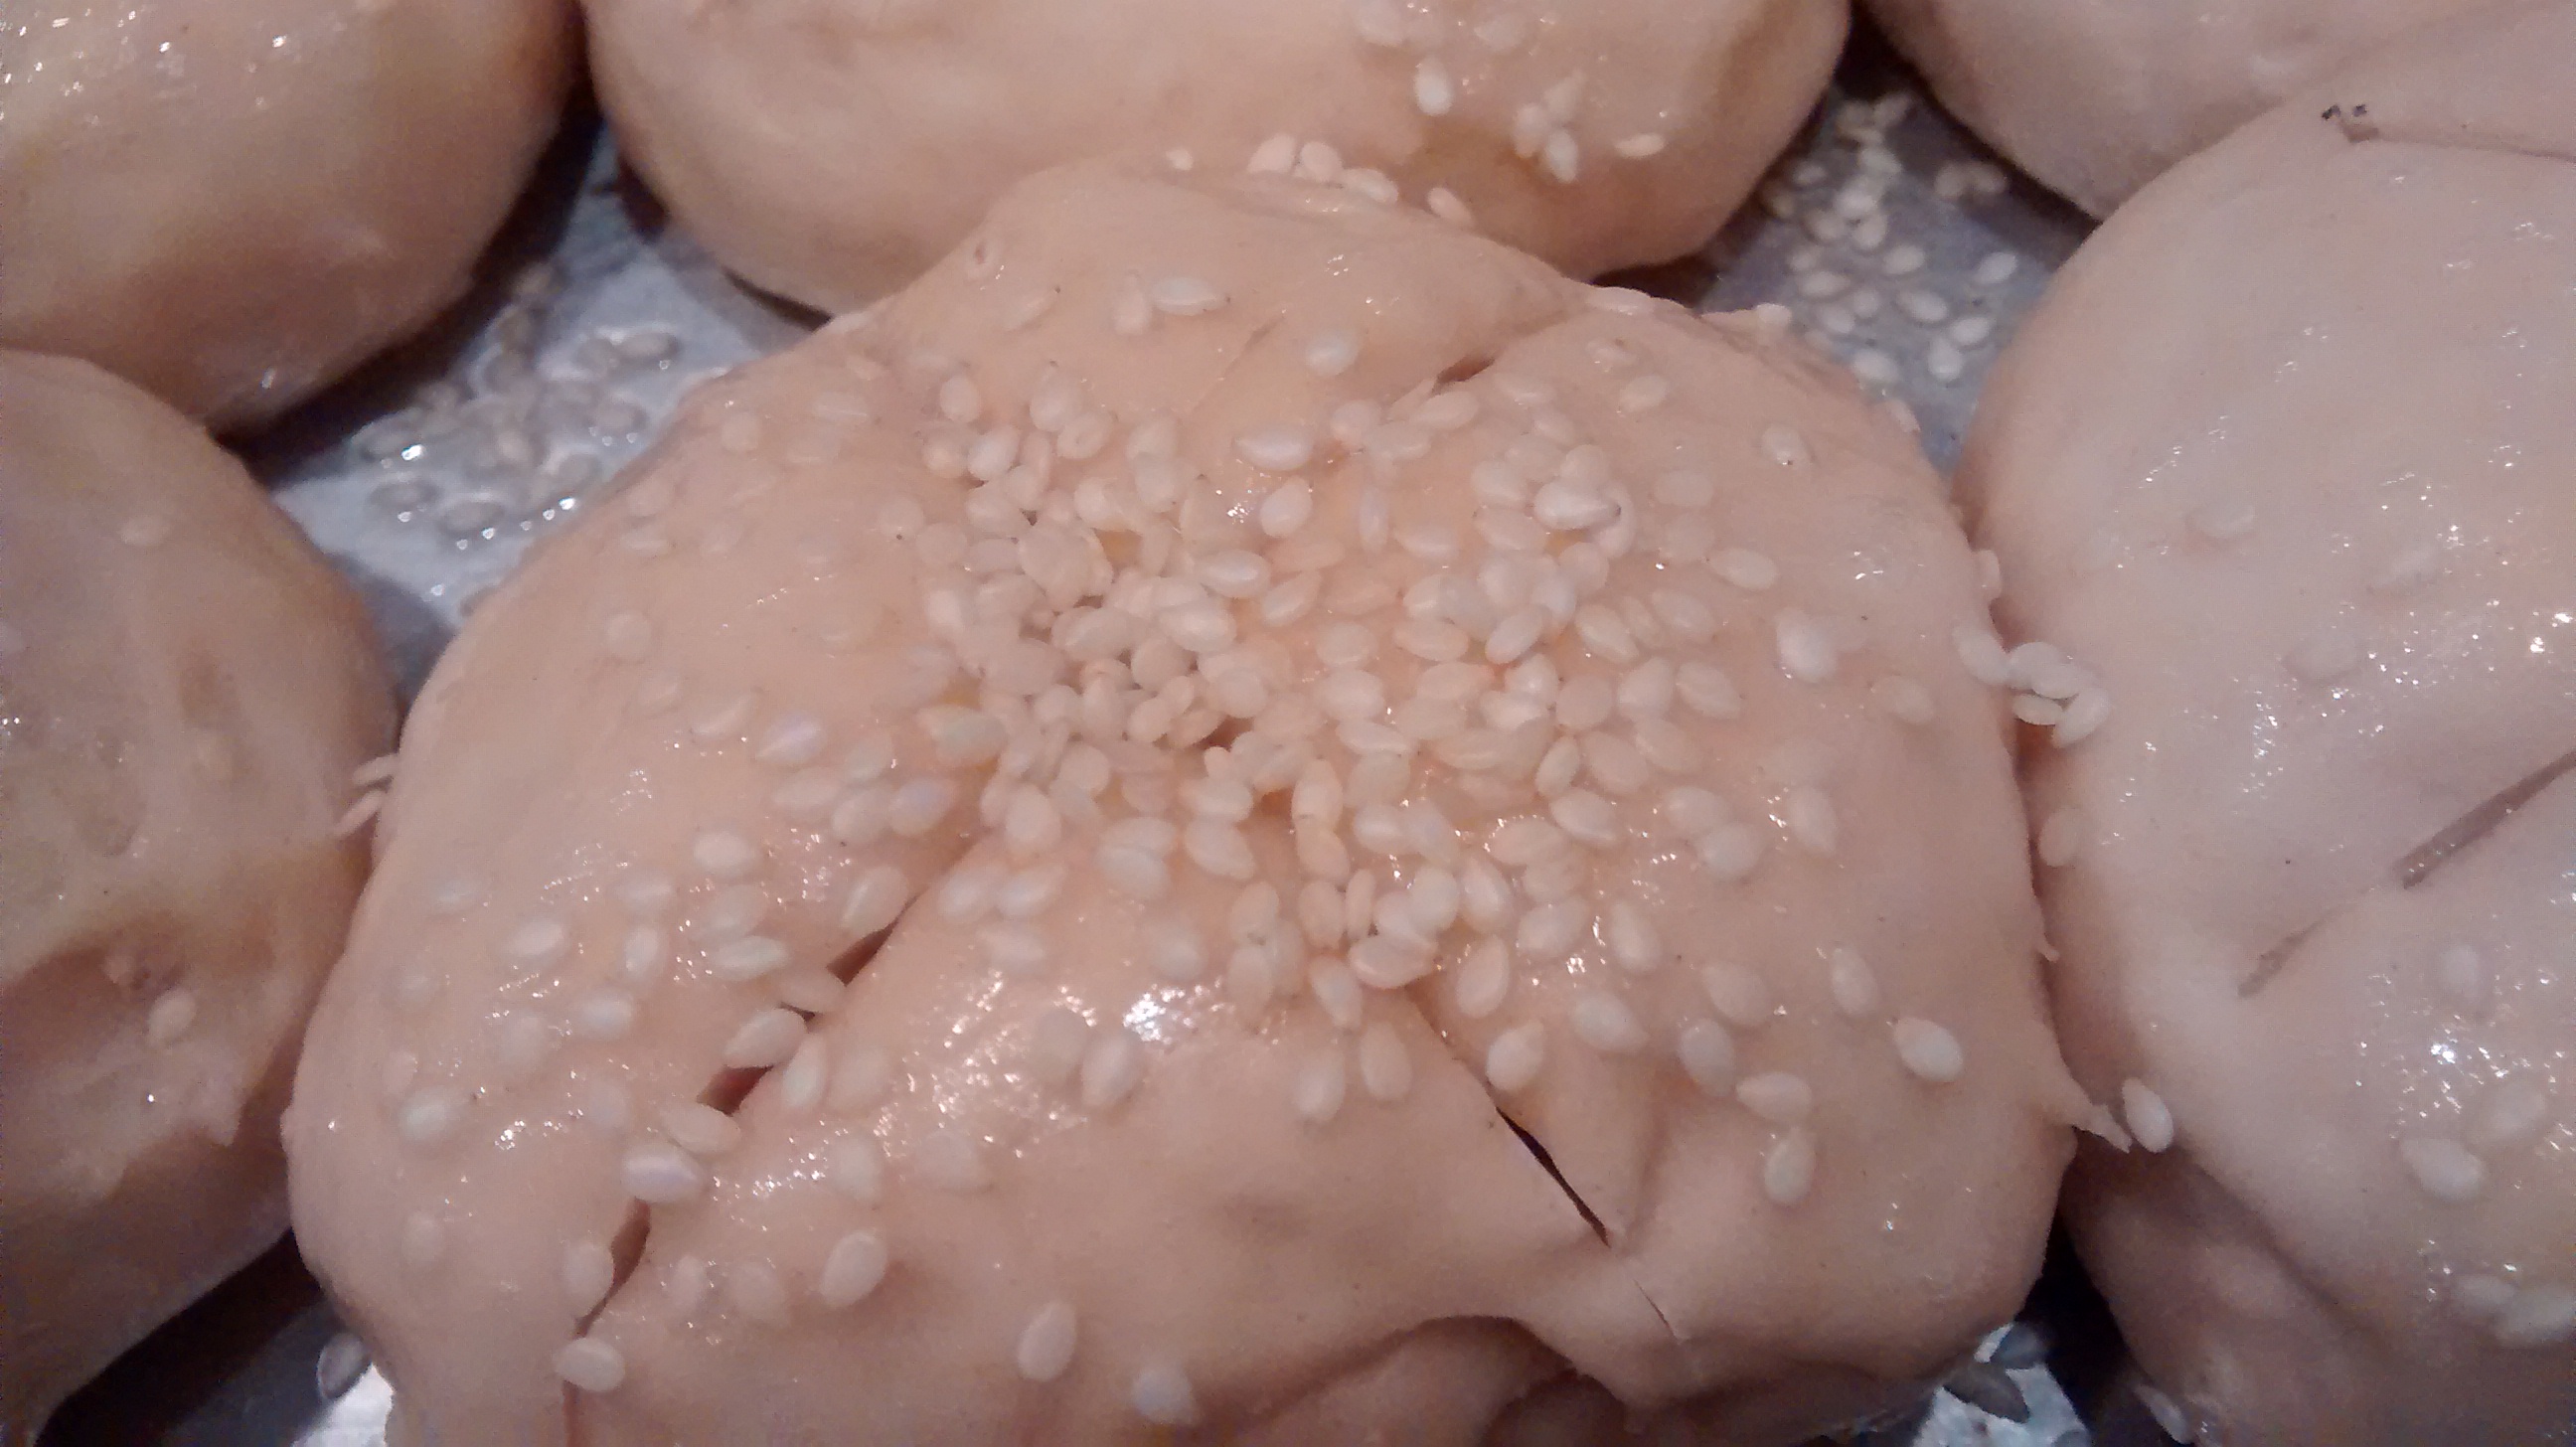
- Put a large dollop of the filling onto each circle.


Brush the exposed dough with beaten egg white.
Topping
This is for the jam or mincemeat only – not the cheese mixture.
Kruszonka – Crumble Mixture
Ingredients
- 50g plain flour
- 50g butter
- 50g granulated sugar
Method
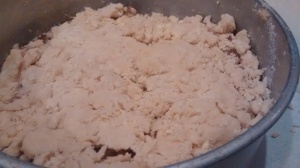
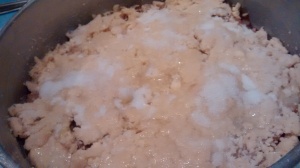
- Mix together the flour and butter to make fine crumbs then mix in the sugar.
- Sprinkle around a tablespoon or so over the jam or mincemeat.
-
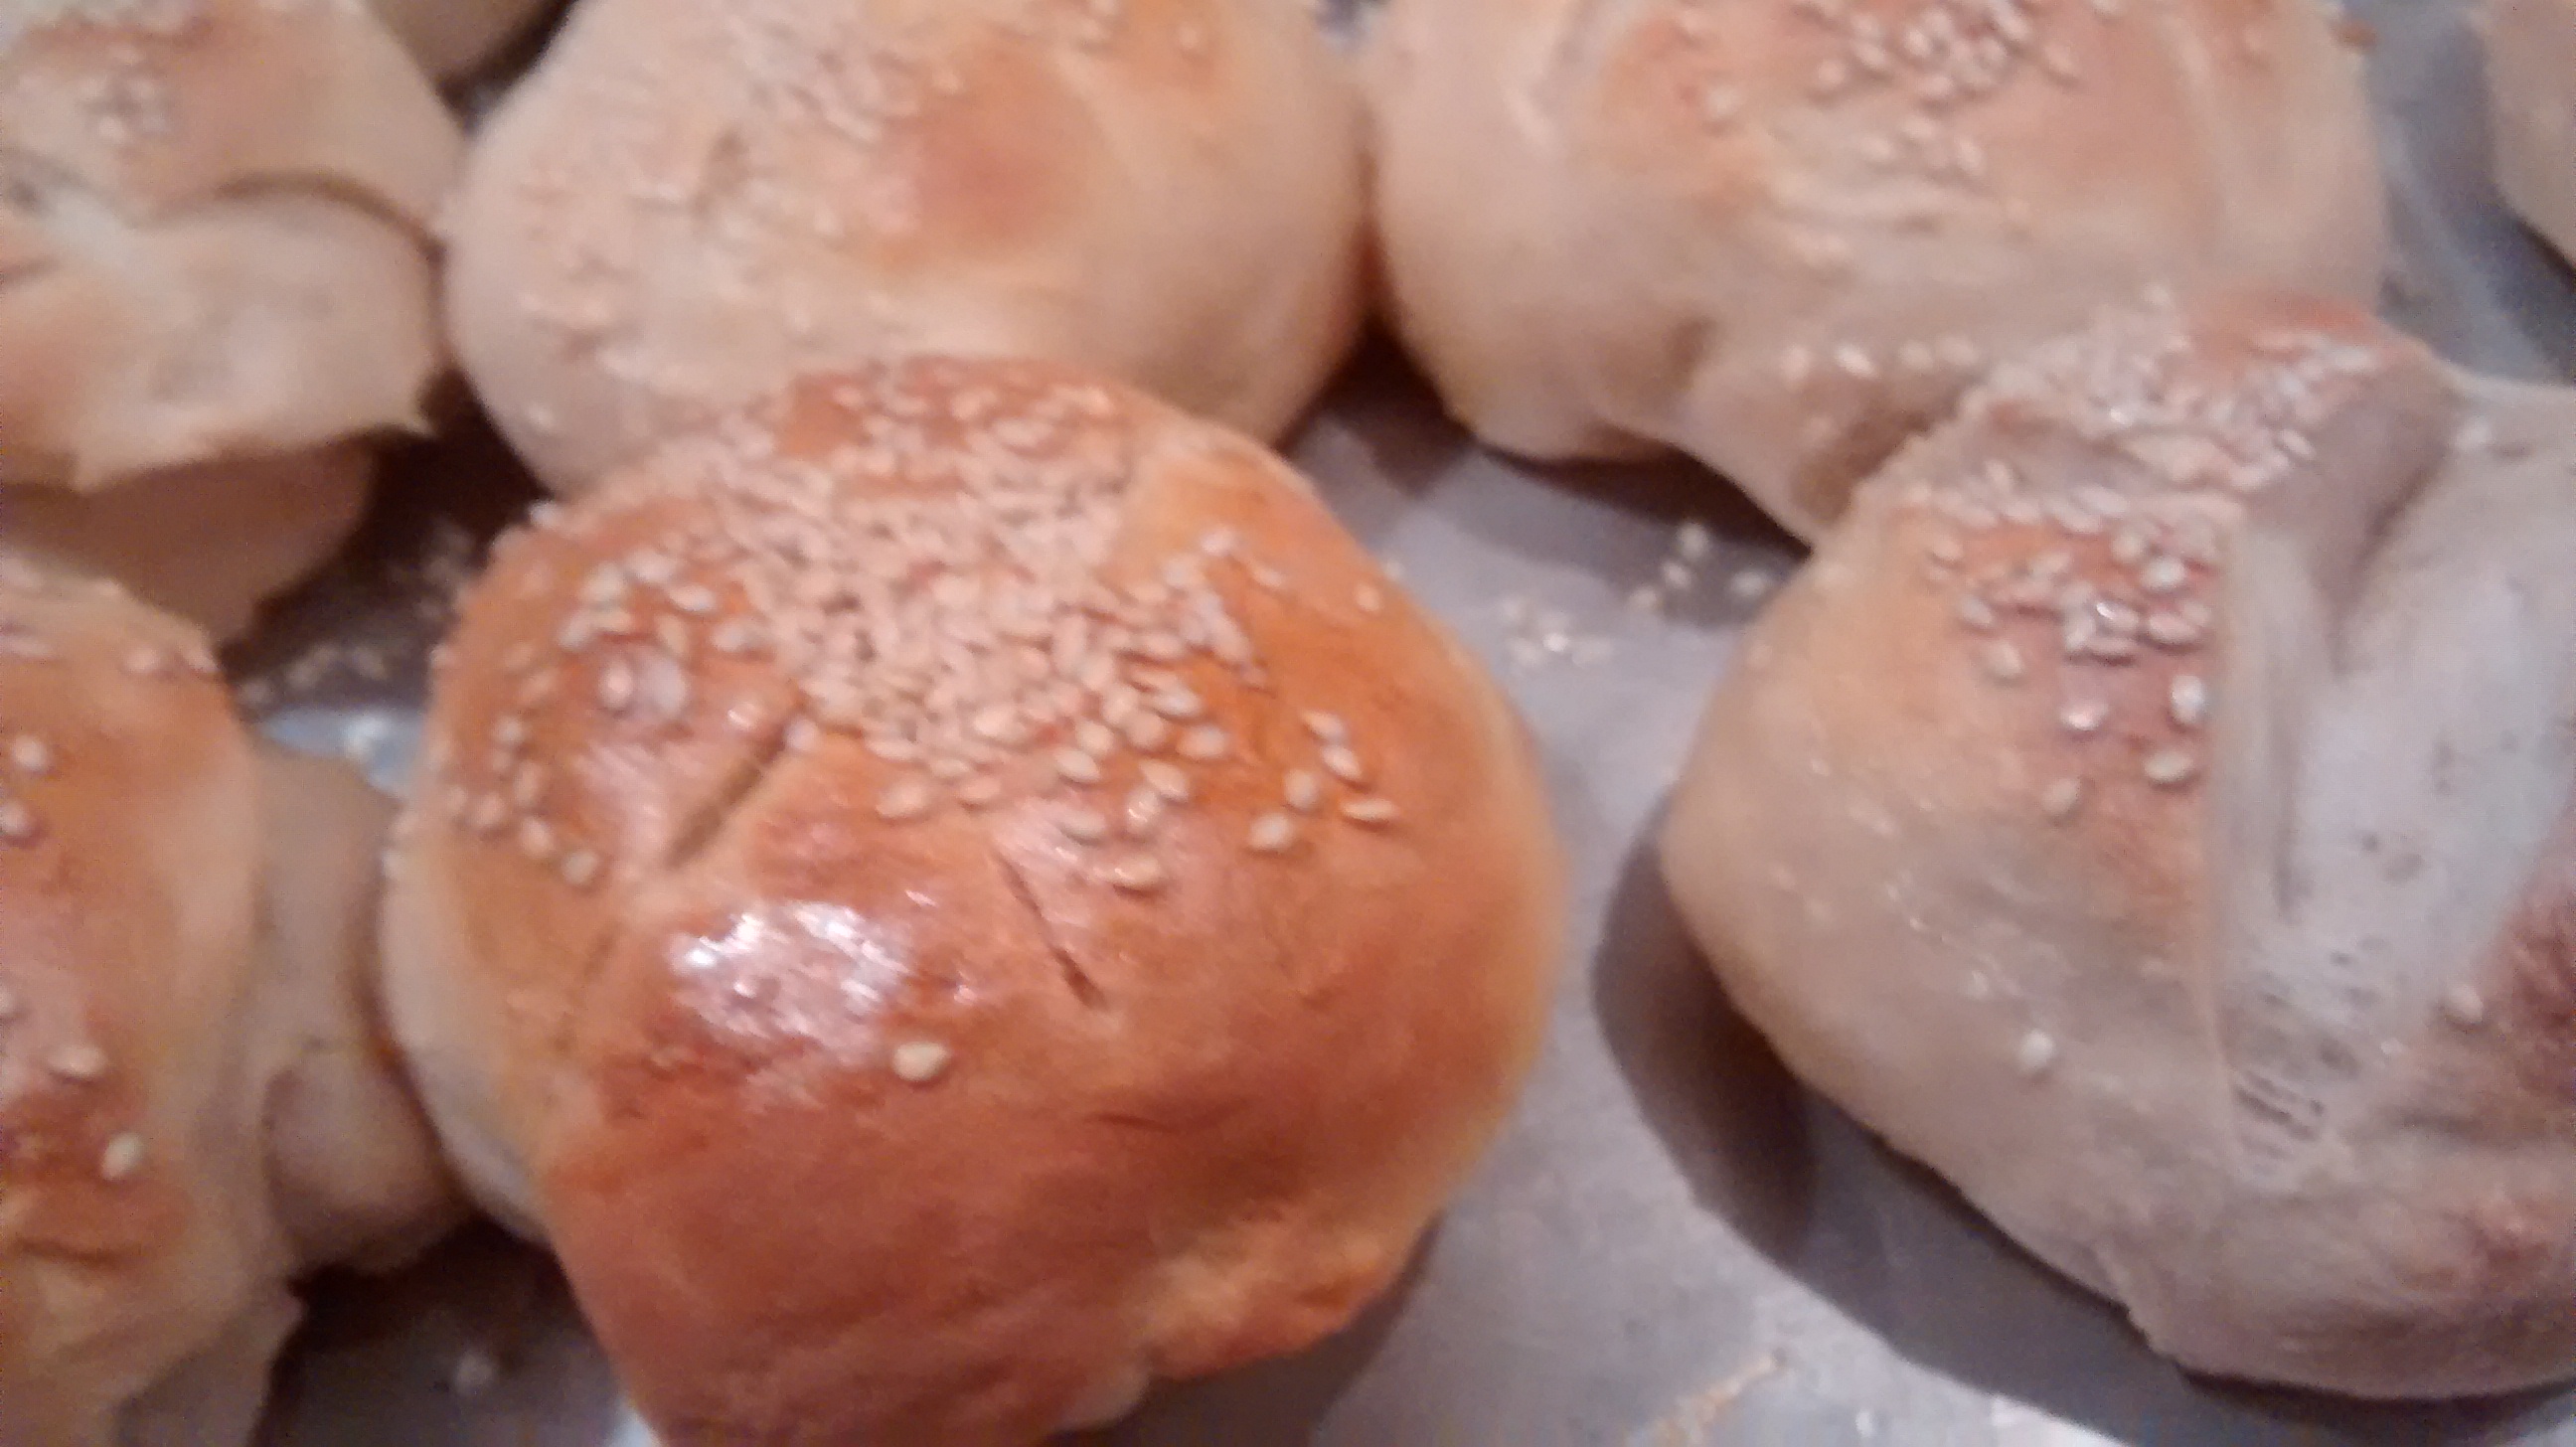
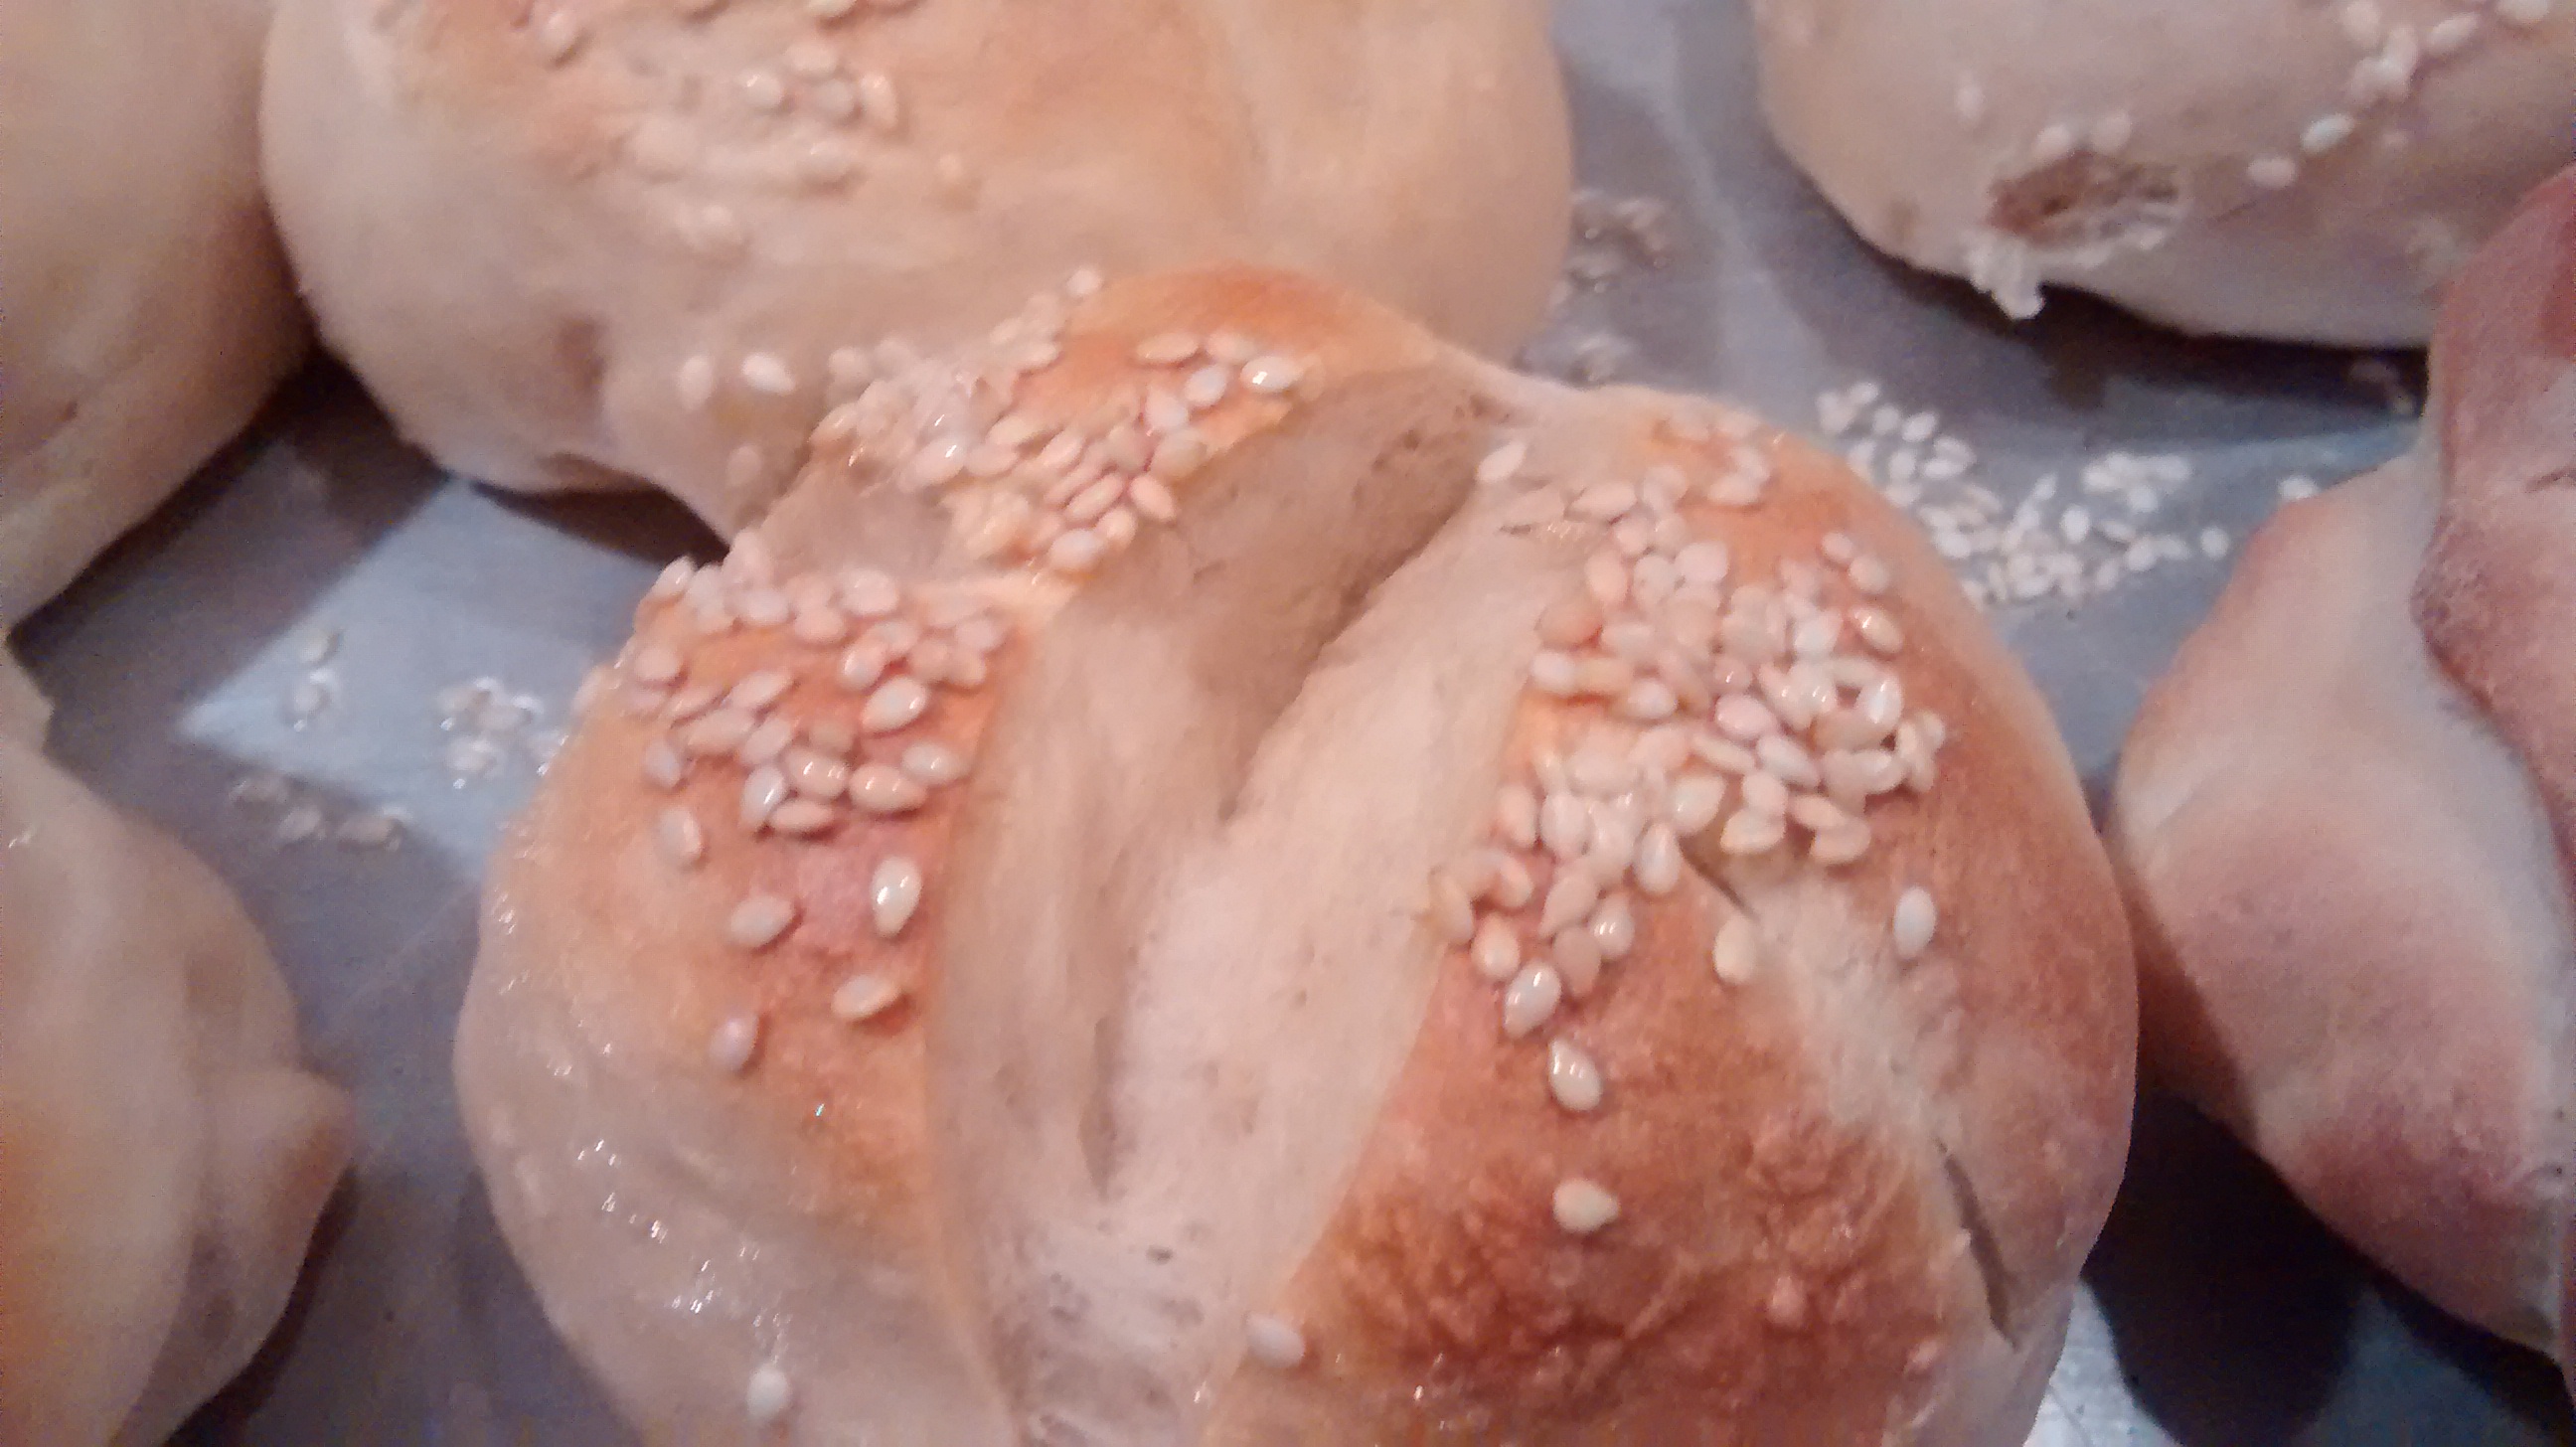
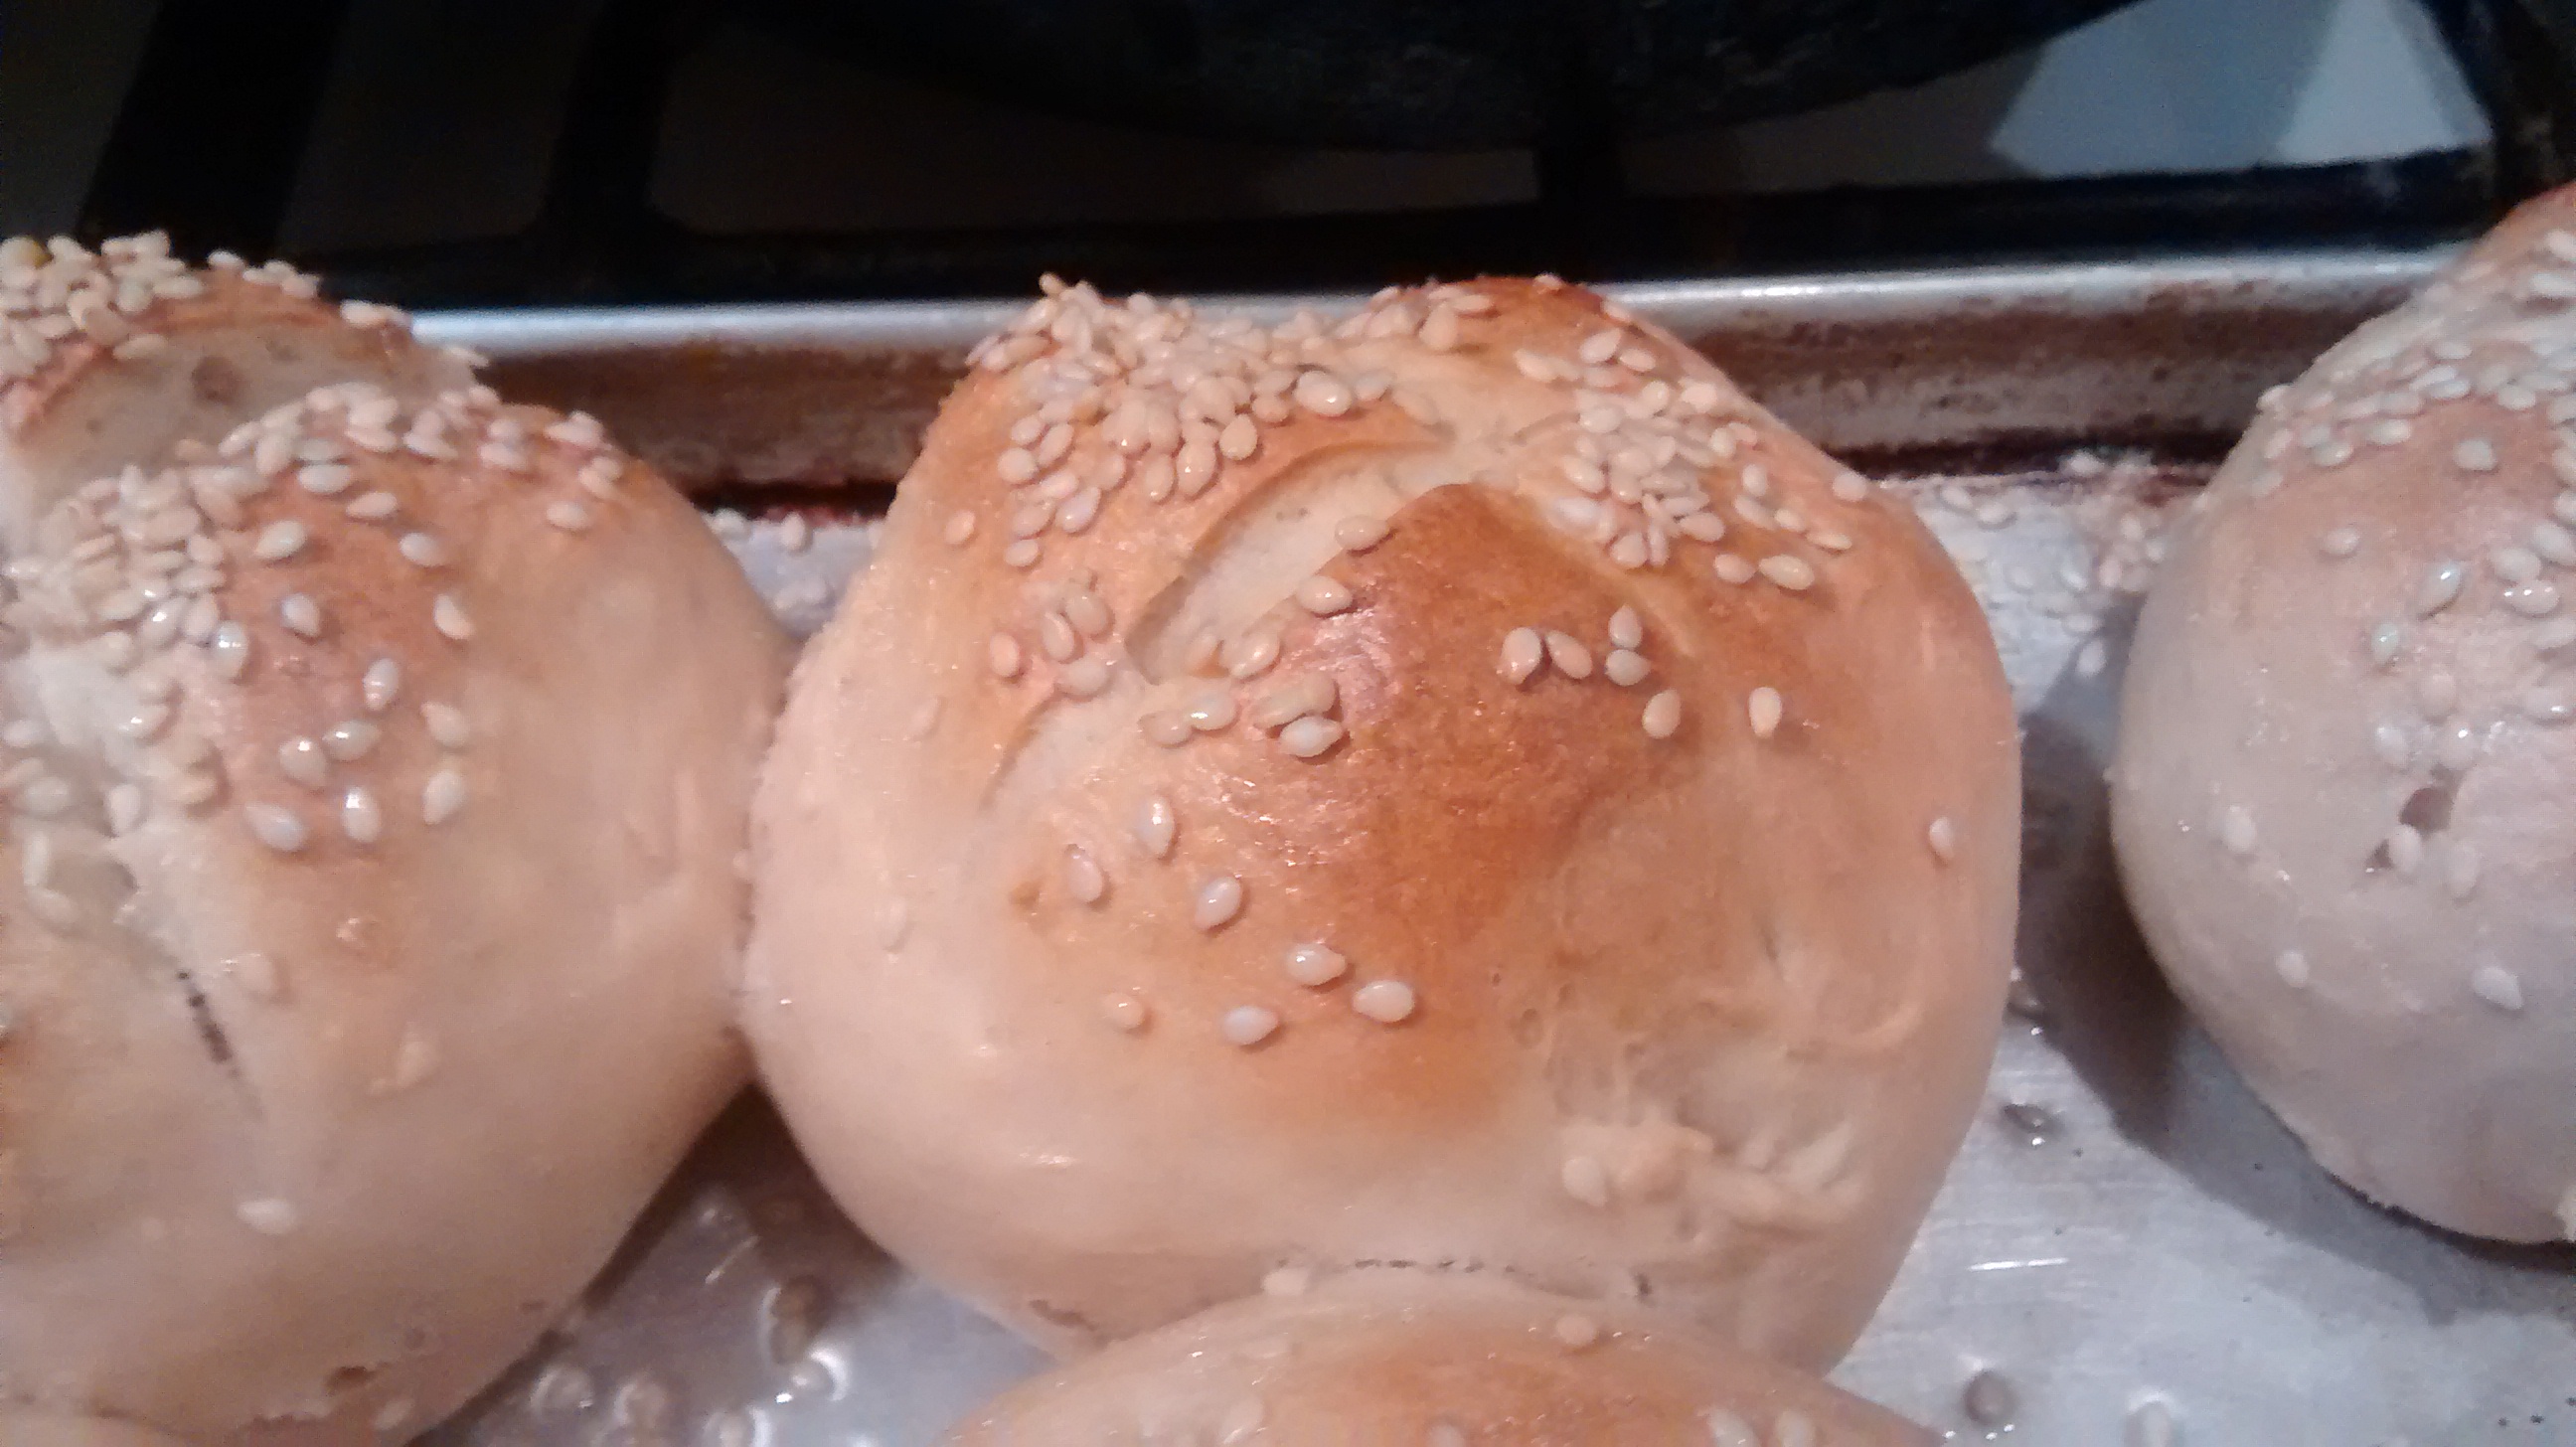
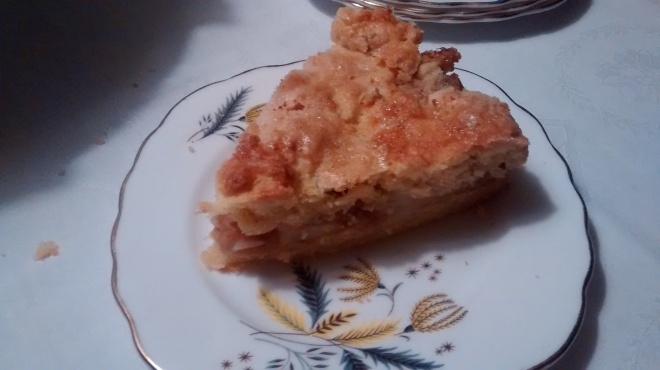
- Bake the buns for around 15 minutes.


Tea plate pattern below is called Mayfair.


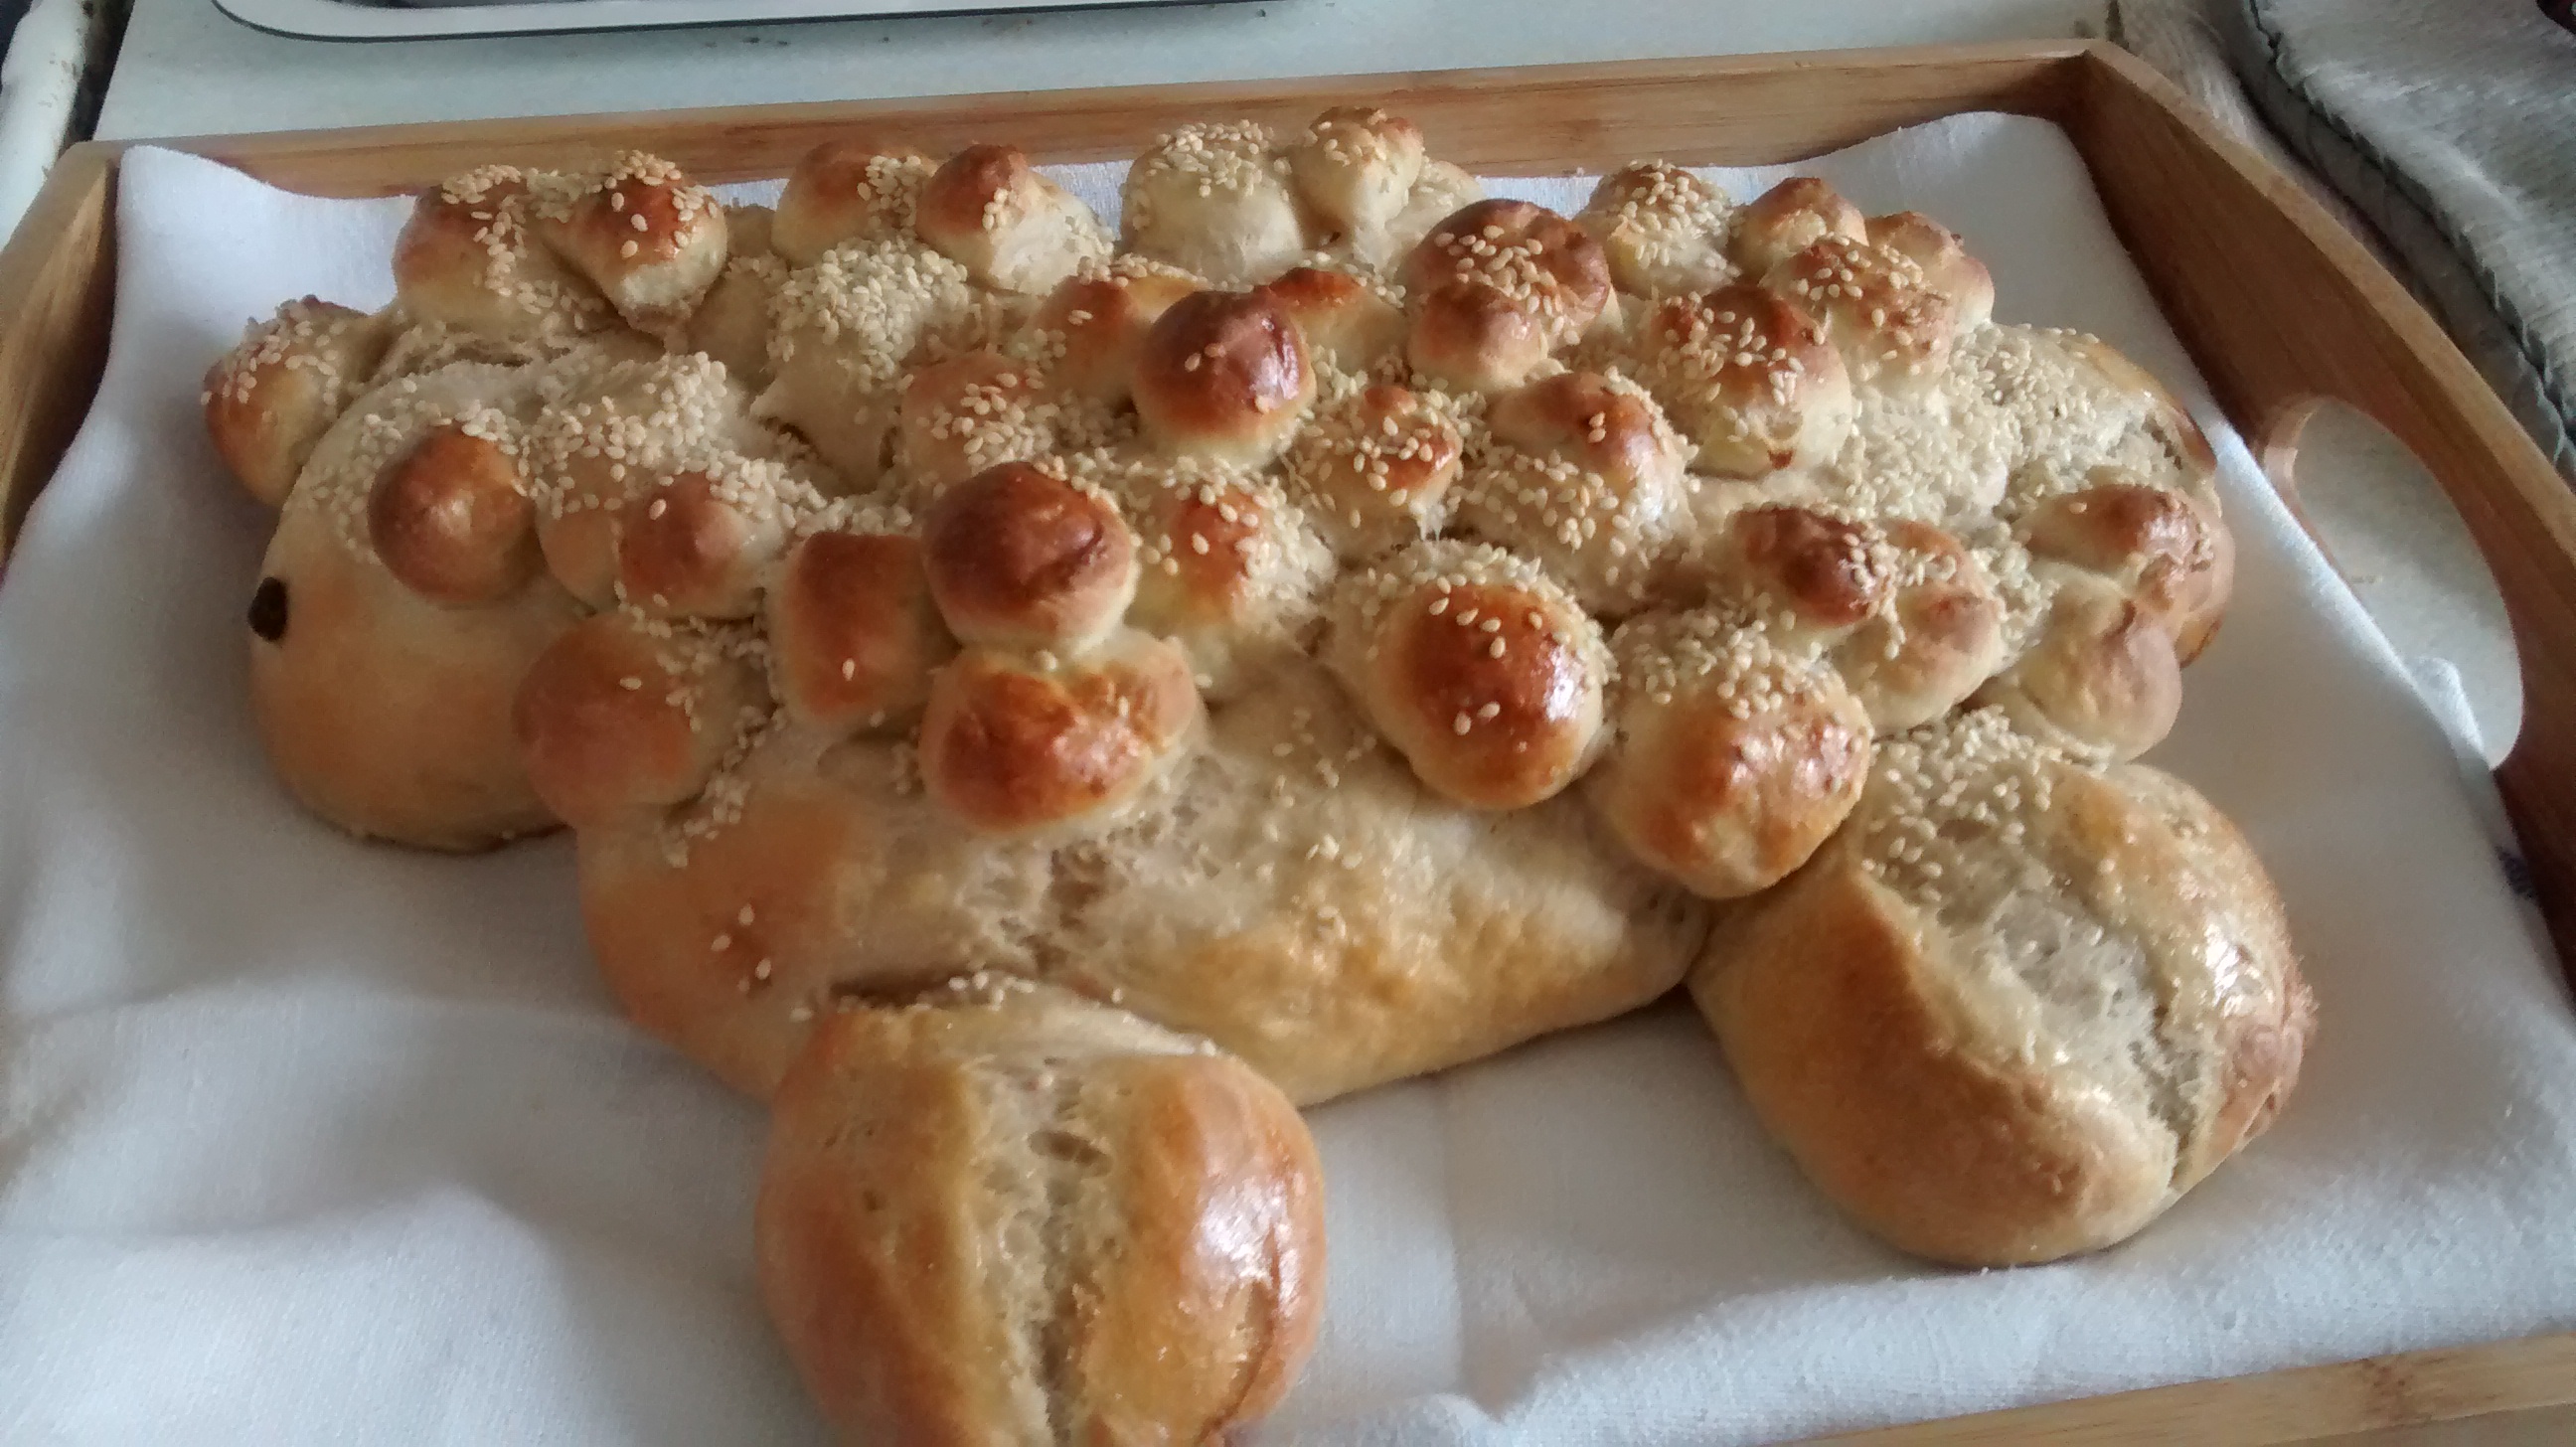
They were all delicious – the sweet cheese ones were my favourites!


")


")