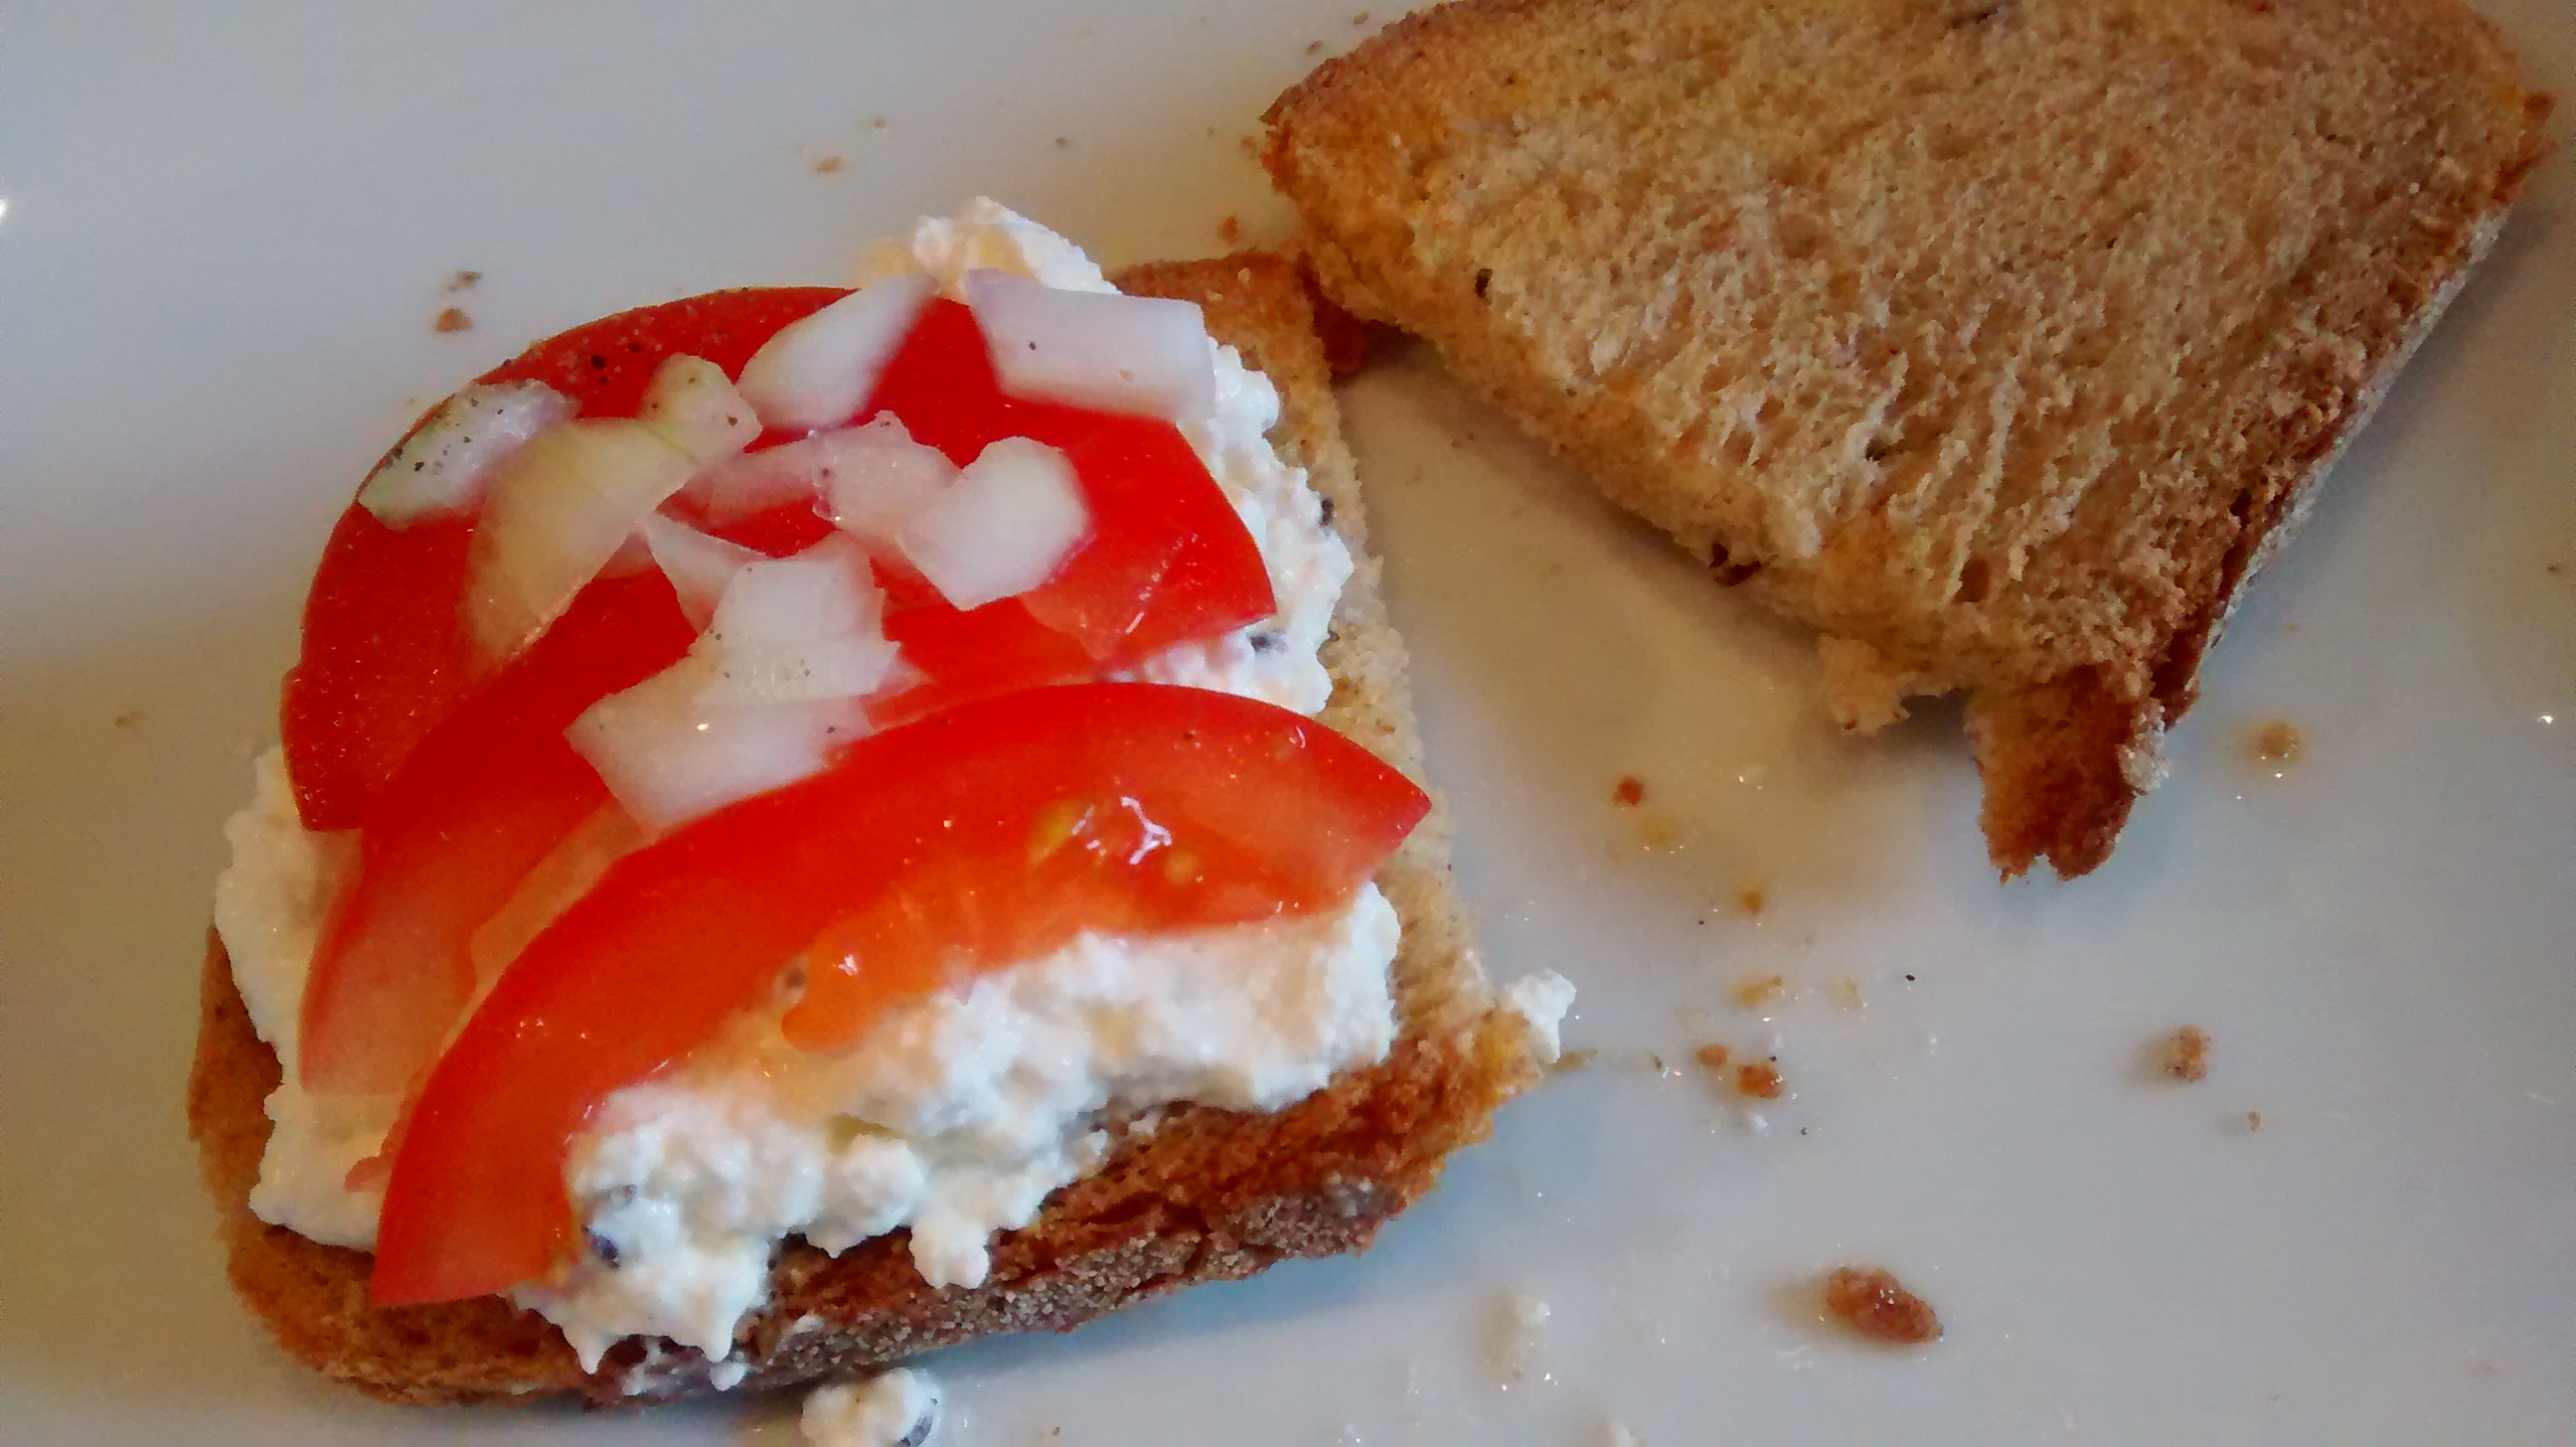
Breadcrumbs are needed for many recipes in Polish cookery and especially in the topping à la Polonaise.
So I always make sure I have some in my store cupboard.
Bułka tarta is usually translated as breadcrumbs – they are the dried and then ground or grated crumbs from white rolls (bułka is a bread roll) or white (wheat) bread.
Bread in Poland is normally made from rye flour or a mixture of rye and wheat flour. White bread and rolls were viewed as a luxury in days gone by.
I usually make my own breadcrumbs as in the past the ones you could buy in England were often dyed orange and I did not like them at all.
Nowadays there are many Polish shops and Polish bakeries that sell these dried breadcrumbs.
I have used them and they are good.
If you want to buy them then
Bułka tarta
is what you are looking for – usually sold in 500g bags.
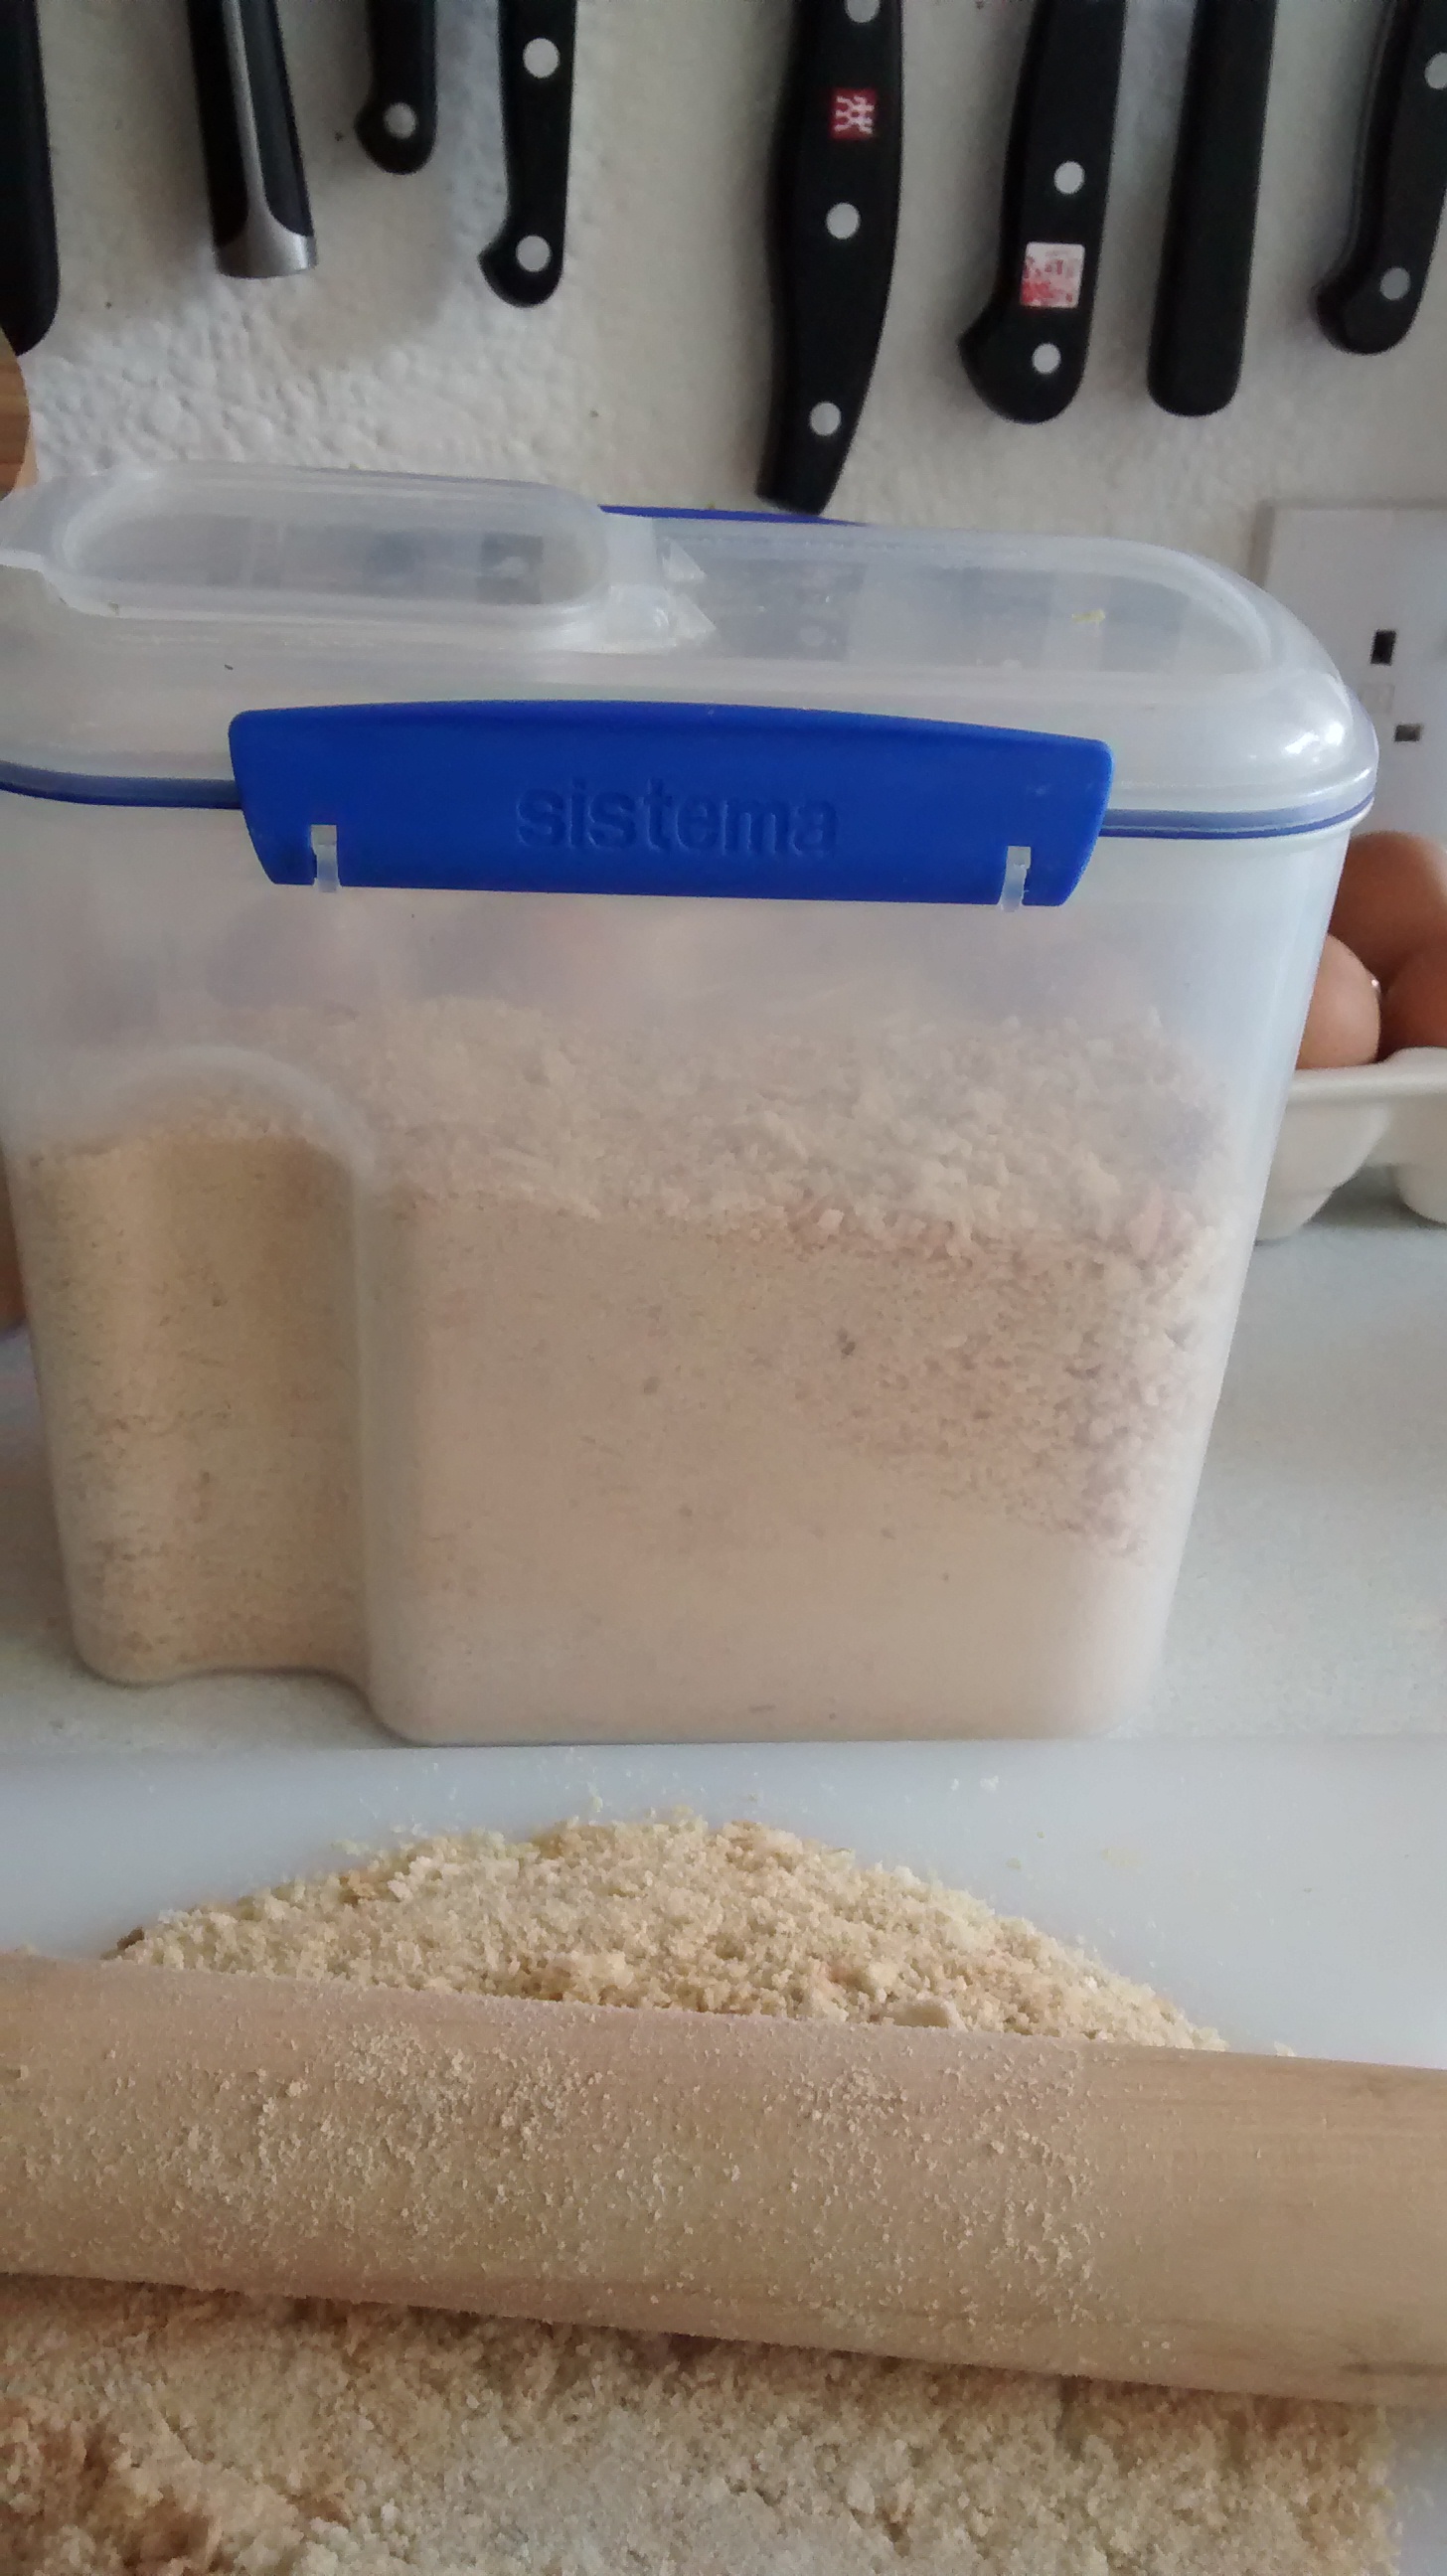
I still make my own as they are a good use of any type of white bread you have left over and the crumbs keep for ages in an airtight box.
Making Breadcrumbs
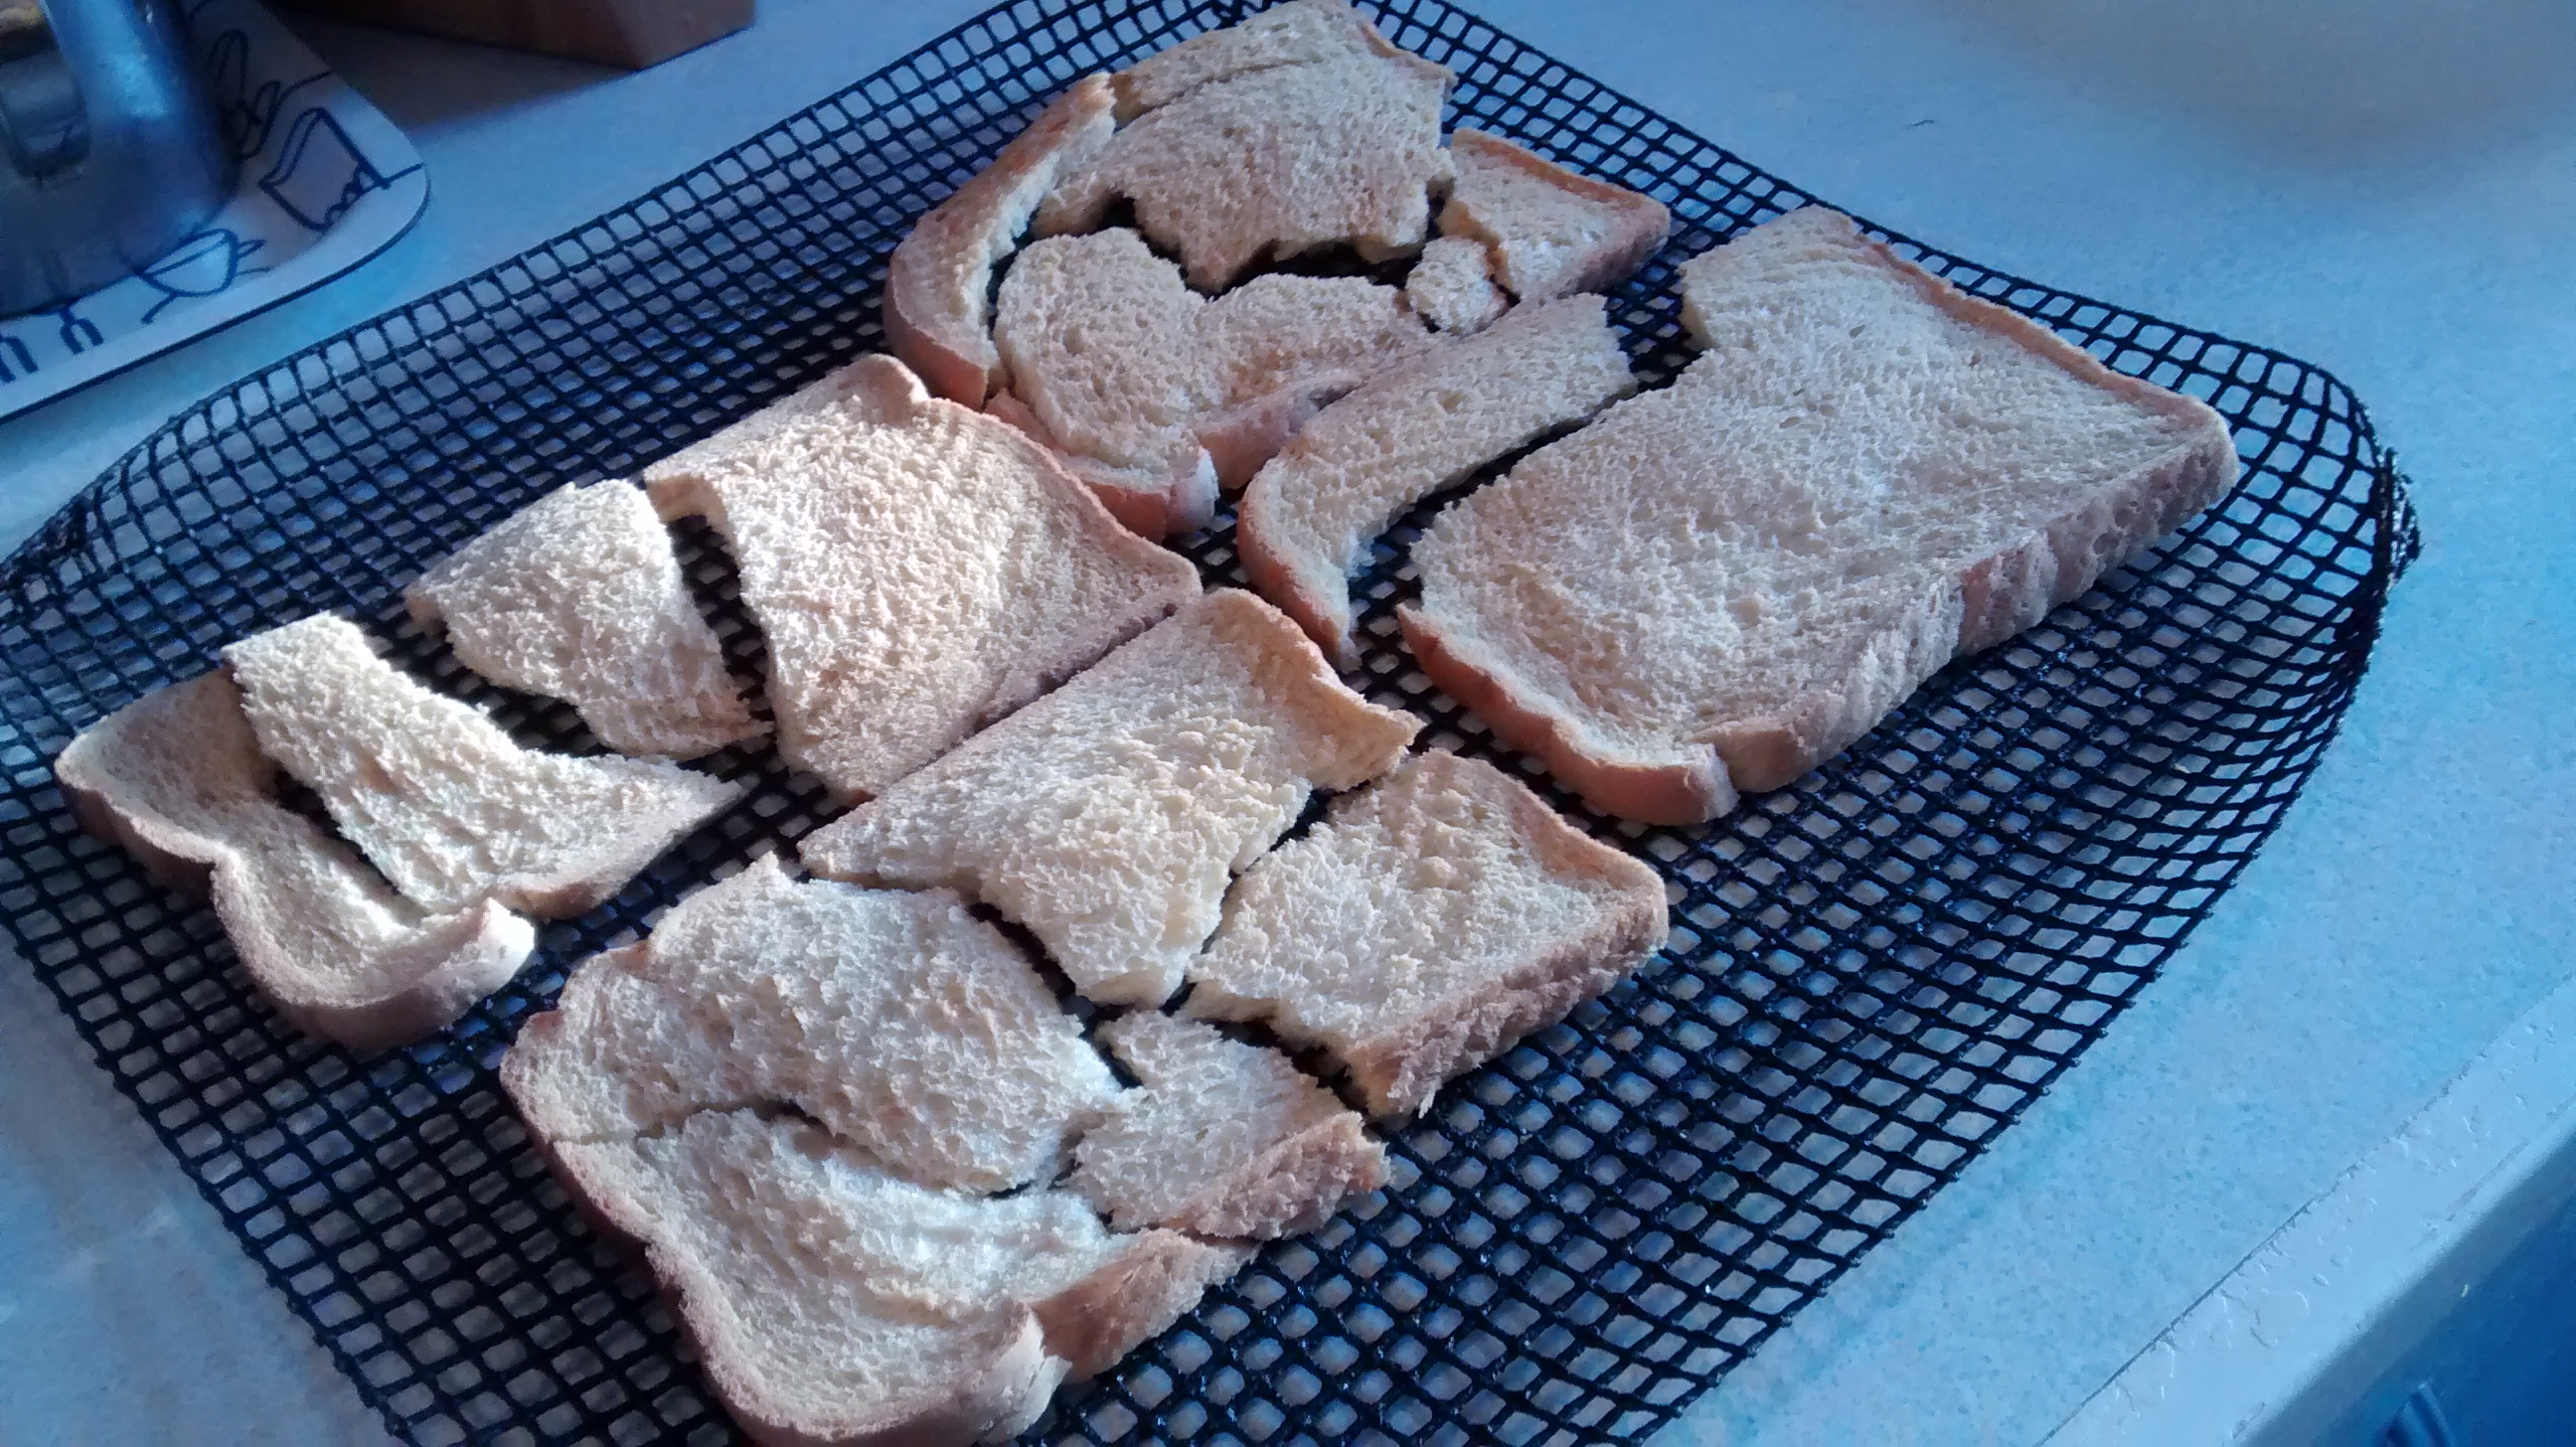
You need white (wheat) bread – either slices from a loaf or bread rolls – cut in half.
Put your oven on its lowest setting – on mine this is GM1
You can put the slices of bread directly on the oven shelves or you can use a silicone mesh sheet which is good as the moisture which come off the bread does not condense under the bread and it is easier to remove the dried bread from the oven when it is ready.
Leave the bread in the oven for an hour or more – it wants to be a golden brown.
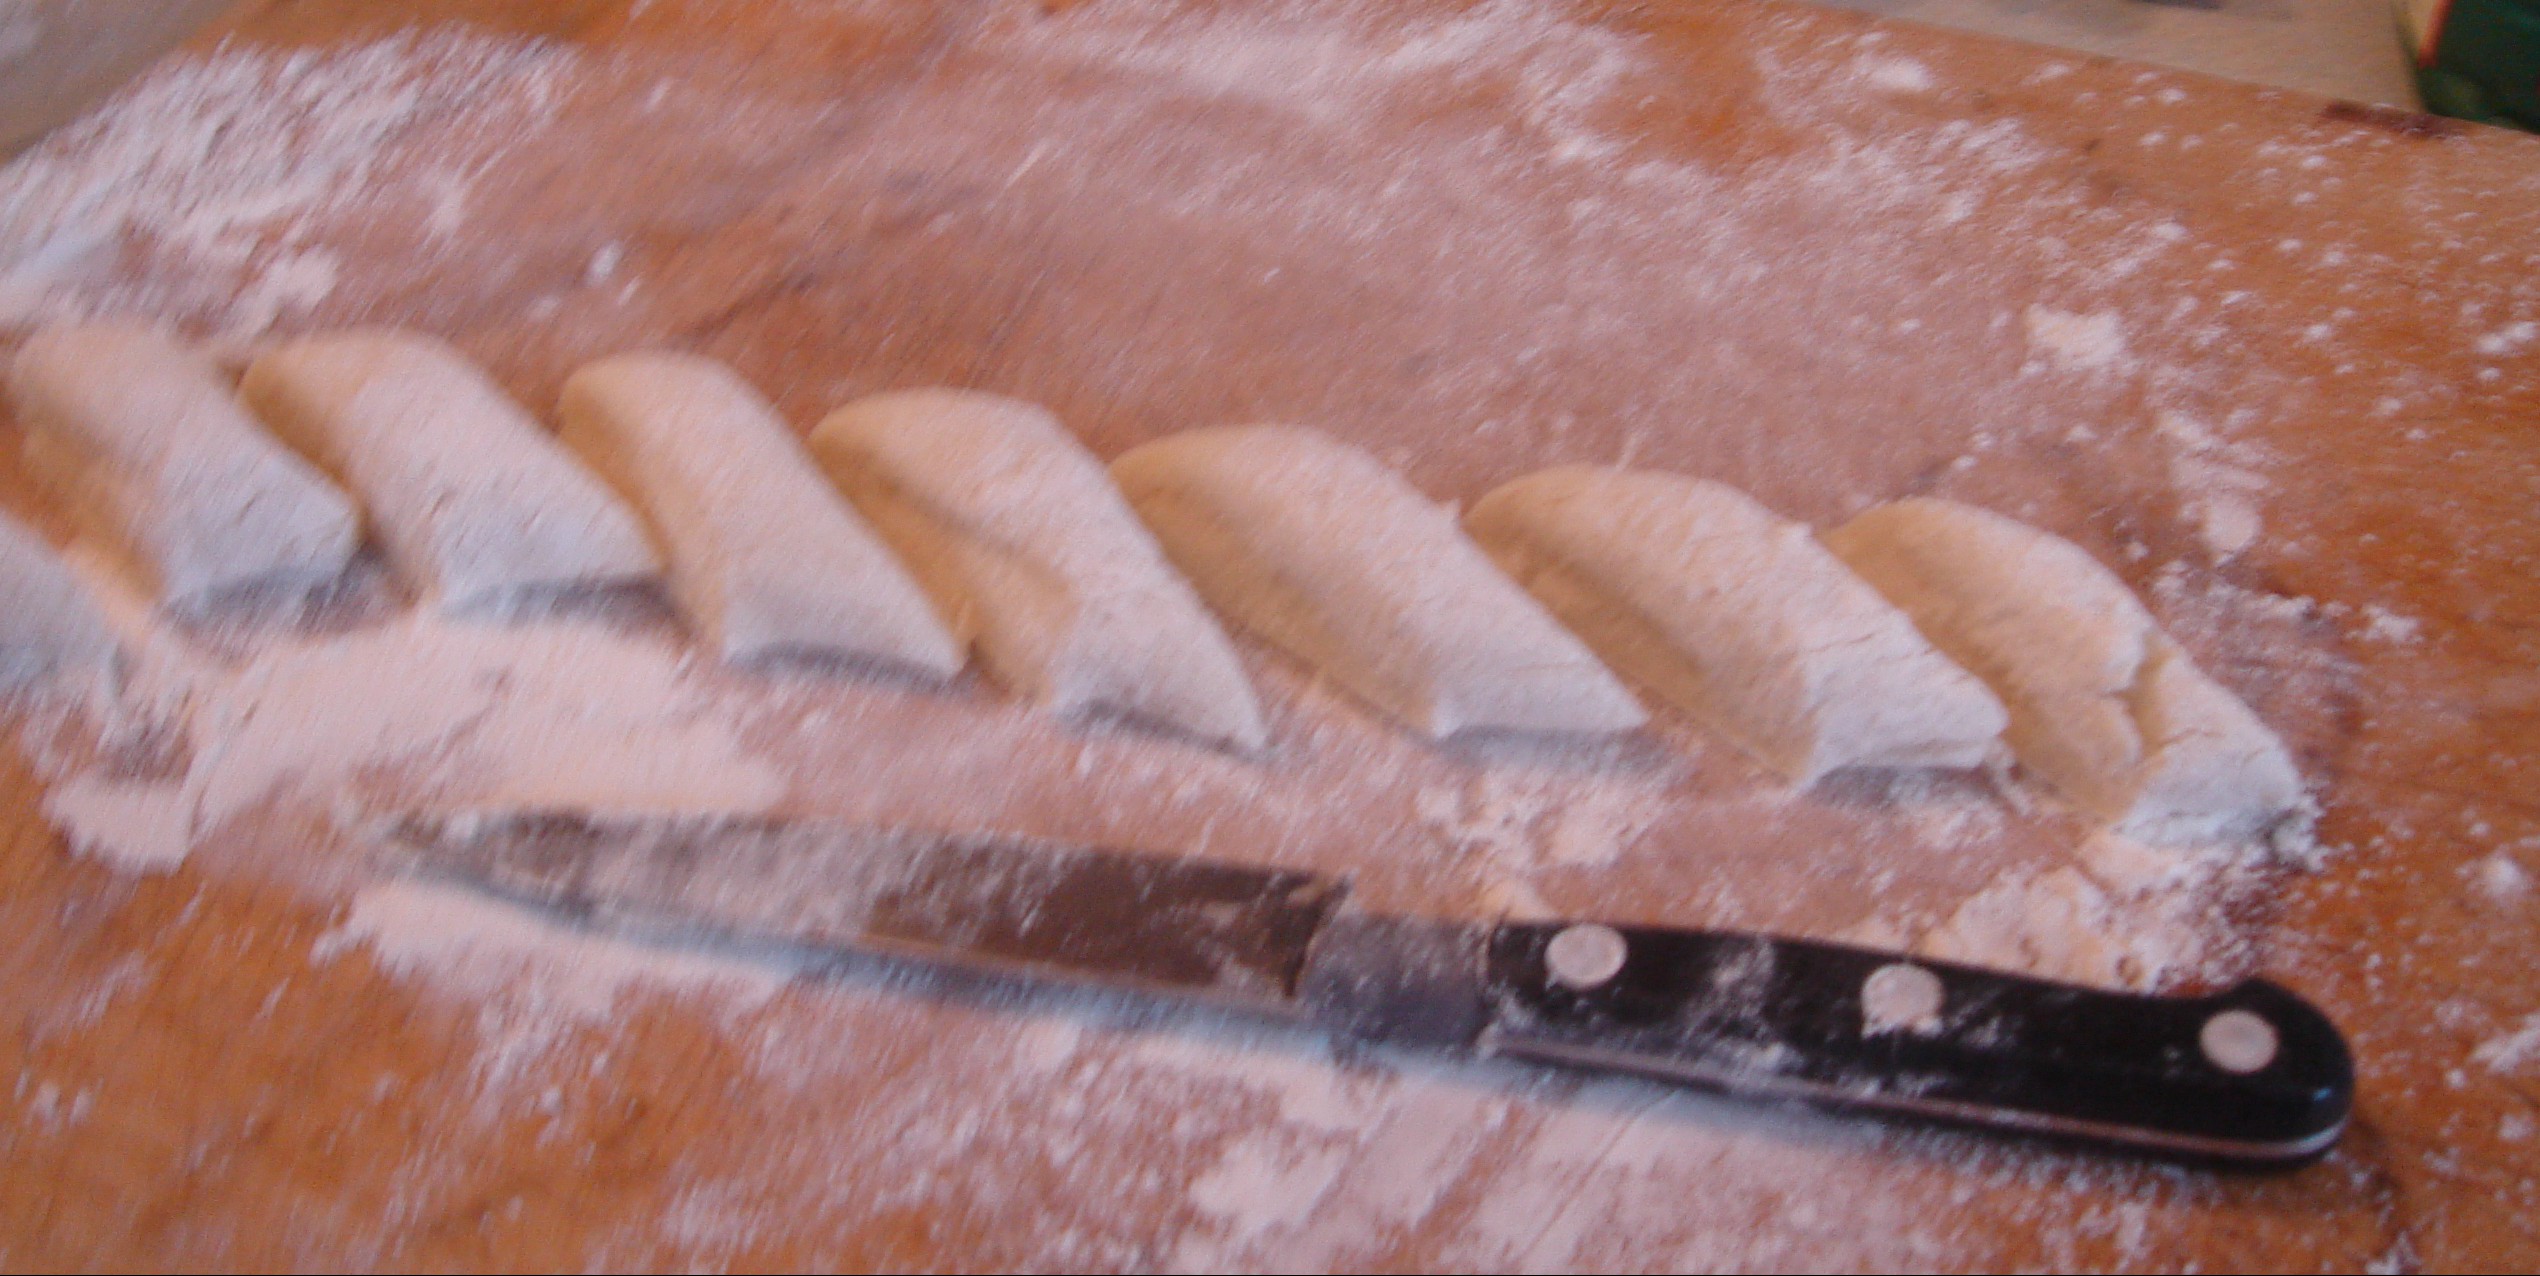
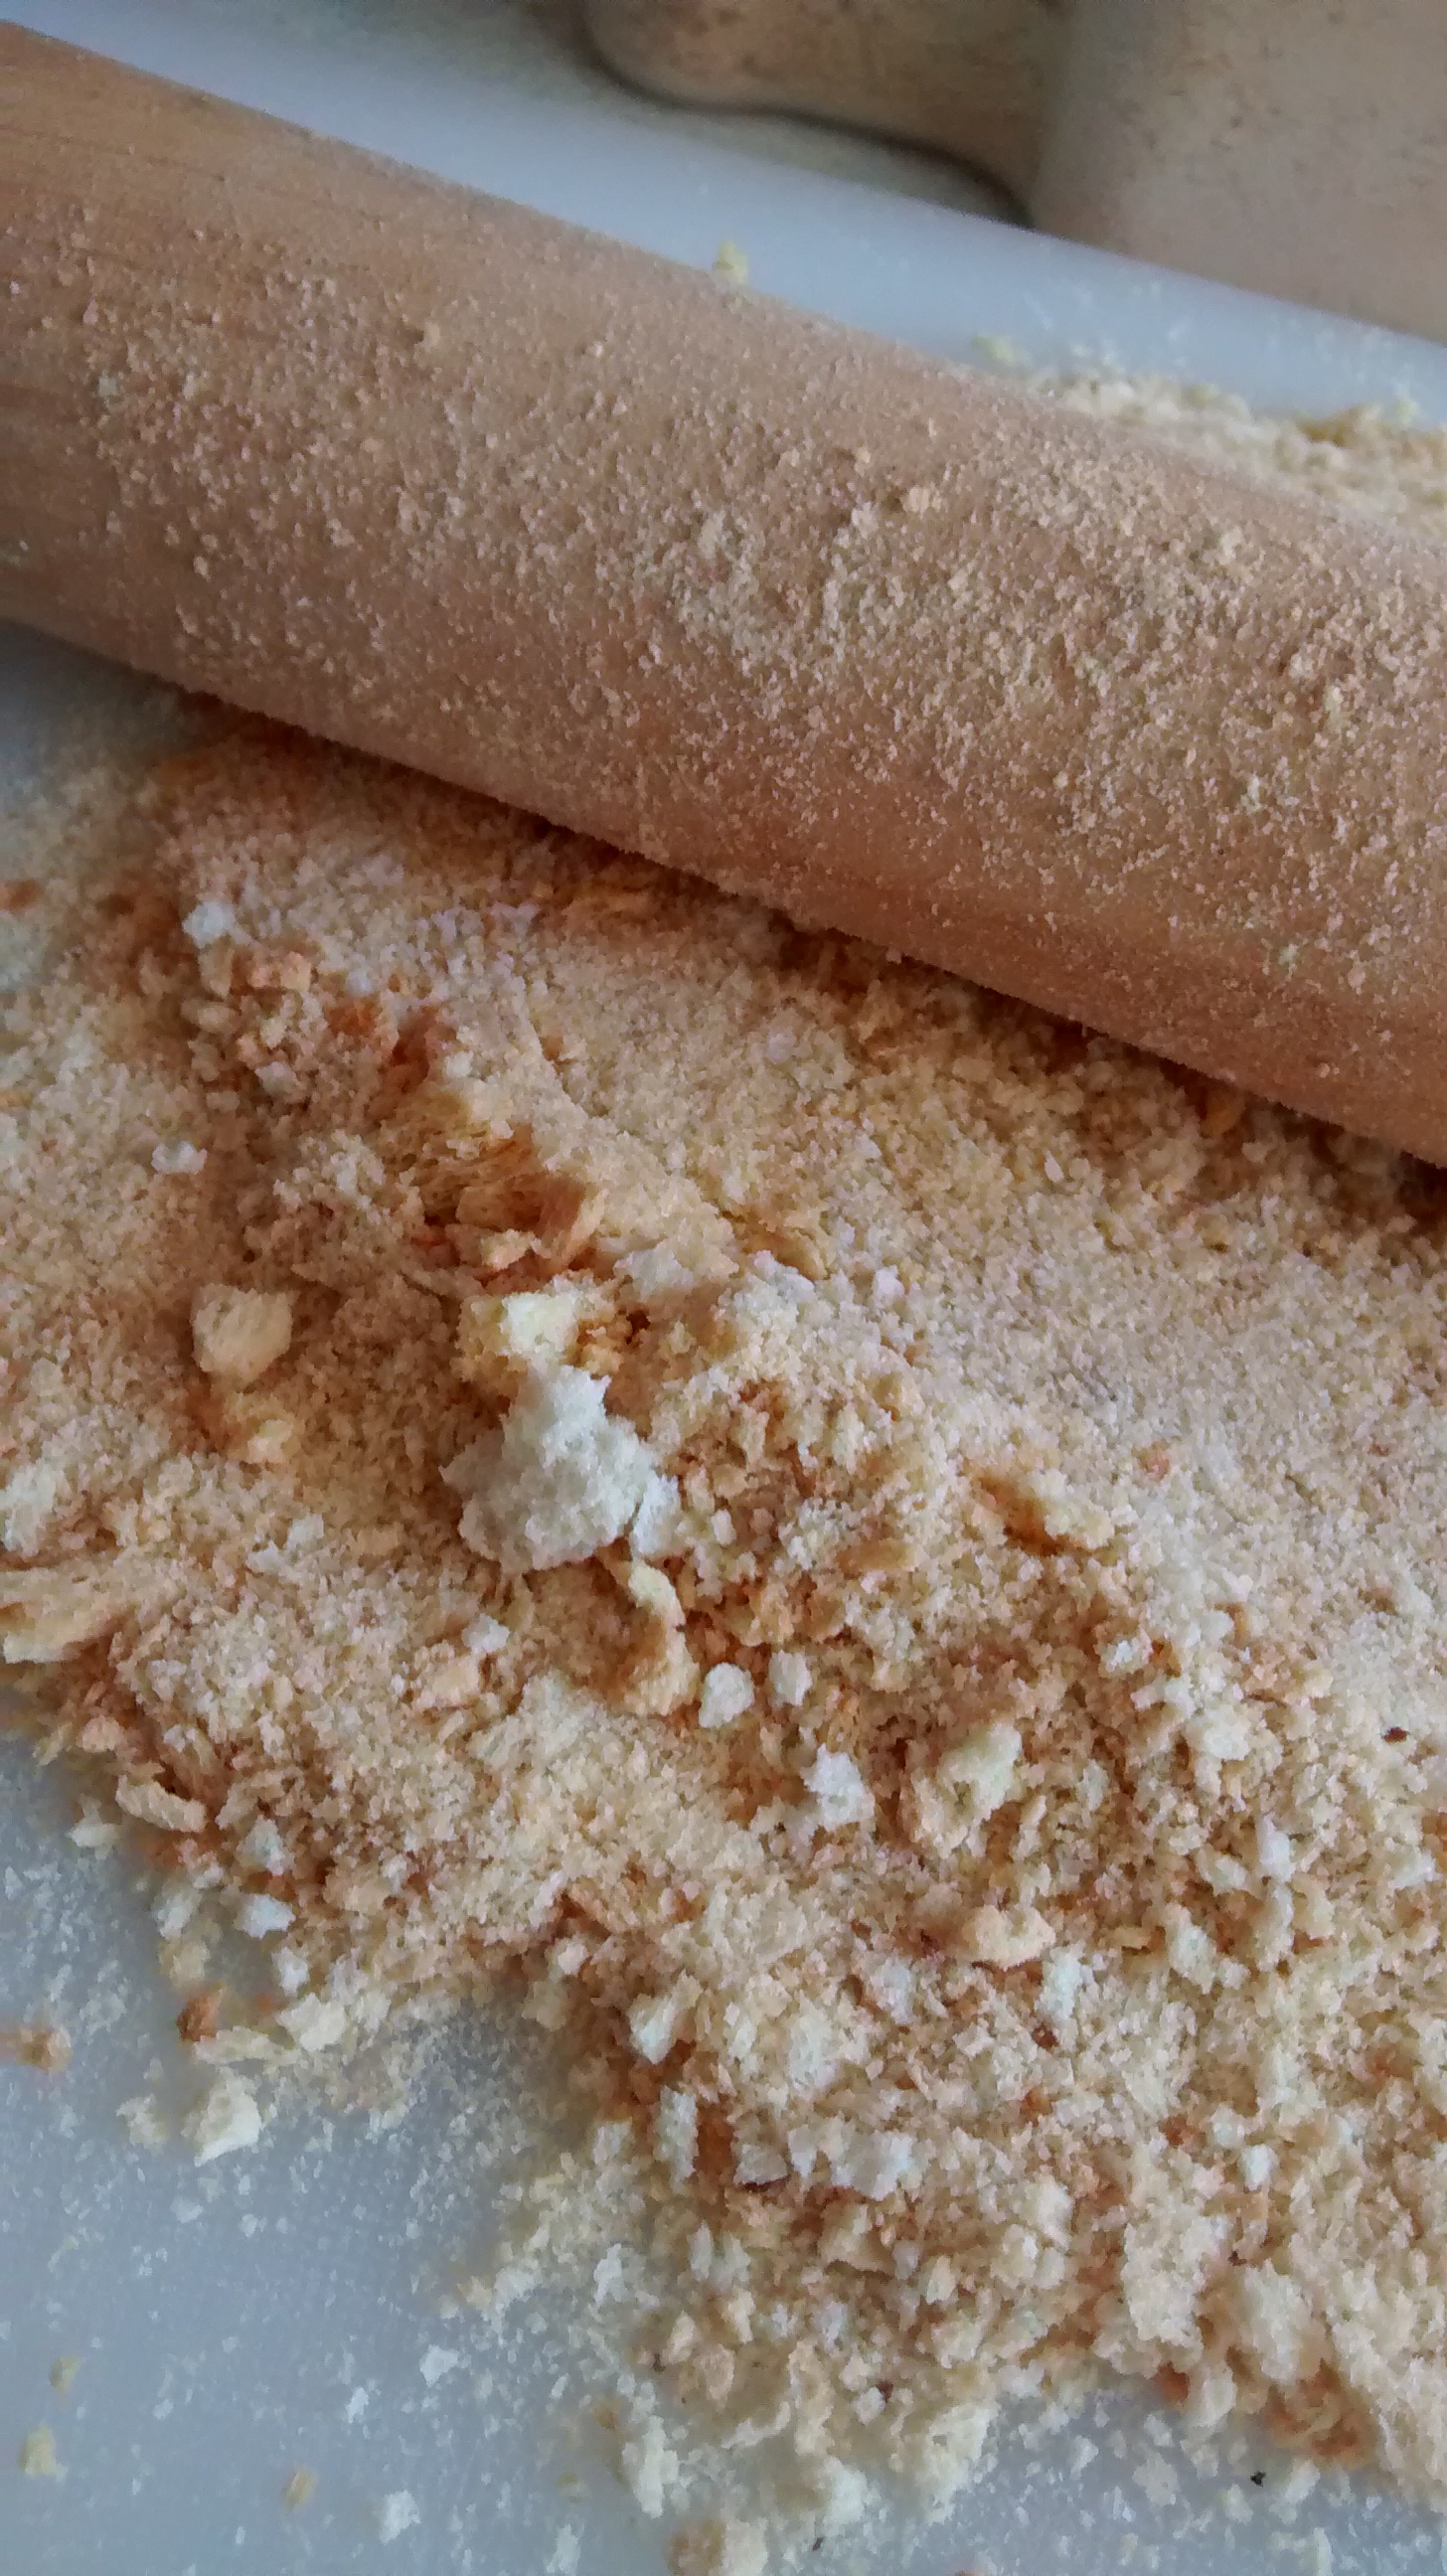
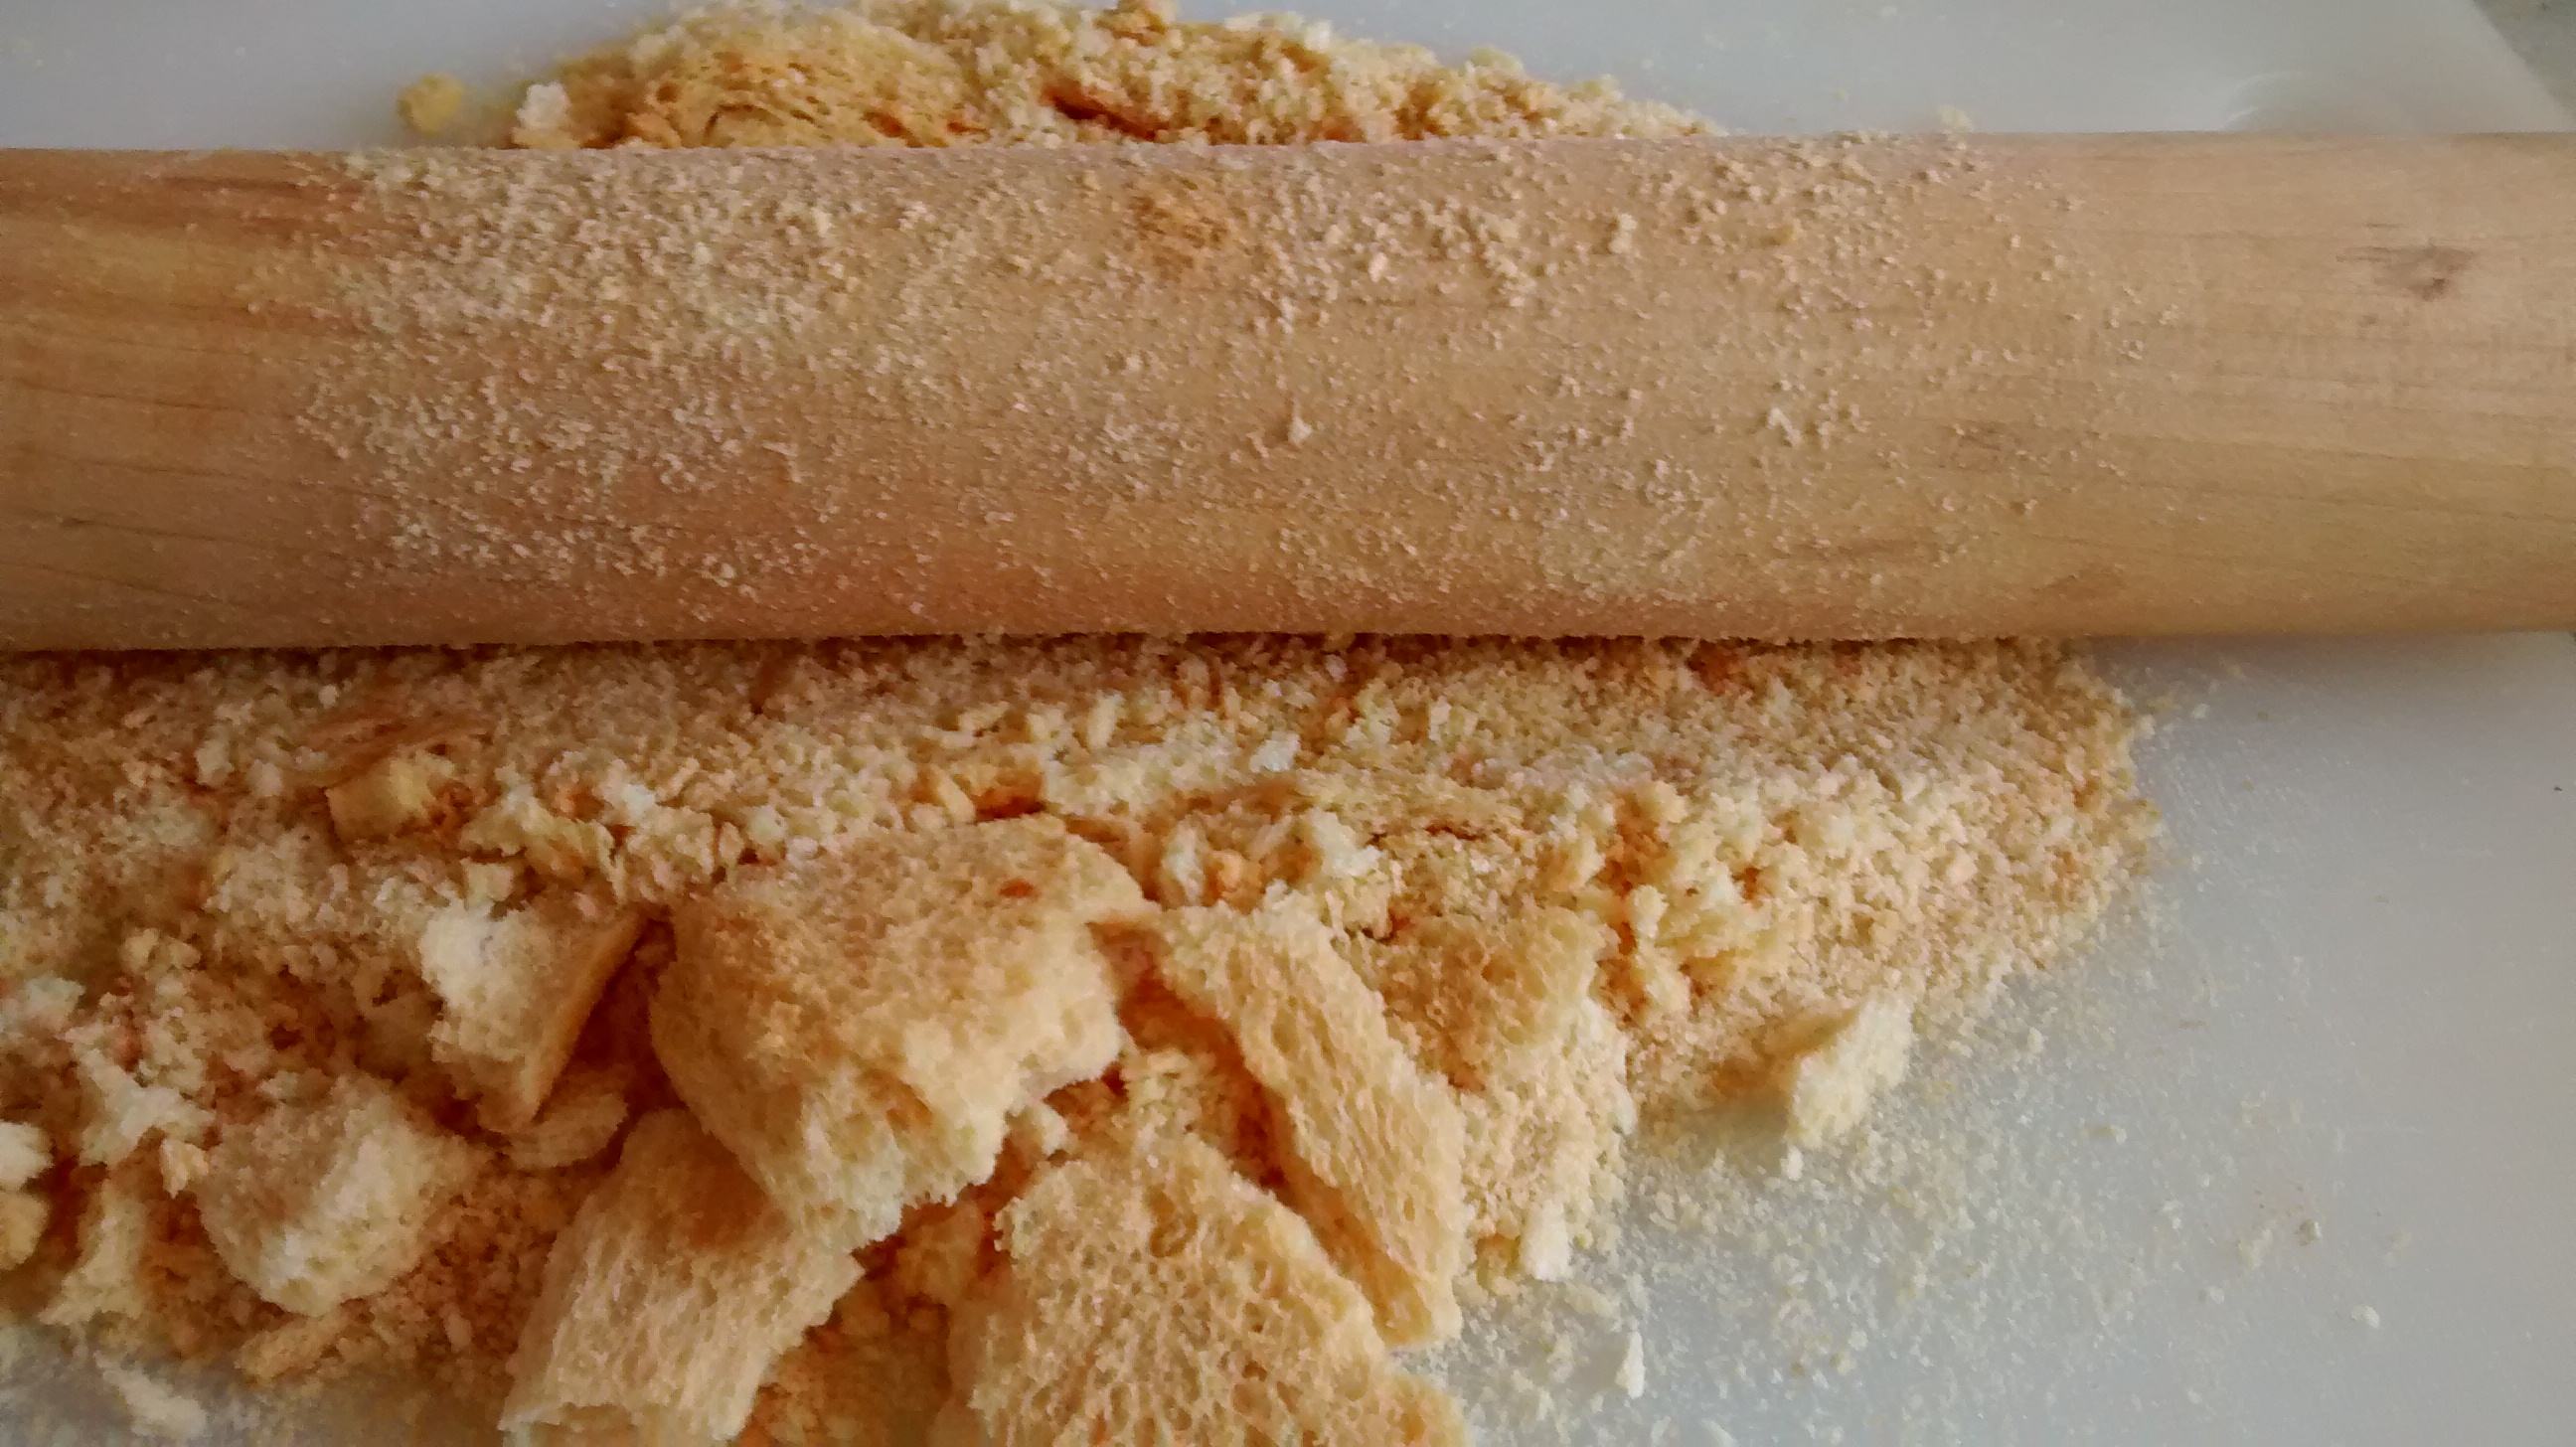
Put the dried bread on a chopping board and use a rolling pin to crush it.
I store my breadcrumbs in an airtight plastic box – I use Sistema™ boxes which are made in New Zealand.