I have very fond memories of the first time I tasted this cake, it was a very warm, late summer’s day in the land of a thousand lakes in North East Poland – the Mazurian Lakes.
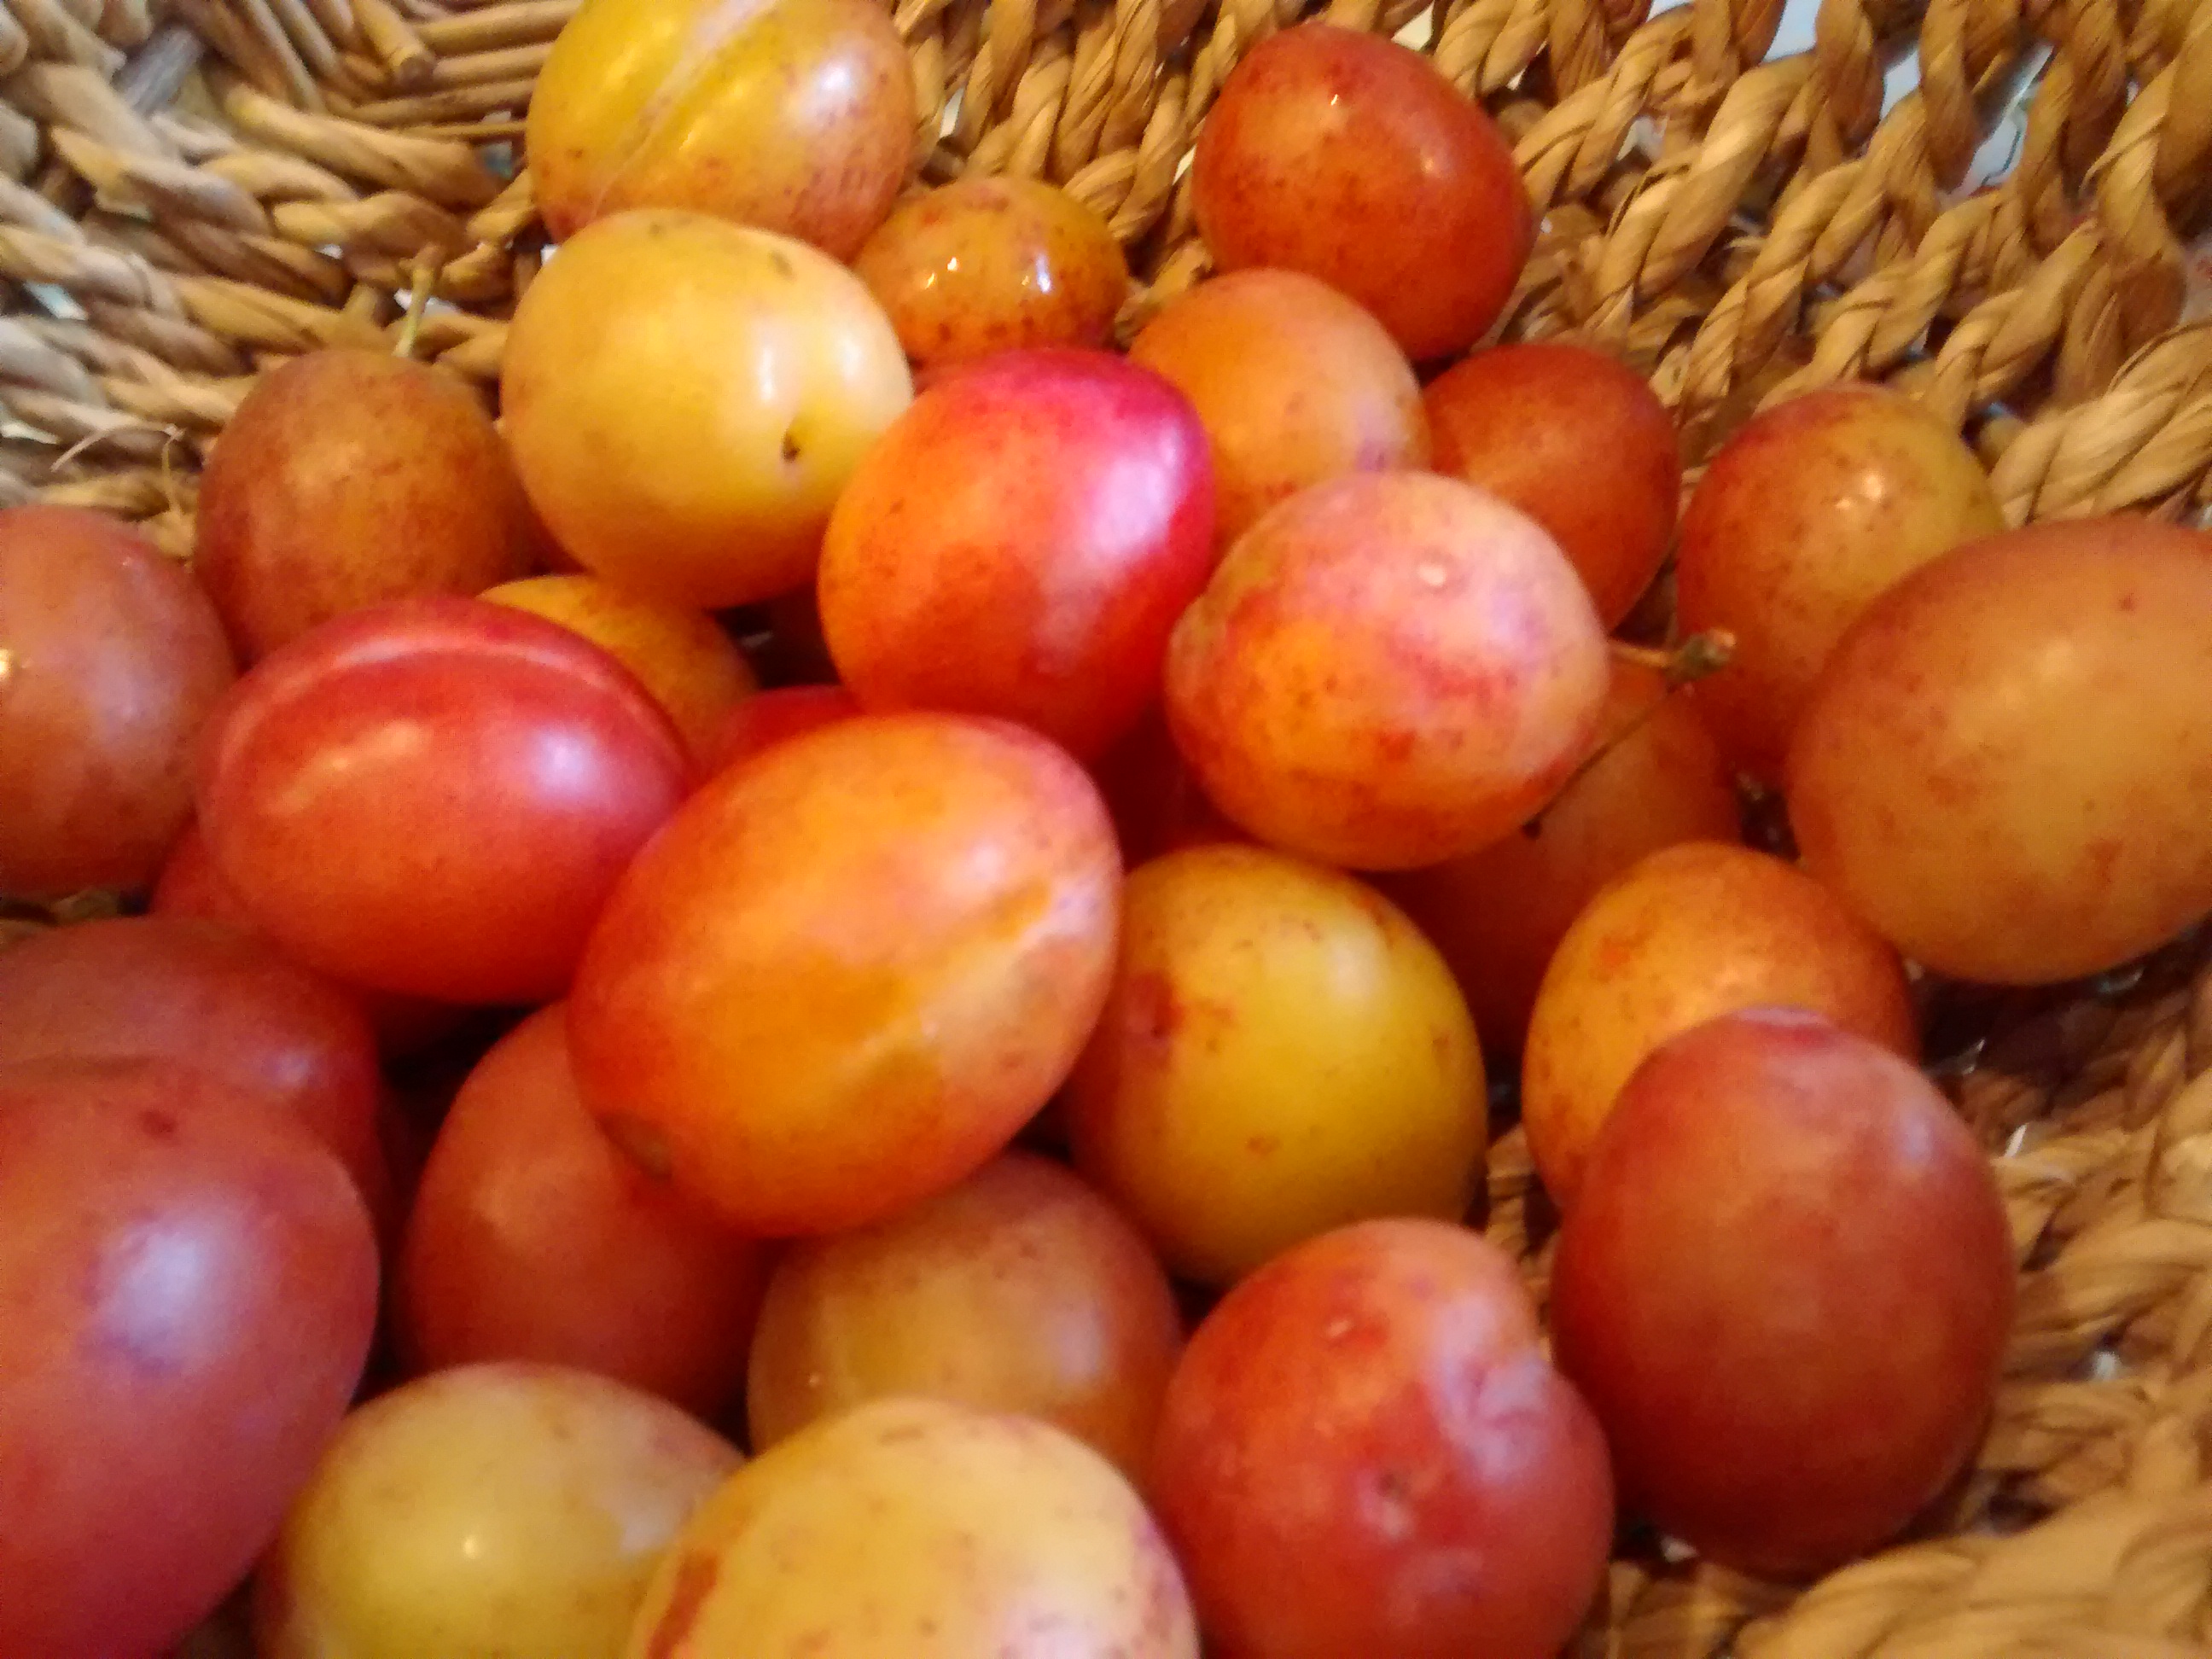
My cousin Krystyna went outside and came back in with one basket of eggs she had collected and another of ripe plums from one of the trees outside. We set to and made this cake to her recipe, calling in the other cousins to eat it as soon as it was cool enough!
The contrasts between the texture of the cake and cooked plums and also the sweetness of the cake and the slight tartness of the plums make this a cake to remember.
The use of oil means this is a relevantly modern recipe & it is so easy to make.
The original recipe was made using metric cups but I have converted it to weights as I am happier using these.
I make this using Victoria Plums.
Ingredients
350 – 400g of plums – small plums are best
4 eggs
170g granulated sugar
200g self raising flour
60ml sunflower oil
Icing sugar – to dust
Method
Pre heat the oven to Gas mark 4 – 1800C
Take a roasting tin around 22cm by 31 cm and use one piece of greaseproof paper to line the 2 long sides and the base.
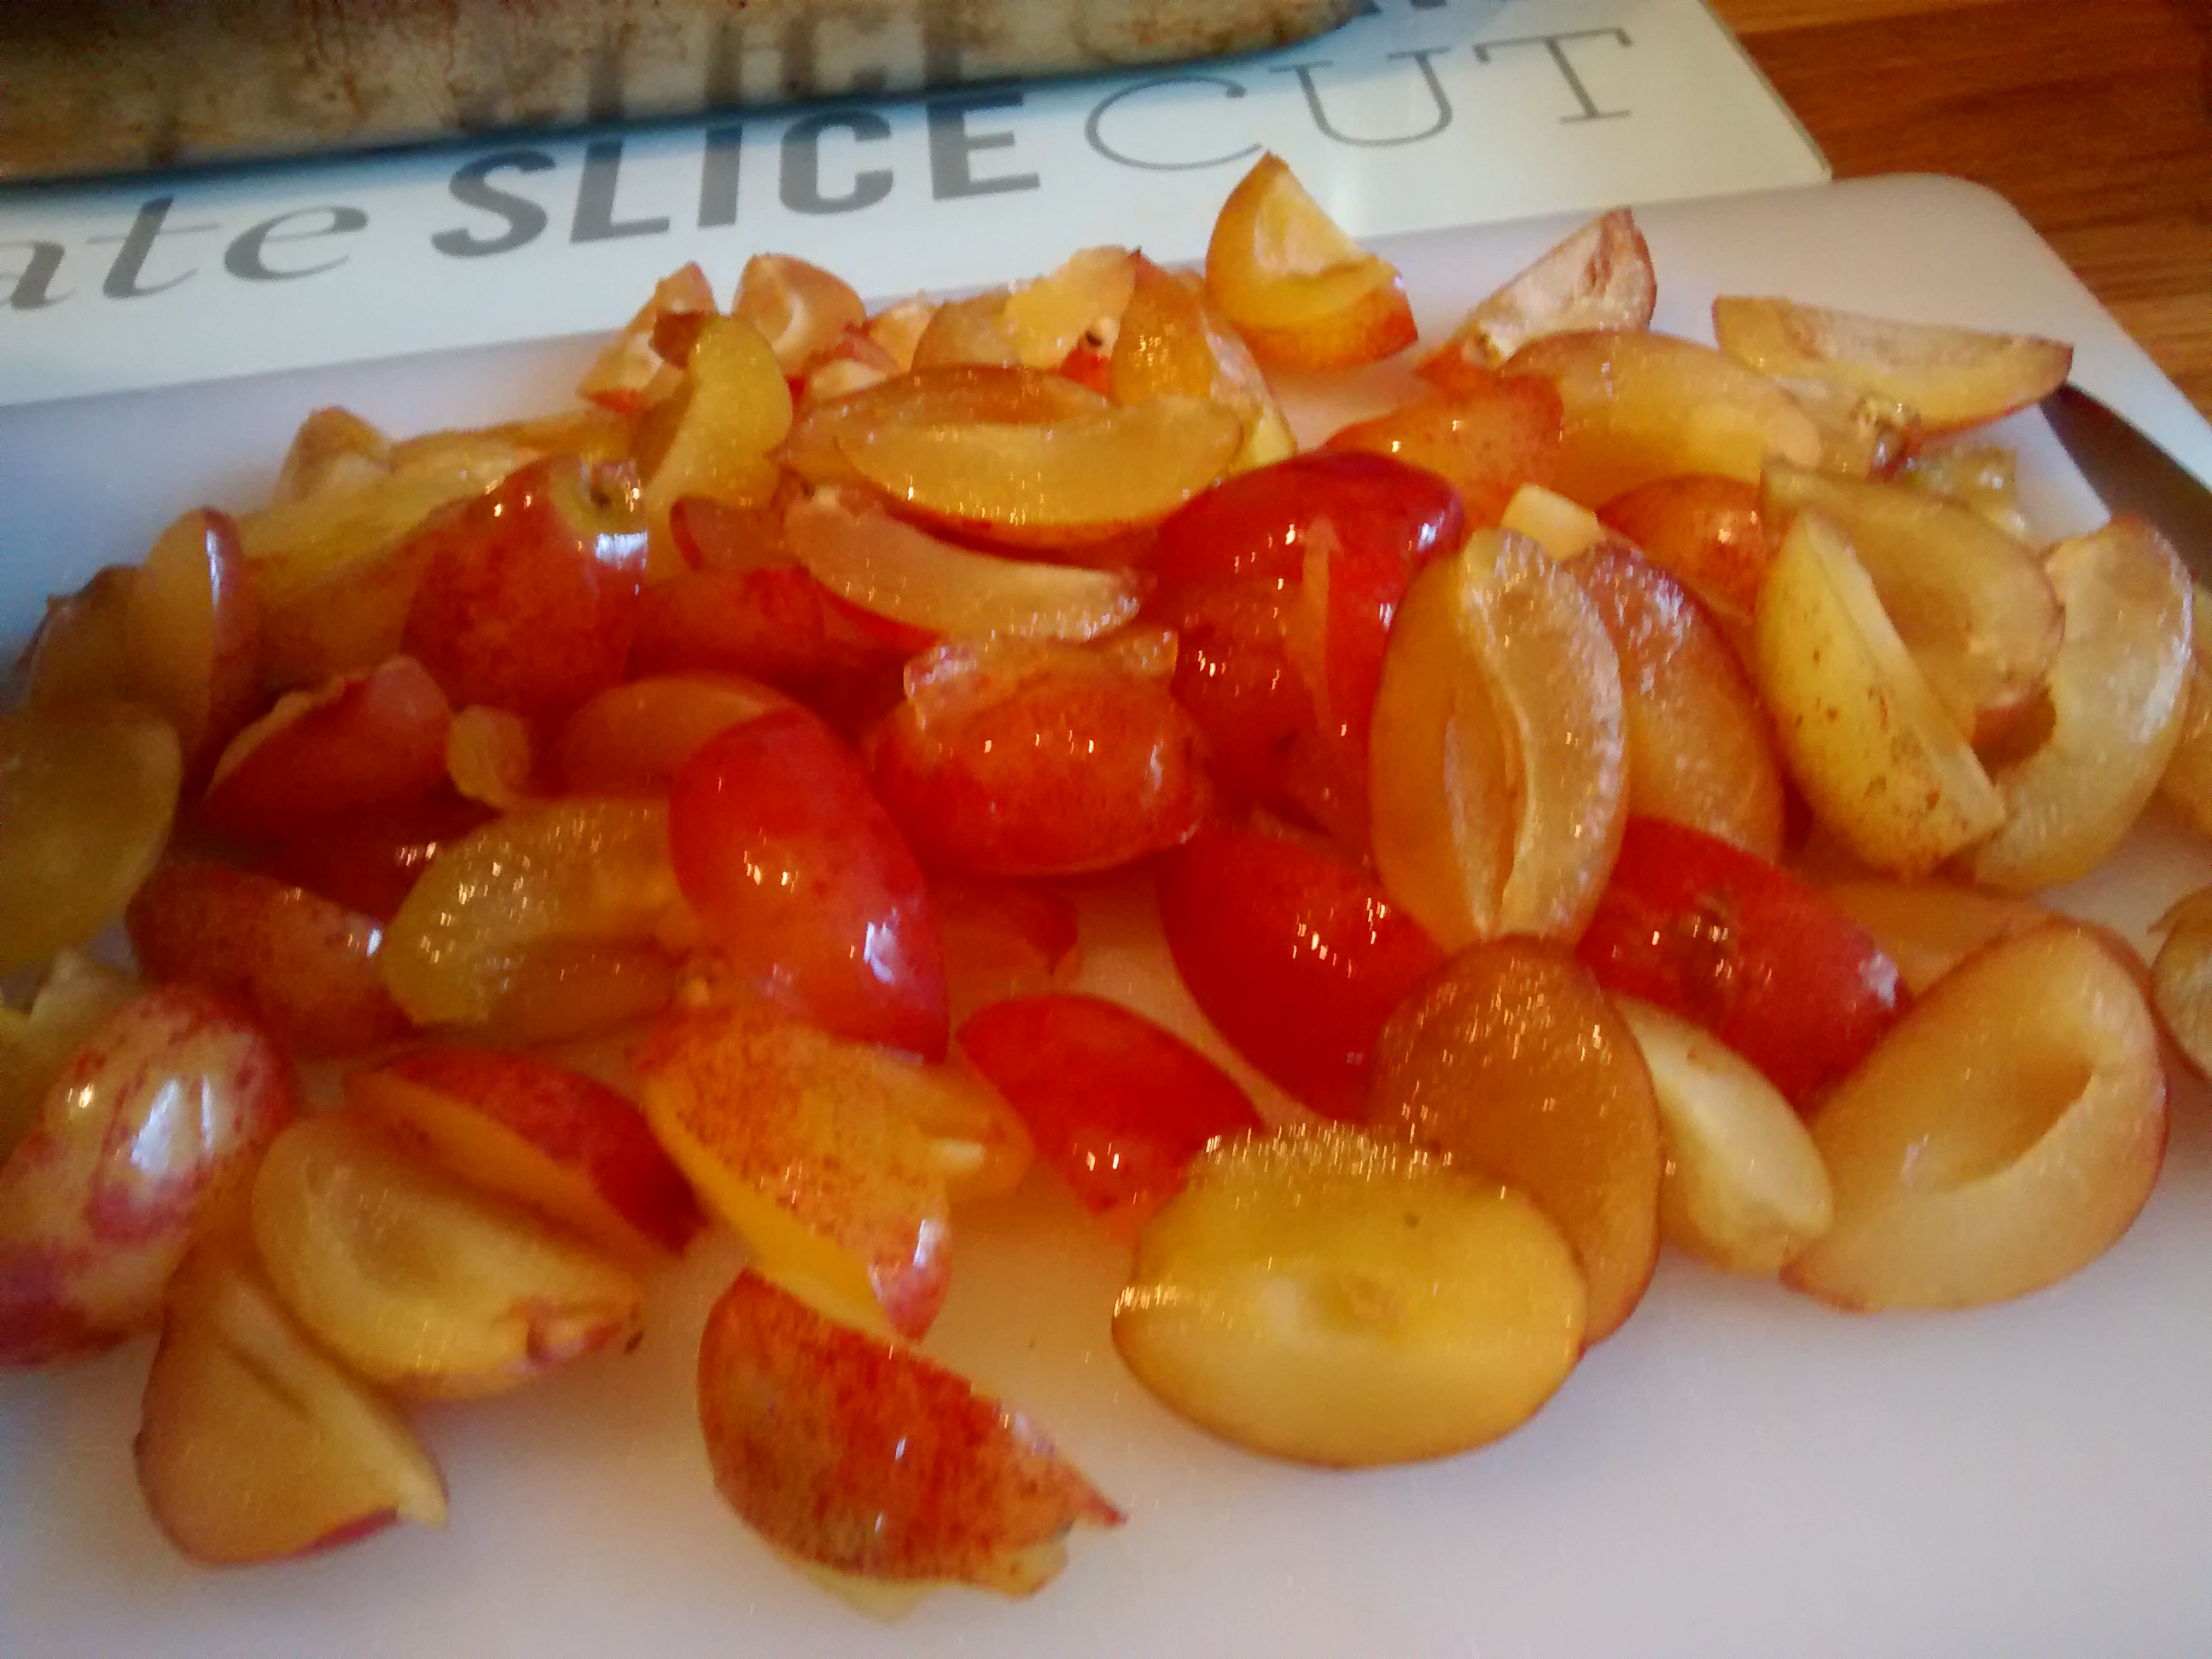
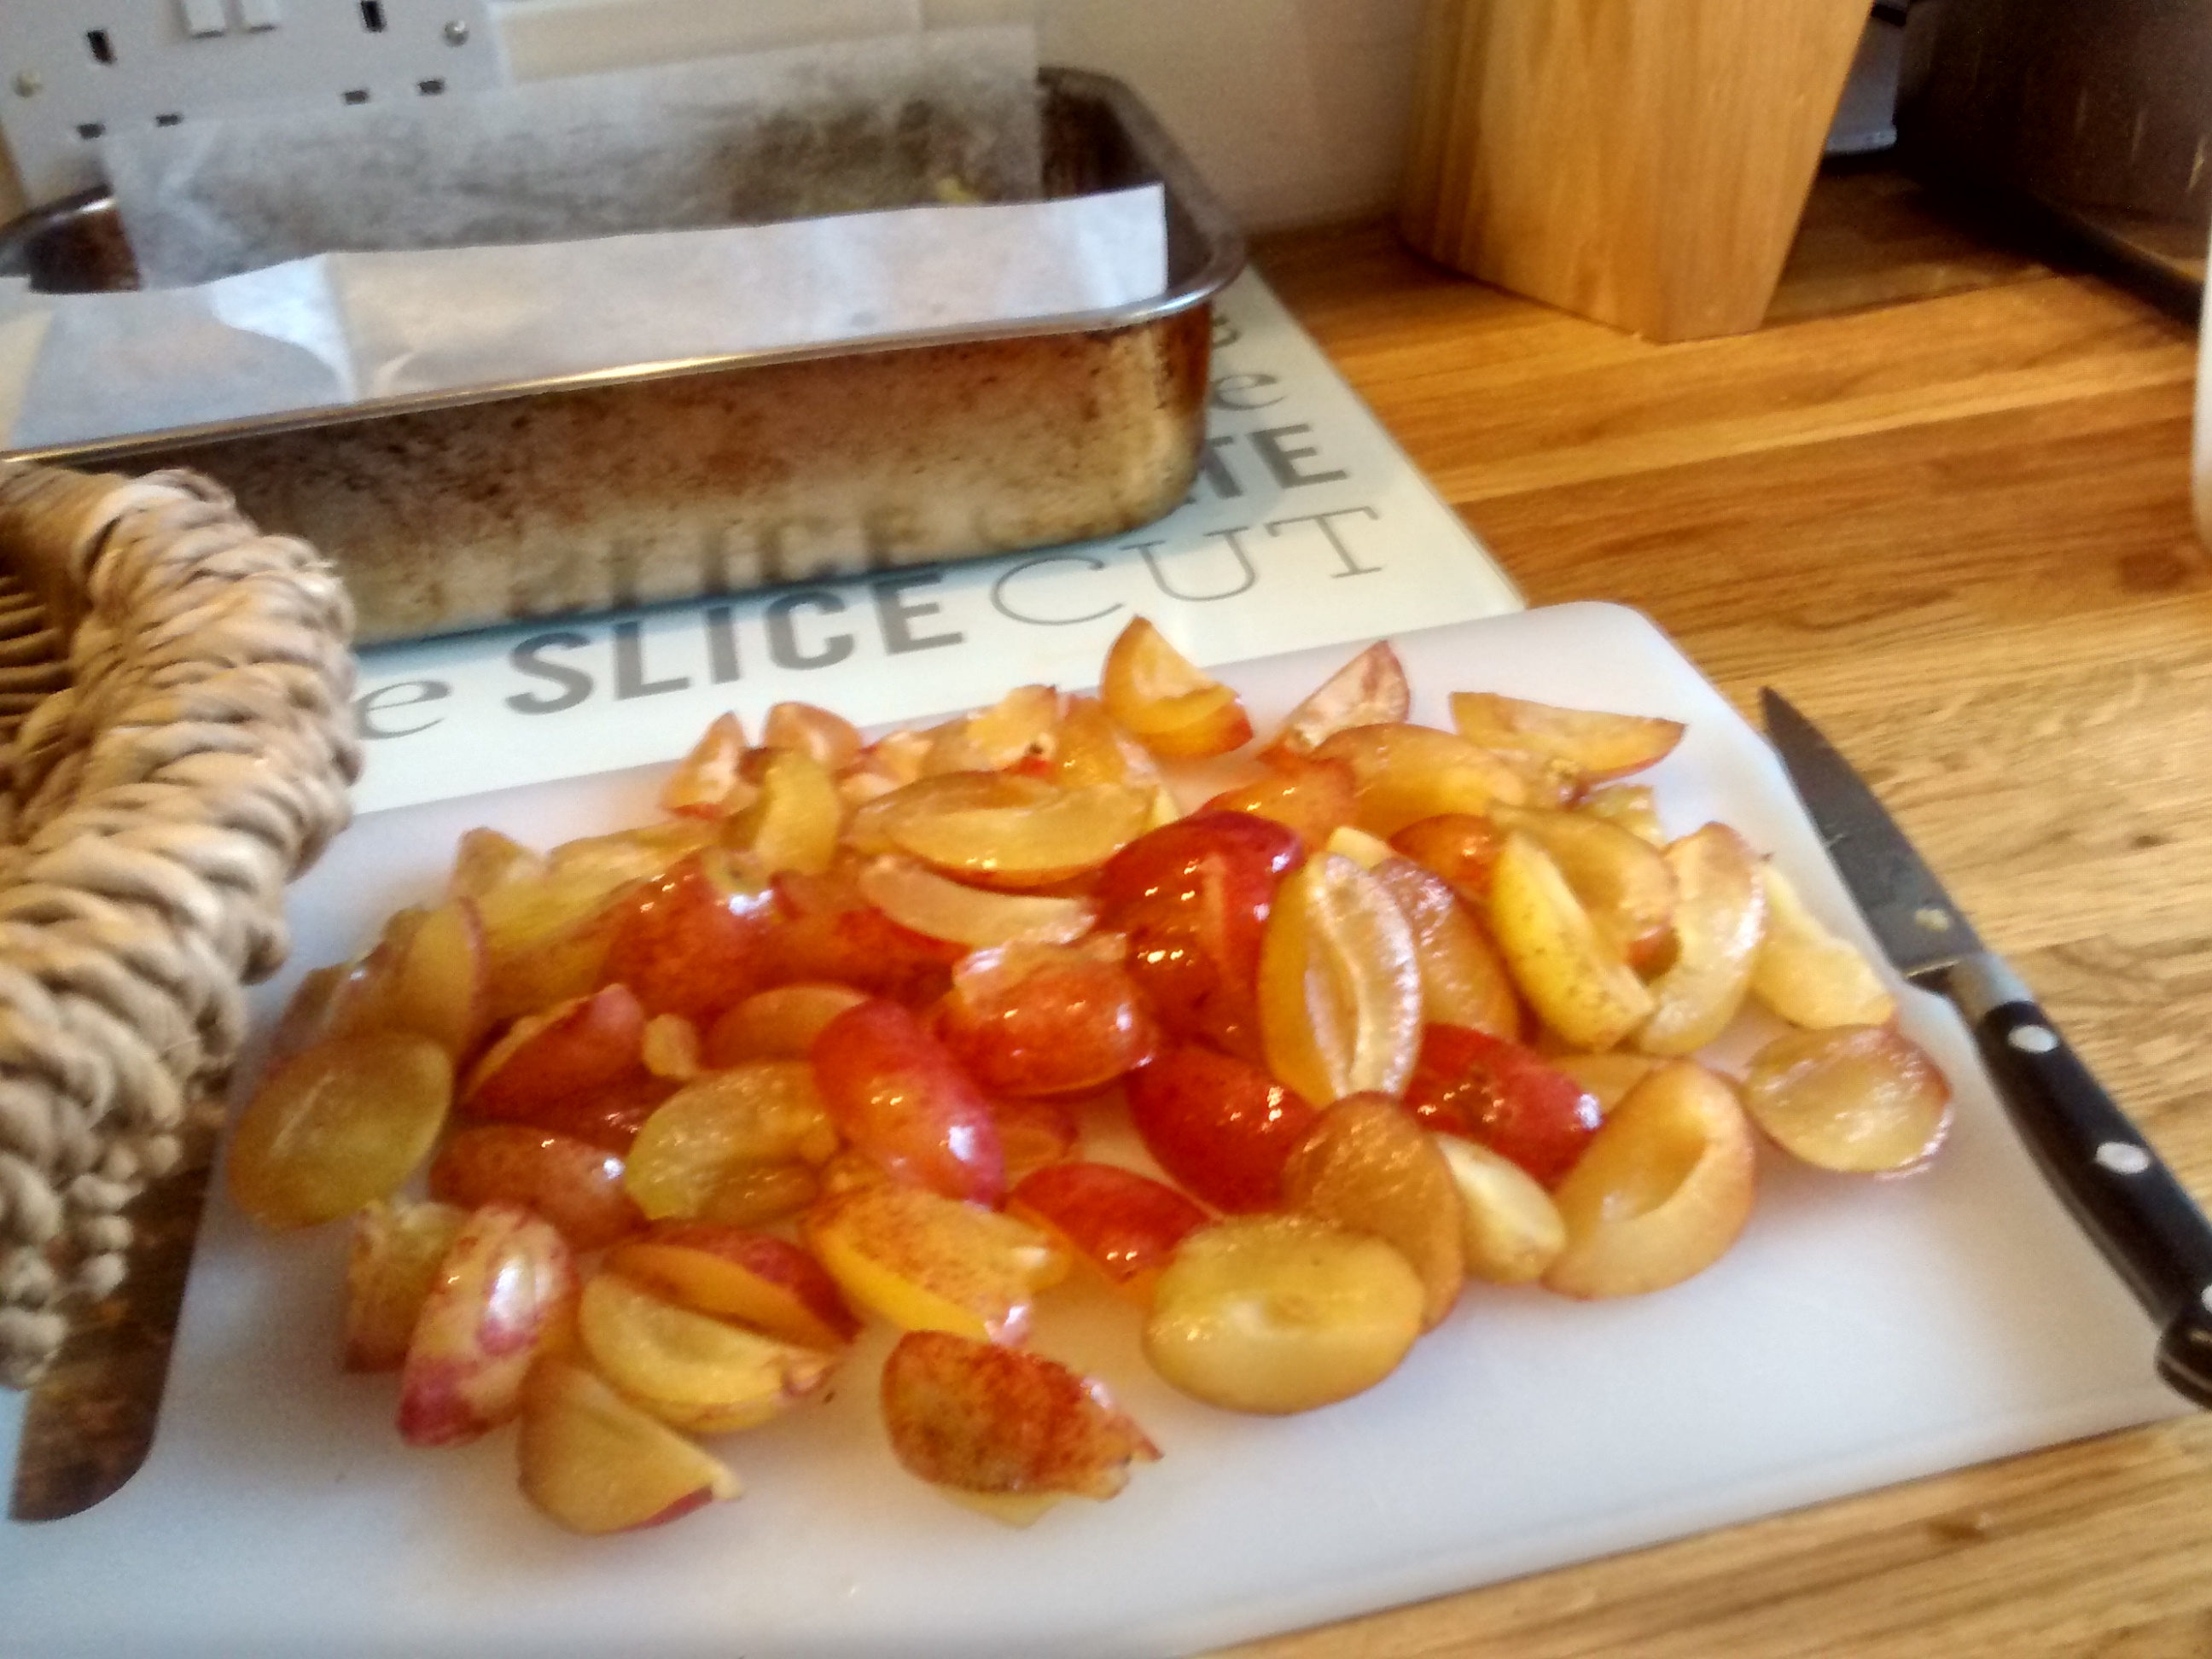
Cut the plums into quarters and take out the stones.
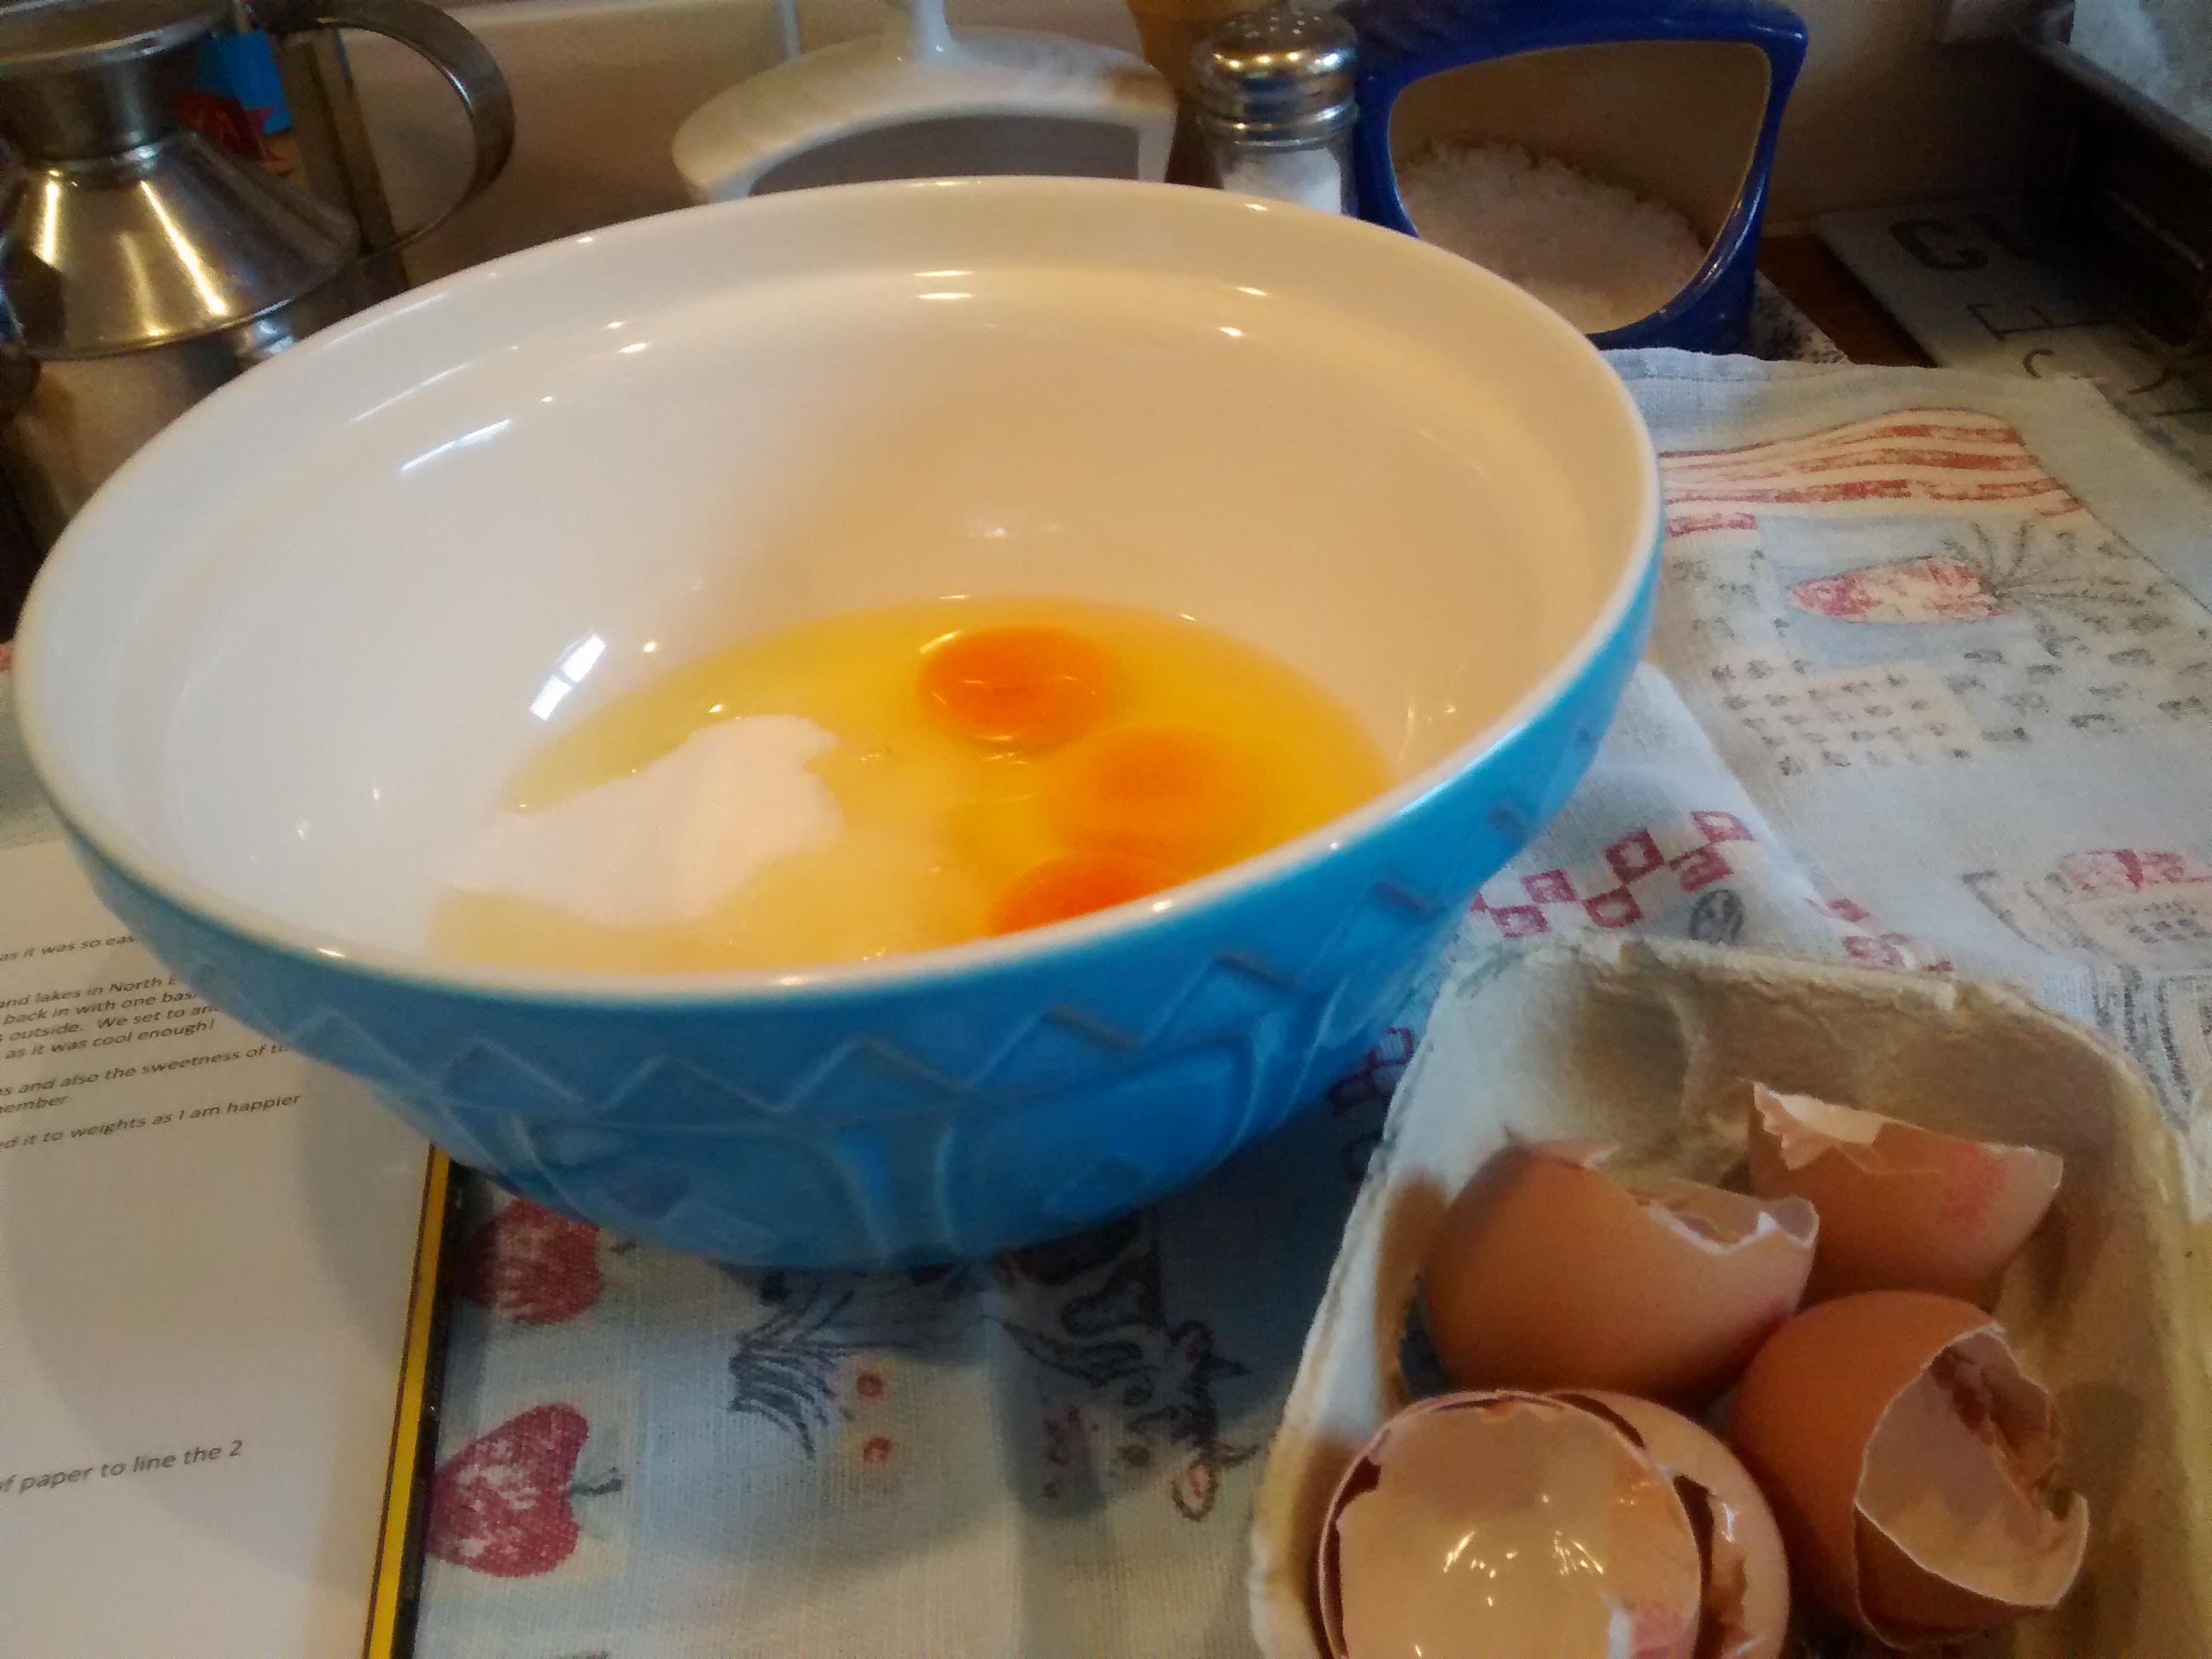
Whisk the eggs and sugar until the mixture is thick and creamy.
Add the oil and the flour and lightly beat everything together to make a thick batter.
Pour the batter into the roasting tin.
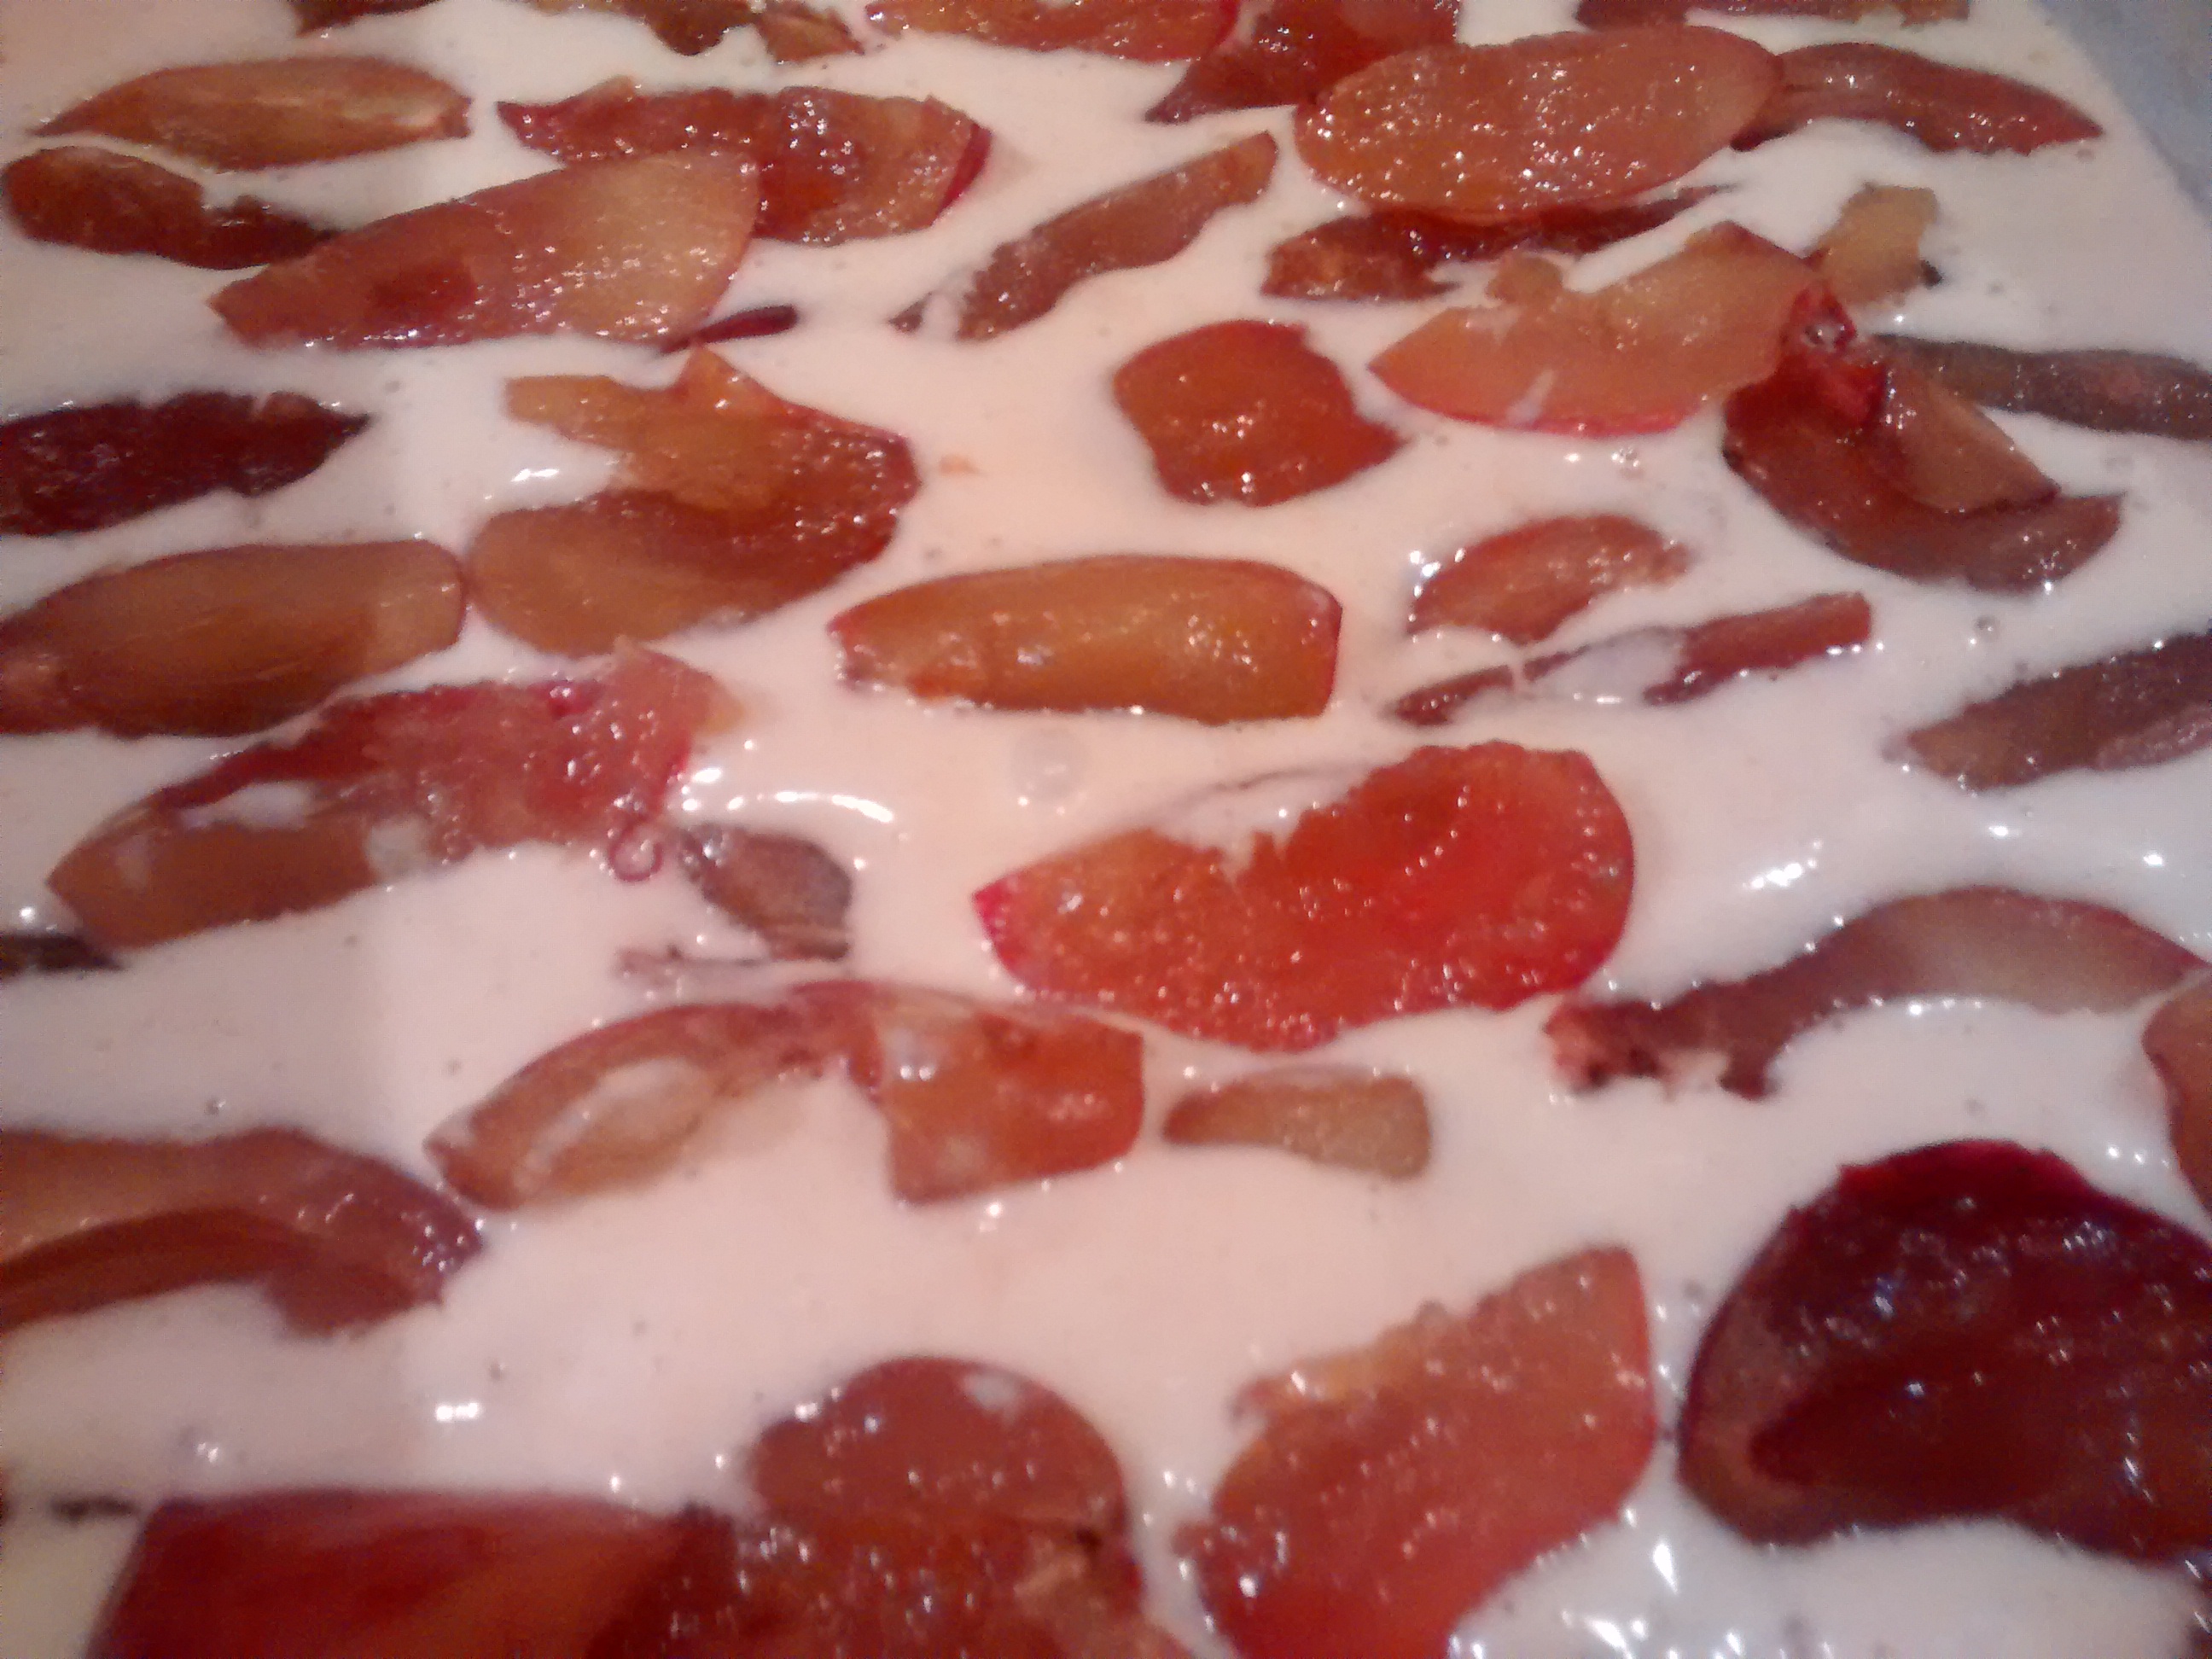
Place the cut plums, skin side down in rows on the batter until the top is full – they will start to sink – do not worry.
Bake for 30 to 35 minutes.
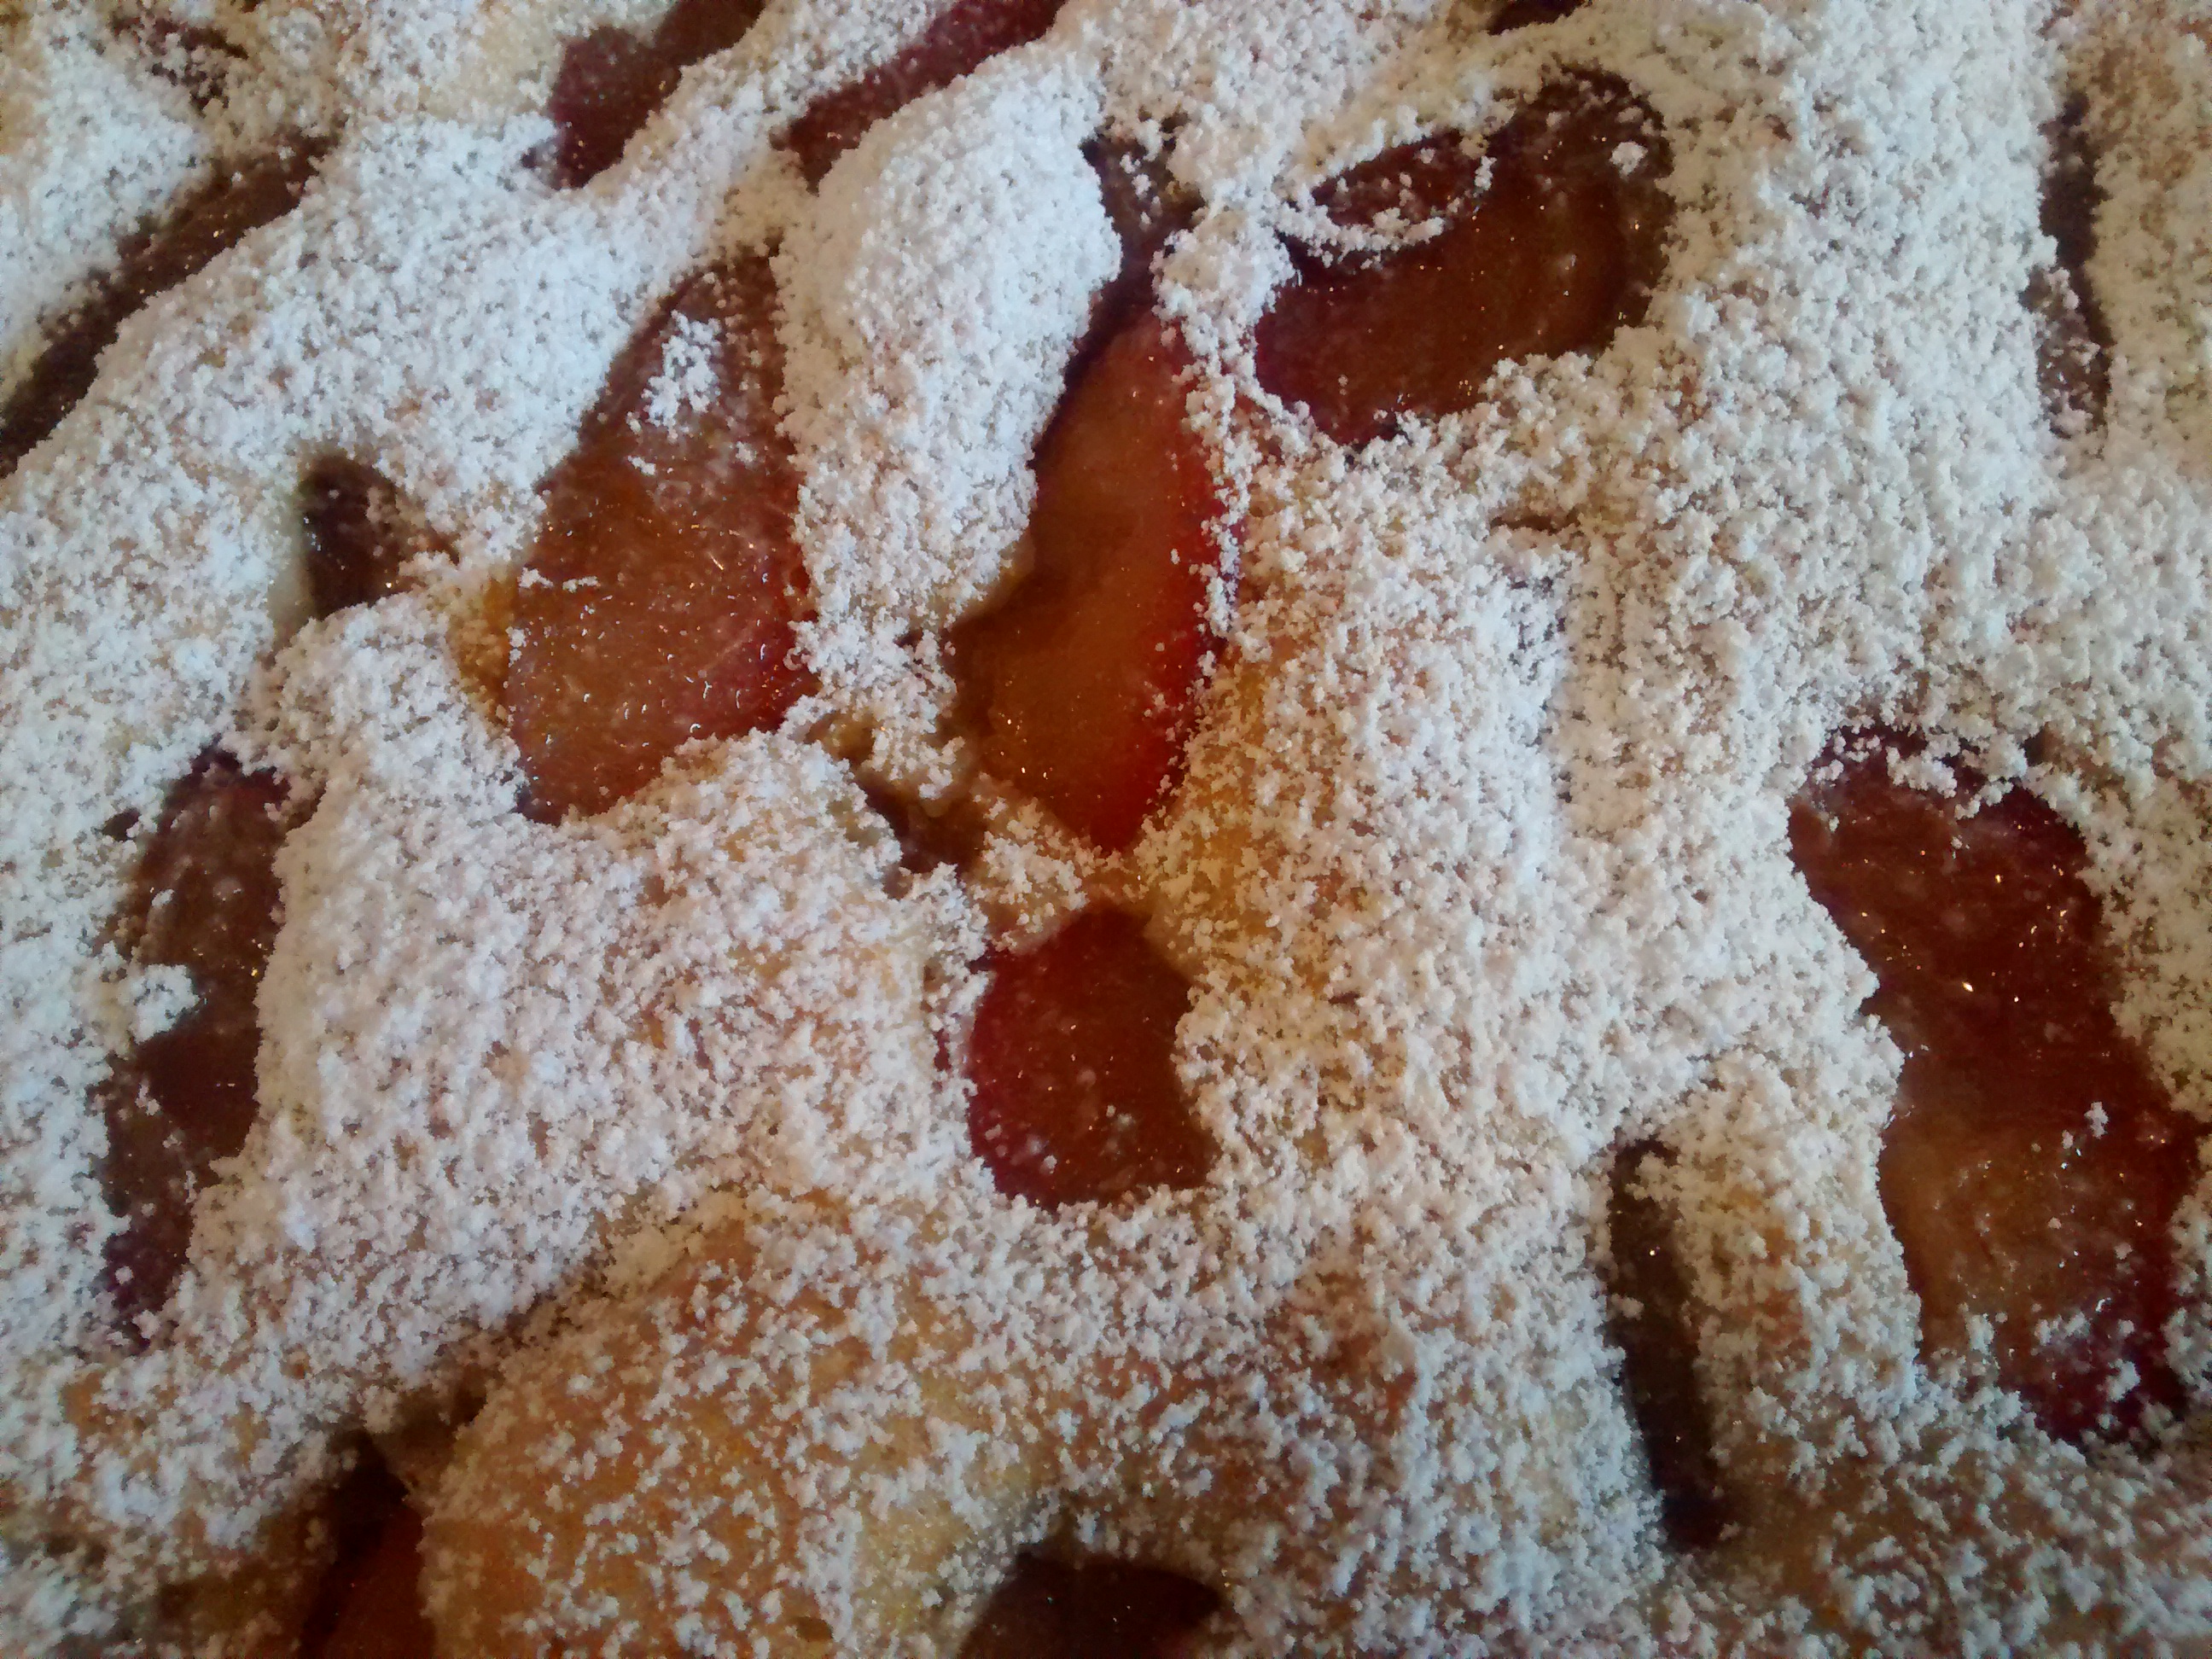
Dust with icing sugar when it has cooled slightly.
Cut into squares to serve.
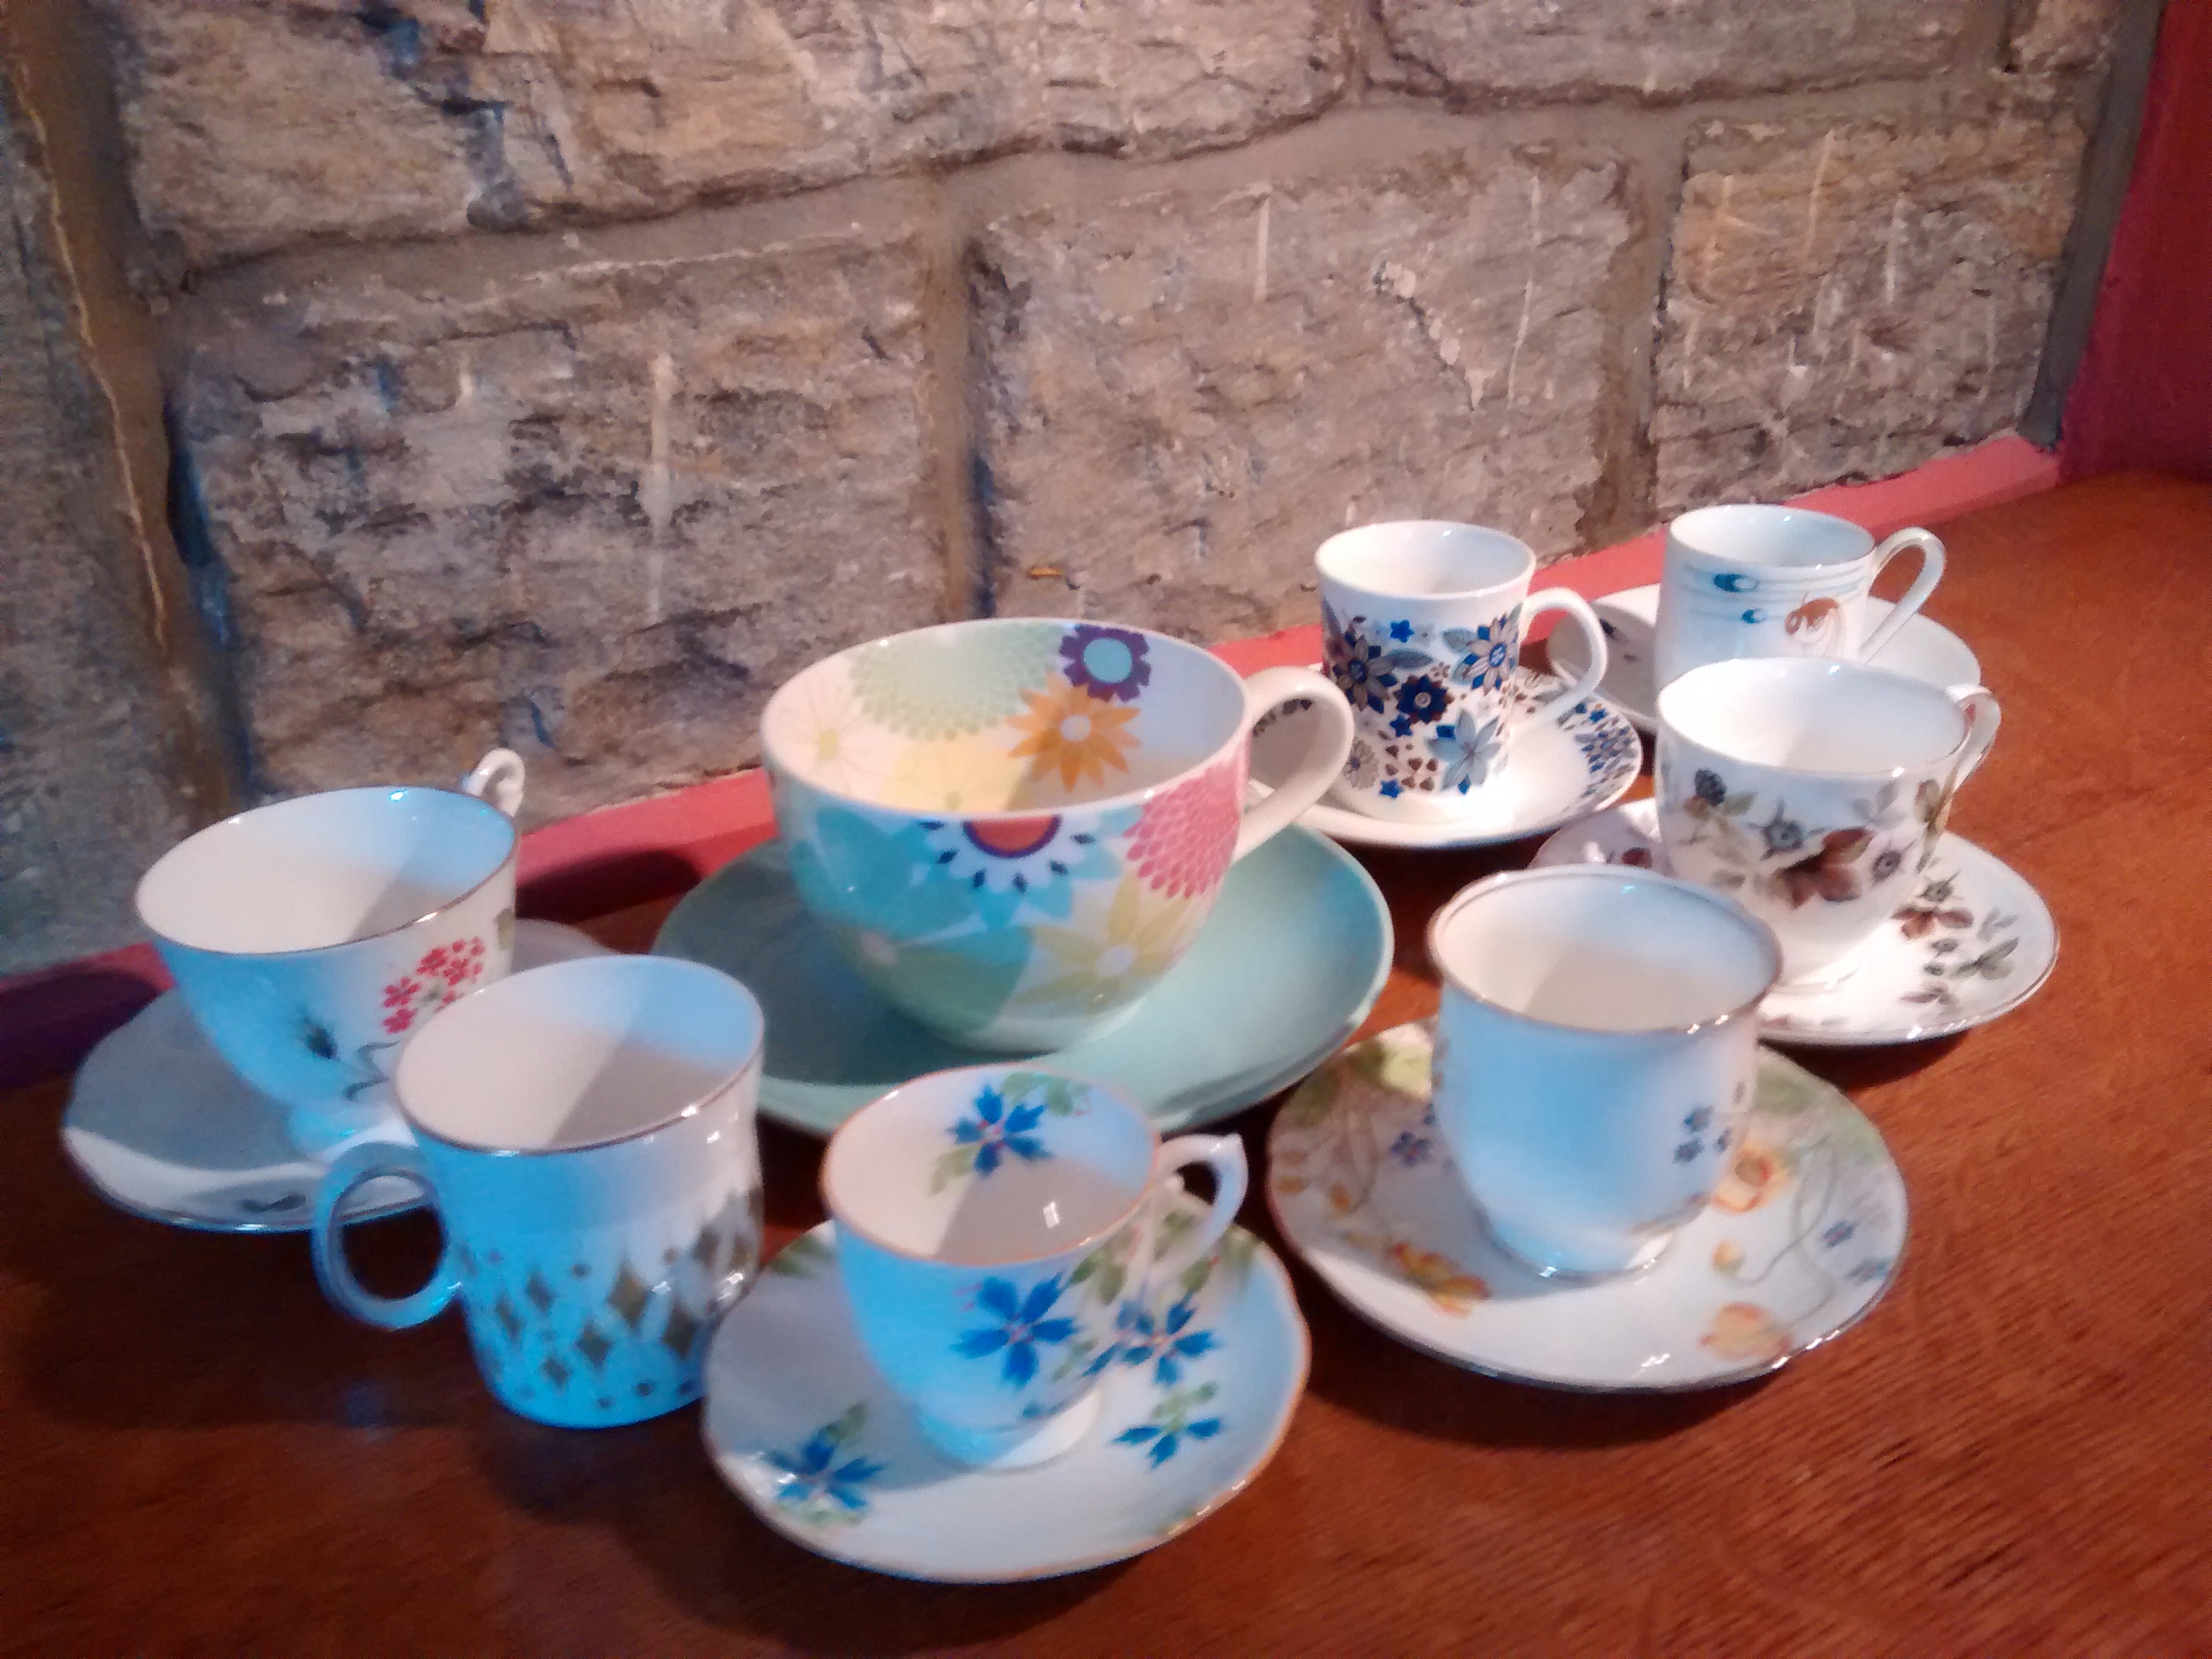
Tea plates are Counterpoint (1973 – 1987) by Royal Doulton.
Note
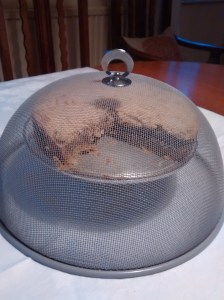
If you have any cake left, it is better not to cover it with too airtight a cover as it will go soggy.
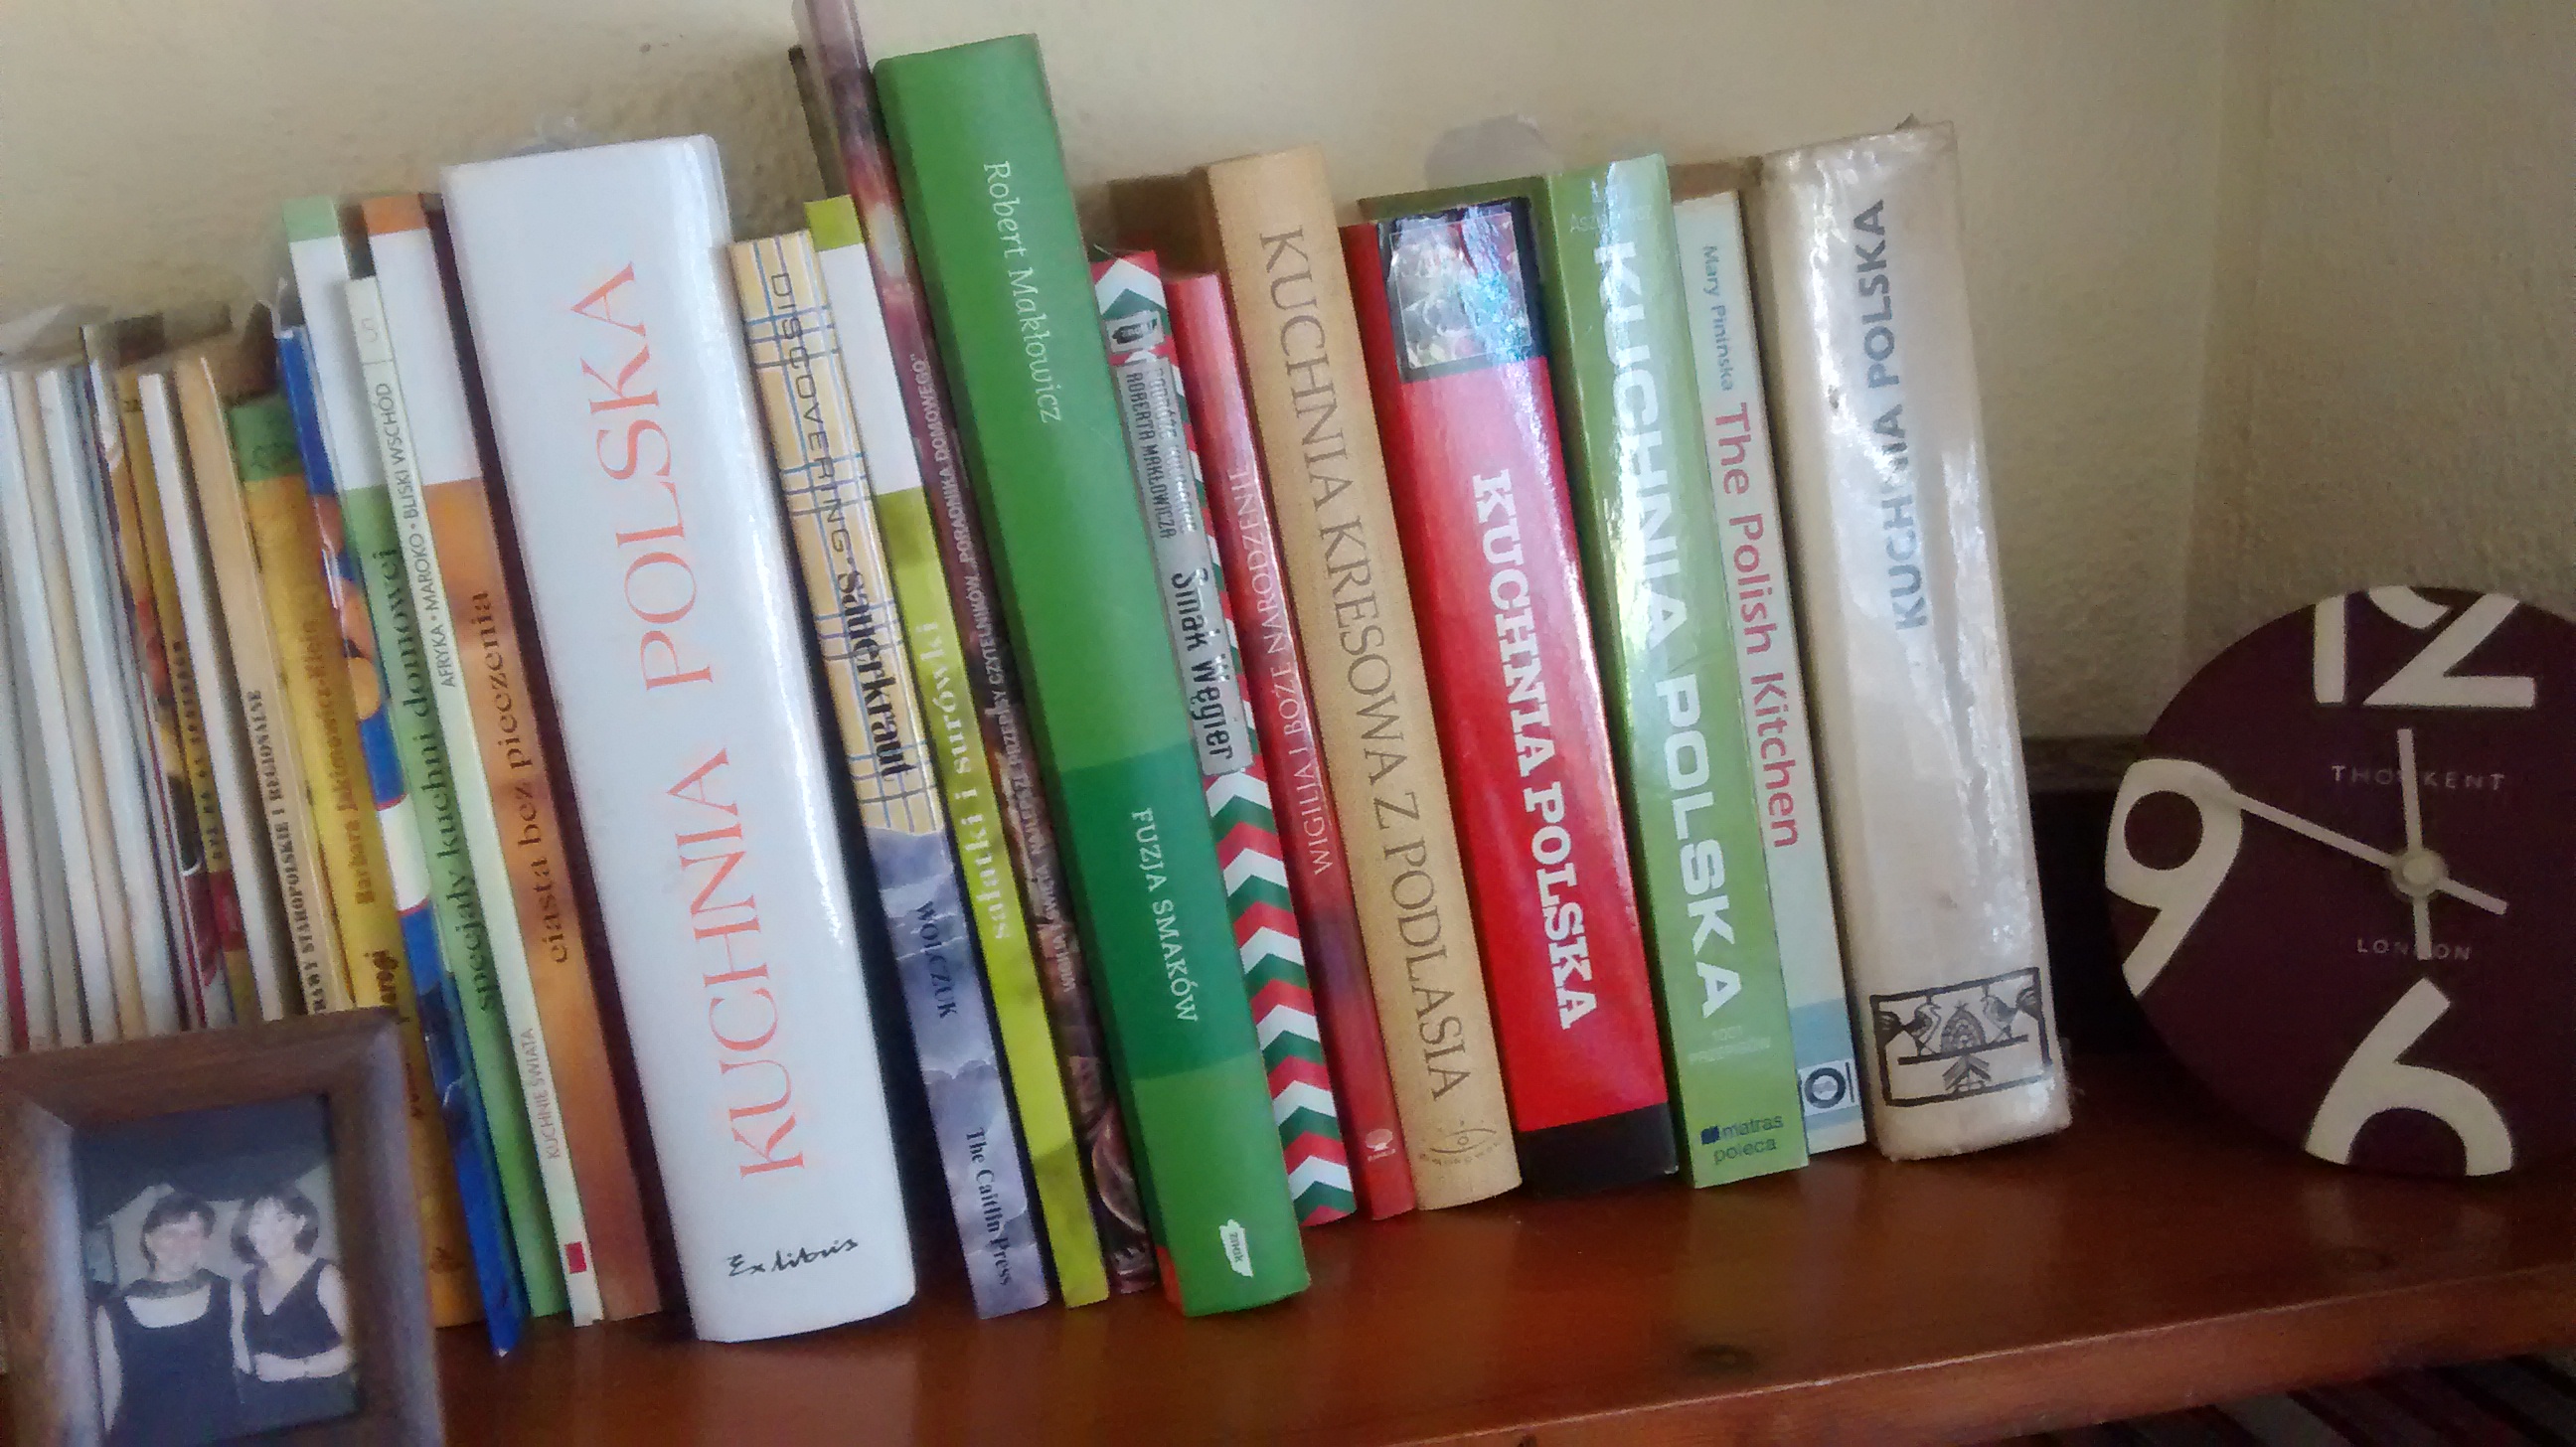
I love collecting recipes & getting cookery books & magazines.
I have recipes from Poland, the United Kingdom, the United States of America as well as from other countries that I have visited & from some I have not.
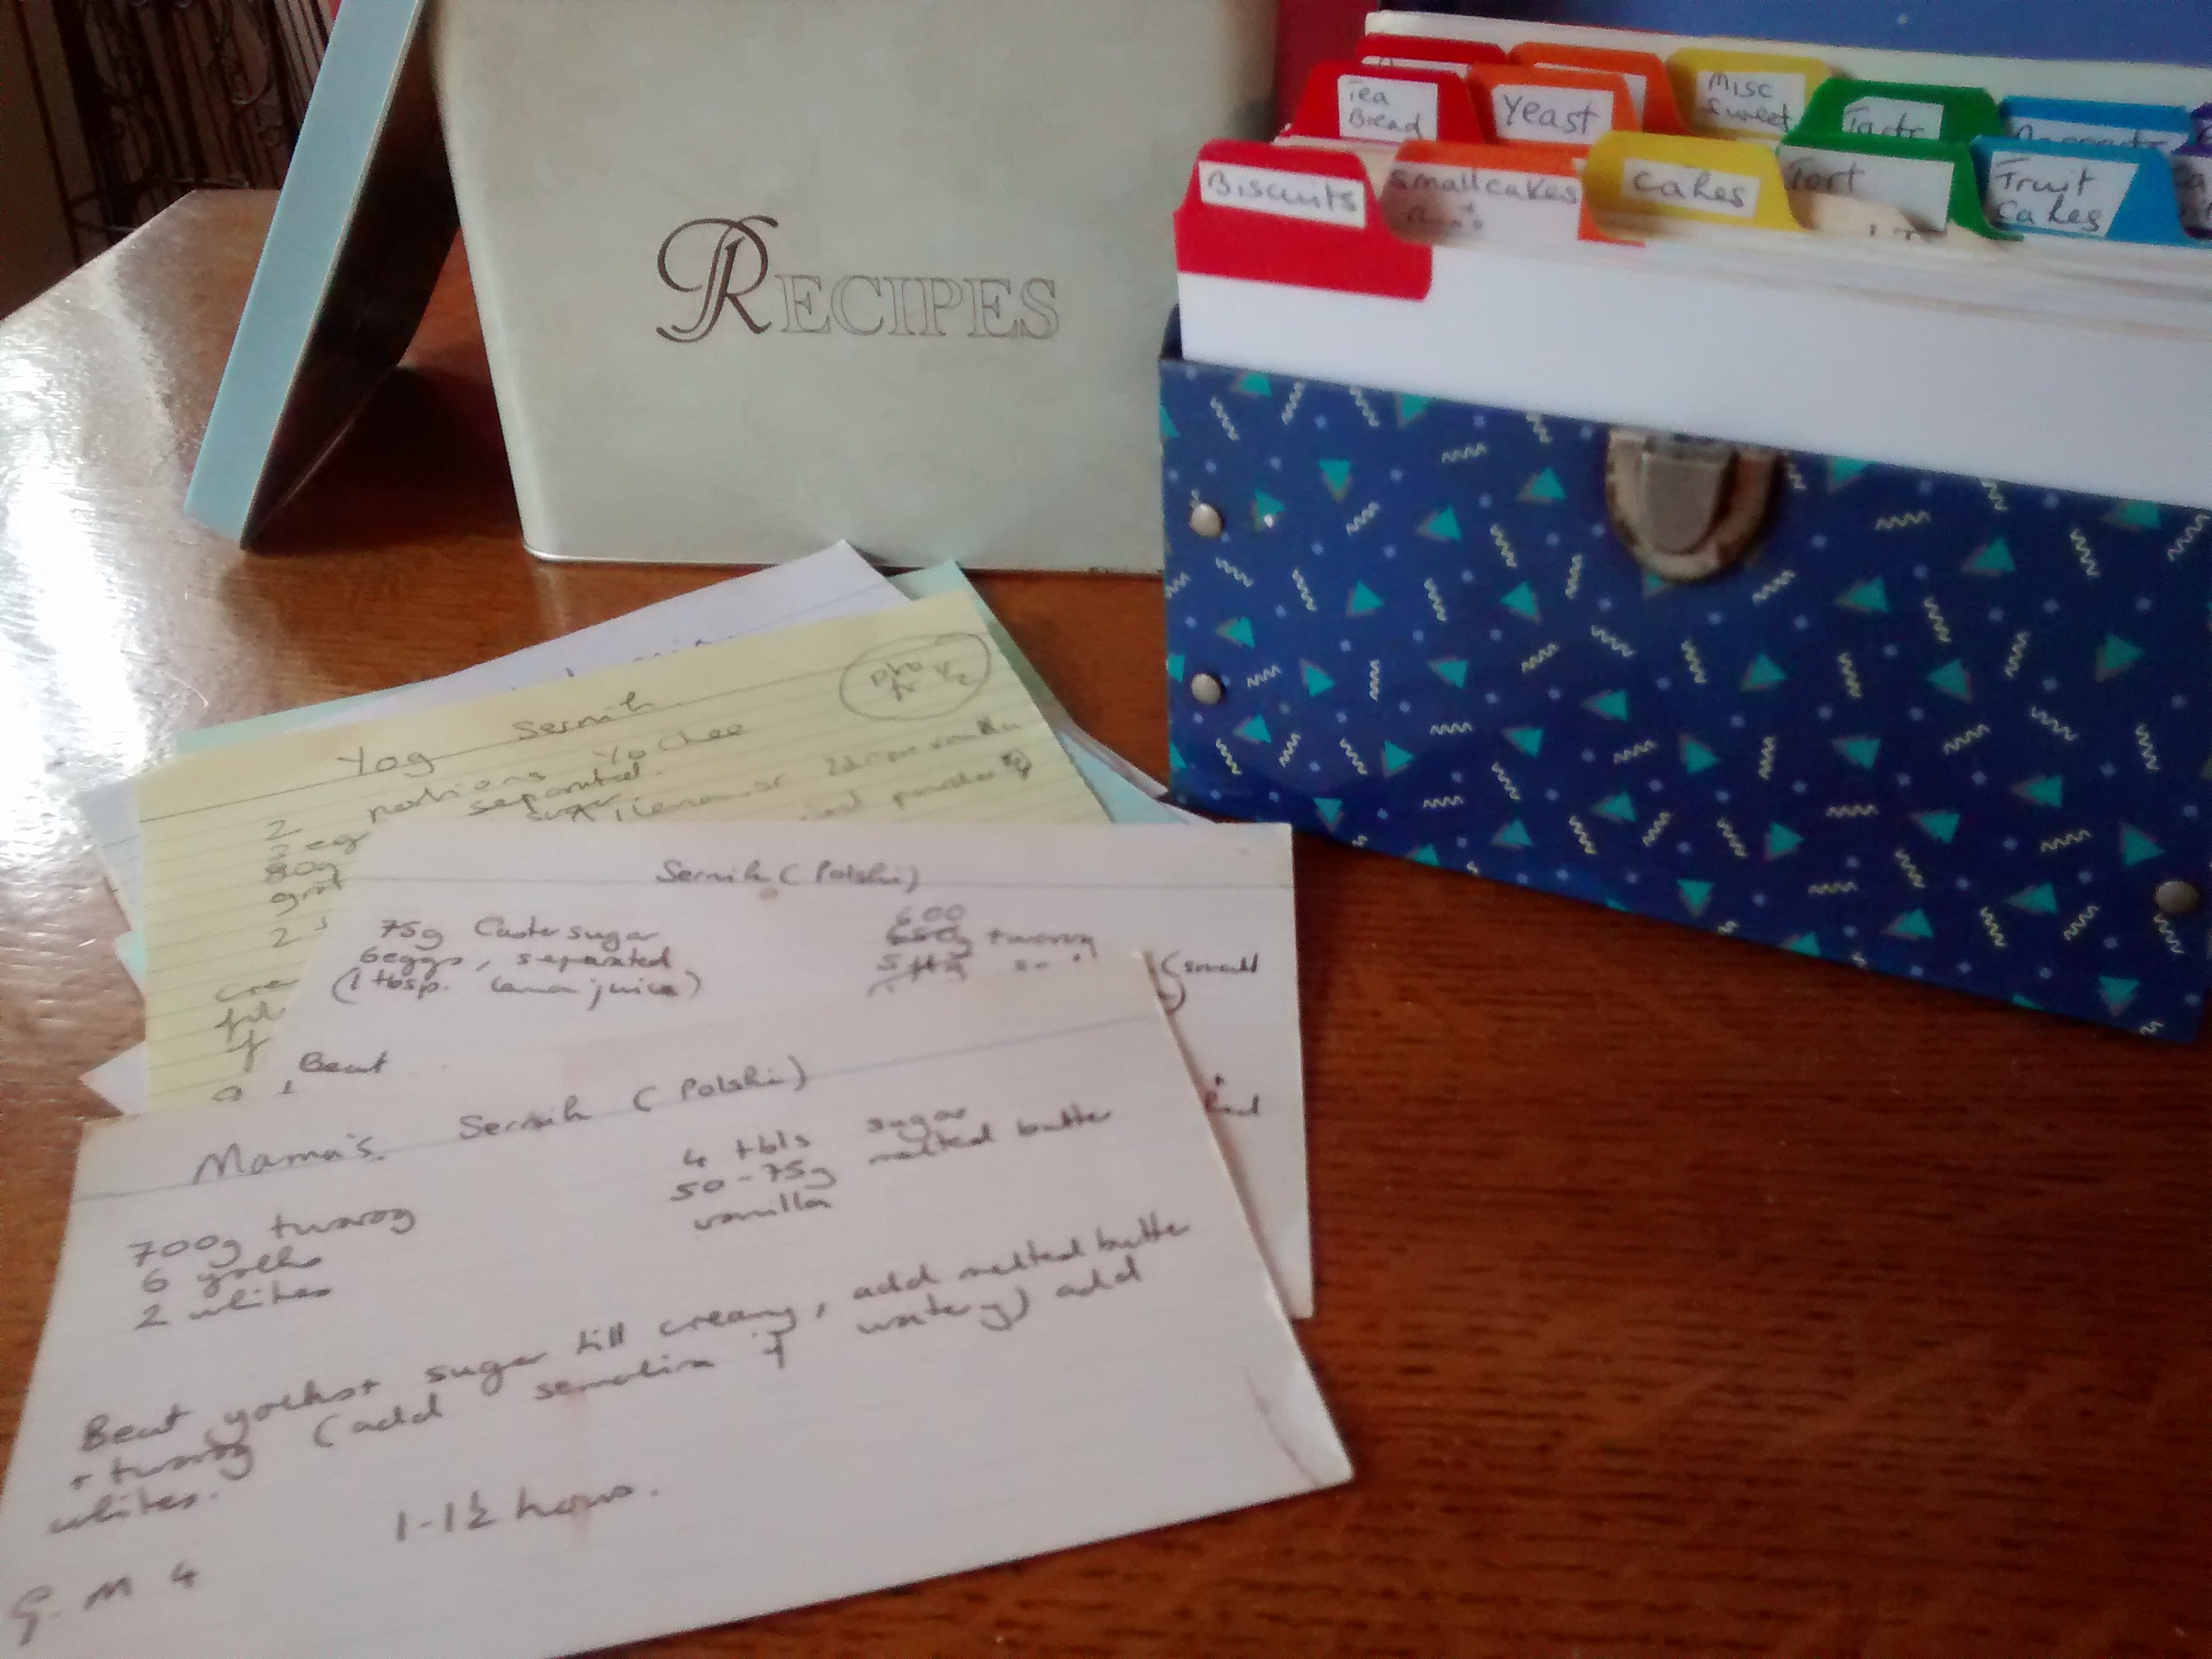
I write up recipes on cards for many of my favourite recipes as I find it hard to remember all the details and amounts.
The hardest thing I find is getting the measurements right.
When trying to get a recipe from my mother she would say in Polish things like “ just add enough flour until it is the consistency you want” or ” add the milk until it is right”.
I used to find this so hard, however now I find I say similar things especially when writing for this blog. It is difficult as there are so many variables that all make a difference, such as the type of flour, the temperature & humidity in the kitchen and so on.
At least you can be sure with weights & measures!
Well sadly – not always – hence this post.
For many recipes the exact amounts do not matter that much however with cakes & pastries the correct proportions do matter .
Let me start with weights.
I used to use pounds & ounces – especially when this was how everything in England was sold & how it was written in books.
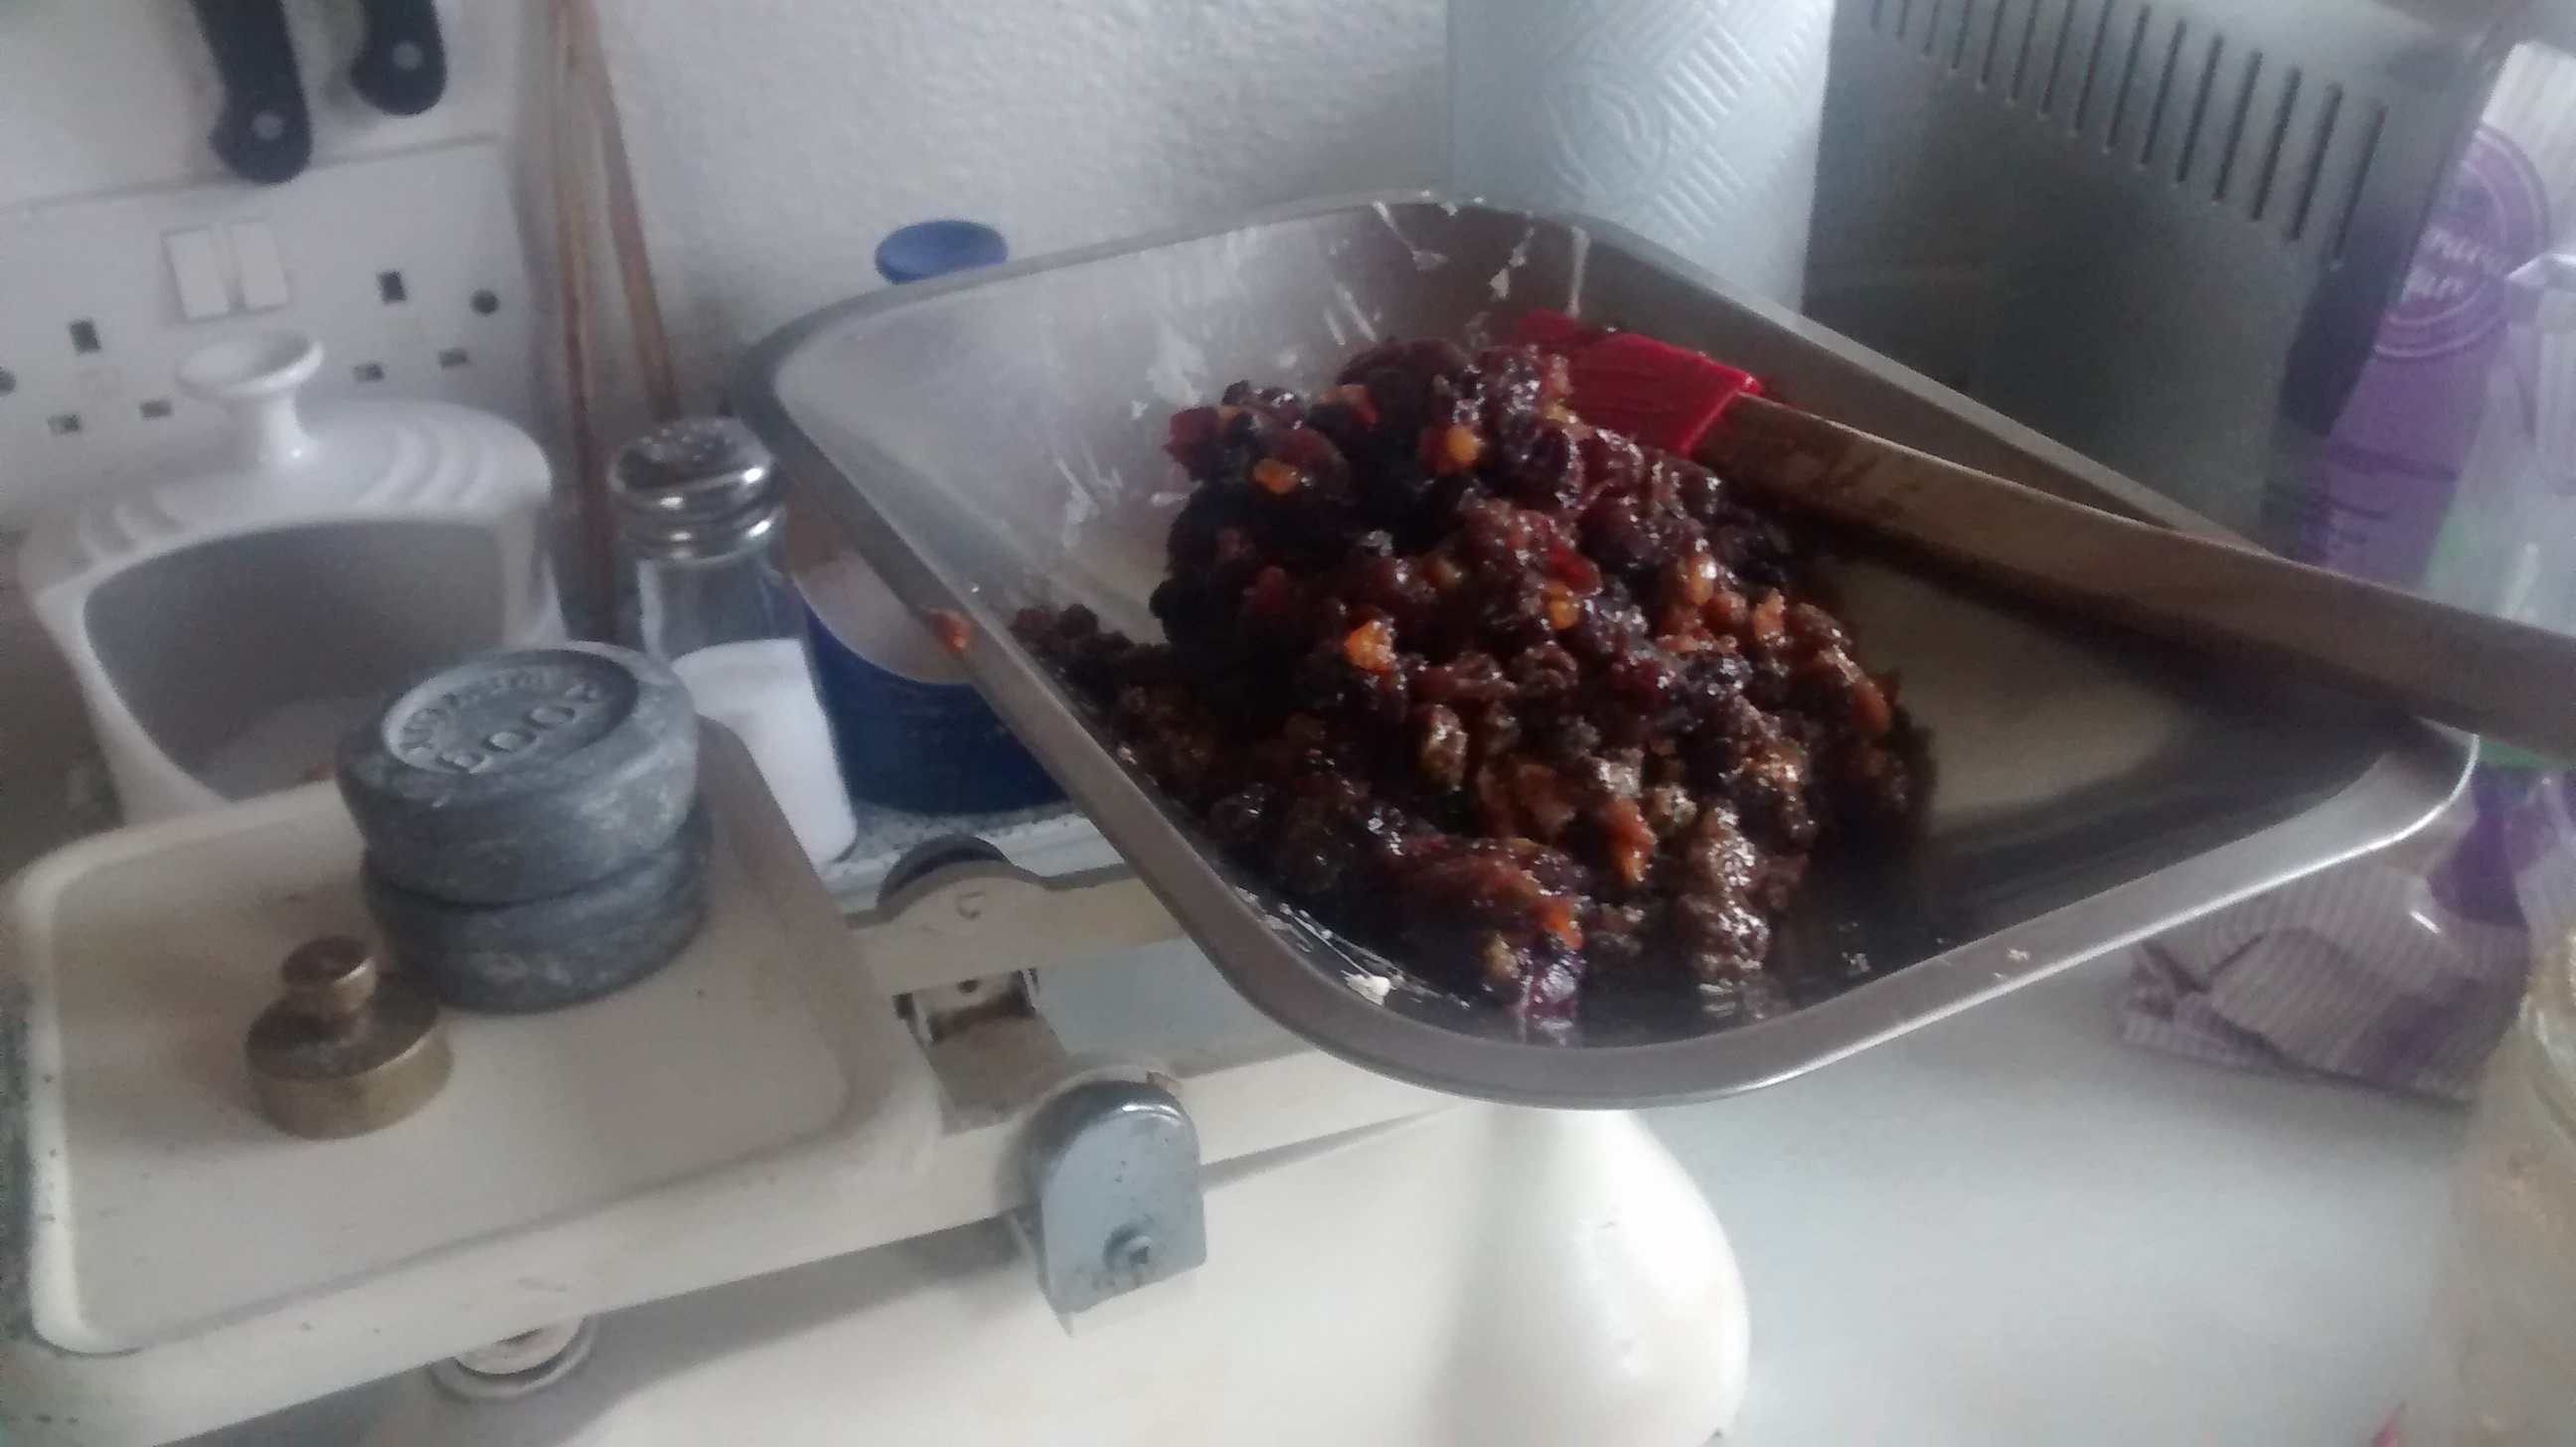
Many years ago I bought some balance scales and a set of metric weights.
Balance scales I think are more accurate than the ones with just one top pan especially for small weights & I love the way they work.
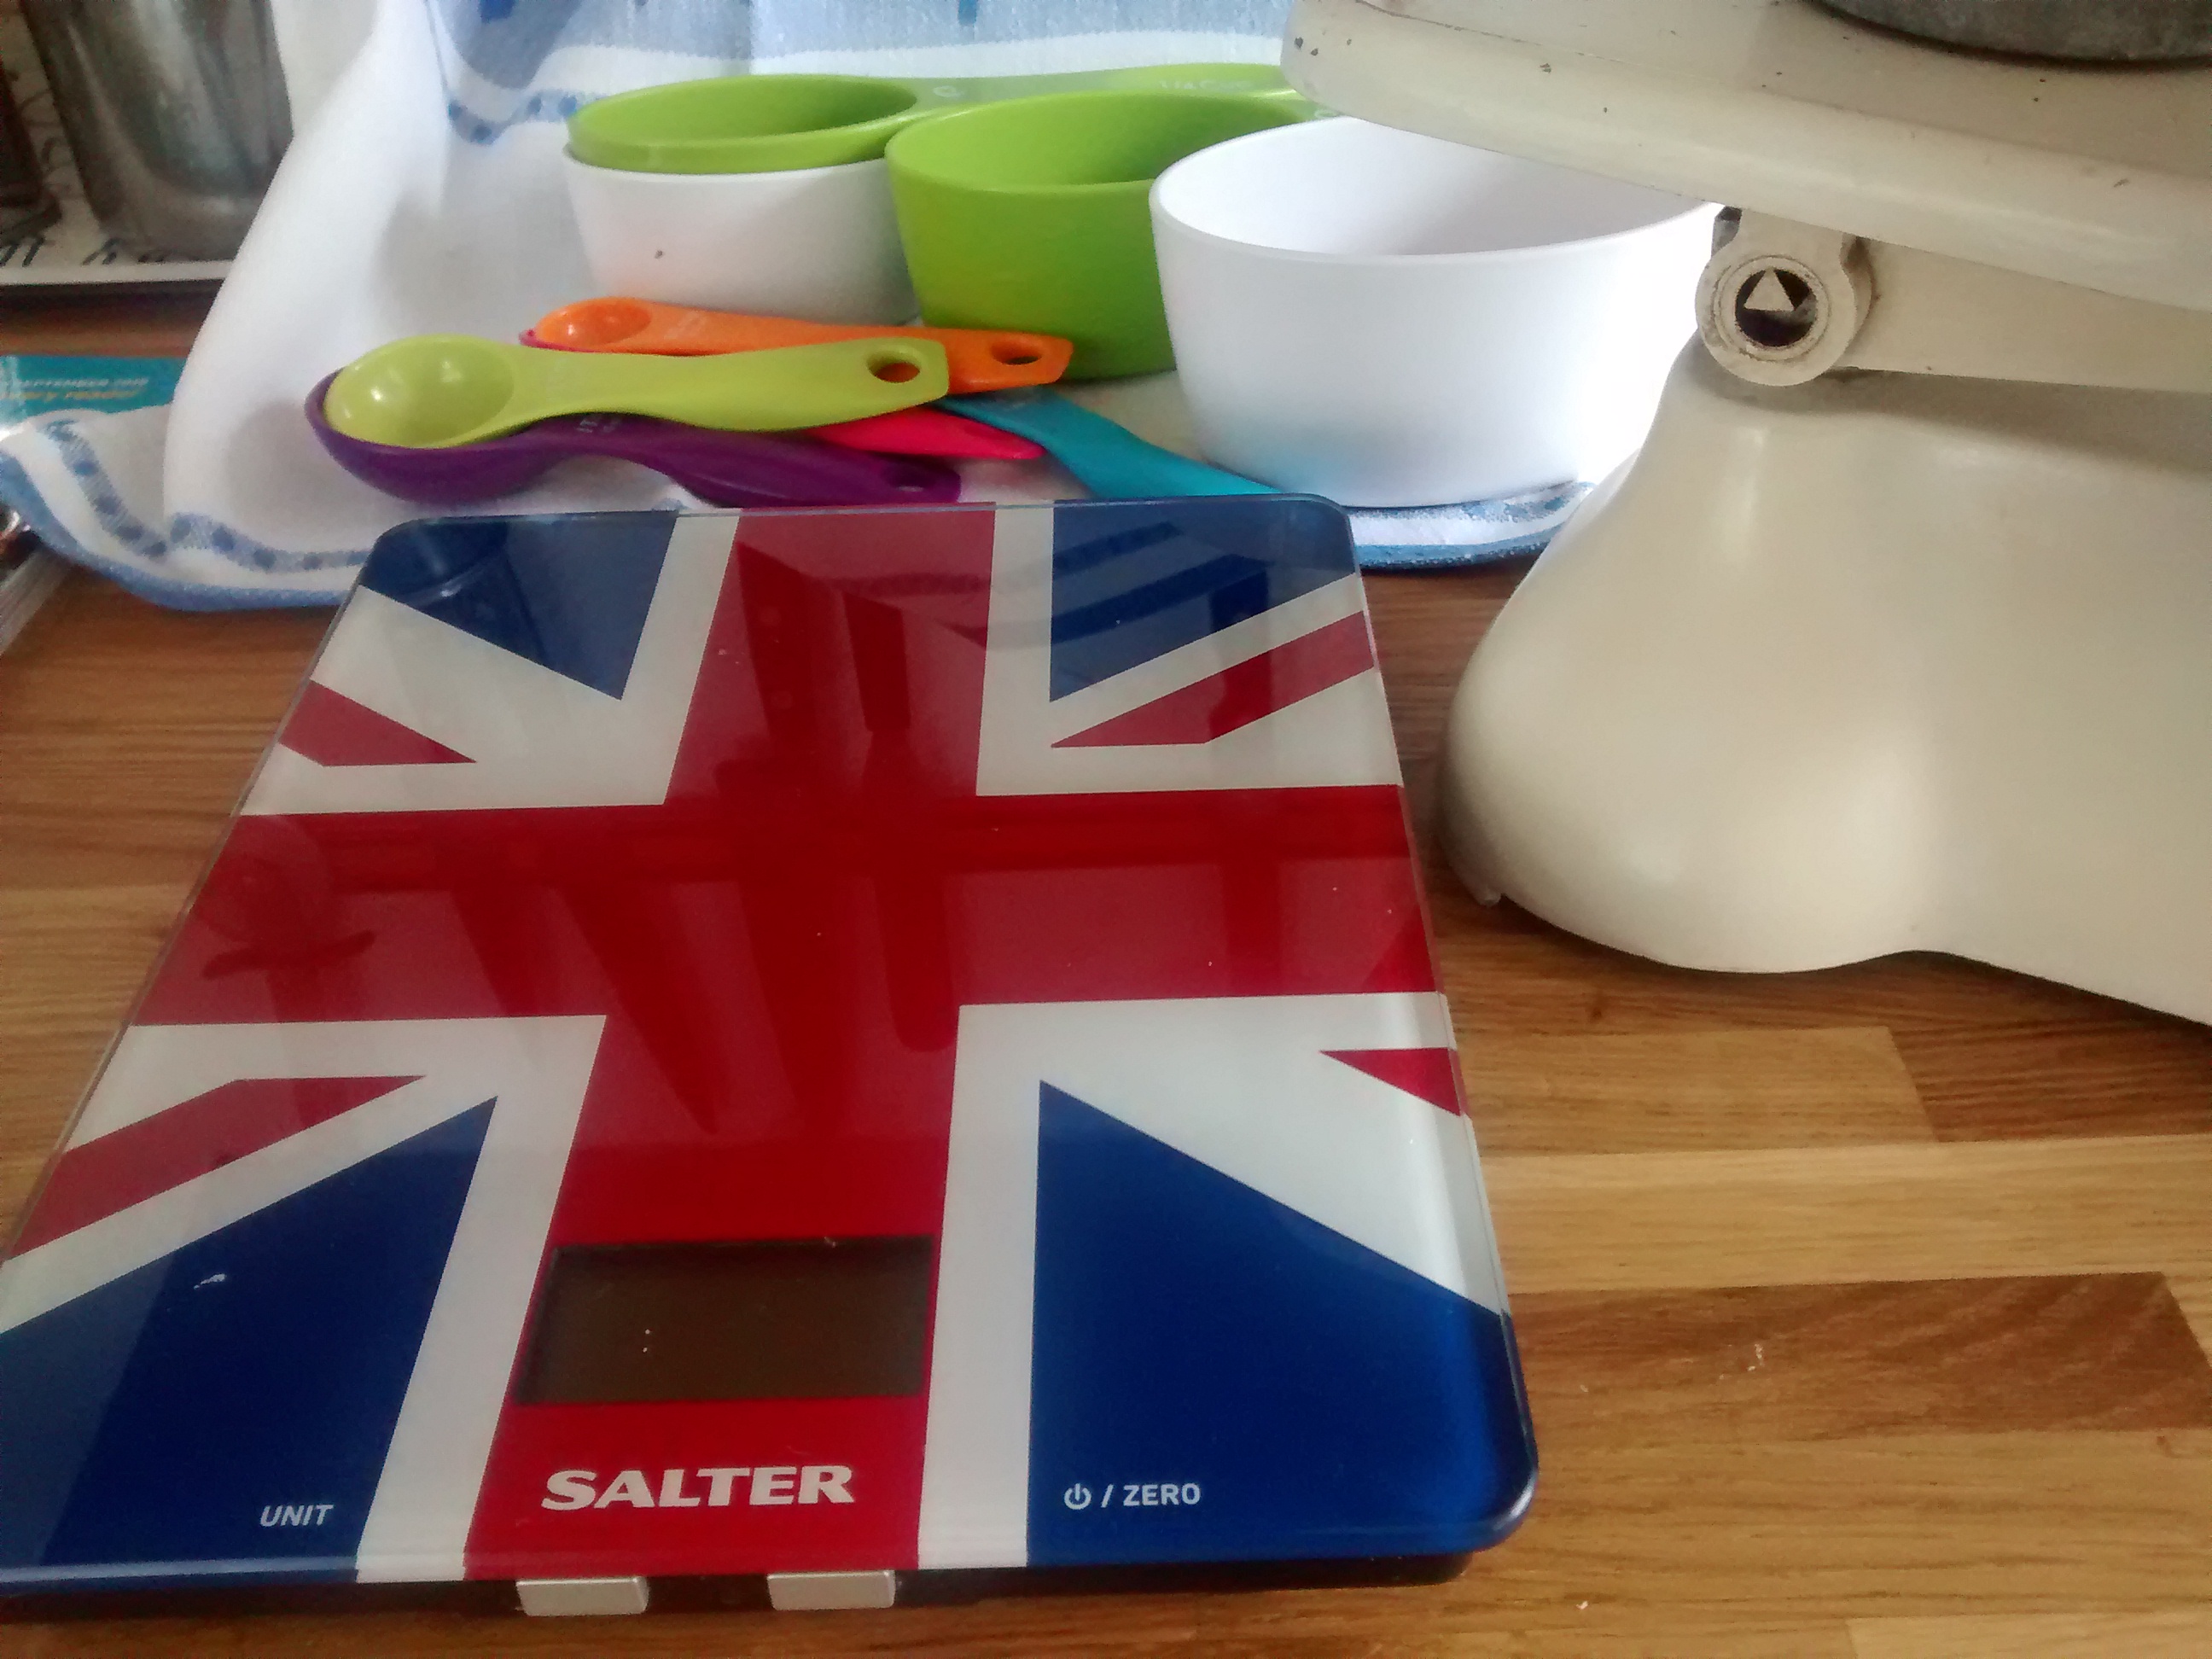
I know the new electronic scales are good especially as you can zero the bowl and add ingredients – I just love using the balance scales – there is a sense of symmetry that just appeals to me.
Well going totally metric has not happened in England but recipe books & magazines tend to be in metric and imperial – I just stick to the metric.
At least I thought I am safe with my Polish books as they use metric weights!
How wrong I was!
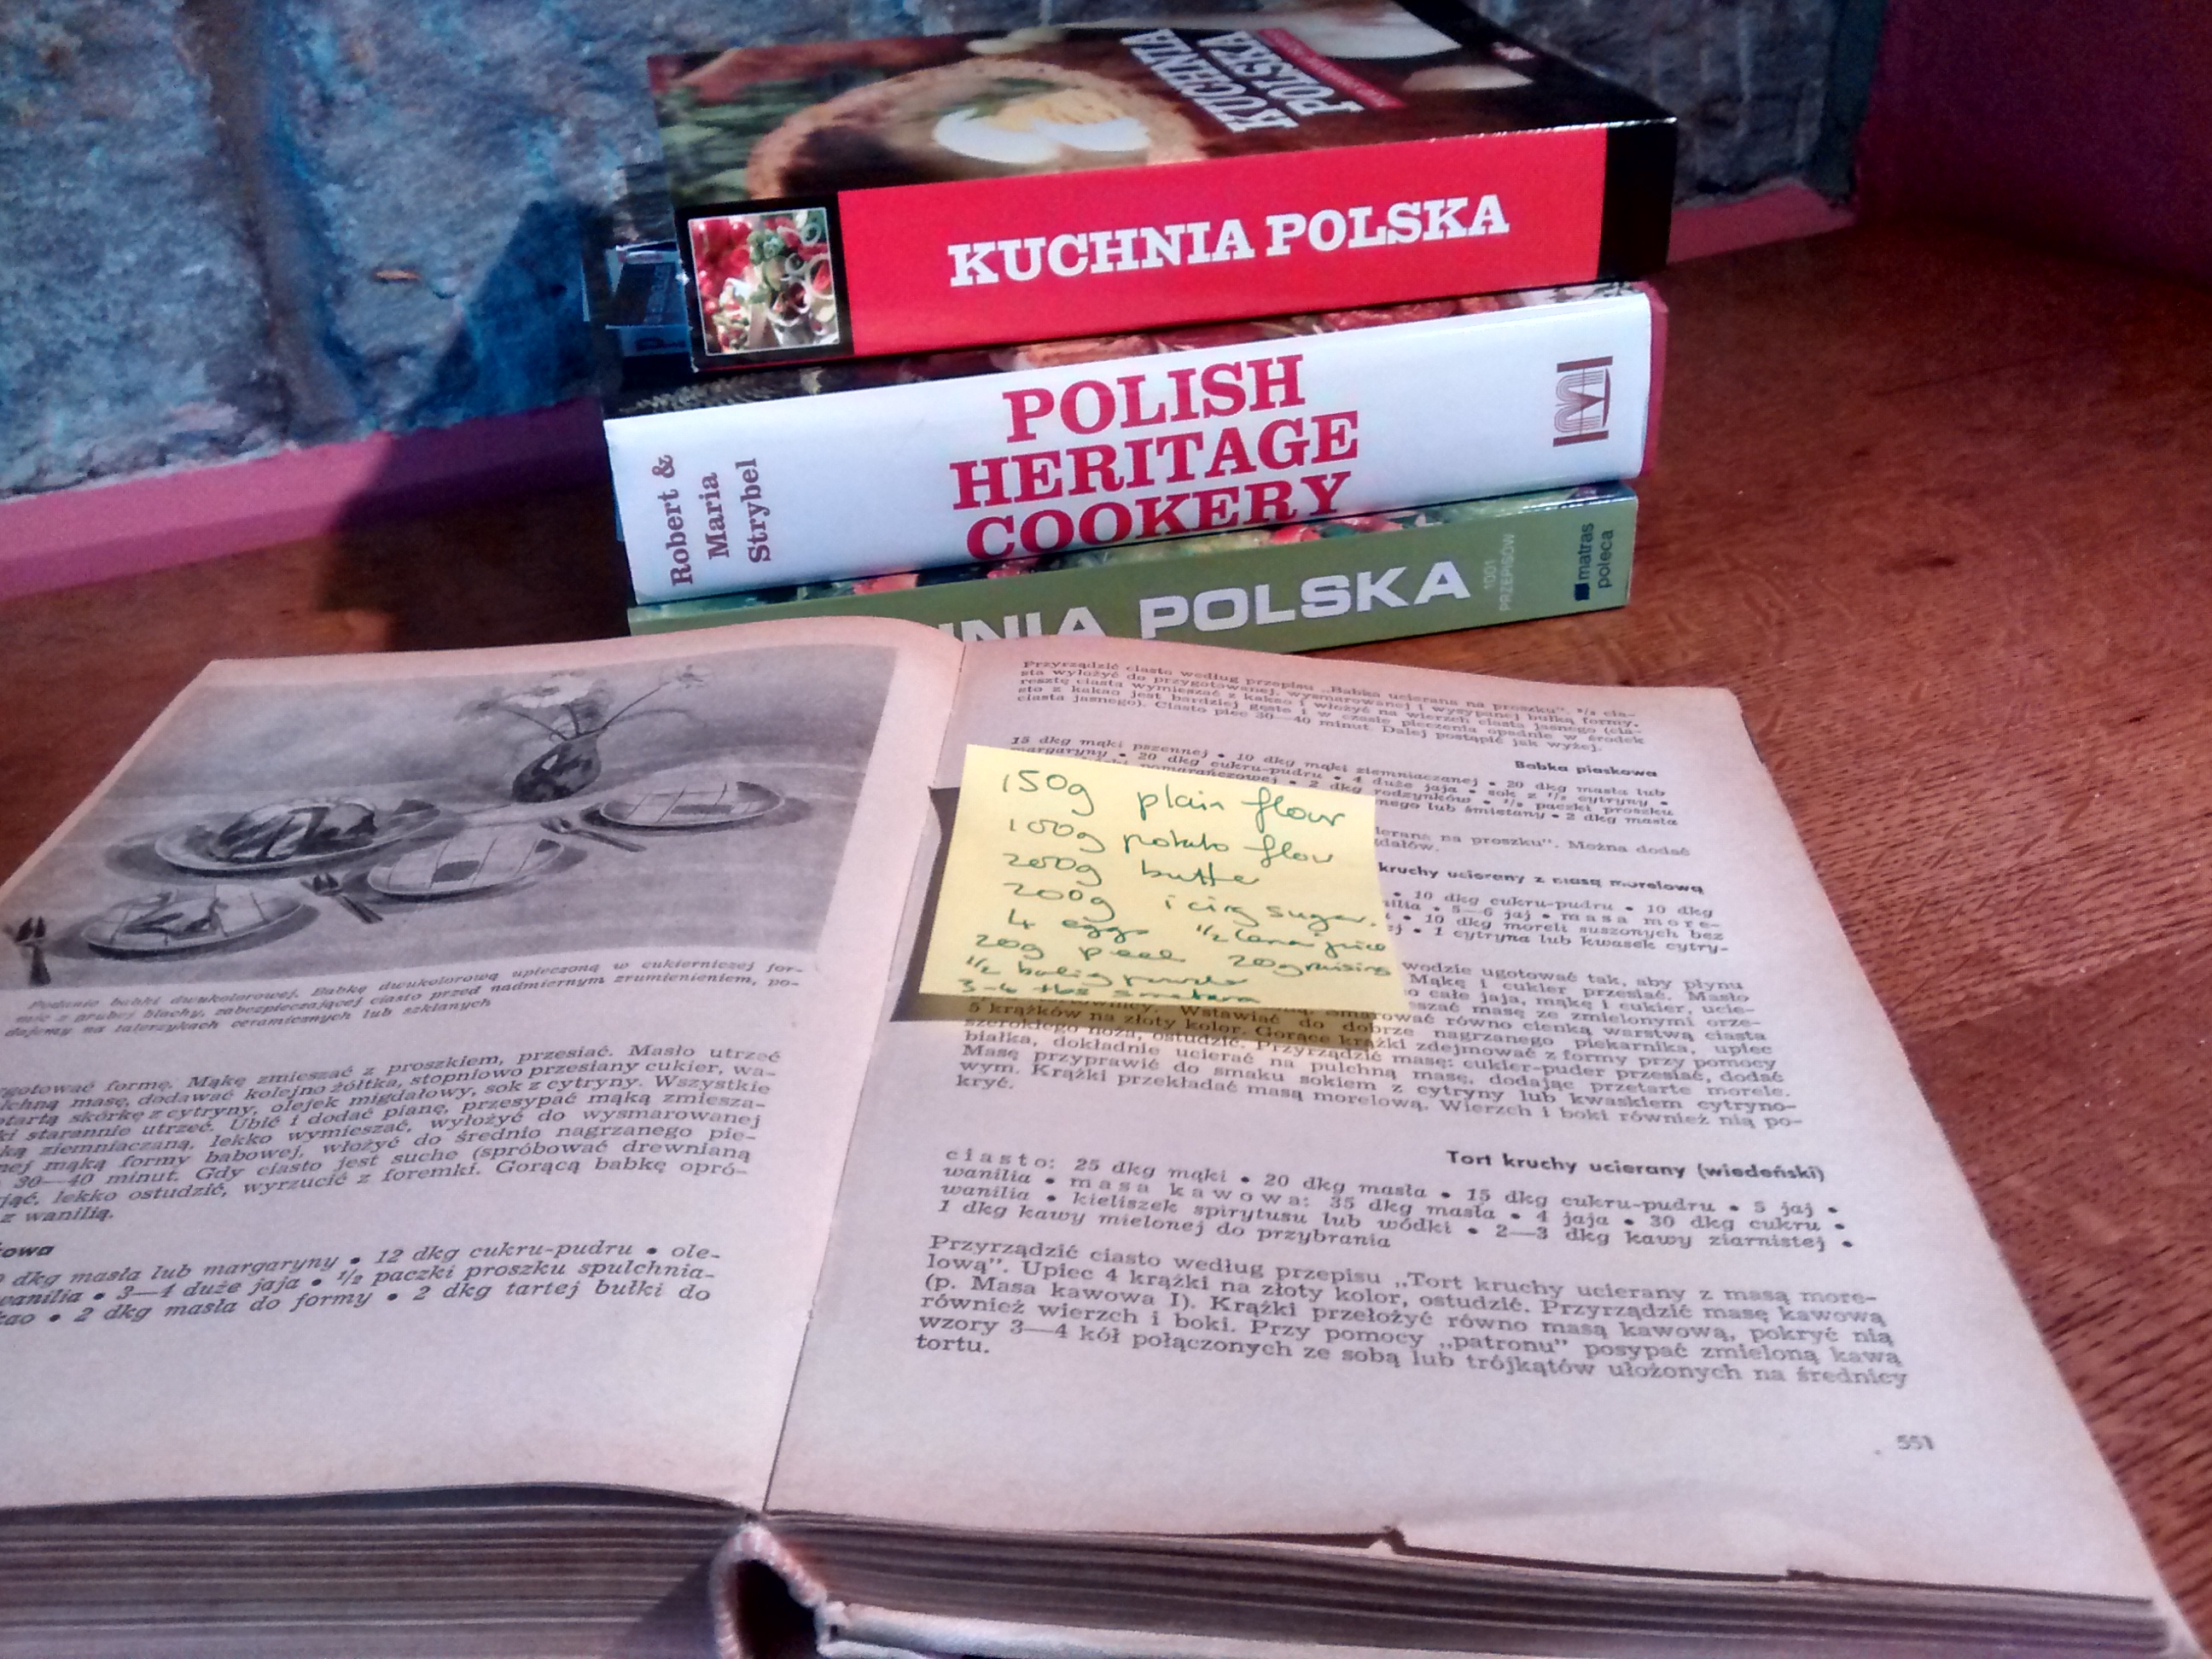
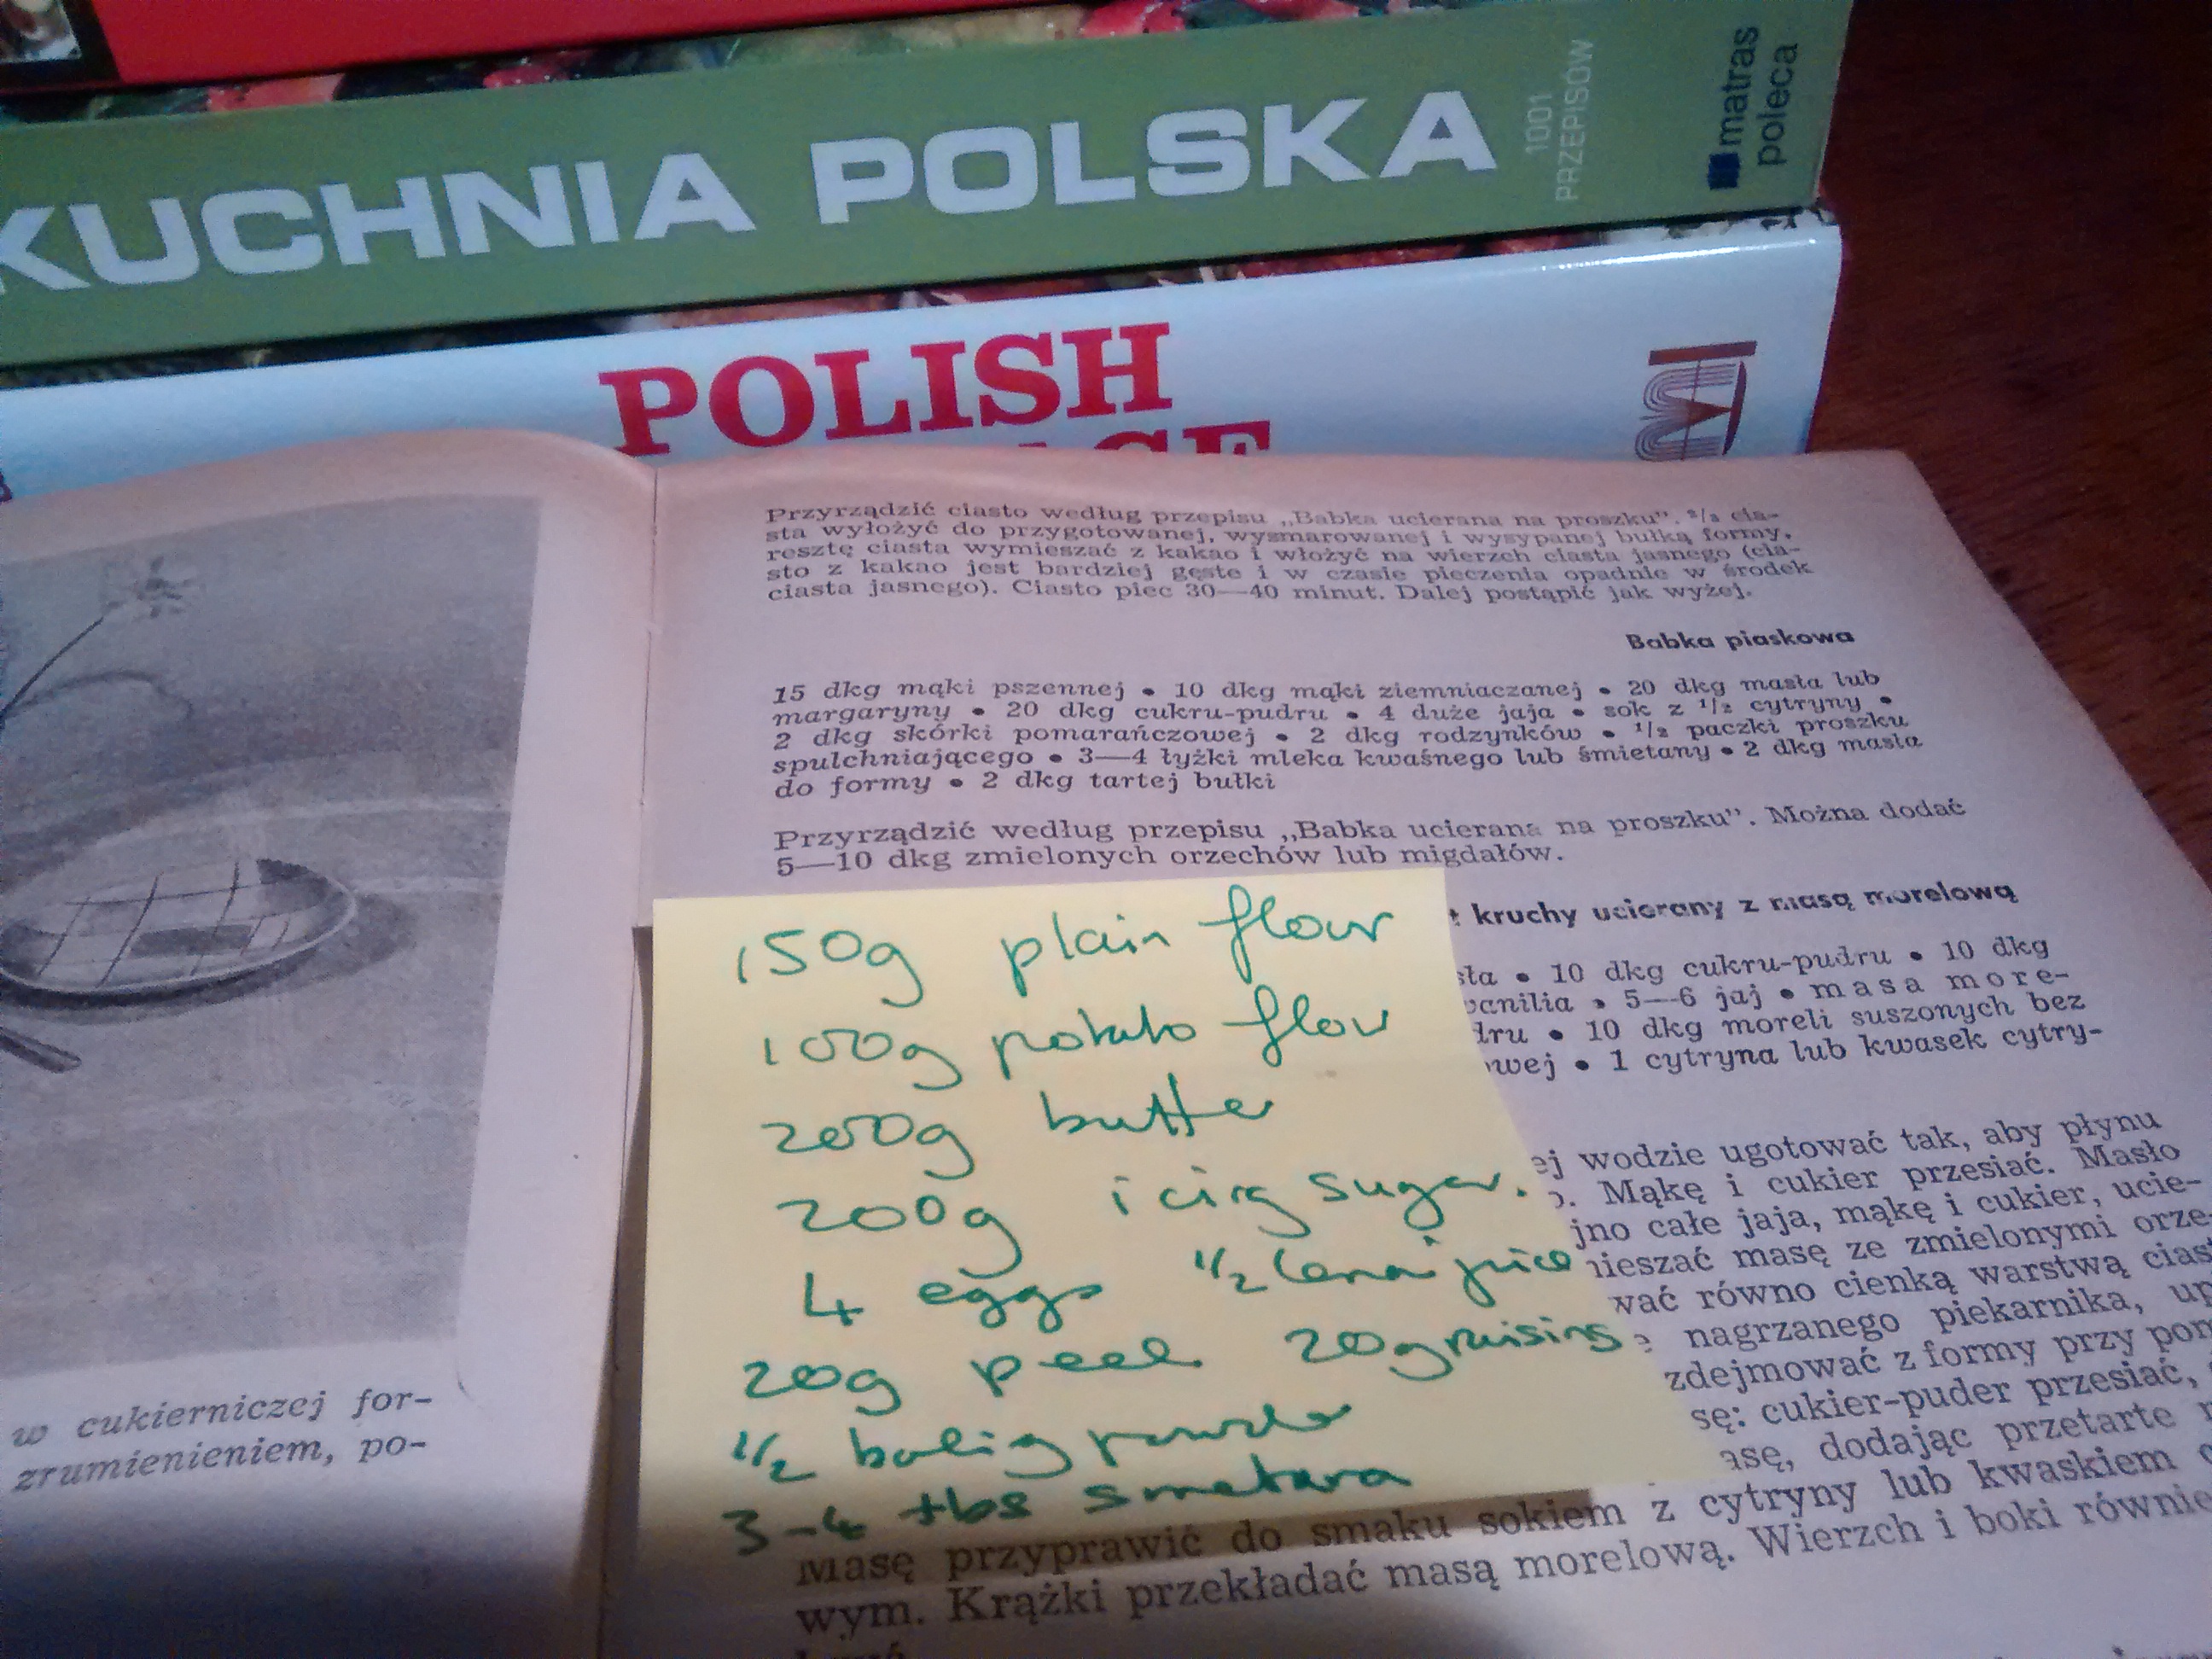
Some of my Polish cookery books are written using grams & kilograms – but not all of them and especially not my favourite old book – which was also my first.
Kuchnia Polska – Polish Kitchen or Polish Cookery
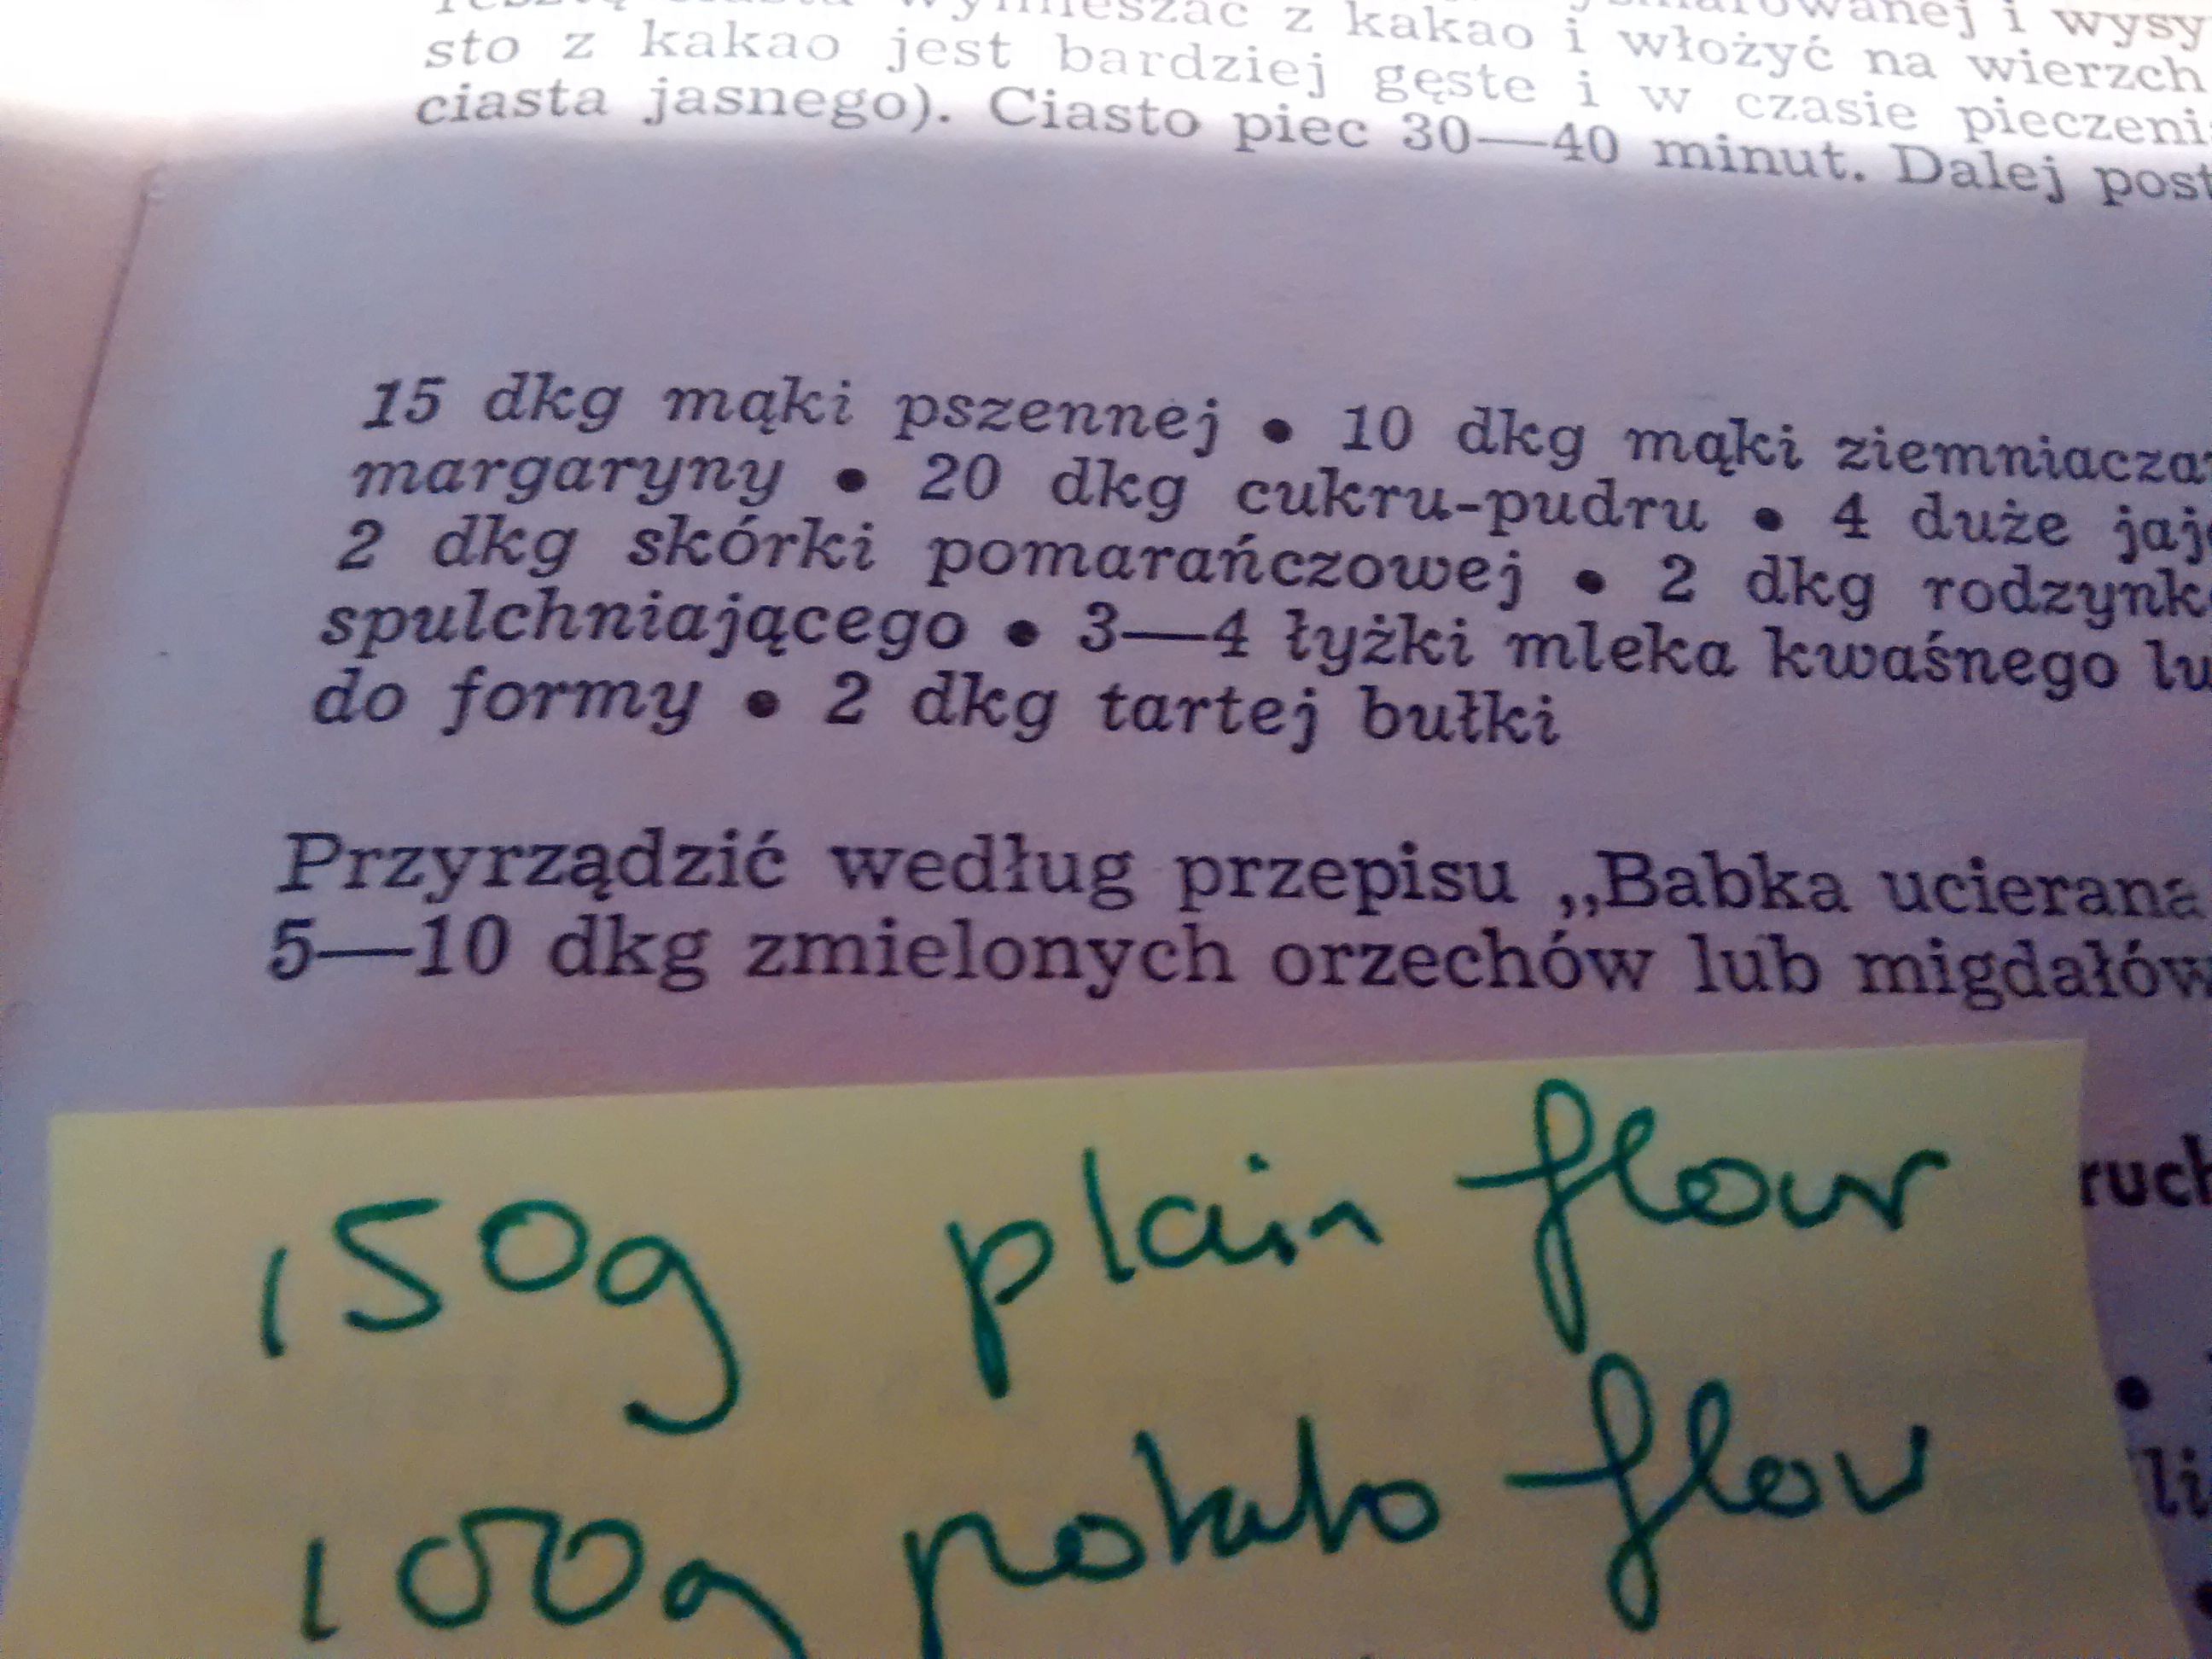
In this book the weights are given in dekagrams (decagrams) – abbreviated to dkg (deka is from Greek and means 10 – so 1 dekagram is 10grams.
When I went to Poland I found that when shopping for food my cousins all talked in deko or deka and they would ask for 20 deka of sausage when I would have asked for 200grams.
So not too big an adjustment to make when using a recipe however my biggest problem was not concentrating and half way through I would forget and when seeing for example 25dkg of something – I would add 25g!
I did have a few disasters!
Now I always write out the weights in grams – usually on post it notes & leave these in the book – especially for recipes I use often. This is a useful hint for recipes that you want to halve as well – as lack of concentration halfway through can also have disastrous results.
So is it any easier using volume?
Measuring in pints or litres should be easy if you have a jug with graduated markings but there is a little problem as UK pints and American pints are different. An American pint is 16 fluid ounces & a UK pint is 20 fluid ounces.
In American recipes the quart which is 2 pints is often used – but the American quart is smaller than a UK quart. My auntie in America was correct when she said a quart was near enough the same as a litre.
In many American recipe books you will often find that volume measurements in are given in cups.
If you use the same cup as someone else then it is no problem in measuring and not much of a problem with liquids, with solids then it does make a difference in how tightly you pack in the ingredient and how level or heaped is the top.
So no wonder there are charts published which give the weight equivalents for cup volumes of different foodstuffs.
All this then begs the following question …
What is a cup?
or in Poland
What is a szklanka (glass/tumbler)?
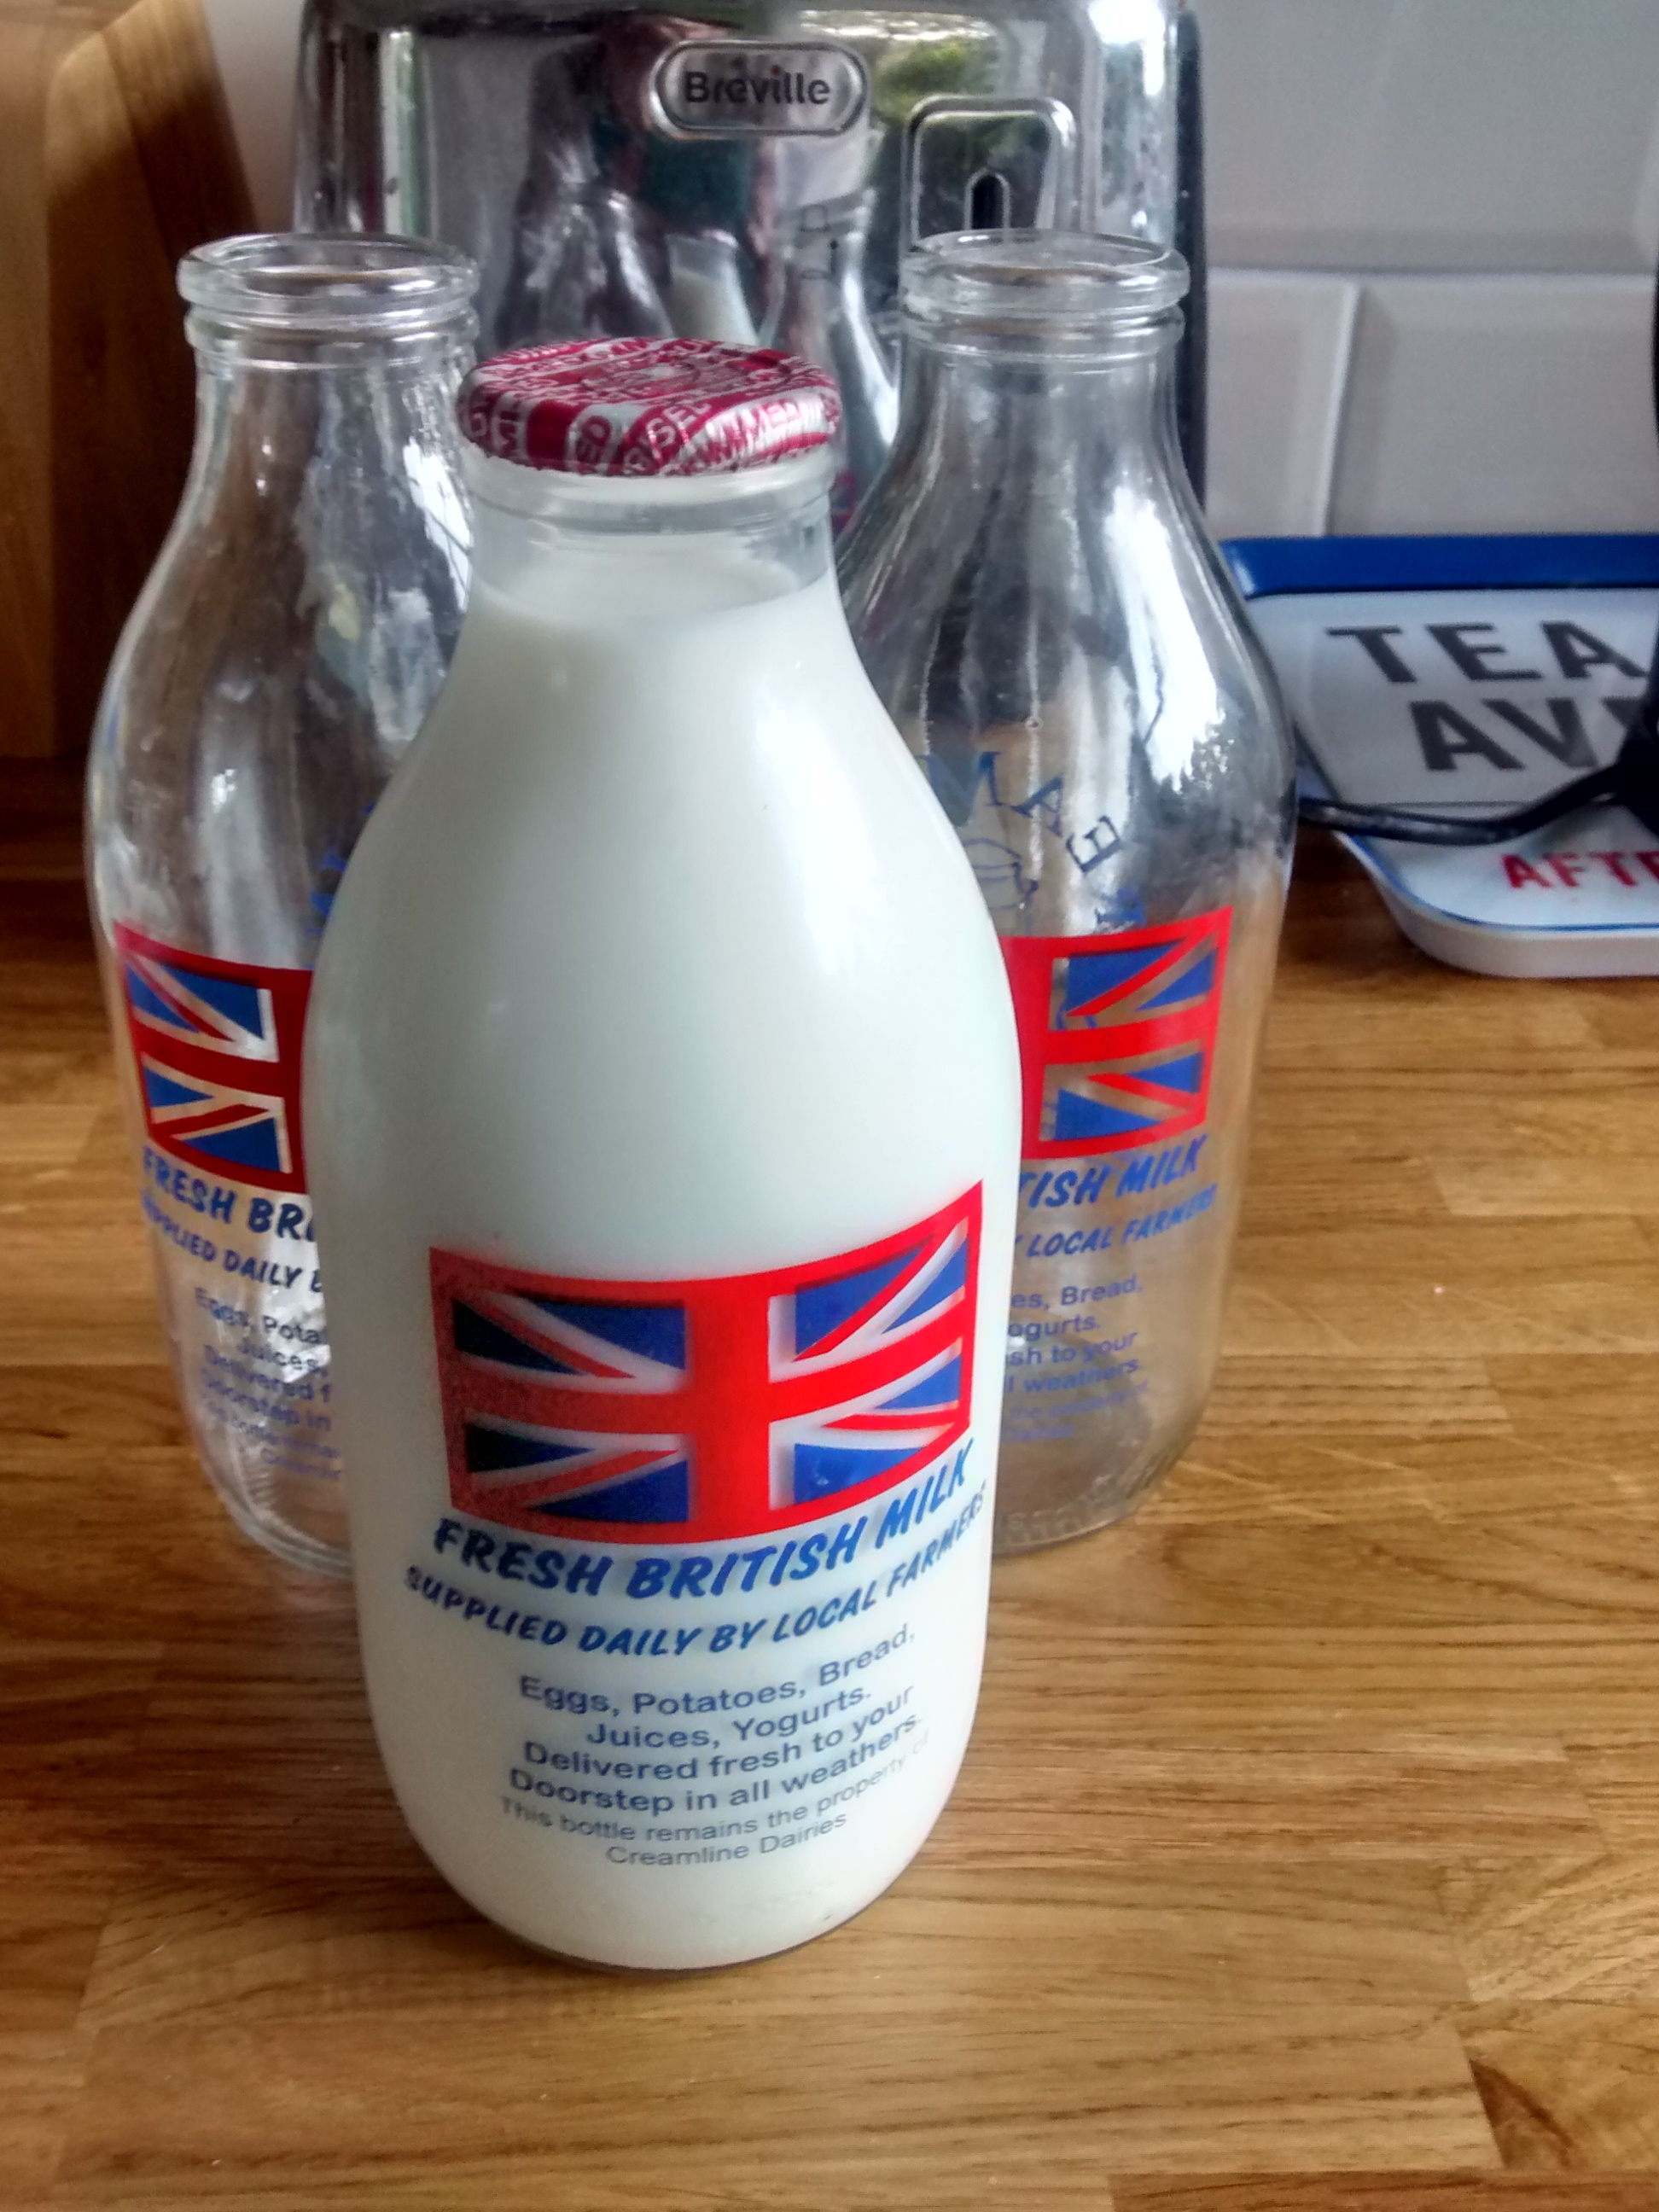
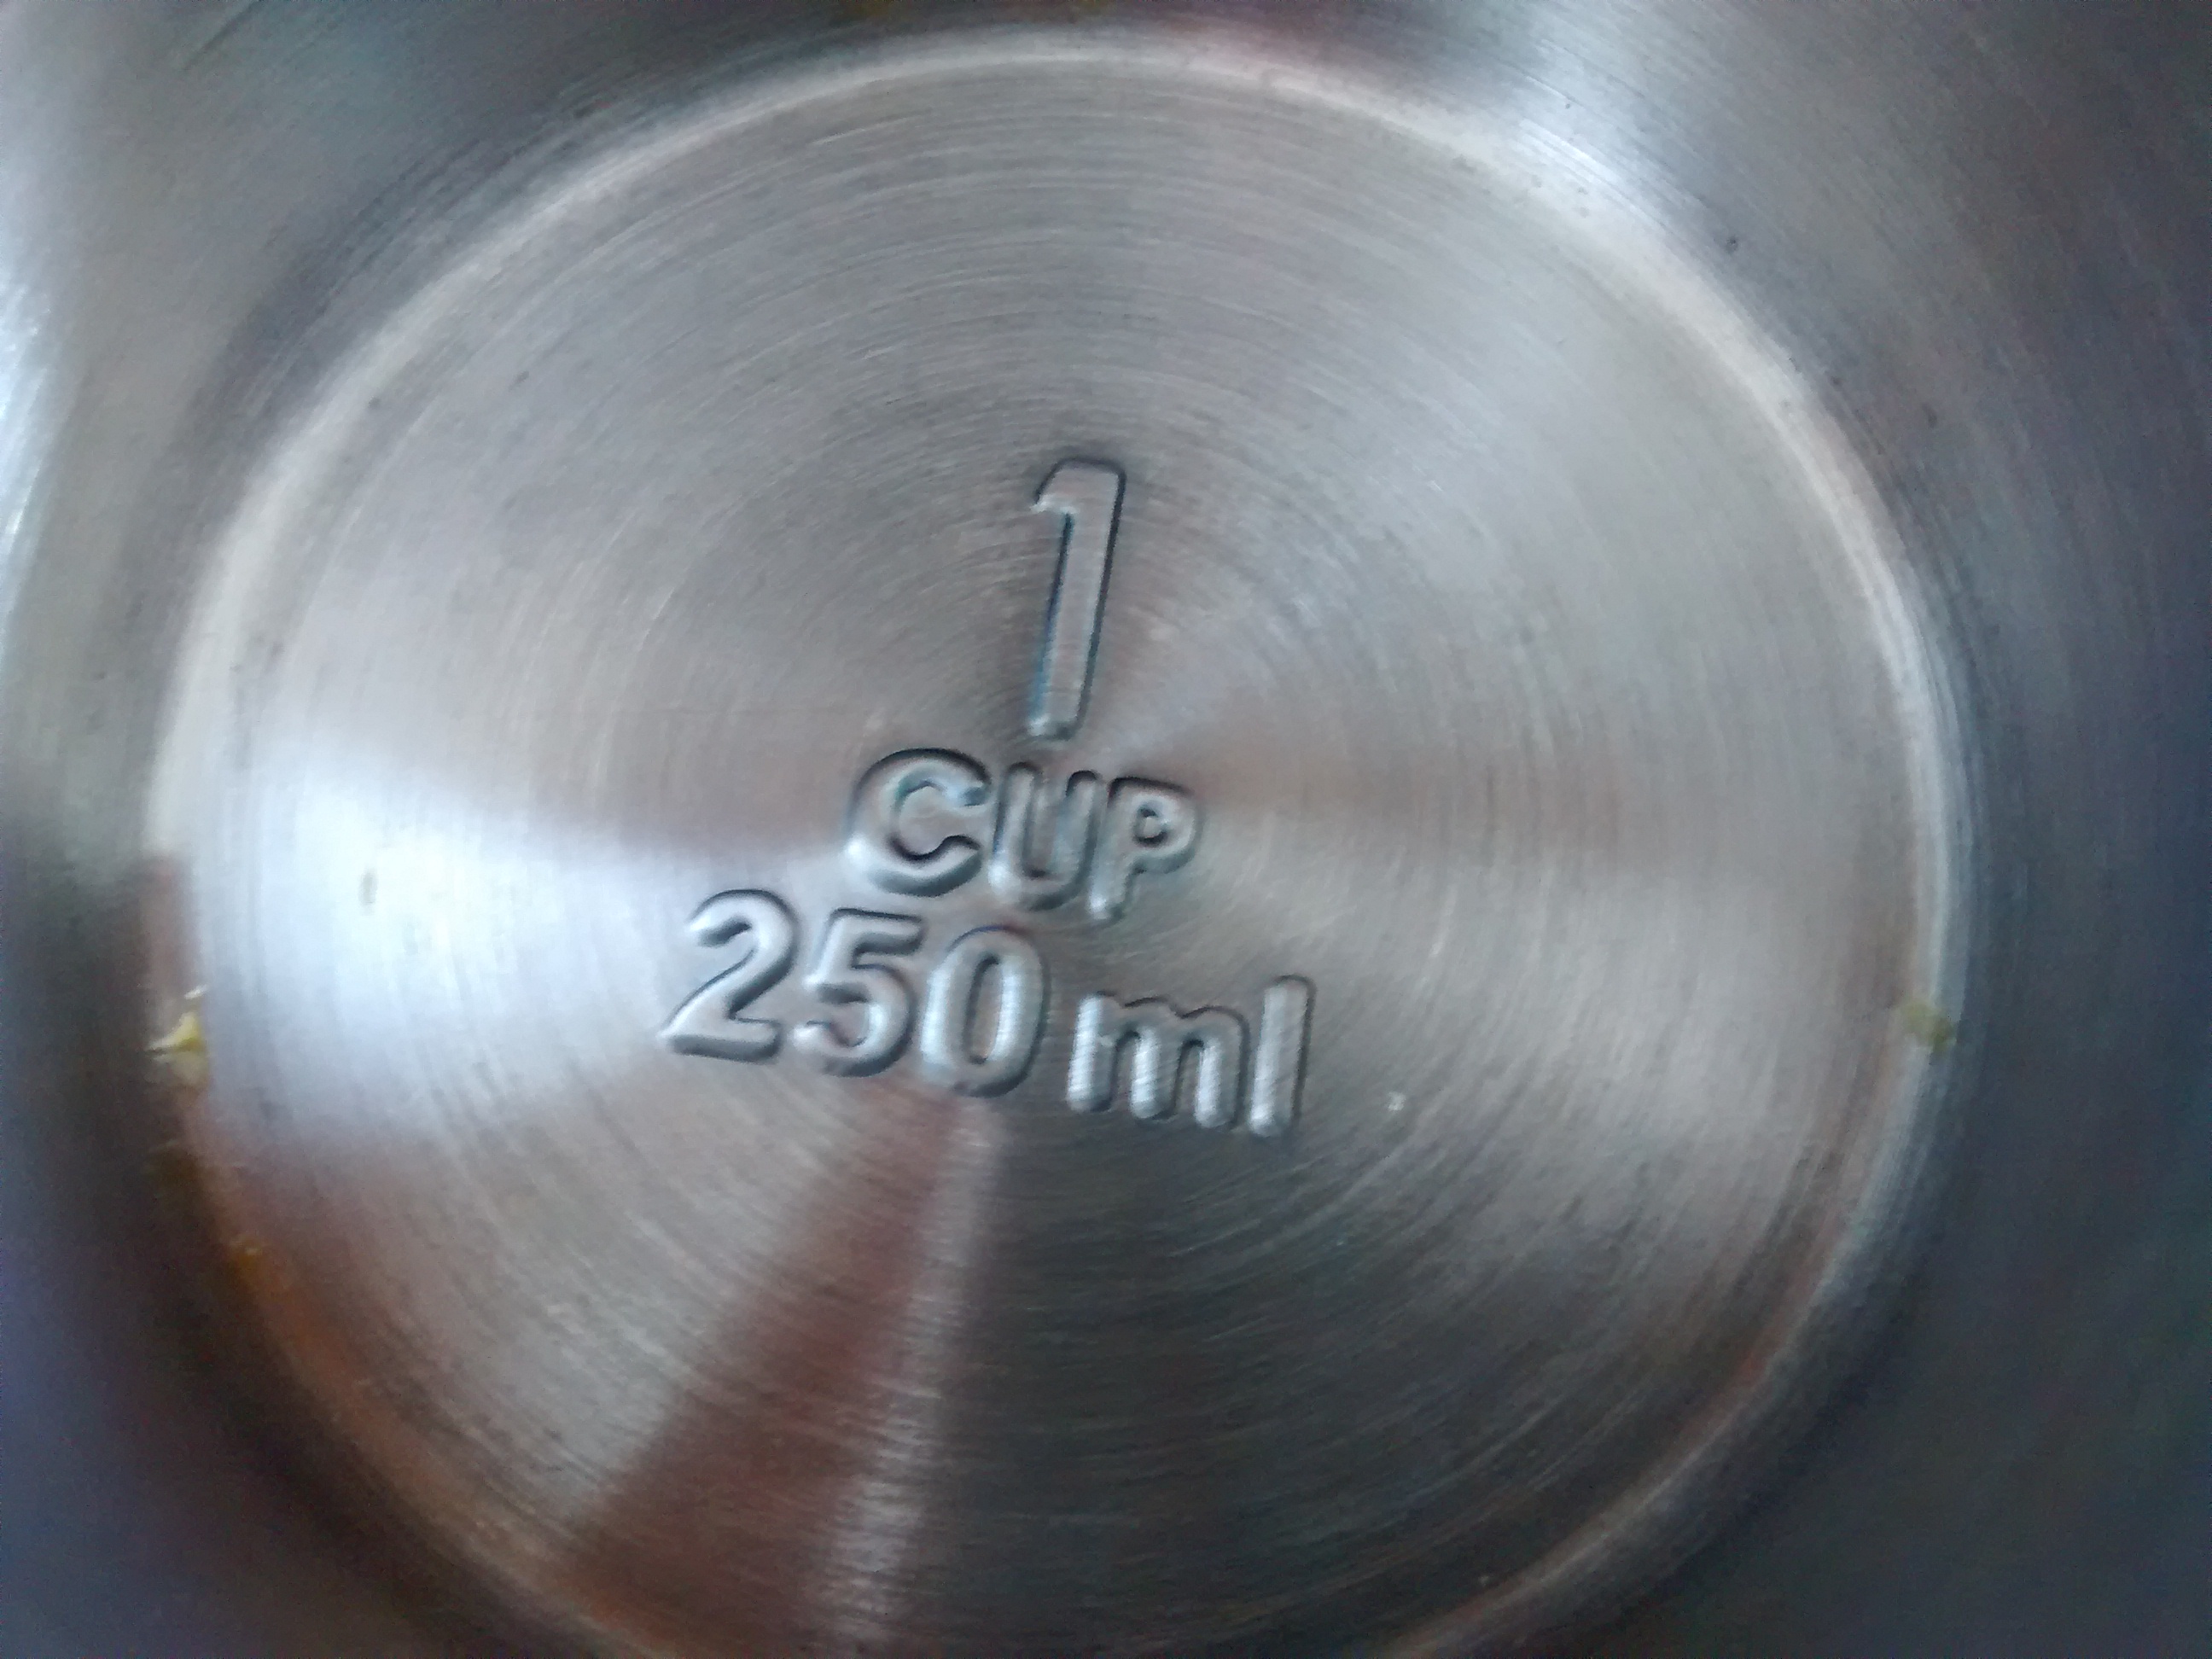
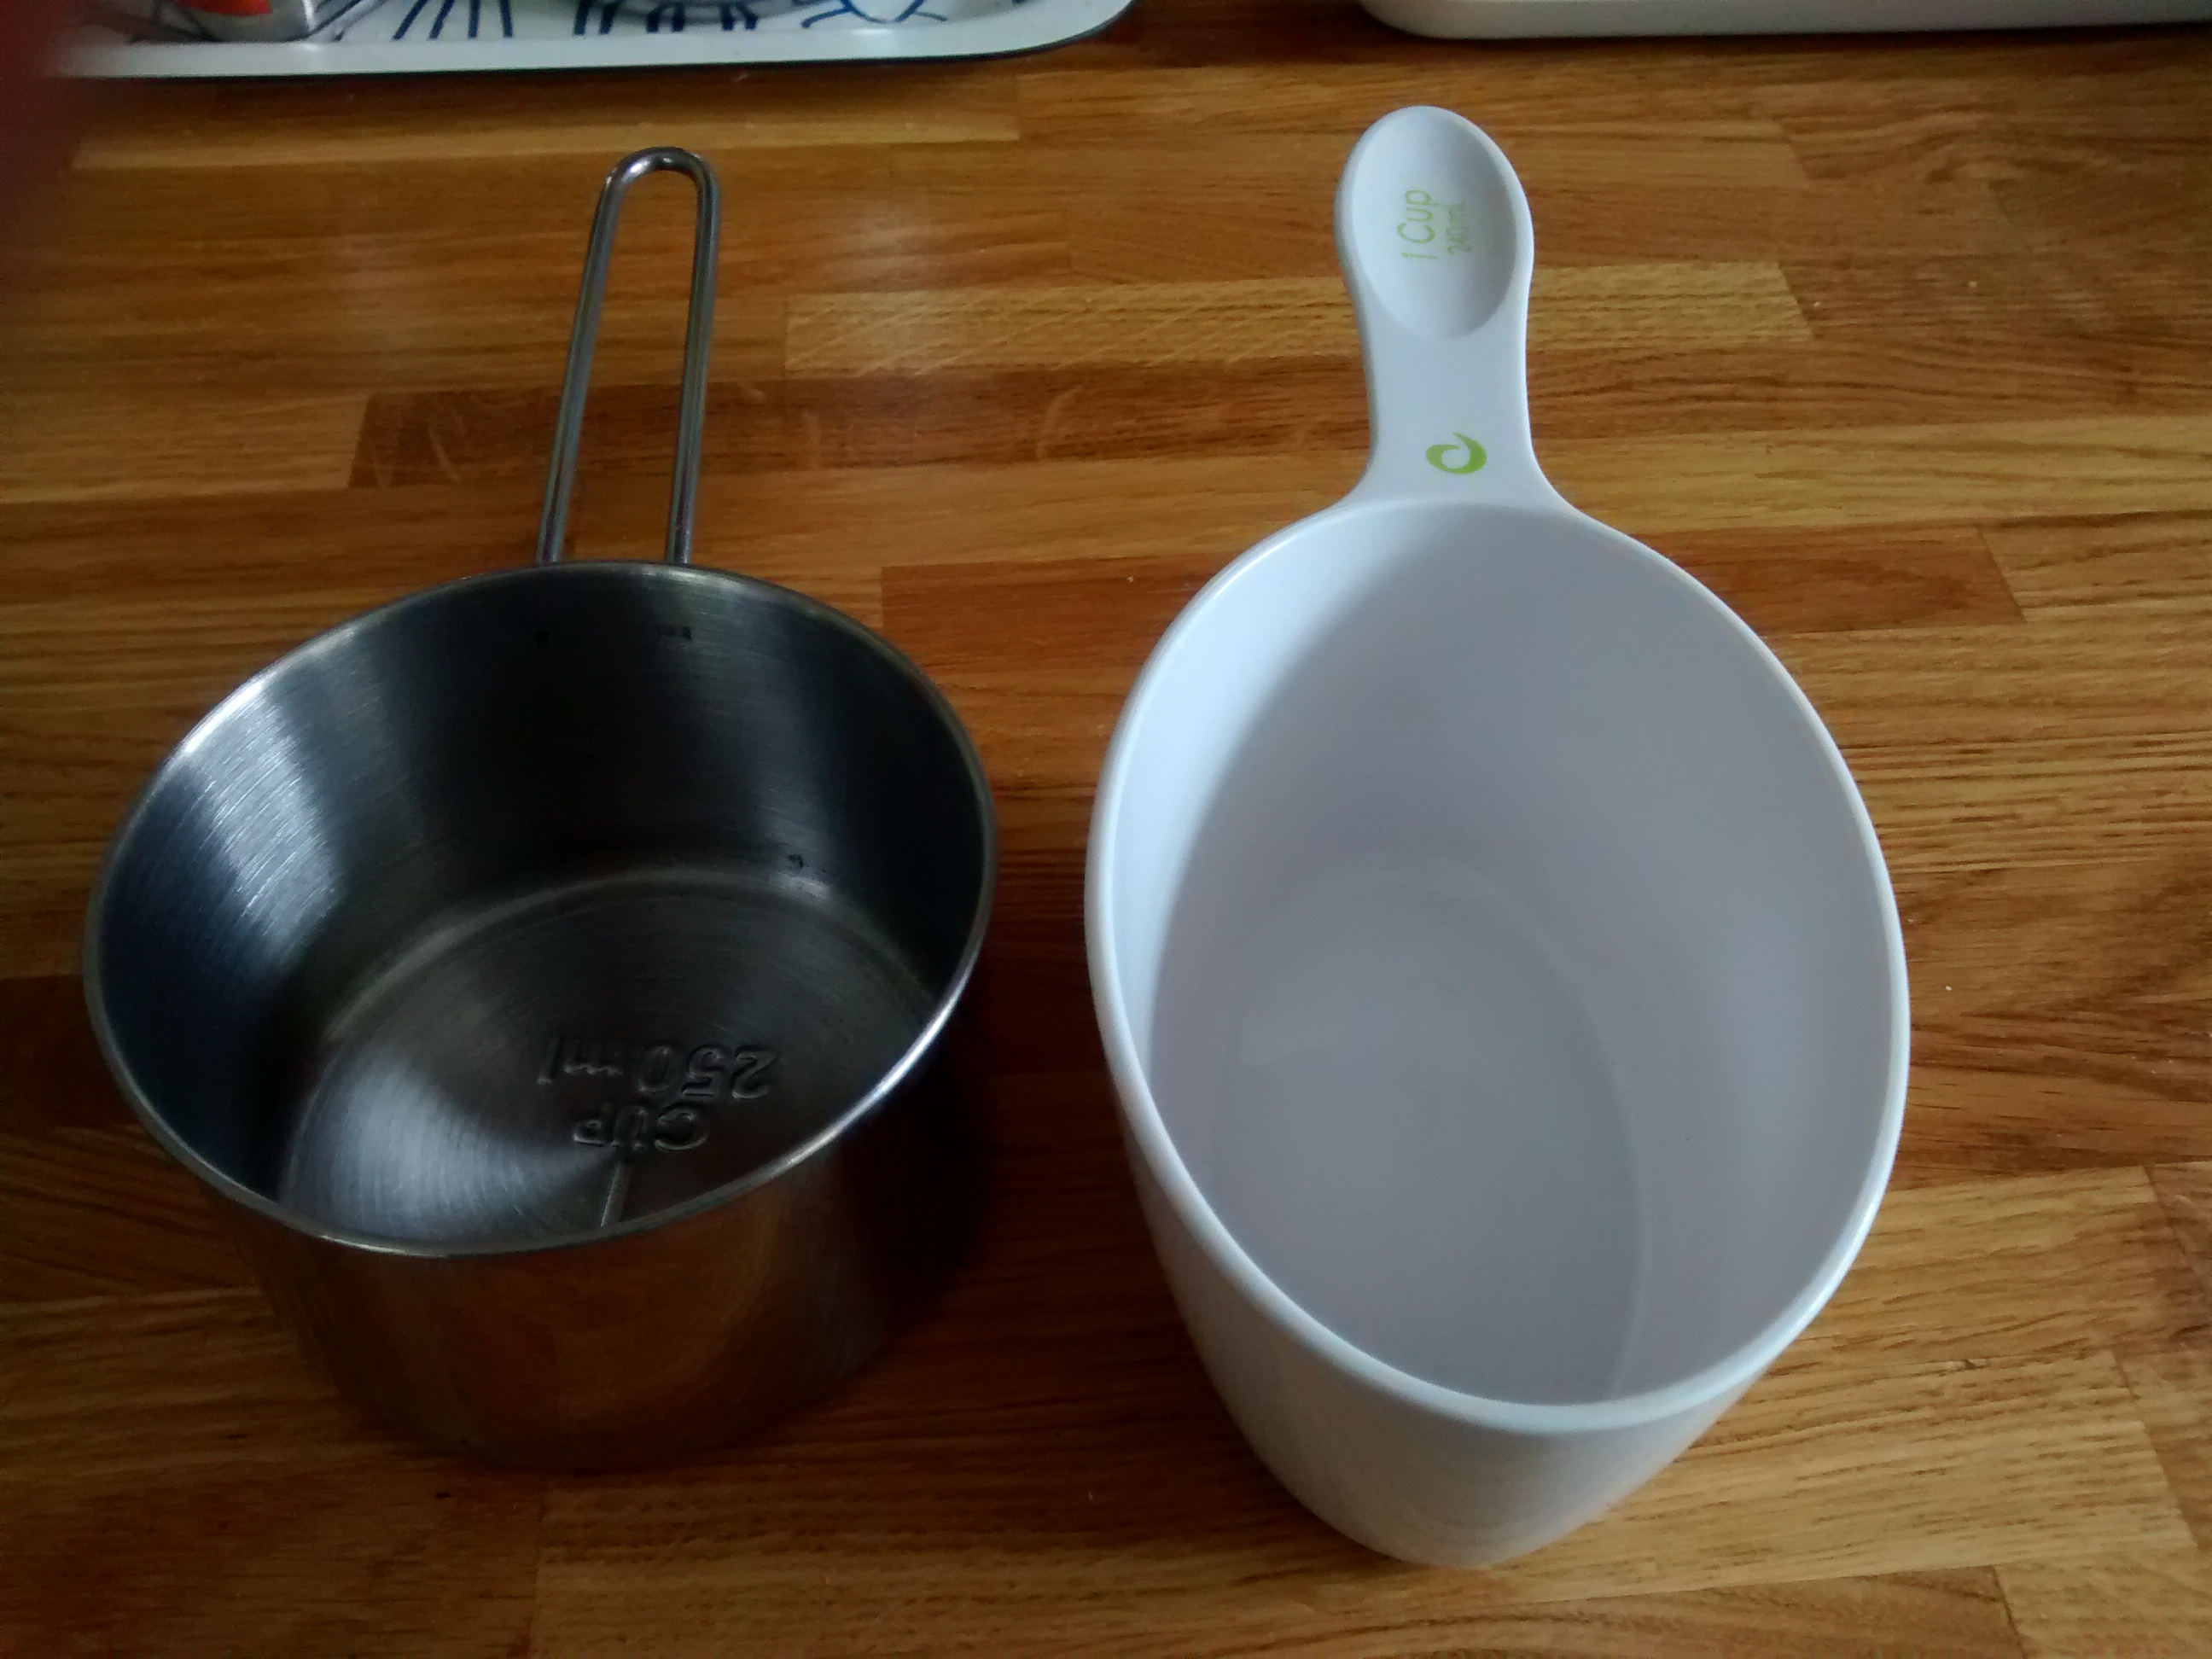
A szklanka in Poland is 250ml – a quarter of a litre – this is a metric cup.
An America cup is is 8 fluid ounces (half an American pint) and approximately 240ml.
There is an Imperial cup which is 10 fluid ounces (half a UK pint) and approximately 284ml – you might find this in older UK cookery books.
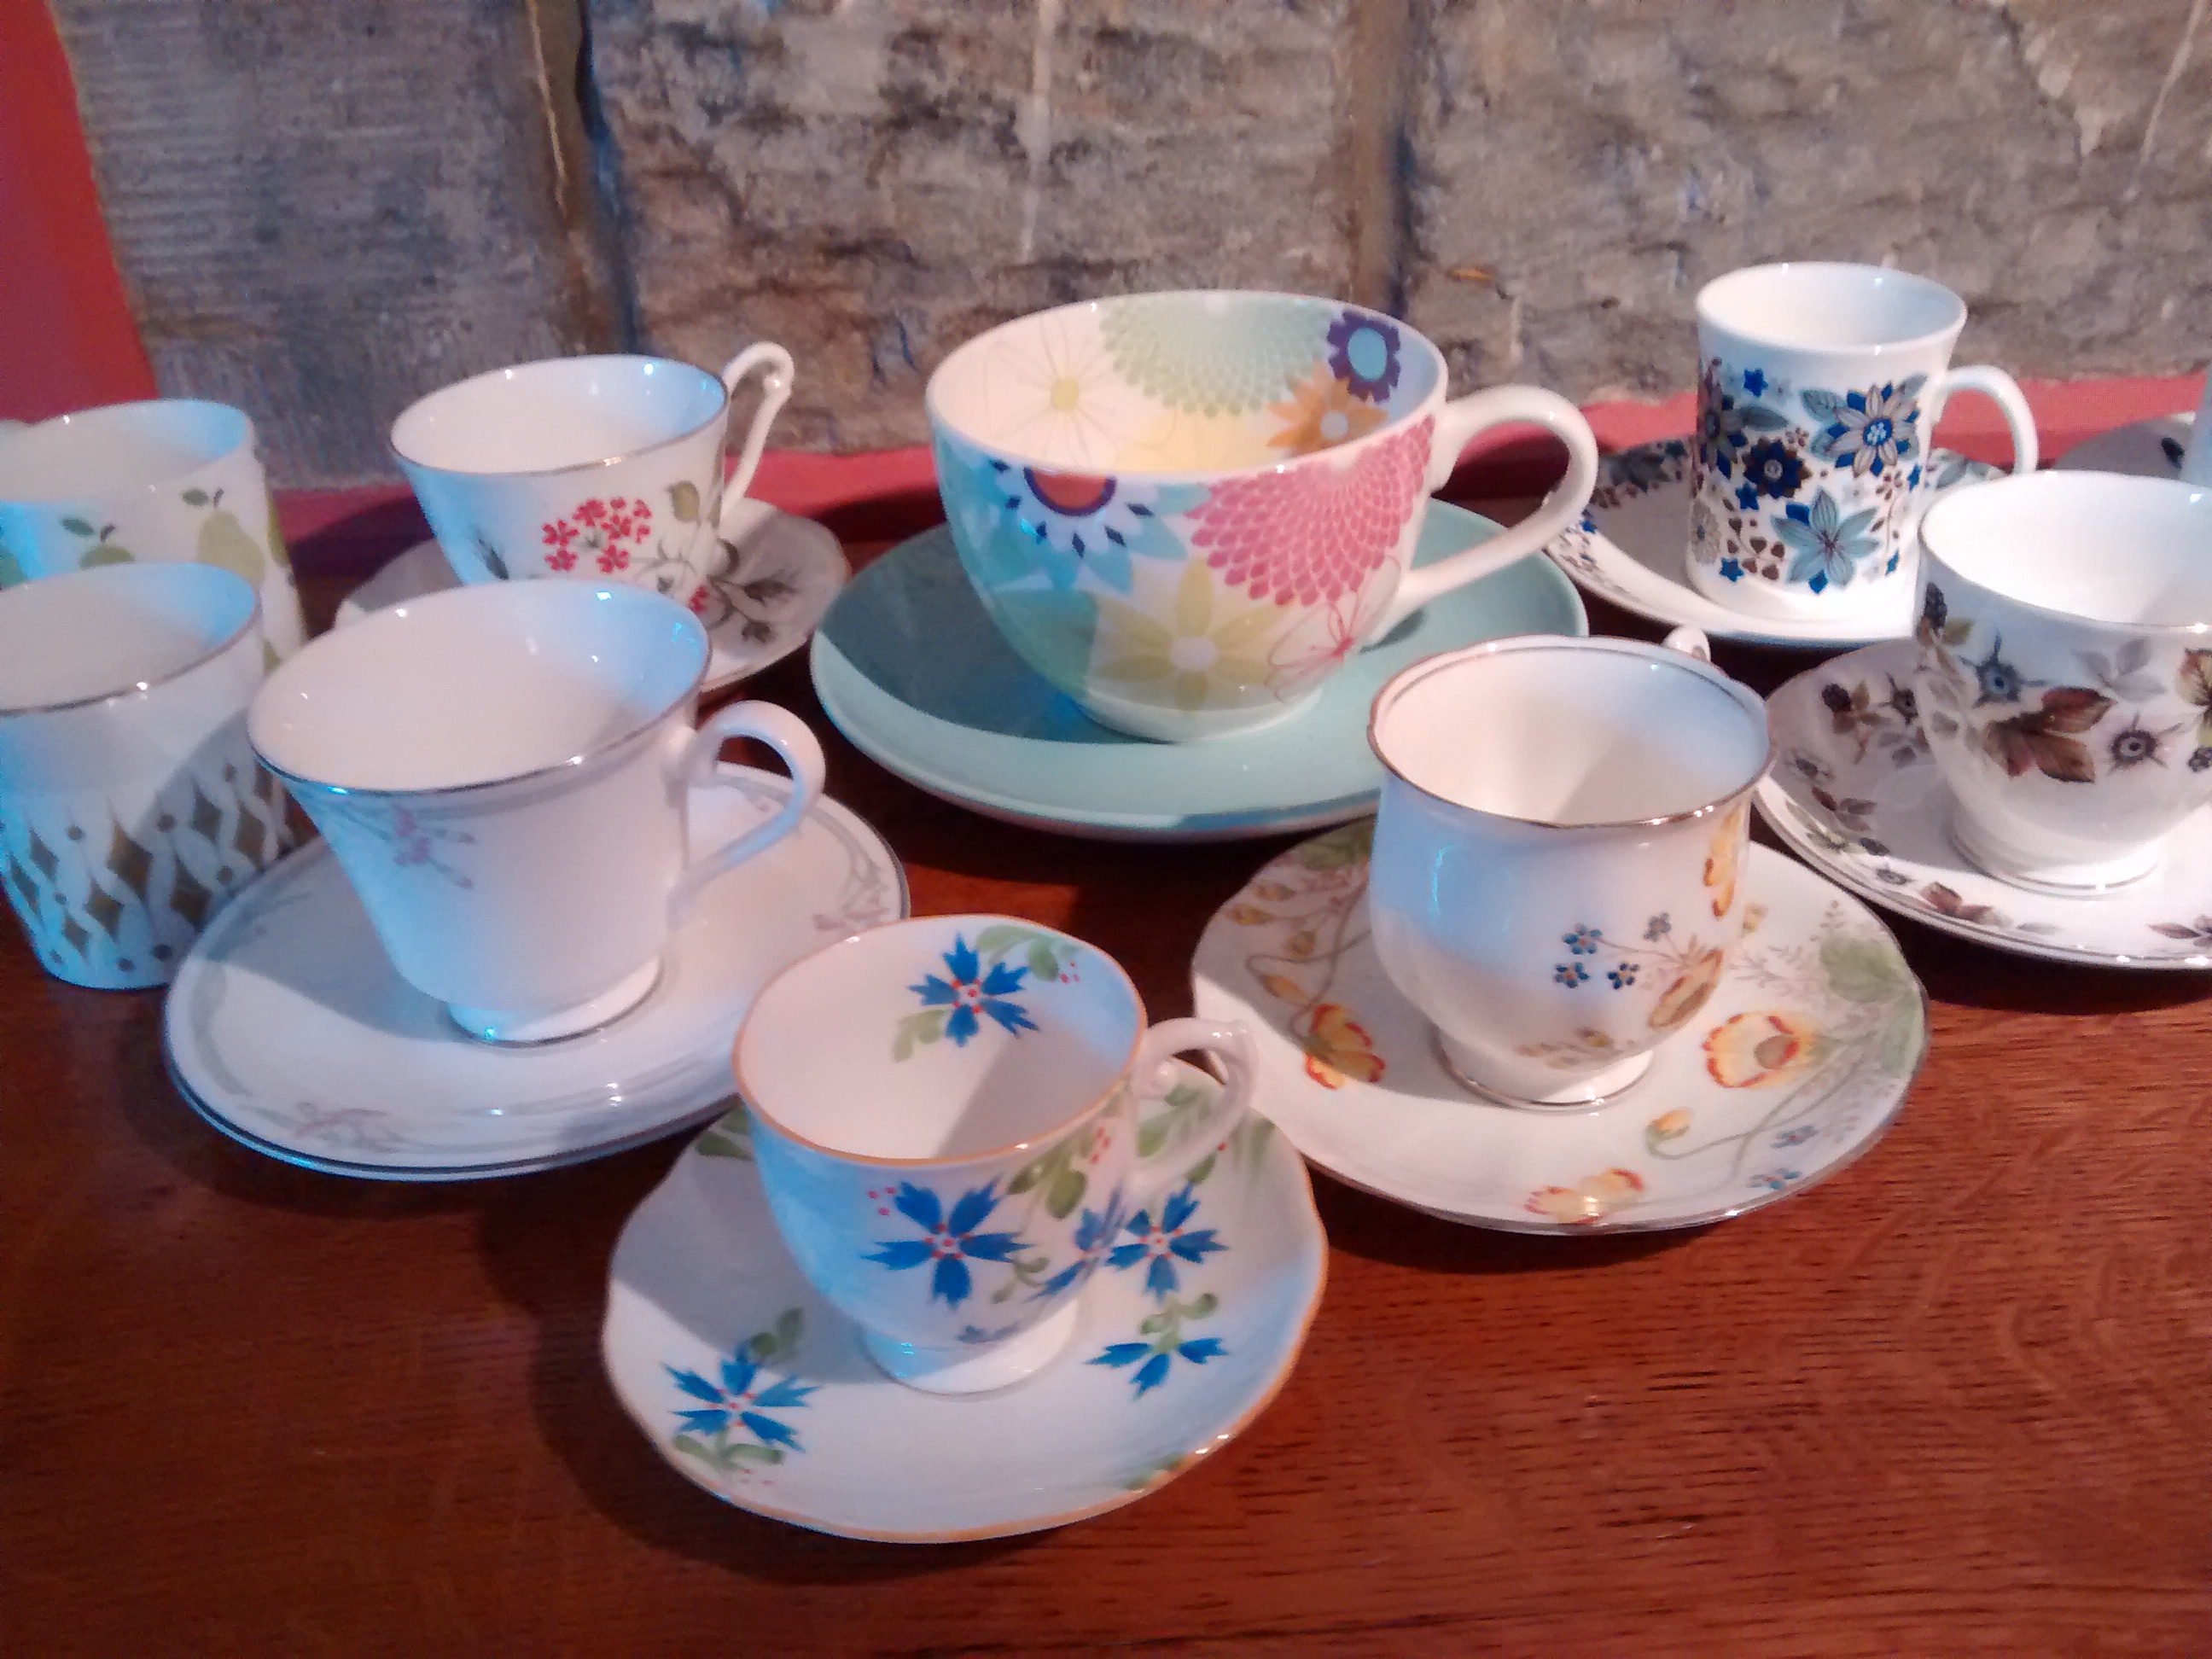
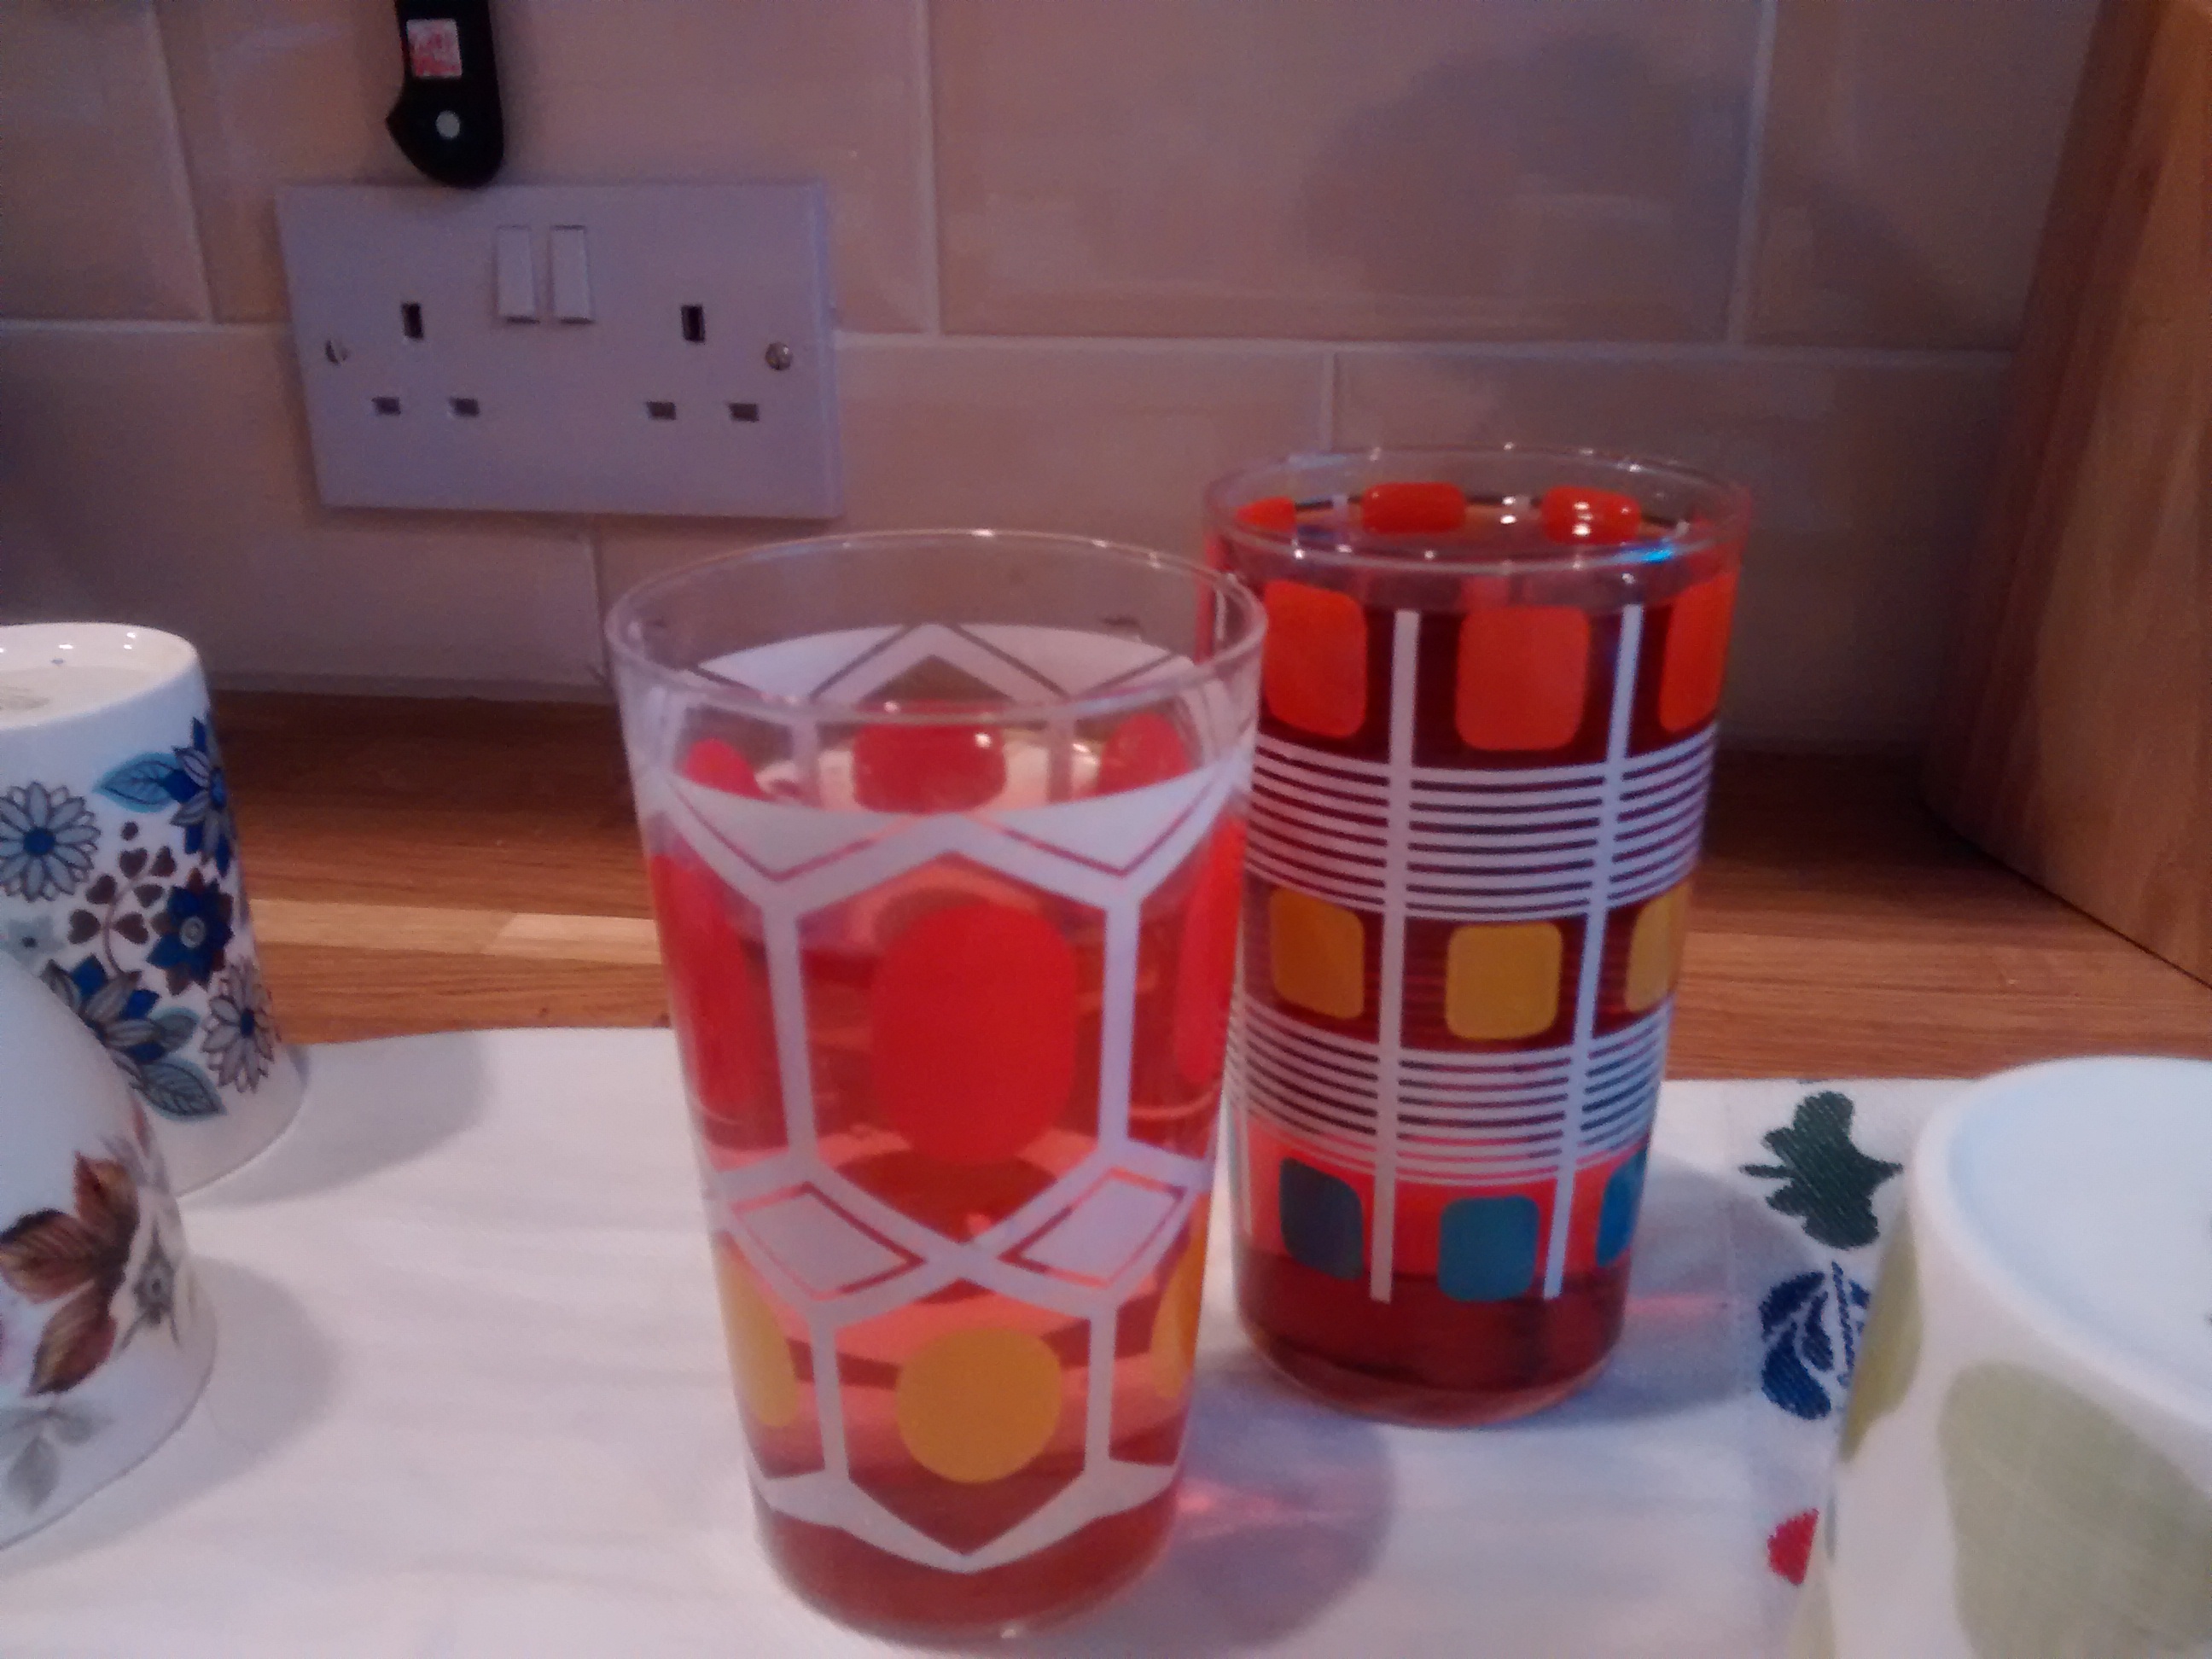
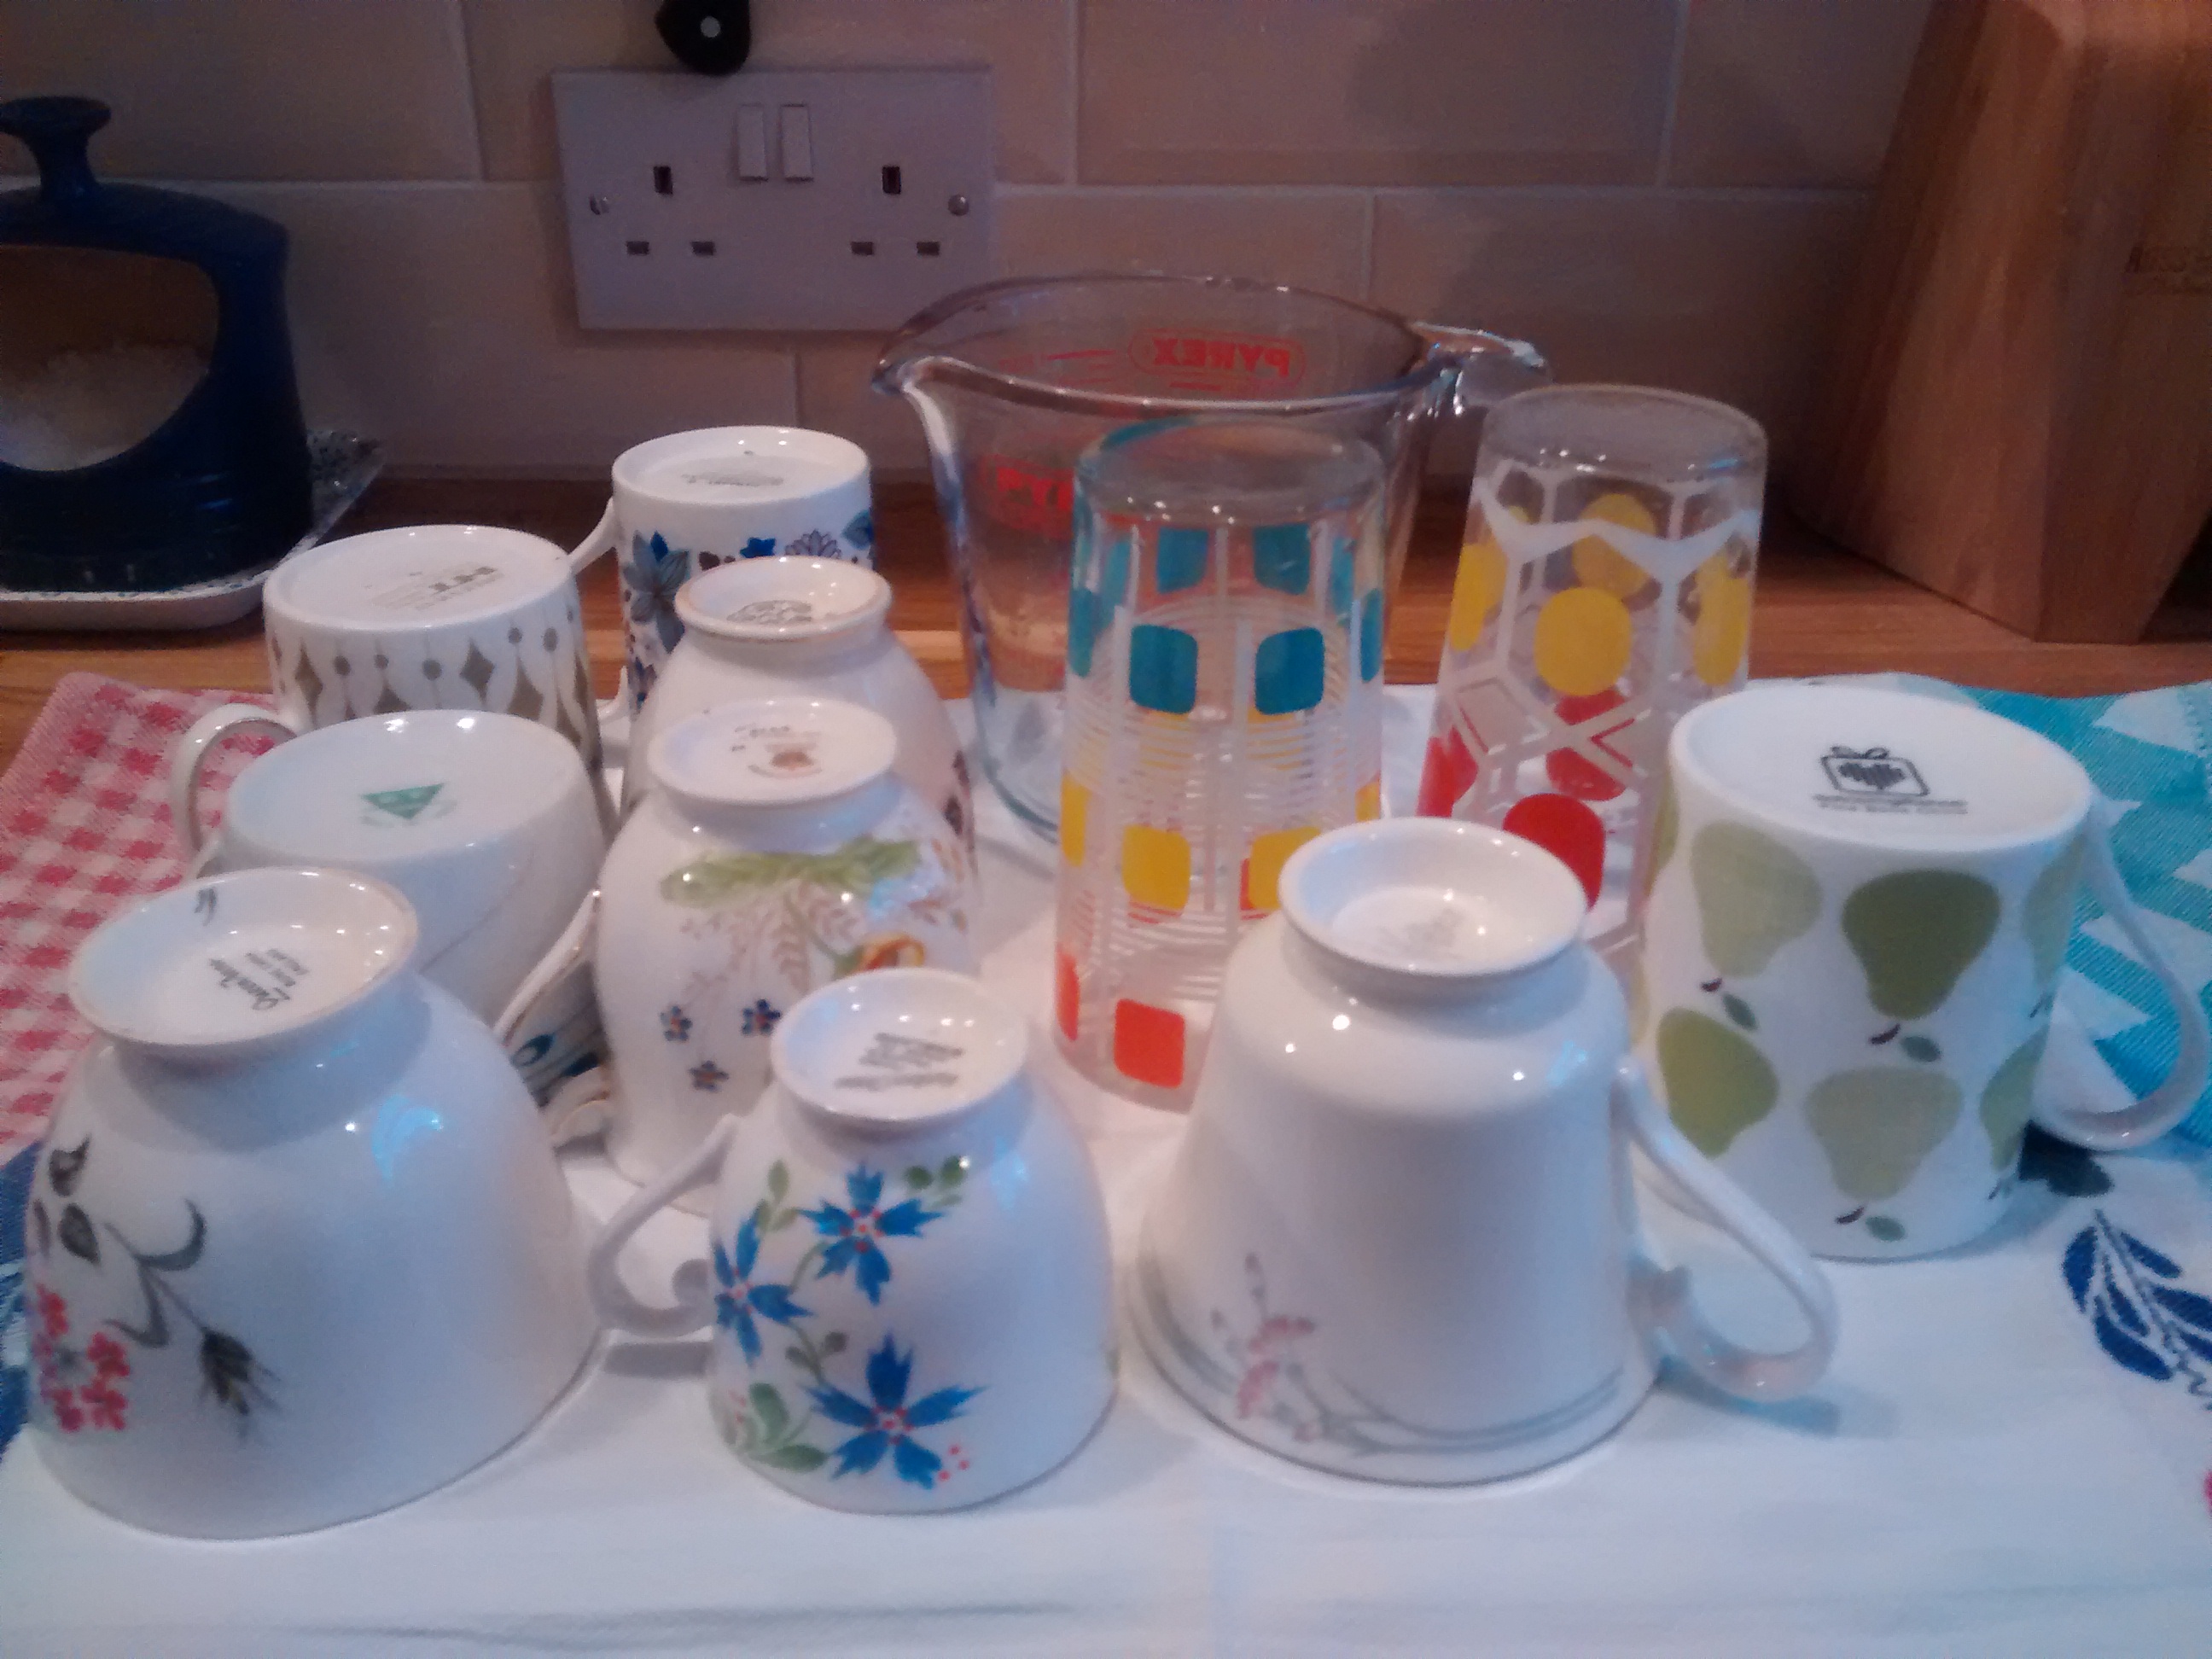
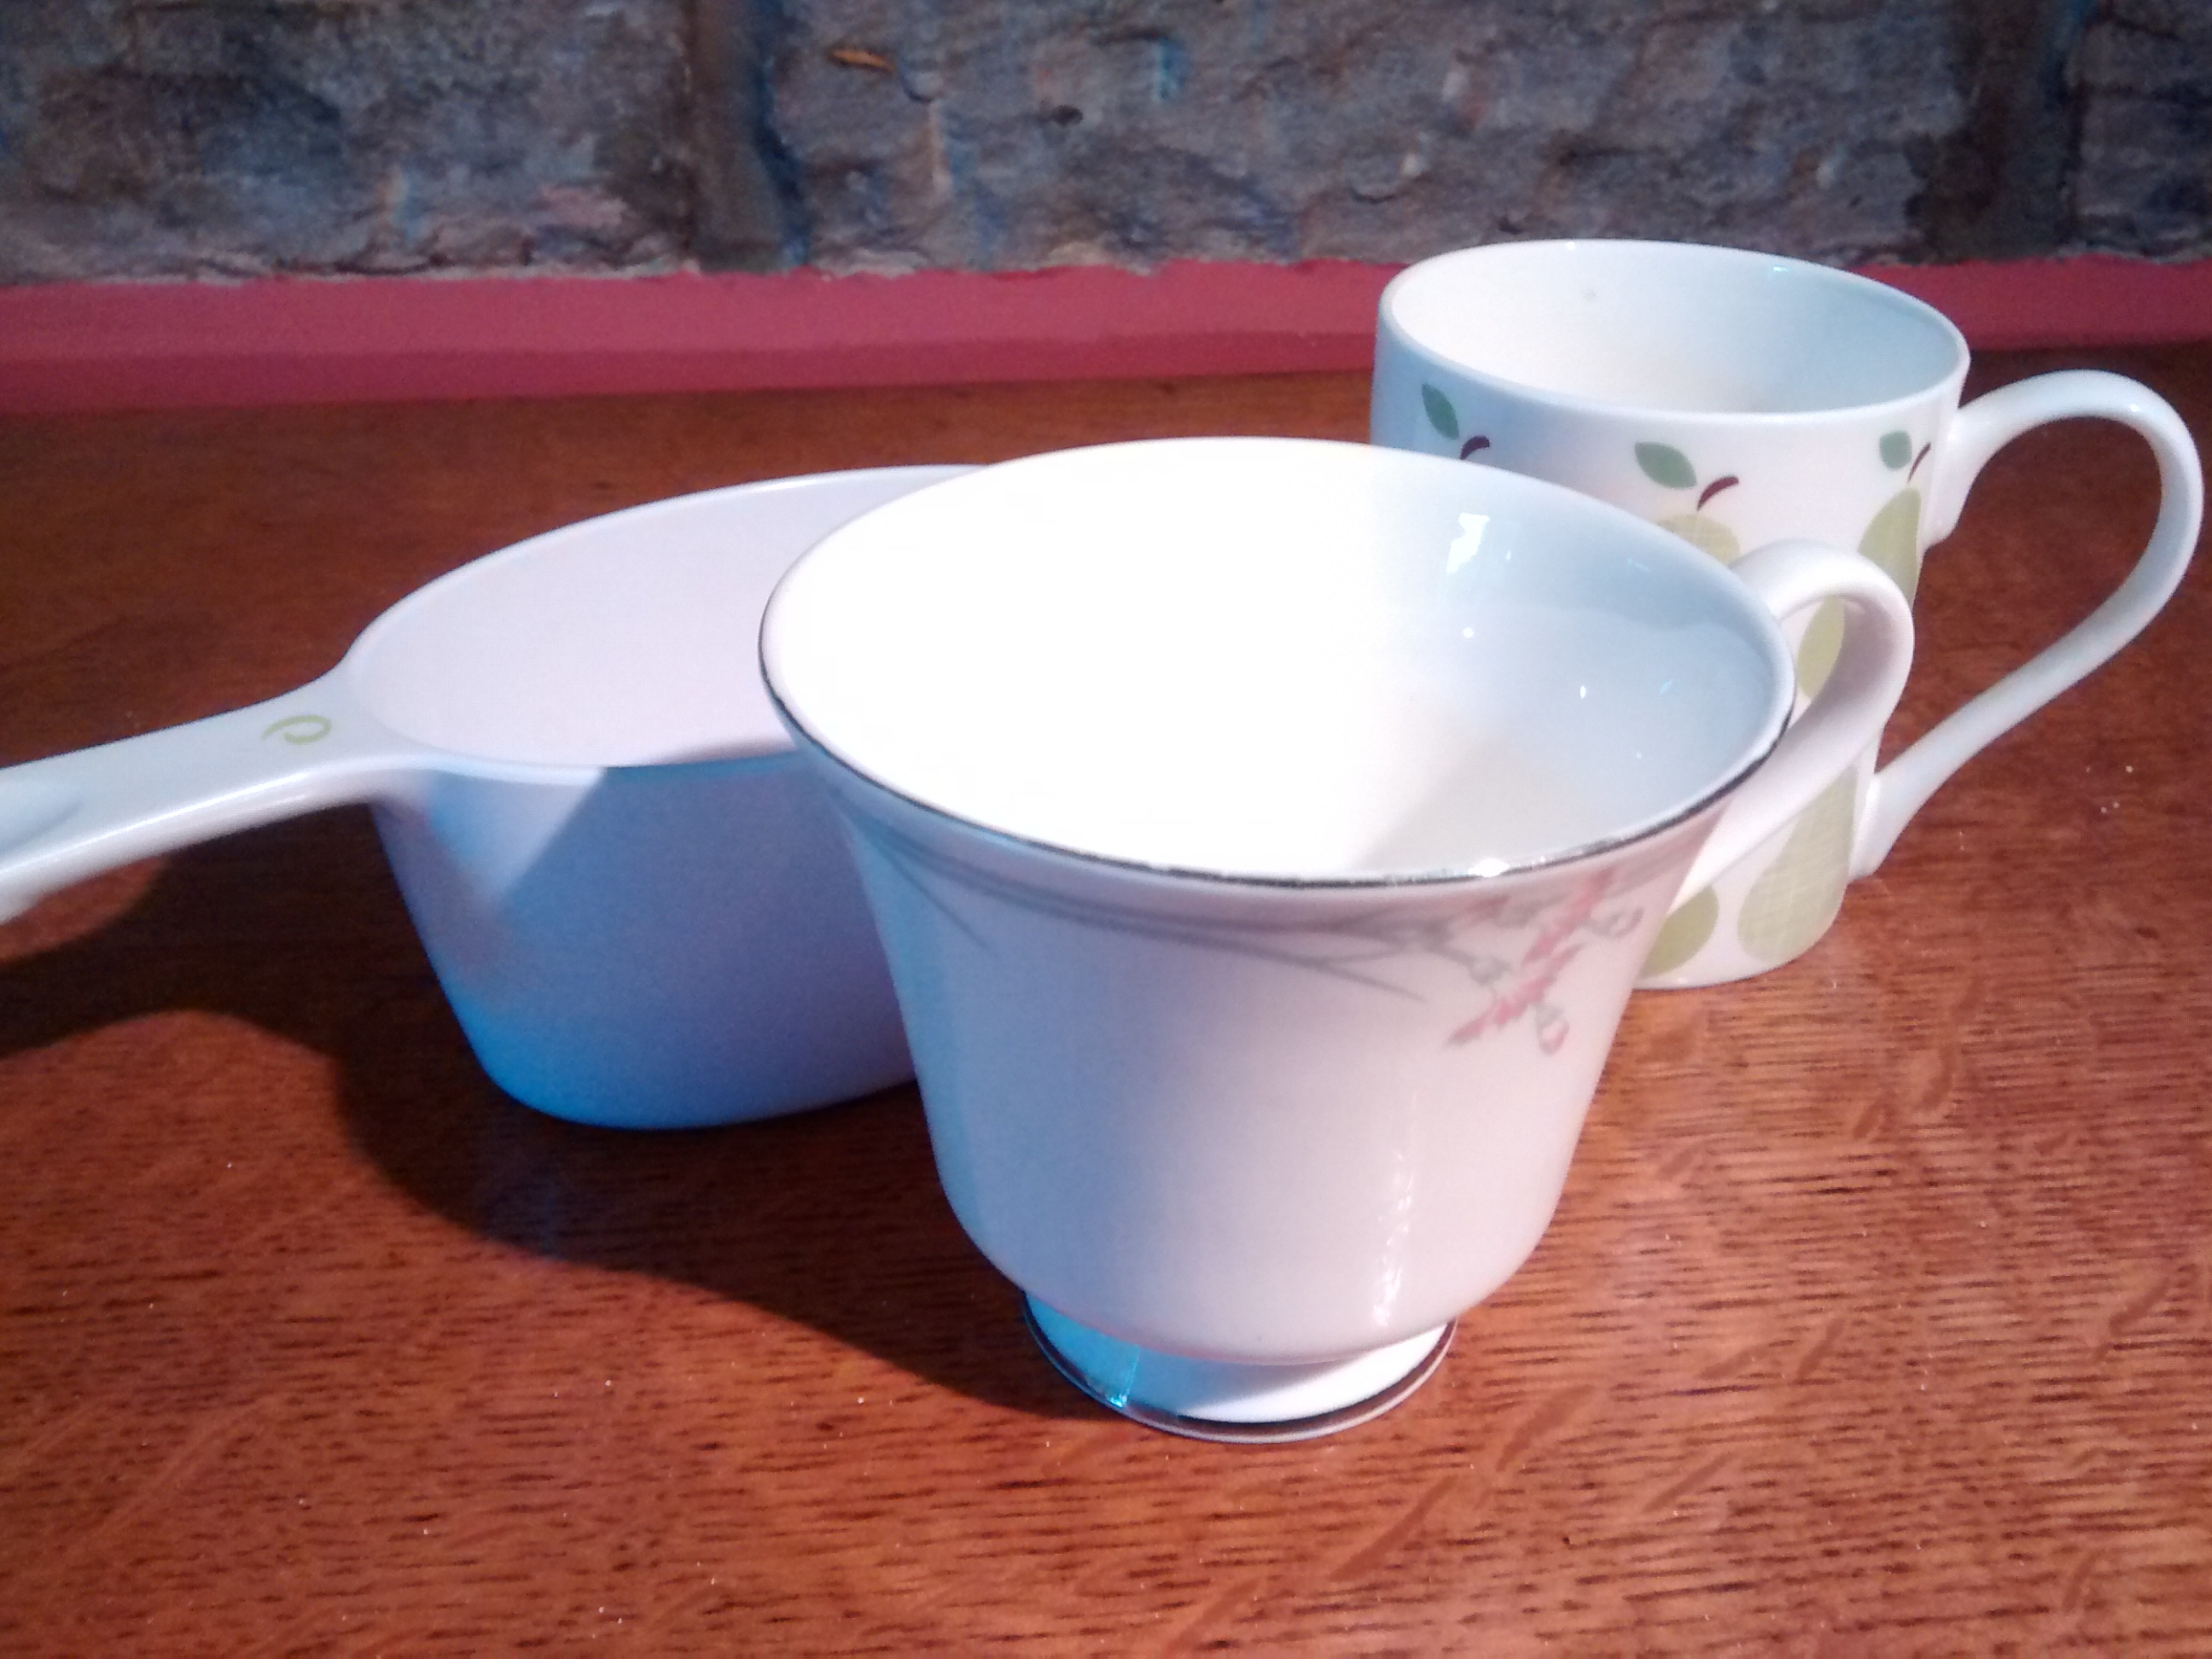
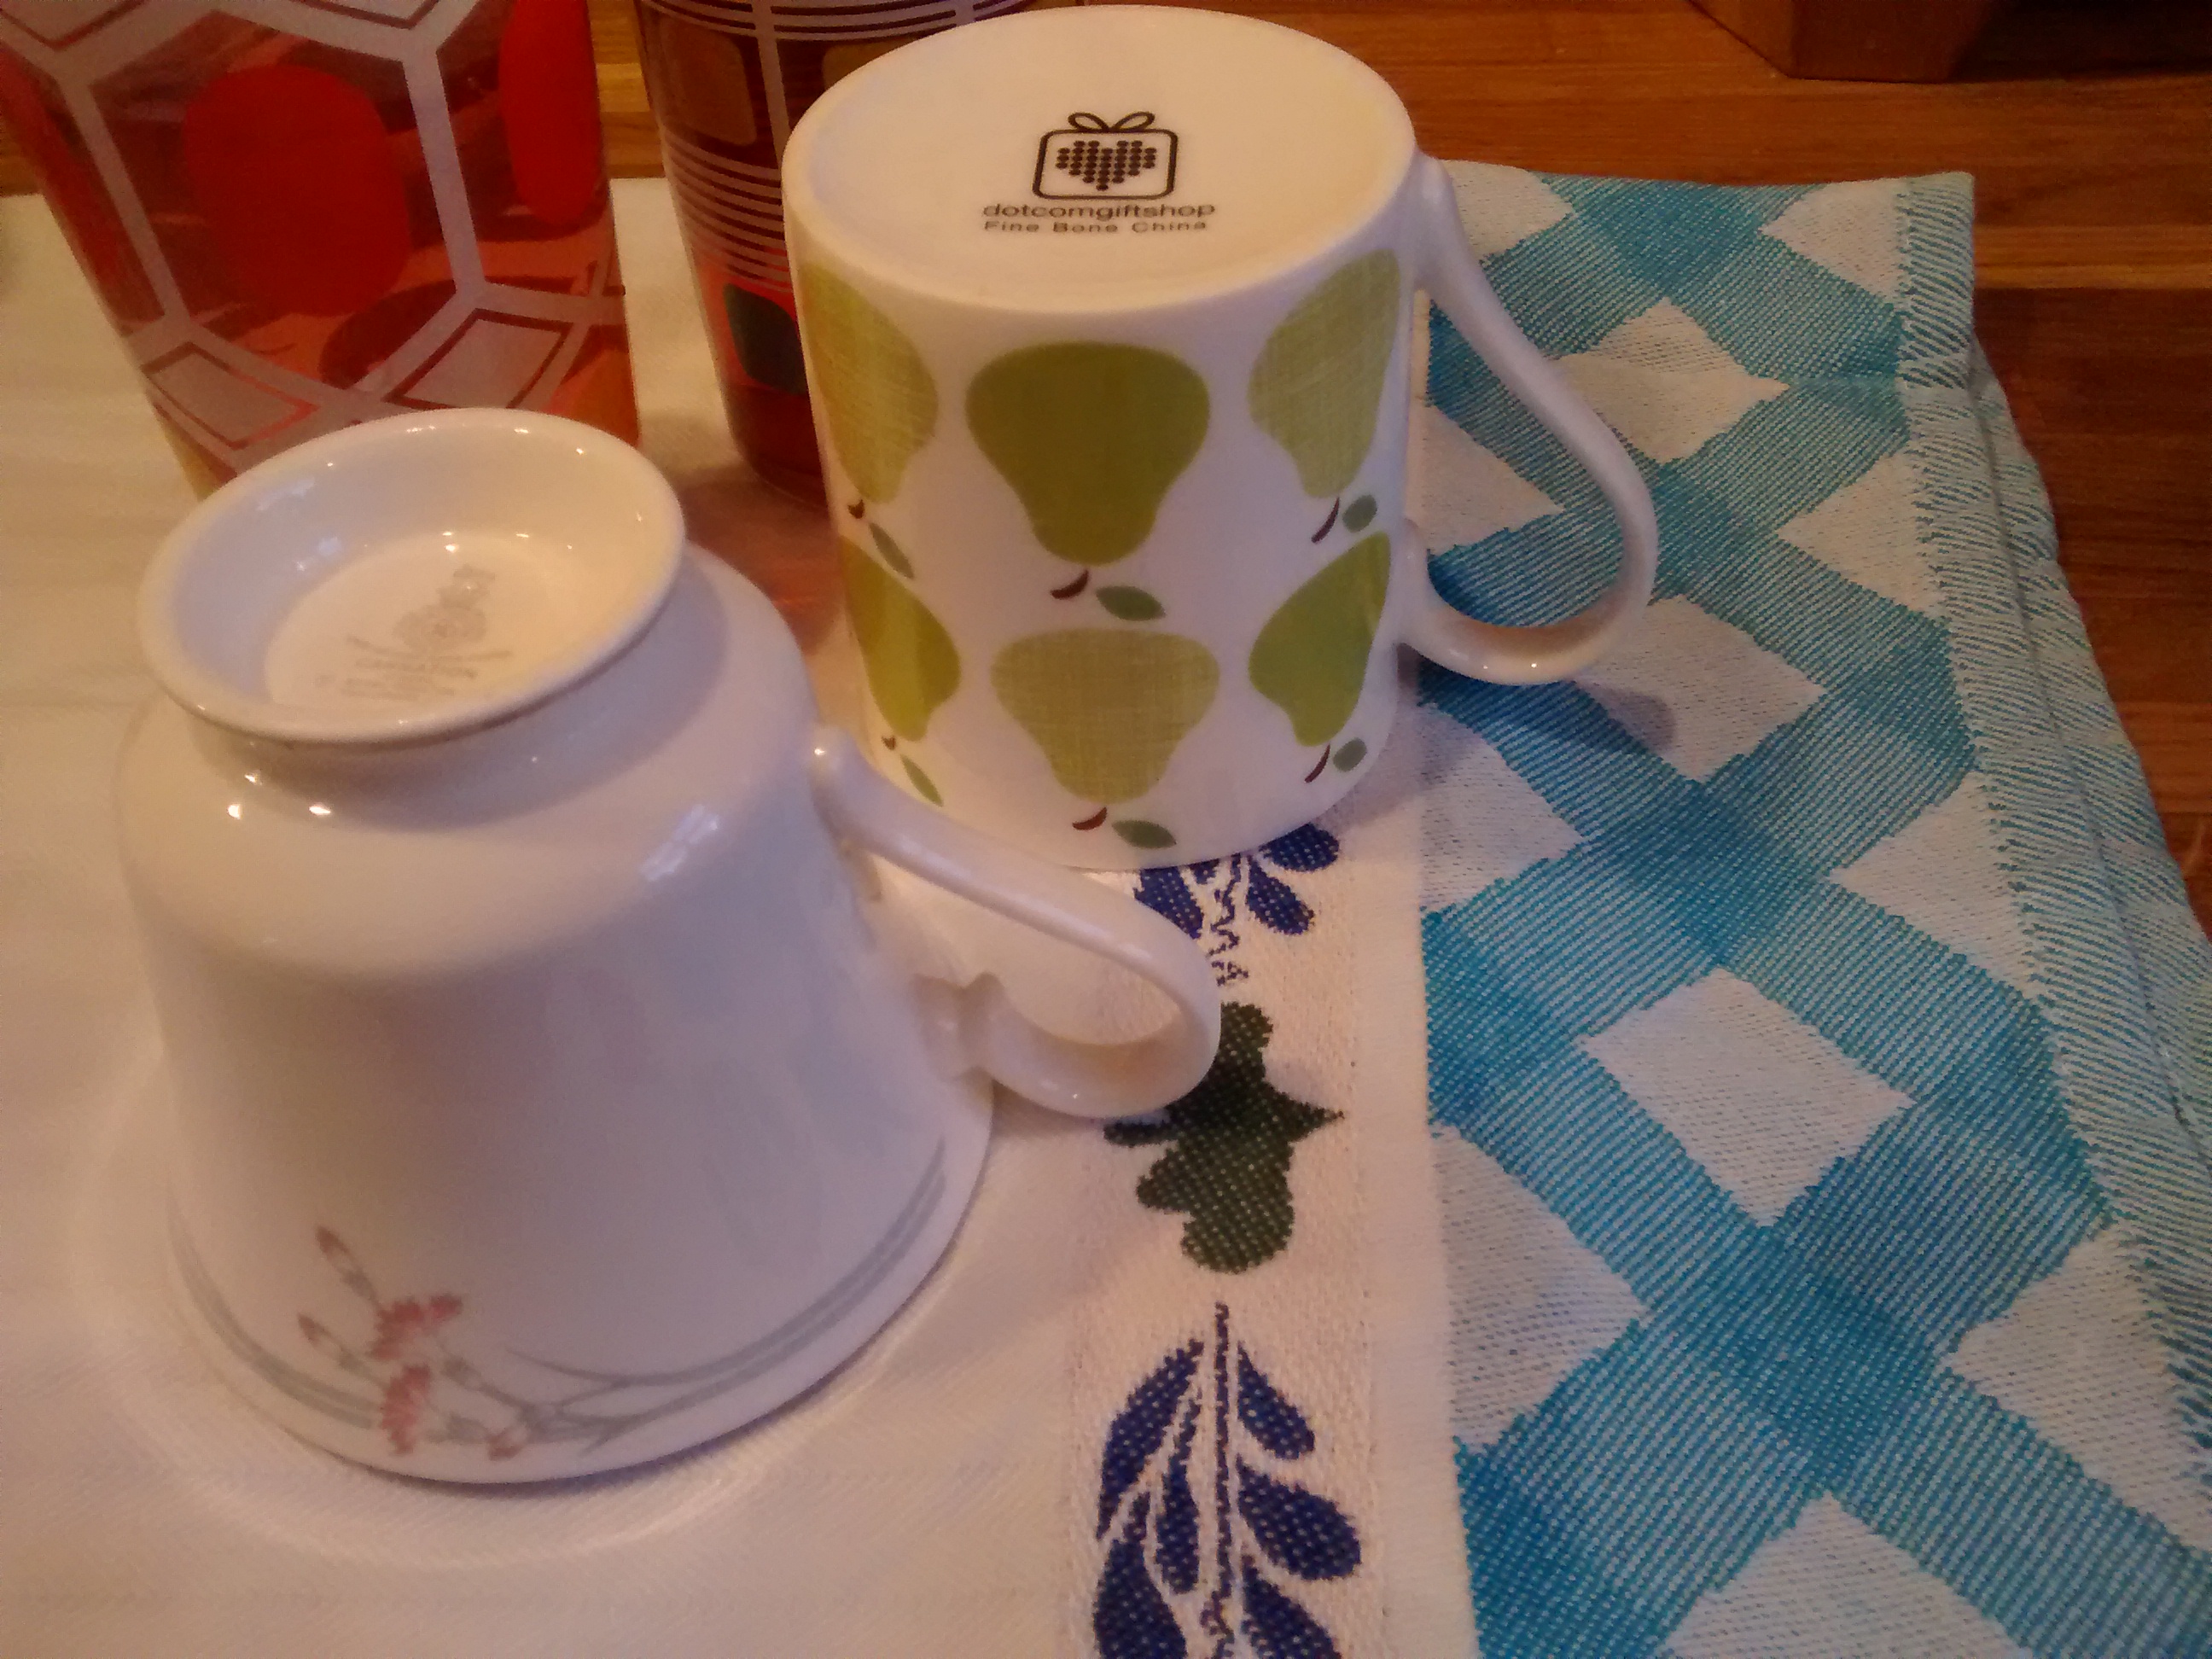
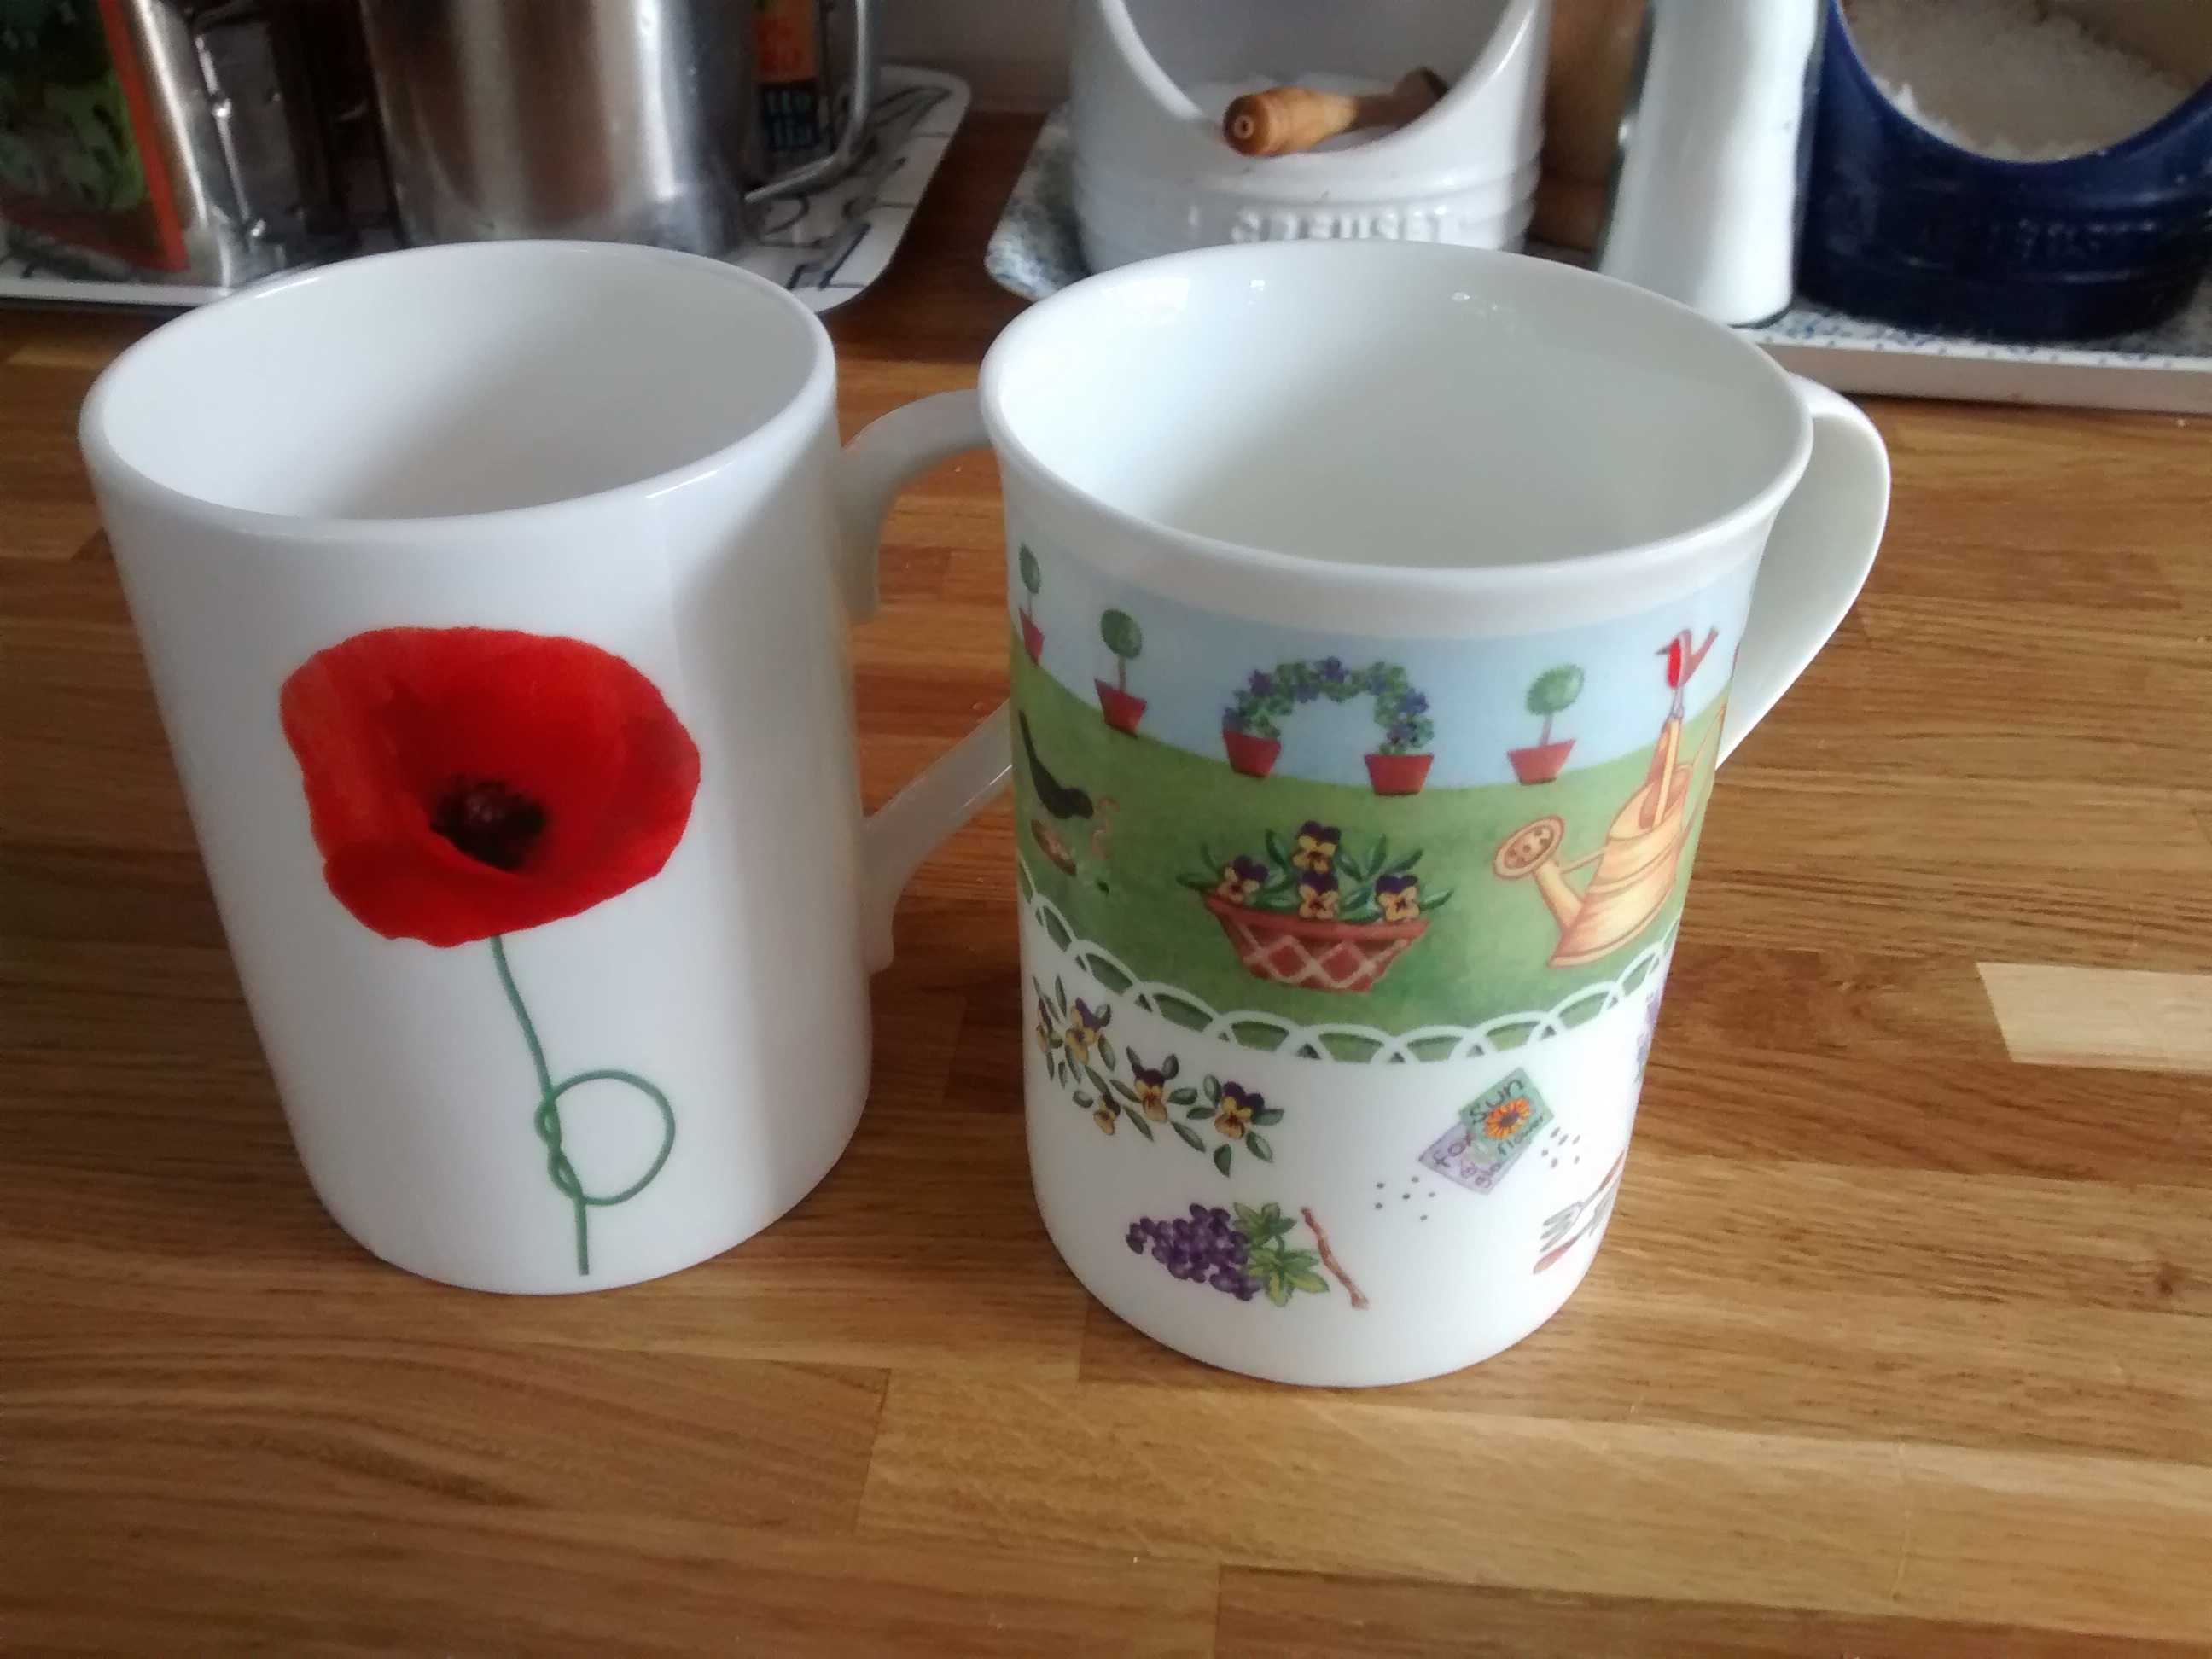
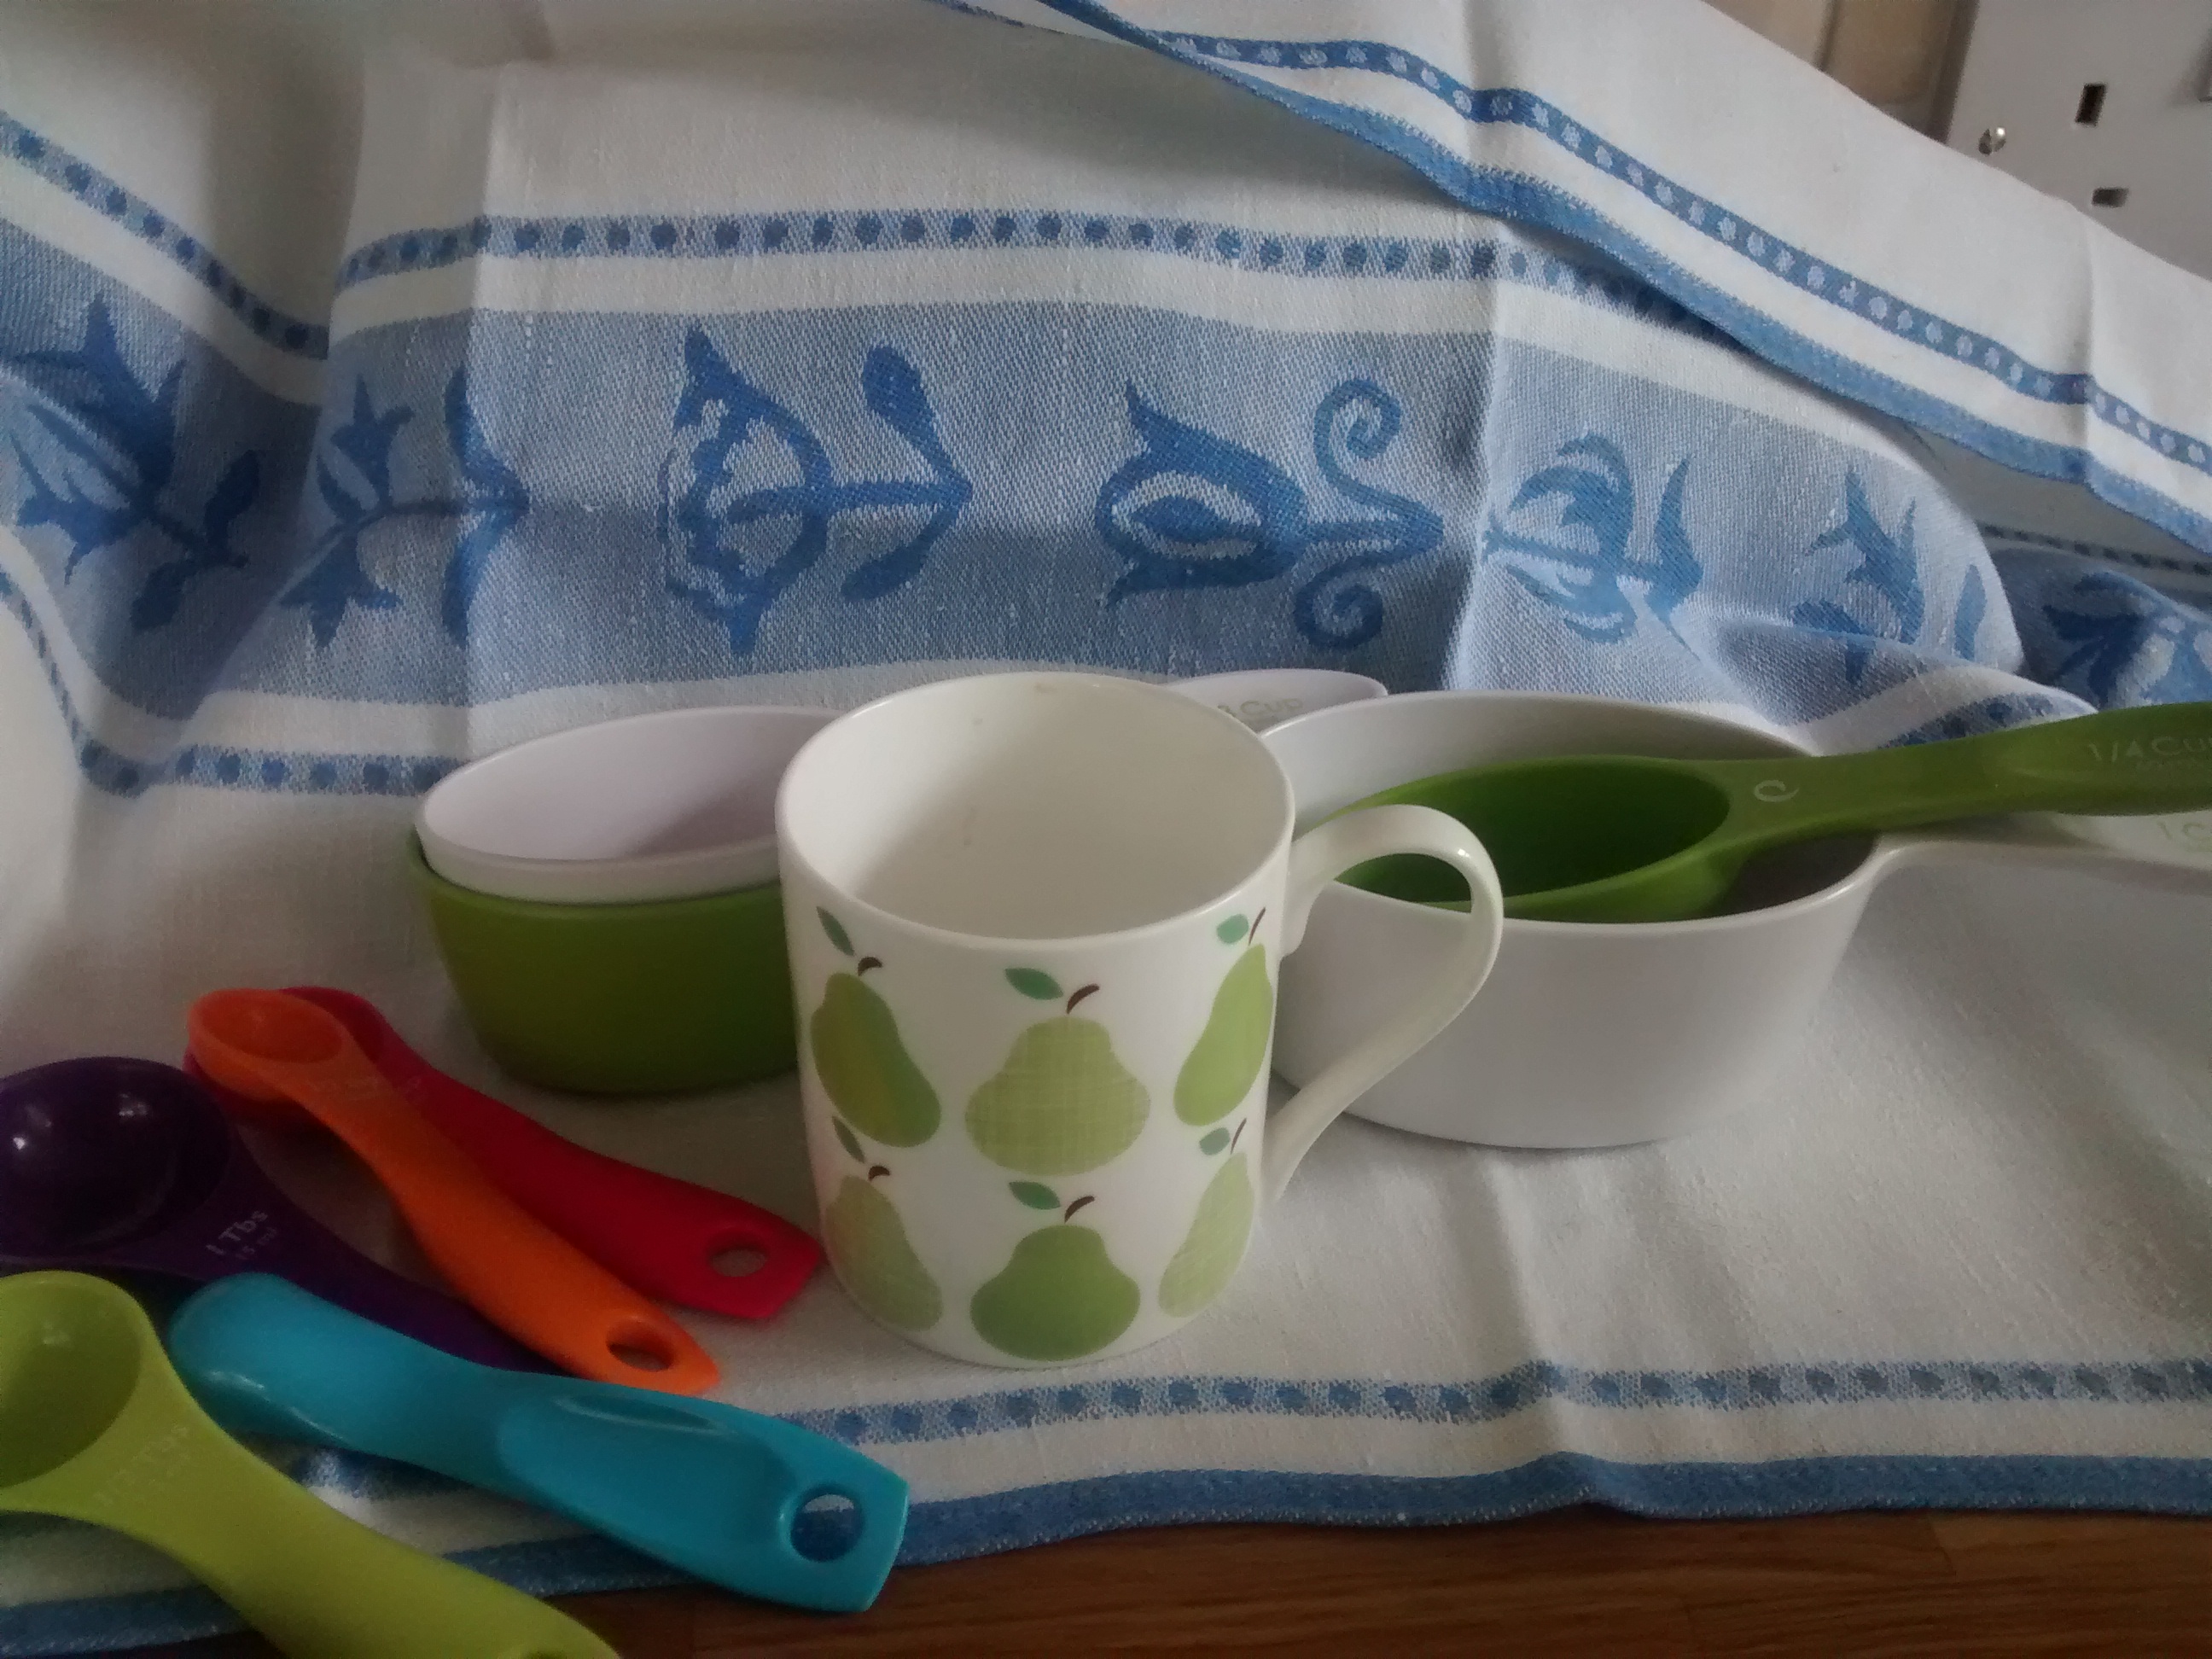
I had a look at some of my cups and found that only 2 of them held the equivalent of an American cup – whereas 2 of my tumblers held 250ml – so definitely a Polish szklanka.
I found that some of my mugs were the old Imperil cup – half a UK pint
I looked at my bought measuring cups and saw that they were different – one was an American cup the other a metric cup – I must remember that when I use them next.
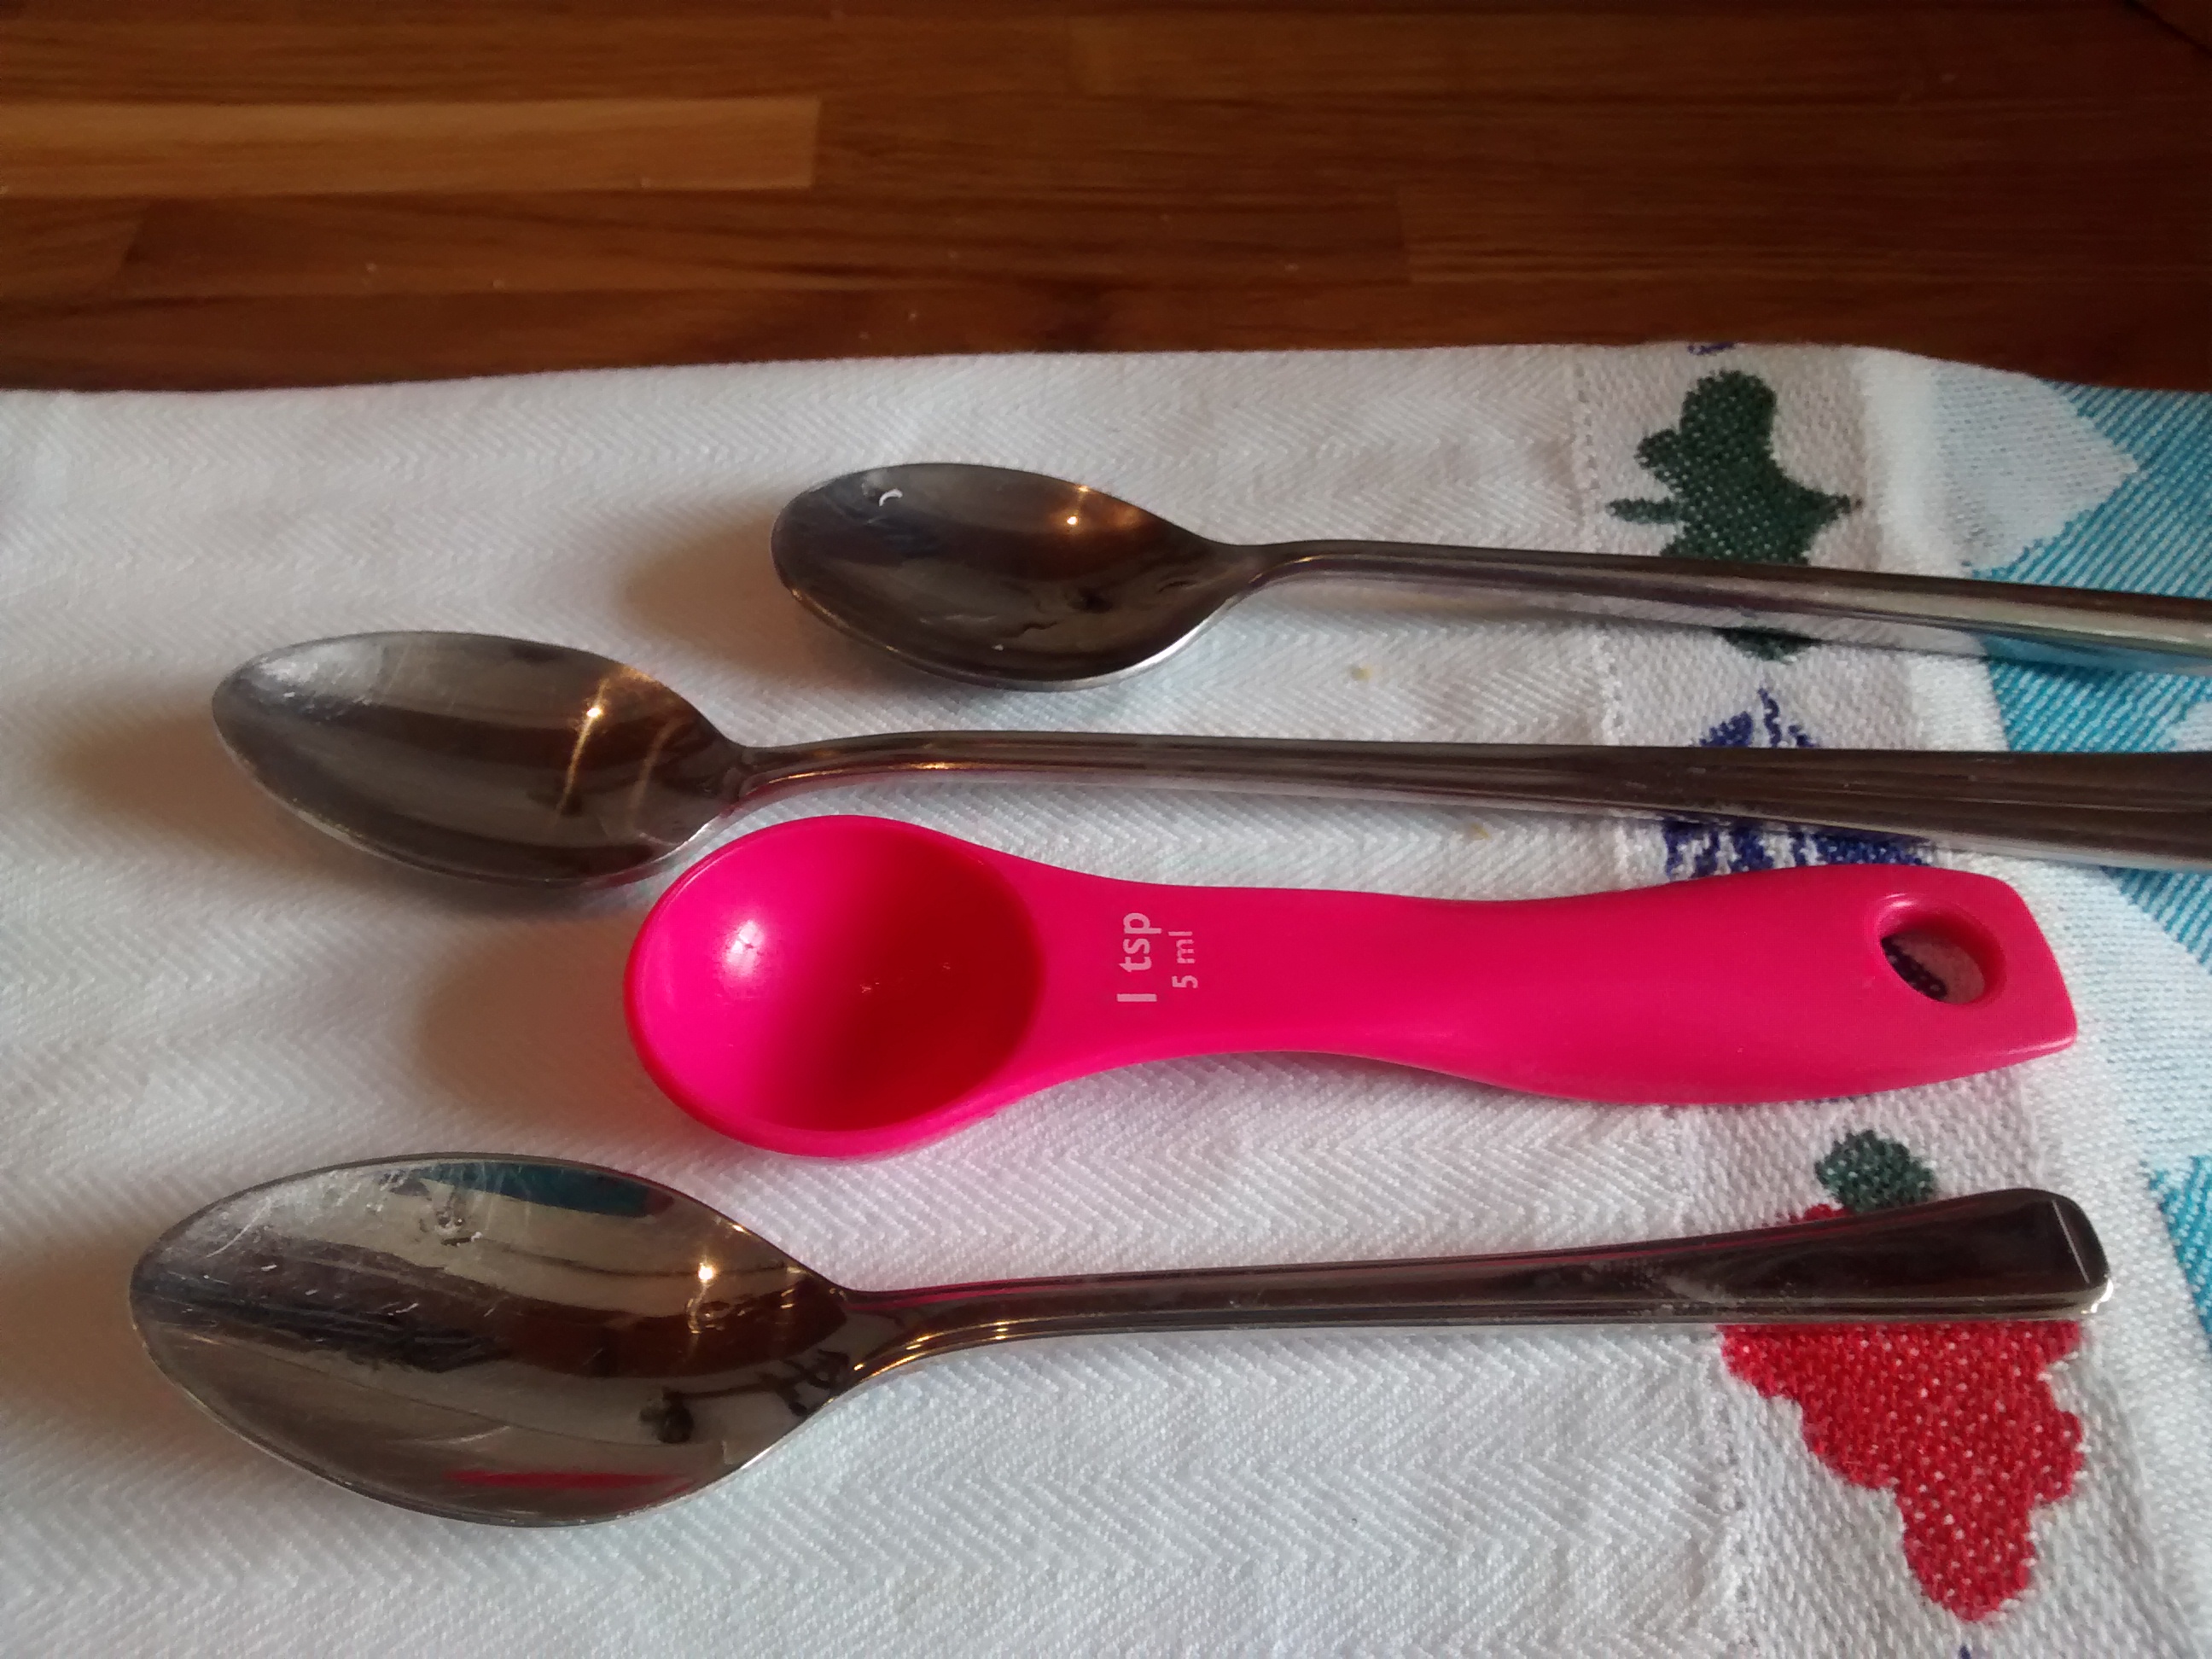
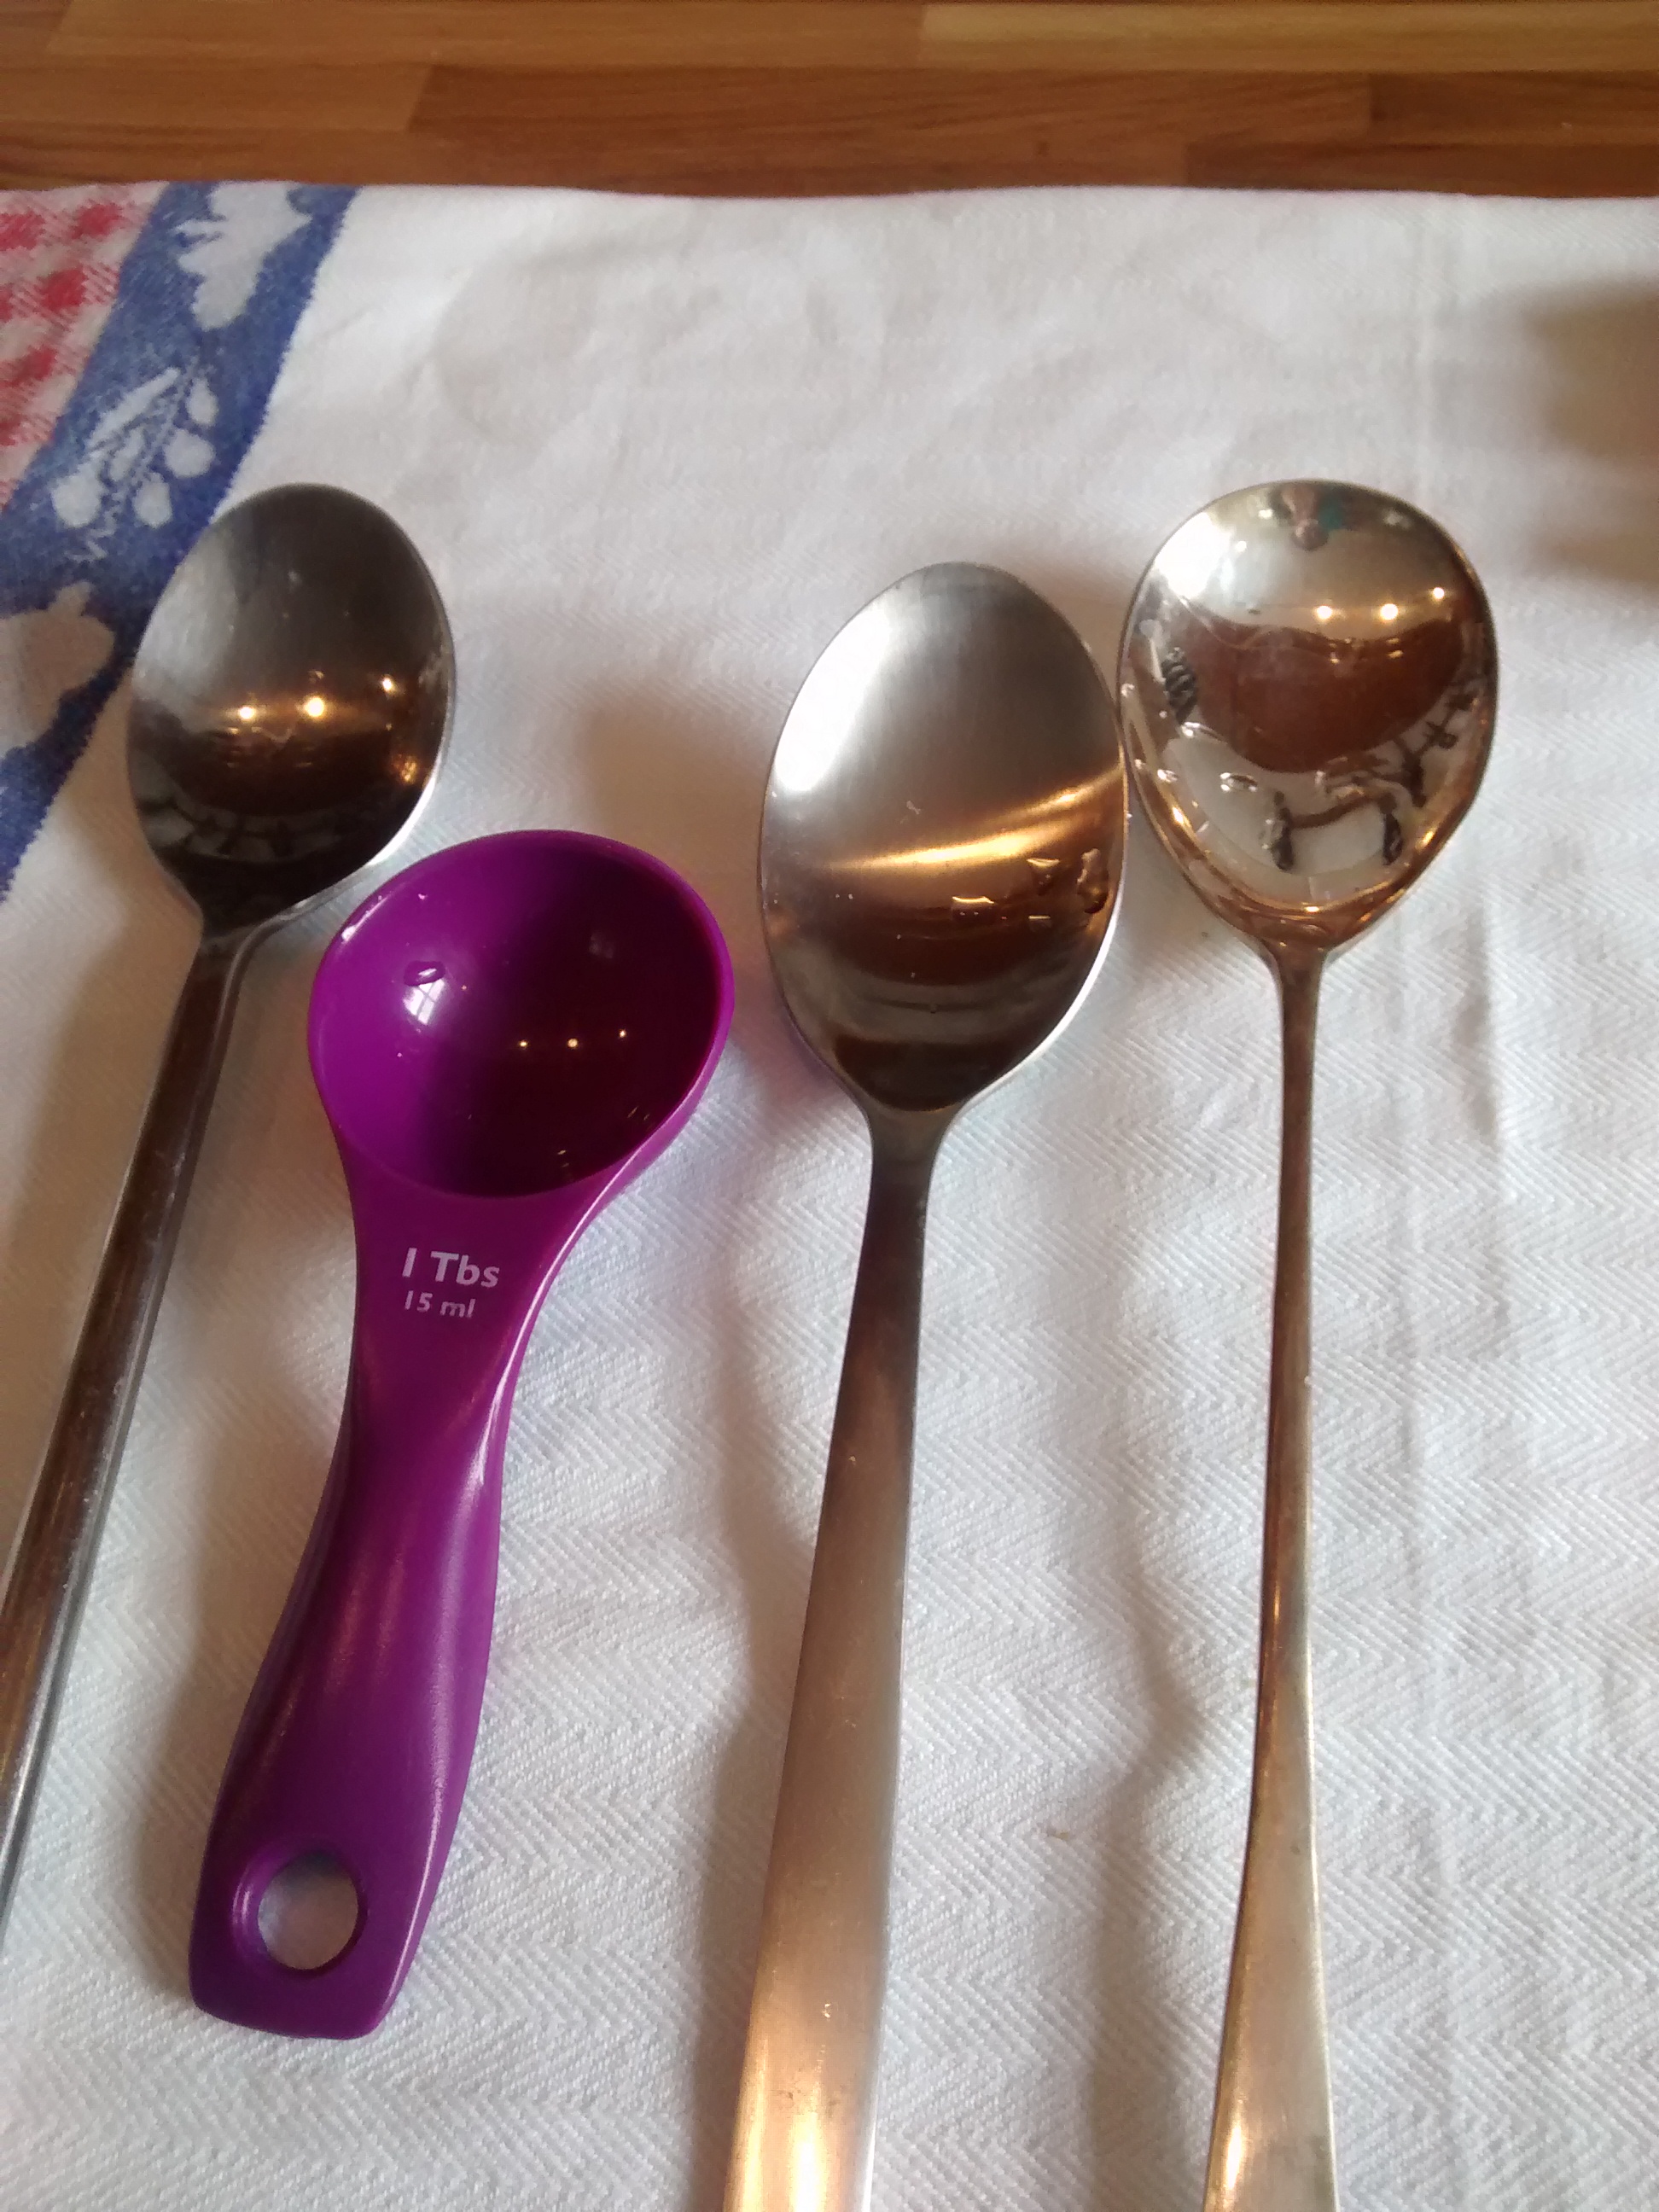
What size is your spoon?
In Europe certainly before 1700 it was common practice to have your own spoon with you when you went travelling. Just as now when you would rarely leave the house without your wallet, mobile phone and keys, then having our own knife and spoon was very common. Indeed the English expression ” being born with a silver spoon in your mouth” – refers to this – as well as being rich.
In later times and especially with the introduction of the new invention from Italy of the fork it became more common for households to have sets of cutlery for guests.
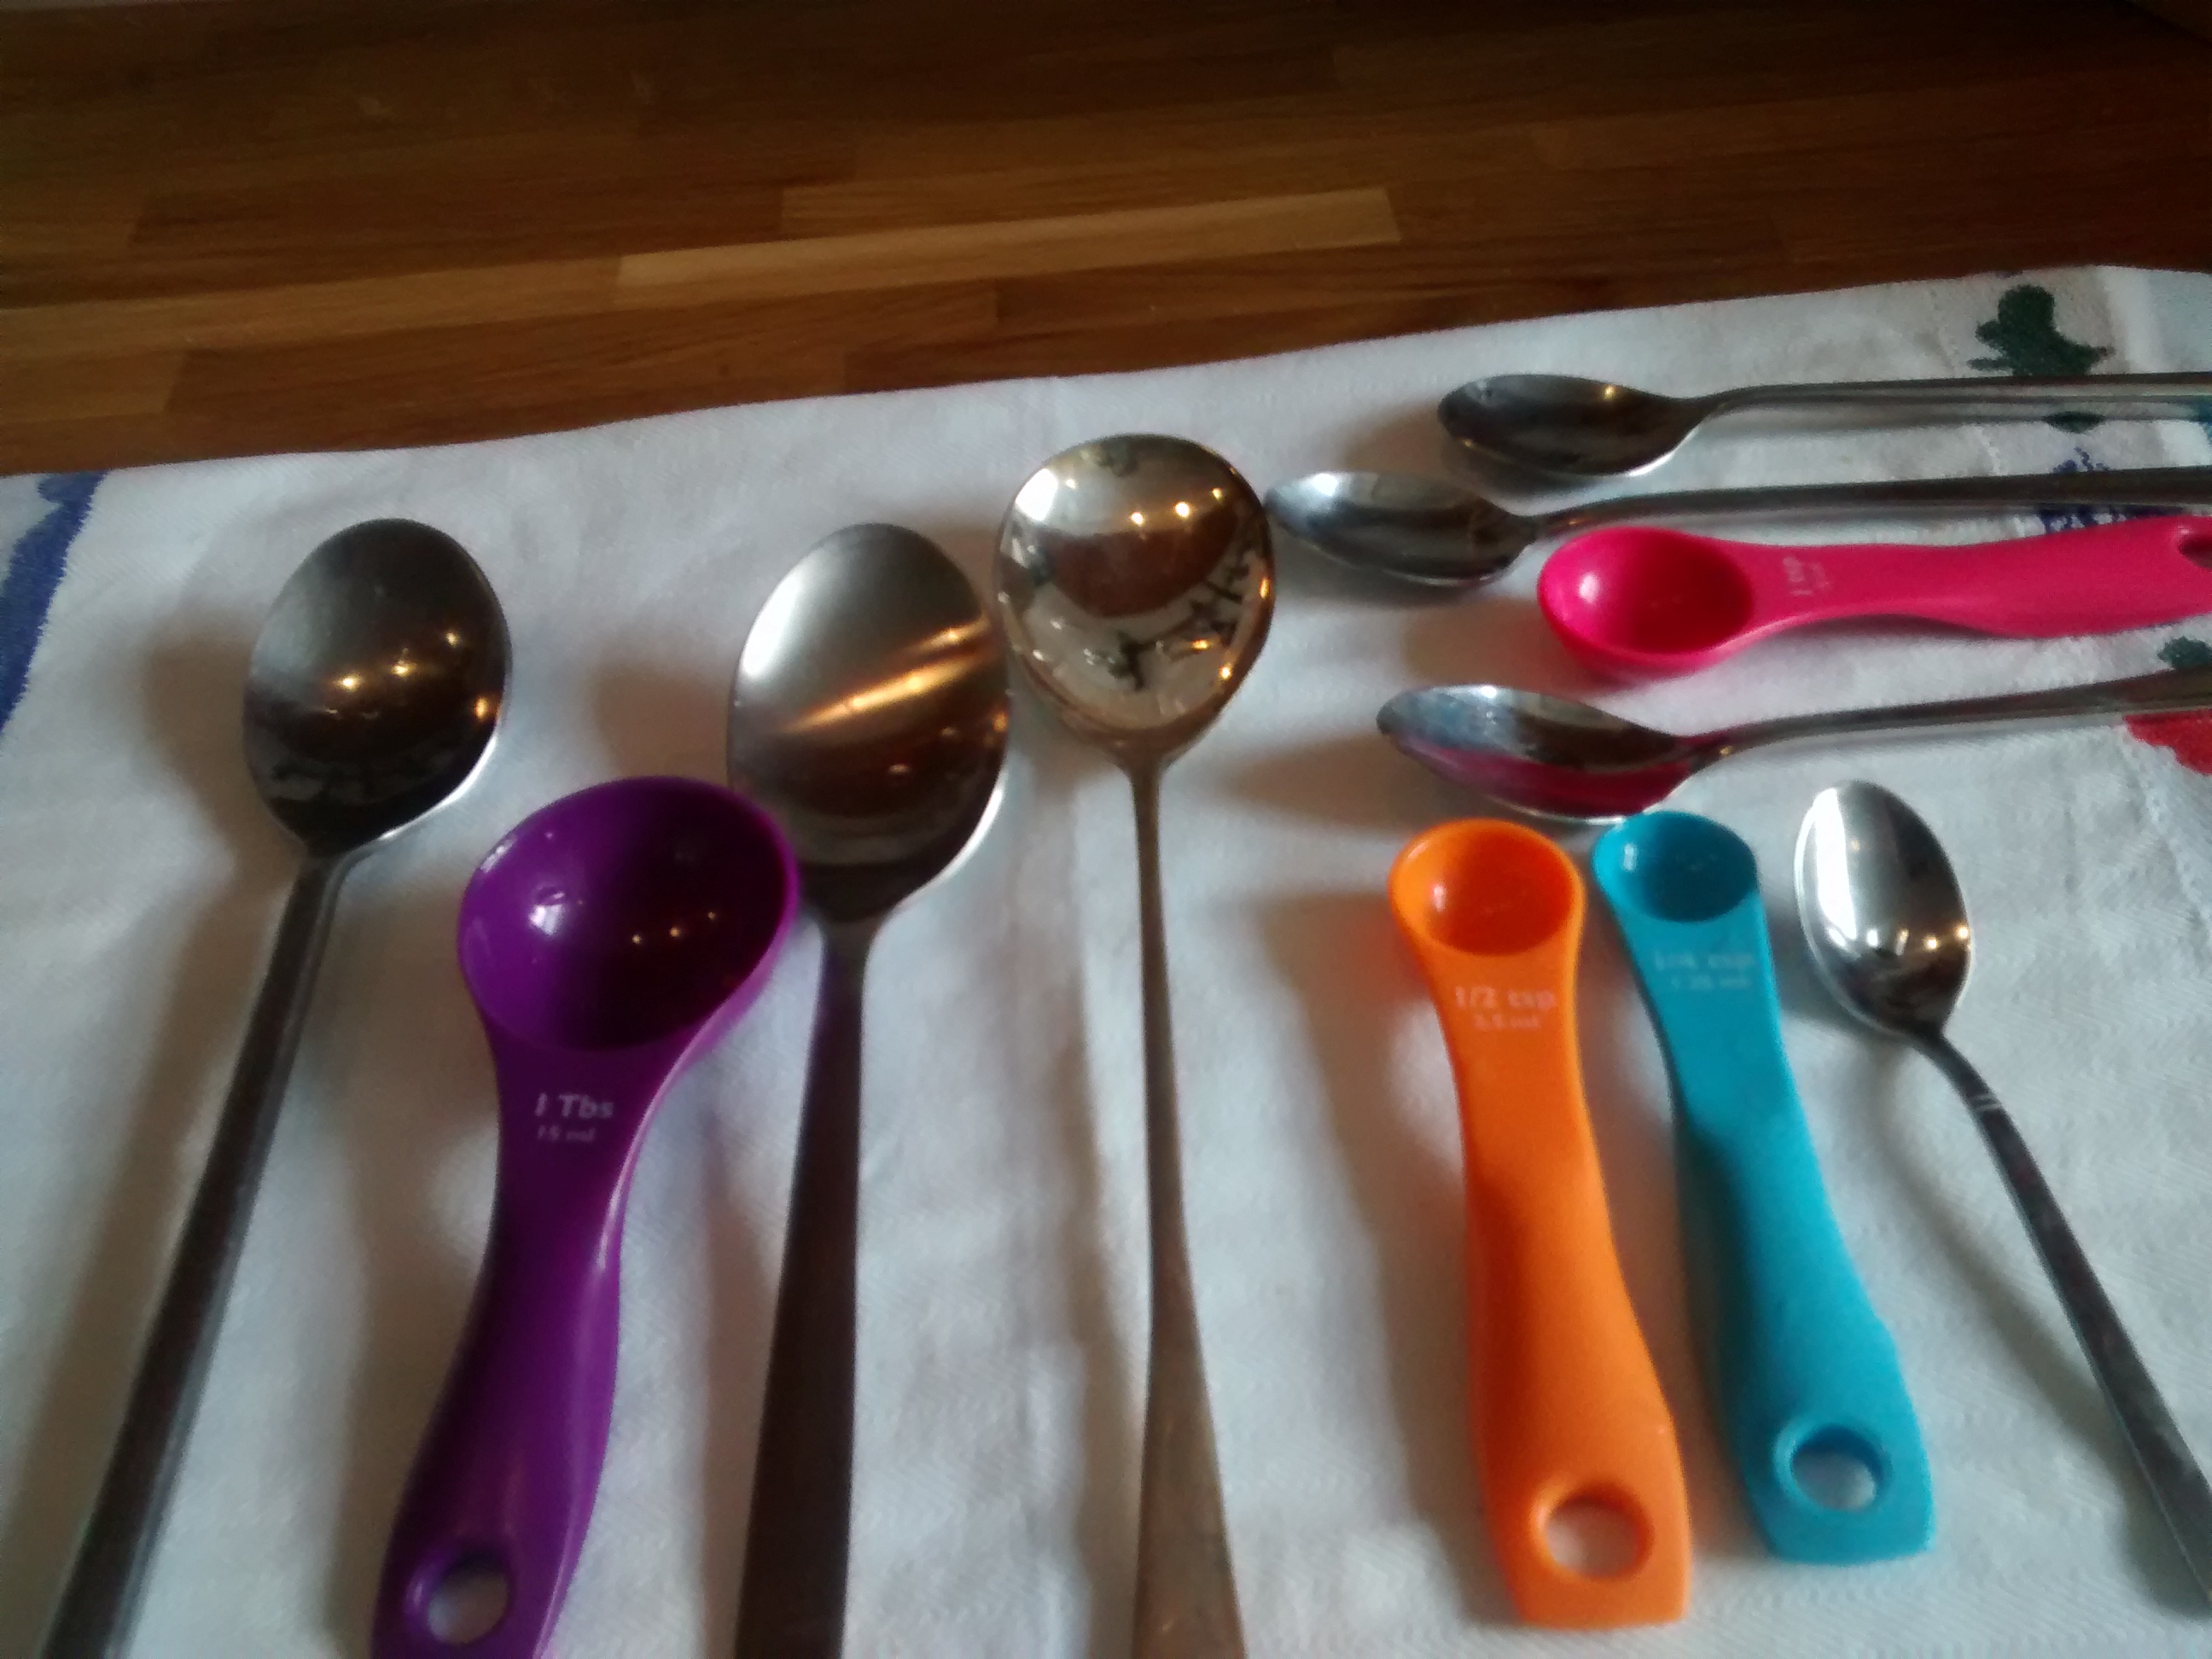
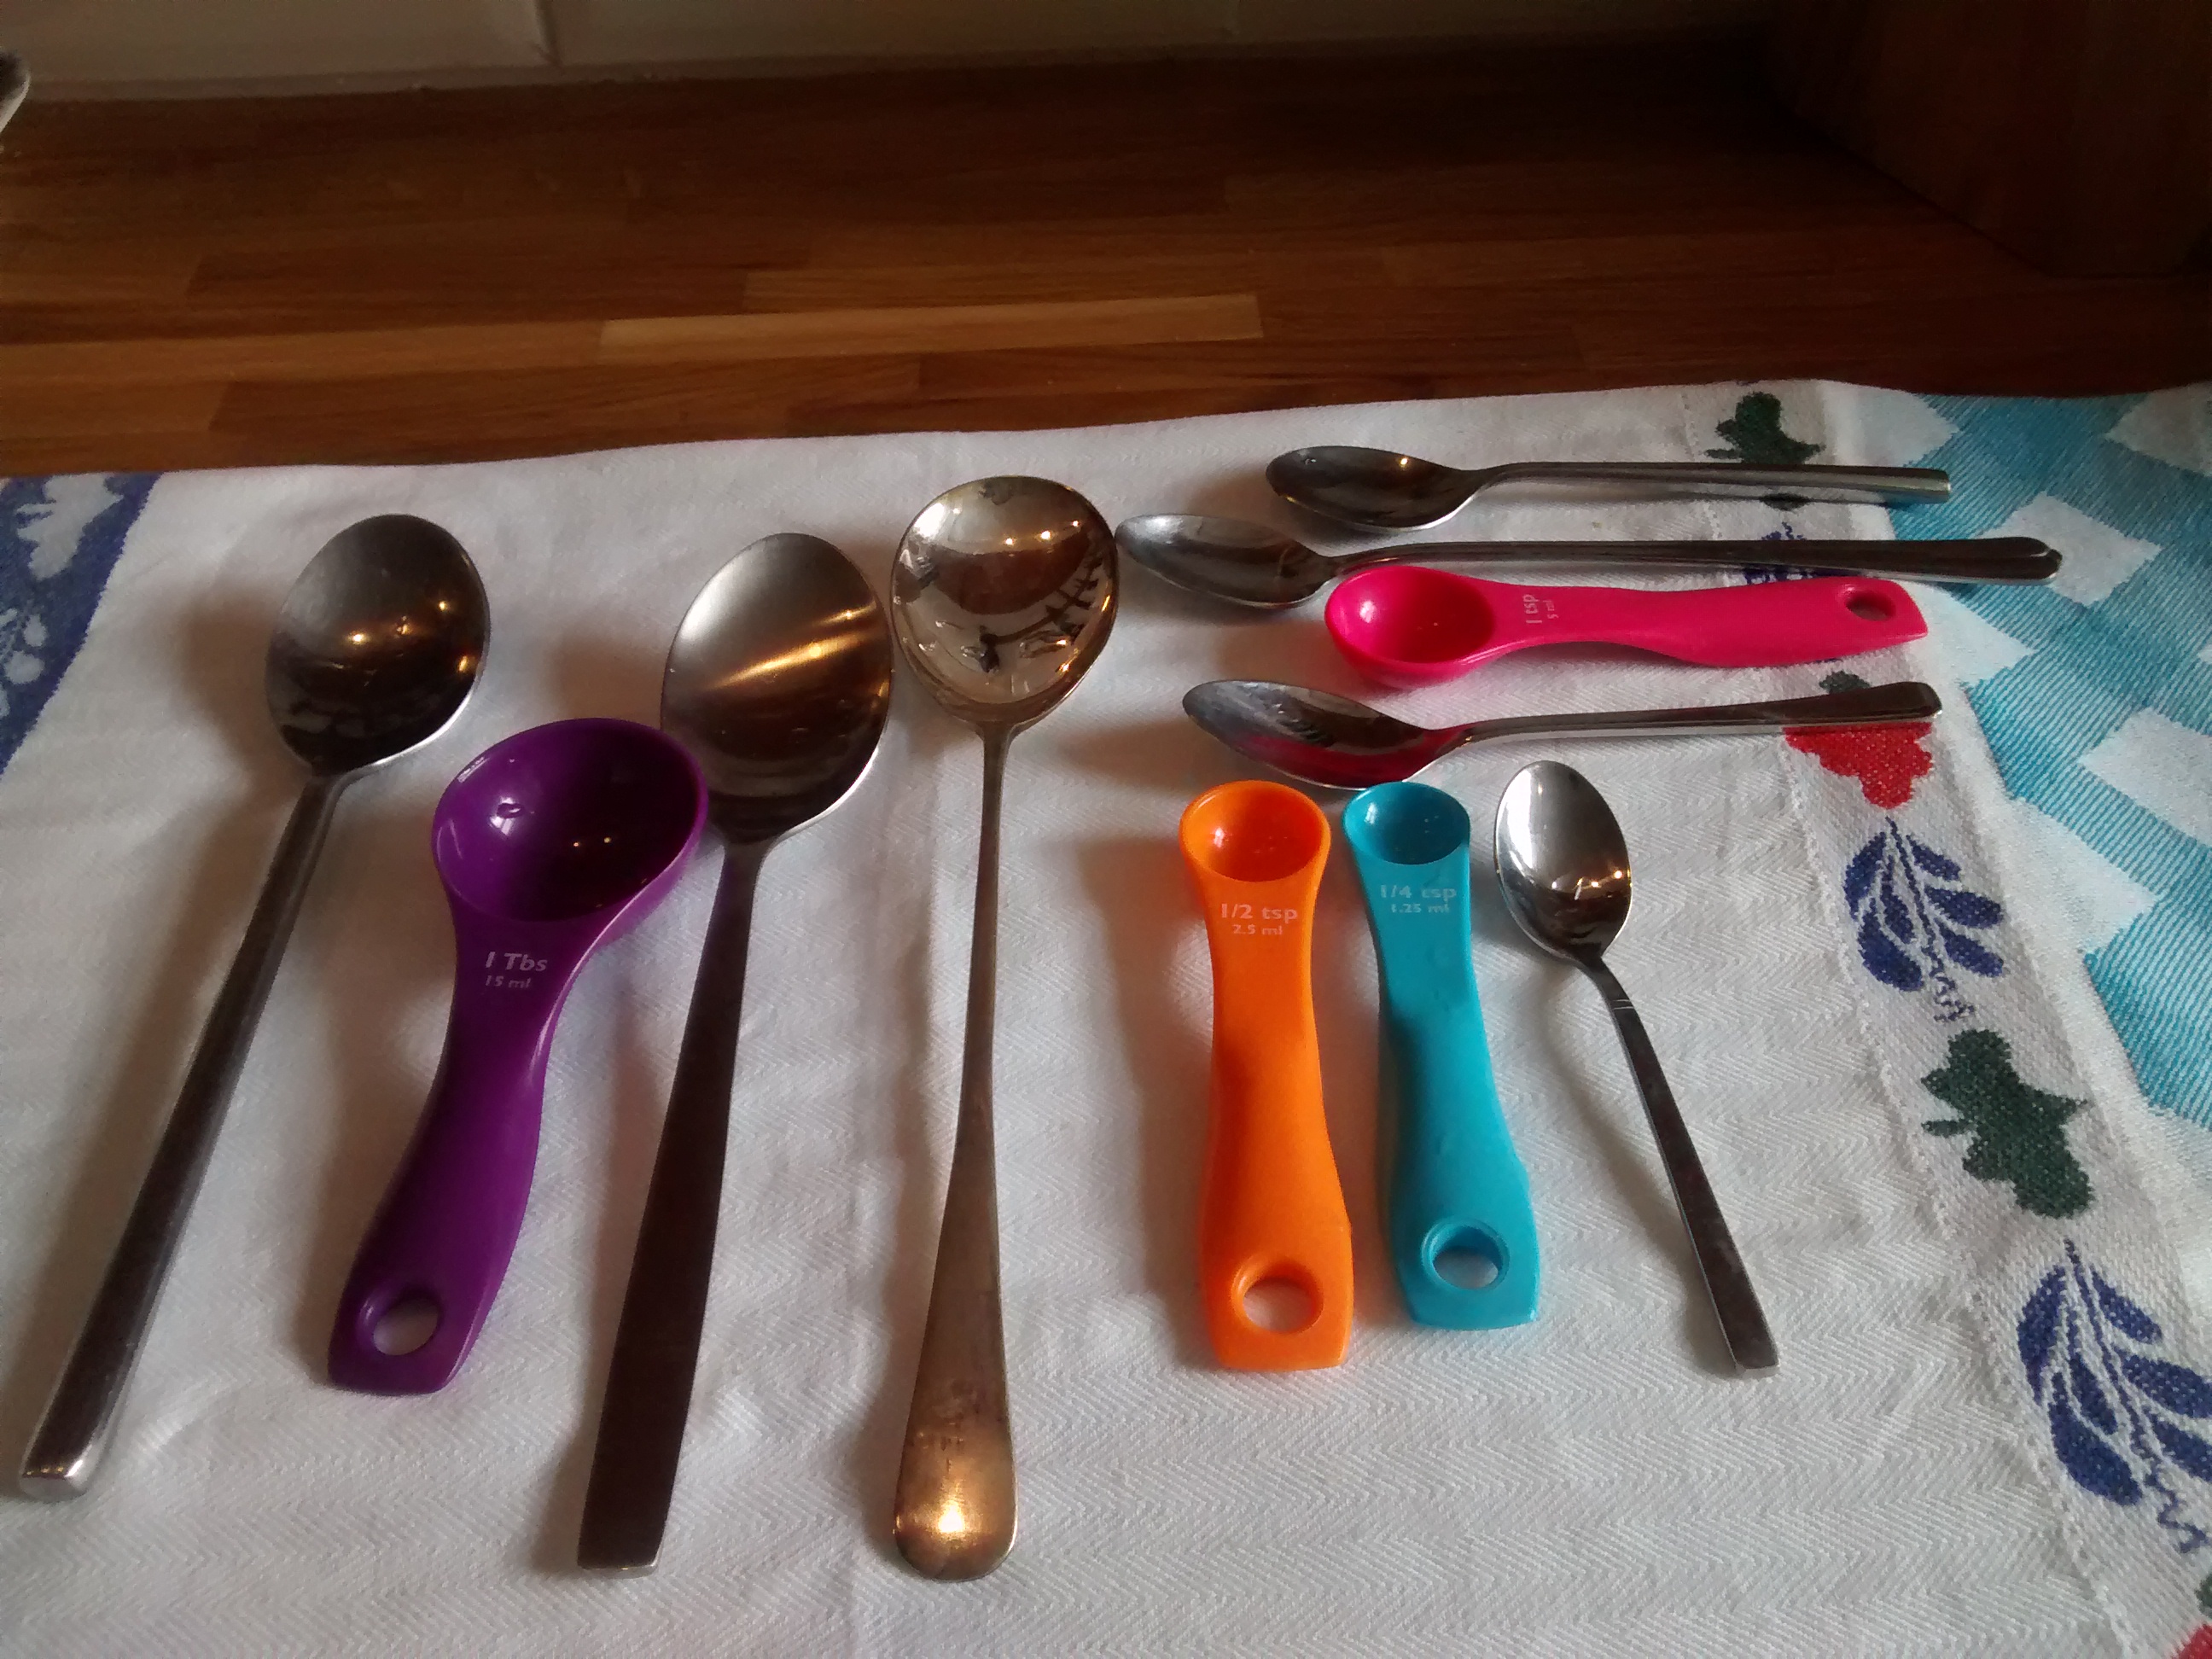
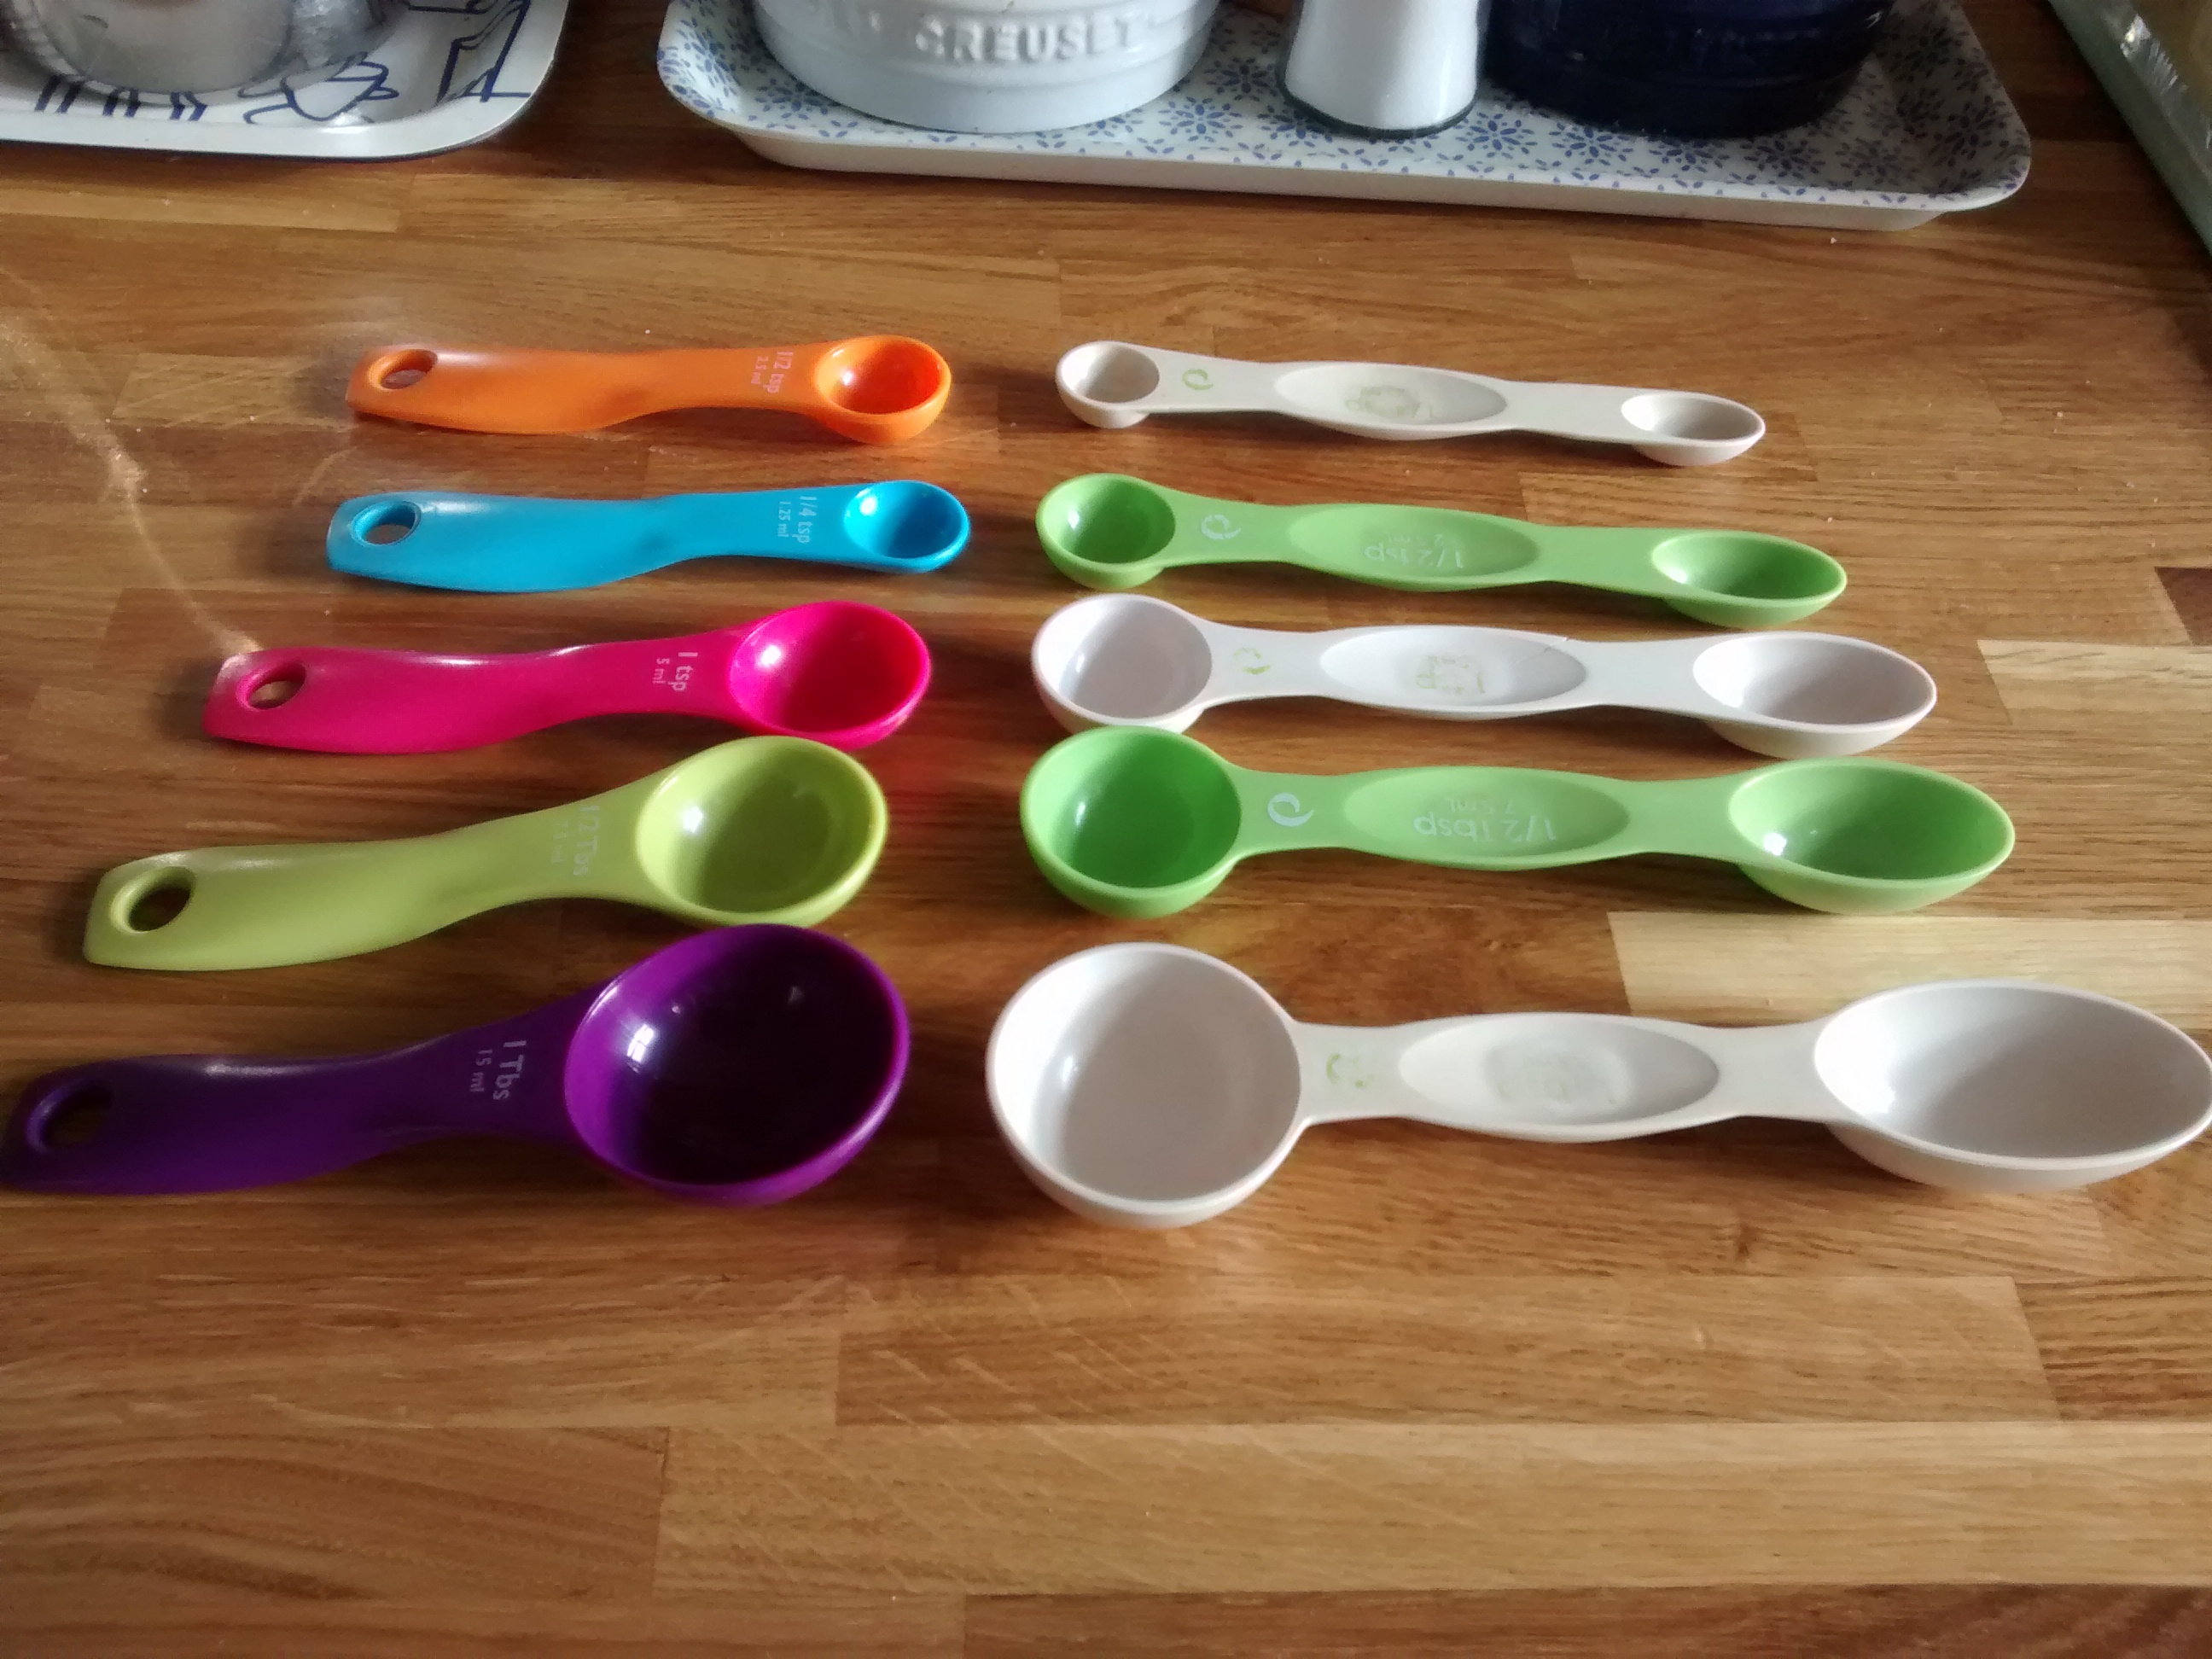
Sizes of spoons evolved for different uses but now in recipes there are mainly 3 sizes used for measuring – teaspoon, dessert spoon and table spoon with 1 tablespoon being 3 teaspoons & 1 dessert spoon being 2 teaspoons.
The sizes of these spoons are different in the UK, in the USA and in Europe with the ones in the USA being nearly the same as the metric ones.
In the UK a teaspoon is nearly 6ml and a table spoon is just under 18ml.
In Europe a teaspoon is 5ml and a tablespoon is 15ml whilst in the USA the teaspoon is just slightly less than 5ml and a tablespoon is just slightly less than 15ml – so for practical purposes they are the same.
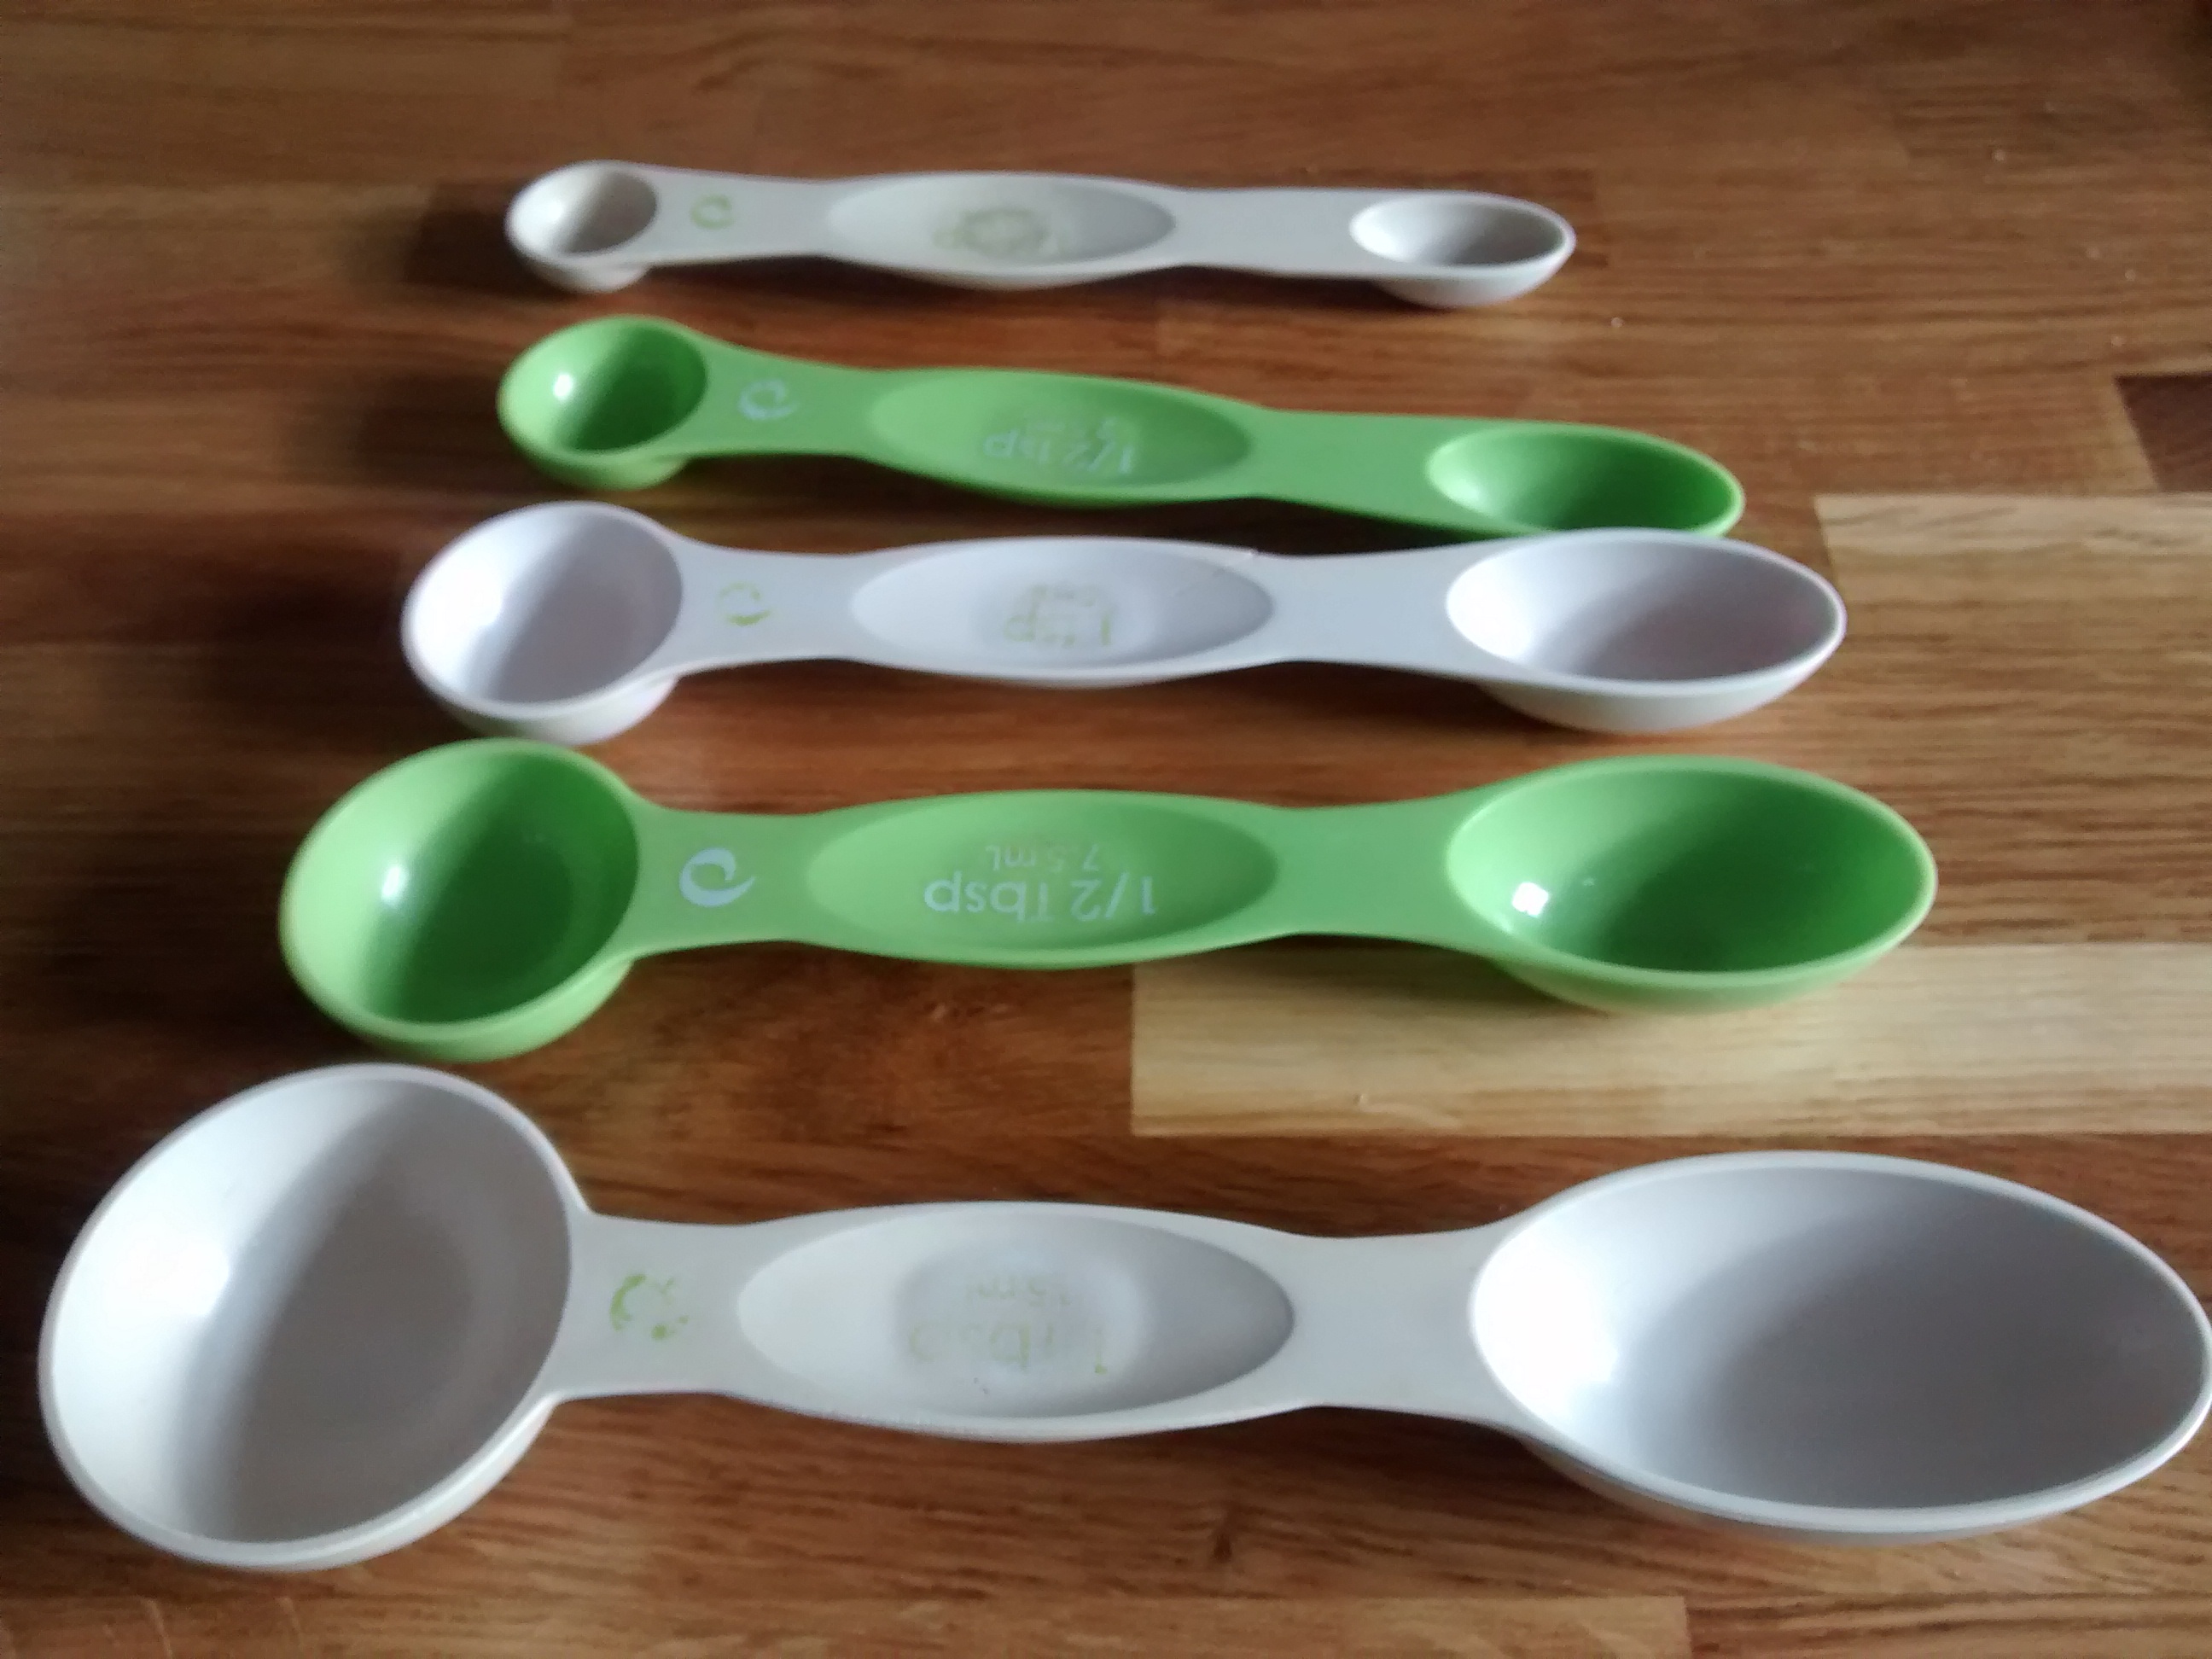
I have some measuring spoons which have both the UK and metric sizes on them but I have noticed that ones for sale now just have the metric sizes on them.
Note
I have not covered the variations that are to be found in Australia & Canada & other countries.
In Conclusion
Just be aware of differences in measurements if you are using recipes from other countries.
Make notes & keep them with your recipes, or even rewrite your recipes on cards so you do not forget any changes you make.
A racuch – according to my dictionary is a kind of pancake.
Racuszki or racuchy are plural words for them- used much more as you never have just one! They are small thick pancakes similar to dropped scones, Scotch pancakes or American style pancakes.
In my old Polish recipe book, the recipe uses soured milk, but as I do not have this, I use my own thick yoghurt instead.
Racuszki
1 egg
250ml yoghurt
200g plain flour
1/2 teaspoon of bicarbonate of soda
large pinch salt.
Method
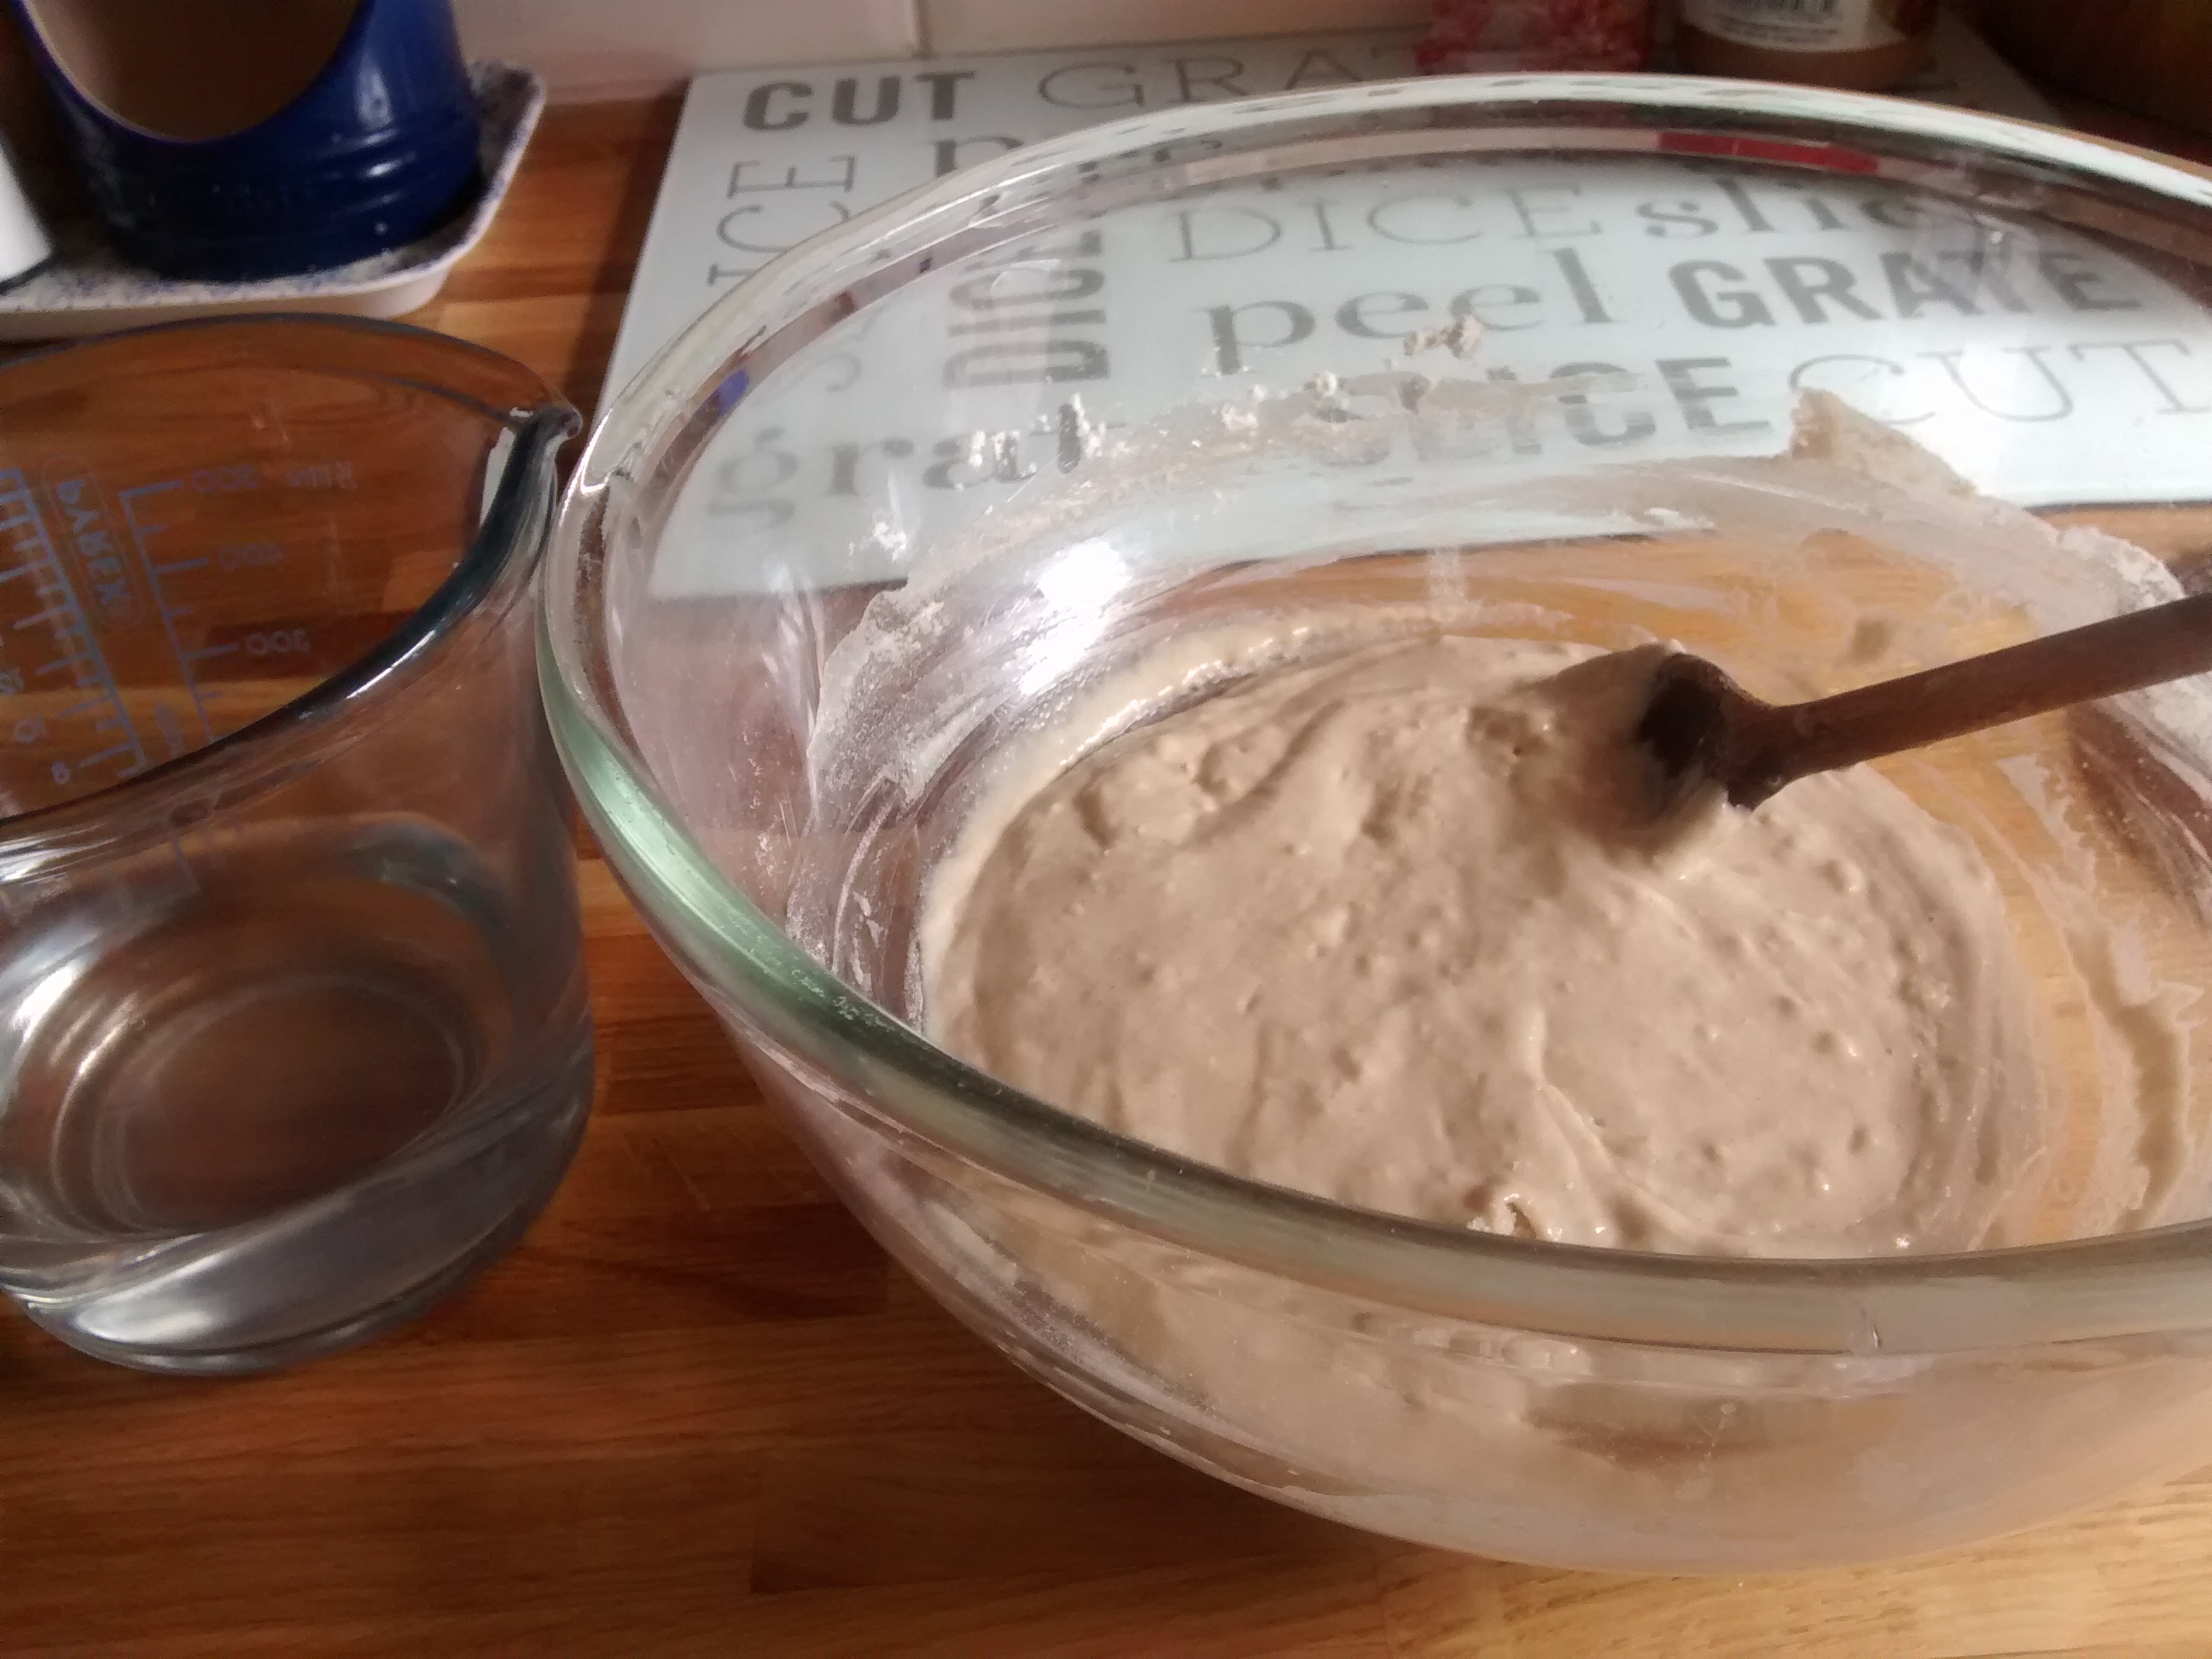
In a large bowl mix the flour, pinch of salt, the egg and some of the yoghurt, mix it with a wooden spoon. I found my new one with a hole in it which I bought in The Netherlands very good for this.
Keep adding the yoghurt (and some water if needed) and mix till you get a batter which is thick and then beat it more till it is smooth and glossy.
Then add the bicarbonate of soda and give this a final mix.
Use a griddle or thick cast iron frying pan and use oil to grease it lightly and heat it up.
You need to try and keep a low to medium heat so as not to burn the pancakes.
Place tablespoonfuls of the batter on the frying pan and cook until the base is set and golden then turn them over and cook the other side.
They are traditionally served warm with jam or thick fruit syrup – caster sugar also goes well.
With Sour Cherry Jam
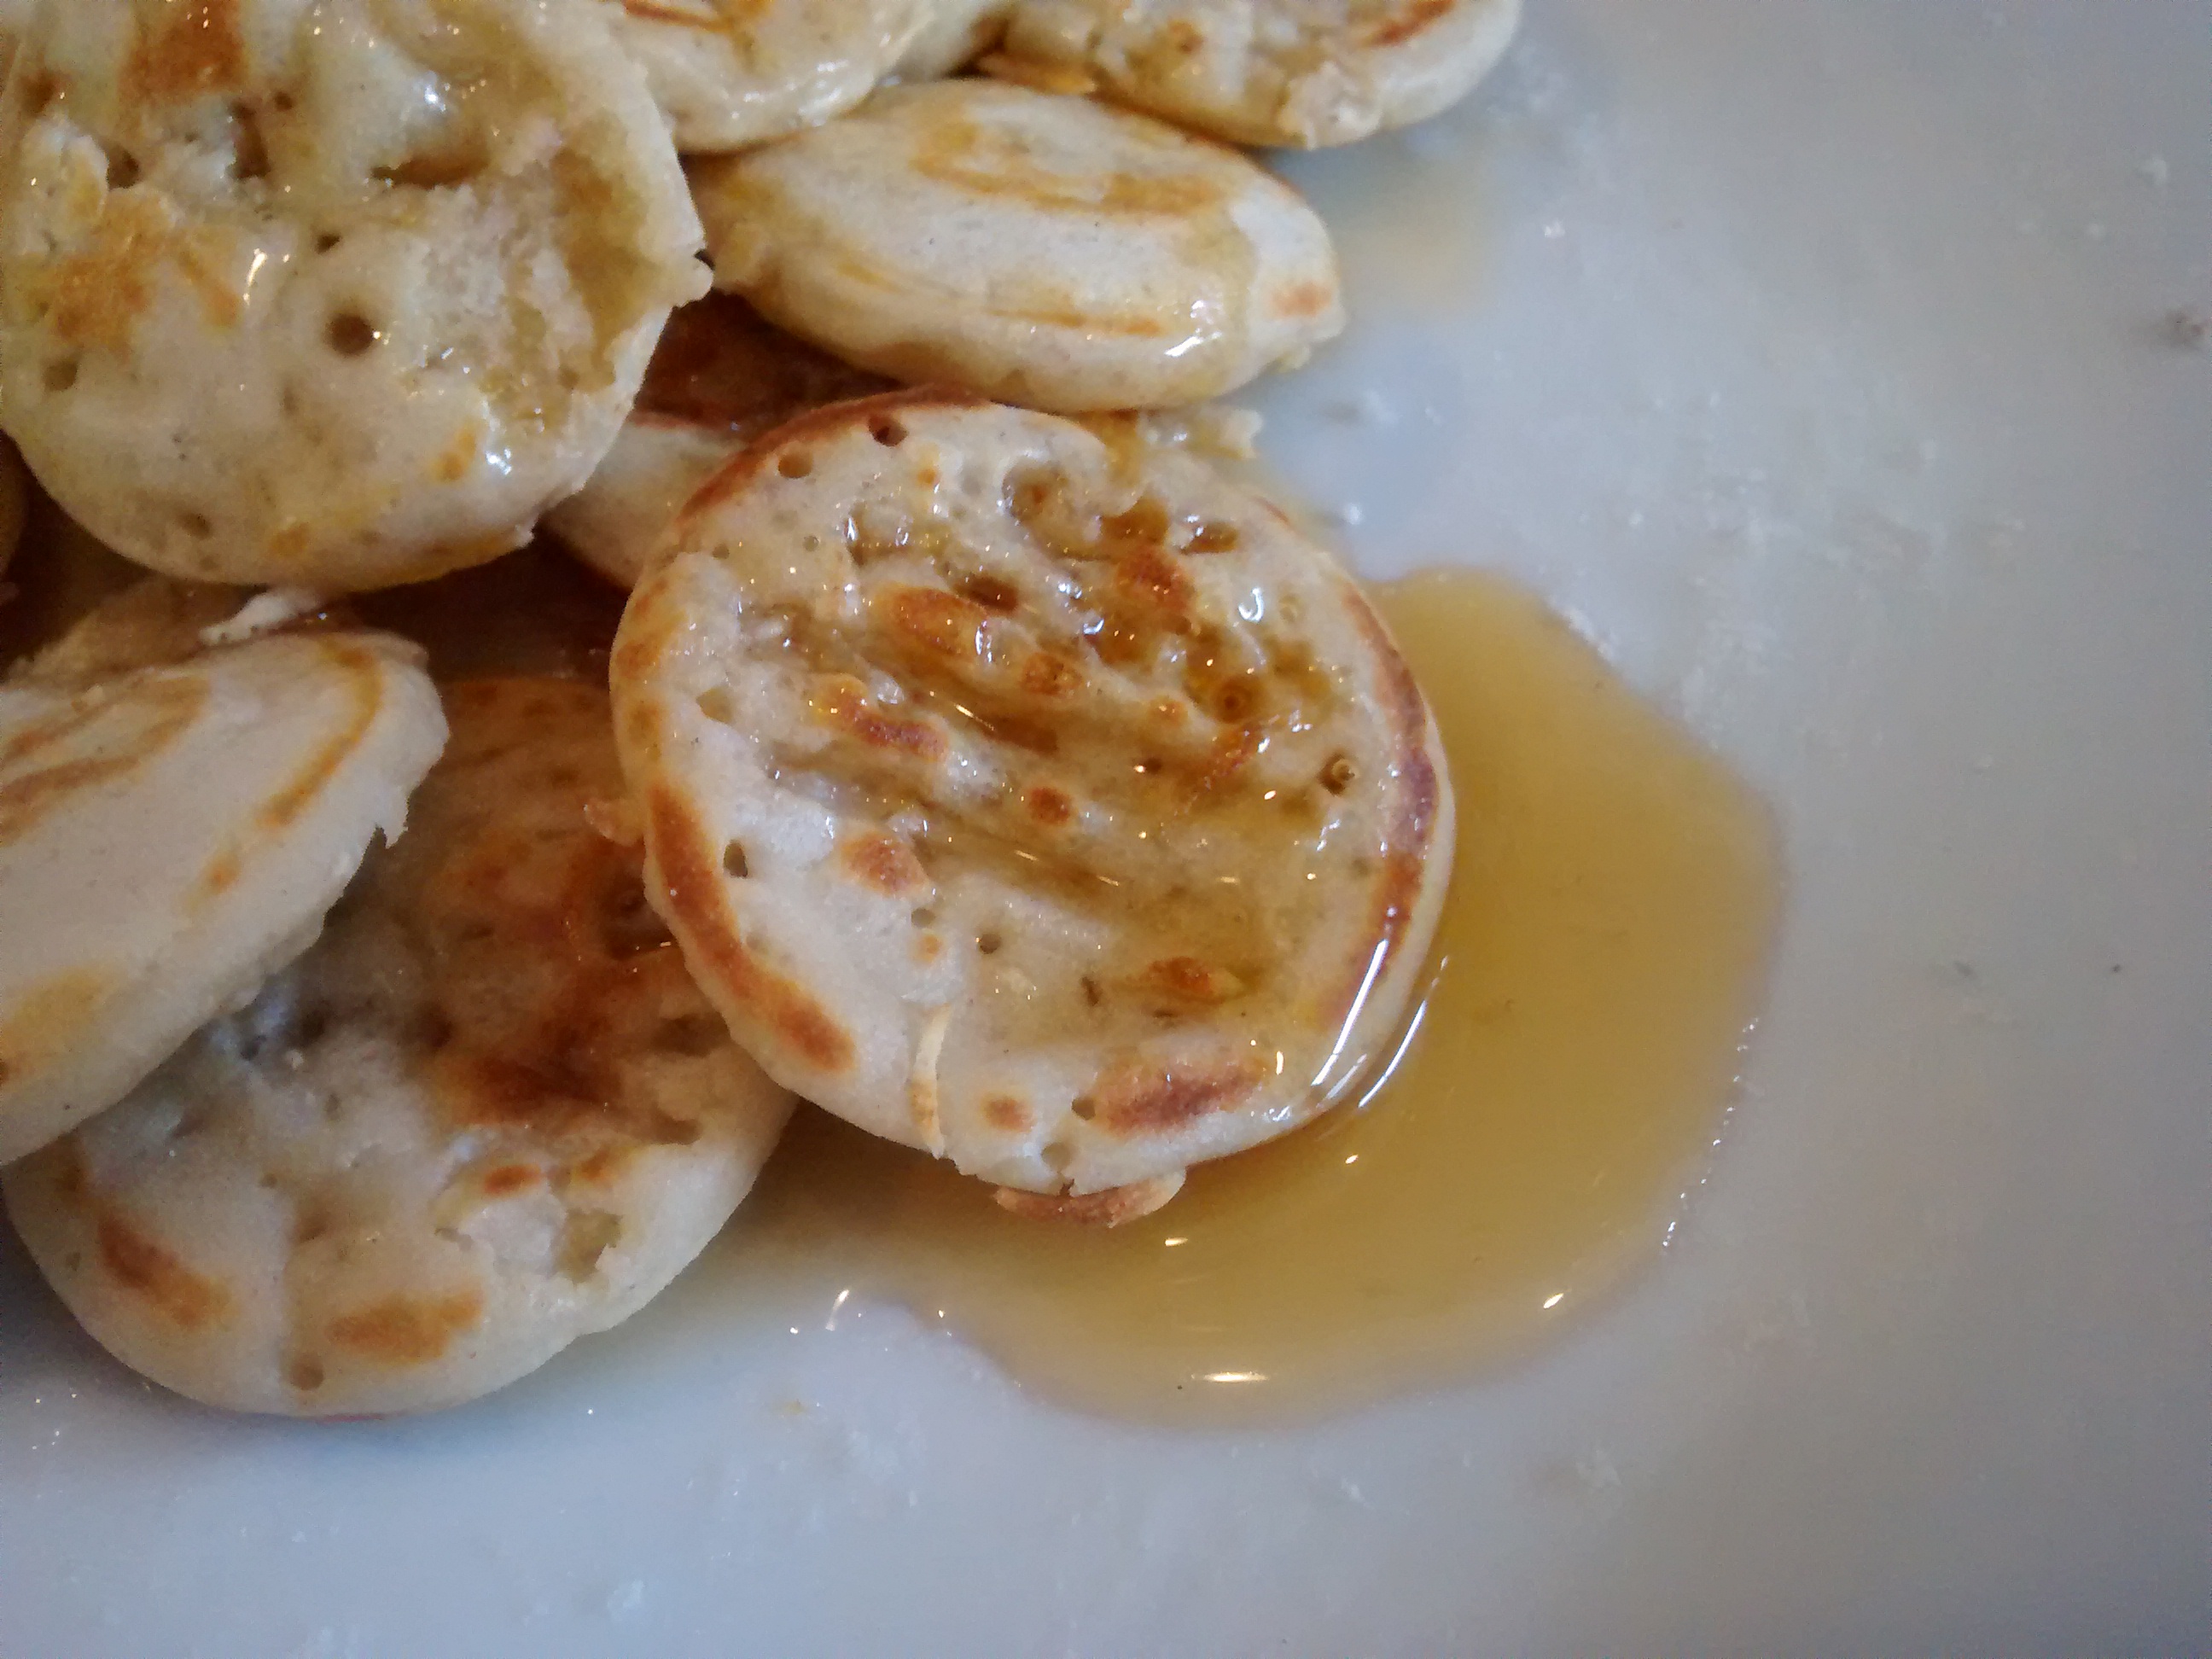
Yoghurt Cheese Pancakes
I have recently been to The Netherlands to stay with my friend and was looking at the local newspaper and saw a recipe for pancakes using qwark (I can manage enough Dutch words to figure out some recipes – especially if there is a photograph!)
I thought they sounded very much like racuszki, so I jotted the recipe down and when I came home I adapted it slightly by using self raising flour, adding a little vanilla essence and used my own yoghurt cheese instead of qwark.
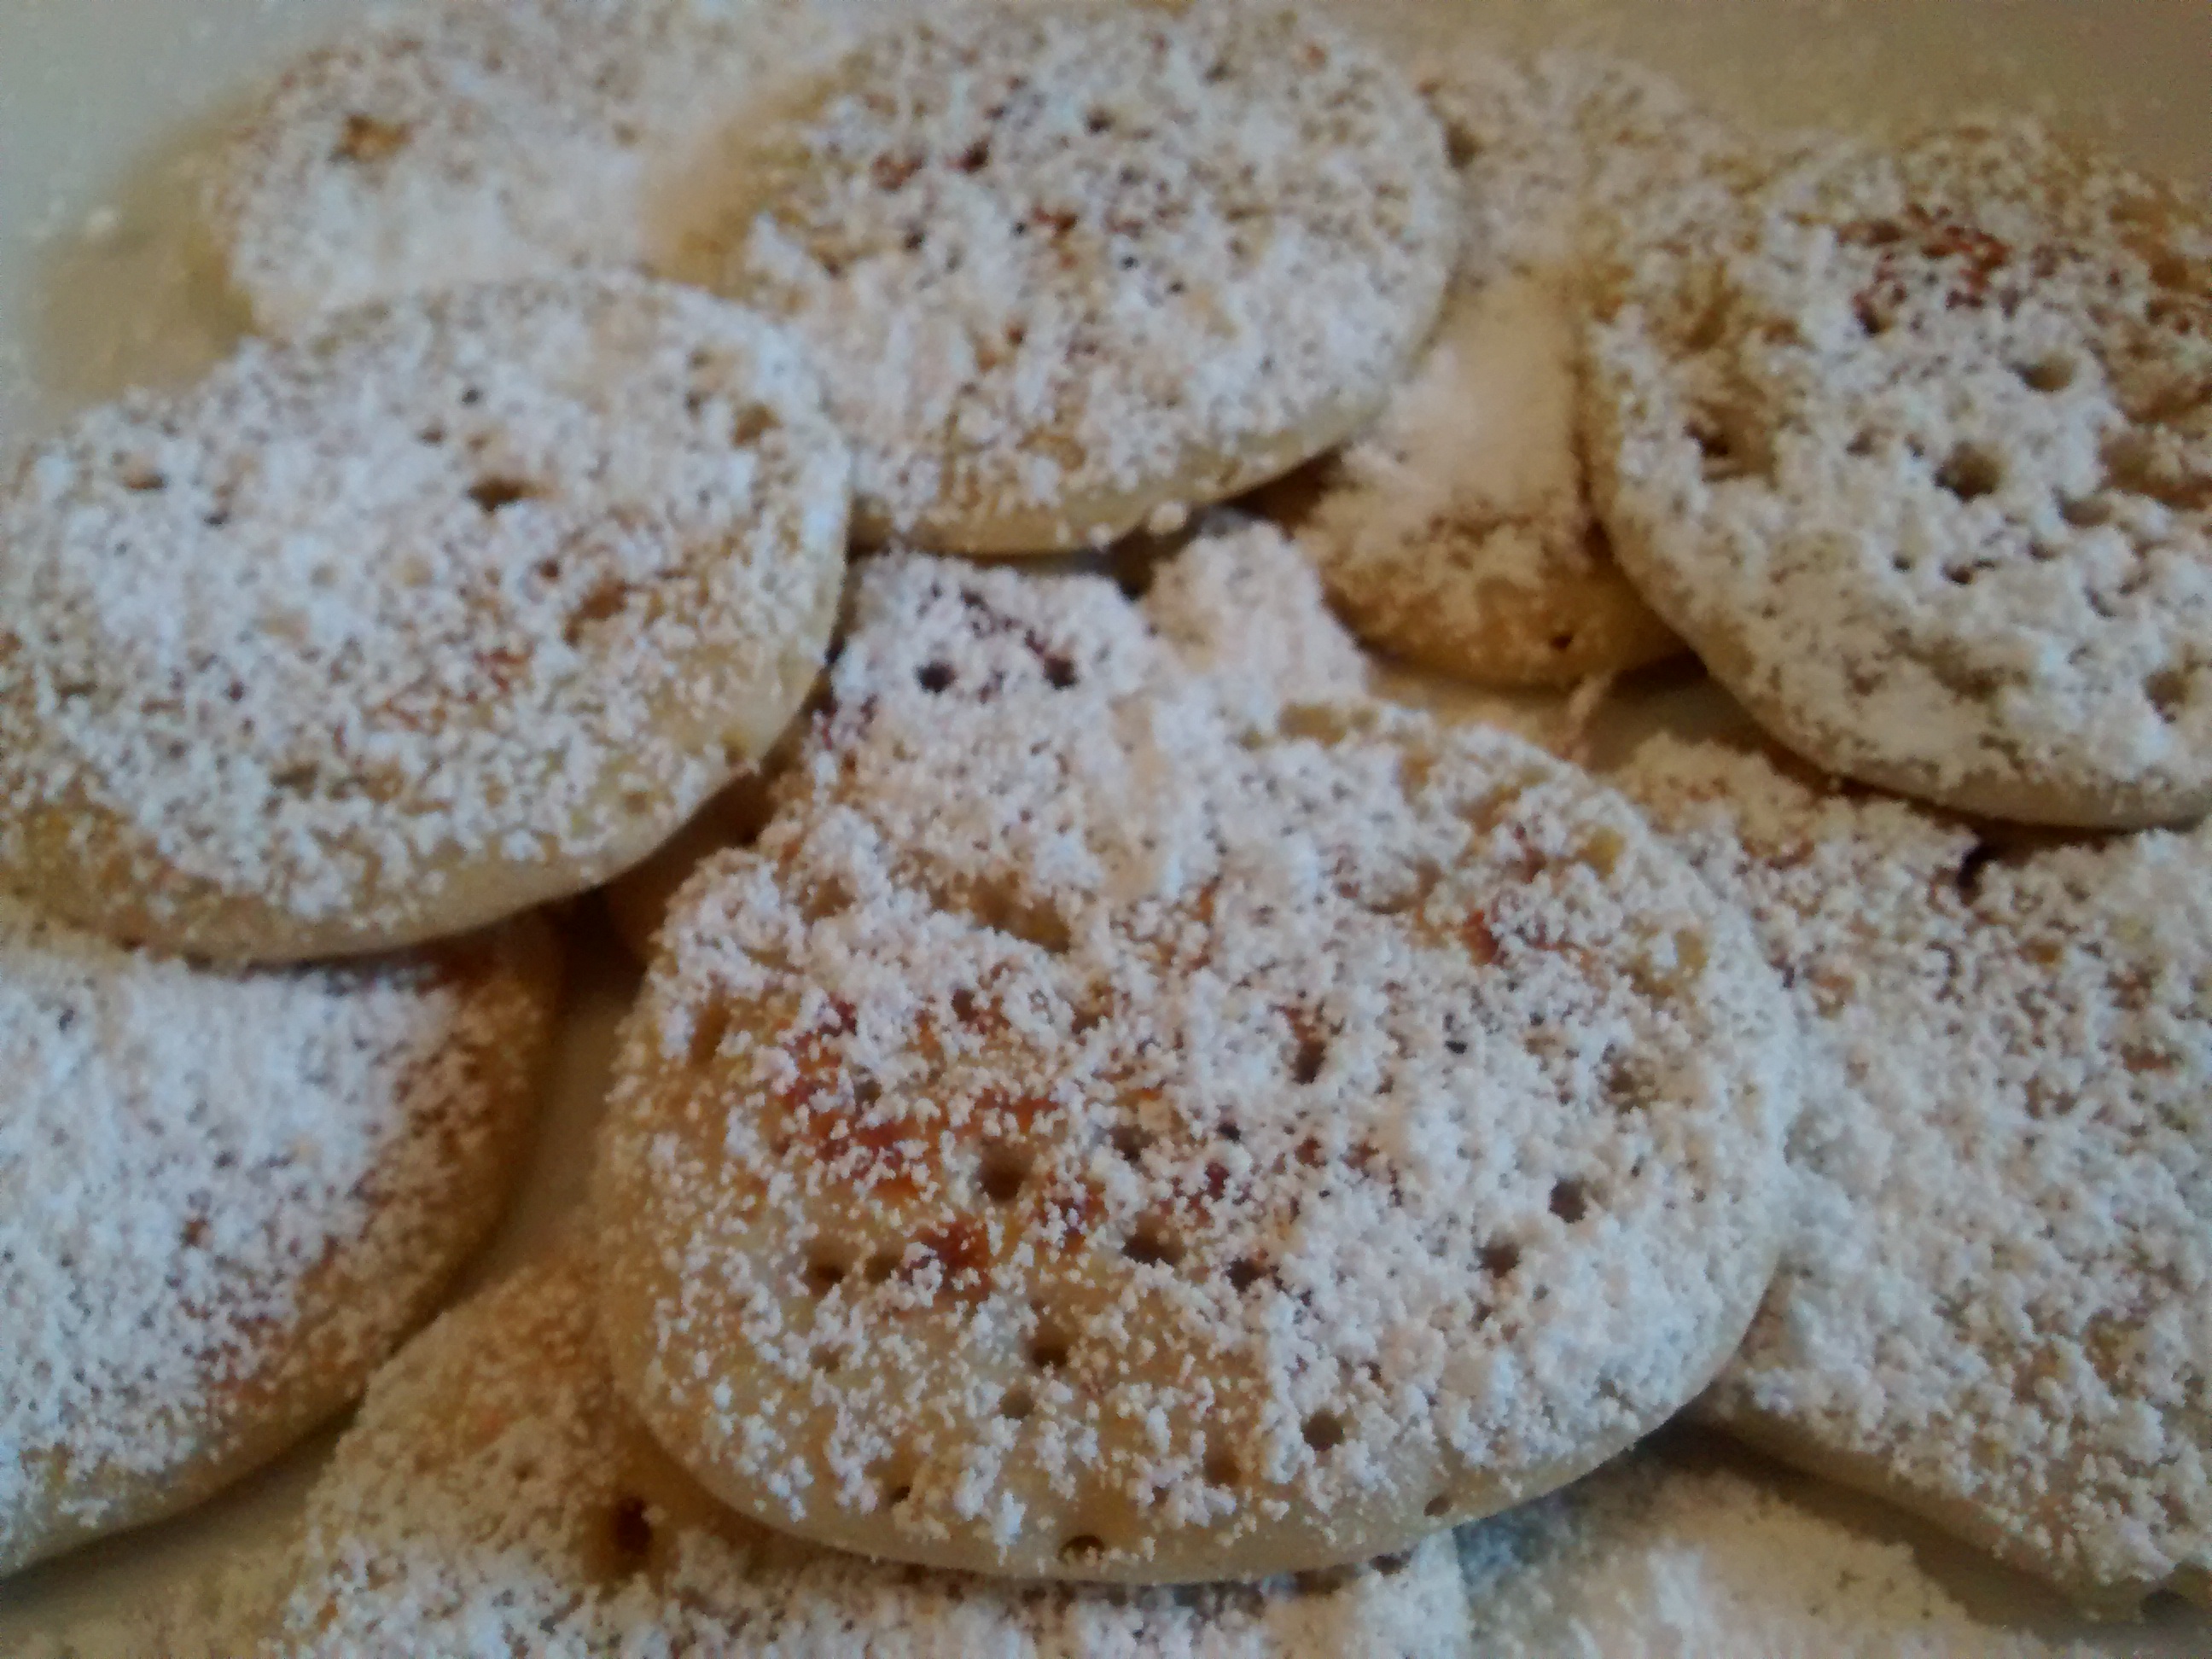
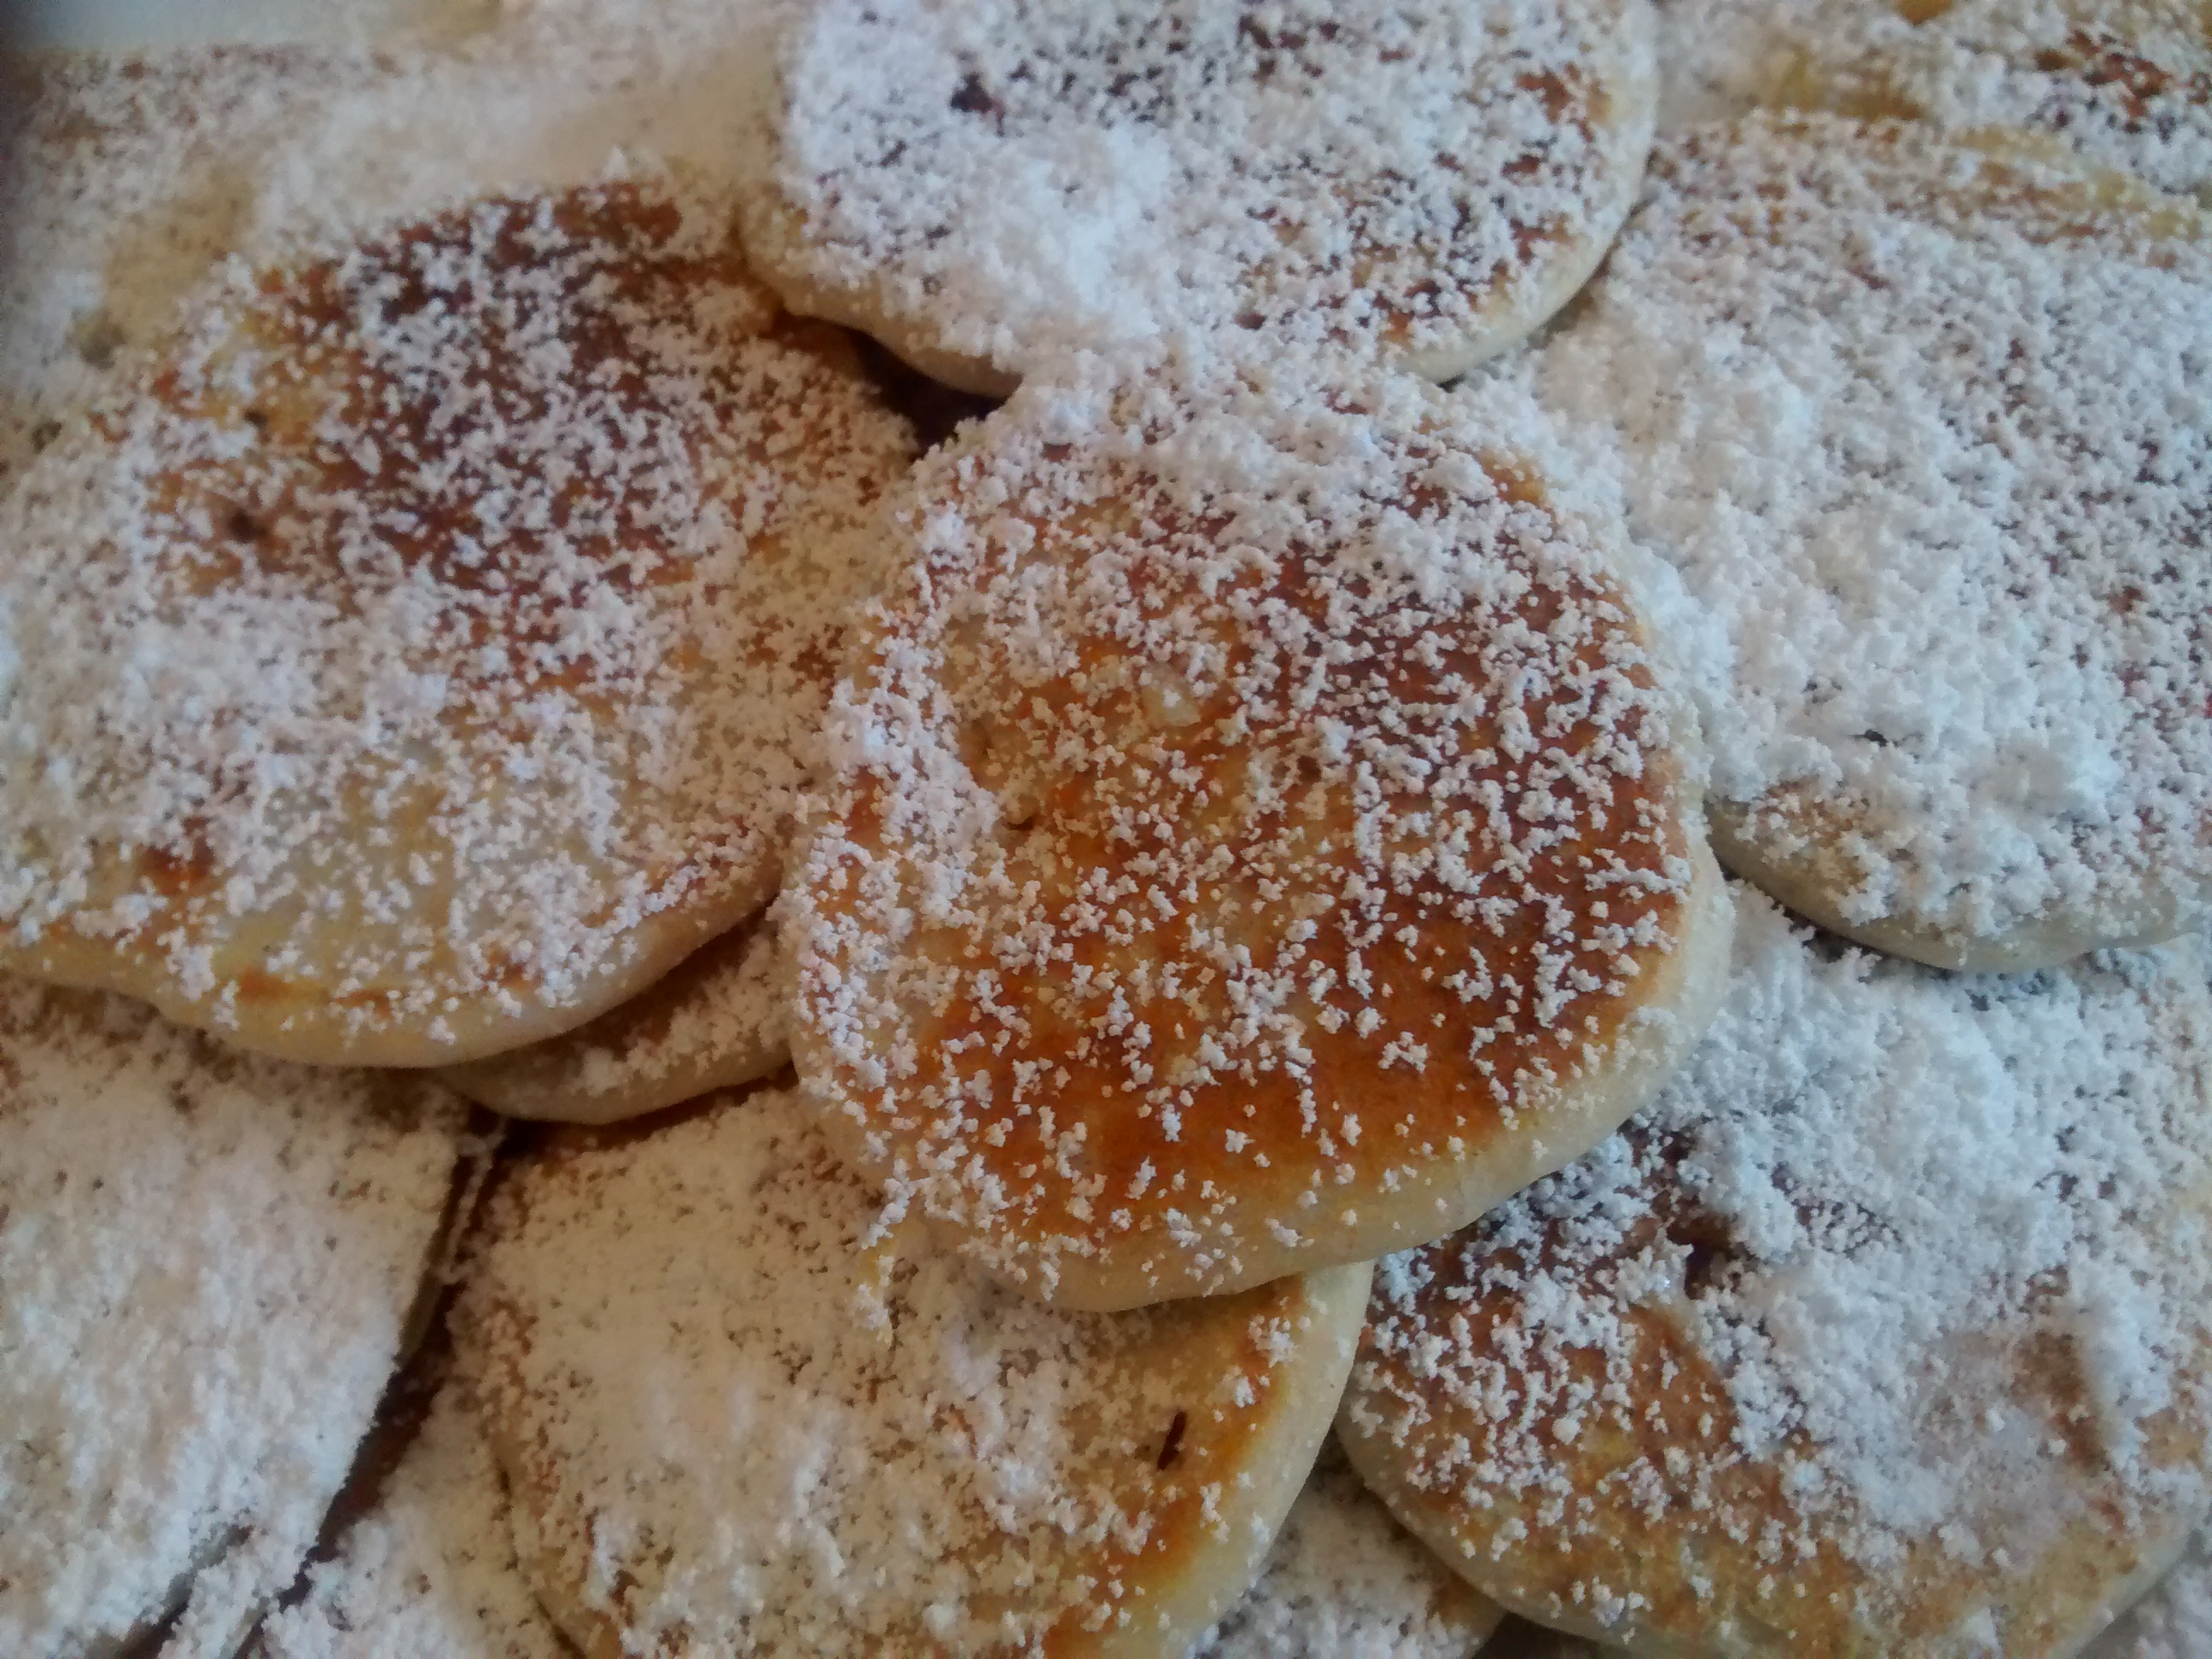
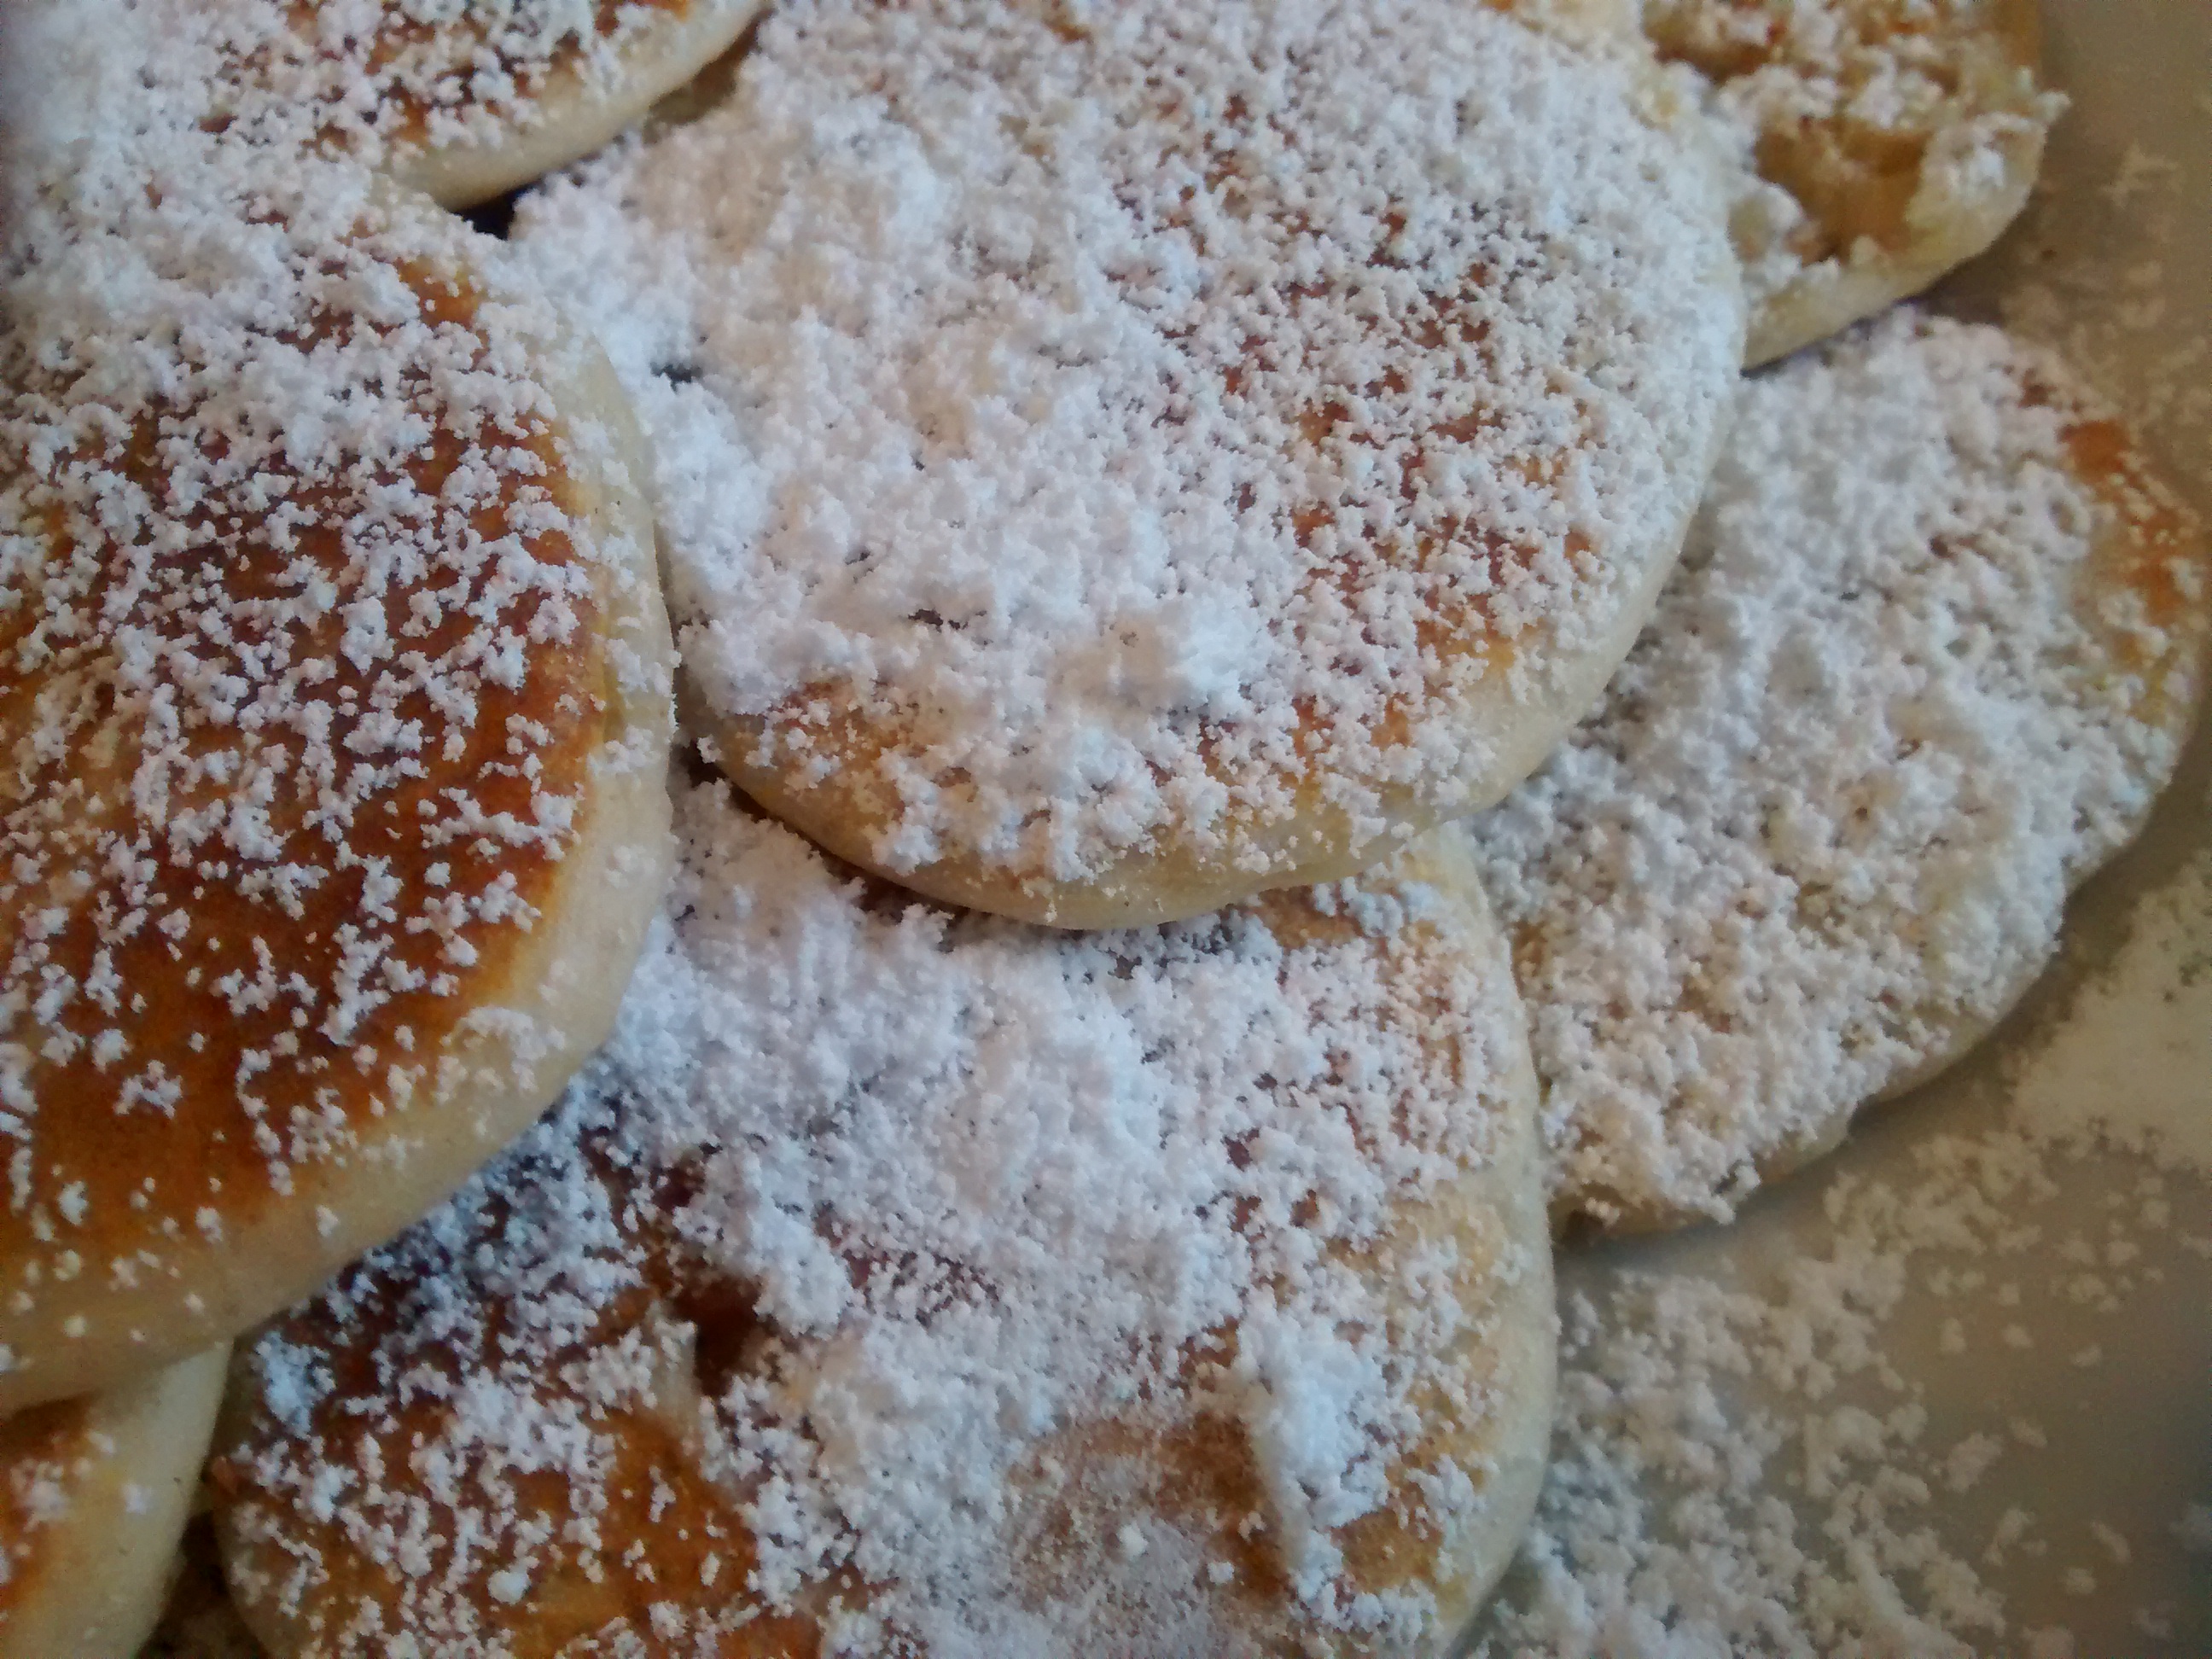
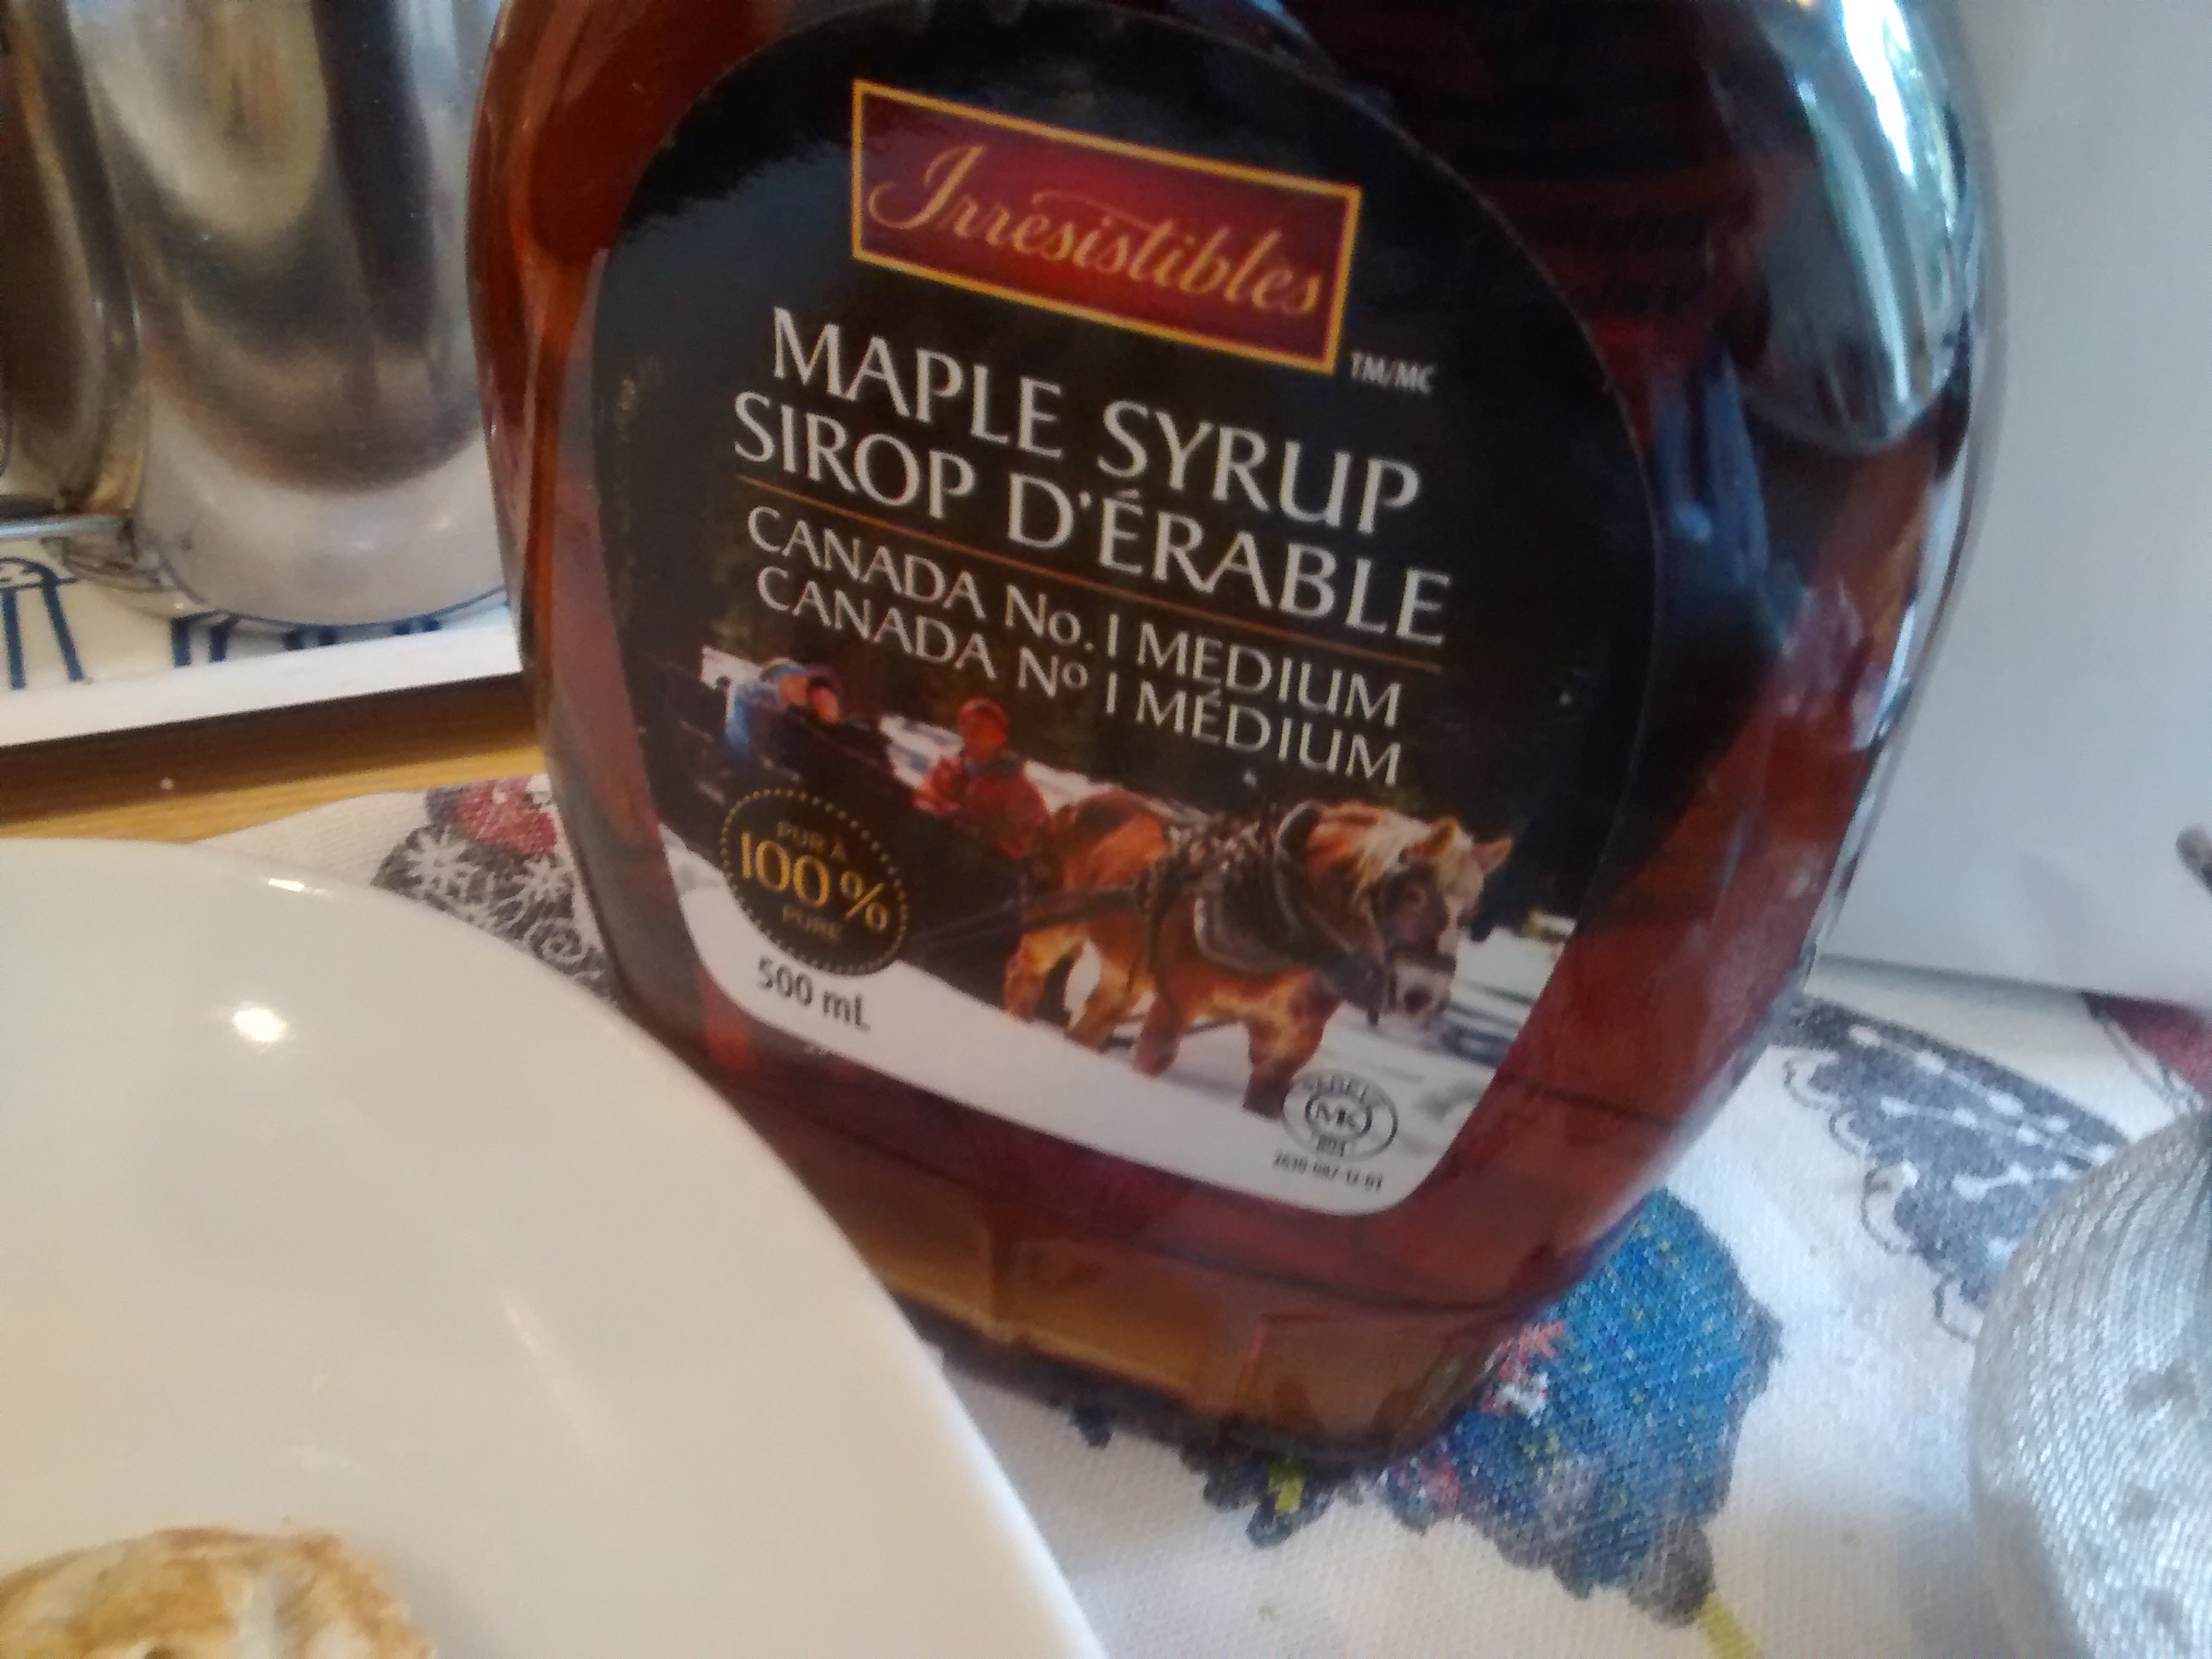
In the original recipe they served them warm with yoghurt & honey, I also tried them with melted butter & sugar, and with maple syrup – from the large bottle I got from my friend who lives in Canada.
They were super and ones I had left could be easily reheated and were still soft and not rubbery – I will be using this recipe lots from now on.
Ingredients
2 eggs separated
2 tablespoons sugar
250g yoghurt cheese
200ml milk (you might not need it all)
125g self raising flour
Pinch salt
2-3 drops of vanilla essence
Method
Whisk the egg whites until they are stiff – I tend to do this first so you can use the beaters for the rest of the recipe – without having to wash them to remove the grease.
In a large bowl mix the egg yolks, sugar, yoghurt cheese, flour, pinch of salt, vanilla essence and around half the milk.
Keep adding more milk and mix well until you have a thick batter – like double cream.
With a metal spoon fold in the stiff egg whites.
Use a griddle or thick cast iron frying pan and use oil to grease it lightly and heat it up.
You need to try and keep a low to medium heat so as not to burn the pancakes.
Place tablespoonfuls of the batter on the frying pan and cook until the base is set and golden then turn them over and cook the other side.
Ciocia* Pola’s Apple Racuszki
*Aunty
Many years ago I went to stay with my one of mother’s sisters (Apolonia) who lived in the area called mazury – the Masurian Lake District in North East Poland.
With apples from the garden she made racuszki – using a thick yeast risen batter and roughly chopped apples – a cross between a pancake and a fritter. They were delicious.
I have made them here many times using her recipe. Whilst researching and checking other variations I saw that several recipes used grated apples – these came out stodgy with little taste of the apple – you need to keep the pieces fairly large.
Ingredients
125 ml of milk (full or semi-skimmed)
25g caster sugar and 1 teaspoon
10g fresh yeast or 5g dried yeast
25g butter
1 egg
125g plain flour
pinch of salt
2 Bramley apples
*
Icing sugar, caster sugar or cinnamon sugar to dust.
Method
Warm half the milk and add a teaspoon of caster sugar and the yeast and mix it all together and leave it to froth up.
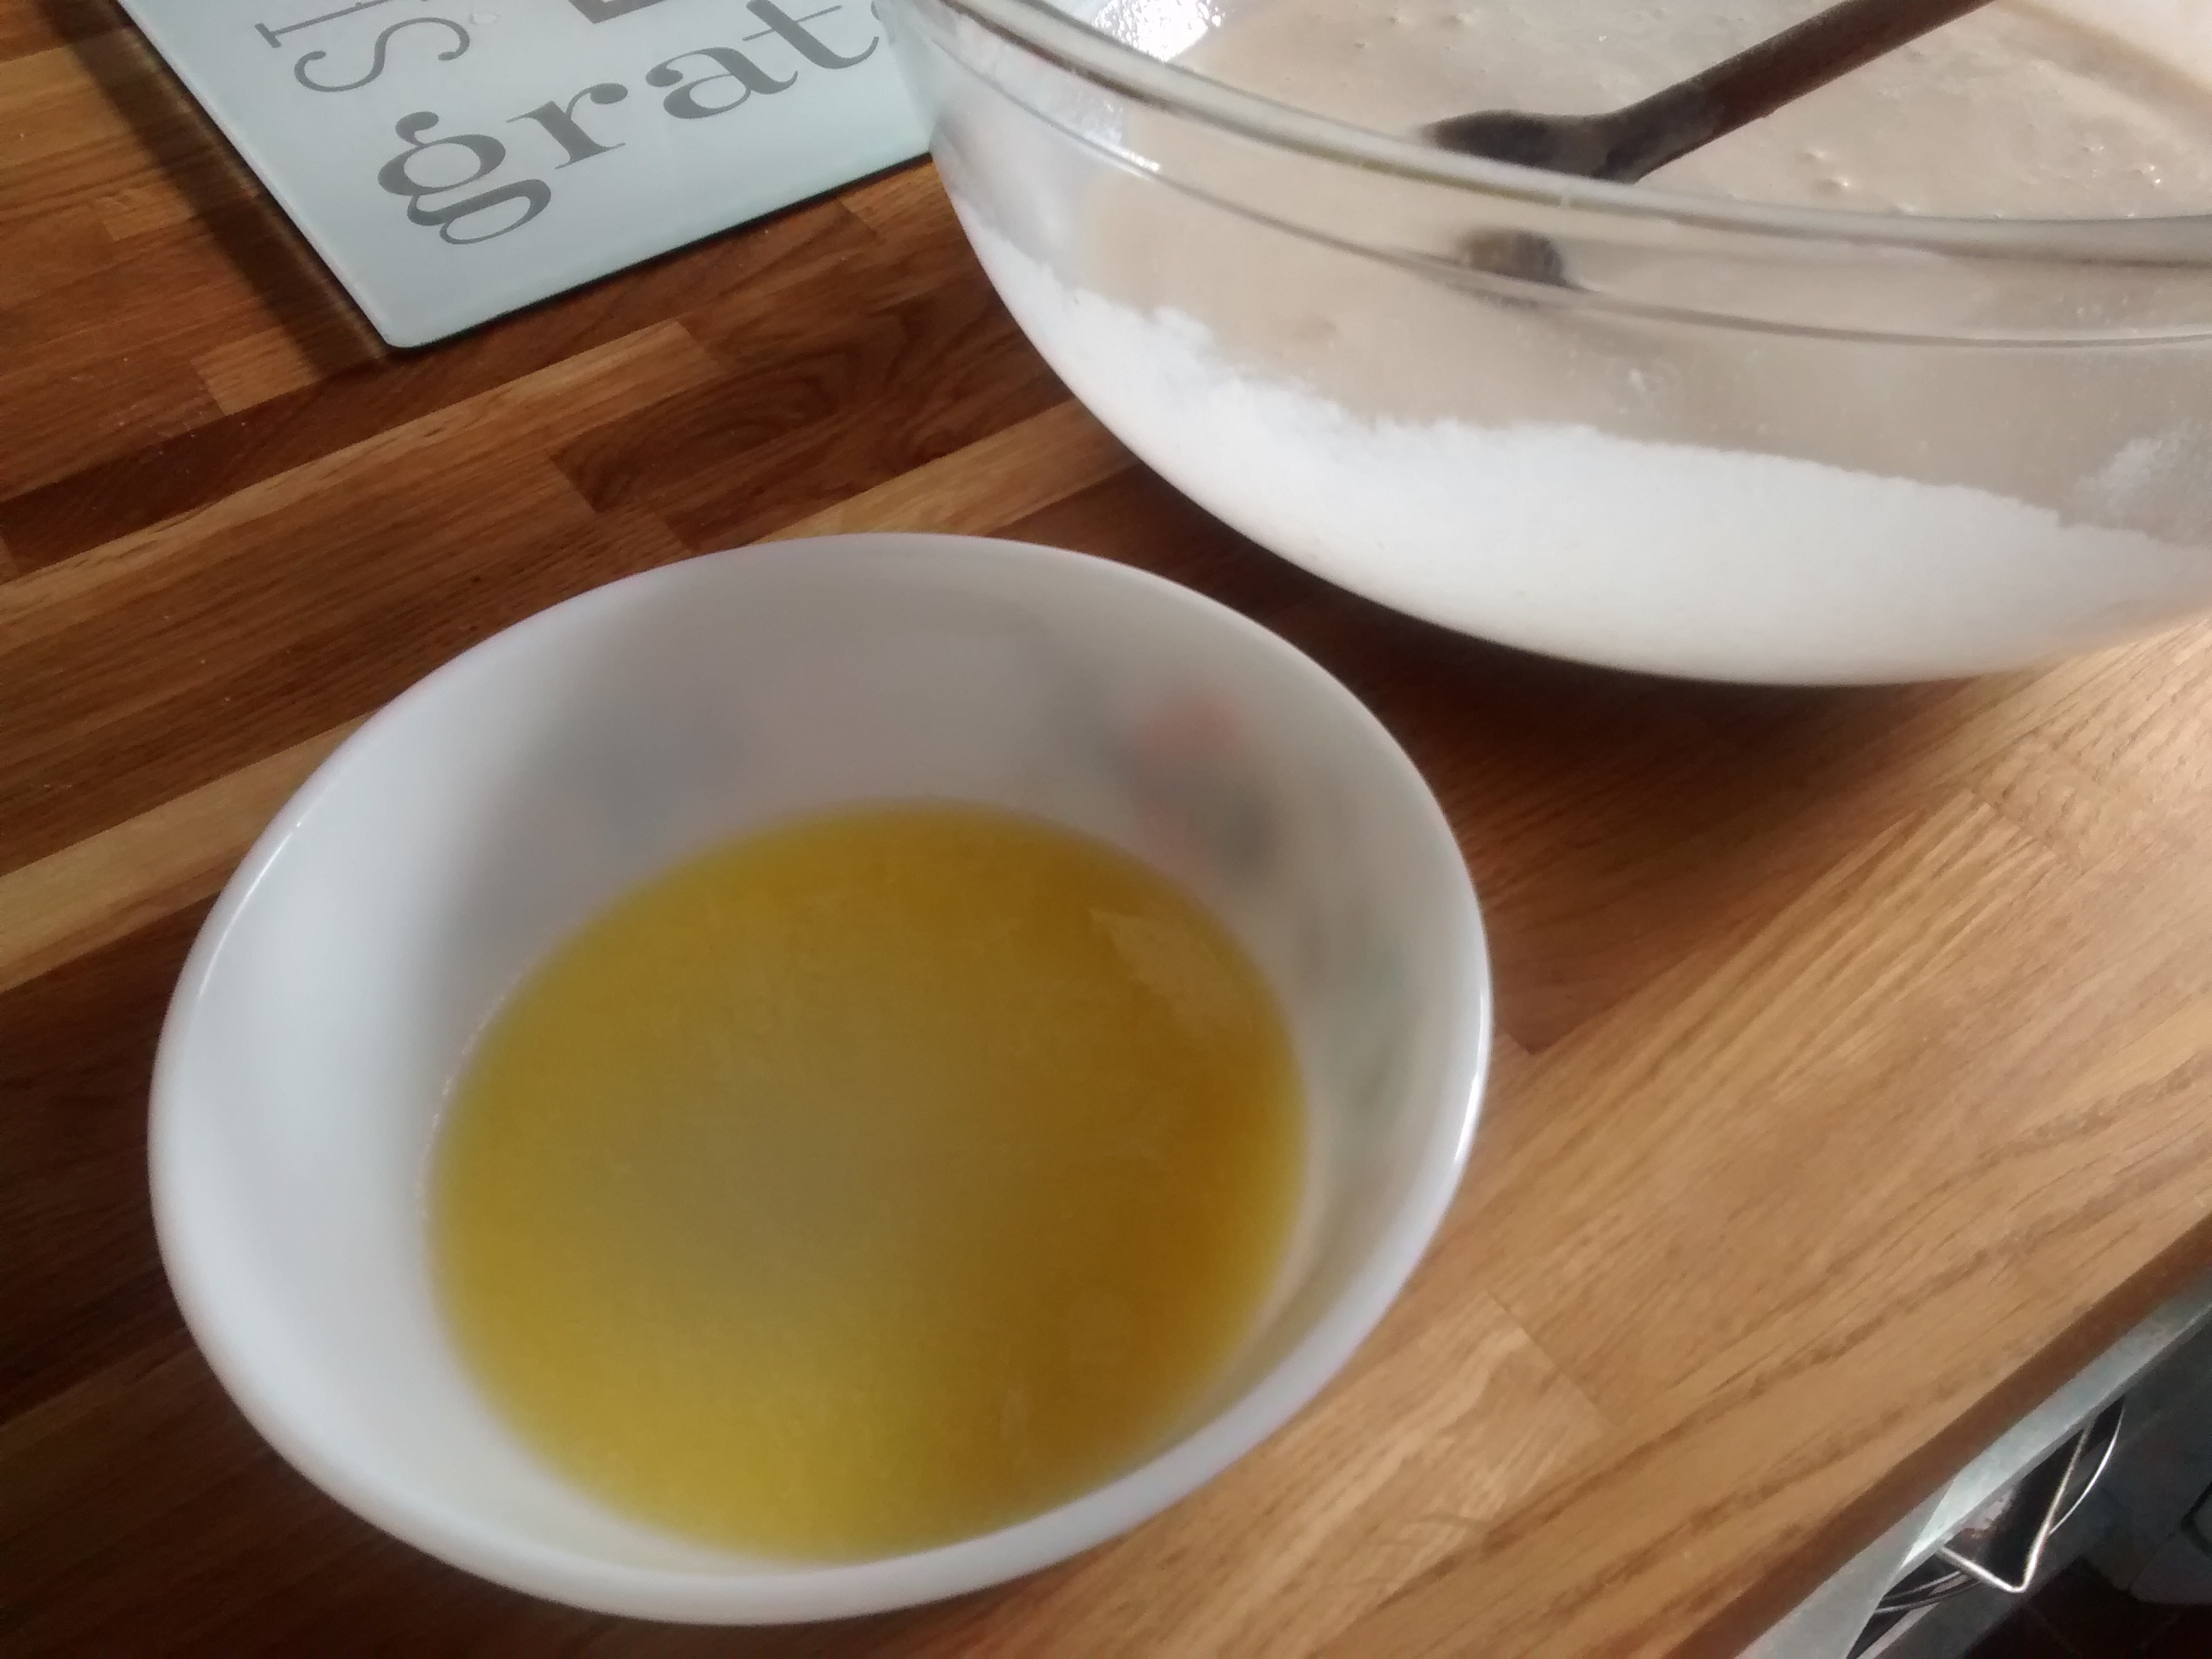
Melt the butter and leave it to cool.
Whisk the egg with the sugar until it is thick and creamy.
Put the flour and salt into a large bowl.
Use a wooden spoon (one with a hole works really well) and beat in the yeast mixture, the egg & sugar mixture and then the melted butter.
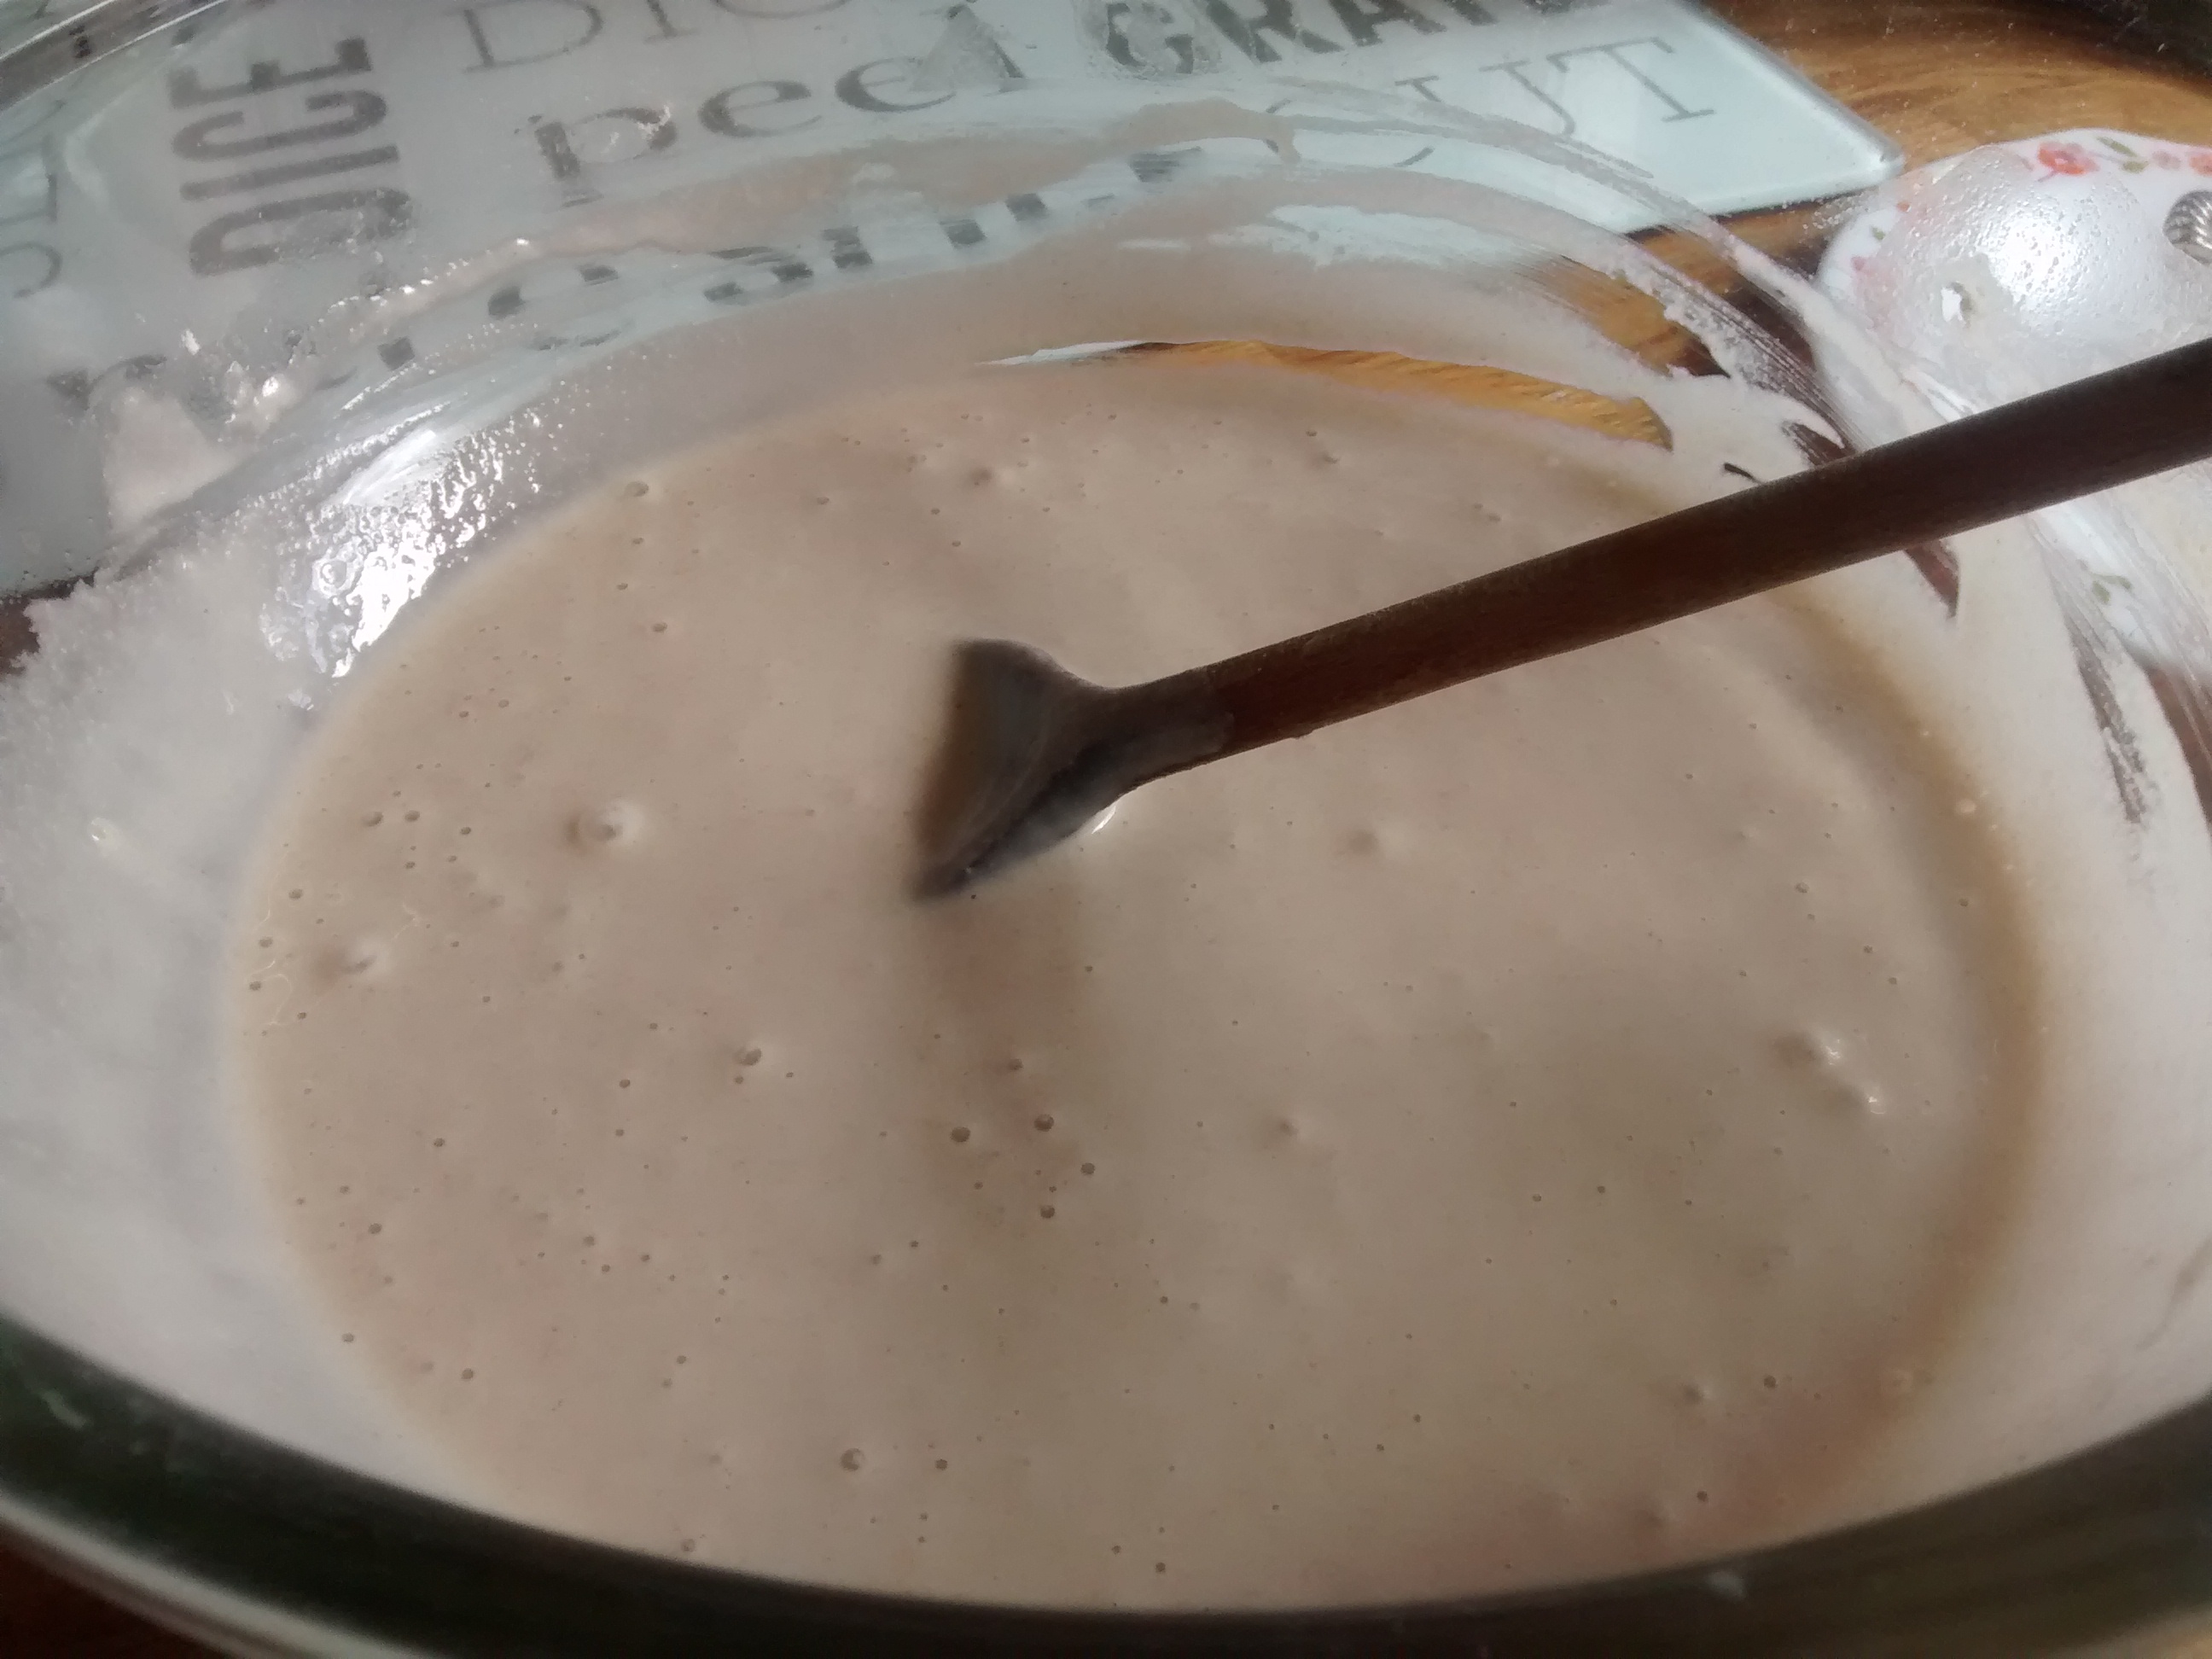
Slowly add the rest of the milk, mixing until the mixture has the consistency of double cream.
Cover the bowl with a cloth and leave this to rise.
Peel, core and quarter the apples and cut them into small chunks or slices cut in half.
Add the apples to the risen batter and mix them well in to coat them.
Use a griddle or thick cast iron frying pan and use oil to grease it lightly and heat it up.
You need to try and keep a low to medium heat so as not to burn the pancakes.
Place large tablespoons of apple and batter onto the pan and cook them so that they are golden brown on both sides.
Remove them from the pan and dust them with icing sugar, caster sugar or cinnamon sugar.
Eat them whilst they are hot & as they say in Poland – Smacznego! (may they be delicious!)
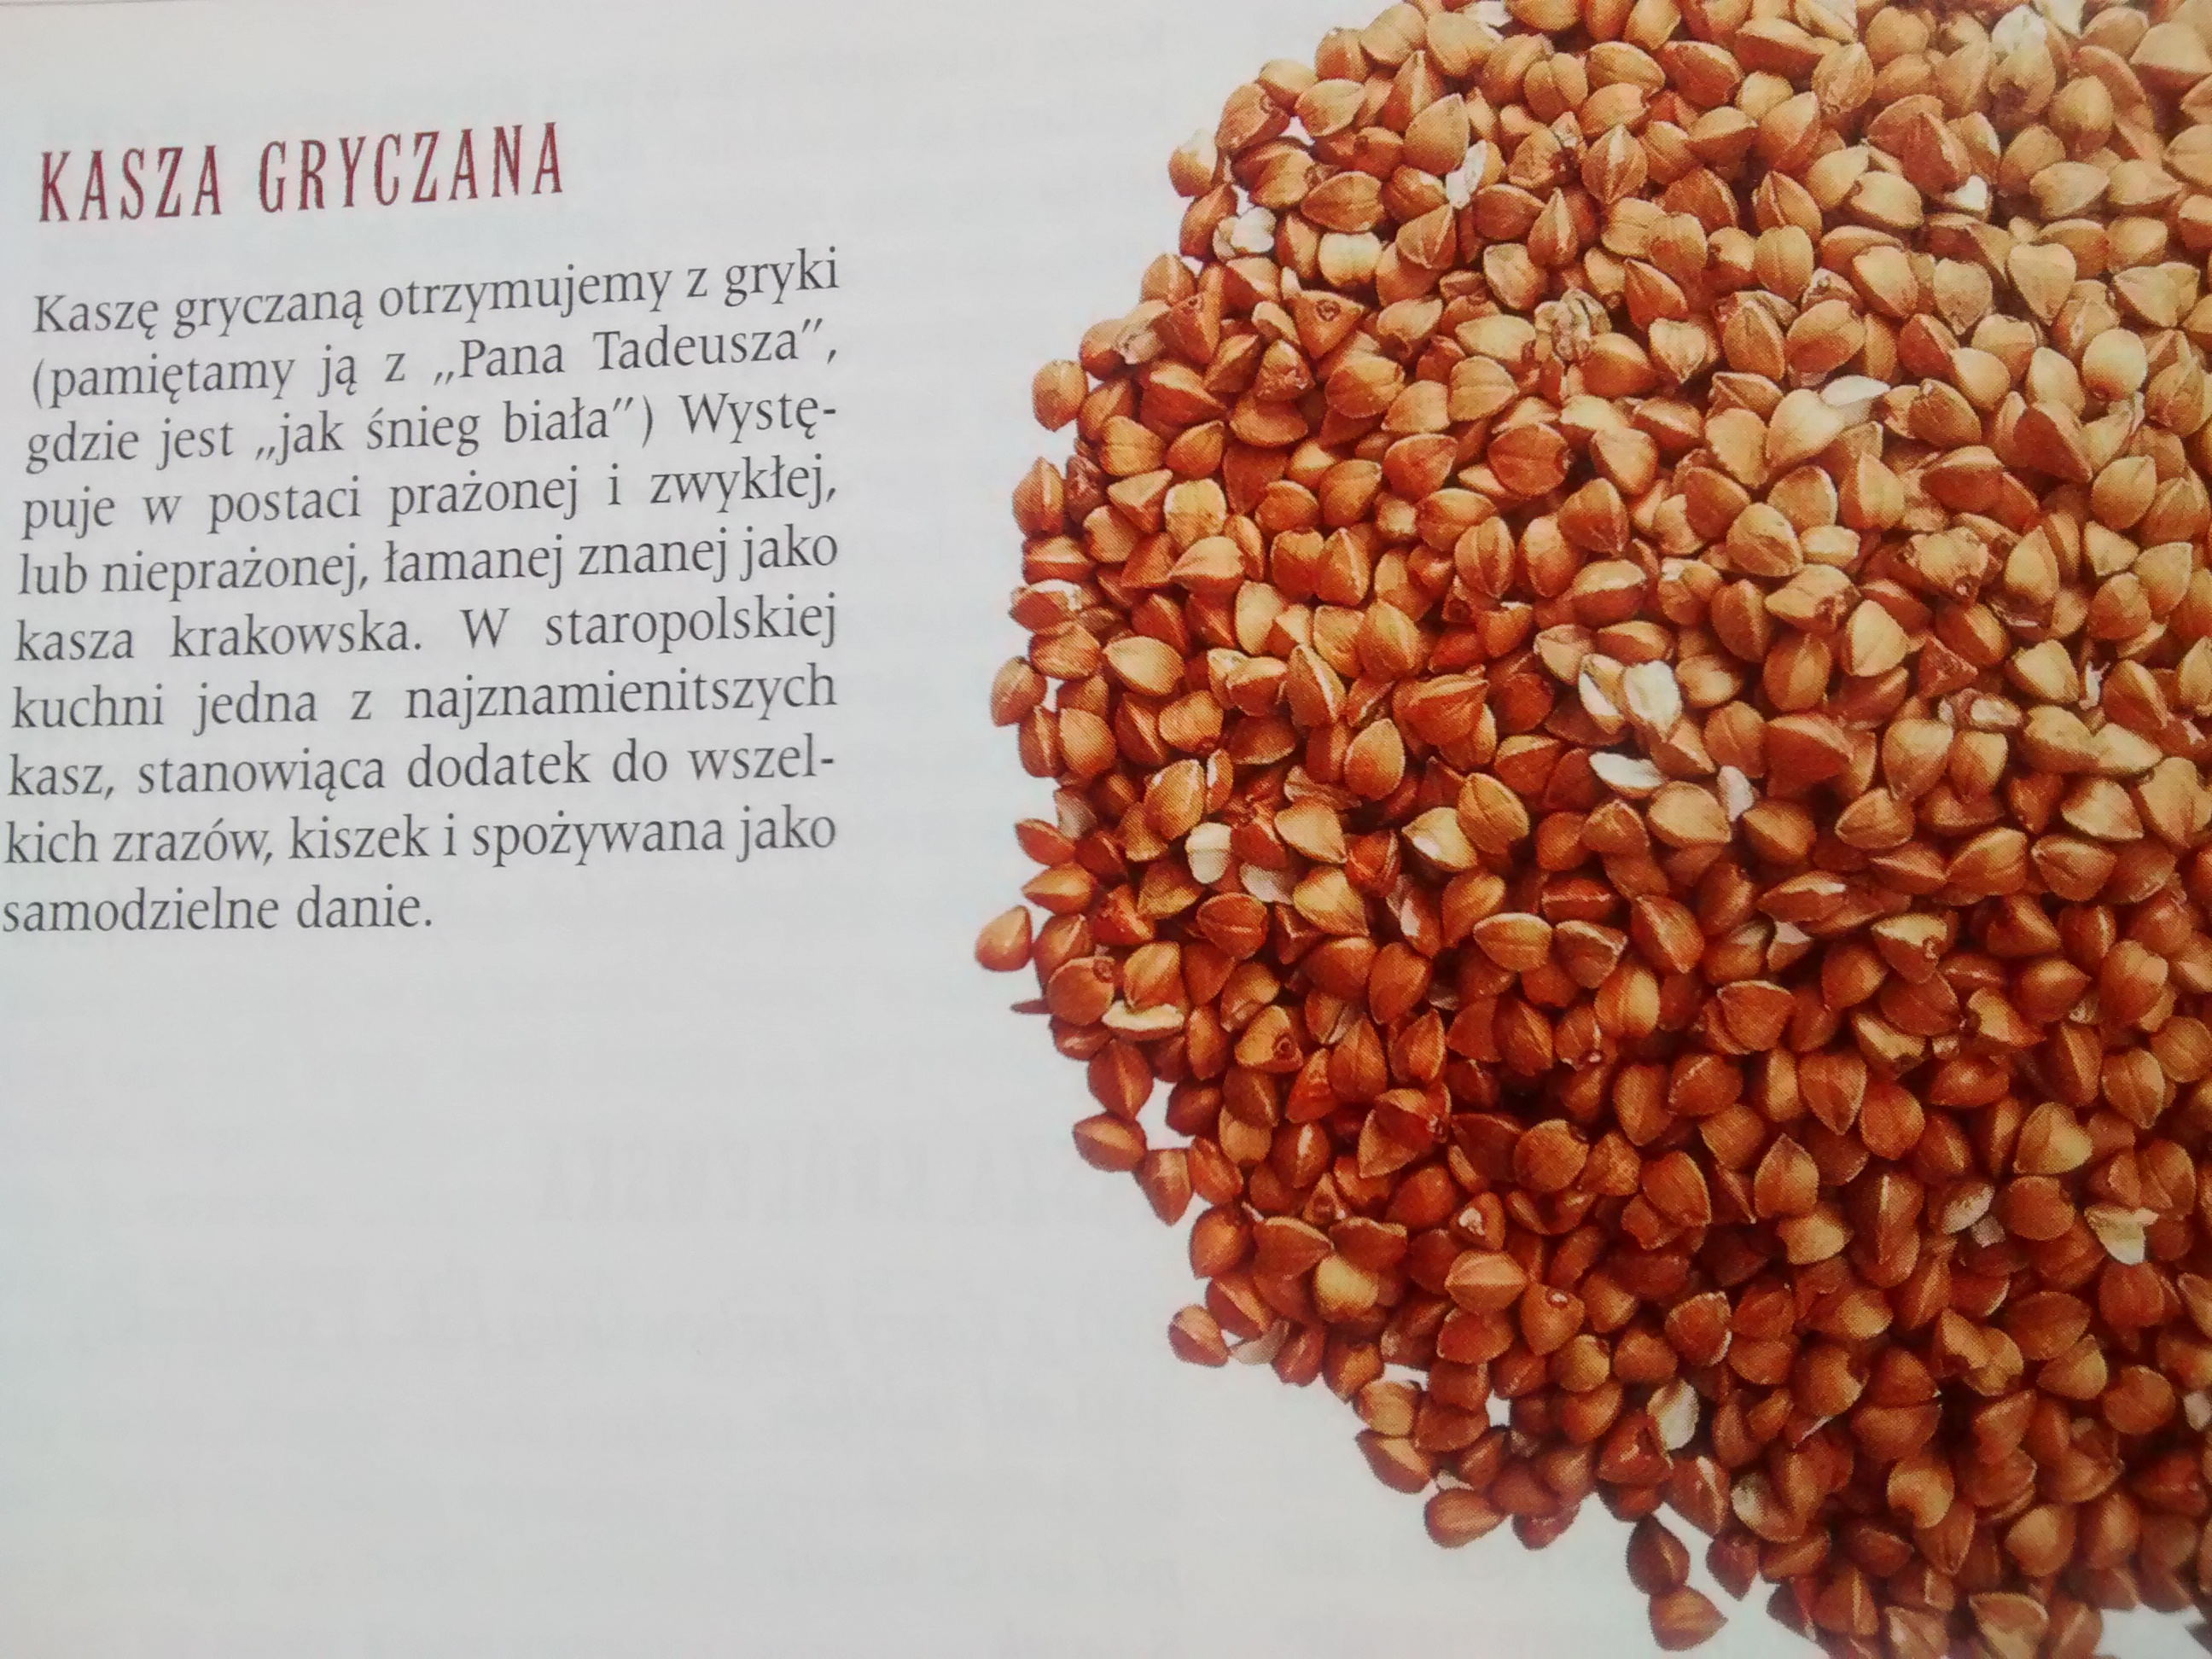
Buckwheat (Fagopyrum tataricum) is used very much in Polish cookery as the plant grows well in a cold climate. Buckwheat requires a well drained soil but without too much fertiliser – lots of fertiliser reduces the yield. It is not in fact a grass or cereal crop but the flour is used in much the same way as wheat.
Buckwheat is related to sorrel and rhubarb and has small triangular seeds. The plant originated in South East Asia and then was brought to Europe.
I have read that it came to Poland via Manchuria and Siberia but the Polish word for buckwheat – grykaindicates that it came from the Greeks – I have also read that the plant was brought to areas of what are now Eastern Poland, Russia & the Ukraine in the 7th century by Byzantine Greeks.
Another regional word used in Polish for buckwheat is hreczka – this again suggests a Greek origin.
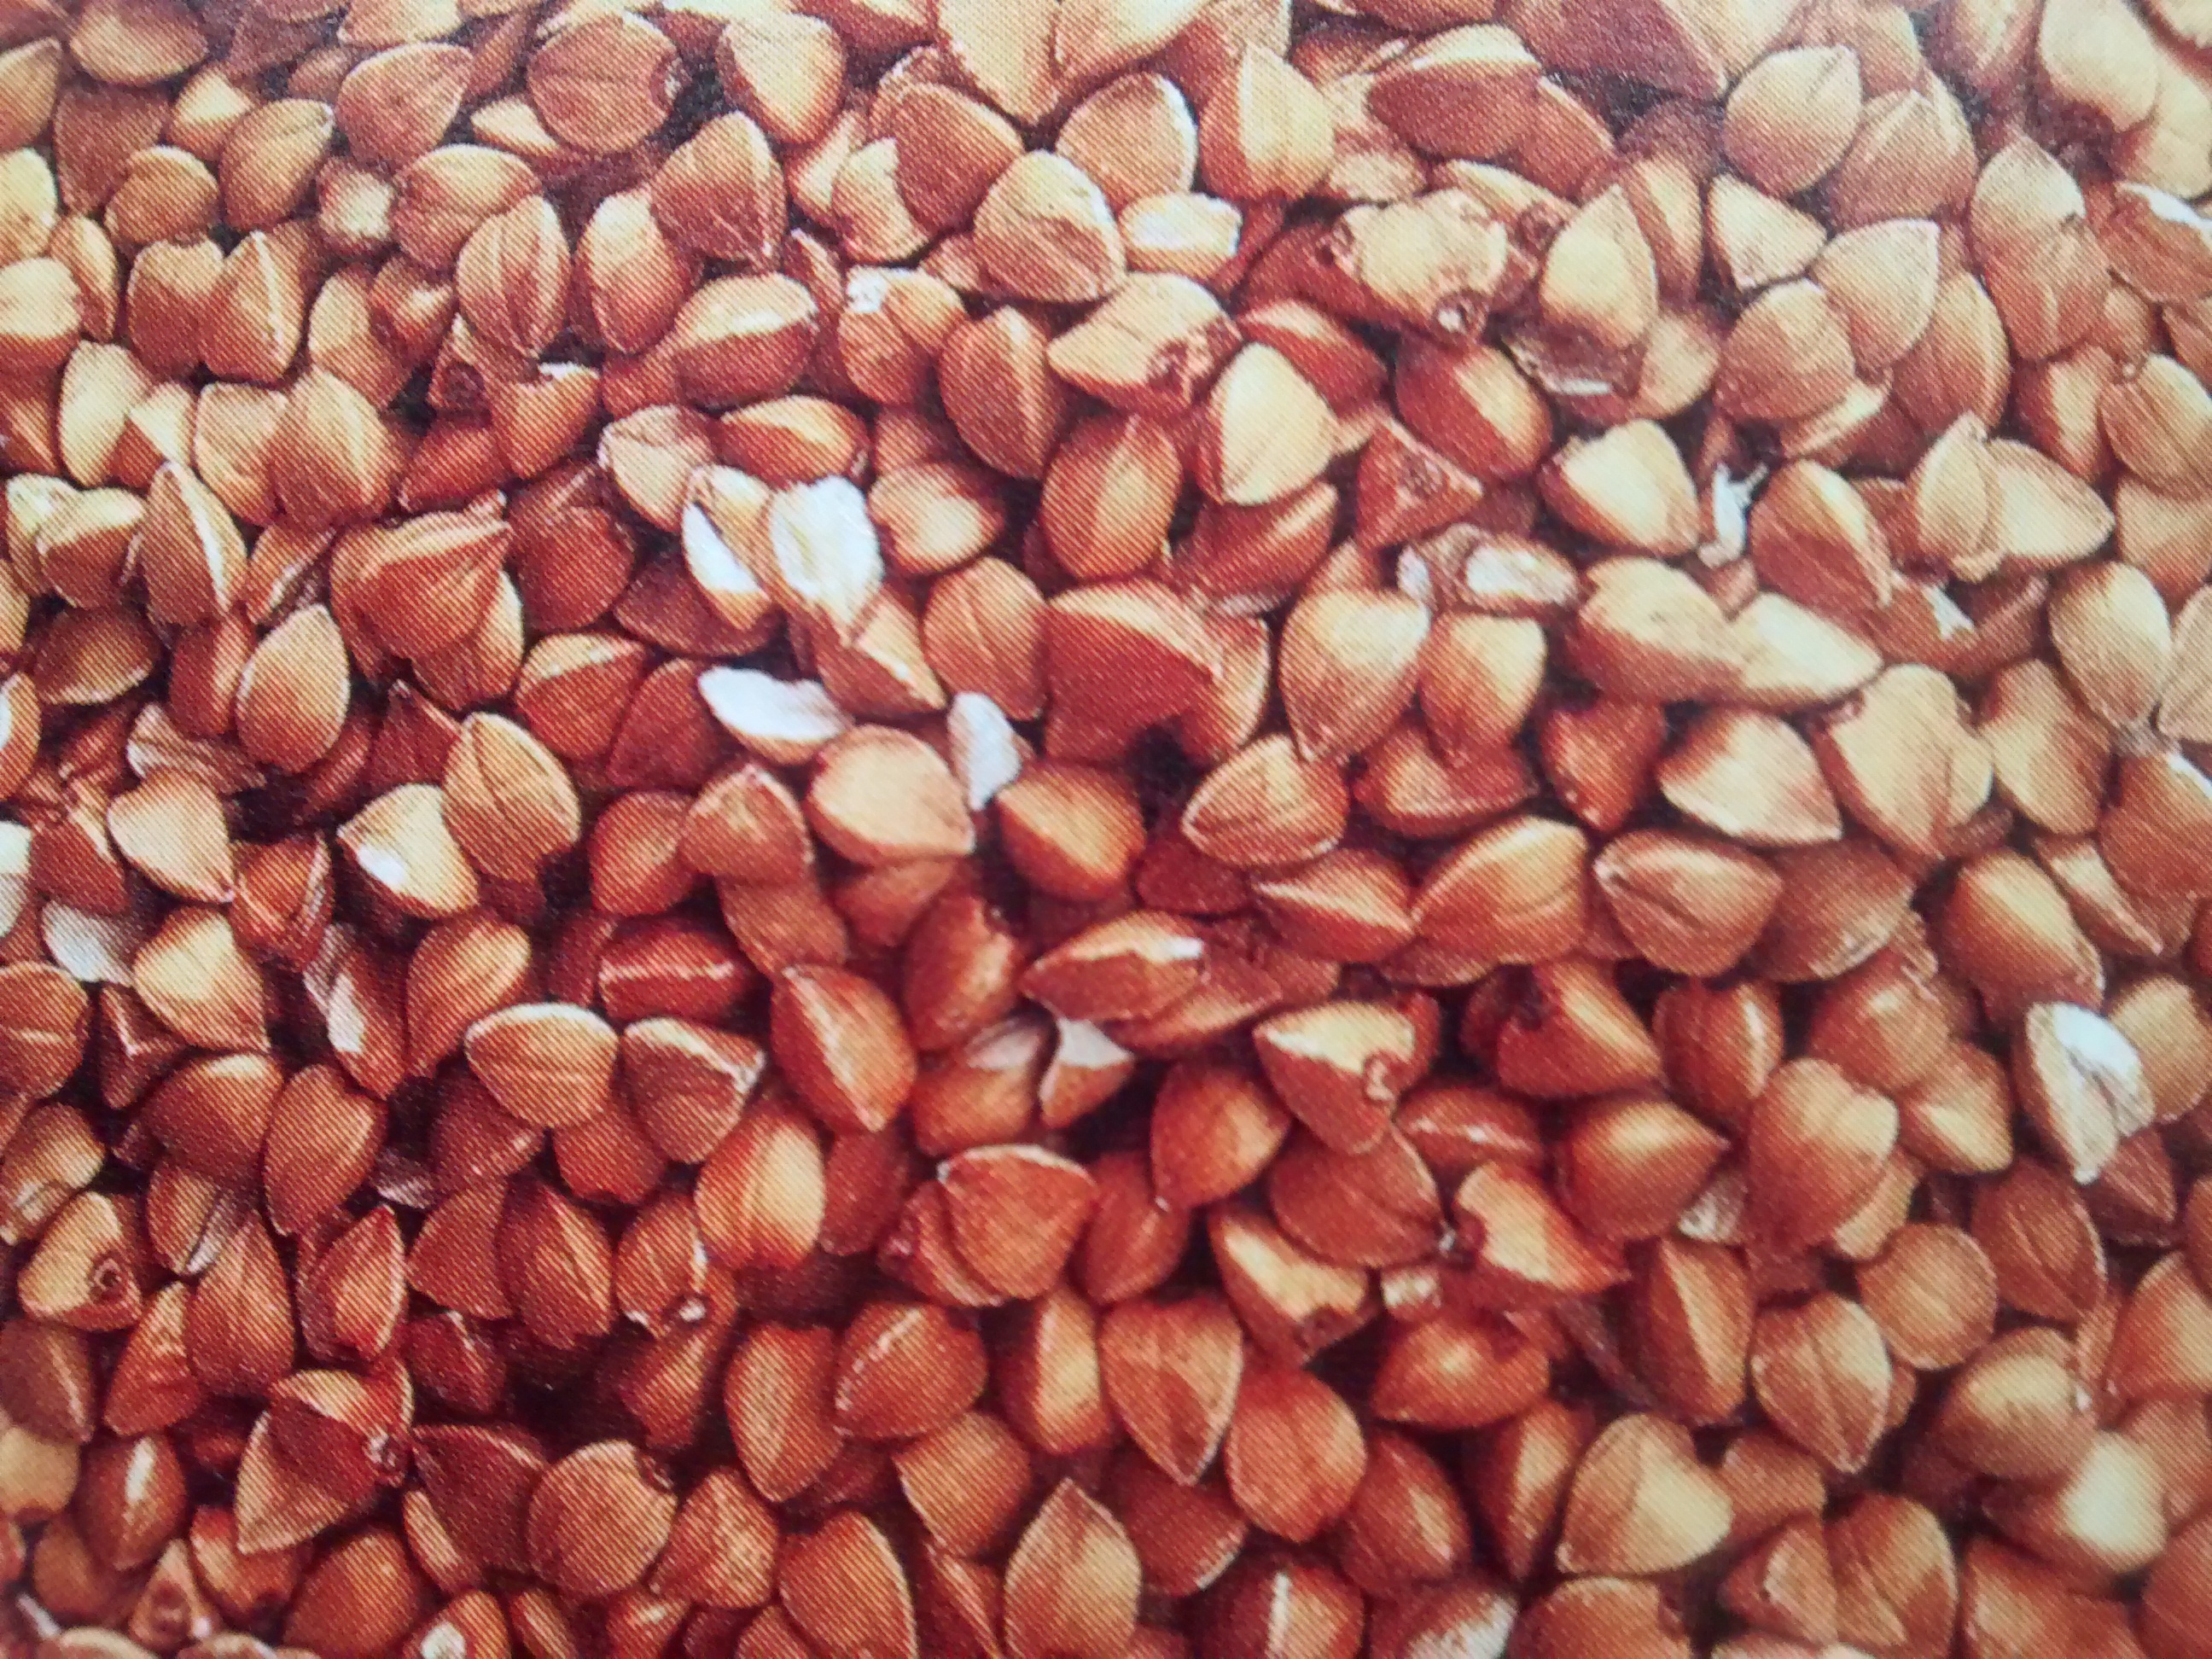
Photographs from the book Kuchnia Polska by Maciej Kuroń
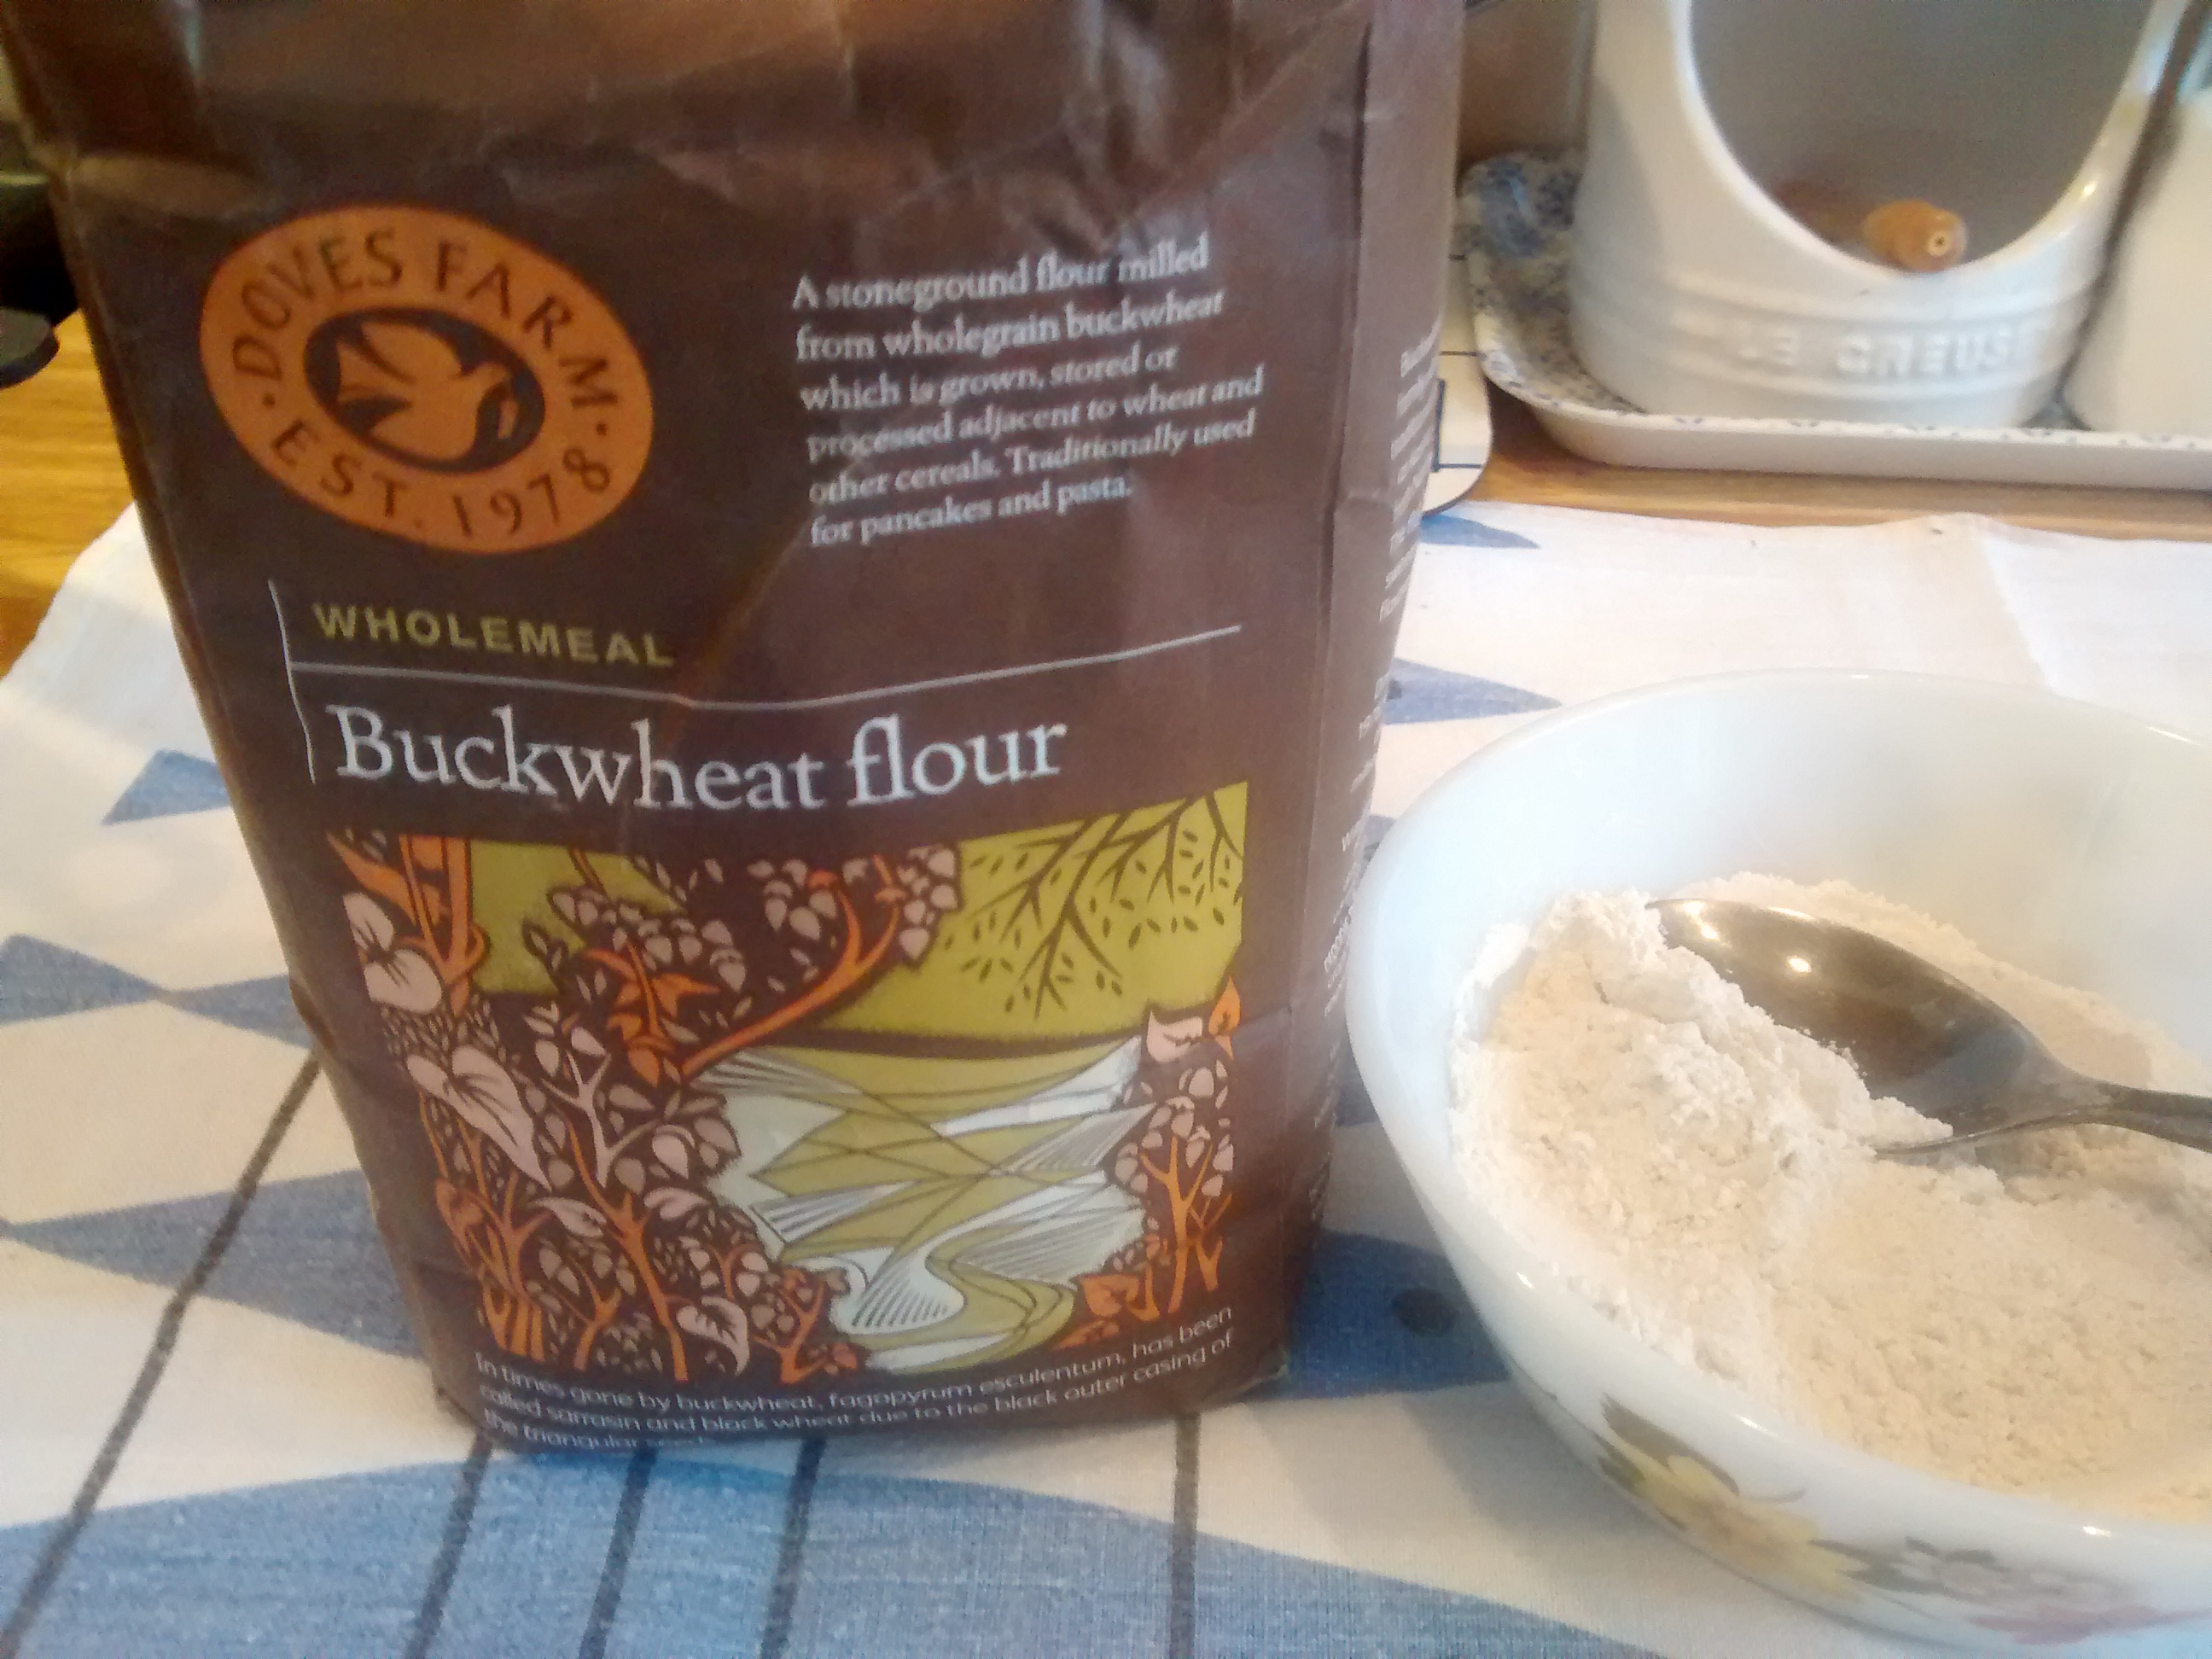
The triangular seeds have a strong scent which is quite distinctive and the flour is grey/speckled black in colour. It is mixed with wheat flour to make pancakes and bliny.
Bliny are popular in Eastern Poland and in the area called Kresy – the Eastern Borderlands – from where both my parents came as well as in the Ukraine and Russia.
The word bliny is plural – I doubt very much if the singular blin is much used!
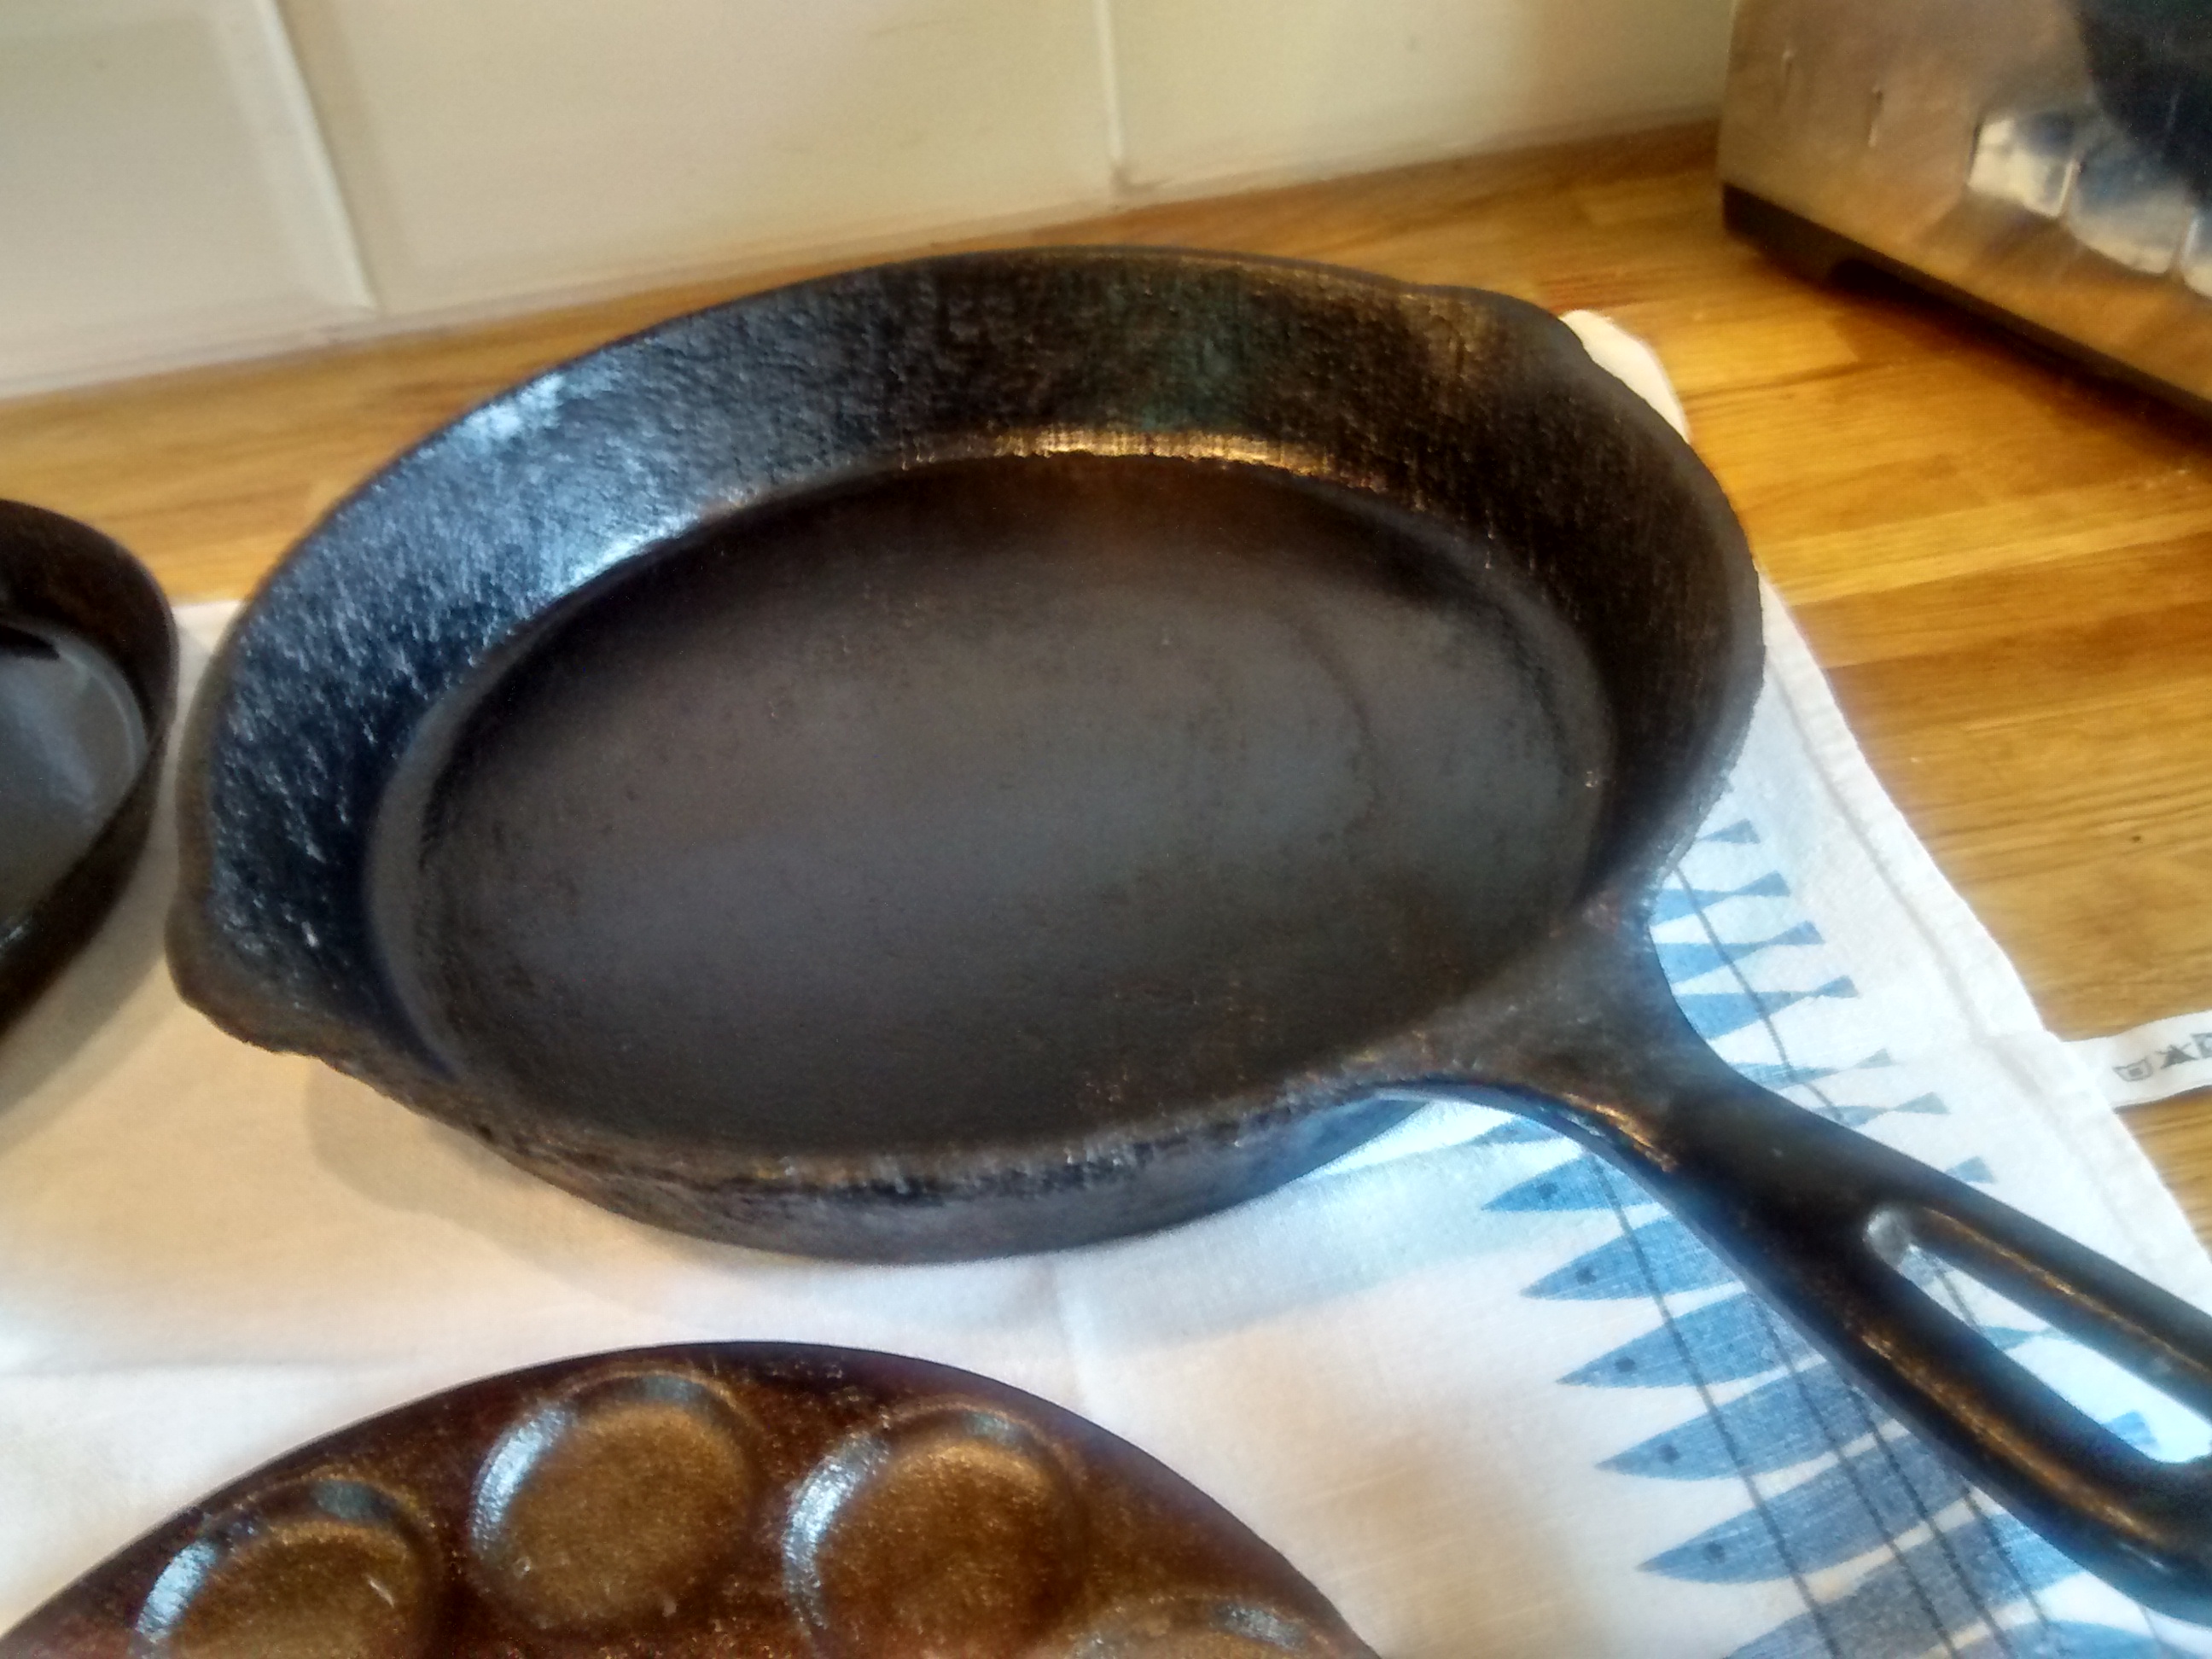
Bliny are best cooked on a griddle or a cast iron frying pan.
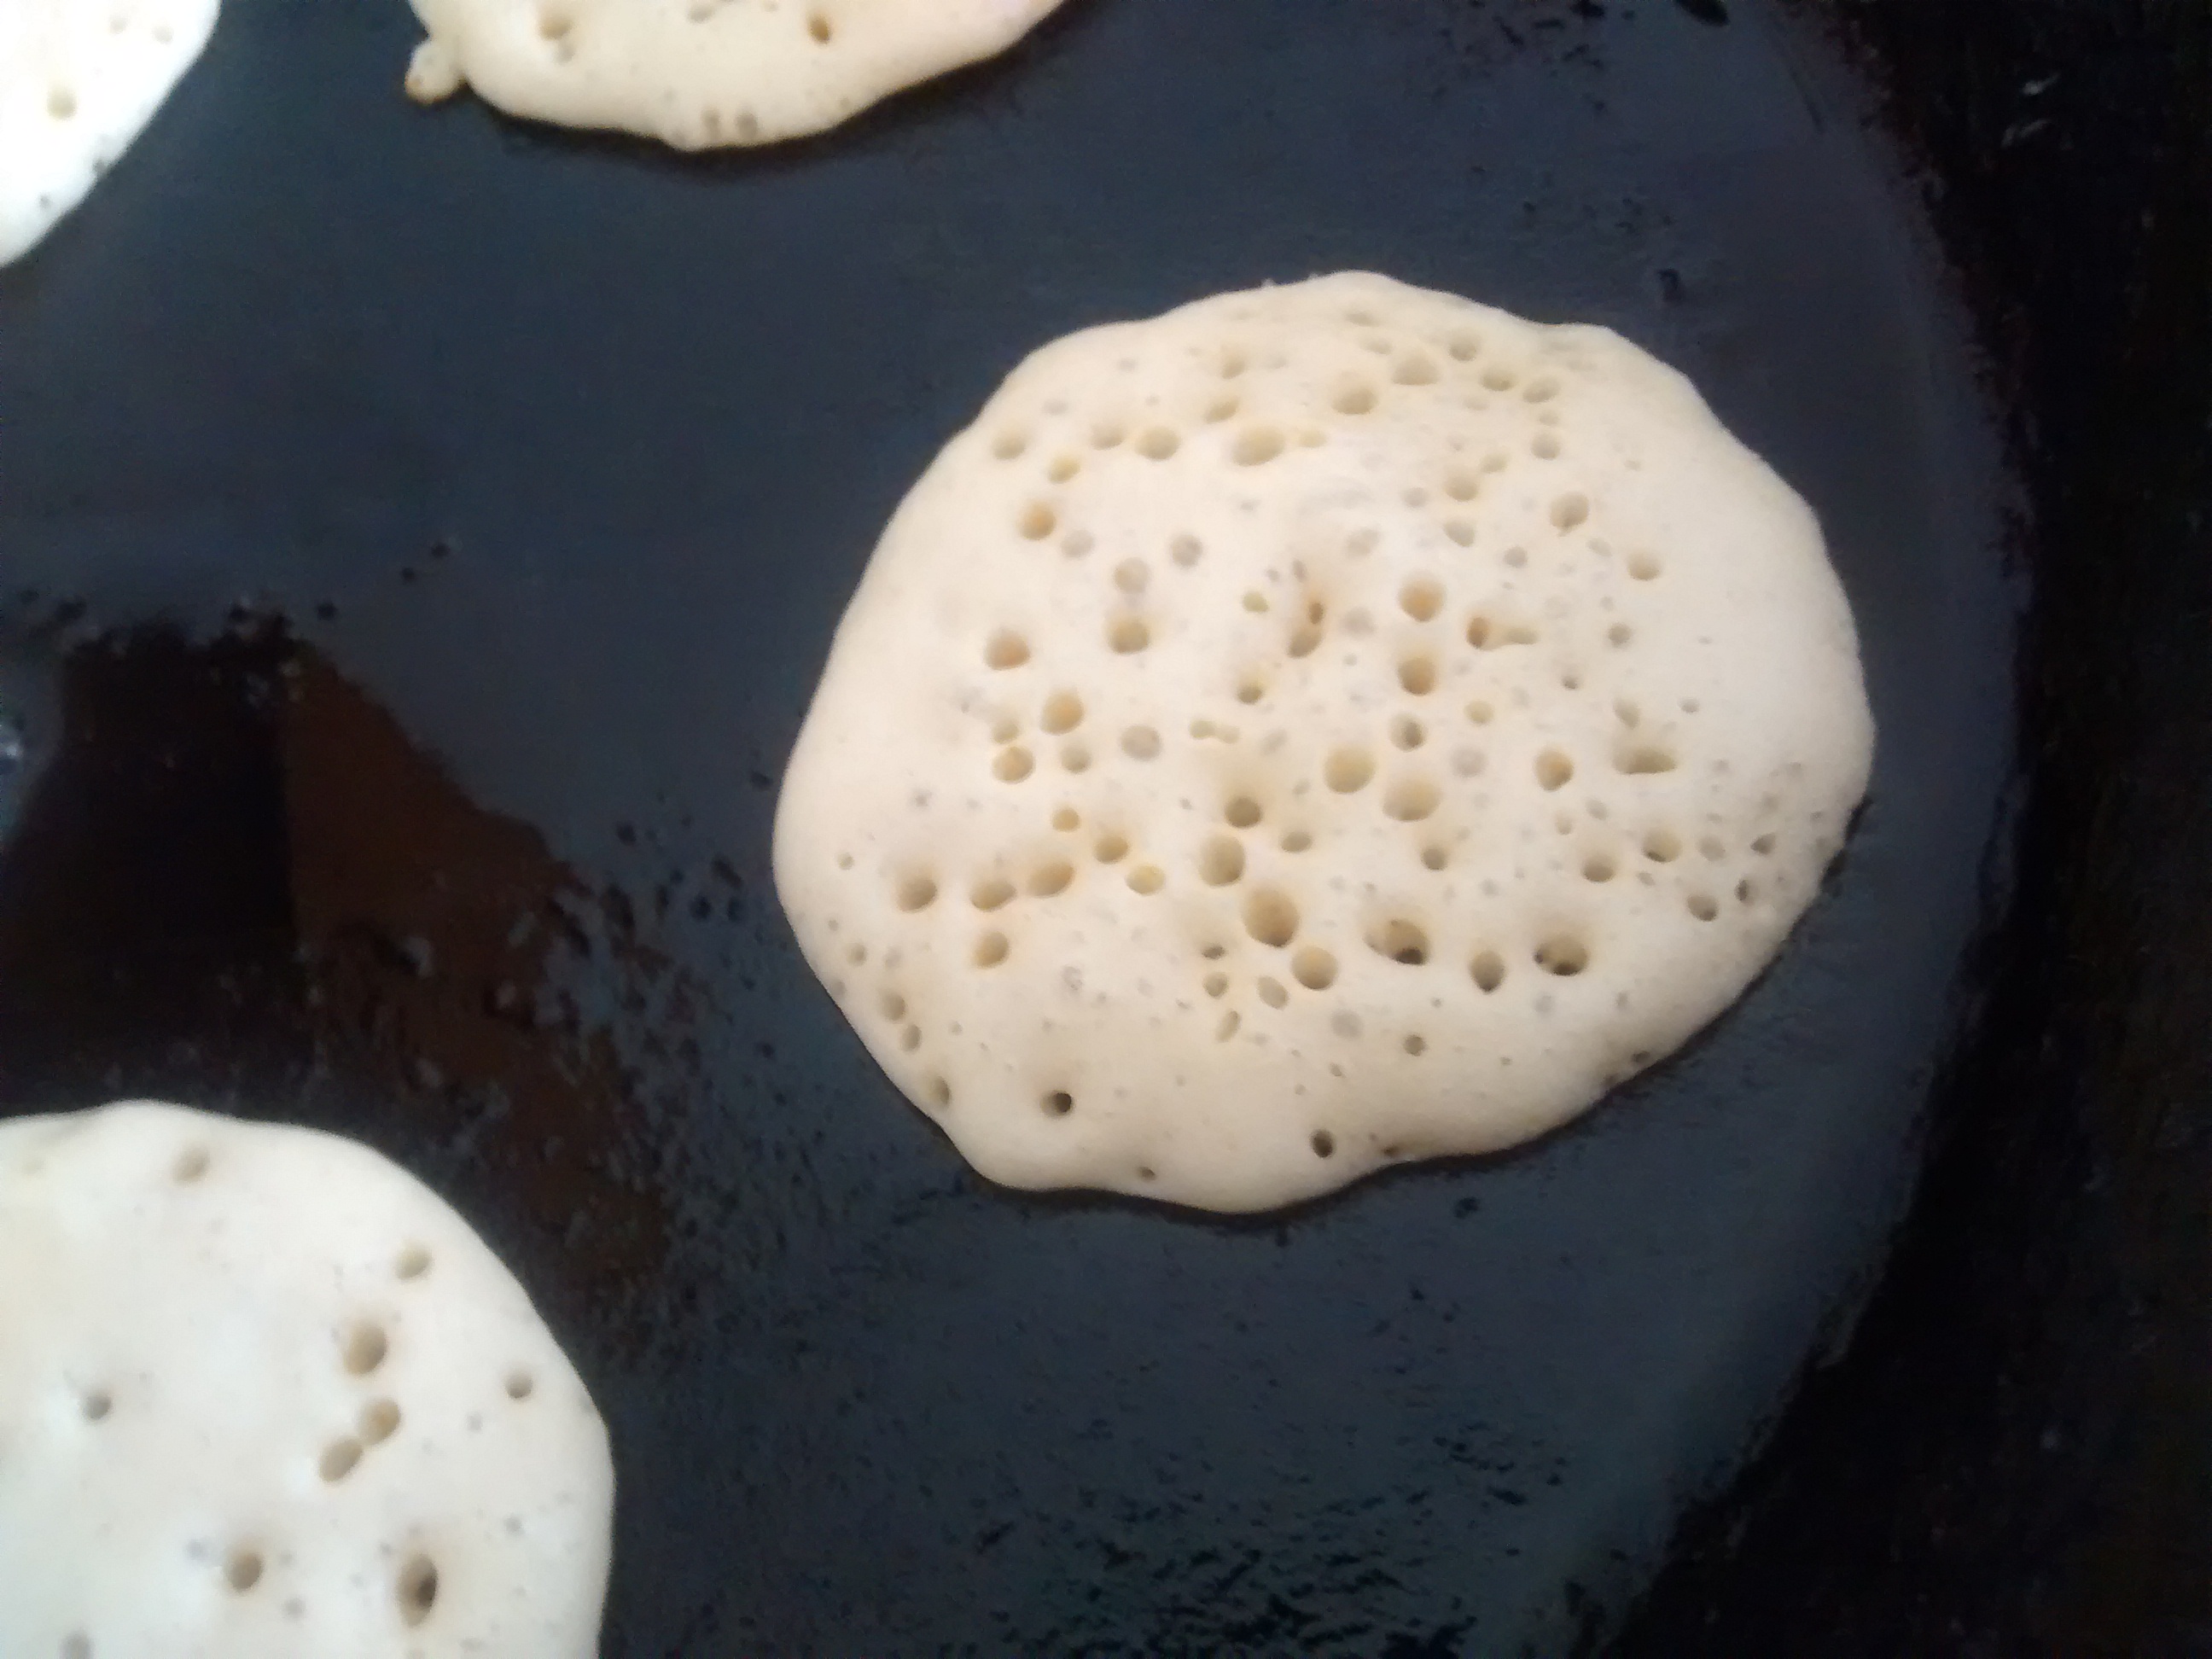
Bliny are small risen pancakes made using yeast they are in the American style of pancake.
Bliny can be served warm or cold – I much prefer them warm!
Bliny
Ingredients
80g plain flour
80g buckwheat flour
1 egg
125 ml warm milk (full or semi-skimmed)
125 ml warm water
25g fresh yeast or 1 tablespoon of dried yeast
1 tablespoon of sugar
1 tablespoon of melted butter
Pinch of salt
Method
Put the yeast, sugar and milk in a bowl and leave to rise. (You can place this over bowl of warm water).
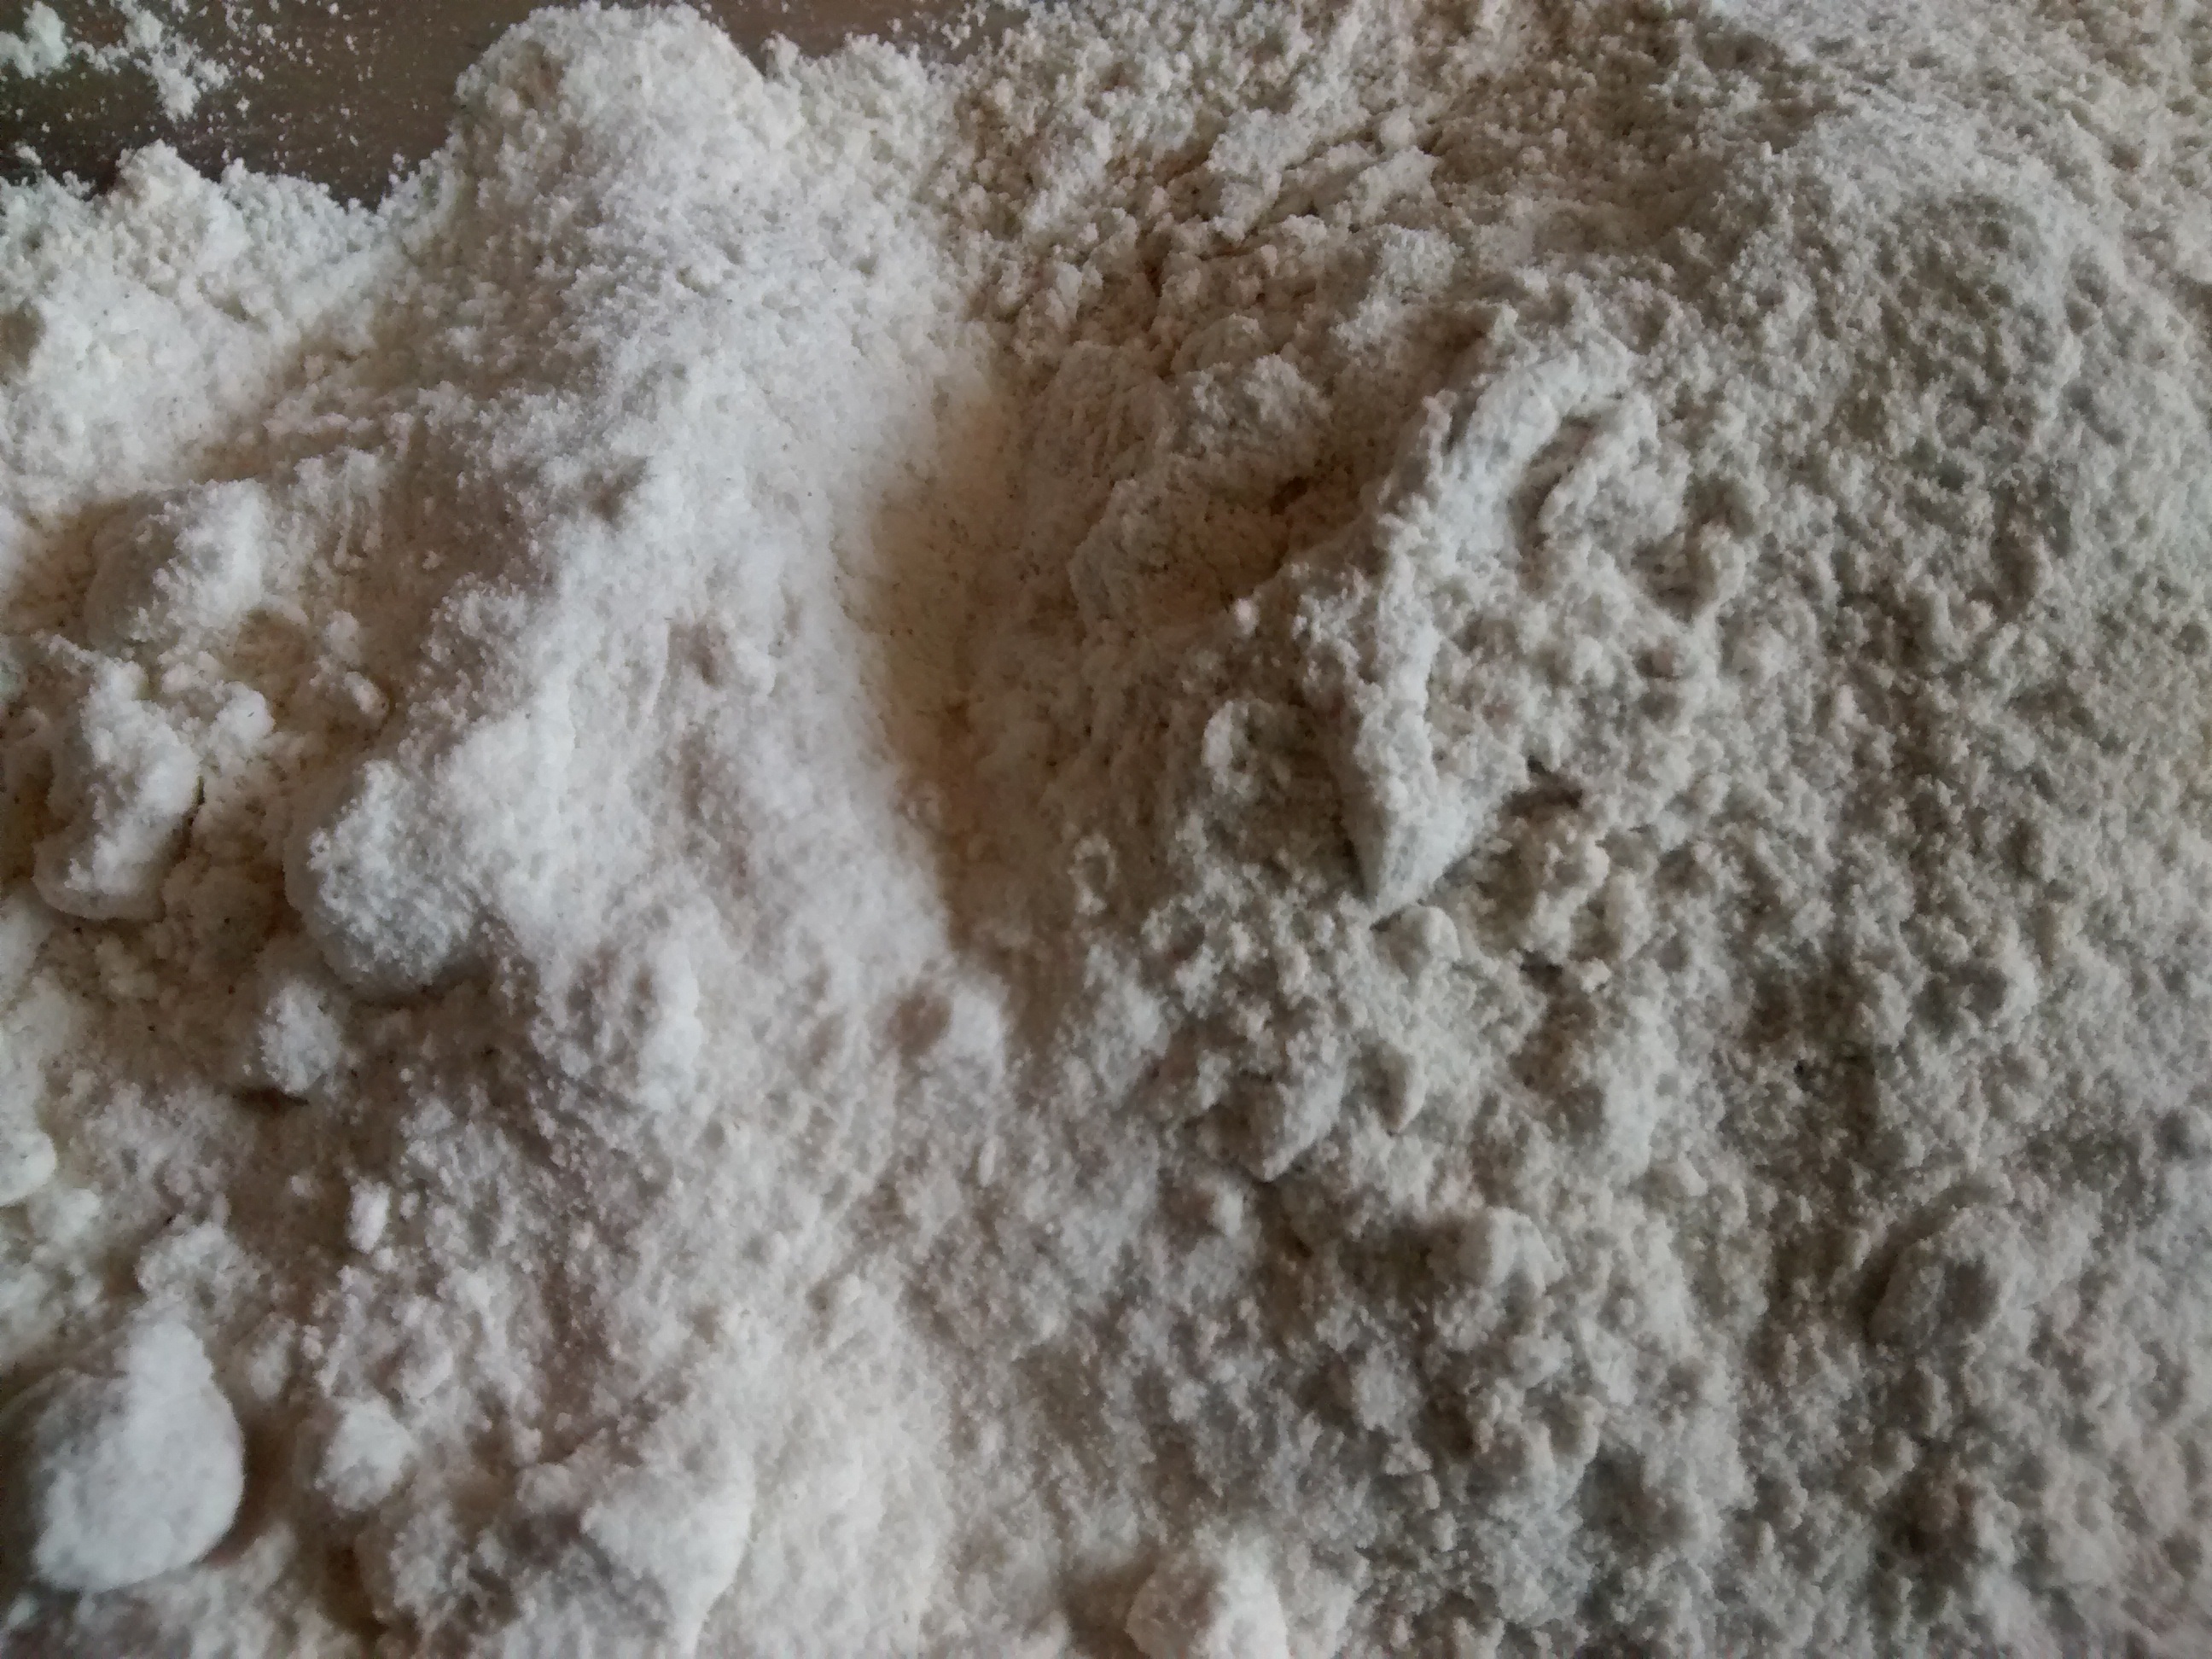
Wheat Flour & Buckwheat Flour
In a large bowl mix the flours together and add yeast mixture and then the beaten egg.
Add the water bit by bit until the mixture is like pouring cream, you might not need it all.
Add the pinch of salt and the melted butter then cover with a cloth and leave to rise.
Use the risen batter to make small pancakes by using 1 large tablespoon per pancake – I make 3 or 4 at a time in my lightly greased cast iron pan.
Once you get the pan hot, lower the heat to a steady low so as not to burn the bliny.
Once they are cooked on one side, turn then over using a spatula and cook for a few minutes more.
Serving suggestions
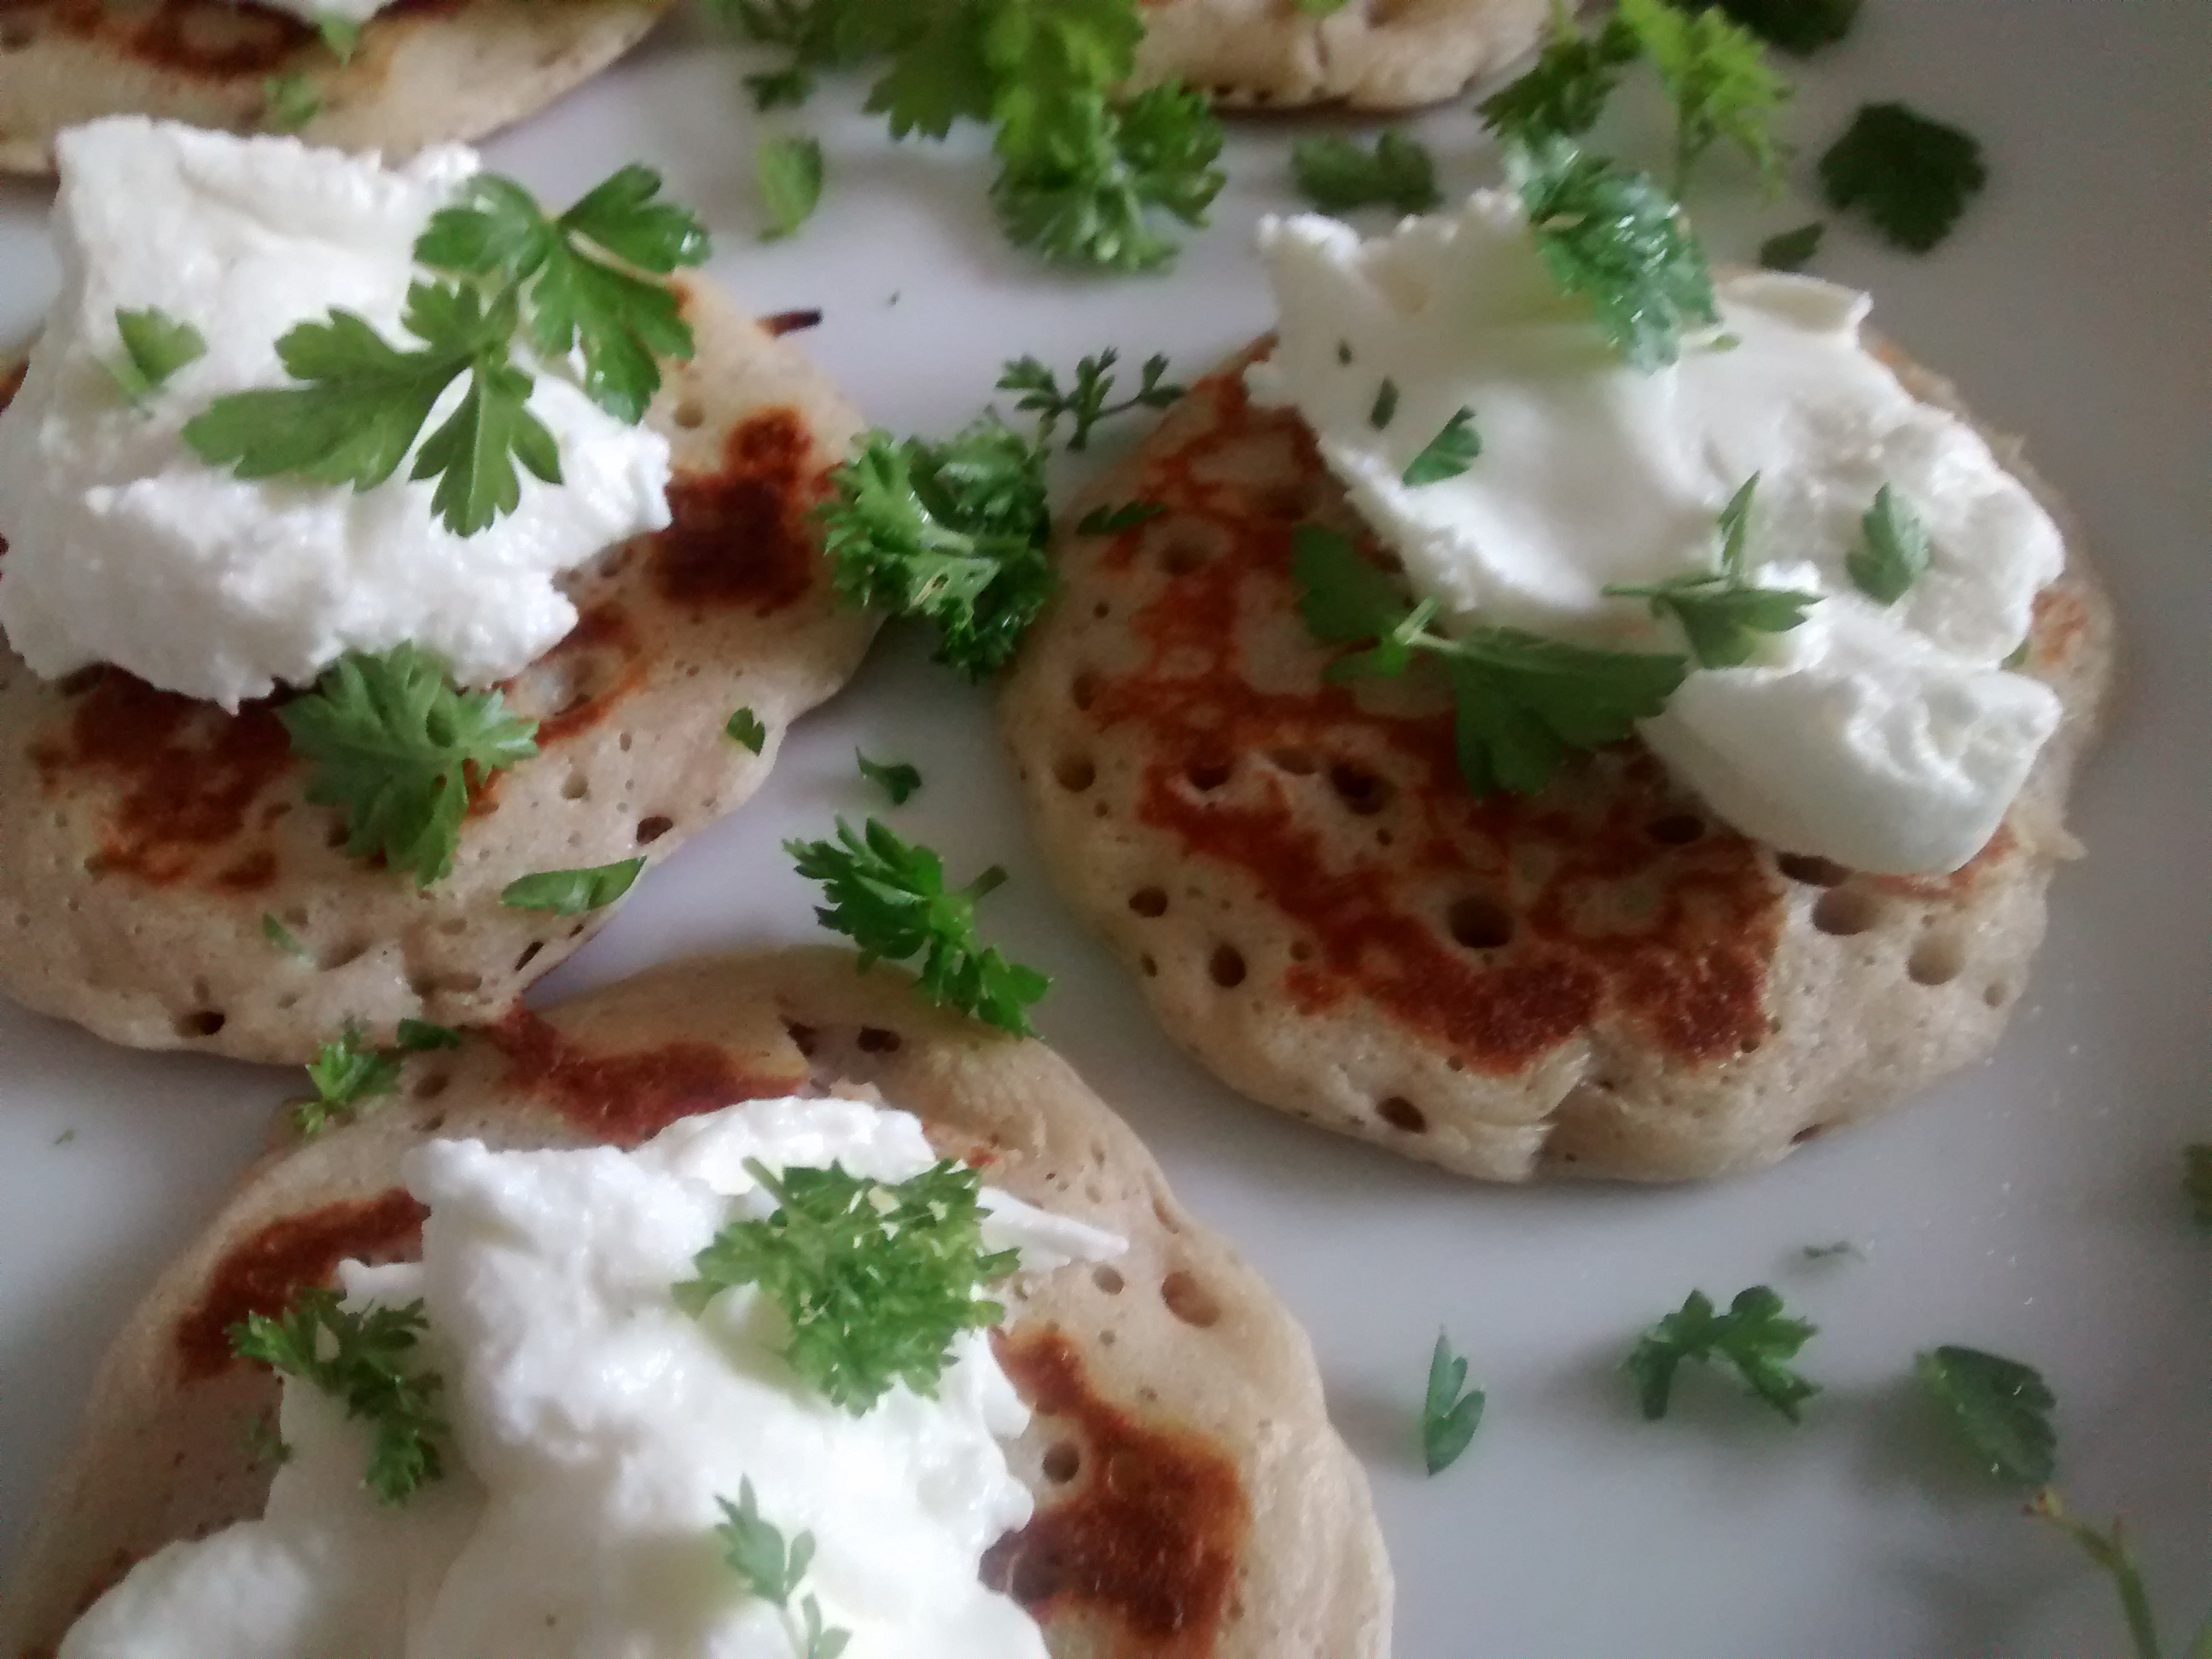
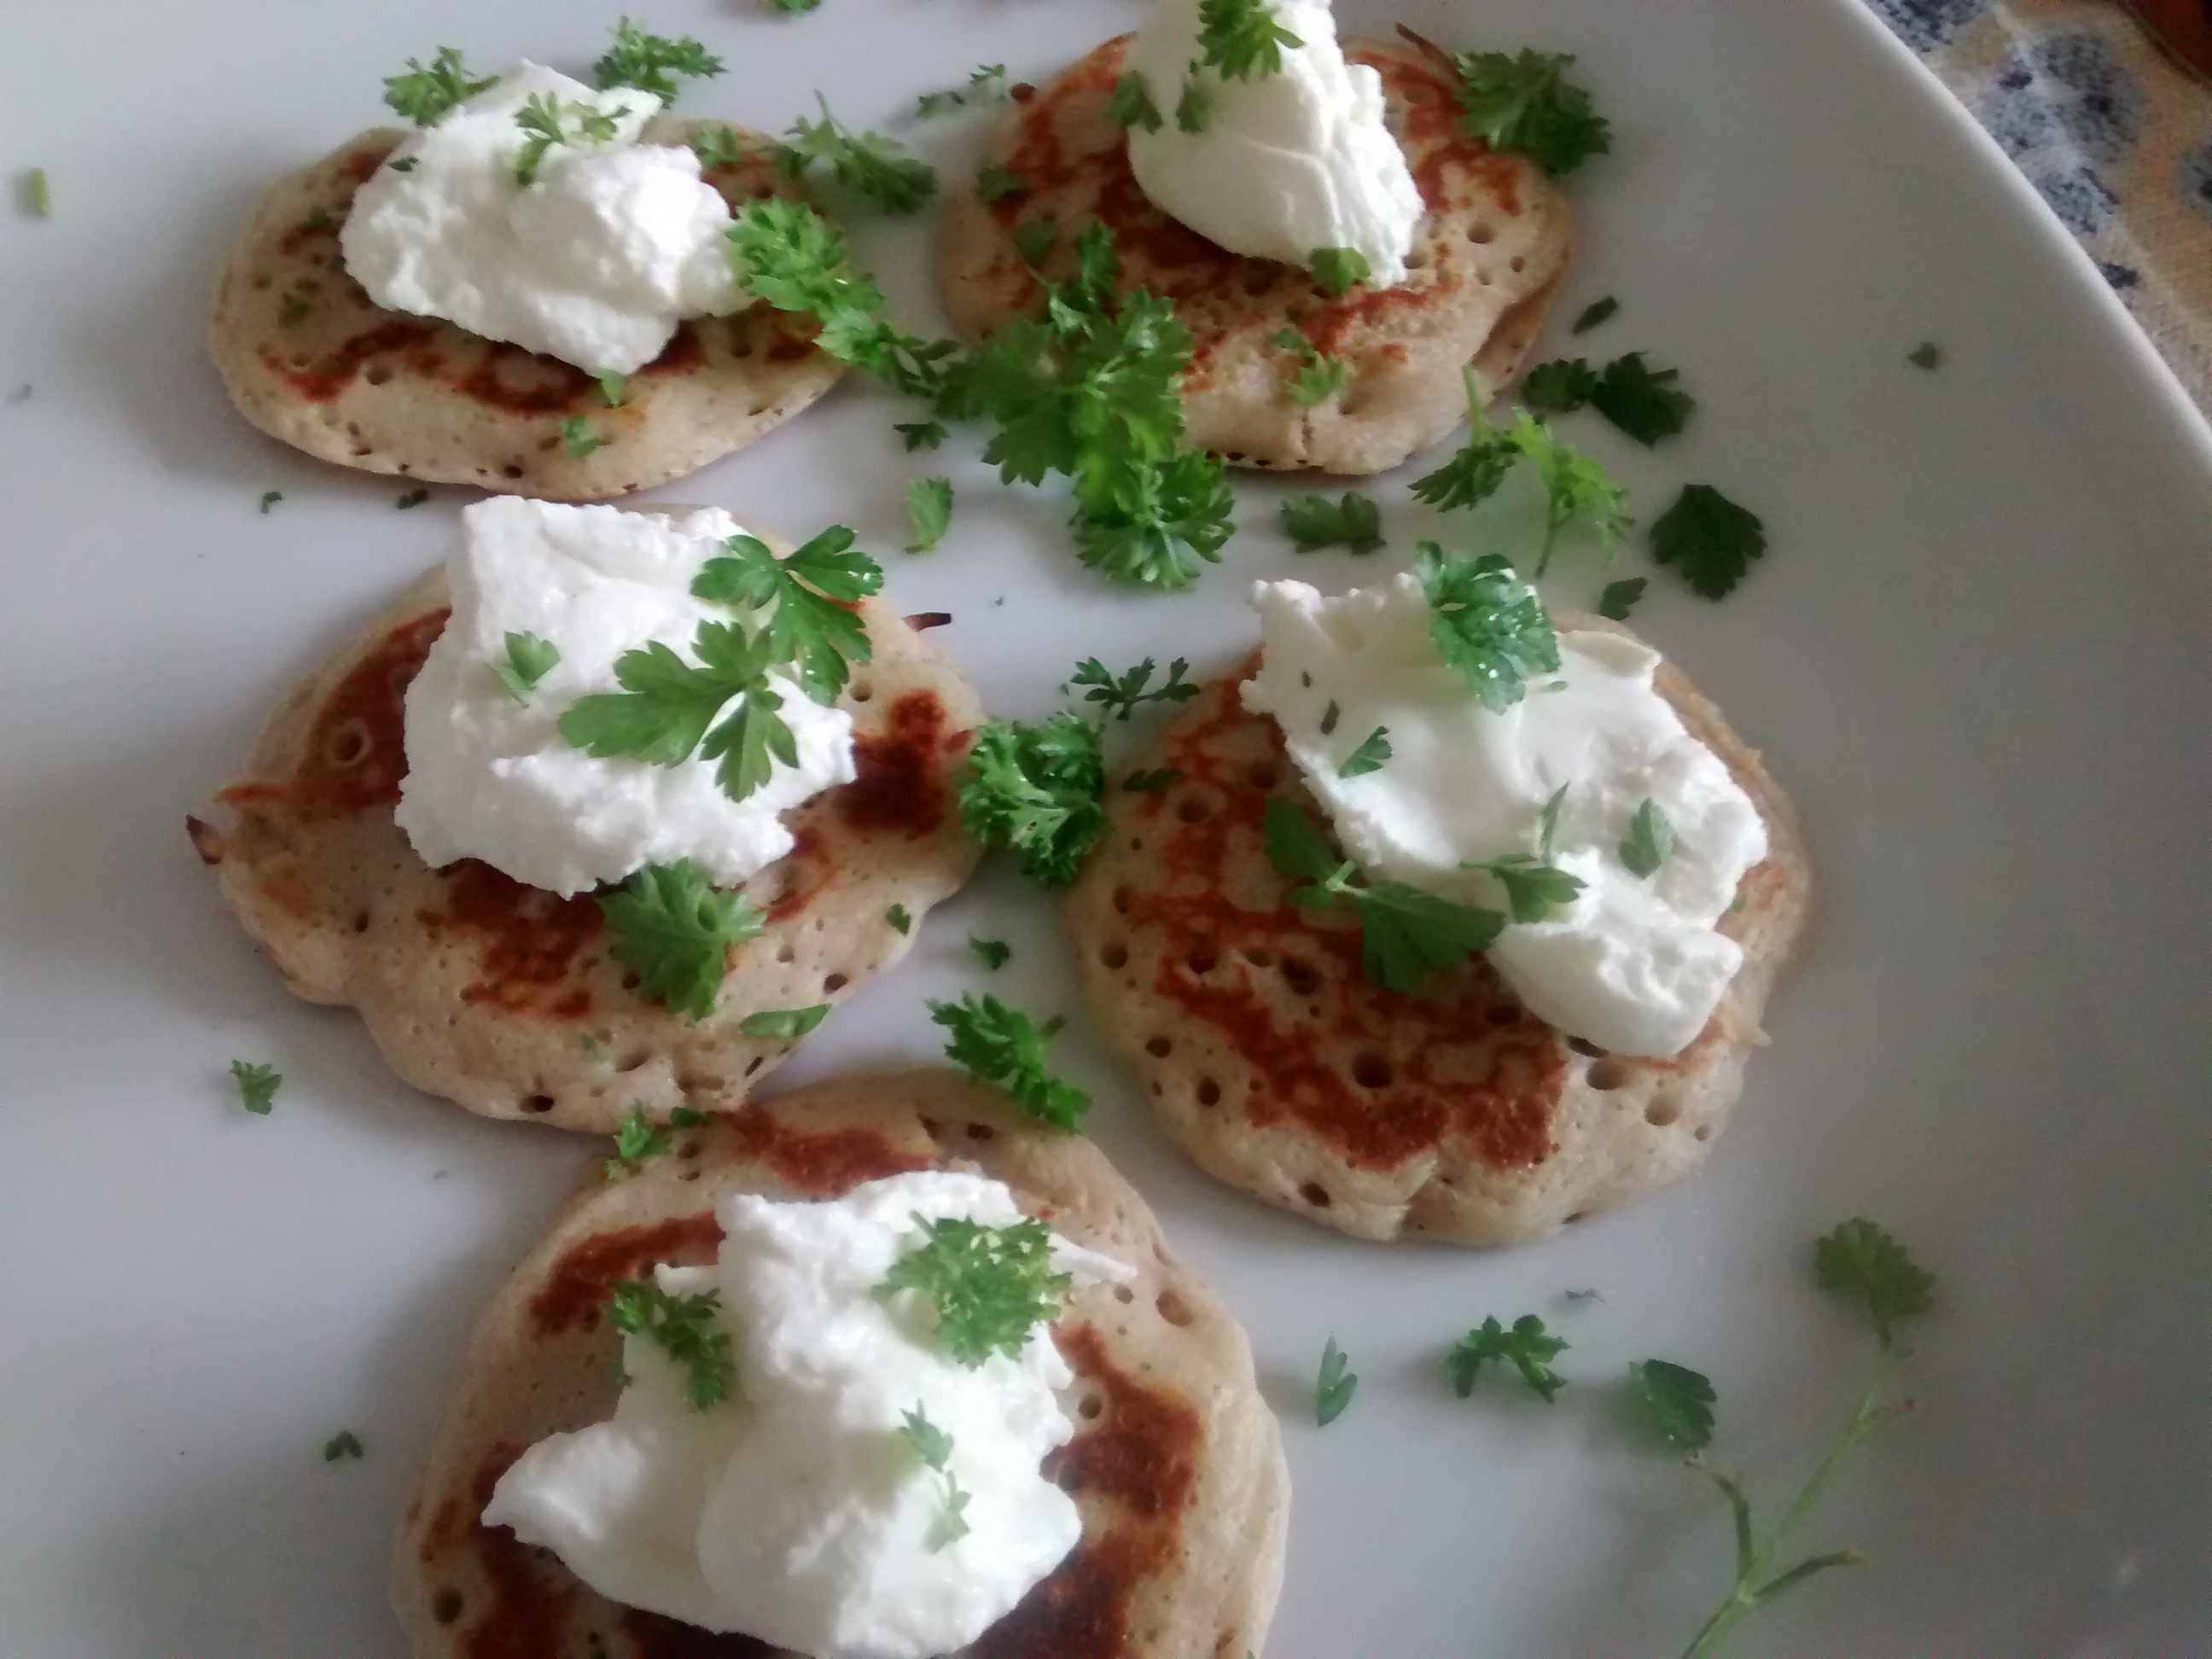
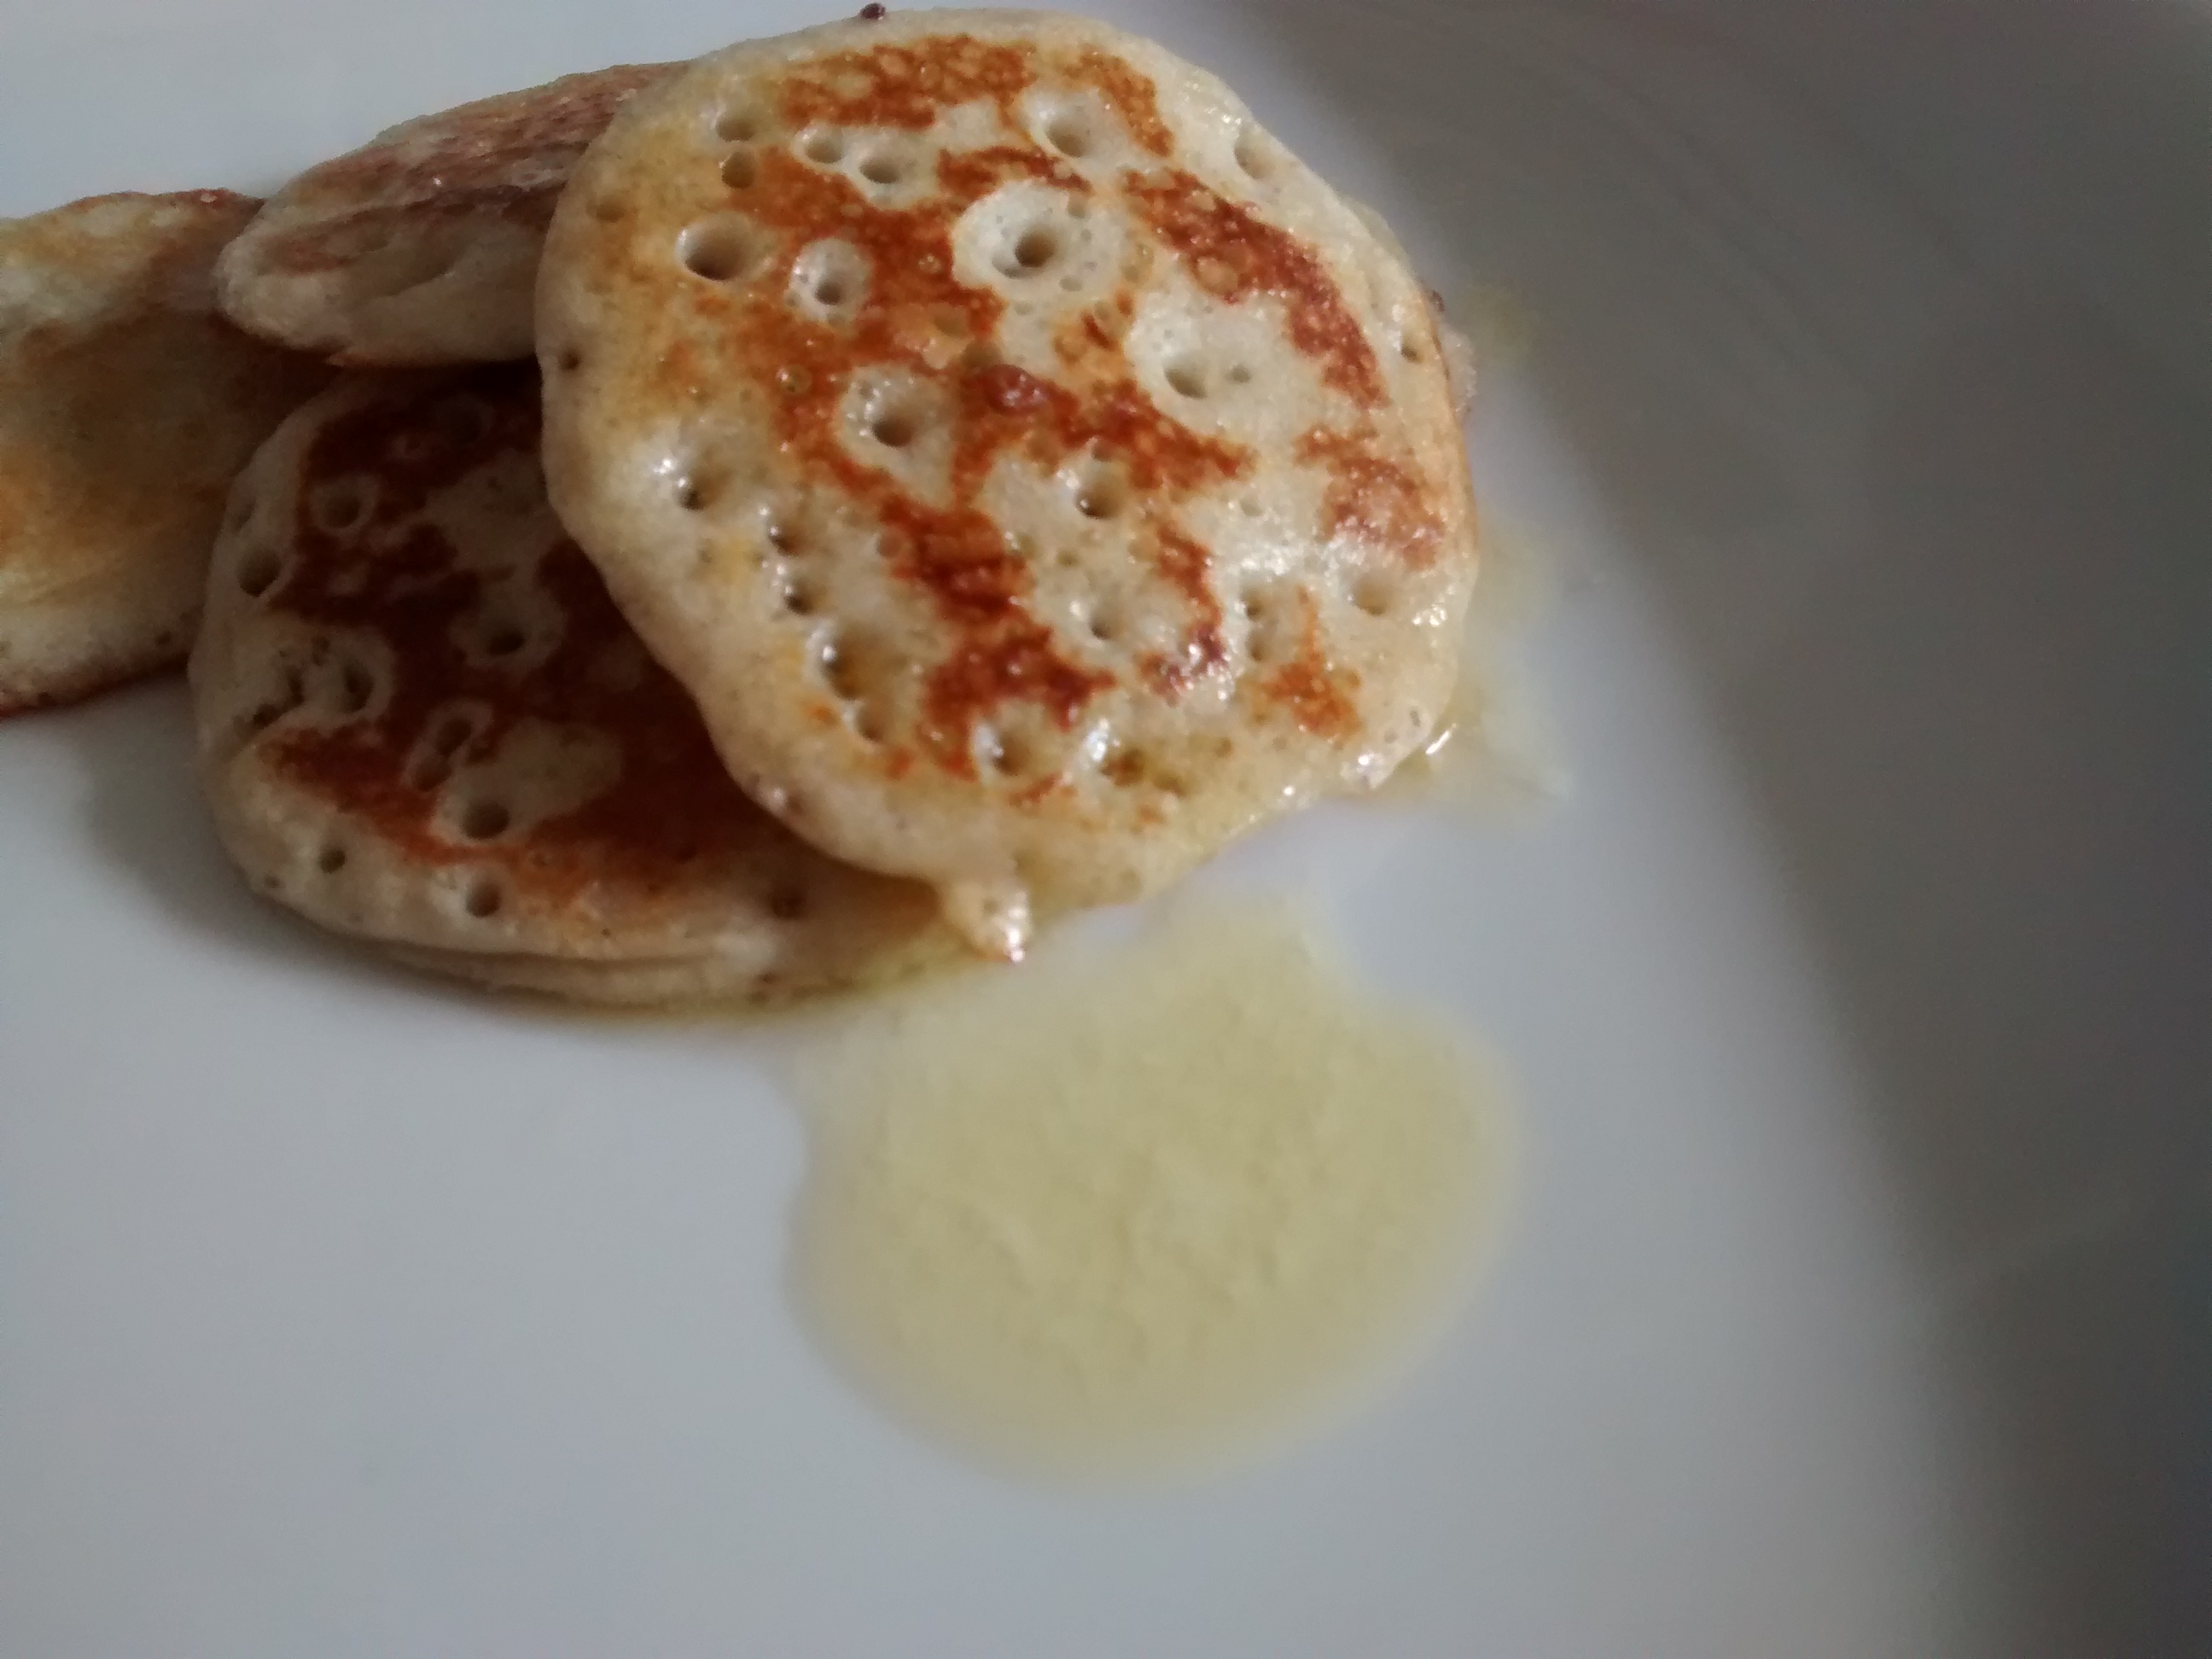
Serve the bliny with any of the following: melted butter, soured cream, twaróg, yoghurt cheese or cream cheese, smoked salmon, pickled herrings or even caviar, gherkins, fried onions, skwarki (crispy bacon bits) fried mushrooms and one of my favourites a fried egg.
Served With Yoghurt Cheese and Chopped Parsley
Served with Melted Butter
Buckwheat Pancakes
These are thin pancakes and are also very popular in Northern France where they are called gallettes de sarrasin.
The French for buckwheat is sarrasin or blé noir.
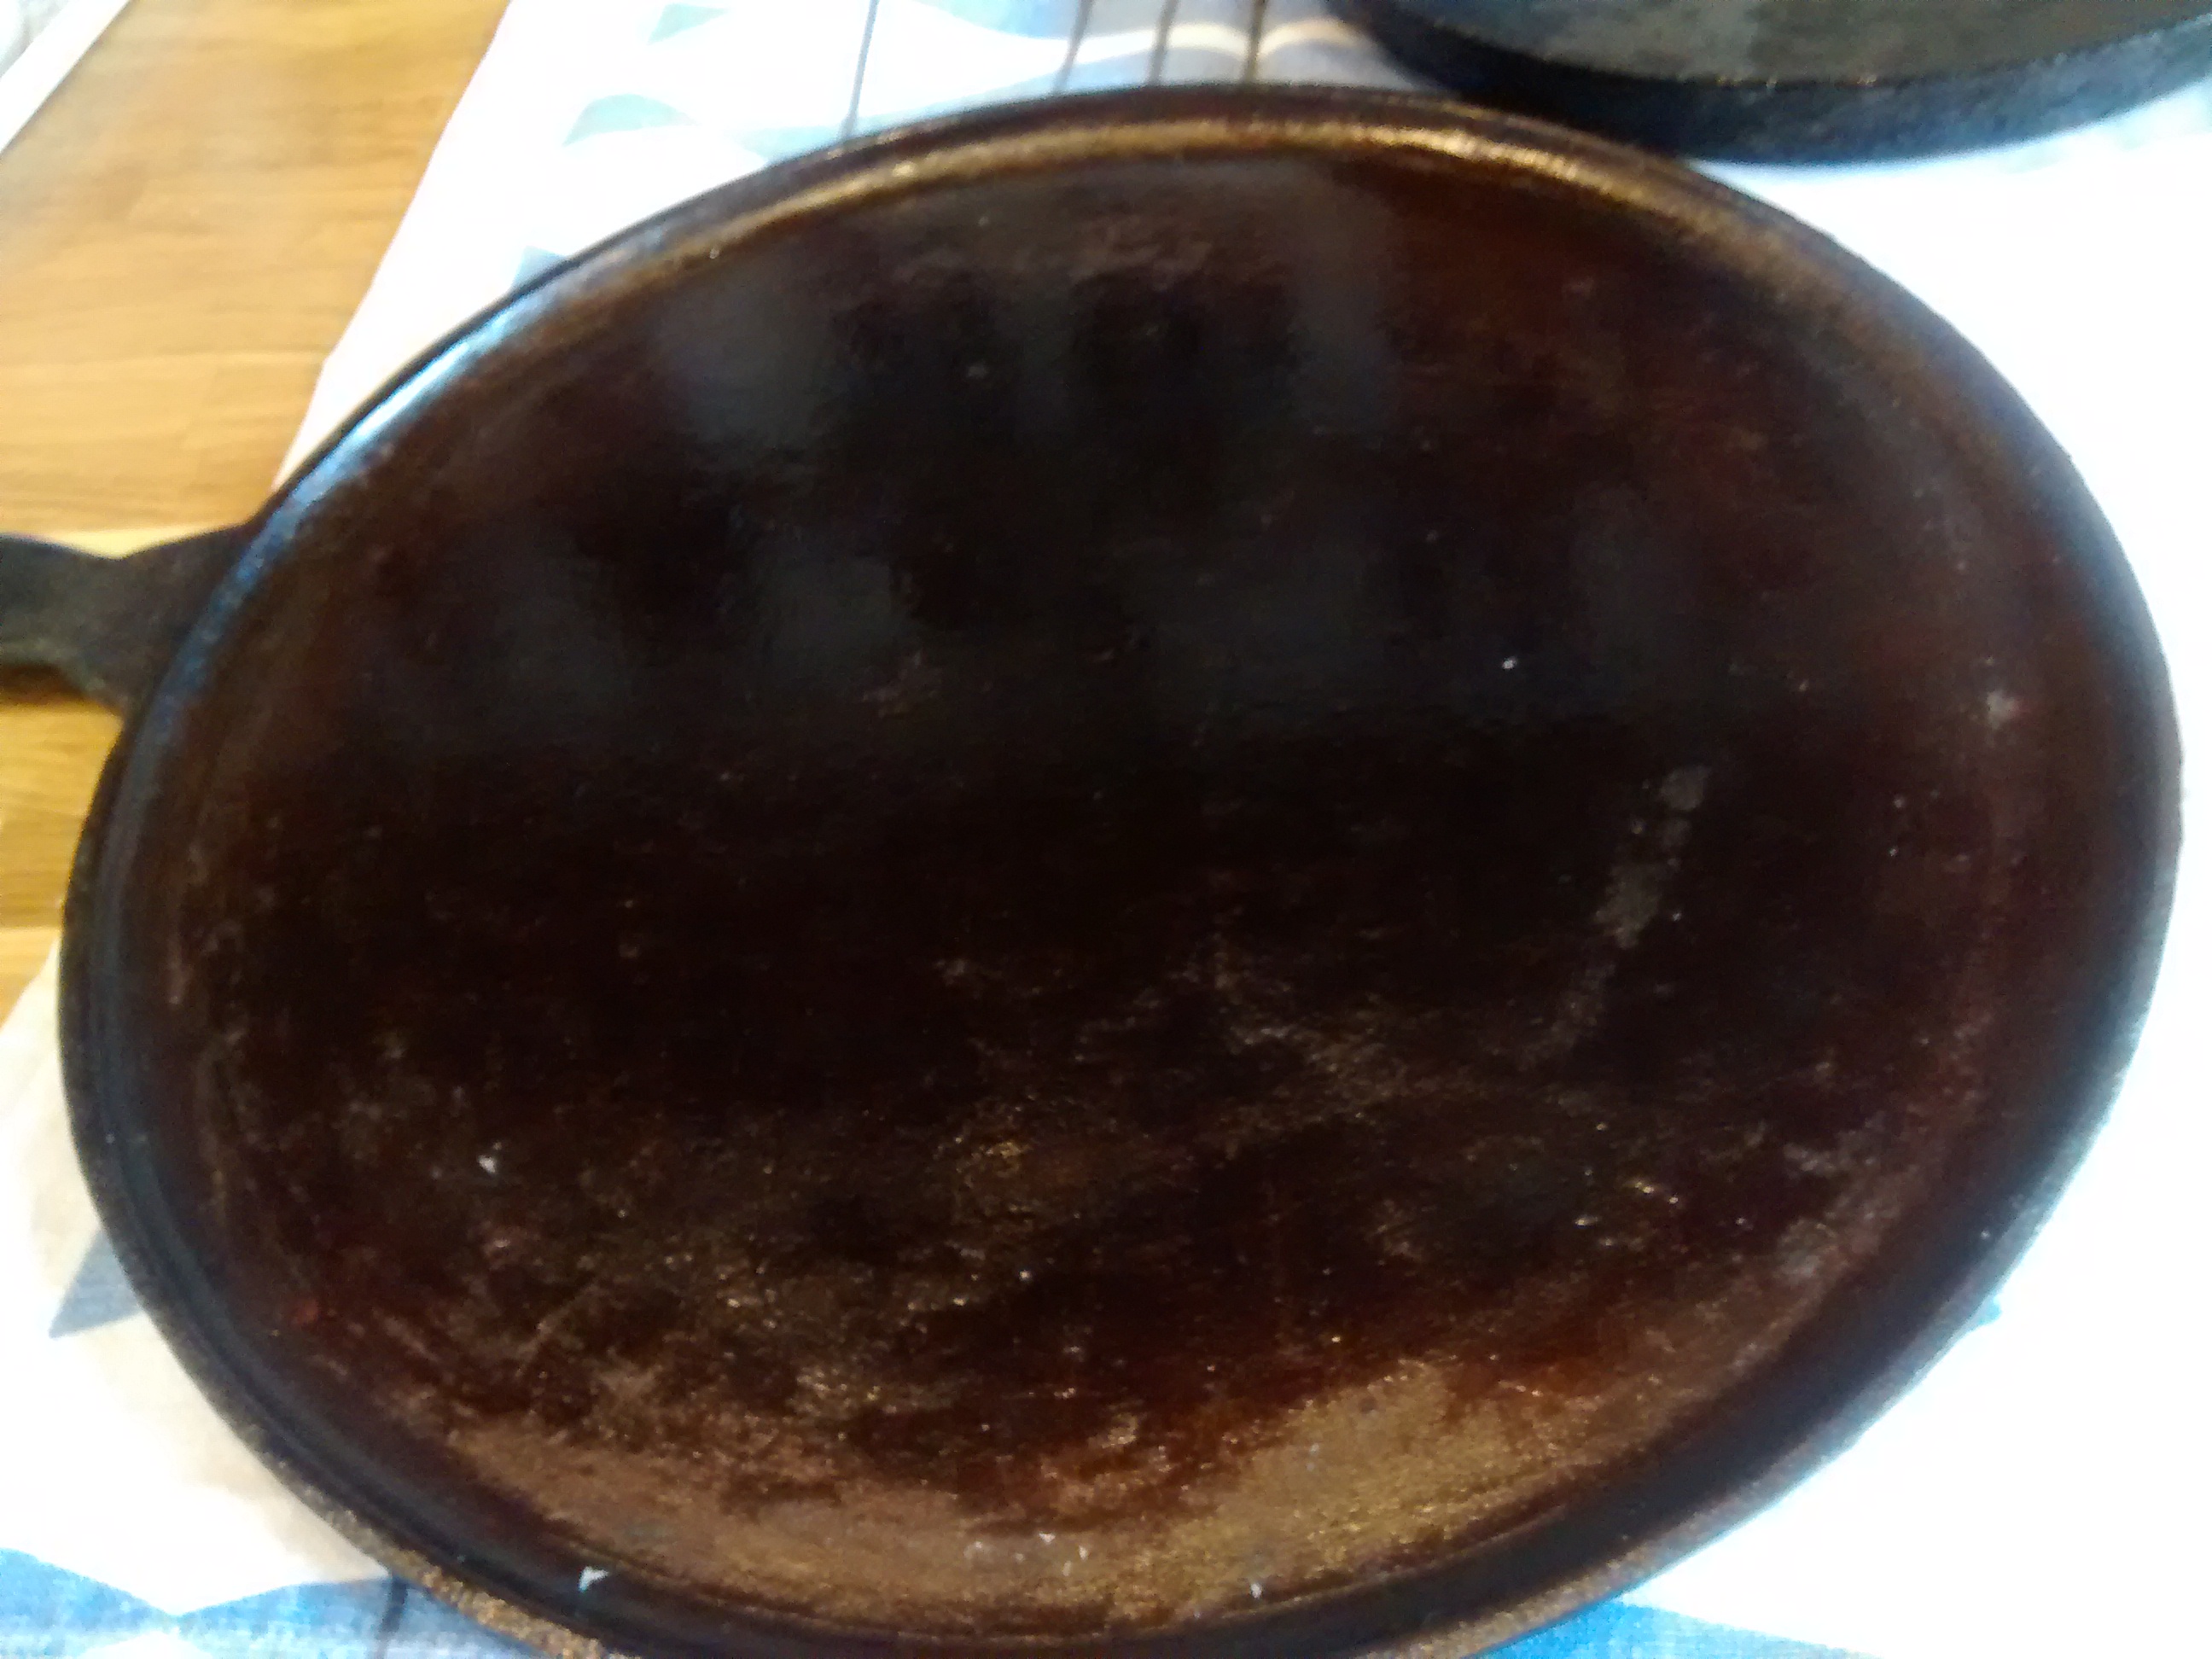
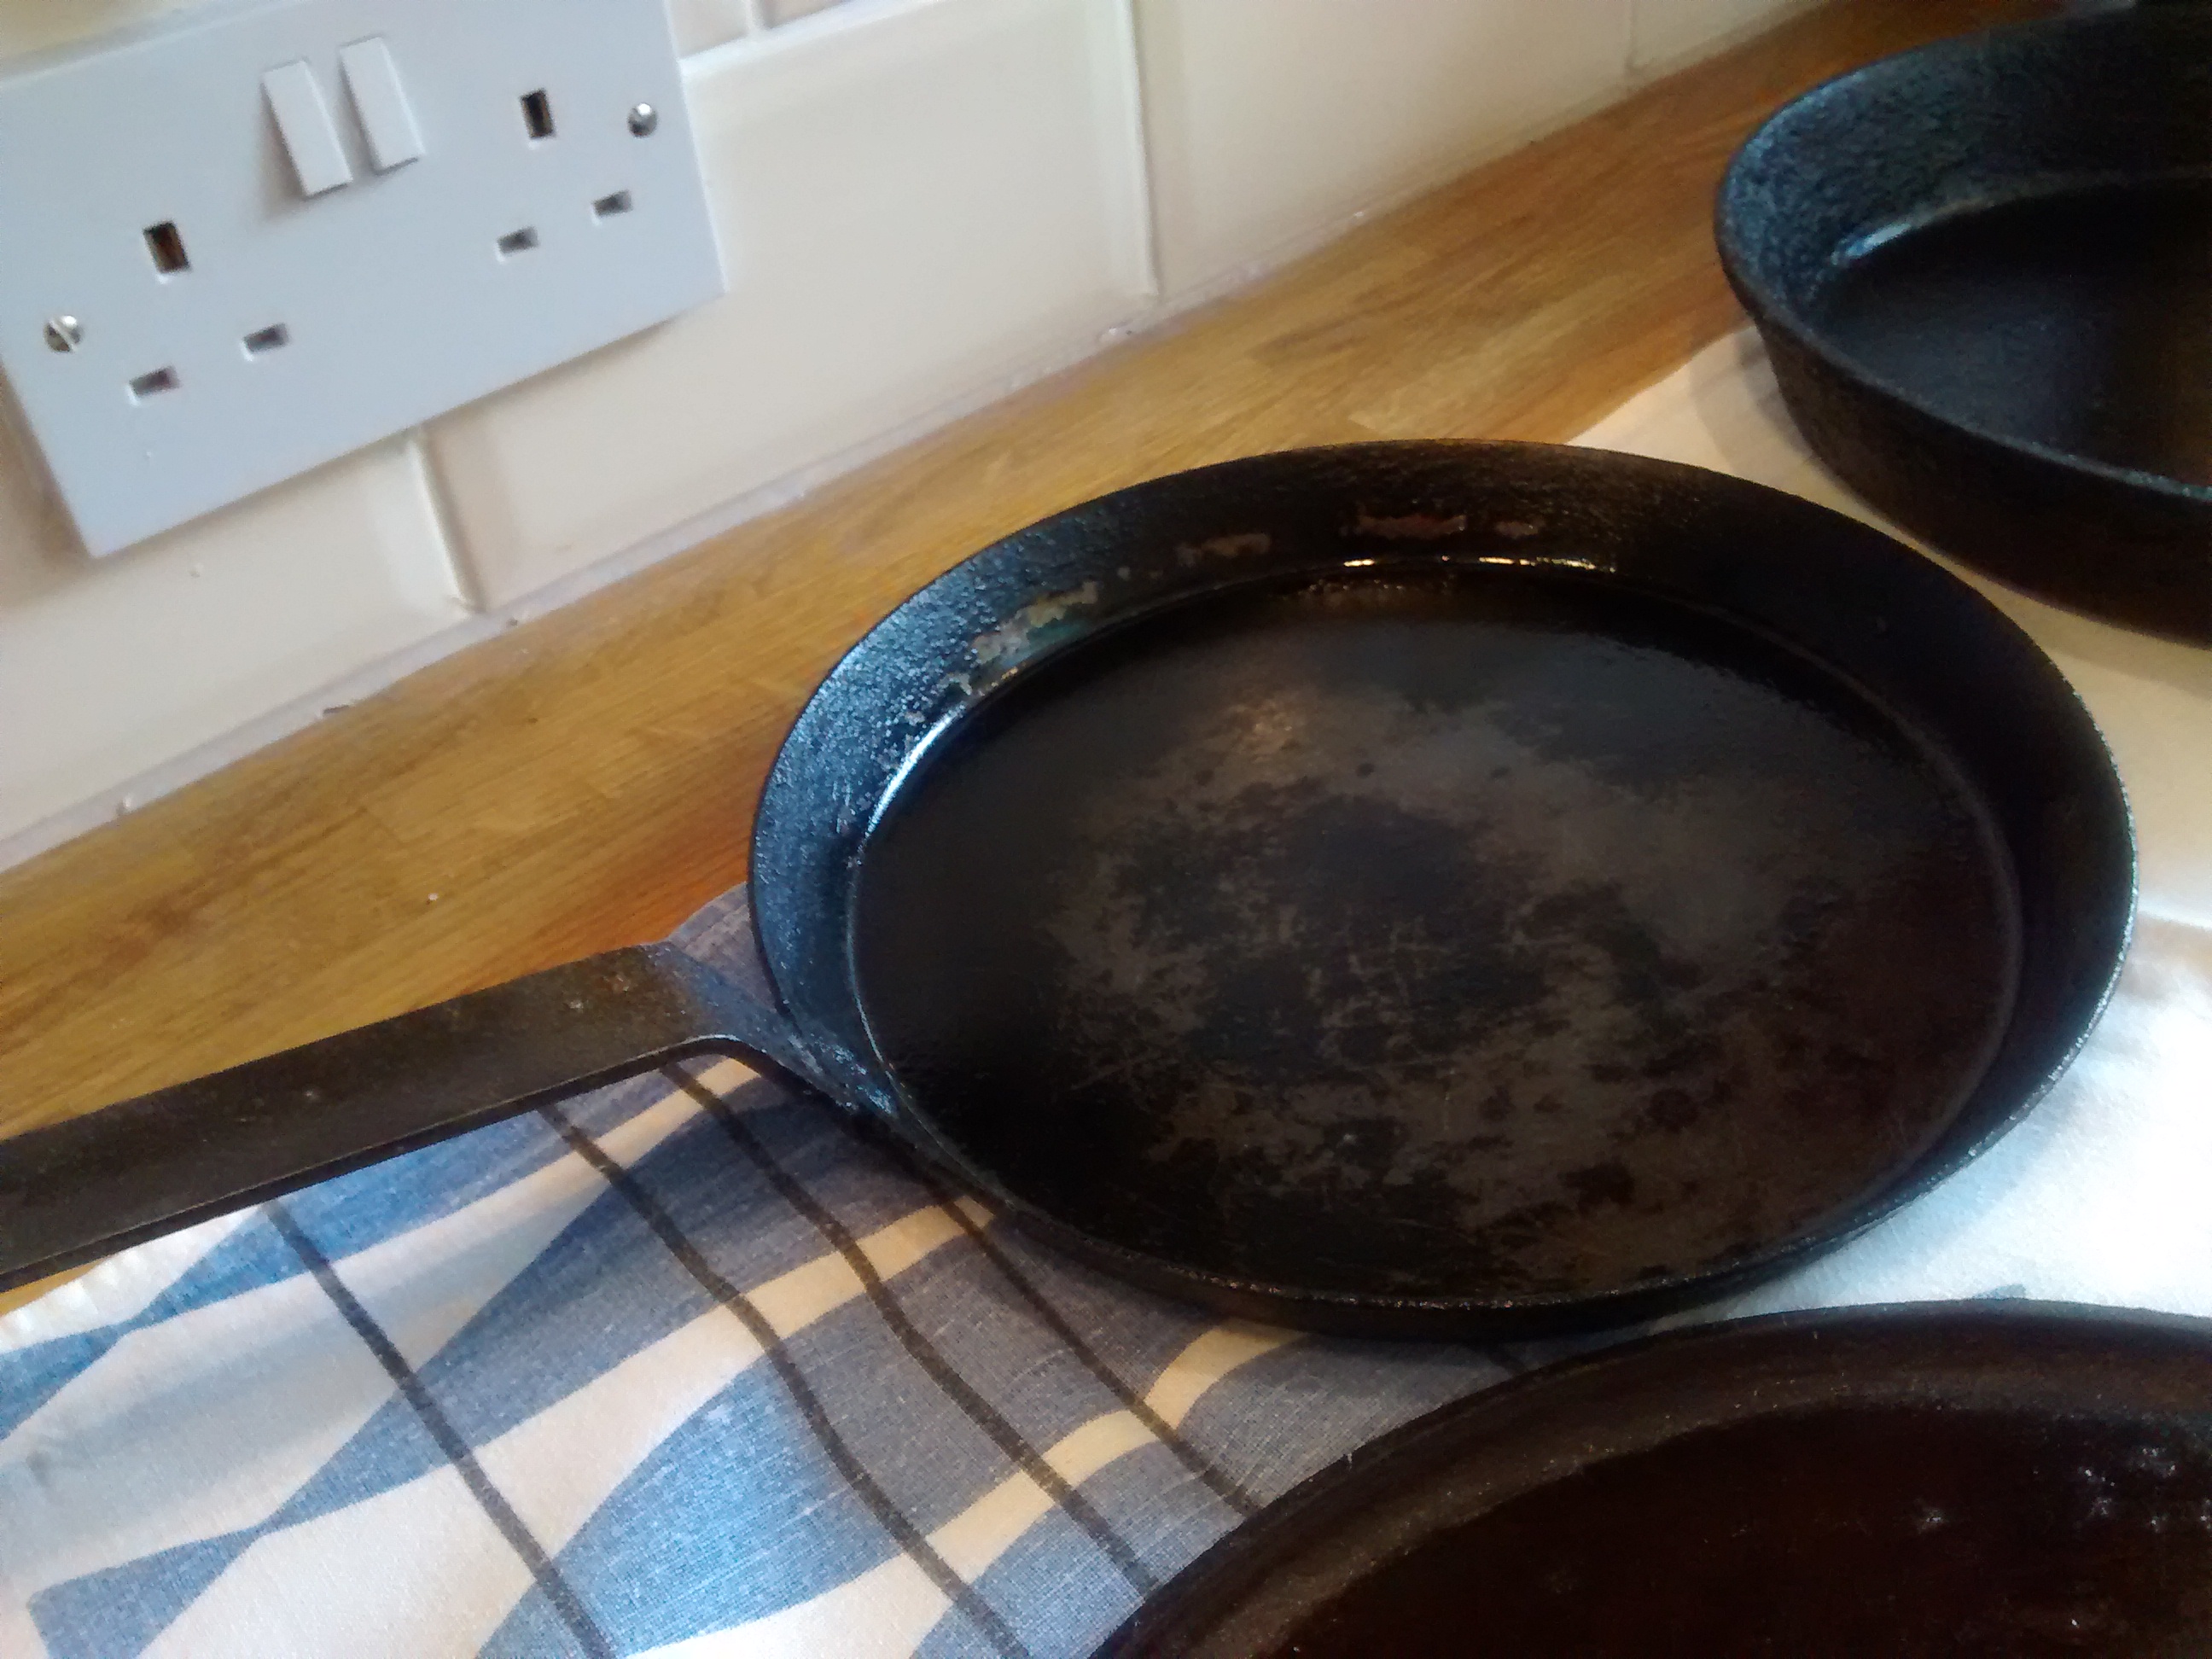
Many years ago whilst on holiday in France I bought and brought home a very large French pancake pan.
However on my gas stove it is too large for a good distribution of heat – you get a hot spot in the centre which tends to burn that part – so I use my smaller pancake pan.
Last week whilst in a department store in Leeds I saw the following – An Electric Crêpe Pan – It might be good.
Ingredients
75g buckwheat flour
25g plain flour
2 eggs
120ml of milk (full or semi-skimmed)
120ml of water
25g of melted butter
pinch of salt
Some extra milk might be needed.
Method
Make these in the same way as standard pancakes adding the melted butter after the batter has been standing for about an hour.
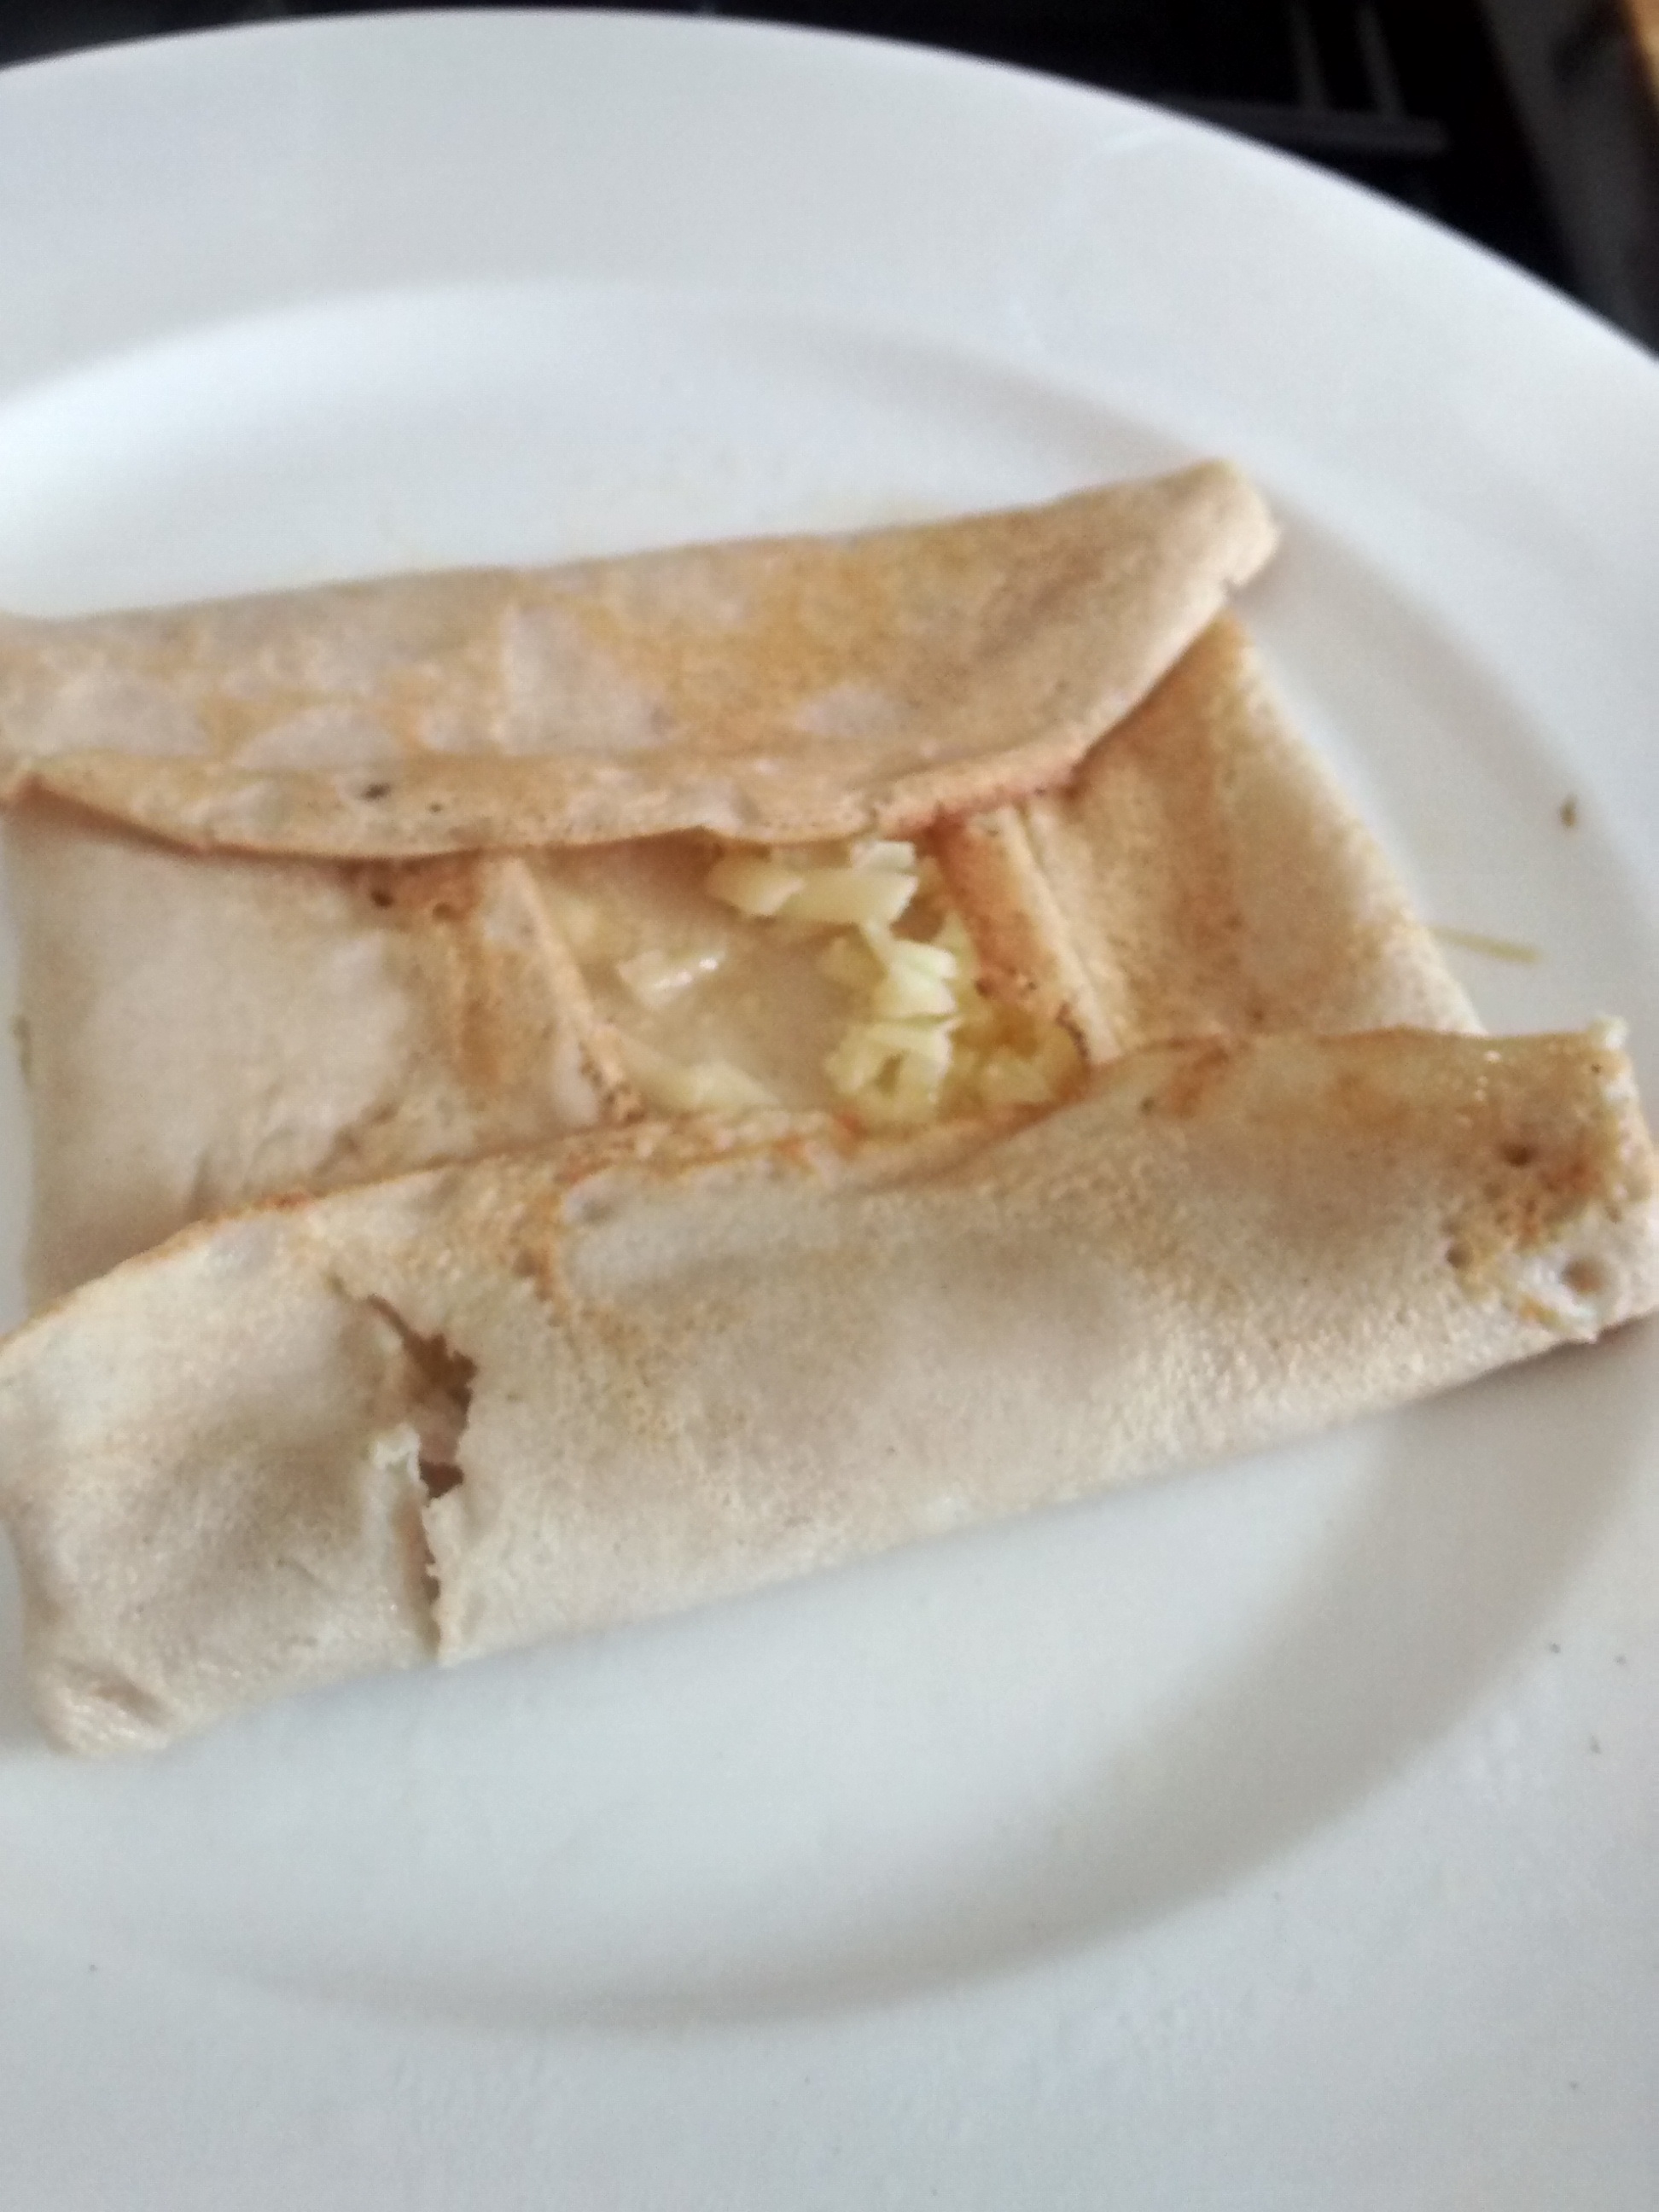
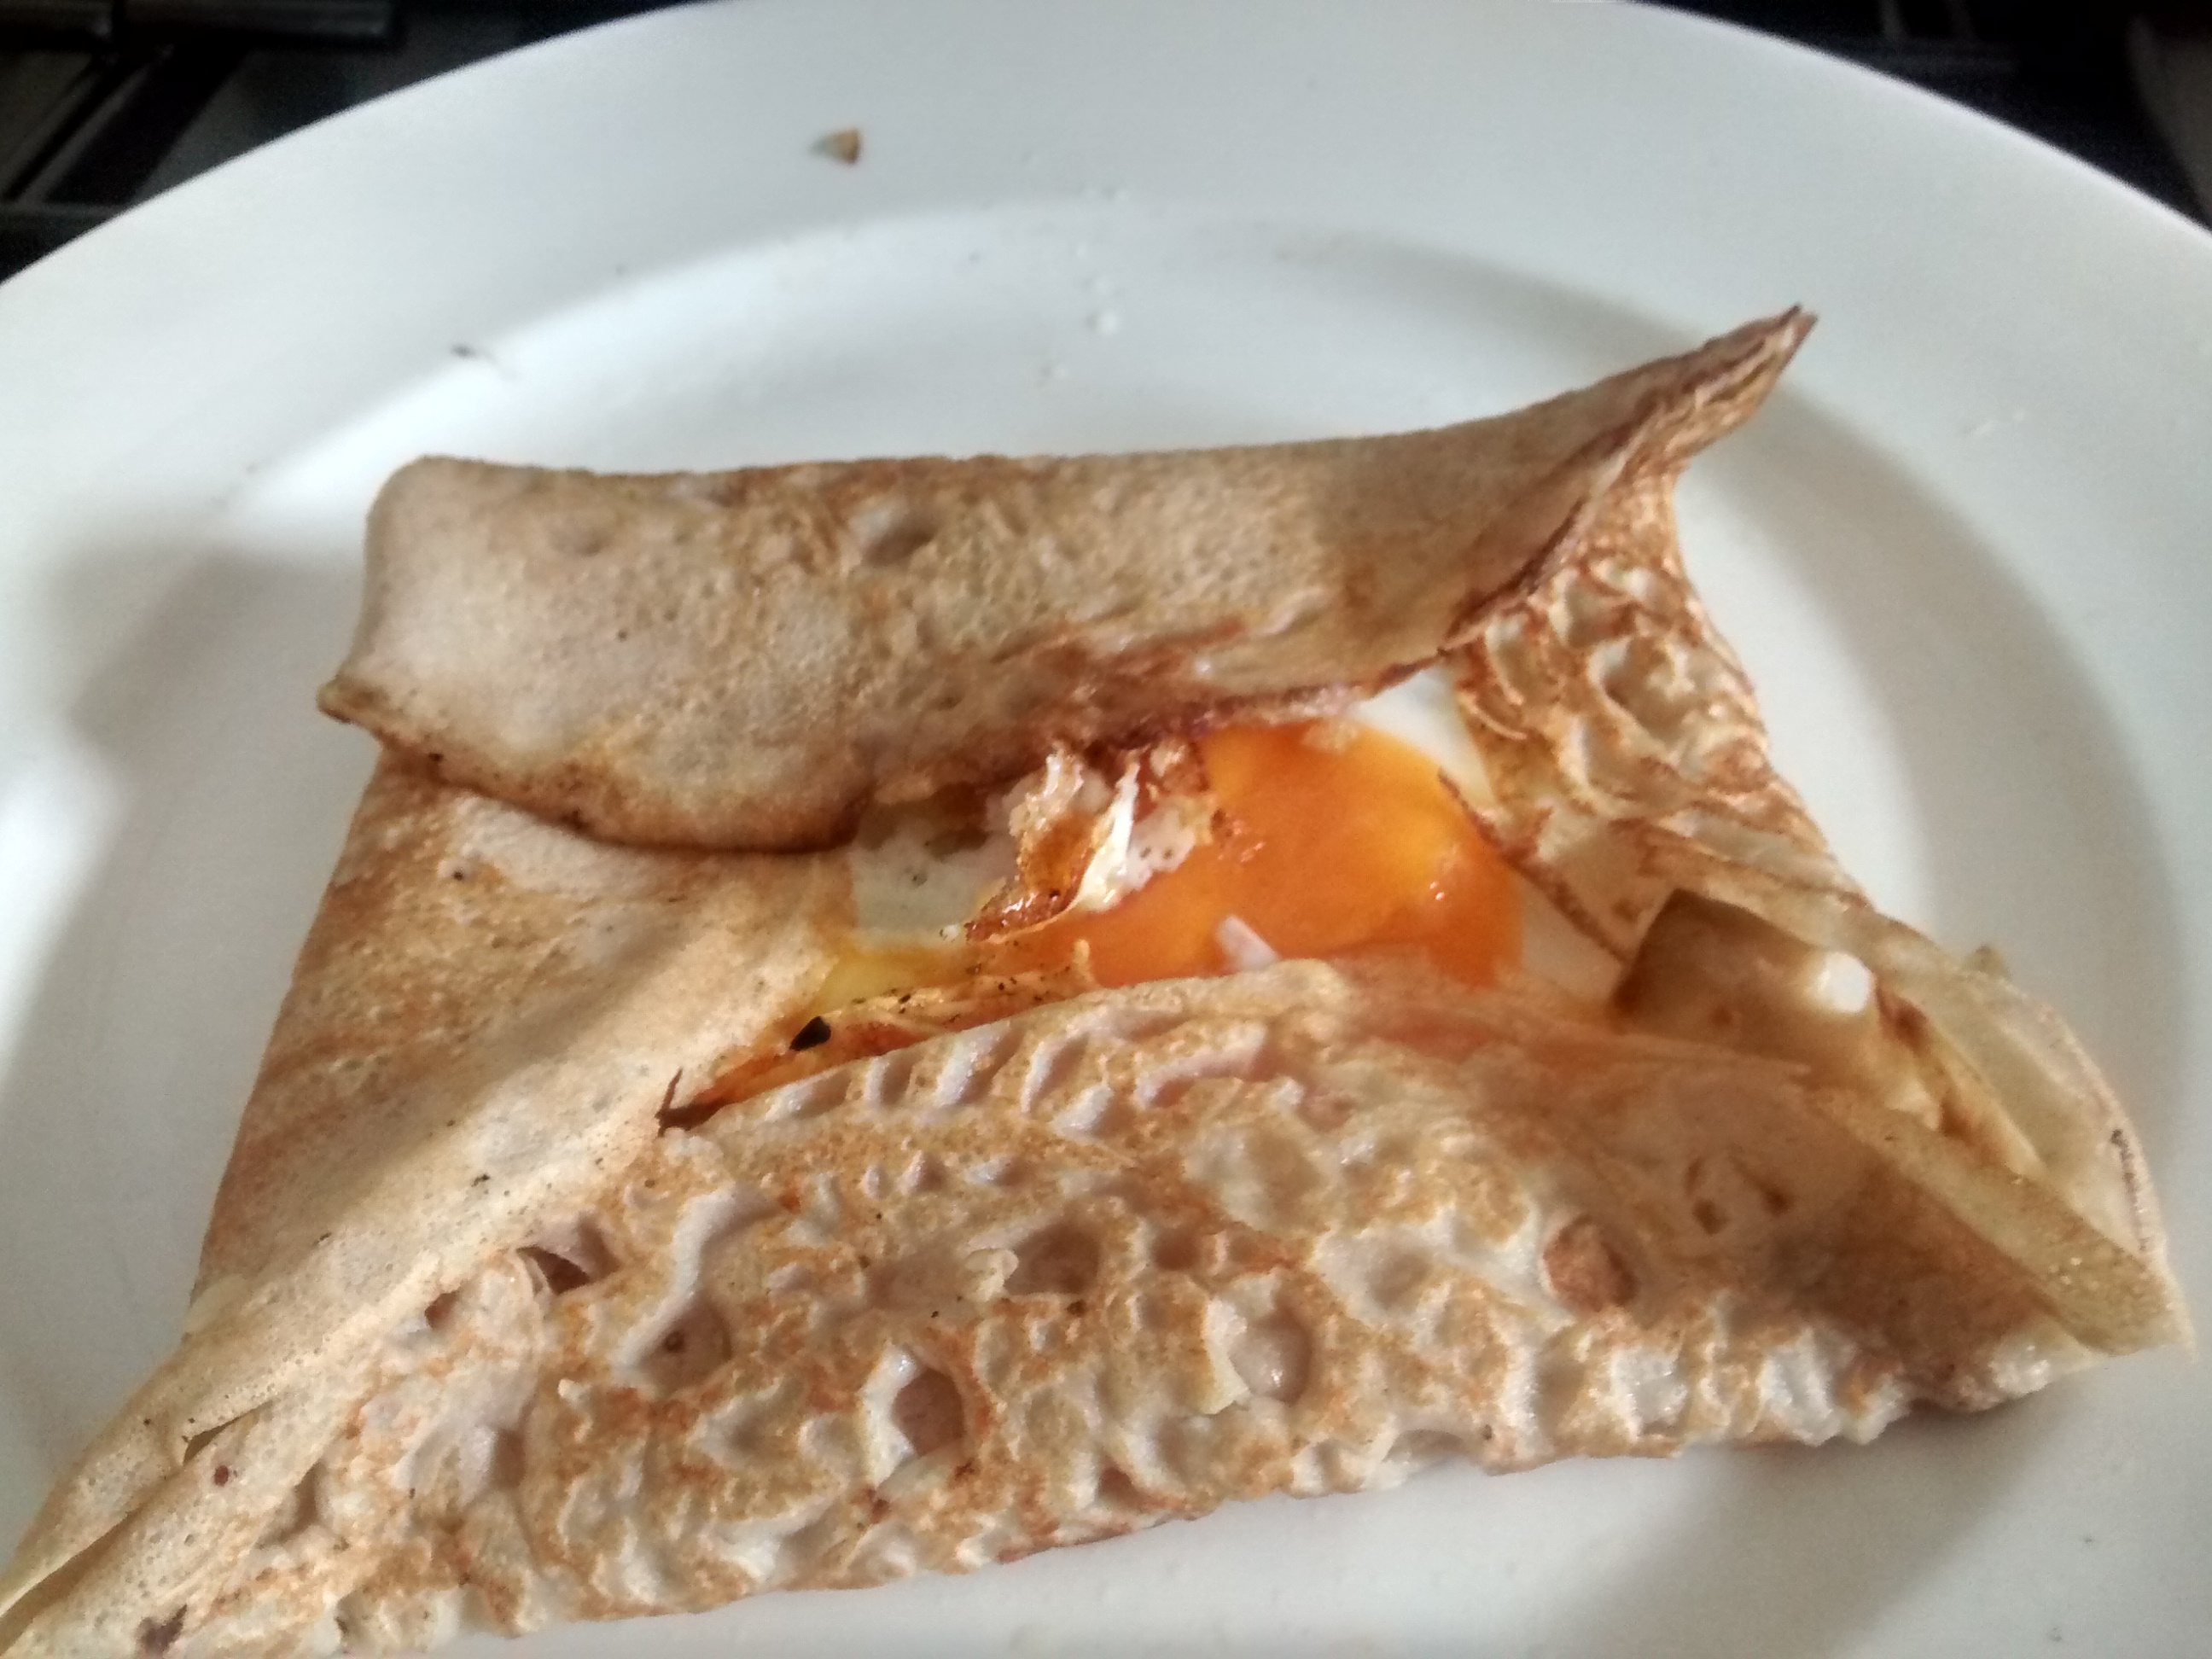
I think these pancakes are best with savoury fillings and my favourite is in fact French in origin, Breton style with a slice of good ham, grated Gruyère cheese and a soft fried egg.
The fillings are put on the cooked pancake and the sides are folded over but with the filling still showing in the centre. (You can put this back on the pan to heat it a little more.)
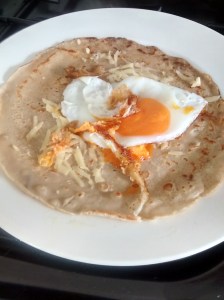
Melted Butter & Grated Cheese
Melted Butter, Grated Cheese & Fried Egg
Poffertjes
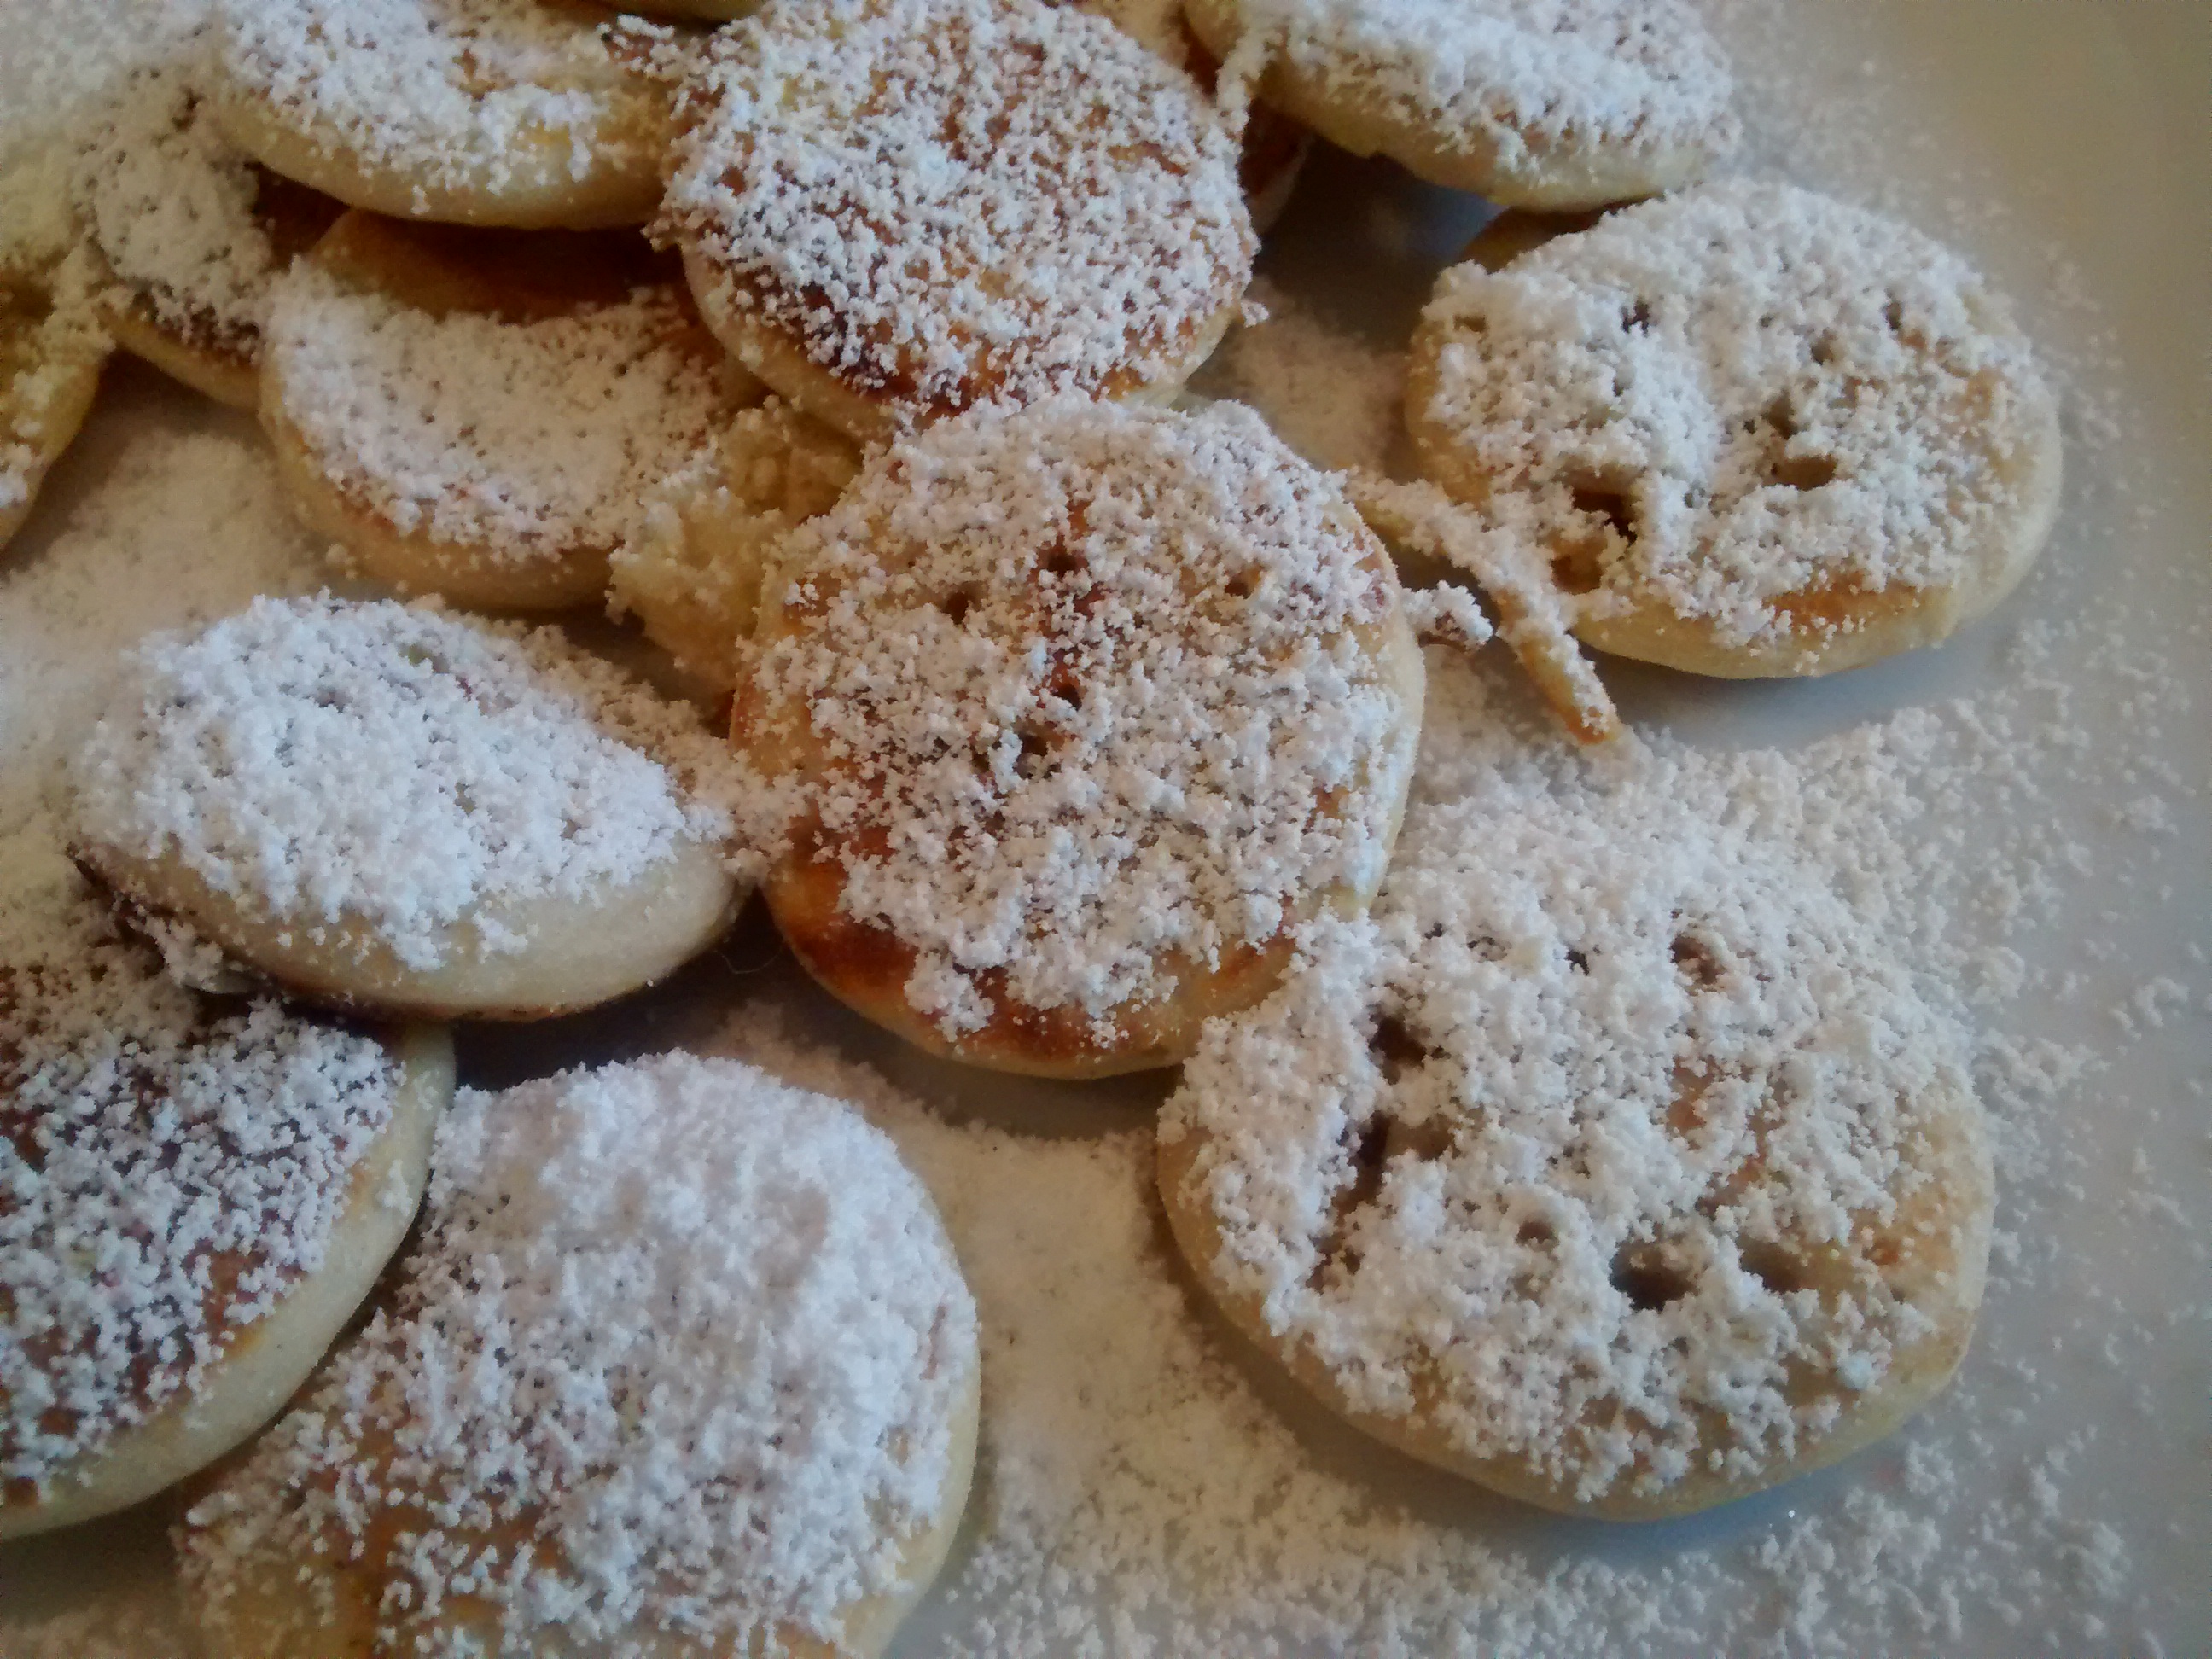
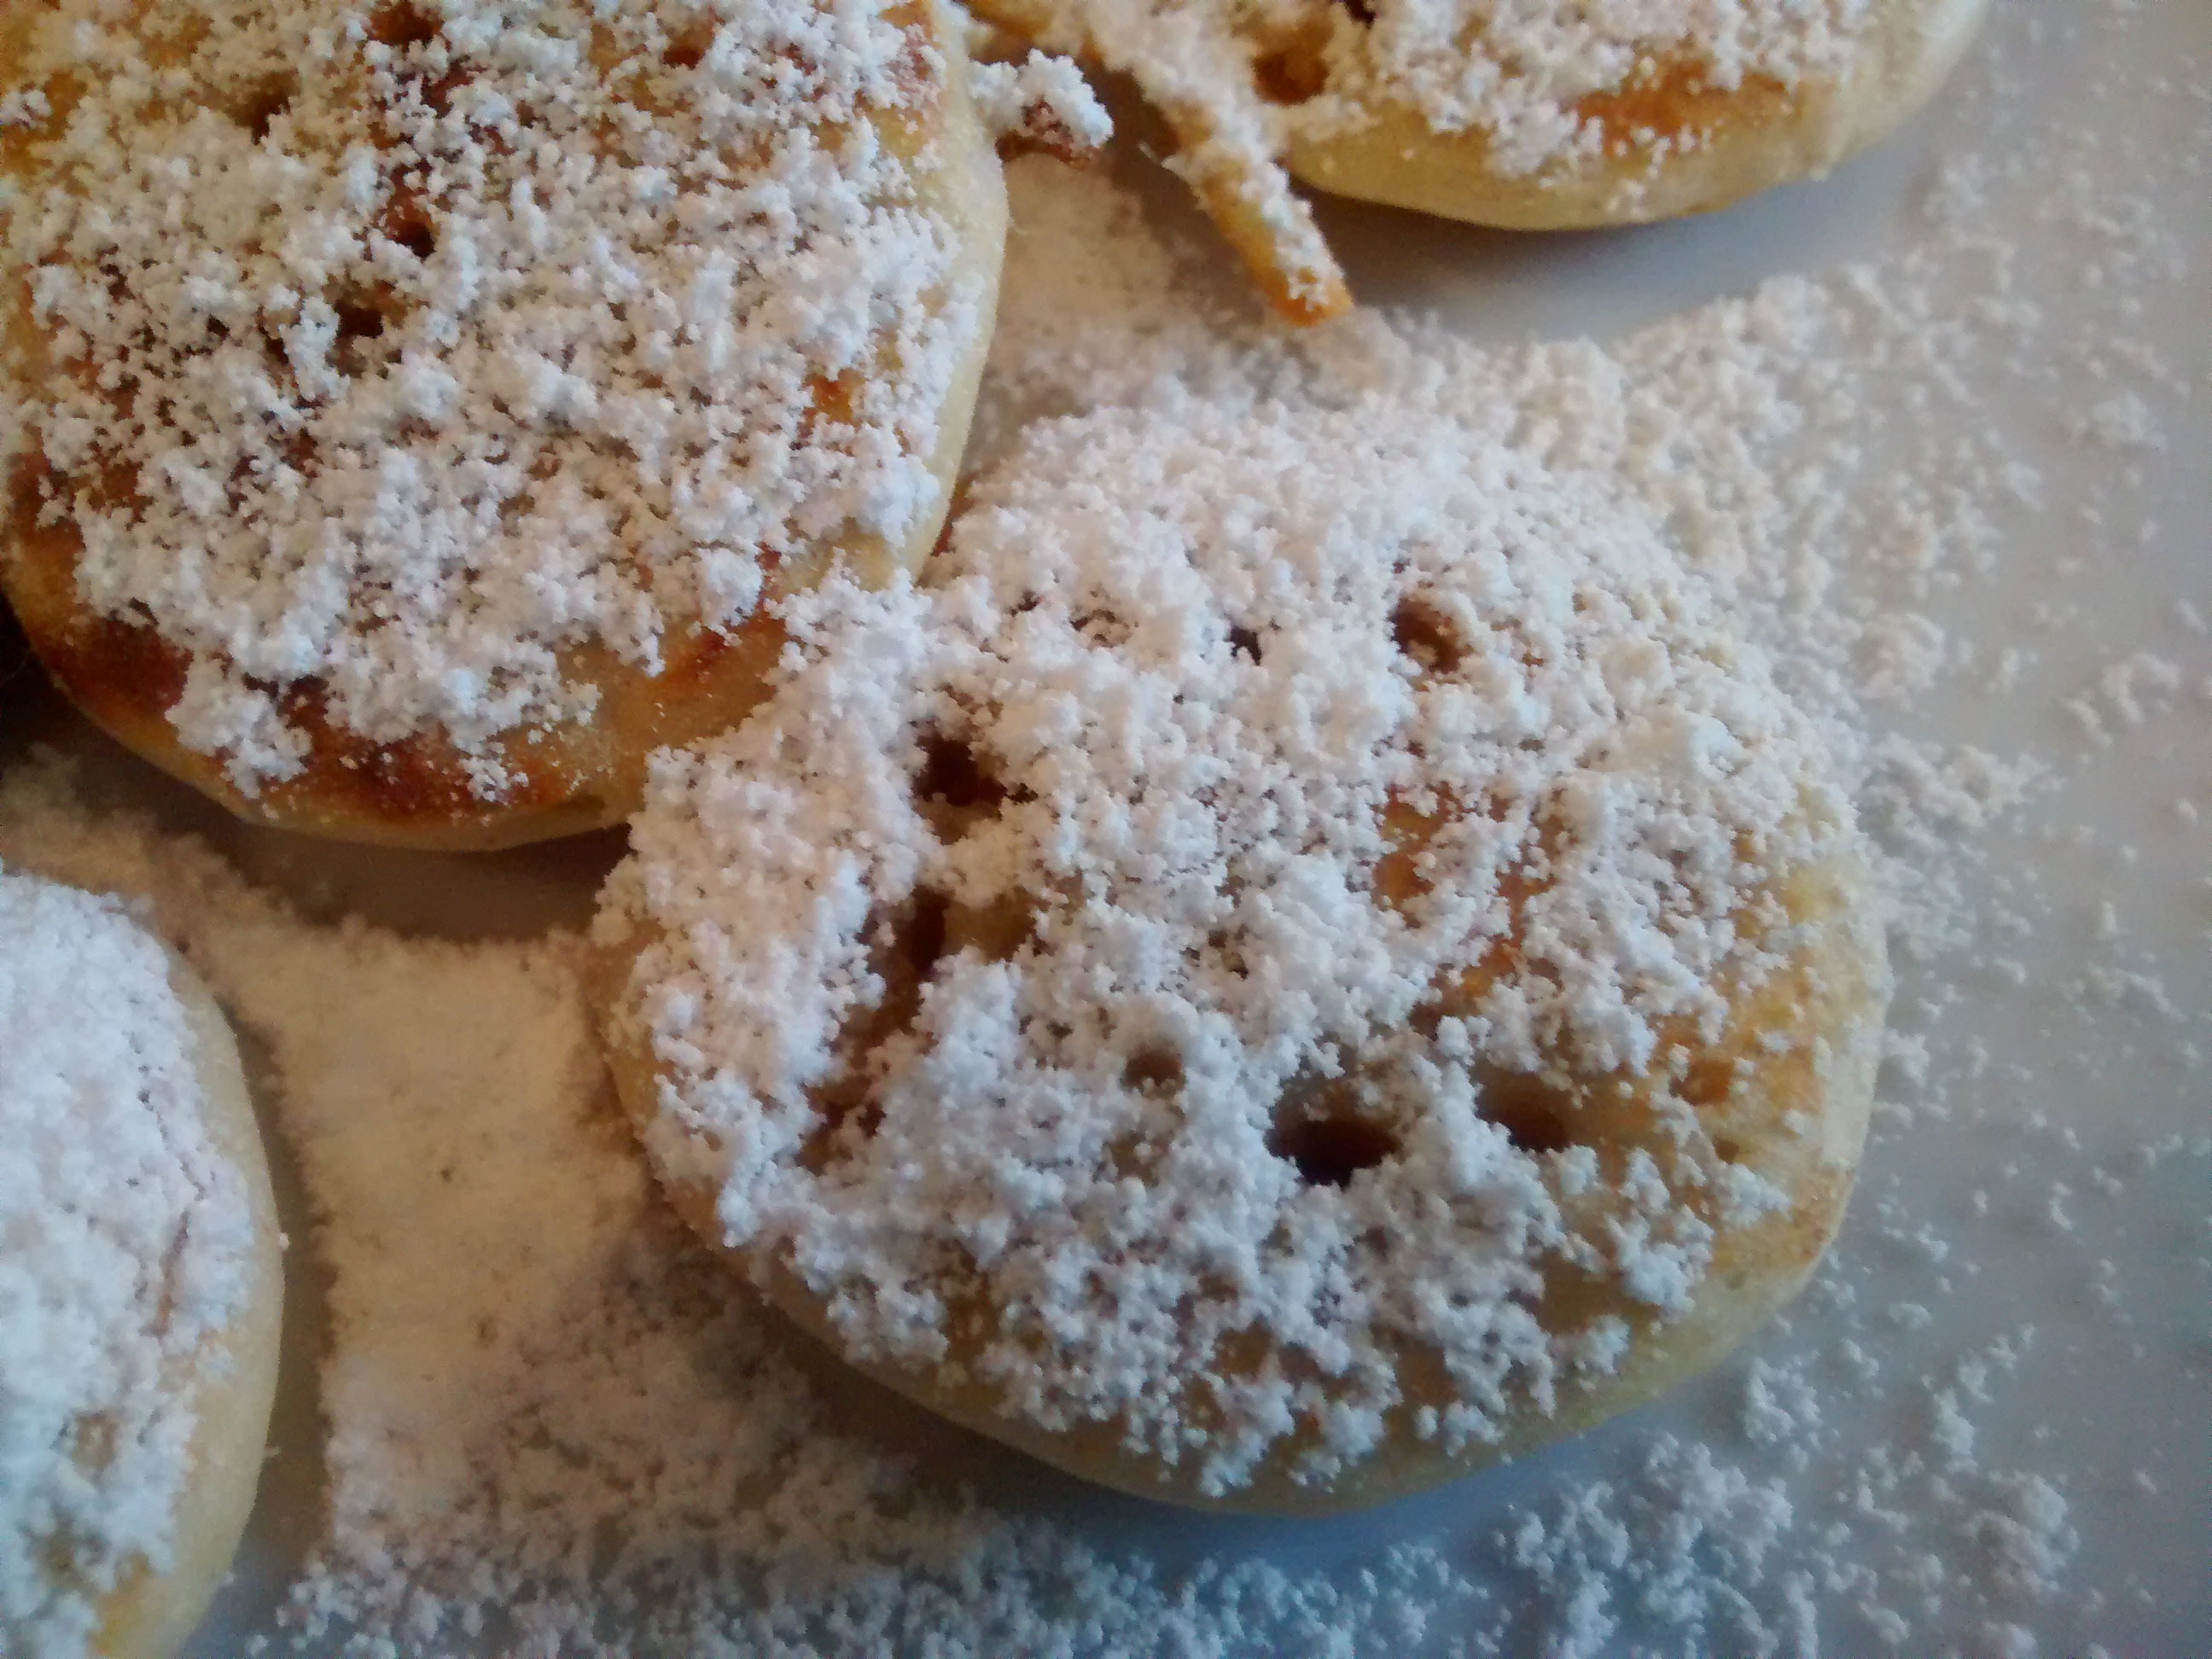
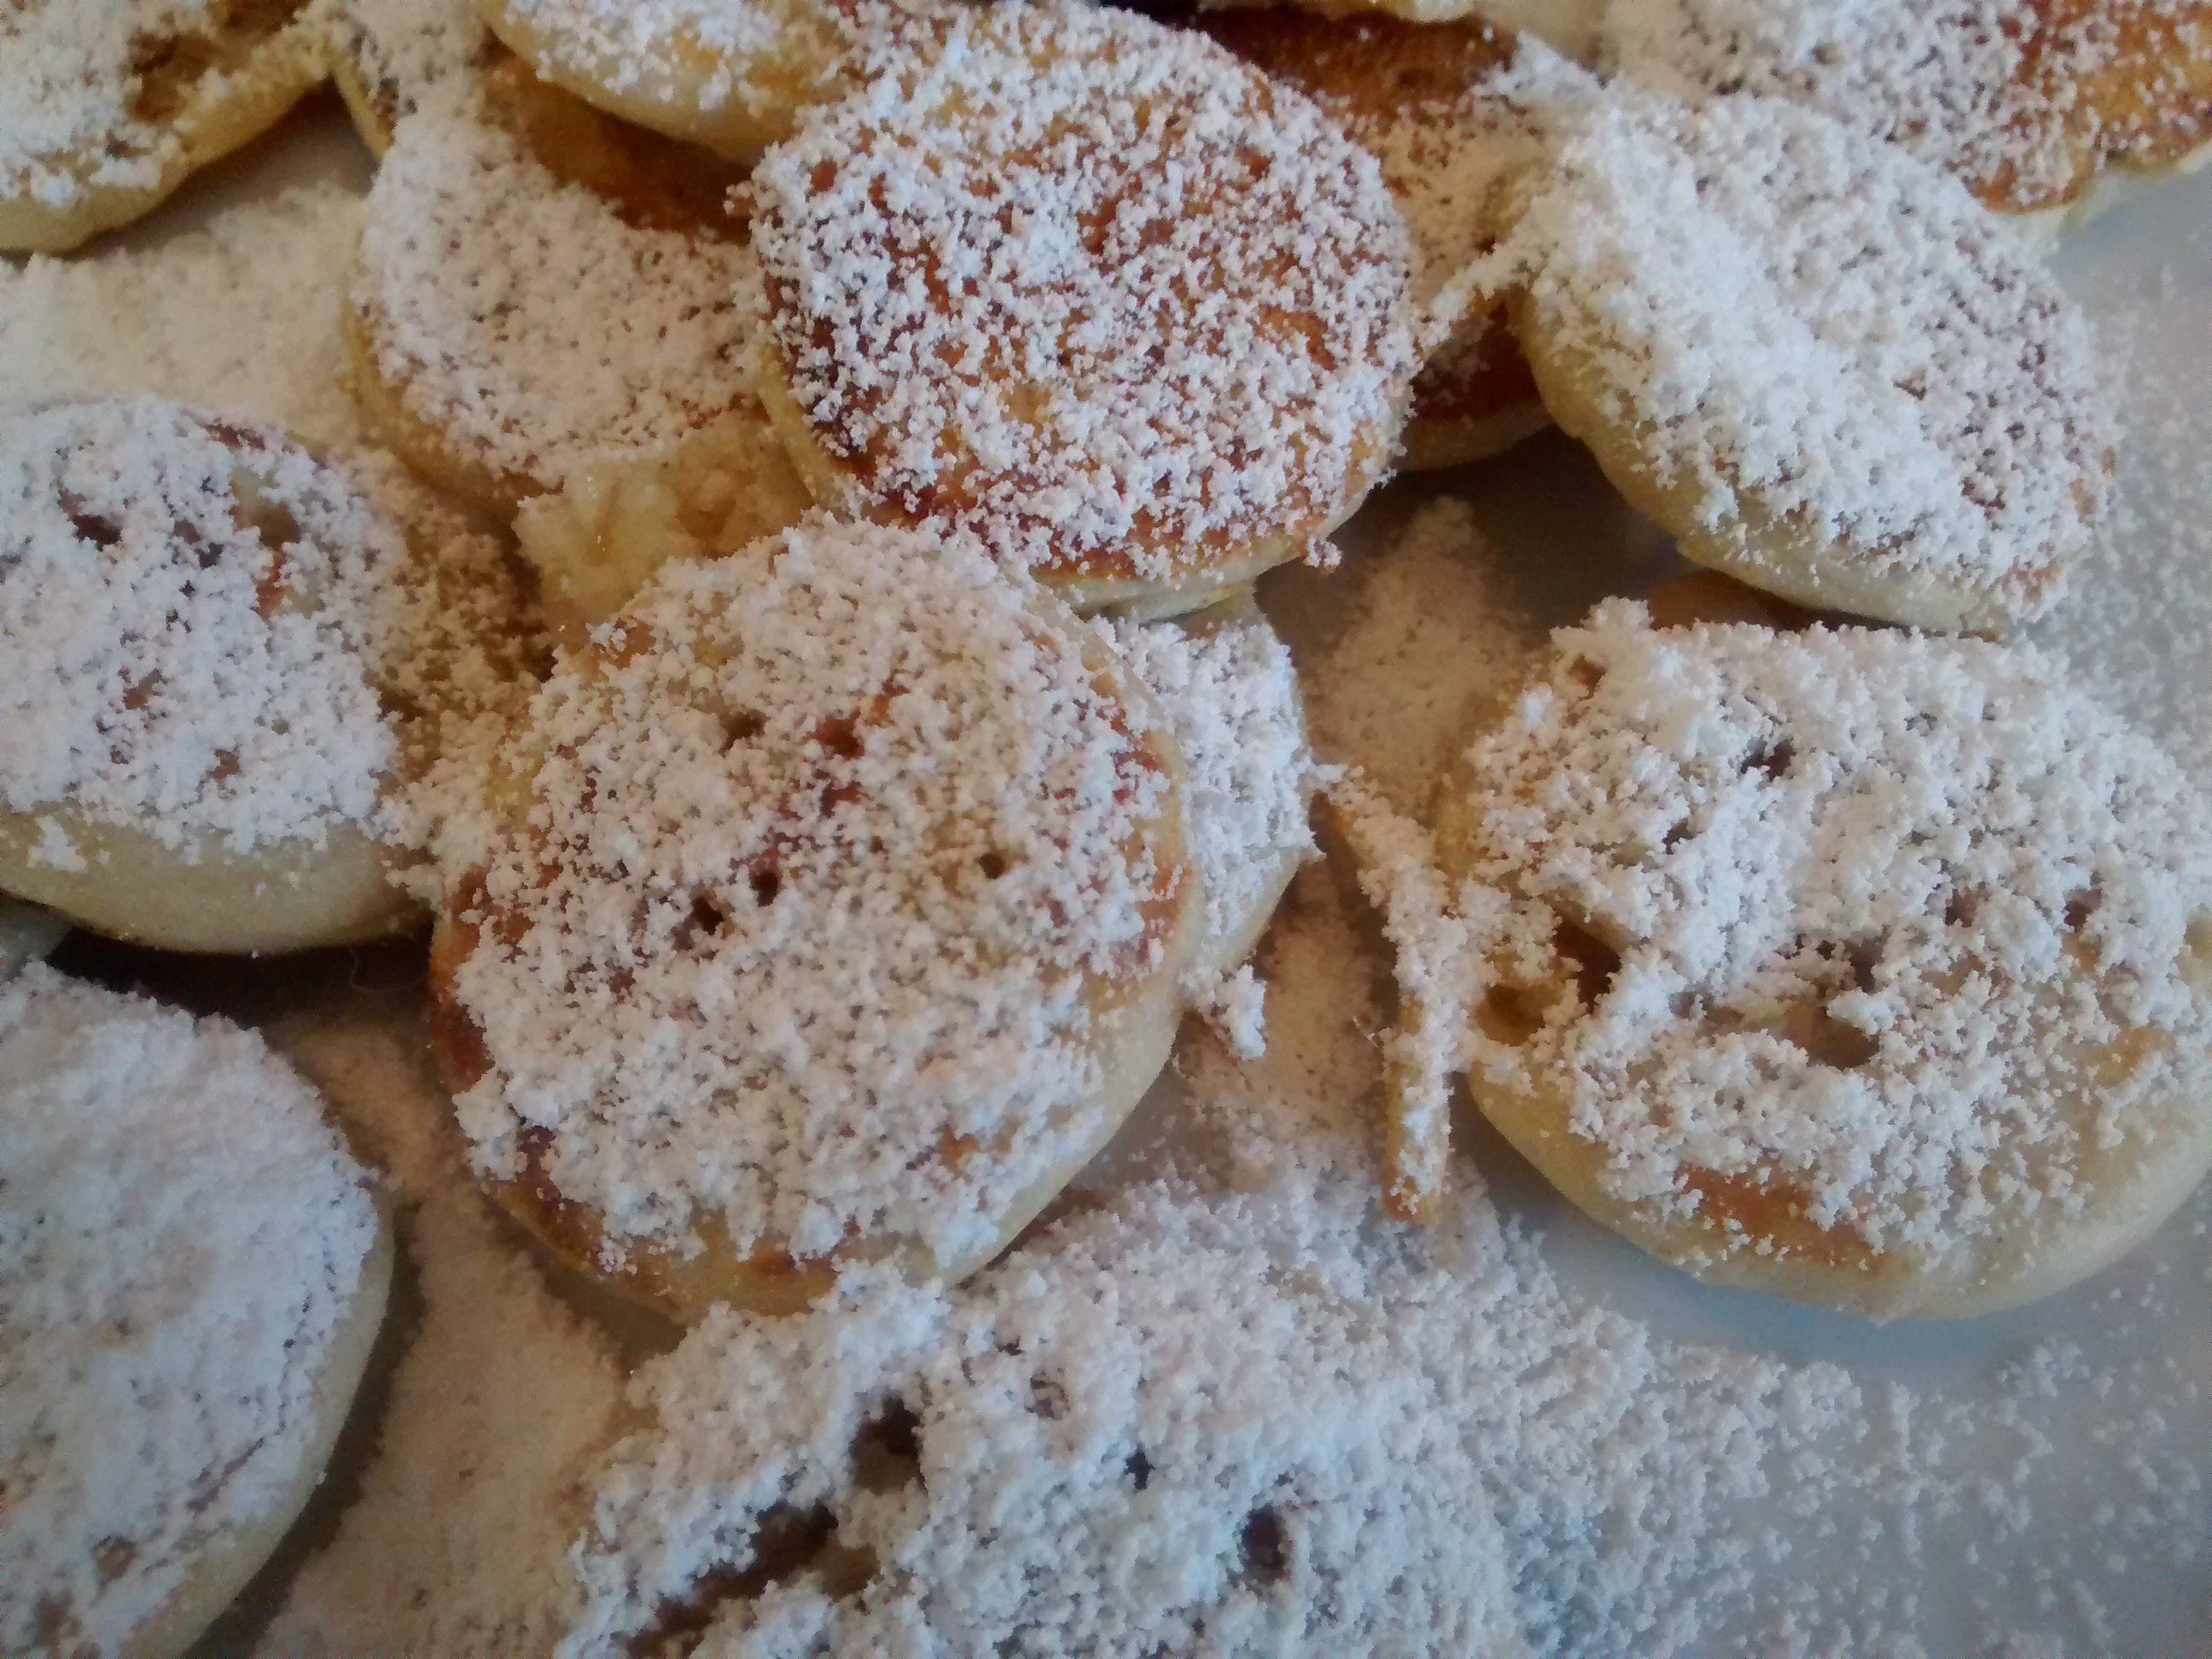
These mini buckwheat pancakes are Dutch in origin and it was only as I was trying out the recipes again that I realised how similar they are to bliny – but these are not served with savoury toppings but with icing sugar.
(The Dutch for buckwheat is boekweit)
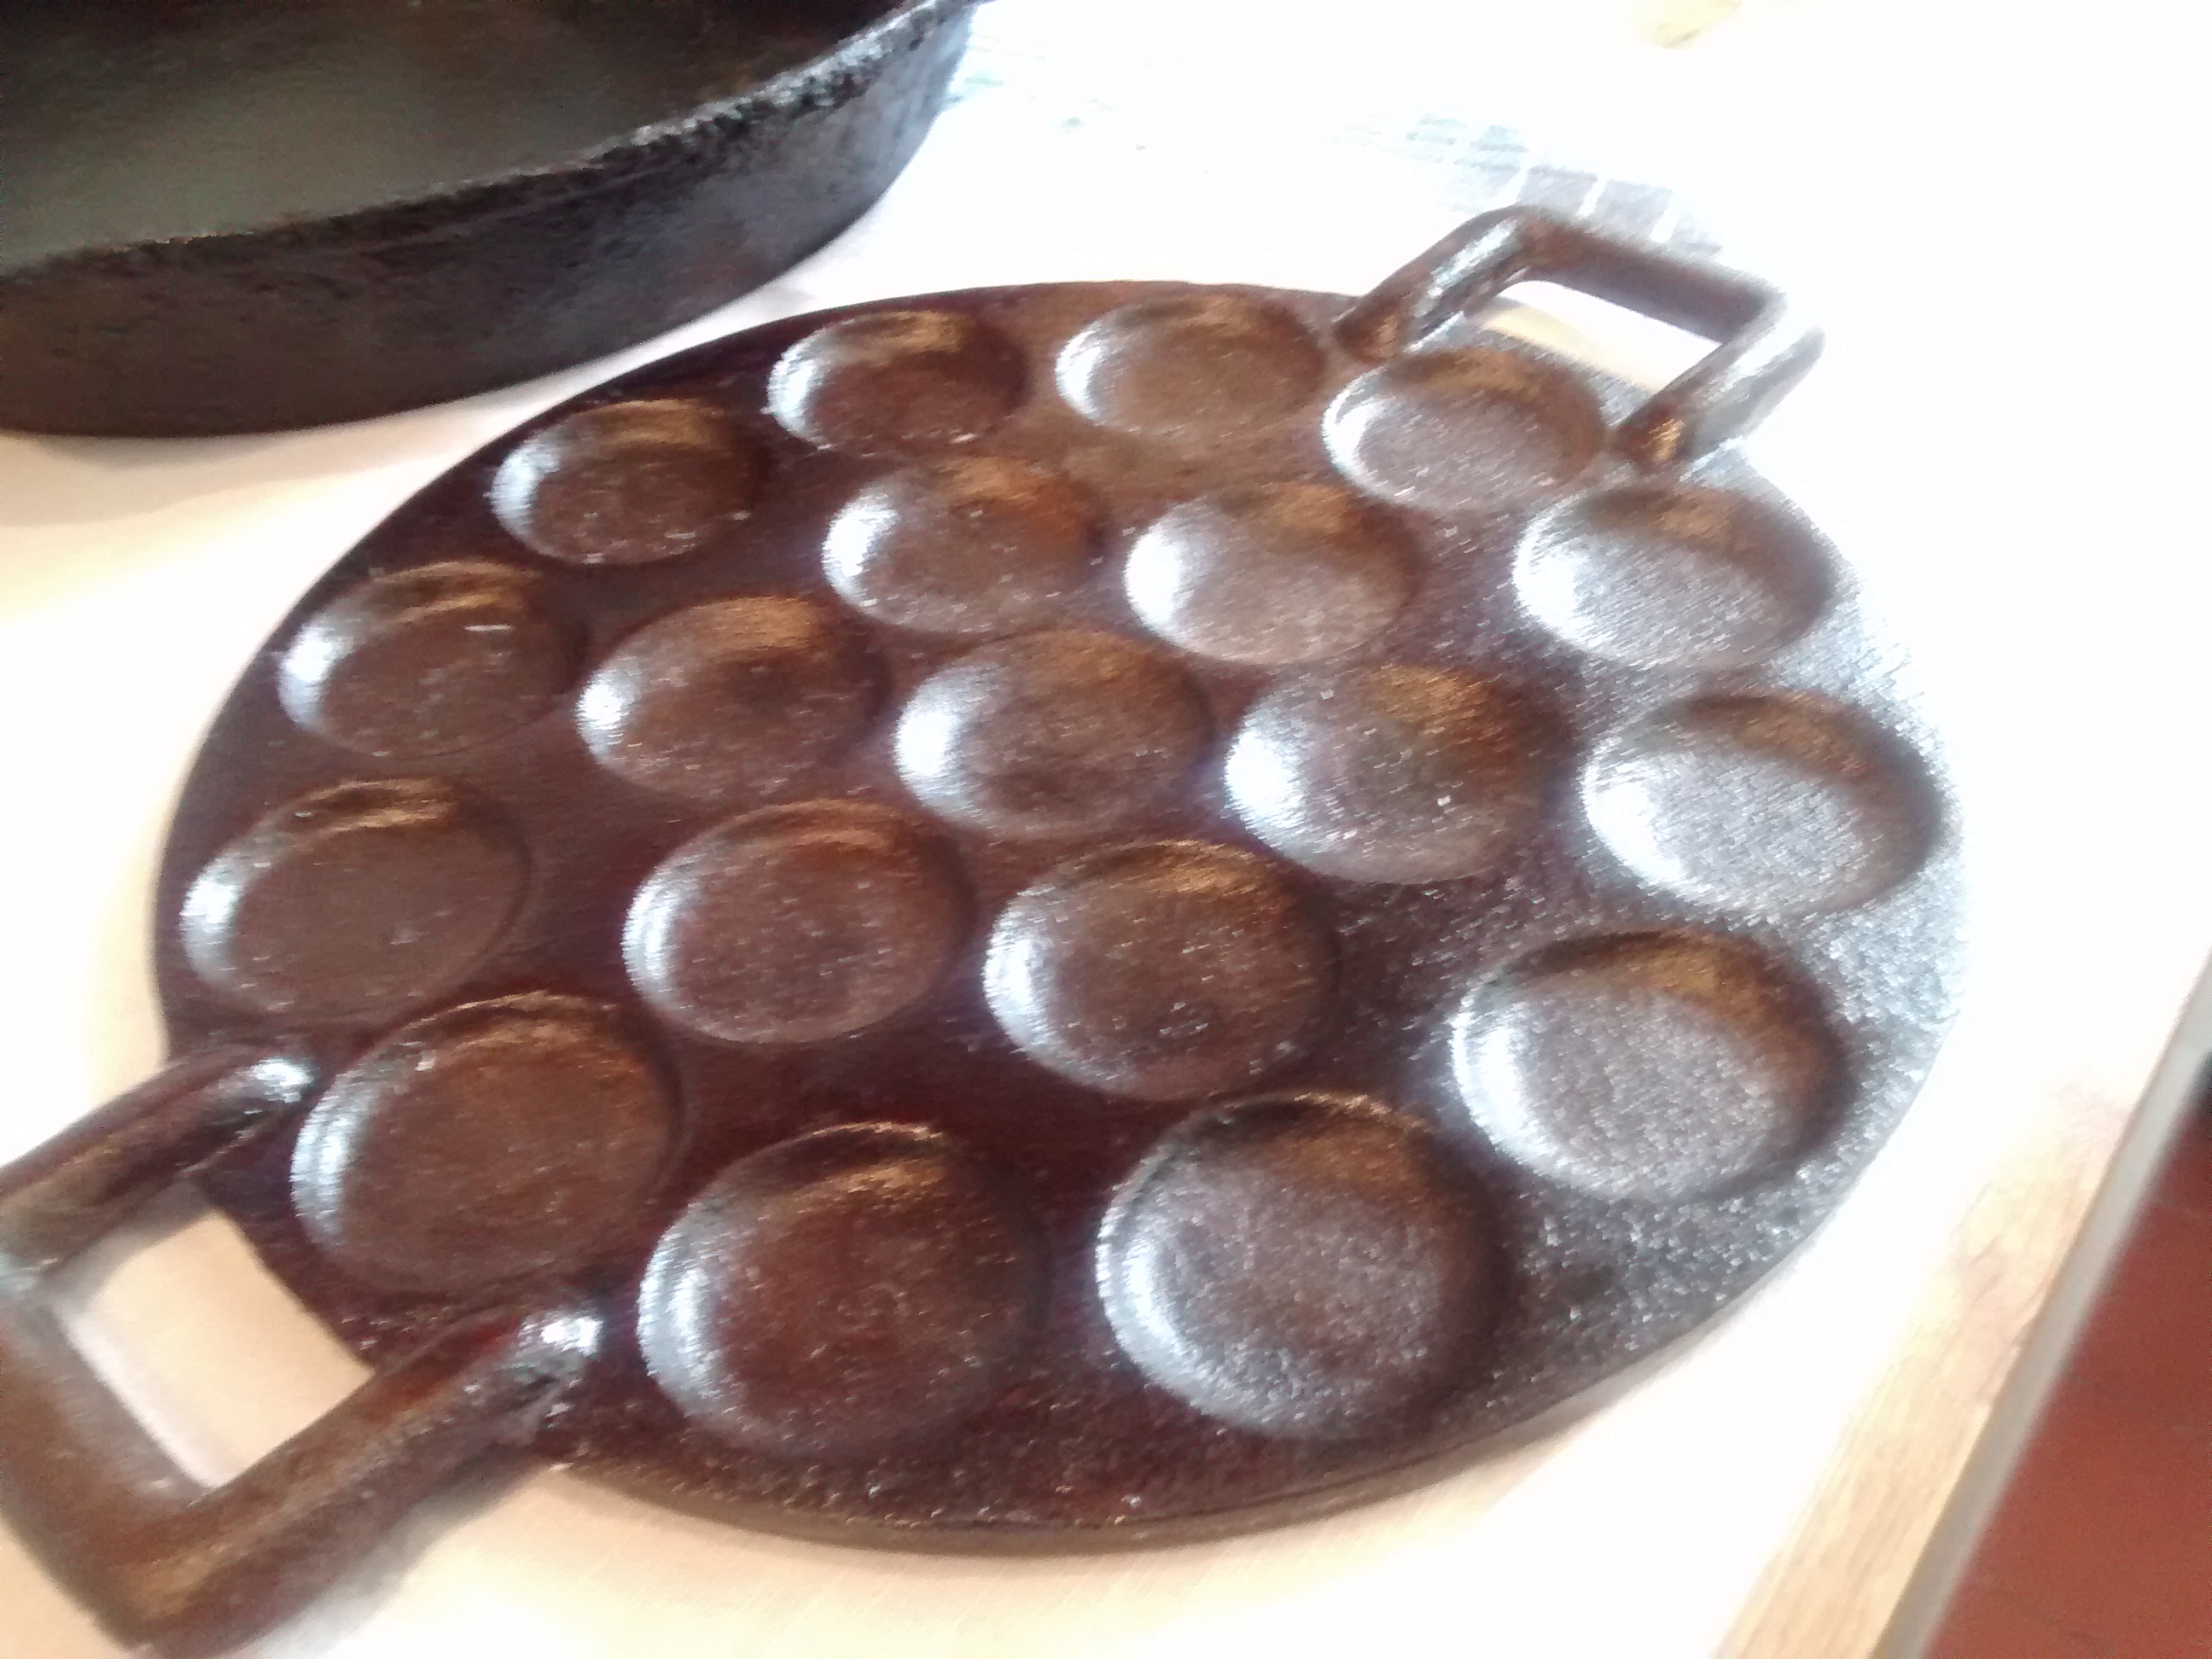
Several decades ago when on a visit to The Netherlands I bought a special cast iron pan which is used for making poffertjes .
It was in the days before cheap flights & just hand luggage and I had travelled there by car – not as easy to bring home without.
If you do not have access to the authentic pan you can make them on a frying pan – my cast iron pan works very well.
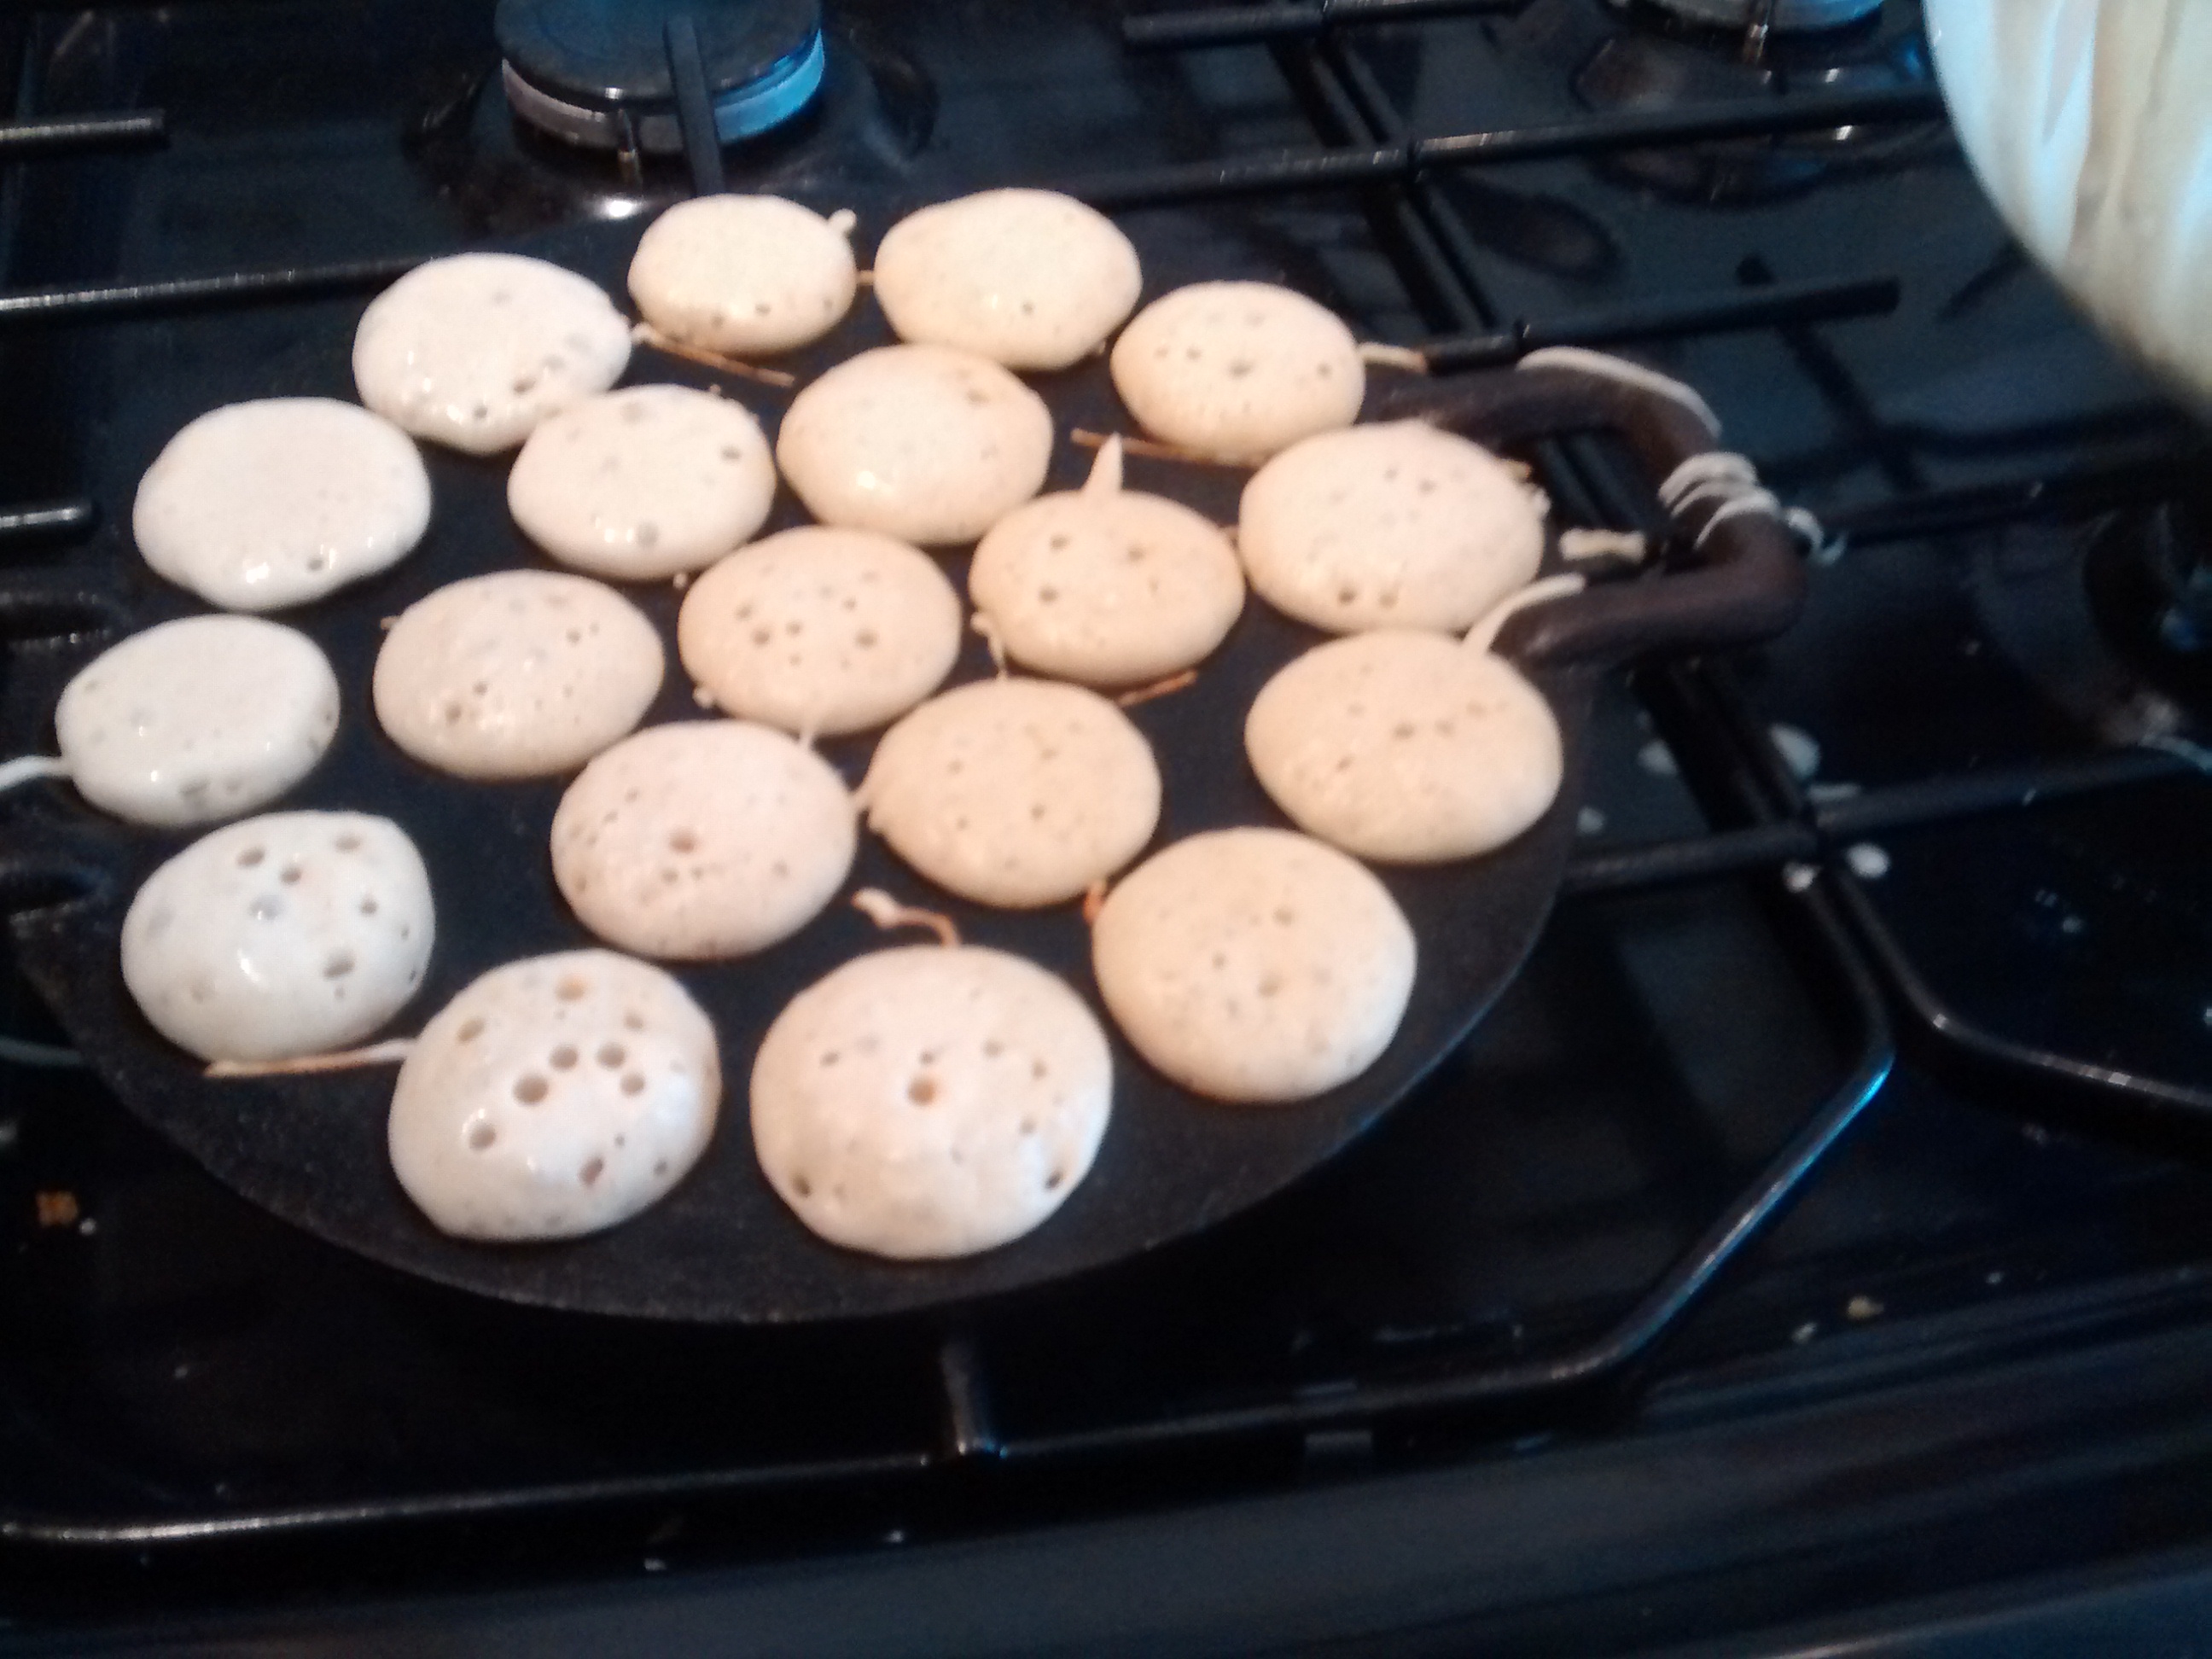
Cast Iron Proffertje Pan with 19 Indentations
Poffertjes
Ingredients
10g dried yeast
1 teaspoon sugar
125g buckwheat flour
125 plain flour
Pinch of salt
1 egg
350ml of full fat or semi-skimmed milk – warmed slightly
1 tablespoon of butter – melted
Icing sugar to serve.
Method
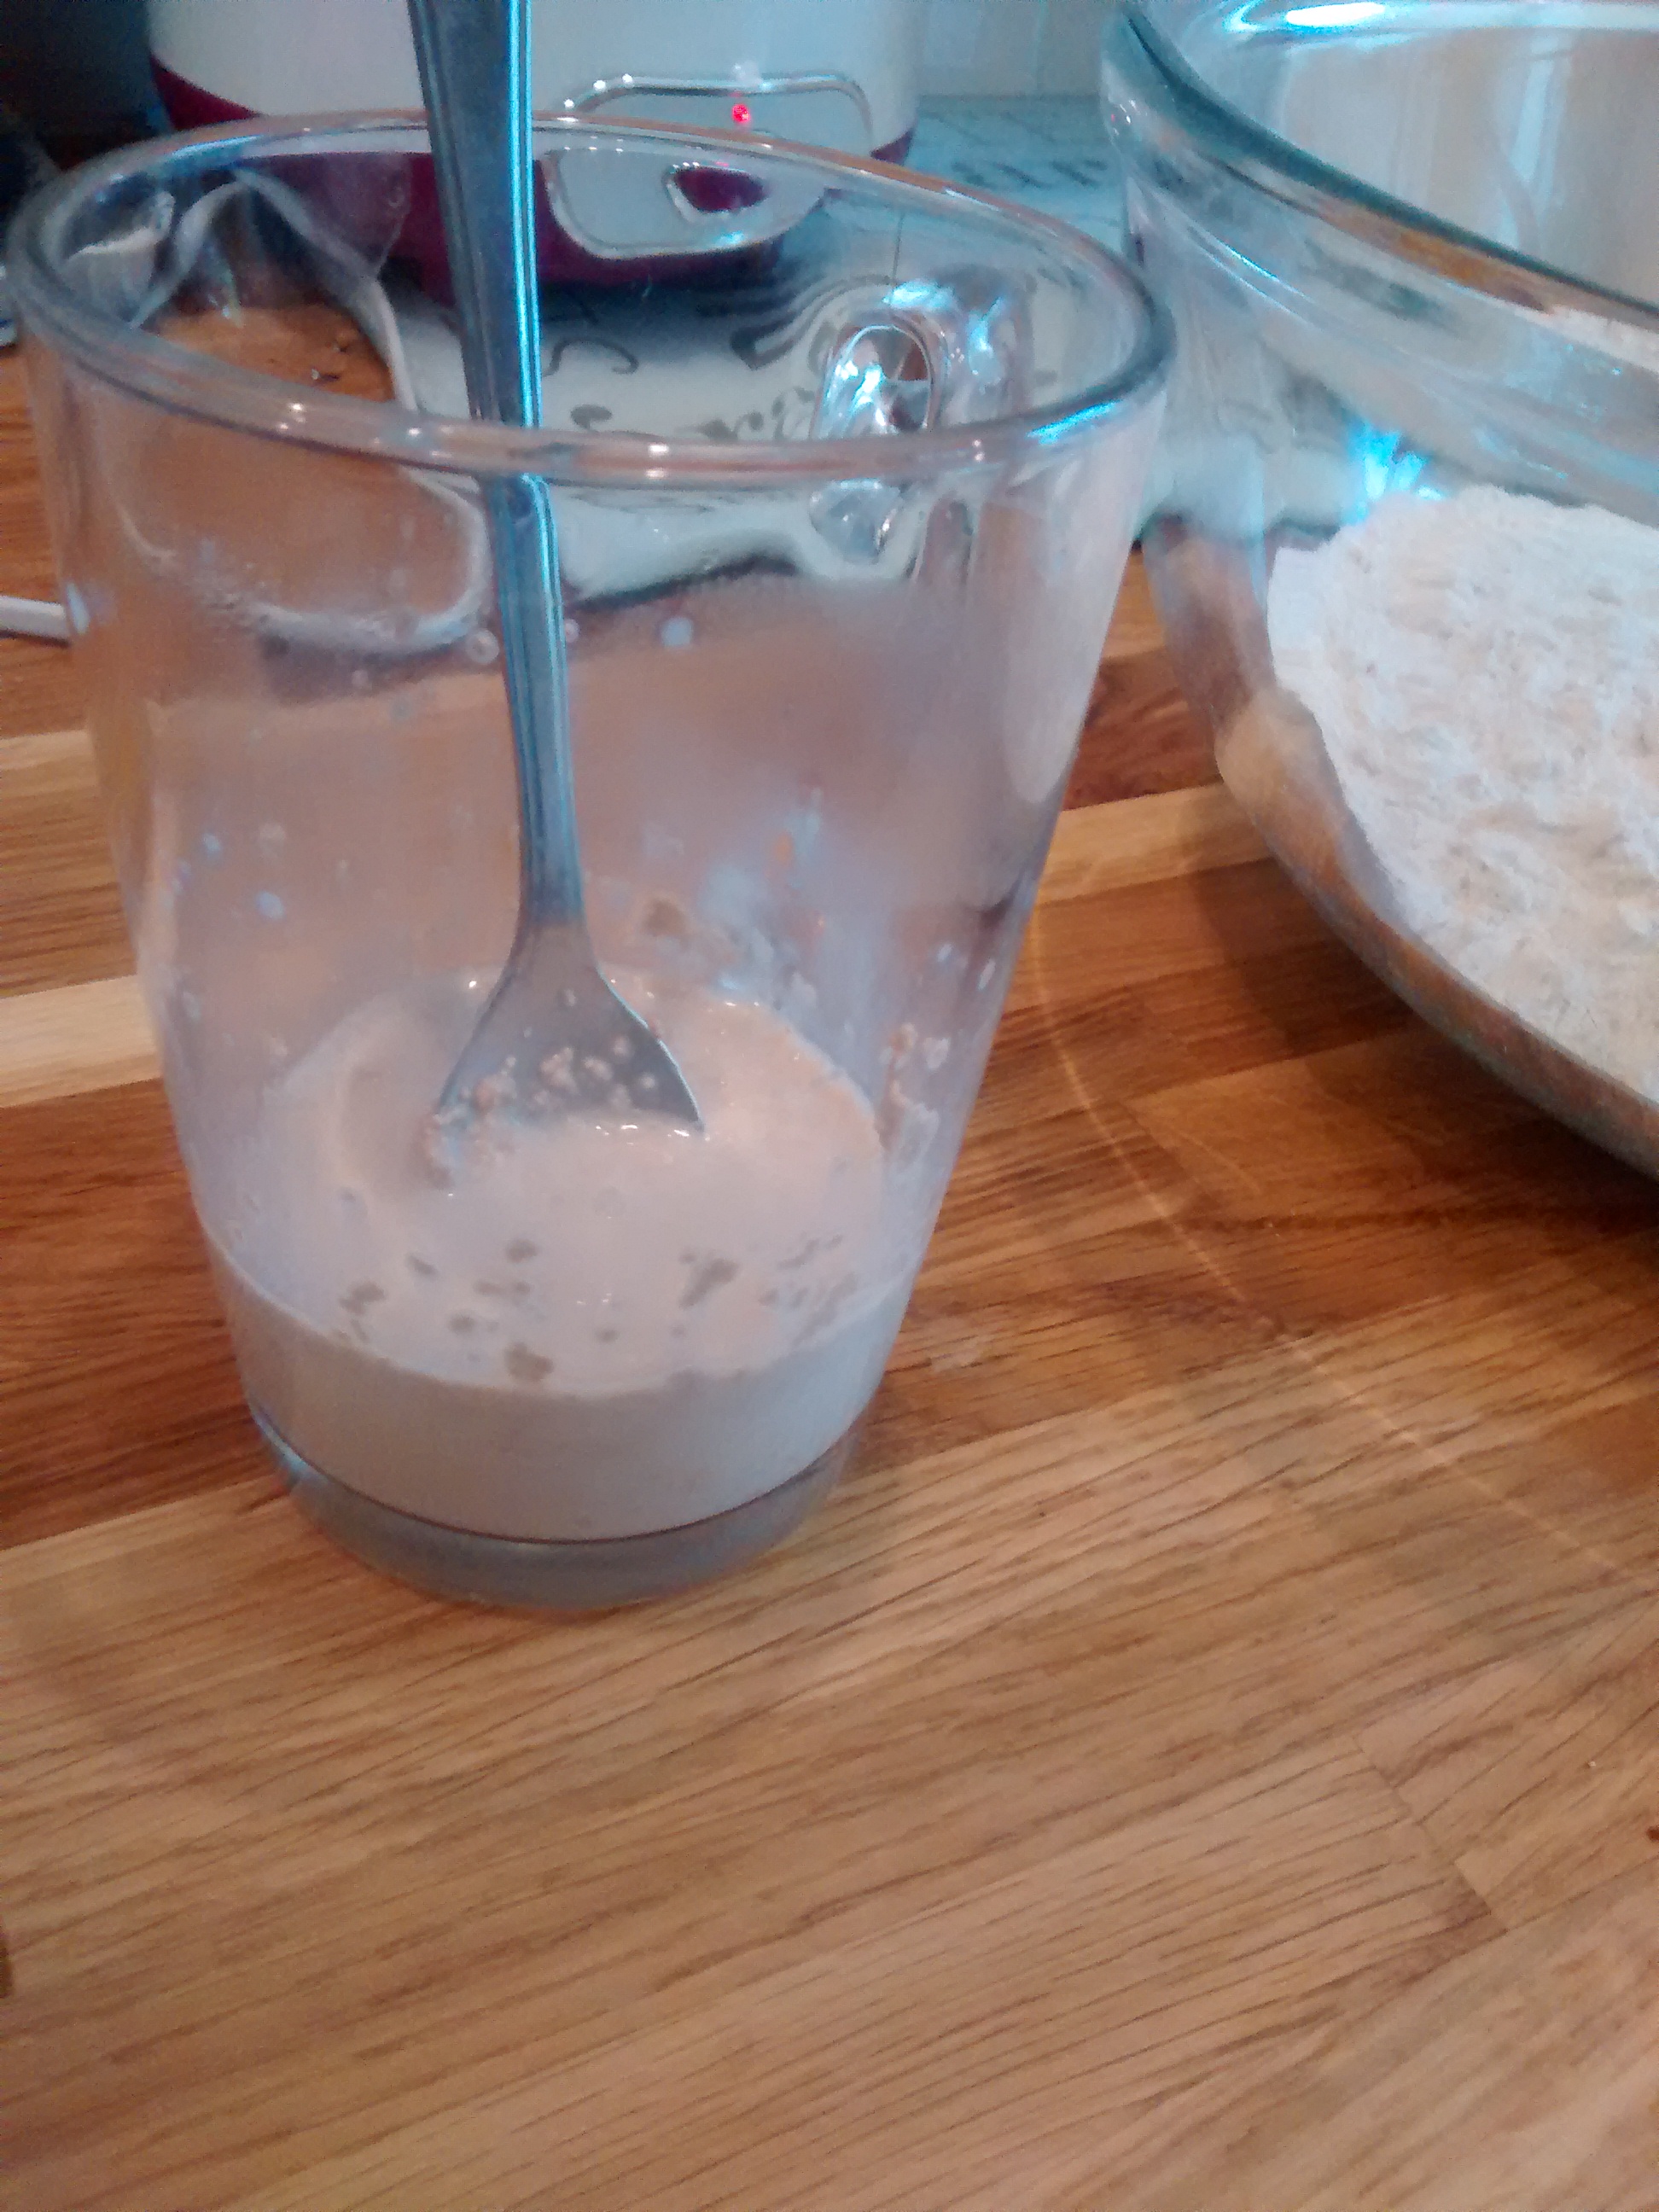
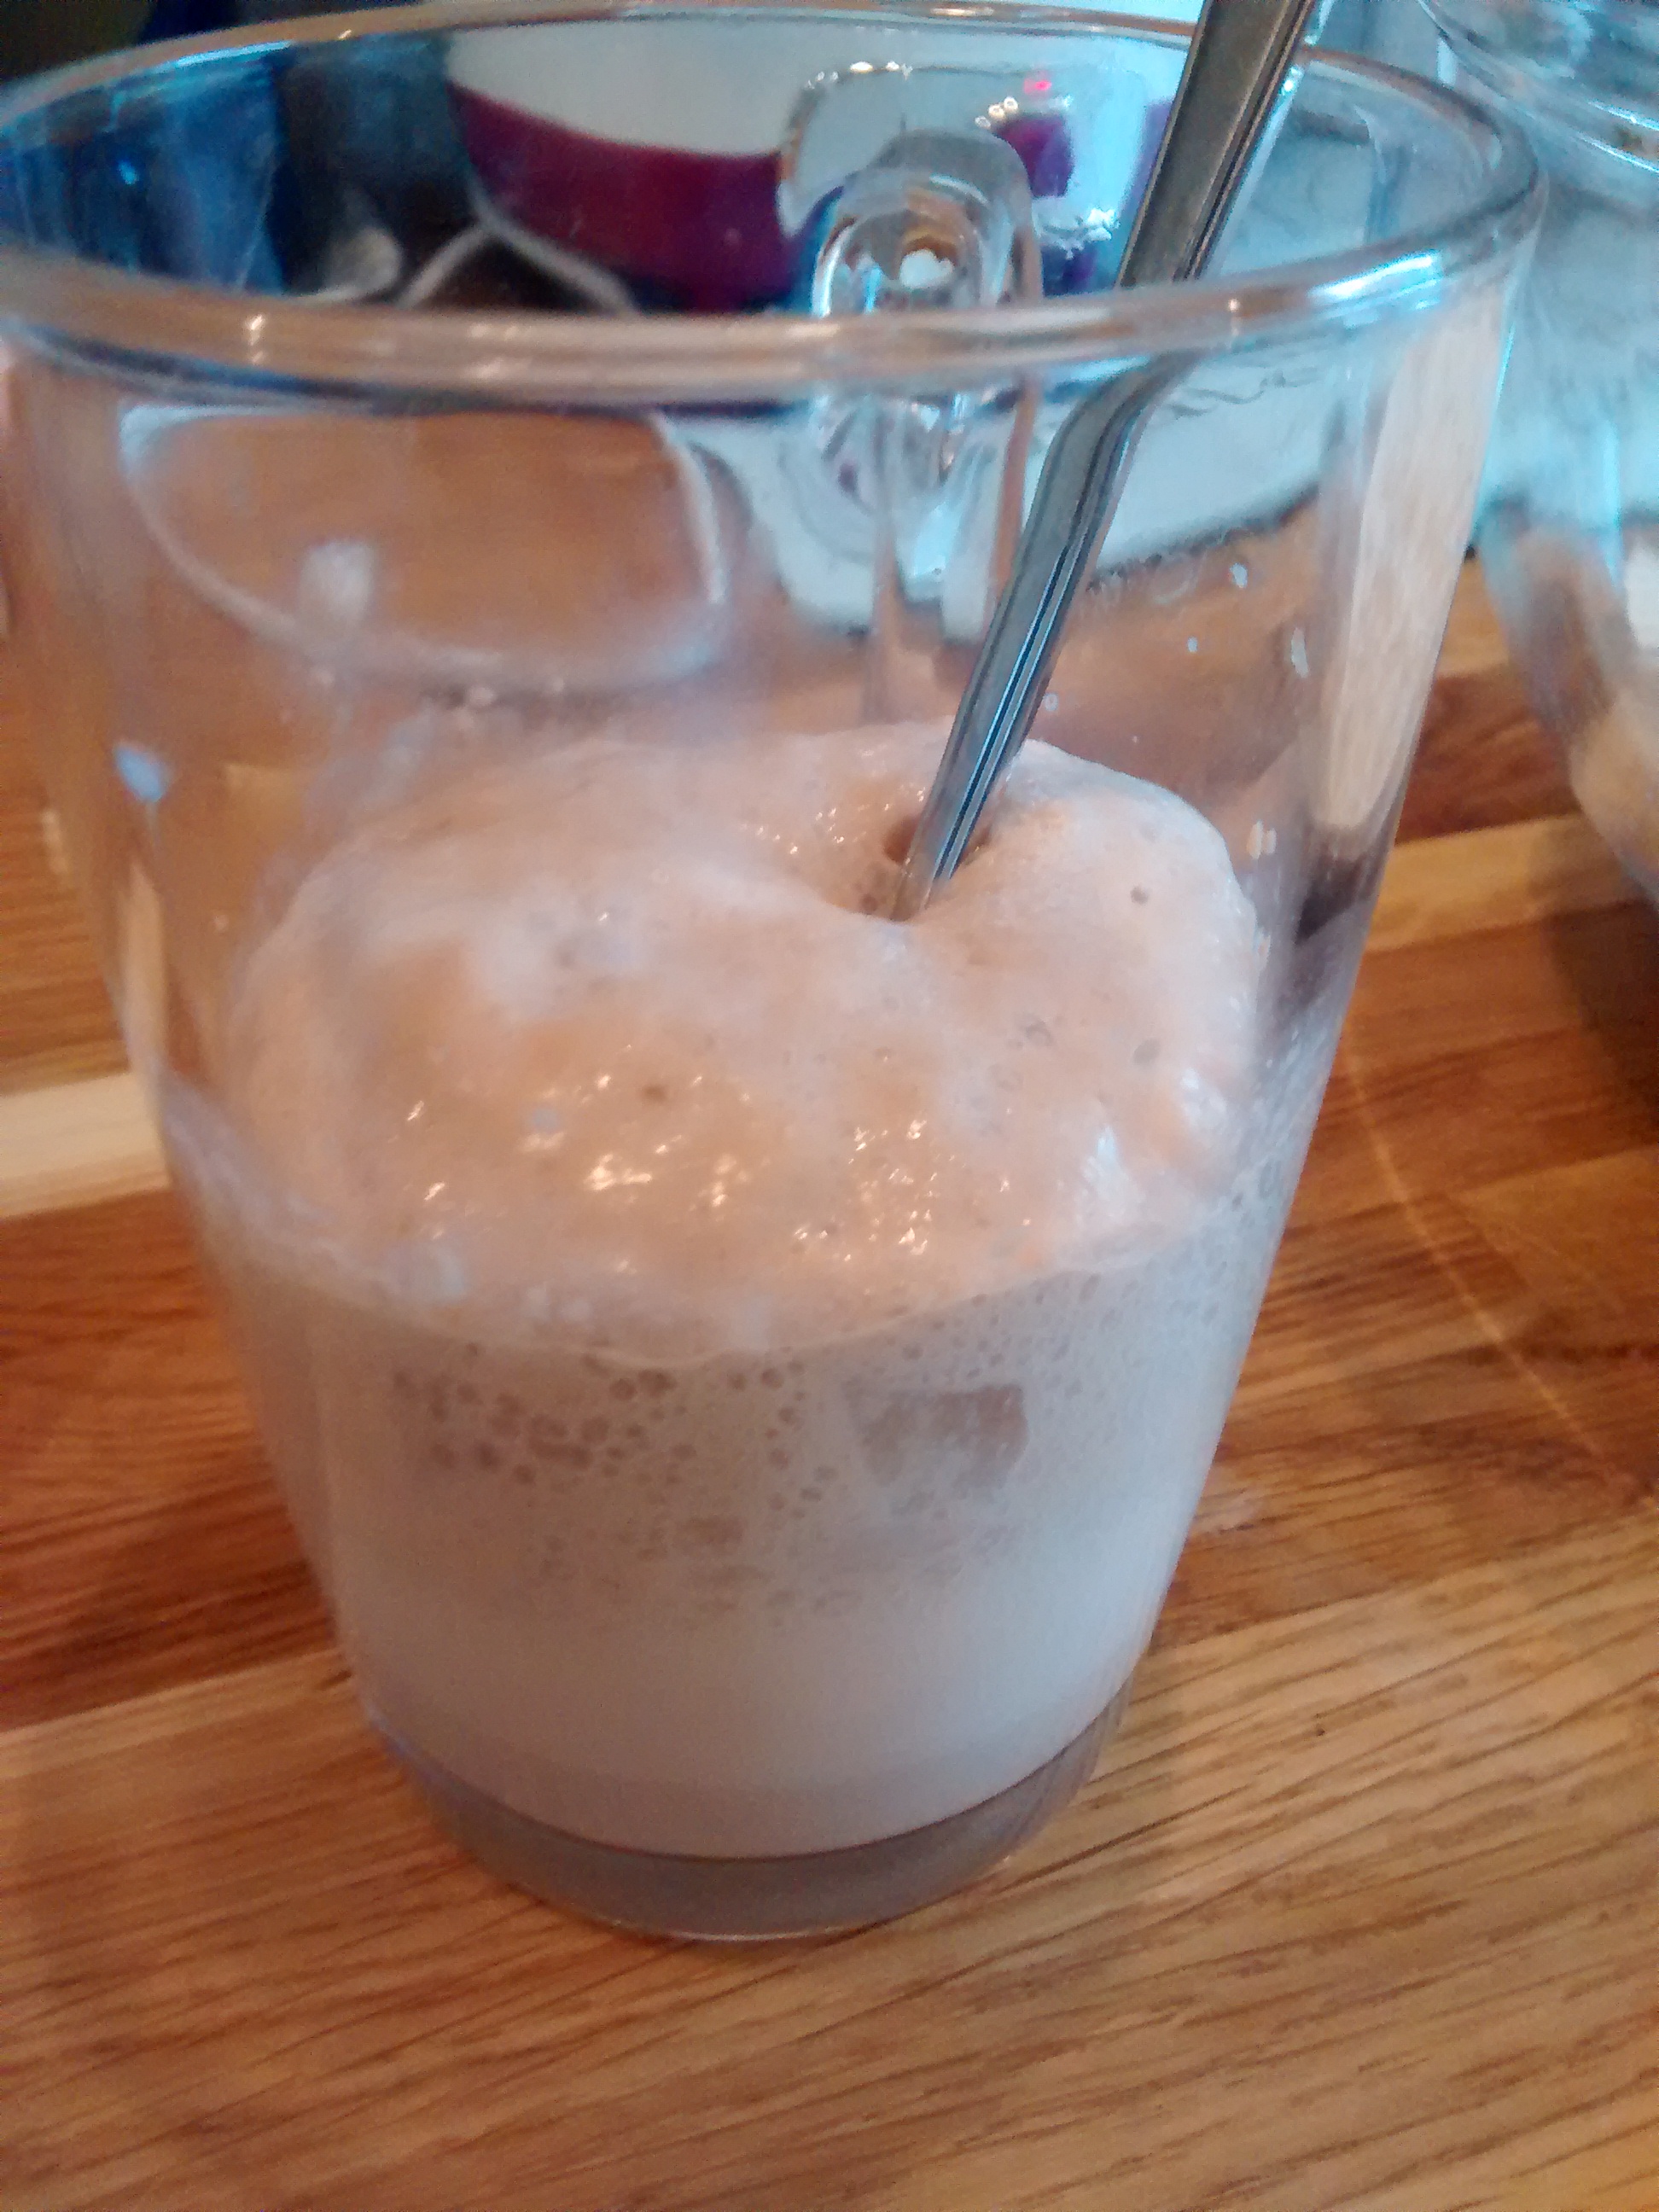
In a small bowl or jug dissolve the sugar, the yeast and around 50 ml of the milk.
Leave for around 10 minutes or so as it froths up.
In a separate bowl, combine the buckwheat and wheat flours, salt, egg, yeast mixture and half the remaining milk and mix well.
Now add the remaining milk until the mixture is like double cream – you might not need all the milk.
Add the melted butter.
Cover the bowl and leave for around 1 hour until the mixture has bubbled and risen.
Lightly grease the pan and heat the pan – keep it the pan warm but not too hot or you will burn the poffertjes.
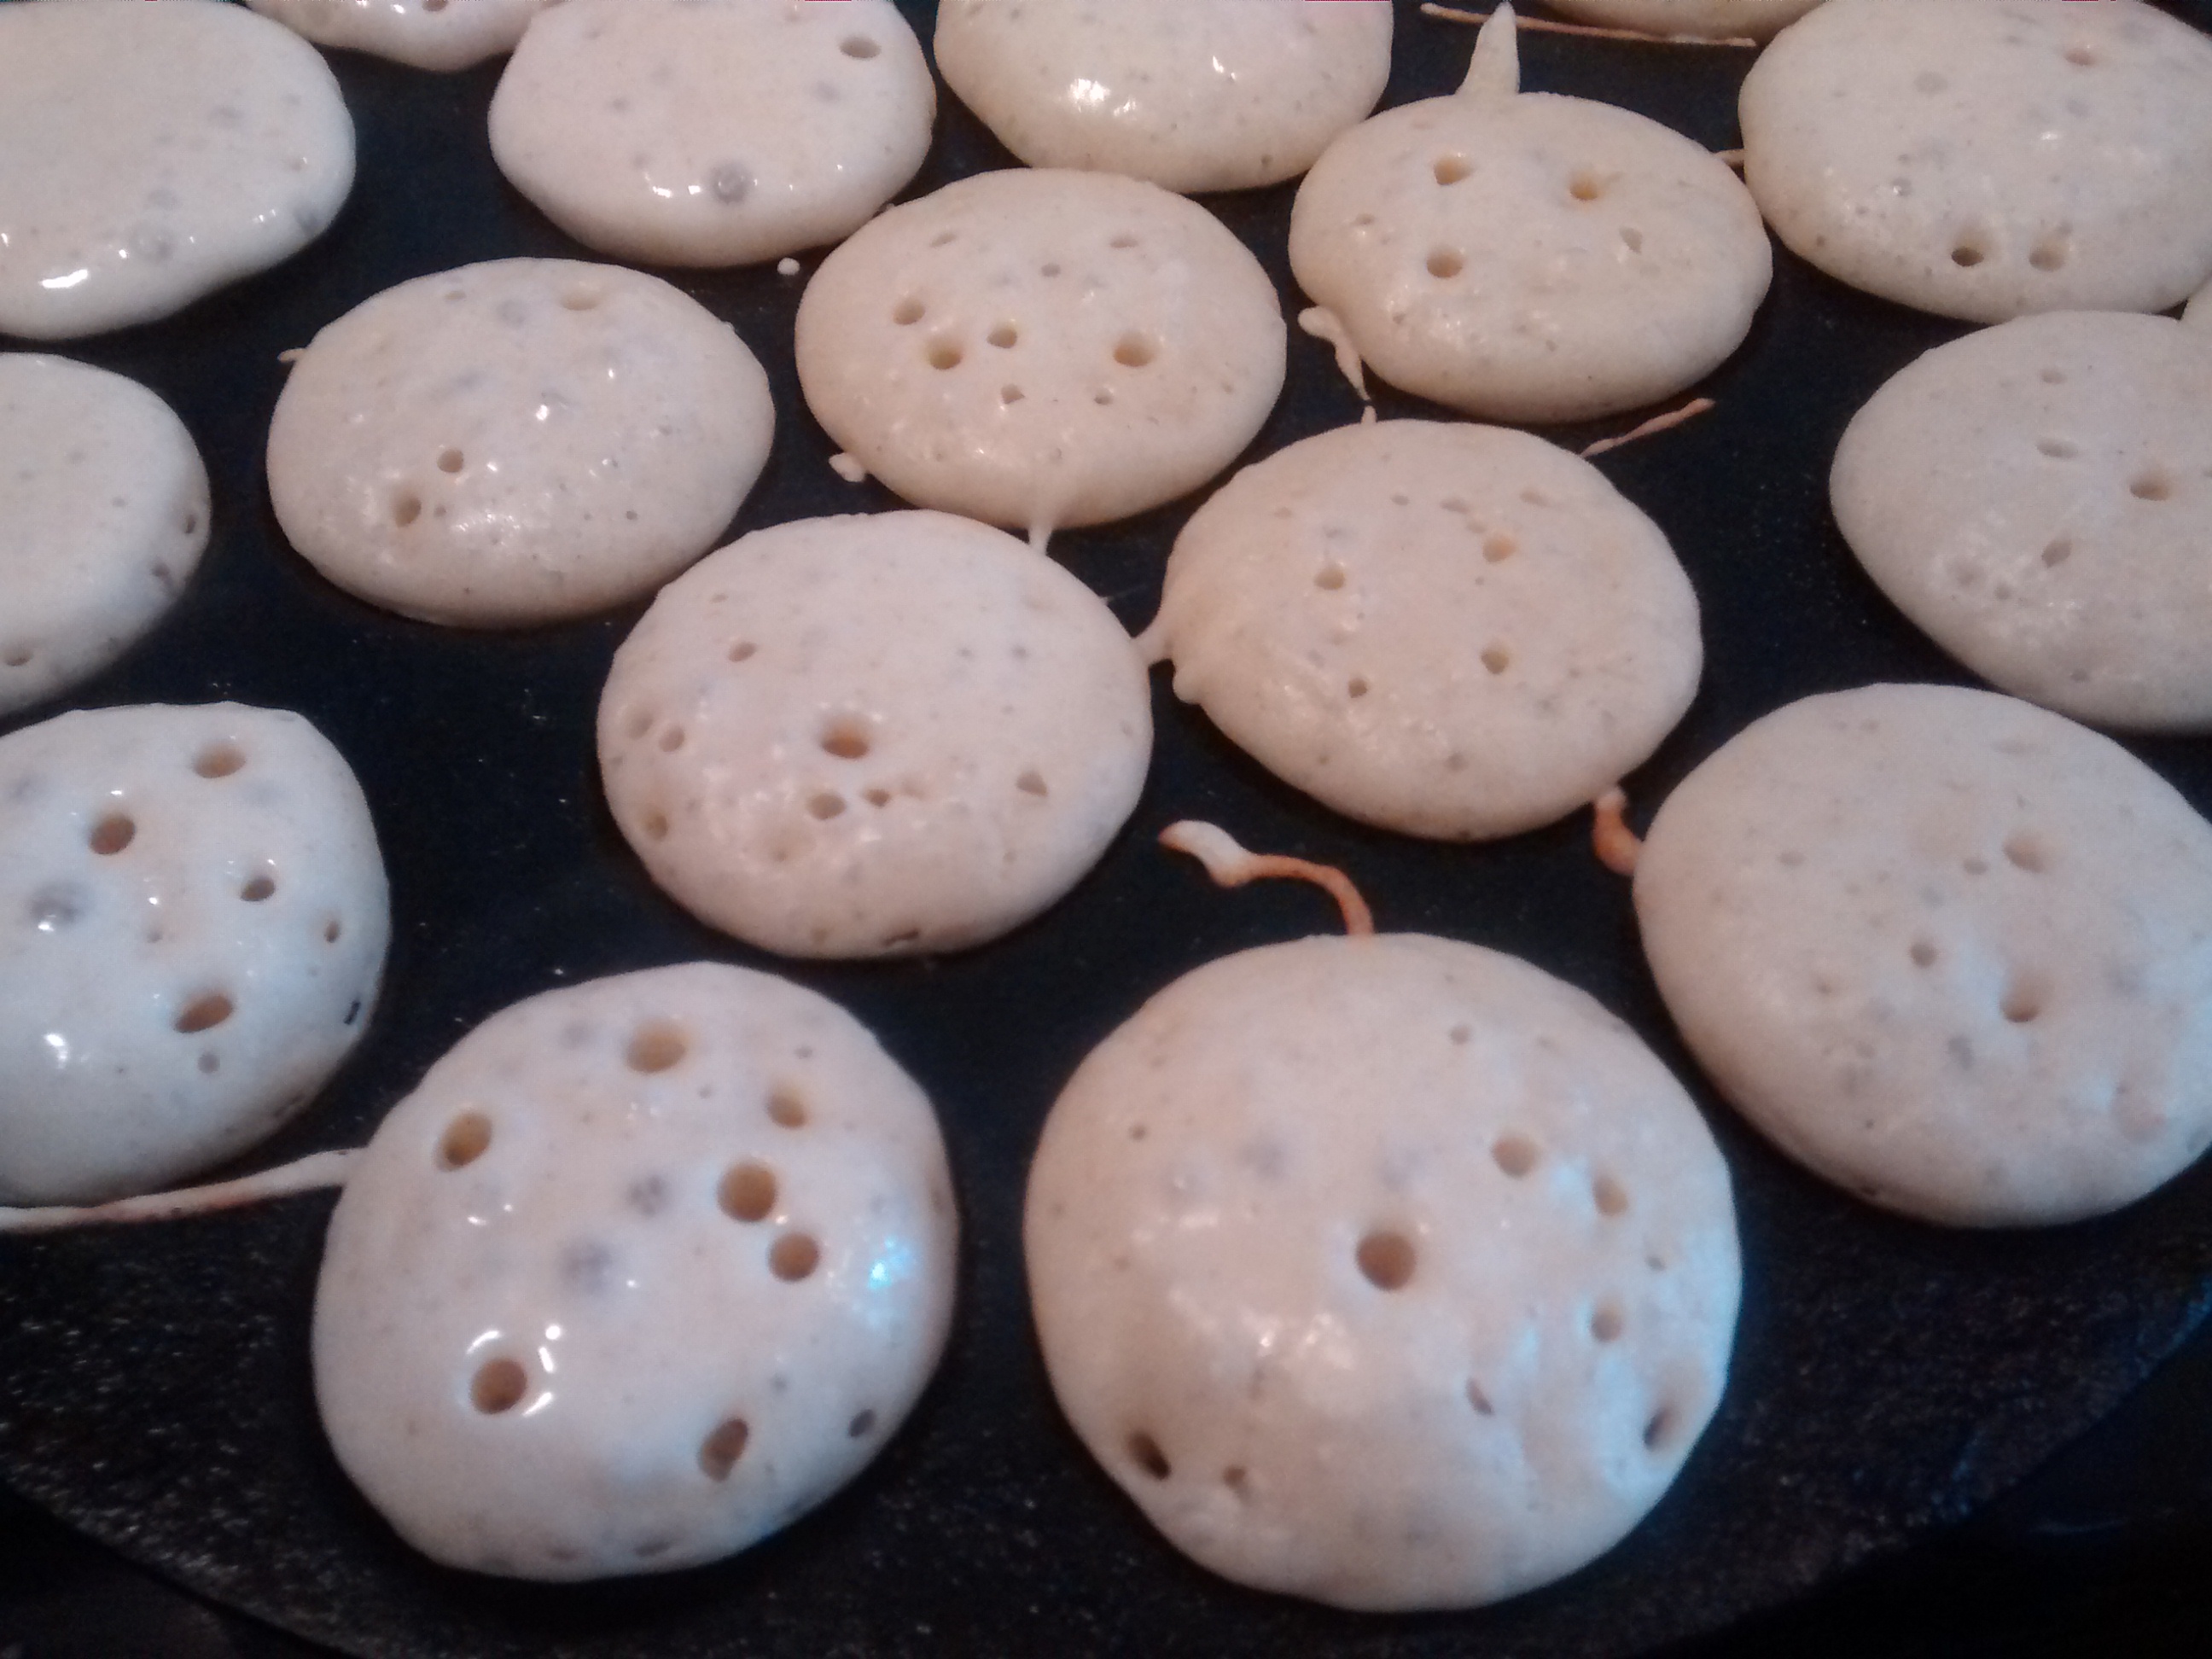
Using a teaspoon fill each indentation in the pan – you need around 2 teaspoons for each.
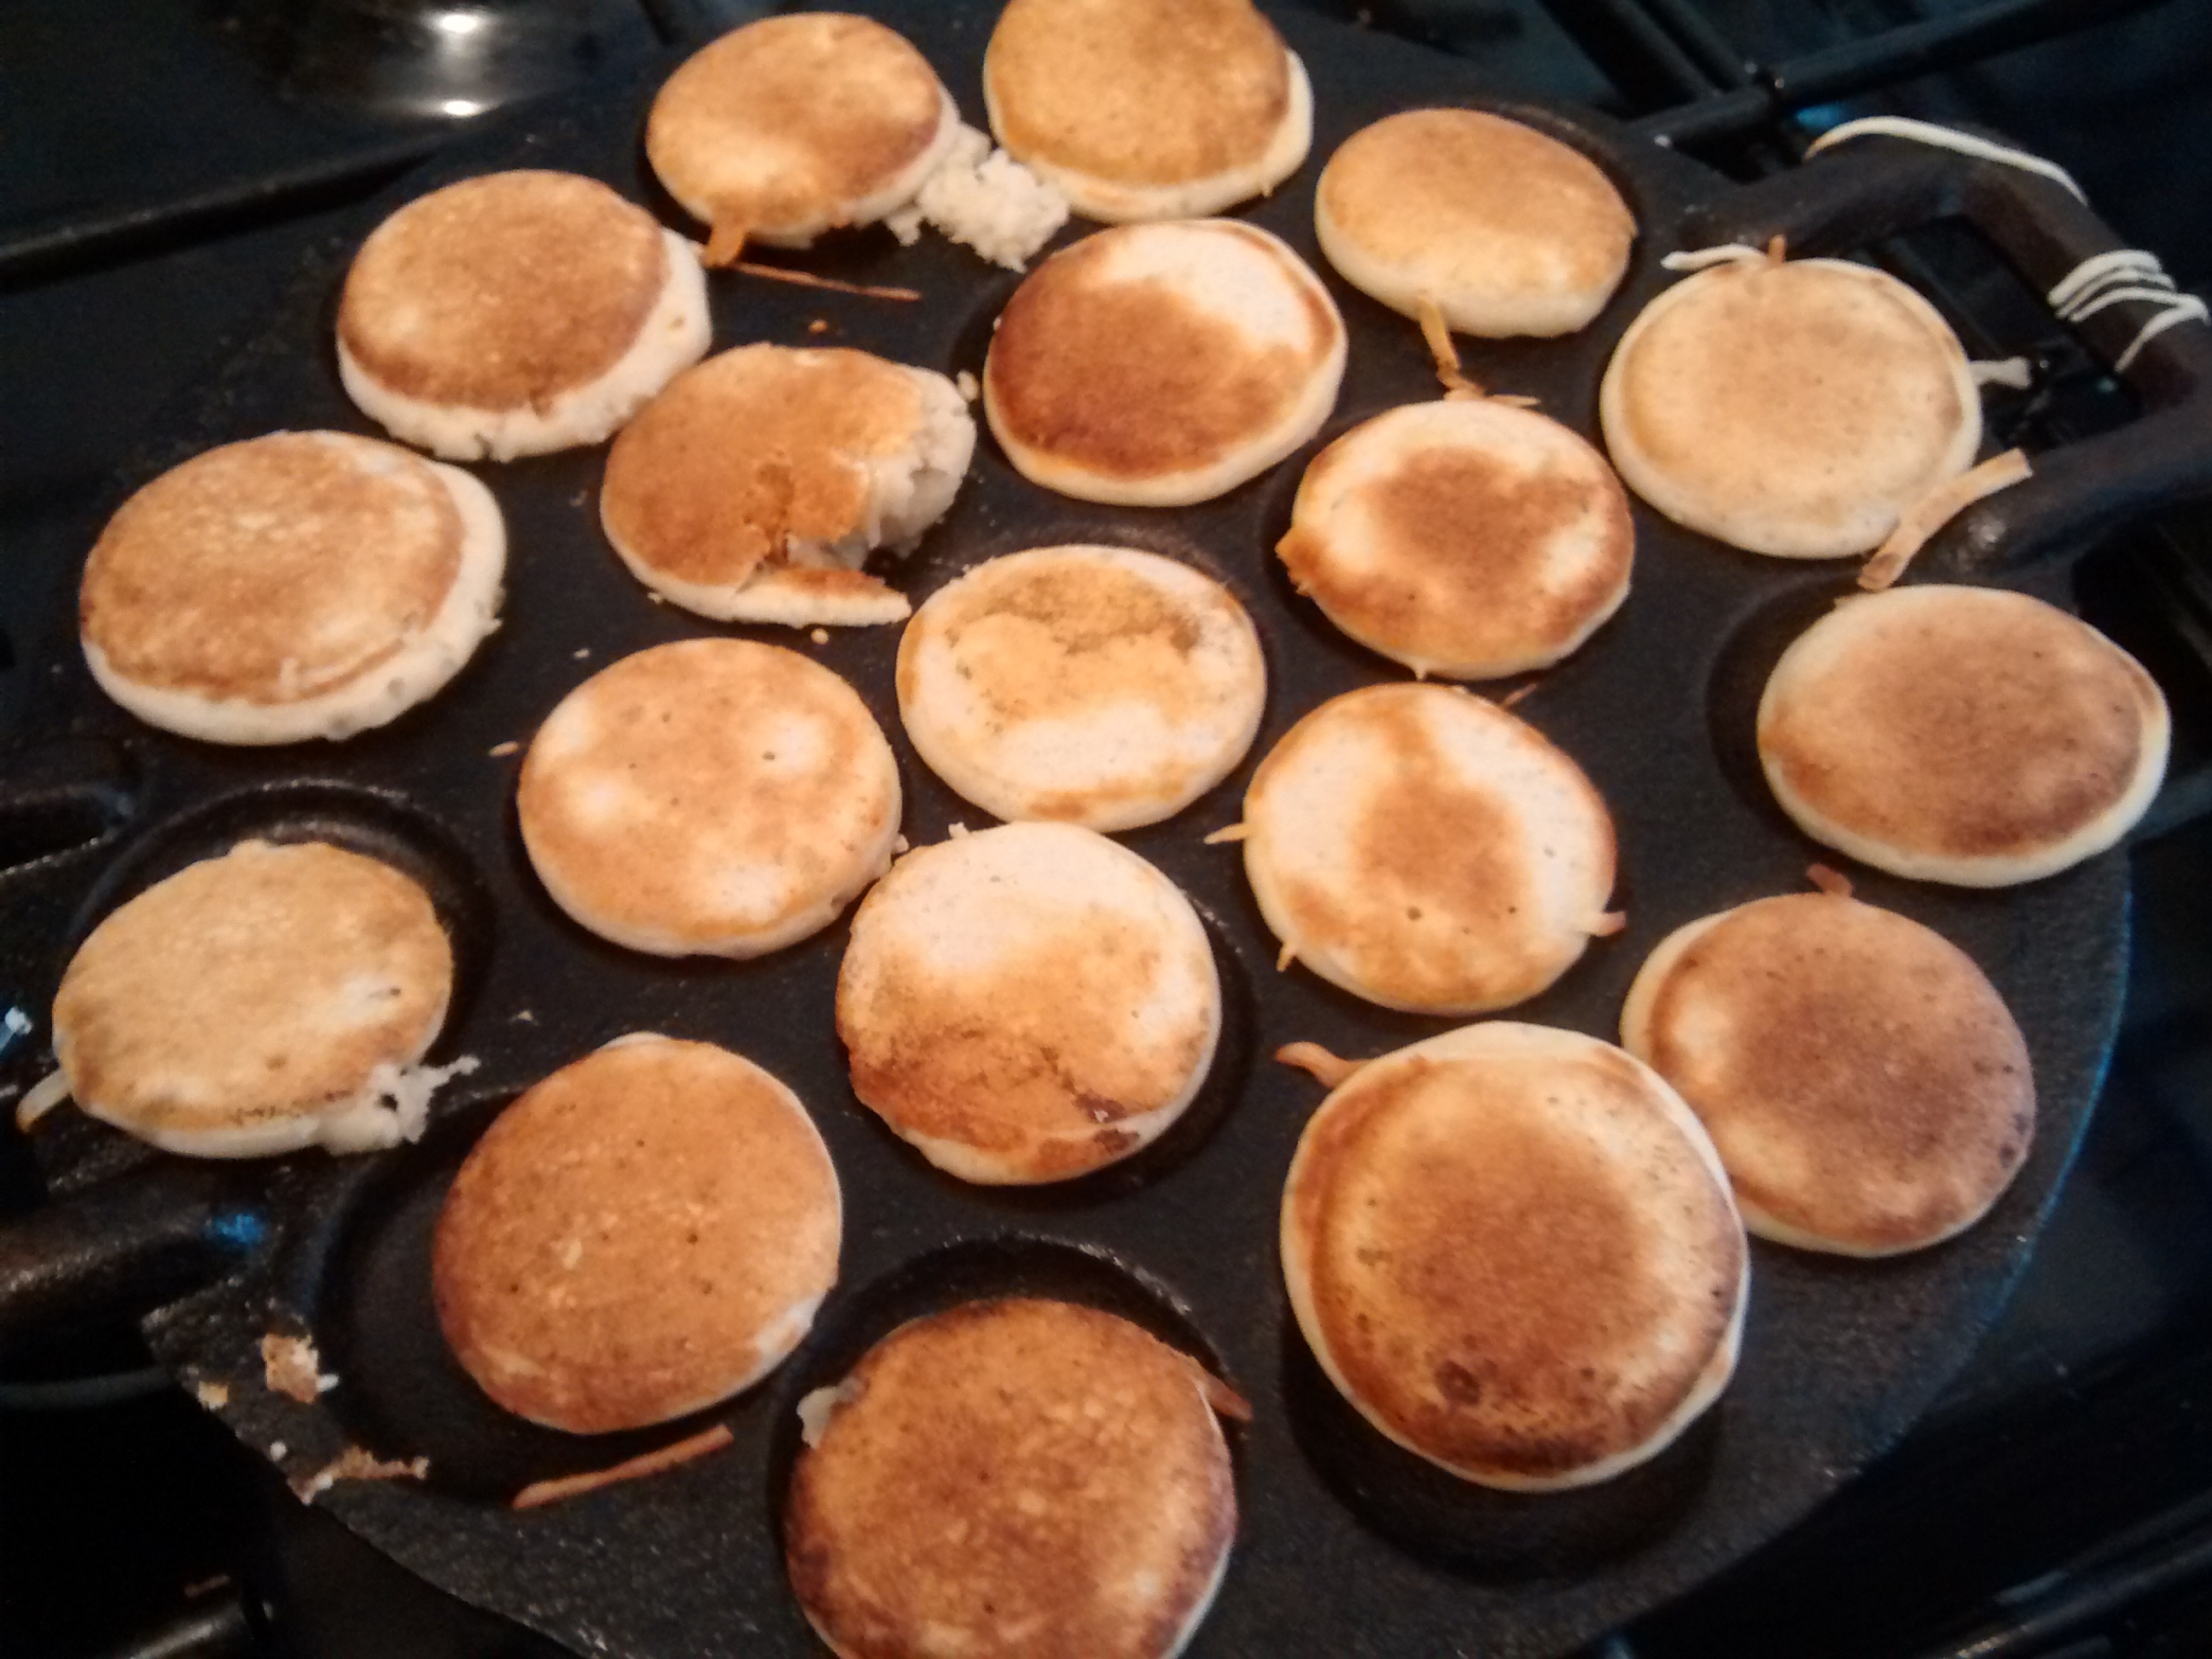
Turn the poffertjes around as soon as the bottom has set, using two forks.
Dredge the poffertjes with lots of icing sugar.
Using a Cast Iron Frying pan
Canadian Alternative!
One of my friends who now lives in Canada brought me a large bottle of maple syrup on her last visit and I tried this over the poffertjes instead of the icing sugar – they were delicious.
I had not planned to write about cheesecakes again so soon but recently I had made lots of yoghurt cheese and I decided to make a baked cheesecake for my visitors.
There are so many variations you can make of baked cheesecakes – here is one with a chocolate and an orangey twist.
I had a packet of milk chocolate digestive biscuits already opened and I thought I would try a variation on my usual recipe.
Ingredients for the base
100- 150g of chocolate digestive digestive biscuits (milk or dark)
50 – 75g of butter
A few chunks of dark chocolate
Method
Grease a spring-form or loose bottomed tin with melted butter. (You can use a 19cm, 20cm or 22cm tin – adjust the amounts of the base ingredients to suit.)
Crush the biscuits in a bowl.
Melt the butter in a pan over a low heat then add the chocolate and let it melt.
Add the butter & chocolate mix to the biscuits and mix them all together.
Press the mixture into the base of the tin and leave it to cool completely.
Once cool you can put it the tin into the fridge whilst you make the yoghurt cheese mixture.
Ingredients for yoghurt cheese mixture
Around 450g of yoghurt cheese (or use cream cheese)
3 eggs separated
80g of caster sugar
60g of chopped mixed peel (I use the peel from Marks & Spencer)
2 tablespoons of custard powder
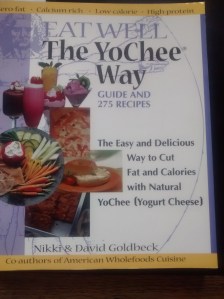
The custard powder helps as the yoghurt cheese is often quite “wet” – this is a tip I got from the book Eat Well The Yochee Way by Nikki & David Goldbeck.
Method
Pre-heat the oven to GM 3 – 160ºC.
Whisk the egg yolks and the sugar till they are pale and fluffy.
Lightly whisk in the yoghurt cheese and the custard powder till it is all well combined.
Mix in the mixed peel.
Whisk the egg whites until they are stiff and then fold them into the mixture with a metal spoon.
Pour the mixture onto on the biscuit base.
Bake in the oven for 50 minutes.
When the cake is ready switch off the oven and leave it in there for at least 40 minutes.
Take out the cake to cool.
Once it is cold – take the cake out of the tin by loosening the outer ring or placing the cake tin with the loose bottom on a tin can and sliding the cake tin down.
Dust the cake with icing sugar before serving.
I think this cake is best made the day before you want to serve it – so it is well cooled and set.
The blue & white table cloth is a new 100% cotton one from Ikea.
The tea plate is Las Palmas by Aynsley from the 1960s.
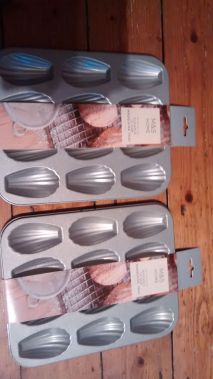
I was in Marks & Spencer’s and saw these lovely tins and thought “I must try these“.
I bought 2 tins and then the following week I got another and after trying out some recipes I bought a 4th.
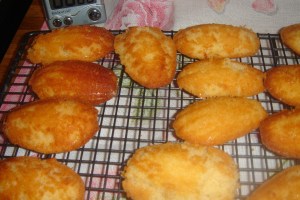
Madeleines are very small sponge cakes baked in tins with shell-shaped depressions.
Of course you can make then in small bun tins if you want to see if you like them before investing in the tins.
They originated from the Lorraine region in France.
When looking for recipes I thought that these did not have a Polish connection but in fact they do!
The exiled king of Poland, Stanisław Leszczyński (1677 – 1766), was the Duke of Lorraine from 1737 -1766 and his daughter Maria was married to Louis XV of France.
Madeleine Paulmier was the cook for the exiled king and the story goes that these little cakes were named after her.
Marcel Proust (1871 – 1922) the French author described them as “a little shell of a cake, so generously sensual beneath the piety of its stern pleating…” in his book À la recherche du temps perdu – In Search of Lost Time.
I have tried out many different recipes all with varying quantities – my head was spinning trying to sort them all out.
The following three are I ones I liked best.
They are all based on variations of the Genoise Sponge in which you use melted butter.
For ALL the recipes you must grease the tins well – I have found that using melted butter & a pastry brush is very effective.
Madeleines 1
This mixture made over 30 Madeleines.
Ingredients
65g Butter (plus extra for greasing the pans)
65g Icing sugar
2 eggs
65g Self-raising flour
2-3 drops of vanilla essence
Method
Grease the tins.
Pre-heat the oven to GM4 – 180ºC
In a small pan melt the butter and leave it to cool.
Whisk the icing sugar, eggs and vanilla essence together until the mixture is thick and creamy.
Gently fold in the self-raising flour using a metal spoon.
Gently fold in the melted butter using a metal spoon.
Divide the mixture between the tins.
Bake for around 10minutes till golden.
Leave them to cool slightly in the tins and then remove them onto a wire rack.
Dredge them liberally with icing sugar.
Madeleines 2 – With Ground Almonds
This mixture made around 30 Madeleines
Ingredients
65g Butter (plus extra for greasing the pans)
65g Icing sugar
2 eggs
65g Self-raising flour
65g Ground almonds
2-3 drops of vanilla or almond essence.
Method
Grease the tins.
Pre-heat the oven to GM4 – 180ºC
In a small pan melt the butter and leave it to cool.
Whisk the icing sugar, eggs and vanilla or almond essence together until the mixture is thick and creamy.
Mix the self-raising flour and ground almonds together.
Gently fold in the flour and almond mixture using a metal spoon.
Gently fold in the melted butter using a metal spoon.
Divide the mixture between the pans.
Bake for around 10 minutes till golden
Leave them to cool slightly in the tins and then remove them onto a wire rack.
Dredge them liberally with icing sugar.
Madeleines 3 – With Ground Almonds & Honey
This recipe is based on a updated recipe from Mrs Beeton in How To Cook – 220 Classic Recipes For The Modern Kitchen – 2011.
This mixture made 36 Madeleines.
Ingredients
120g butter (plus extra for greasing the pans)
50g runny honey
3 eggs
100g caster sugar
100g self raising flour
25g ground almonds.
Method
Place the butter in a small pan to melt over a medium-high heat and allow it to cook until it starts to brown lightly.
Remove then pan from from the heat and add the honey and stir it in well.
Leave the mixture to cool slightly.
Whisk the icing sugar and eggs together until the mixture is thick and creamy.
Mix the self-raising flour and ground almonds together.
Gently fold in the flour and almond mixture using a metal spoon.
Gently fold in the cooled butter and honey mixture using a metal spoon until fully incorporated.
Cover and place in the fridge for 30 minutes.
Grease the tins.
Divide the mixture between the tins.
Let them rest for 10 minutes.
Pre-heat the oven to GM3- 160ºC
Bake for around 10 minutes till golden.
Keep an eye on them as the honey in them tends to brown quickly.
Leave them to cool slightly in the tins and then remove them onto a wire rack.
Today, 4 July 2016, is the first Anniversary of my blog!
What an interesting year it has been for me with all the reading & research, cooking & photographing and the writing.
I do hope you are all enjoying reading my posts & God willing this is the start of another interesting year.
This will be my 58th post & I am going to write about a very popular vegetable in Poland.
Seler – Celeriac – Celery
The word seler in Polish is used for both celeriac and celery and in fact celeriac is a just a variety of celery (Apium graveolens).
Celeriac is mentioned in Homer’s Odyssey where it is called selinon.
Now for a little plant biology – in English the stems of the plant are known as celery and they are long with leaves at the top.
Whereas in the variety known as celeriac – it is the hypocotyl – the swollen enlarged stem above the root and below the leaves – which is eaten. The leaves come off the top of this swollen stem. (Celeriac is often classed as a root vegetable but it is not the root.)
Celeriac has not been around in the shops in England for that long and last week I bought one in Marks & Spencer’s and it had a label on it saying “NEW“.
Years ago when I looked at my Polish cookery book and it talked about grating seler – celery I used to think “oh, how very odd – I wonder how that comes out“ – I now realise that they were referring to grating celeriac.
In Poland you are much more likely to be served celeriac than celery and it is a very popular vegetable which can be eaten both raw and cooked and is used in a variety of salads.
I have been trying out some salads both with raw & cooked celeriac including some old favourites. Celeriac has a delicate flavour and easily picks up the flavours of the other ingredients.
Dressings for the salads include mayonnaise, soured cream, natural thick yoghurt & my favourite grated horseradish (I use a bought sauce.)
I have given details of the dressing I have used in the following recipes but they are easily interchangeable.
Salads Using Raw Celeriac
For the following recipes you will need to peel the celeriac – use a peeler if you can as using a knife can take too much off. You then need to grate the celeriac.
Lemon juice is needed to prevent the grated celeriac discolouring.
Simple Celeriac Salad
Ingredients
Grated celeriac – around half of one
Juice of 1 lemon
2 small tart apples such as Granny Smith – grated
Mayonnaise
Soured cream
Method
Make the dressing by mixing mayonnaise and soured cream together, I tend to use equal amounts.
Mix the grated celeriac & grated apple together.
Pour the lemon juice over them.
Add the dressing bit by bit – you want to coat the ingredients but not have lots of excess dressing.
Celeriac with Raisins & Walnuts Salad
Grated celeriac – around half of one
Juice of 1 lemon
2 small tart apples such as Granny Smith – grated
Raisins – approx 1/2 a cup
Chopped walnuts – approx 1/2 a cup
Mayonnaise
Soured cream
Horseradish sauce
Method
Make the dressing by mixing mayonnaise and soured cream together – equal amounts – and then add 1 to 2 large tablespoonfuls of horseradish sauce.
Mix the grated celeriac & grated apple together.
Pour the lemon juice over them.
Add the raisins & the chopped walnuts
Add the dressing bit by bit – you want to coat the ingredients but not have lots of excess dressing.
Celeriac & Orange Salad
Ingredients
Grated celeriac – around half of one
Juice of 1 lemon
2 small tart apples such as Granny Smith – grated
Raisins – approx 1/3 of a cup
2 oranges
Thick yoghurt
Soured cream
Horseradish sauce
Method
Squeeze the juice from 1 orange & pour this over the raisins.
Leave this for a couple of hours so that the raisins plump up.
Make the dressing by mixing equal amounts of yoghurt and soured cream together and then add 1 or 2 large tablespoons of horseradish sauce.
Mix the grated celeriac & grated apple together.
Pour the lemon juice over them.
Peel & then chop the other orange and mix this with the soaked raisins.
Add the dressing bit by bit – you want to coat the ingredients but not have lots of excess dressing.
Salads Using Cooked Celeriac
You can cook the celeriac by boiling it in water but I have found that it is much easier to steam it.
If there is still any soil on the celeriac then wash this away with water first.
If your celeriac is large you might want to cut it in half and just use half & use the other half for something else.
Steam the celeriac – it will need at least 20 minutes.
You can use a cake tester to see if it is cooked.
Leave it to cool – I leave mine in the steaming pan with the lid on.
When it is cold peel away the outer “skin”
Chop the celeriac into rough cubes or chunks.
These cooked cubes are then the basis of many different salads.
You can use the cooked celeriac in many salads instead of boiled potatoes as in the classic Polish Potato Salad with peas & carrots in mayonnaise.
The potatoes in the above salad can be replaced with celeriac.
Celeriac & Gherkin Salad
Ingredients
Chopped cooked celeriac – around half of one
1 tart apple such as Granny Smith – grated
Lemon juice
1 chopped gherkin
1 chopped onion – red looks good.
Mayonnaise
Method
Mix the chopped cooked celeriac and the grated apple together and some lemon juice.
Add the chopped gherkin and onion.
Add a couple of large tablespoons of mayonnaise and mix it all together.
Celeriac Salad with Hard Boiled Eggs
Ingredients
Chopped cooked celeriac – around half of one
1 tart apple such as Granny Smith – grated
Lemon juice
2 or 3 hard-boiled eggs chopped
Large handful of raisins or sultanas
1 chopped onion – red looks good
Thick yoghurt
Horseradish sauce.
Method
Mix the chopped cooked celeriac and the grated apple together and some lemon juice.
Add the chopped onion.
Add the raisins (or sultanas)
Add the chopped hard boiled eggs.
Mix a dressing using 2 to 3 tablespoons of thick plain yoghurt and 1 or 2 tablespoons of horseradish sauces and mix the other ingredients.
Leave this for around half and hour so that the flavours can mingle.
NOTE
If you hard boil very fresh eggs they are very difficult to peel -it is easier to use older eggs.
Celery, Peanut & Sultana Salad
This recipe is one I got for one of my sisters many years ago and although this is not a traditional Polish salad it has become one of my trusty recipes as it is so easy and as it is best to make it sometime ahead there is no last minute stress when making it.
Ingredients
4 long celery stalks
Around 1/3 cup of salted peanuts
Around 1/3 cup of sultanas
Mayonnaise
Method
Chop the celery into fine slices.
Mix with the peanut and sultanas.
Add 2 or 3 tablespoons of mayonnaise.
Leave for at least half an hour before serving – I usually make this several hours beforehand.
Now for a little science to explain why the dressing taste so sweet and is more runny than when it started.
Osmosis is the movement of water across a semi-permeable membrane from an area of high water concentration to an area of low water concentration to try to equalise the concentrations on both sides.
Cells in the plant ingredients have semi-permeable membrane.
The salt on the peanuts causes water to leave the celery and go into the mayonnaise, this water then enters the sultanas causing them to plump up.
The above is true when you mix many salads but especially here with the salt on the peanuts and the dried fruit.
Pierogi arelittle semicircular parcels of pasta which are made with a multitude of fillings.
Even though I make these myself, it is the dish I always crave when I go to Poland.
There are several theories as to how pasta style dishes came into Poland.
The general word for pasta especially noodles is makaron , which certainly has its roots in Italian; and as Italian cooking has influenced Polish cooking from the 16th century I used to think that was where the dishes originated. I find it amusing that ravioli in Polish are called pierogi włoskie (Italian pierogi).
After doing some research it seems however that pierogi were around in Poland in the middle ages, they are mentioned in the 13th century and the name comes from an old Slav word for feast or festivity.
Many people believe that they came to Poland from the Far East through Siberia and Russia.
When I was in China in the 1990s, imagine my surprise when I was on several occasions offered dishes which were called Jiaoxi (dumplings) and they were exactly the same shape and size as pierogi and cooked in the same way!
Whatever the origins, the Poles have made pierogi their own; there are lots of traditional fillings, both savoury and sweet, and several ways of serving them.
In a pierogi cookery book I bought in Poland there are around 40 traditional ones and more than 20 new style ones. In a pierogi restaurant I went to in Kraków there were around 30 options on the menu.
Home-made pierogi
Pierogi
Pierogi are made from a thinly rolled out dough using a circular cutter, about 7 cm in diameter, we used to use a medium sized wine glass. A largish teaspoon of the filling is placed on the circle and this is then folded in half and the edges pinched together to seal them – this is done to give them a slightly crimped edge.
You learn from experience how much filling to put into the pierogi as too much will make it hard to seal them and if not properly sealed they will burst on boiling. Do not worry if you have a few mishaps – it still happens to me even with experience – it is hard to salvage one that has gone wrong – just accept that there will be a few that you do not cook.
Pierogi Dough
Pierogi dough is made from flour, egg and water and I have seen many variations of the recipe. The following is my mother’s and I think it is the best I have ever used and tasted.
She never used whole eggs, just the yolks and this gives a dough which is soft and not tough and can be easily rolled out. The recipes which use whole eggs give a tougher dough which is much harder to roll out.
My mother originally used plain flour and added a tablespoon or two of fine semolina but now that strong flour or even pasta flour is readily available this is what I use the most.
Another point is that flour does vary and it is possible to add more flour to the dough as you are mixing it but you cannot add more liquid if it is too dry!
As you mix the ingredients in the first few minutes you should be able to tell if it will be too dry and you can add some more water initially but once it is all mixed together you cannot – if it goes wrong – just start again.
The quantities that I have given work well and but you should allow for extra flour if needed.
Ingredients
500g pasta flour or strong flour or plain flour & 2 tablespoons of fine semolina
300 ml water
1 tablespoon oil – sunflower or light olive
½ teaspoon salt
2 egg yolks
Method
In a jug or bowl mix together the water, oil and yolks.
Put the flour and salt into a large bowl and make a well in the centre.
Pour the liquid mixture into the well and then with your hands incorporate the flour into the liquid until you have a large ball of dough.
Turn this out into a floured board and knead the dough for a few minutes until it is a smooth ball.
You can then use the dough straight away, cutting it into 4 quarters and rolling out a quarter at a time on a floured surface until the dough is thin. You can pull it out a bit at the beginning to give a more rectangular shape of even thickness.
You can cover the dough with a cloth and place it in the fridge till needed.
You can freeze the dough for a few days for later use, it is best to cut it into quarters and wrap these in cling film or plastic and place these in another bag or container.
Shaping The Pierogi
Rolled out the dough until it is thin and use a circular cutter, about 7cm in diameter, to make lots of circles. You can re-roll the cuttings to make more circles until all the dough is used.
A largish teaspoon of the filling is placed on to the dough circle and this is then folded in half and the edges pinched using your thumb and first finger to seal them – giving them a slightly crimped edge.
This quality of dough will make about 70 to 80 pierogi – depends on how thinly you roll the dough and the size of your cutter.
You can open freeze pierogi so sometimes I make a batch and open freeze half of them – then store them in a plastic box. They should be cooked from frozen just allowing a little extra time.
Pierogi Fillings
The quantities that I have given should be enough for the 500g batch of dough. Many of the fillings once made can be frozen; I sometimes make the mixture and freeze it in 2 to 3 small batches for later use.
A good tip is not to make the filling too moist, as any liquid on the dough will prevent you getting a good seal.
Have a large surface such as a tray covered with a cotton or linen cloth which has been lightly floured ready and place the sealed pierogi on this until they are all made, do not let then touch each other.
Cooking The Pierogi
To cook the pierogi, use a large pan of boiling water to which you have added some salt and a drizzle of oil. Drop the pierogi in one by one and allow them to boil. I usually do about 6 to 8 at a time (I only do 6 at a time if using frozen ones). As they cook they will float to the surface, let them boil for 2 to 3 minutes, a bit more if they were frozen, and then remove them with a slotted or perforated spoon and put into a colander above a pan for a few seconds to drain and serve. Continue boiling batches in the same water.
Serving Suggestion
Traditionally savoury pierogi are served with melted butter, skwarki – crispy smoked bacon bits, small pieces of fried onion or melted butter and dried breadcrumbs (à la Polonaise).
If you want to make all the pierogi to serve together then you need to get a large shallow dish and put the melted butter or skwarki or fried onions into the dish and keep the dish warm in a low oven. As you take out the cooked pierogi add them to the dish, mix them with the butter, skwarki or onions to prevent them sticking. Keep on adding more as they cook and keep shaking the dish to coat and mix them.
Once your have had your meal and you have any left (I leave some deliberately) then they are wonderful fried up later. You need a hot frying pan and should be able to just use the butter etc that they are coated in, maybe adding a little extra oil if needed. Fry them till the dough is golden and crispy.
Tip – spread out the cooked and coated pierogi for later frying to prevent them sticking
Savoury Fillings
Below are some of my favourite fillings.
All the filling must be allowed to cooled before using them – you can make these in advance – even the day before.
Sauerkraut & Mushroom
These is often served at Wigilia – the Christmas Eve meal
Ingredients
Approx 500g of sauerkraut (I used to get small jars but have not seen these lately – use part of a large jar – use the rest for something else)
20- 30g dried mushrooms.
1 onion
1 bay leaf
Ground black pepper to taste
Method
Put the mushrooms in a small bowl and cover them with boiling water and leave them overnight.
Strain the mushrooms but keep the liquid and then chop the mushrooms into small pieces.
Strain the sauerkraut but keep the liquid and chop the sauerkraut into small pieces.
Put the sauerkraut with the liquid from the tin or jar into a pan and cover with boiling water. Add some of liquid from the soaked mushrooms and the bay leaf.
Cover the pan and boil the sauerkraut gently for about 30 minutes. Then uncover and boil off as much of the liquid as possible – without burning the sauerkraut.
Allow the boiled sauerkraut to cool and remove the bay leaf. Strain it using a sieve and pressing it down with a spoon to get the mixture as dry as possible (If you want you can put the strained mixture into a clean dry cotton or linen teacloth, twist the ends together to squeeze it to get it really dry).
Whilst the sauerkraut is cooking heat the chopped mushrooms gently in a small pan with the rest of the liquor, stirring to prevent it burning but reducing as much of the possible.
Chop the onion finely and fry it till it is soft and golden and add this to the mushroom mixture and mix it well together.
Mix the sauerkraut, mushrooms and onions together and add some ground black pepper to taste; salt should not be necessary.
Note
If your sauerkraut is very sour, you can add a little sugar to the mixture or you can put it into a sieve or colander and wash it for a few minutes in cold water before you start cooking it – you might want to add a little salt at the end if you use this method – taste and see)
Peel and boil the potatoes in salted water, strain and mash, then leave to cool.
Chop the onion finely and fry it till it is soft and golden, allow it to cool.
Mix together thoroughly, the potatoes, onions, cheese and egg yolk.
Add salt and pepper to taste.
Cheese 2
When my mother did not have any curd cheese, she used Lancashire cheese, as that was the cheese most readily available to her. Both versions taste good, the secret with this one is to grate the cheese as finely as possible and mix it in well.
Ingredients
400g floury potatoes
1 onion
200g white crumbly cheese such as Lancashire
1 egg yolk
butter & oil to fry the onion
salt & ground black pepper to taste
Method
Peel and boil the potatoes in salted water, strain and mash, then leave to cool.
Chop the onion finely and fry it till it is soft and golden, allow it to cool.
Grate the cheese as finely as possible.
Mix together thoroughly, the potatoes, onions, cheese and egg yolk.
Add salt and pepper to taste.
Note
My mother would boil extra potatoes on one day and save some to make these fillings the next.
In Poland you may see these savoury cheese ones on a menu as Pierogi ruskie – that is Ruthanian pierogi – from the old word for the Ukraine
Pork
Ingredients
300g shoulder or spare rib pork
1 onion
1 egg yolk
1 tablespoon of dried breadcrumbs
approx 250 ml of chicken stock – can be from stock cubes
butter & oil to fry the onion
salt & ground black pepper to taste
Method
Pre heat the oven to GM 3 – 1600C
Put the pork into a small casserole dish and cover it with the stock and put on the lid.
Put the dish in the oven for at least 1 hour, depending on the meat you might need longer.
I cook the meat until it is tender and can be broken up with a fork and most of the liquid has been absorbed. Allow the meat to cool. You can mince the meat but I find that if you cook it long enough you do not need to, you can just chop it with a sharp knife .
Chop the onion finely and fry it till it is soft and golden, allow it to cool.
Mix thoroughly together: the meat, onion, yolk and breadcrumbs and then add salt and pepper to taste.
Chicken
You can cook a piece of breast chicken as for the pork filling, however neither my mother or myself ever did this; we used leftover roast chicken from a roast dinner.
Ingredients
300g of roast chicken
1 onion
1 egg yolk
1 slice of white bread
small amount of milk
butter & oil to fry the onion
salt & ground black pepper to taste
Method
Take the slice of bread and remove the crusts removed and leave this for half an hour in a bowl with a little milk – do not use the excess milk just the wet slightly squeezed bread.
Finely chop or mince the chicken.
Mix together the chicken, onion, egg yolk and bread to get a uniform mixture.
Sweet Fillings
The dough and method of making sweet pierogi is just the same as for the savoury ones.
Once boiled sweet pierogi are dredged with icing or caster sugar and are often served with soured cream. They are best eaten straight away.
I must admit that when I was younger I did not really like sweet pierogi but now I think they are utterly delicious especially when with soured cream.
Sweet Cheese 1
Ingredients
200g curd cheese/twaróg or yoghurt cheese
40g caster sugar
1 egg yolk
2 drops of vanilla essence
tiny pinch of salt
Method
Thoroughly mix all the ingredients together.
Sweet Cheese 2
Ingredients
250g curd cheese/twaróg or yoghurt cheese
40g caster sugar
2-3 tablespoons of soured cream
tiny pinch of salt
Method
Thoroughly mix all the ingredients together.
Red Fruits
In the summer in Poland, when all the fruits of the forests and the garden are ripe, that is when these pierogi are at their best. However bottled fruit is available all year round and I often make my sweet pierogi with these.
The following fruits are traditionally used –
Morello Cherries
Blackberries
Whinberries (bilberries) these grew in Lancashire near my home and also could be bought in baskets imported from Poland. (I think the larger American Blueberry is nowhere near as tasty.) When we went to pick these I know this always made my mother think of her childhood in Poland.
I tend to use half the amount of dough when making these fruit ones as they do not freeze well with fruit.
Depending on the size of the fruit, you need about 3 or 4 per circle.
Do not add sugar to fresh fruit as this will make too much liquid and the pierogi will not seal.
If using bottled fruit you need to strain as much juice away as possible.
Drenched the cooked pierogi in icing sugar and serve with sour cream. The sugar contrasts with tartness of the fruit.
A Variation ….
Knedle – Dumplings – With Plums
To me these are sweet pierogi – but I have been assured by my aunties in Poland – who made them for me on my last visit – that because of their shape – round balls – these are always called knedle.
The dough is just the same as for pierogi and they are boiled in just the same way but will take a bit longer to cook depending on the size of the plums.
Serve them dusted with icing sugar and serve with soured cream.
Plum Filling
500g fresh plums – small ones are best for the round shape & sugar – you will need about a half a teaspoon per plum.
Wash and dry the plums and remove the stalks. If the plums are small then use whole ones and if they are large use a sharp knife to cut them in half and remove the stone.
Cut strips of dough more than twice the size of the plum or plum half. Place the plum on one side and sprinkle with the sugar.
Fold over the other part of the dough and seal the edges well with your fingers – take care as the added sugar produces liquid – use excess dough to give a good seal then cut away the excess dough to give a more rounded shape.
Uszka
Uszka – means ‘little ears’ and they are much smaller and a different shape than pierogi and are always savoury.
They are made from squares of dough, about 4cm square. Half a teaspoon of filling is placed onto the square and then it is folded into a triangle and the edges sealed. The two ends at the folded side of the triangle are brought together and then pinched together giving a shape which is slightly rounded triangle with a pointed part, looking like a little ear.
When you have rolled out the dough until it is thin you cut the dough into squares no more than 4cm square. I used to use a sharp knife but have now found that using a pizza wheel to cut the dough is much easier. There is little waste dough with each rolling but you can still use all the scrapes to make one last batch.
The quality of dough will make about 150 and because of this I often only make half quantities – using 250g of flour, 150ml of water, 1 egg yolk and half a tablespoon of oil. (Except at Wigilia – the Christmas Eve meal, when I make the full amount)
The uszka are boiled in just the same way as pierogi, they are usually ready when they float to the surface.
The most traditional fillings are mushroom – see below – and Sauerkraut & Mushroom.
Uszka can be served just as pierogi with melted butter or they can be served floating in a clear soup such as rosól – clear chicken soup or in barszcz – beetroot soup.
Traditionally mushroom uszka are made for Wigila – the Christmas Eve meal either on their own with butter or served floating in barszcz (clear beetroot soup).
Mushroom Filling
In Poland these will have been made with just dried mushrooms, here in England my mother made them with fresh mushrooms with the addition of dried mushrooms when she could get them. I like them like this the best.
Ingredients
250g mushrooms – older open ones are better than button mushrooms.
Pour a small amount of boiling water into the dried mushrooms and leave these overnight.
You can remove the stalks from the older fresh mushrooms as these tend to be ‘woody’ and then cut them into thin slices.
Chop the onion into small pieces.
Fry the mushrooms and onions together in the butter. It does depend on the mushrooms and the way they are fried as to how much liquid is produced, if you get a lot, then let them simmer gently to evaporate as much as possible or strain some of this excess off (you can use this liquor in soups or sauces).
Allow the mixture to cool.
Chop the reconstituted dried mushroom (again you can save the liquor for other recipes) and add these to the mixture.
The mixture then needs to be minced which used to take me a long time and much effort. I now use a hand blender which works really well taking care not to liquidise it too much.
To the minced mixture add the egg yolk and then enough breadcrumbs to make a stiff filling.
Add salt and lots of ground black pepper.
Cut the dough into quarters
On a floured board roll out each piece until it is thin.
Using a sharp knife or pizza wheel cut the dough into 4cm squares (they can be smaller but they are harder to work).
Fold over each piece to form a triangle and pinch the edges together with your fingers.
Half a teaspoon of filling is placed onto the square and then it is folded into a triangle and the edges sealed. The two ends at the folded side of the triangle are brought together and pinched together giving a shape which is slightly rounded triangle with a pointed part.
They are cooked just as the pierogi in boiling water with the addition of salt and oil.
I serve them with melted butter.
If you are going to add them to soup do not coat them with butter – 2 to 4 are added to each serving.
Our New Tradition
After the Wigilia meal on Christmas Eve we always leave some uszka for the Christmas Day breakfast and we have fried eggs, grilled bacon with fried uszka – delicious!
PS
This must be my longest post as there is so much to say – I have only touched on the fillings that you can use & you can always make up your own.
Kołaczyki means little wheels from the word koła which means wheels.
In a previous post – Bułeczki – Sweet Yeast Buns– I gave a recipe for basic sweet yeastdough – since then I have tried out a slightly different recipe – nearly the same ingredients but a slightly different method – and I think these turned out to be the best yeast buns I have ever made – so this is – Basic sweet yeast dough version two.
A few reminders when using yeast in baking
Learn to be patient – you cannot control the timings exactly with yeast, it depends on the temperature of the room and the flour used and other variables.
Do yeast baking on a day you are planning to be in & have other things to do, but ones you can break off from when needed.
Heat the milk so it is at body temperature – use the finger test – too hot and you will kill the yeast – too cold is okay – it will just take longer.
An egg glaze often burns too quickly – I have found an egg white or egg white & water glaze gives a better result.
Older Polish recipes use fresh yeast. I have used dried yeast and have had very good results. (I have not tried using easy bake yeast for this recipe).
Basic Sweet Yeast Dough Version 2
Ingredients
Leaven – Starter
100g plain flour
30g fresh yeast or 15-20g dried yeast
125ml milk
Rest of ingredients
3 egg yolks
60g sugar
50g melted butter or block margarine
400g plain flour
1/4 tsp salt
Zest of 1 lemon
2-3 drops of vanilla essence
125ml milk
and
Save 1 egg white for use as a wash on the buns.
Method
Warm the milk slightly – so it is just warm to the touch – and add the yeast and mix together.
Put the flour in to a bowl and add the milk and yeast mix it all together and leave it covered until it is double in size.
*
Melt the butter and leave it to cool.
*
Whisk the yolks and sugar until they are pale and fluffy.
Grease 2 baking sheets – You should get around 15 buns. – invite people round!
Into a large bowl put: the flour and the salt, the yeast starter, the yolk mixture, the zest of a lemon, the vanilla essence and the milk.
Mix it all together so that you get a soft dough that comes away from the side of the bowl – you do not have to knead it.
Then work in the melted butter (this is the hardest part) until it is all incorporated and you have a uniform shiny dough.
Cover the dough with a cloth and leave this to rise until it is double in size.
Onto a floured surface place the dough and form it into a rectangle and then roll this out until it is around 2cm thick.
Using a 8cm diameter cutter cut out circles of dough and place them on the greased baking sheets, leaving room for the dough to rise.
Gather together the left over dough and repeat the process.
Cover the trays and leave the circles to rise and double in size.
Pre heat the oven to GM5 – 190ºC
Use a clean napkin or tea towel and cover the base of a tumbler.
Use the covered tumbler and press down on the centre of each circle to form an indentation into which you will put a filling.
I managed to accidently remove this from my posts – it was post 55!
I have now restored it and am republishing it now (as post 724).
Rheum rhabarbarum is the Latin name for rhubarb – in Polish it is rabarbar.
It is a plant that has its origins in China, Mongolia & Siberia – its roots survive the cold!
Rhubarb roots have been used in Chinese medicine for thousands of years.
The plant arrived in Europe via Venice in the 14th century having been brought from China along the Silk Road.
The leaves are poisonous to humans as they contain large quantities of oxalic acid and other toxins.
The stems however can be eaten safely, although they do contain a little oxalic acid but their tartness is due mainly to malic acid which is also found in sour green apples.
Rhubarb stems were first eaten in England in the 17th century.
In 1820 the rhubarb plant was taken over to the USA.
I live in West Yorkshire – just outside what is called the Rhubarb Triangle of Wakefield, Leeds & Morley – where rhubarb is grown in forcing sheds (in darkness) on a commercial scale.
I have rhubarb growing in my garden.
I have used the rhubarb to make rhubarb crumble but over the last few years I have been trying to find recipes for a rhubarb cake and have tried many from English, American & Polish recipe books and magazines.
Some recipes just used 1 or 2 stalks of rhubarb – as I have lots of rhubarb – I wanted a recipe that used more.
Some recipes used the raw stalks in a cake – I found that none of these were to my liking.
I tried using my best Polish apple cake recipe with stewed rhubarb instead of apple but found that it just did not come out very well. The cake was too soggy and raw in places because of the amount of liquid in the stewed rhubarb.
Finally after more trial and error – I came up with a recipe which I am happy to make for people and to share.
Preparing The Rhubarb
This I have found to be the most important part to making a successful rhubarb cake.
You need to prepare the rhubarb the day before you want to make cake.
I tend to make a large amount and if I do not use it all I freeze the rest.
You need around 8 large stalks if not more.
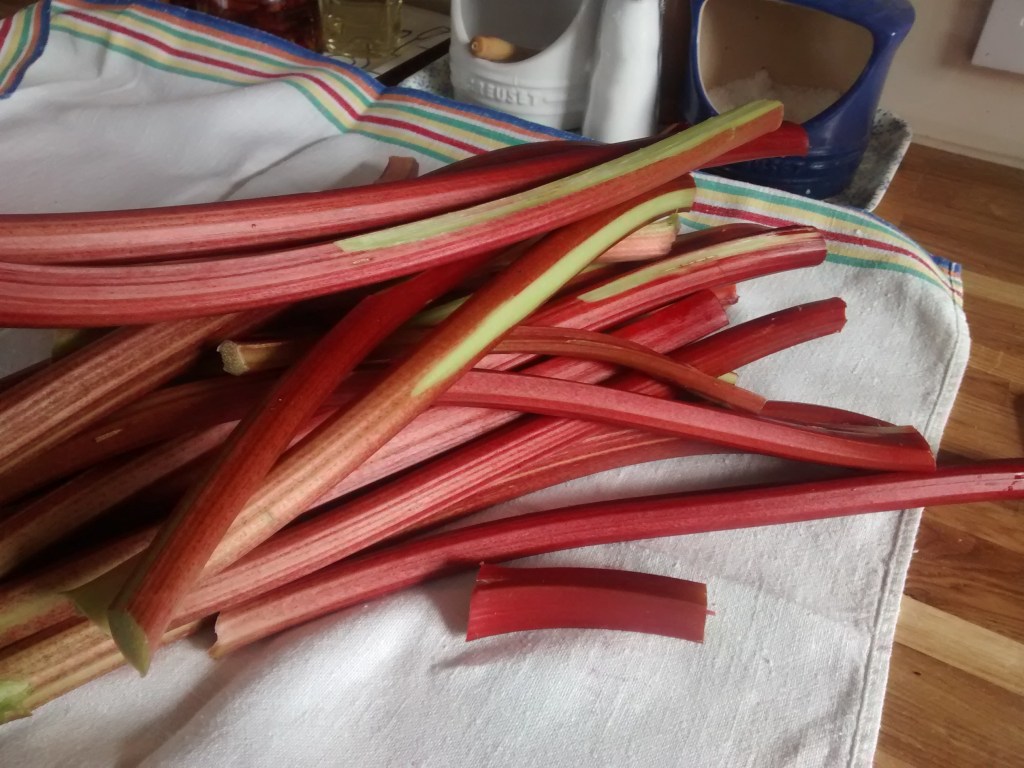
Trim the ends of the rhubarb stalks and then chop the stalk into pieces around 7cm in length.
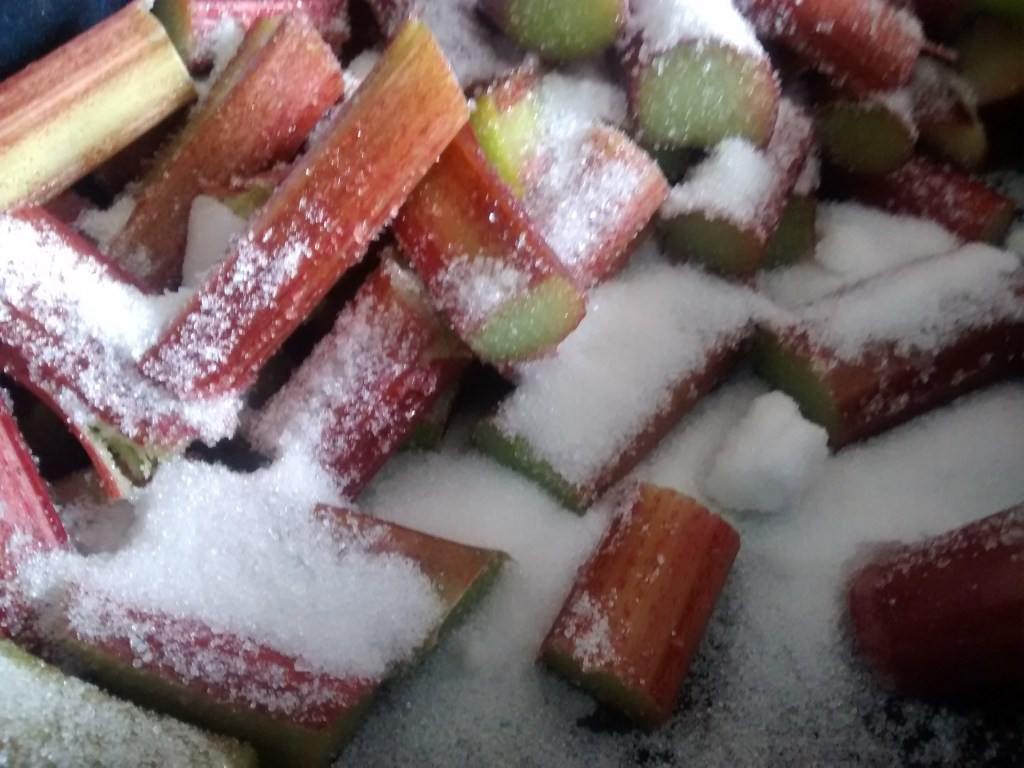
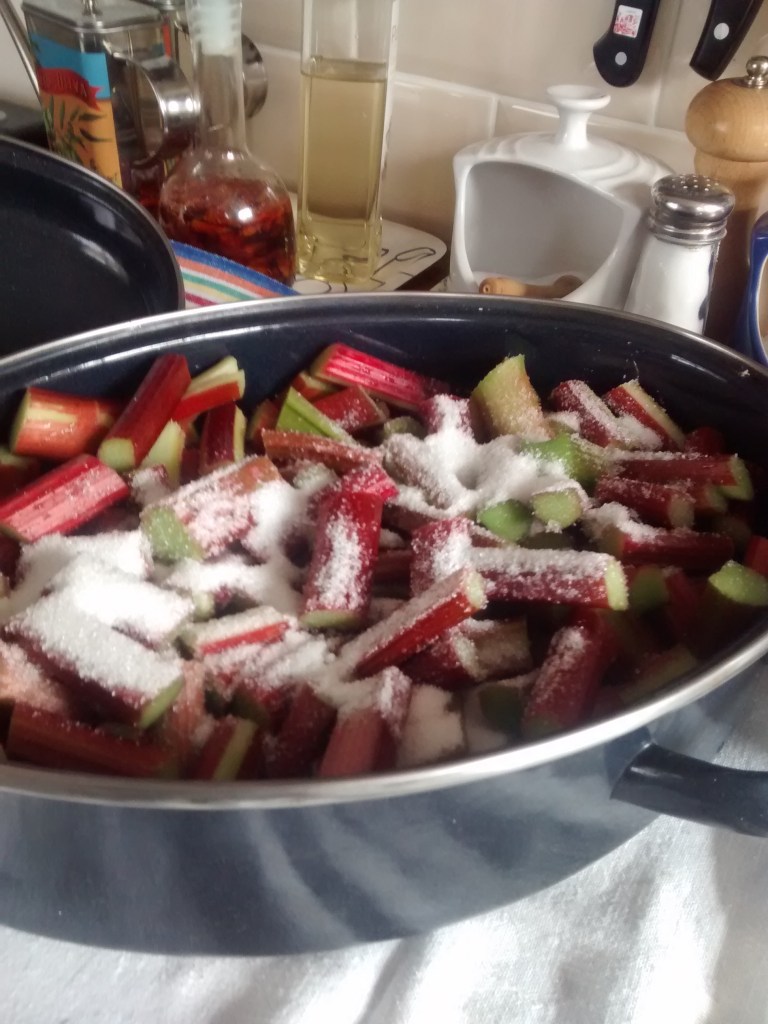
Put the pieces into an oven proof dish and add granulated sugar – try not to use large amounts – it is better slightly tart.
Put the covered dish into a low oven – GM 2 for around an hour or so – you want it soft but not totally disintegrated.
Allow this to cool.
Now comes the part I found to be the most important – I strain the cooked rhubarb from the juice & syrup.
Put the rhubarb into a colander over a bowl and leave this for several hours or even overnight.
The juice and sugar syrup can be used to flavour yoghurt, diluted with water to make a drink or even added to pork in a slow cook recipe.
Now by just using this strained rhubarb I have found that a cake adapted from my apple cake comes out very well.
I have used half the quantity from my apple cake recipe as the base and then used a drier crumble type mixture – called kruszonka in Polish – for the top.
Cake Ingredients
Base
150g plain flour
1 & 1/2 teaspoons of baking powder
100g butter
40g caster sugar
1 egg yolk and 1 or 2 tablespoons of lemon juice or water.
Topping
120g plain flour
90g butter
60g icing sugar.
Method
You have to use a loose bottom or spring-form tin or you will not be able to get the cake out.
I use a loose bottomed anodised aluminium cake tin which is 22cm in diameter and 8cm deep.
Grease the tin well.
First make the cake base by rubbing the butter into the flour to make crumbs then stir in the sugar.
Add the yolk and lemon juice and bring the ingredients together to form a soft dough – do not handle the dough too much. Leave the dough in a cool place for about half an hour so it is easier to handle.
Pre heat the oven to GM 4 – 180ºC.
Make the topping by rubbing the butter into the flour to make crumbs and then stir in the sugar.
Press the dough into the base of the tin.
Cover the base with the strained rhubarb.
Evenly sprinkle all the topping over the rhubarb.
Bake in the oven for around 1 hour to 1 hour & 10 minutes.
Leave to cool in the tin.
Use a long metal spatula to ease the cake from the side of the tin then place the cake on to the top of a tin can and slide the side down.
If you find the cake is not sweet enough – you can sprinkle the pieces with icing sugar – I rarely due – I like the fruit to be tart.
Tea plates are Counterpoint by Royal Doulton 1973 – 1987
Do not put the cake into an airtight plastic box as it will get soggy – better to cover it with a mesh cover.































 Journey From A Polish Kitchen