Pierna is an old Polish word for spices and piernik is a cake made with honey and spices.
Some sources say the name is from pieprz – pepper or piorun – thunderbolt or devil – because of its spiciness.
These cakes have been known in Poland since the 12th century and the spices would have come from Turkey (originally brought back by the crusaders) or India.
The very first recipes were just honey, flour (wheat or rye) and spices.
Honey was the original sweetener, long before sugar, and when you travel in Poland you will find many village ladies selling their own honey, the taste varies greatly depending on where the bees have found their flowers and the honey from a forest region is very dark and full of flavour.
Piernik can vary from being a soft dense cake to a drier but soft biscuit.
The Polish town of Toruń is famous for its piernik and Chopin was very found of this.
Pierniki (plural) coated with chocolate are called Katarzynki – which means Katherine’s cakes – named after Katarzyna the daughter of one of the bakers.
Similar cakes are found throughout Europe including the French pain d’éspices, the Dutch peperkoek and the German lebkuchen.
Piernik is often translated as Gingerbread but ginger is only rarely used!
The main spices used are cinnamon , cloves and cardamom with the addition according to different recipes of: aniseed, black pepper, caraway, coriander, nutmeg, dried orange and/or lemon peel and then in later recipes allspice which is from the New World.
Spice Mixture for Piernik
Having looked at many recipes I have made my own basic 3 spice mixture – to which I can add other spices if I want a variation.
I have mixed equal parts of ground cinnamon, cloves & cardamom & saved them in a jar.
In Polish shops in England you can buy ready mixed spices for piernik.
This little packet contains around 2 tablespoons.
You can use the mixed spice mixture which is sold by Marks & Spencer which contains: dried orange peel, cassia (a variety of cinnamon), ginger, nutmeg, pimento (allspice) and caraway.
Piernik in Poland is associated with the Christmas season and would be made for Christmas Eve and for Christmas Day, it would also be made for Święty Mikołaj – December 6th – St Nicholas Day. This a day for present giving in Poland to children and I would always get a piernik shaped and decorated to look like the bishop that was St Nicholas.
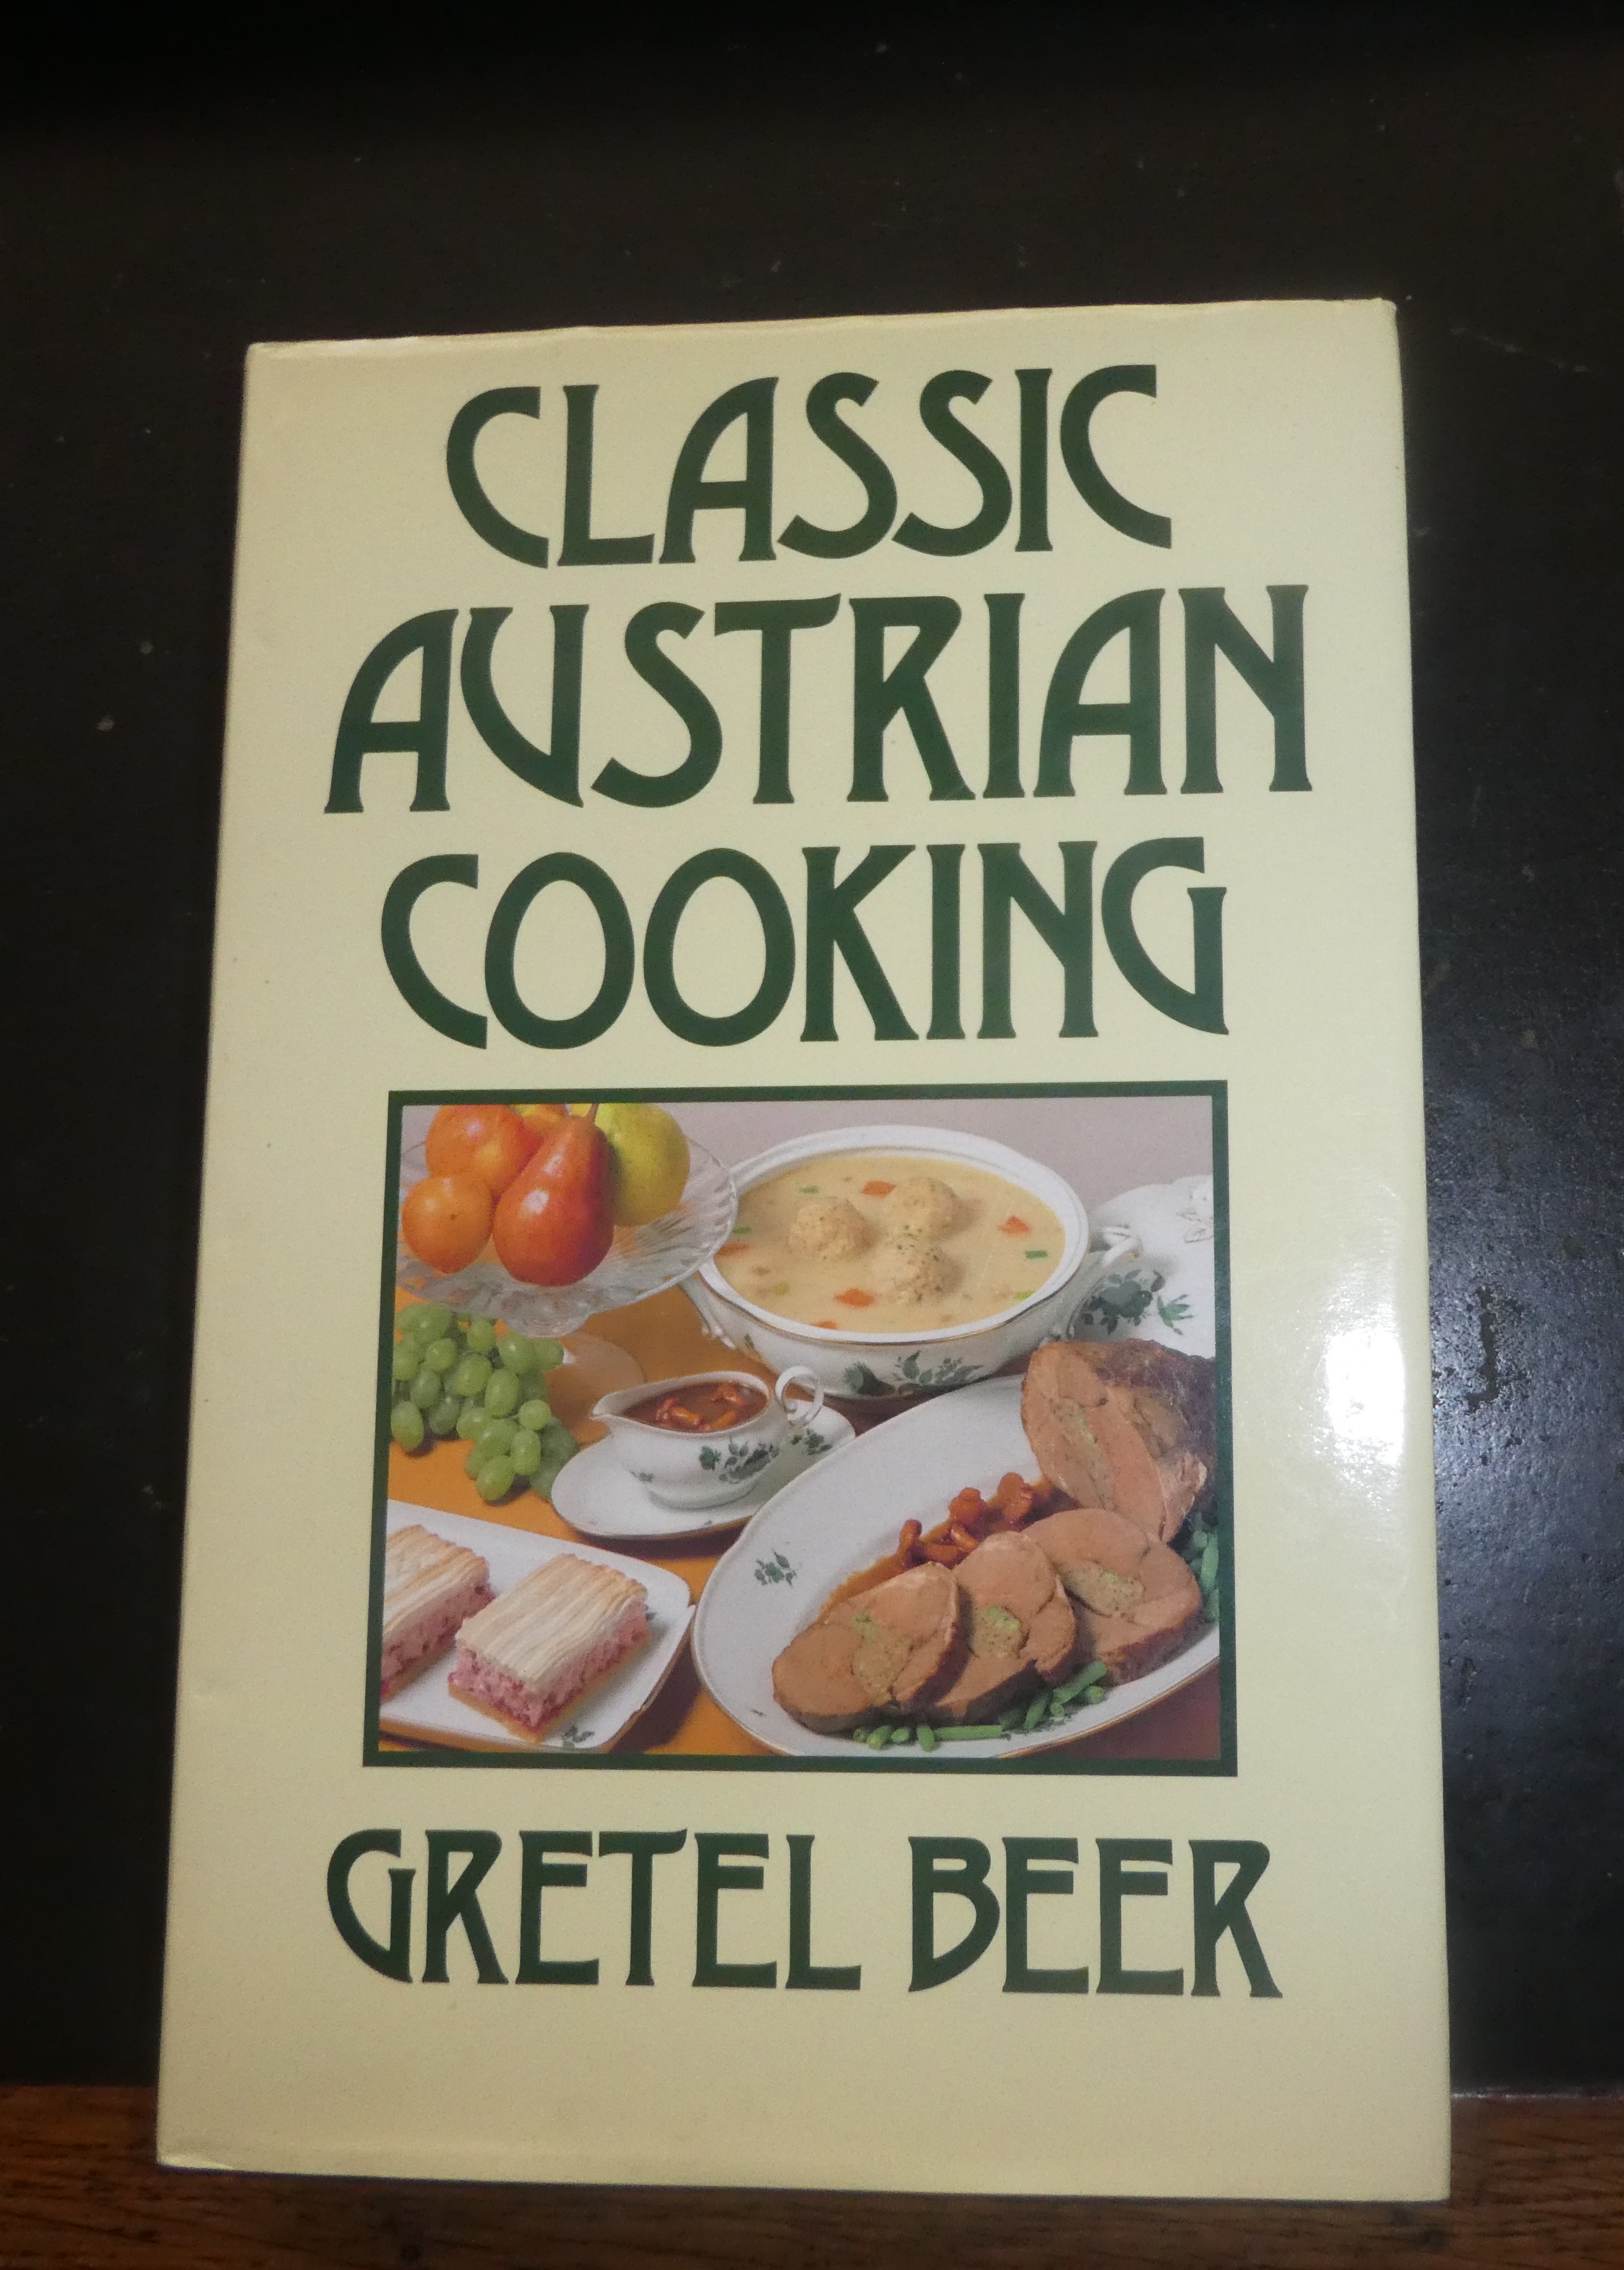
I have been looking through my many recipe books and there are just dozens of different recipes & I have been trying some of these out.
Many of the recipes have the addition of chopped nuts and/or mixed peel – I have not added these to my tests as I just wanted to try out the “basic” recipe.
Some of the recipes were for large quantities & I have cut them down in size. Many do not give baking tin sizes or oven temperatures – so I have done a bit of trial and error with some of the ones I have done.
In many of the recipes the dough or batter once mixed up is left for up to 3 weeks before baking. This indeed is a slow fermentation!
Even if the piernik is mixed and baked on the same day, most of them benefit from being wrapped and left for several days before serving.
The recipes in this post are ones you mix and bake on the same or the next day.
My mother made miodownik – honey spice cake (which could be classed as a piernik). Hers is a more moist cake using vegetable oil, which is certainly a more modern ingredient.
This first recipe is adapted from a recently bought little cookbook.
The honey used in the book was given as fir tree honey – this would be a dark honey and would make the cake very dark.
(I remember getting some of this when one of my cousins came from Poland – it was nearly black!)
The honey you use will make a difference to the colour and flavour of the cake. I have used a basic clear type honey.
As only honey is used in this recipe, I think this one is nearer the old recipes.
Piernik 1
Ingredients
450g plain flour
350g runny honey
125g butter or block margarine
Grated rind of a 1 lemon
1 egg – beaten
100ml of milk
1 + 1/2 teaspoons of spices
1 teaspoon of bicarbonate of soda
pinch of salt
Method
Pre-heat the oven to GM4 – 180°C.
Grease and line a large loaf tin – mine is longer than the regular 2lb tin.
Gently melt the butter in a small saucepan.
Mix together the spices, bicarbonate of soda and salt & add these to the flour in a large bowl.
Add the egg, the milk and the lemon rind and mix together.
Add the honey and the milk and mix together till you have a uniform smooth consistency.
Put the mixture into the tin and smooth the top.
Bake for around 50 minutes – checking a little earlier & cover with greaseproof paper it it looks like burning on the top if you need more time.
Leave to cool in the tin.
Wrap in foil to store.
The piernik can be dusted with icing sugar, topped with icing or with chocolate icing – of course these are relatively modern additions to the medieval piernik!
Variation
Addition of pepper
I made the piernik as above with the addition of 1/2 a teaspoon of freshly ground black pepper with the spices.
I did not think it added much to the flavour – I was expecting it to be a little peppery!
Piernik 2
This little honey recipe book has around 2 dozen recipes for piernik to choose from! (miód is Polish for honey)
Ingredients
400g plain flour
1 tablespoonful of butter
120g of granulated sugar
2 eggs
250g runny honey
125ml of milk
1 teaspoon of baking soda
2 teaspoons of spices
Method
Warm the honey slightly.
Put the flour in a large bowl and rub in the butter.
Add the sugar, bicarbonate of soda and the spices.
Mix in the eggs.
Add the honey
Add the milk & mix to give a very thick batter.
Cover the bowl with a cloth and leave it in a cool place for a couple of hours.
Grease & line a 32cm by 22cm baking tin.
Pre-heat the oven to GM 5 -190°C.
Put the cake mixture into the tin and spread it out.
Bake for around 30 minutes (check earlier and cover if it looks like burning.)
Leave in the tin to cool.
Wrap in foil and leave for a couple of days .
Tea plate is Sonnet by Royal Doulton, 1971 to 1998.
This piernik can be dusted with icing sugar, topped with icing or with chocolate icing.
It can also be cut into 2 slabs which are then sandwiched together with powidła which is a lovely spread – often translated as jam but is not really a jam.
It is made from fresh ripe plums which are heated and stirred for hours until the water is driven off and you get a thick paste. The traditional version does not have any extra sugar added.
I bought some in my local Polish shop, I have seen it for sale before in glass jars, this product is in a plastic tub
Pierniczki – Small Honey Cakes
Pierniczki are a small cake or biscuit version of piernik.
For Święty Mikołaj – December 6th – St Nicholas Day I often buy packets of these glazed with clear or white icing or chocolate (You can get them in lots of shops nowadays including Lidl & Aldi) but sometimes I make them myself as they are very easy & delicious.
Ingredients
280g plain flour
1 teaspoon of bicarbonate of soda
180g of granulated sugar
2 teaspoons of spice
100g of runny honey
2 eggs
Optional
Icing sugar to dust
Method
Pre heat the oven to GM 5 – 190oC
Grease several baking sheets.
In a bowl mix all the dry ingredients together.
Beat the eggs lightly and mix these and the honey into the dry ingredients.
Place tablespoons well apart on the greased sheets and bake for about 10 minutes.
They do spread quite a bit.
Leave to cool for a few minutes on the tray and then put the on a wire rack to cool and the dust with icing sugar.
Pierniczki – Small Honey Cakes (filled)
The dough for these is made the evening before.
Ingredients
120g runny honey
60g granulated sugar
2 teaspoons of spice
40g of butter
250g of plain flour
1/2 teaspoon of baking powder
1 large egg
Filling
Powidła, apricot or sour cherry jam
Optional
Lightly beaten egg white for a glaze
Method
Heat the honey in a saucepan over a moderate heat and add the sugar and spices, stirring all the time for about 3 to 4 minutes so that the sugar is dissolved but do not let the honey boil.
Remove from the heat and allow it to cool.
In a separate pan melt the butter and then set that aside to cool.
In a large bowl add the baking powder to the flour.
Pour in the honey mixture, melted butter and the egg and mix with a a wooden spoon to form a soft dough.
Transfer to a small bowl and cover with a cloth and refrigerate overnight.
The next day -take out for 15 minutes before using.
Grease several baking sheets.
Pre-heat the oven to GM 4 – 180°C
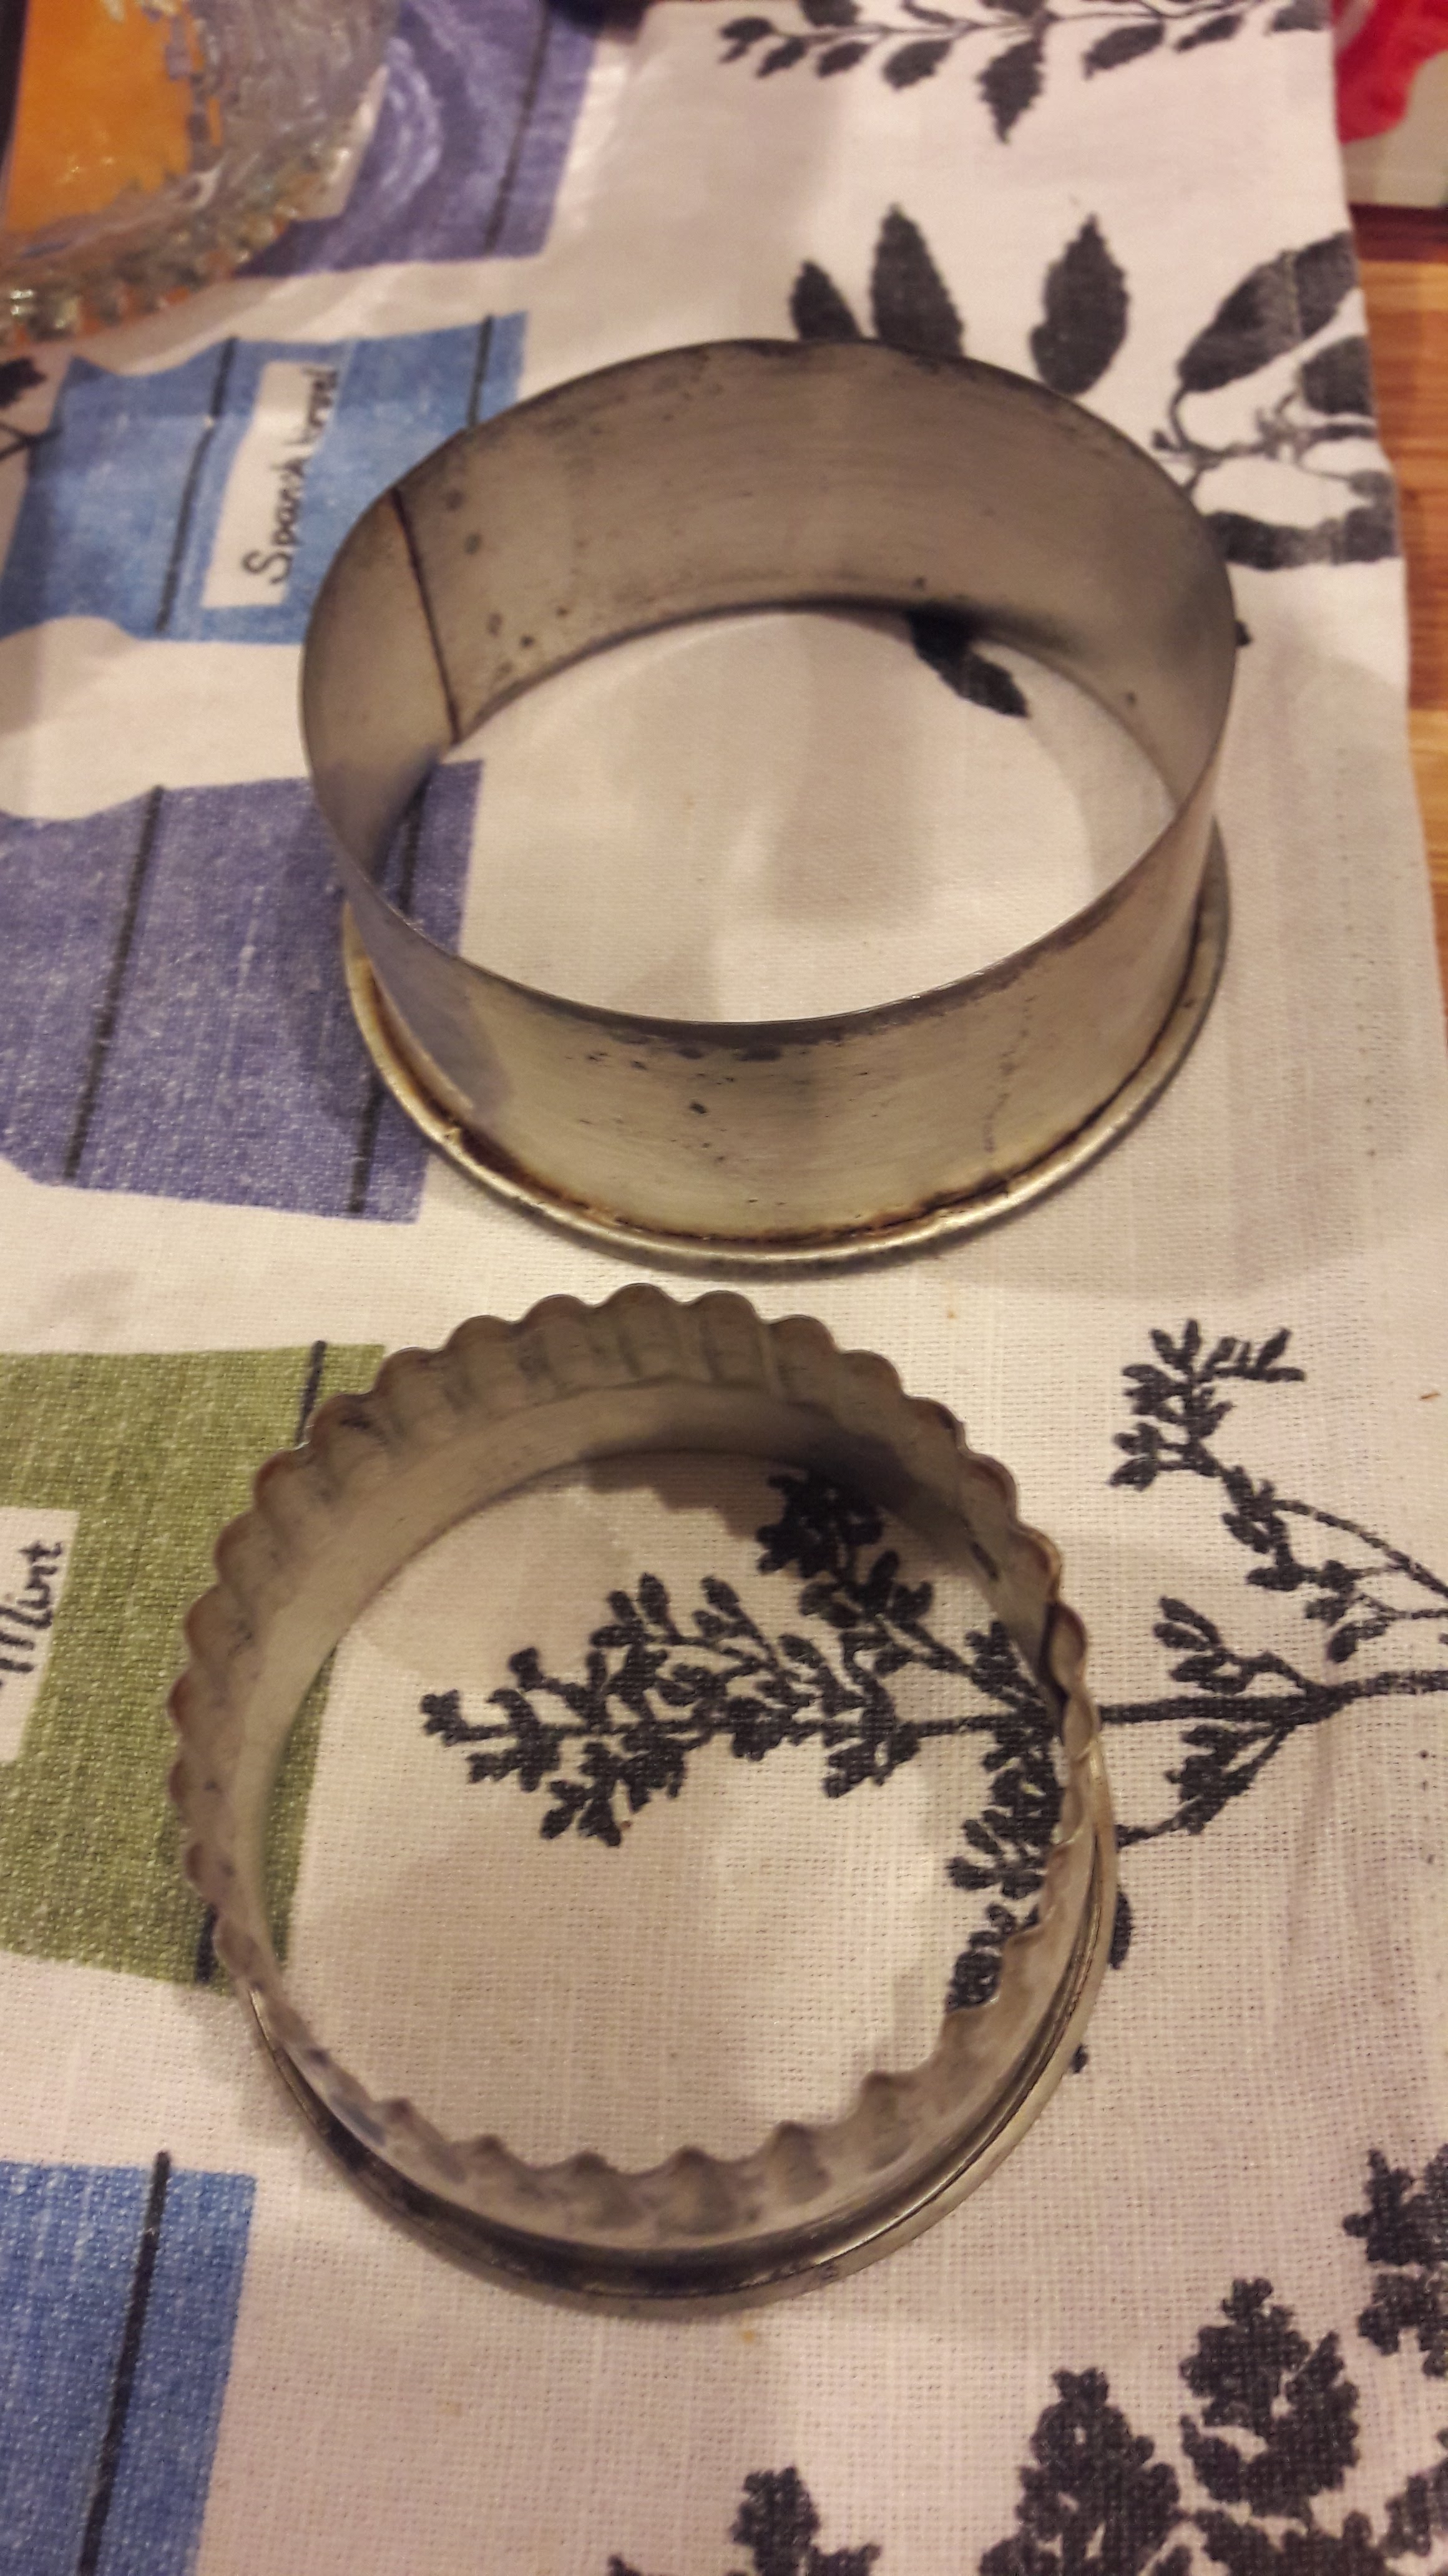
You need a 6cm round cutter.
Cut the dough into halves or thirds.
Roll out the dough till it is thin and cut out circles.
Place a largish teaspoon of the powidła or jam on the middle of the circle (going for height).
The more jam the better but it can be hard to seal the circles – takes a bit of practice!
Place another circle on top and press the edges together firmly.
You can brush the tops with beaten egg white.
Place on the baking sheet – leaving some space between circles.
Bake for 15 minutes – checking earlier as they burn easily.
Leave to cool slightly on the tin before placing them on a wire rack.
Dust them with icing sugar.
Served on tea plates – Counterpoint by Royal Doulton 1973 – 1987.
Easy unfilled option
I think once you have tried the jam filled ones, these will be the only ones you want!
However if you want a harder biscuit to decorate with icing then just place single circles on the baking trays and bake for 8 – 10 minutes – you really need to keep an eye on these as they burn very easily.
These come out as a quite hard biscuit.
These can be decorated with icing or chocolate icing.
Save
Save
Save
Save
Save
Save
Save
Save
Save
Save
Save
Save
Save
Save
Save
Save
Save
Save
Save
Save
Save
Save
Save
Save


")


")


")


")


")


")

")

")


")


")


