- These would be called ciasteczka belgijskie in Polish
- This is a recipe that was popular in the 19th century in Belgium.
- The mixture of spices is slightly different than in many Polish or English recipes.
INGREDIENTS
METHOD
- Pre-heat oven to GM3 – 160°C.
- Line a large baking tray with baking paper.
- Chop the almonds into 4 and keep around 36 pieces back for the tops.
- Mix the flour and baking powder together.
- Rub in the butter until you have breadcrumbs.
- Mix the icing sugar and the spices together.
- Mix the sugar mixture into the flour mixture.
- Mix the currants, almonds, peel and lemon zest together.
- Mix the fruits with the other ingredients.
- Add the eggs, mixing until you have a soft dough.
- (You might have to add a dash of milk – depending on the size of the eggs.)
- With floured hands divide the dough into 12 equal parts.
- Form these into balls.
- Space these out on the baking tray and flatten them slightly.
- Brush the tops with the egg wash.
- Put 3 pieces of almonds on the top of each.
- Bake for 40-45 minutes until golden.
- Leave to cool for a while on the tray before putting them on a wire rack.
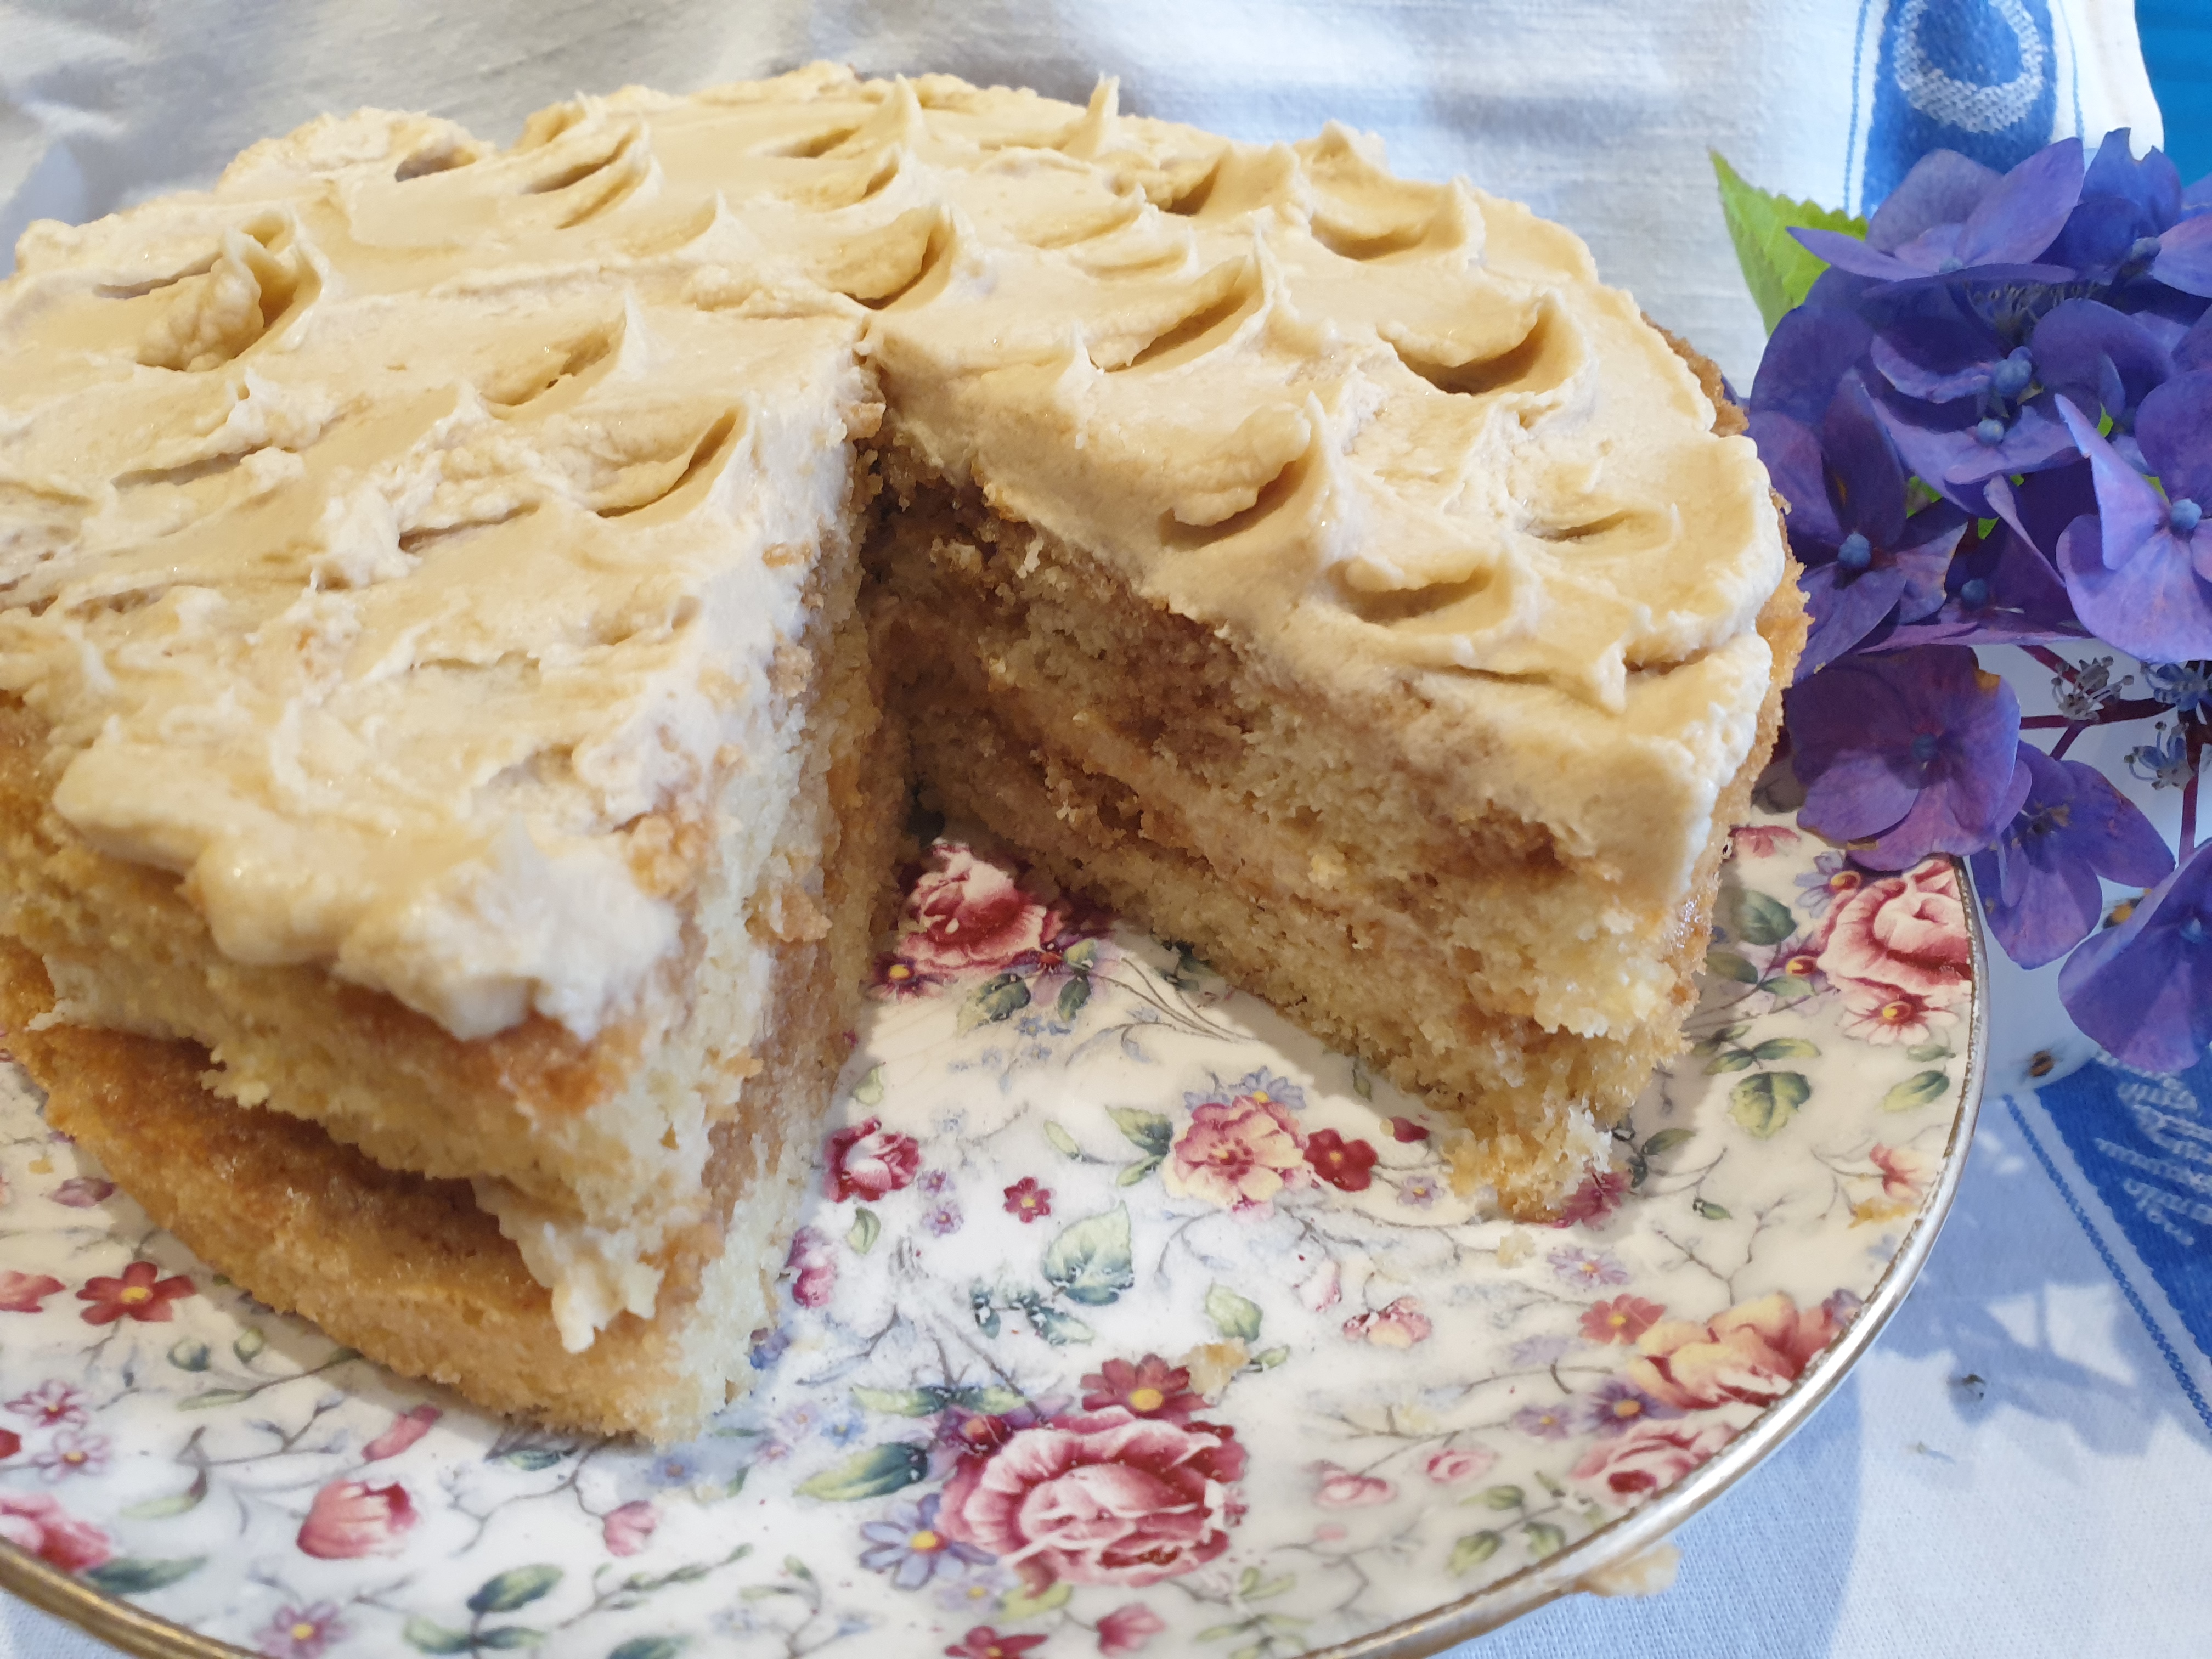
Vintage cake plate on a chrome foot.